
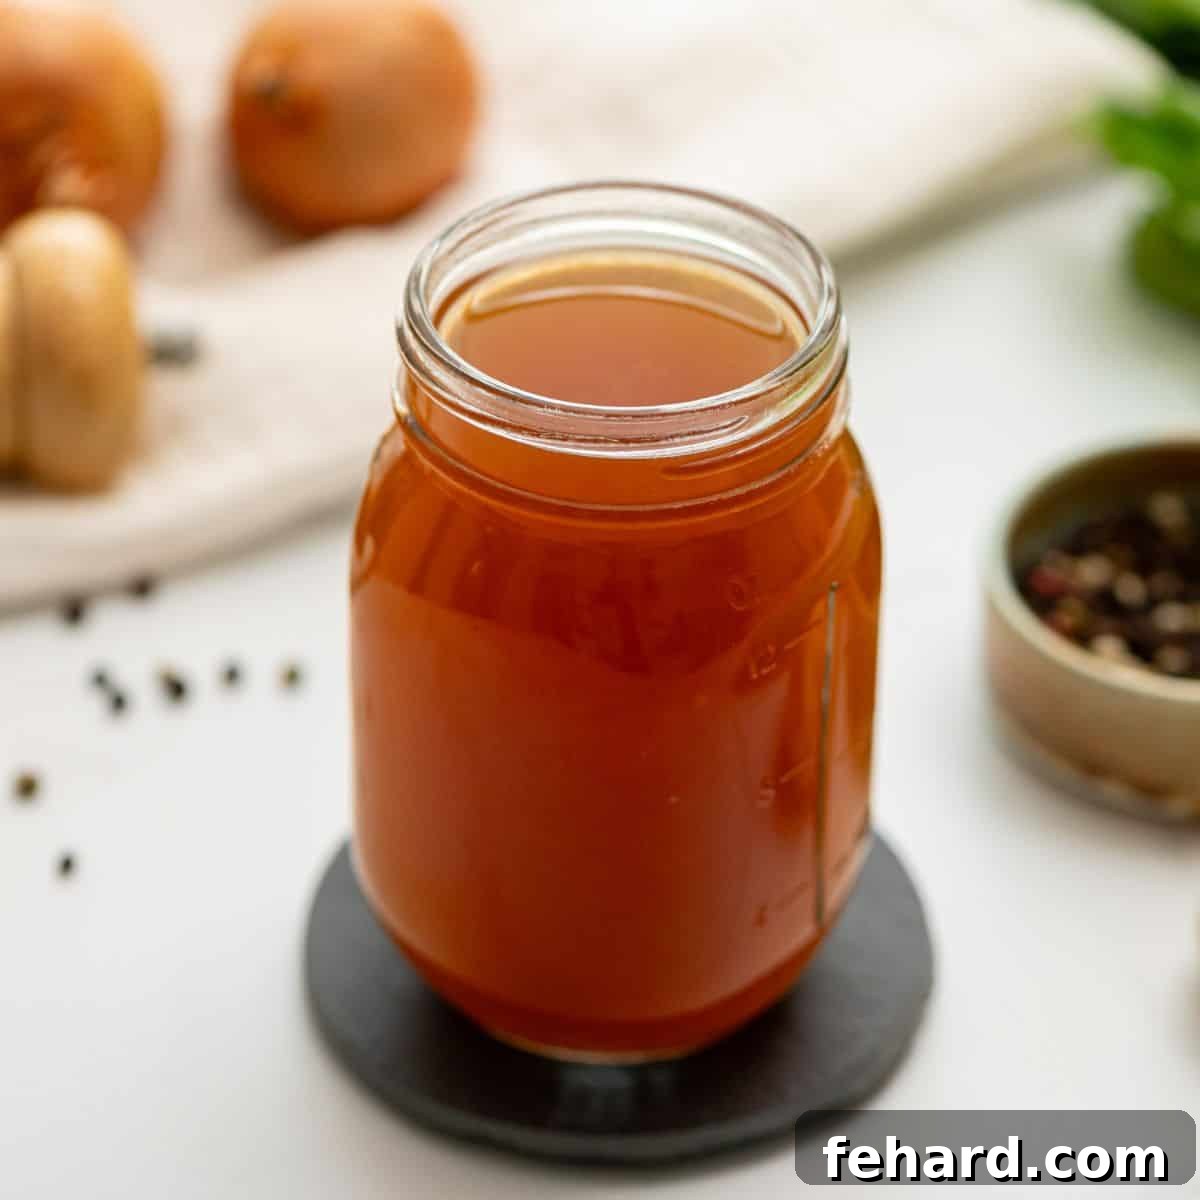
Stop Wasting Money: Make Your Own Flavorful Homemade Vegetable Broth!
Are you tired of spending a fortune on store-bought vegetable broth that often lacks flavor and is loaded with questionable additives? It’s time to take control of your kitchen and elevate your cooking with homemade vegetable broth! This simple, cost-effective recipe allows you to create a rich, deeply flavored broth with minimal effort, often for mere pennies per serving.
Not only is making your own vegetable broth (or chicken stock if you prefer) incredibly economical, but the depth and complexity of flavor are far superior to anything you’ll find on supermarket shelves. When you make broth at home, you have complete control over the ingredients, ensuring no unwanted yeast extract, gluten, caramel color, or MSG make their way into your meals. This clean, pure broth is perfect for enhancing countless recipes, from hearty Instant Pot Vegetable Soup and creamy Potato Soup to comforting Broccoli Rice Casserole, or any dish that calls for a vibrant veggie broth.
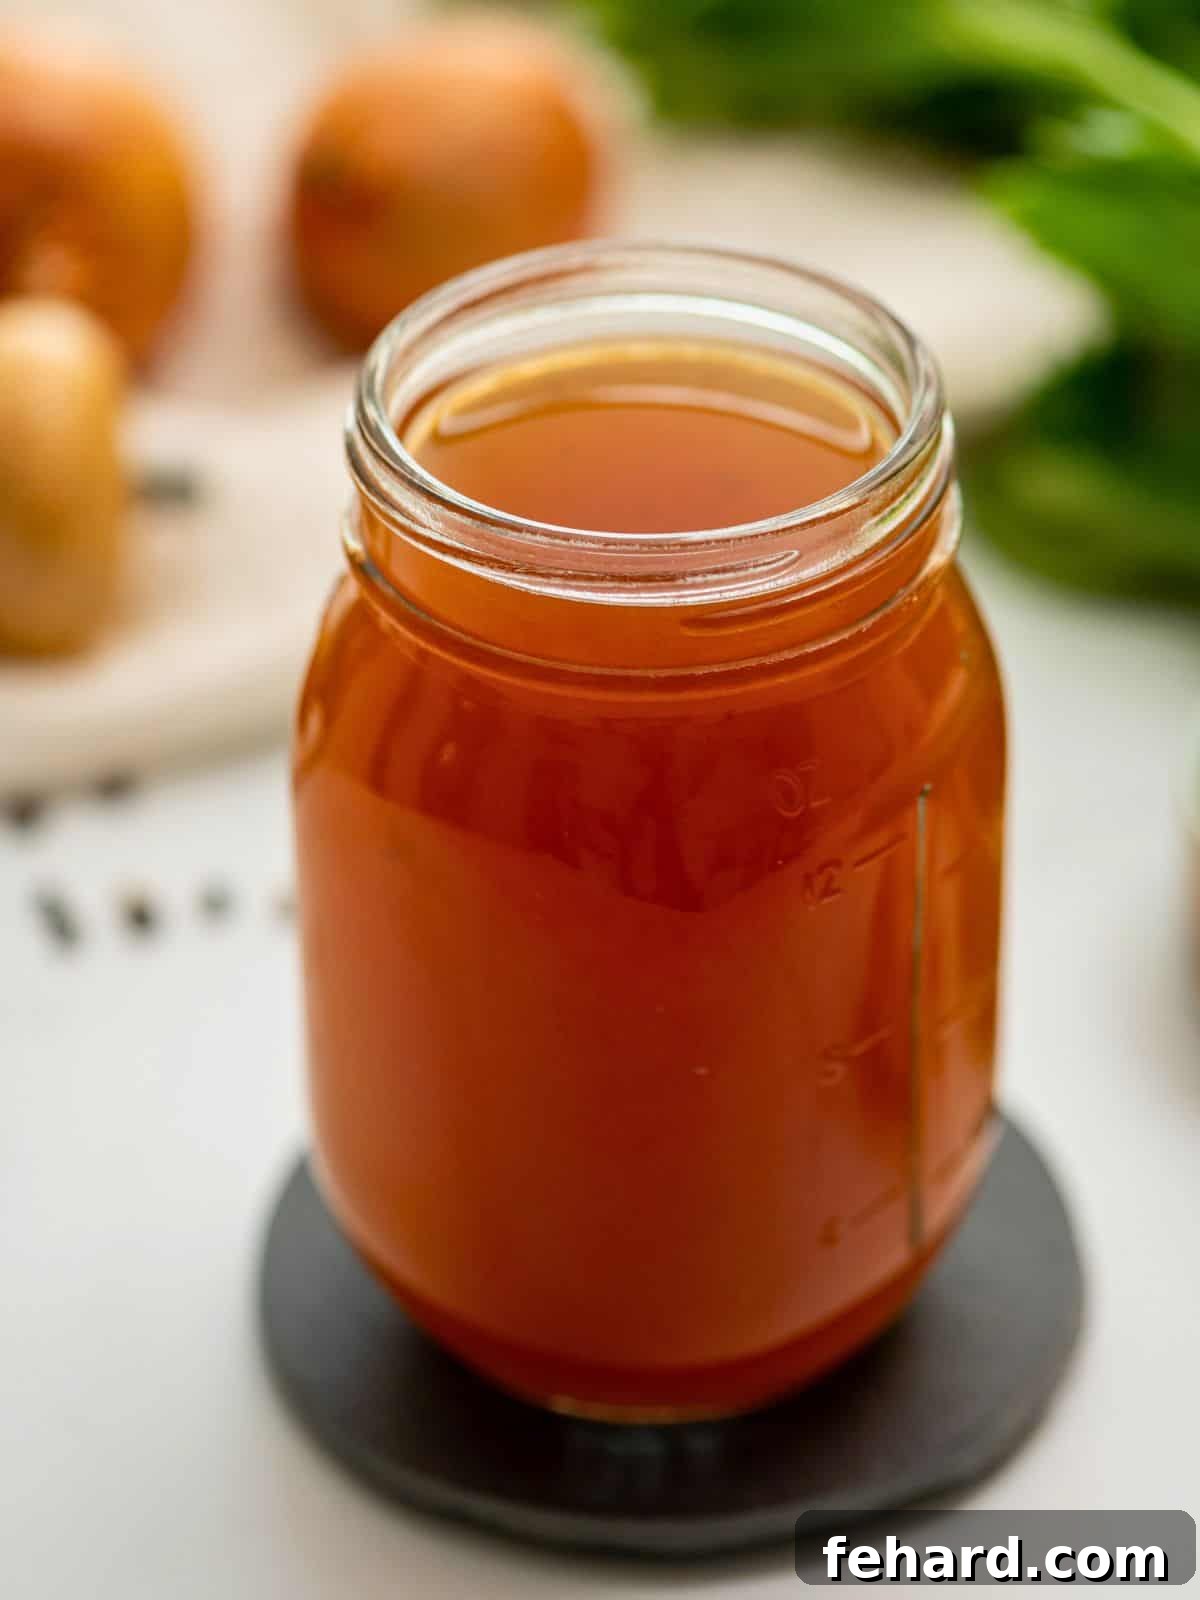
Expert Tips for Crafting the Best Homemade Vegetable Broth
Creating a truly exceptional vegetable broth is simpler than you might imagine, especially when you keep a few key principles in mind. These tips will help you maximize flavor, minimize waste, and achieve consistent results every time.
- Embrace Vegetable Scraps for Zero Waste Cooking: While you can certainly use whole, fresh vegetables, the most sustainable and economical approach is to save your vegetable scraps. Collect carrot peels, onion ends, papery onion skins, garlic skins, wilted celery stalks, and mushroom stems. Store these scraps in a large freezer-safe bag or container, adding to it whenever you prepare vegetables. Using these otherwise discarded parts allows you to make rich, flavorful broth for almost no cost. This practice not only saves money but also significantly reduces food waste in your kitchen.
- Thoroughly Clean Your Produce: Whether you’re using whole vegetables or saved scraps, it’s crucial to wash them meticulously. Dirt and debris can impart an undesirable gritty texture and flavor to your broth. A quick rinse under cold water is usually sufficient for most vegetables, but thicker skins or heavily soiled scraps may require a gentle scrub.
- Strategic Vegetable Selection: Not all vegetables are created equal when it comes to broth making. Avoid overly starchy or mild-flavored vegetables like potatoes, zucchini, and yellow squash, as they contribute little depth to the broth. Equally important is to steer clear of cruciferous vegetables such as broccoli, cauliflower, Brussels sprouts, and cabbage. These vegetables, while healthy, can overpower your broth with a strong, sometimes bitter, and unpleasant sulfuric taste, which is not what you want in a versatile cooking liquid. Stick to classic aromatics for a balanced flavor profile.
- Start with Cold Water: Always begin your broth with cold water. Adding hot water can cause the vegetables to cook unevenly and seal in flavors rather than releasing them slowly into the liquid. Cold water allows for a gradual heating process, which helps to gently extract the maximum amount of flavor and nutrients from the vegetables, resulting in a more robust and clear broth.
- Don’t Over-Pack Your Pot: While it might be tempting to cram as many vegetable scraps as possible into your pot, avoid overfilling it. Overcrowding can lead to uneven cooking and prevent proper circulation of the water, hindering the full extraction of flavors. Leave enough space for the water to cover the vegetables comfortably and for the mixture to simmer gently.
- Choose Your Preferred Cooking Method: This versatile recipe can be adapted to various kitchen appliances, offering flexibility for your schedule and preferences. You can prepare vegetable broth in a slow cooker for a hands-off, all-day simmer, in an Instant Pot for a quick and efficient batch, or on the stovetop, which is particularly useful for producing extra-large quantities. Each method yields delicious results, allowing you to choose what works best for you.
Crafting Your Broth: Essential and Optional Ingredients
The beauty of homemade vegetable broth lies in its simplicity and the ability to customize its flavor profile. While some ingredients are foundational for a classic taste, others can be added to introduce unique depths and complexities.
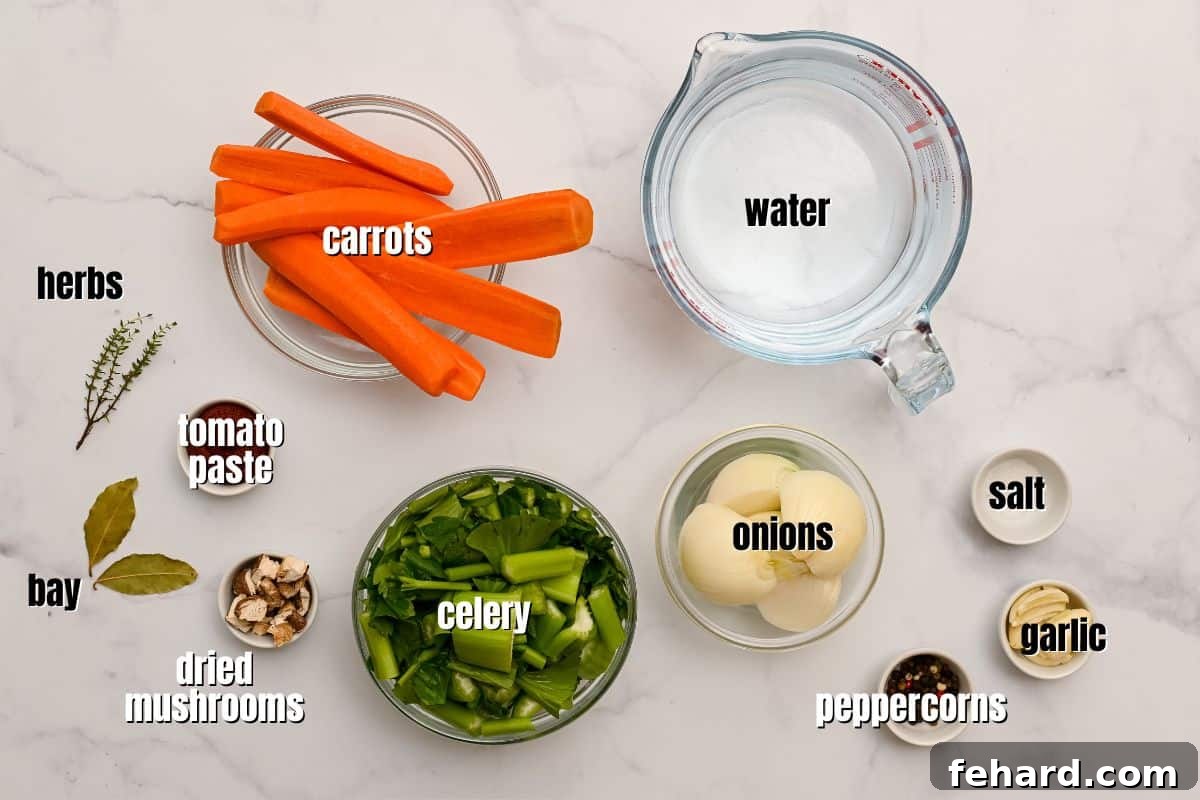
- Foundation Vegetables / Vegetable Scraps: The classic trio of onions, carrots, and celery forms the aromatic backbone of nearly all great broths. These are often referred to as a “mirepoix” and provide a sweet, earthy, and savory base. Whether you’re using whole vegetables or their scraps, ensure these key components are present for a balanced and traditional flavor.
- Fresh or Frozen Herbs: Herbs are essential for adding brightness and aromatic complexity. A small handful of fresh (or frozen) herbs like thyme sprigs, parsley stems (often discarded but packed with flavor!), and/or a touch of oregano will infuse your broth with wonderful layers of taste. However, use caution with certain potent herbs: avoid cilantro, basil, and rosemary, as they can quickly overpower the delicate flavors of a vegetable broth and sometimes turn bitter during a long simmer.
- Aromatic Spices: To deepen the savory notes, incorporate a classic combination of dried bay leaves, whole garlic cloves (peeled or unpeeled), and whole peppercorns. Whole peppercorns are highly recommended over ground pepper, as they release their aromatic oils slowly, contributing a milder, more nuanced spice without making the broth cloudy or overly sharp.
- Salt: Kosher salt is ideal for its clean taste and larger crystals, which make it easier to control the salinity. Adjust the amount of salt to your preference or dietary needs. You can always add more salt to individual dishes later, but you can’t take it out of the broth! For a truly low-sodium broth, you may choose to omit salt entirely during the cooking process.
- Optional Umami Boosters (Highly Recommended!):
- Tomato Paste: A tablespoon of tomato paste adds a subtle sweetness and incredible depth, contributing a rich, concentrated flavor that enhances the overall savory profile of the broth.
- Dried Mushrooms: Ingredients like dried shiitake mushrooms are not strictly necessary but are highly encouraged for their earthy, umami-rich qualities. They provide a foundational savory element that makes the broth taste more substantial and complex. If dried shiitake aren’t available, other dried mushrooms or even fresh mushroom stems can be used to achieve a similar effect.
Step-by-Step Guide to Making Homemade Vegetable Broth
Achieving a perfectly clear and flavorful vegetable broth is a straightforward process. Follow these detailed steps for a successful batch, regardless of your chosen cooking method. You’ll find specific ingredient quantities in the comprehensive recipe summary below.
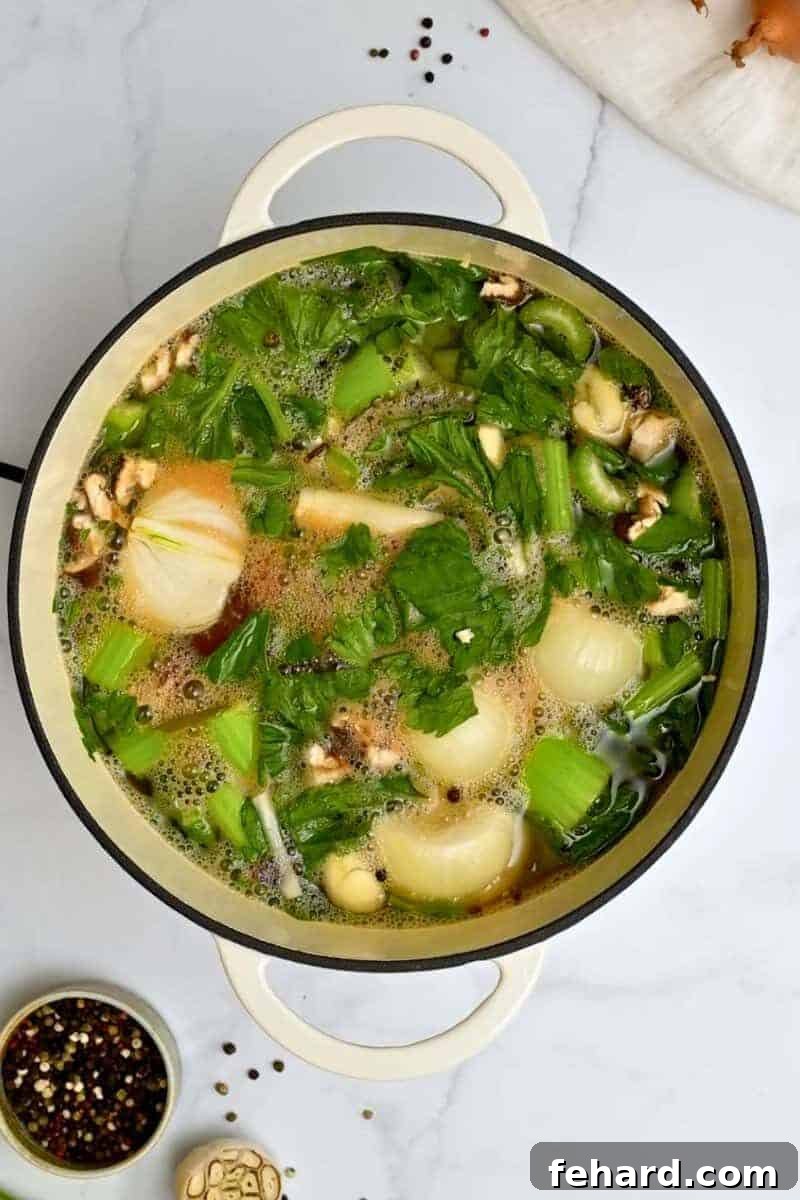
- Gather and Combine Ingredients: Begin by placing all your chosen vegetables (whole or scraps), herbs, salt, whole peppercorns, bay leaves, and any optional additions like tomato paste and dried mushrooms into your cooking vessel. This could be a large stockpot for stovetop cooking, the ceramic insert of a slow cooker, or the inner pot of an Instant Pot. Ensure your ingredients are distributed evenly.
- Submerge with Cold Water: Pour cold tap or filtered water over the ingredients until they are fully submerged. Be mindful not to fill the pot to the very brim, especially if using a stovetop or Instant Pot, as you need to leave adequate room for simmering or pressure buildup. A general guideline is to leave about an inch or two of space from the top of the pot.
- Initiate the Simmering Process:
- For Stovetop: Place the stockpot over medium-high heat and bring the water to a gentle boil. Once small bubbles begin to form around the edges of the pot, reduce the heat to low, cover the pot with a lid, and allow it to simmer for 1 to 2 hours. A longer simmer generally extracts more flavor, but avoid simmering for excessively long periods (over 3-4 hours) as the flavors can sometimes become concentrated or bitter. Check occasionally and add more water if needed to keep the vegetables submerged.
- For Instant Pot: Seal the Instant Pot lid and set the valve to the sealing position. Select the “Manual” or “Pressure Cook” setting and set the cook time to 15-20 minutes on high pressure. Once the cooking cycle is complete, allow for a natural pressure release for at least 10-15 minutes before manually releasing any remaining pressure. This natural release helps to infuse more flavor into the broth.
- For Slow Cooker: Cover the slow cooker with its lid. Cook on the “Low” setting for 8-12 hours or on the “High” setting for 4-6 hours. The longer, slower cooking time is excellent for extracting deep, mellow flavors with minimal effort.
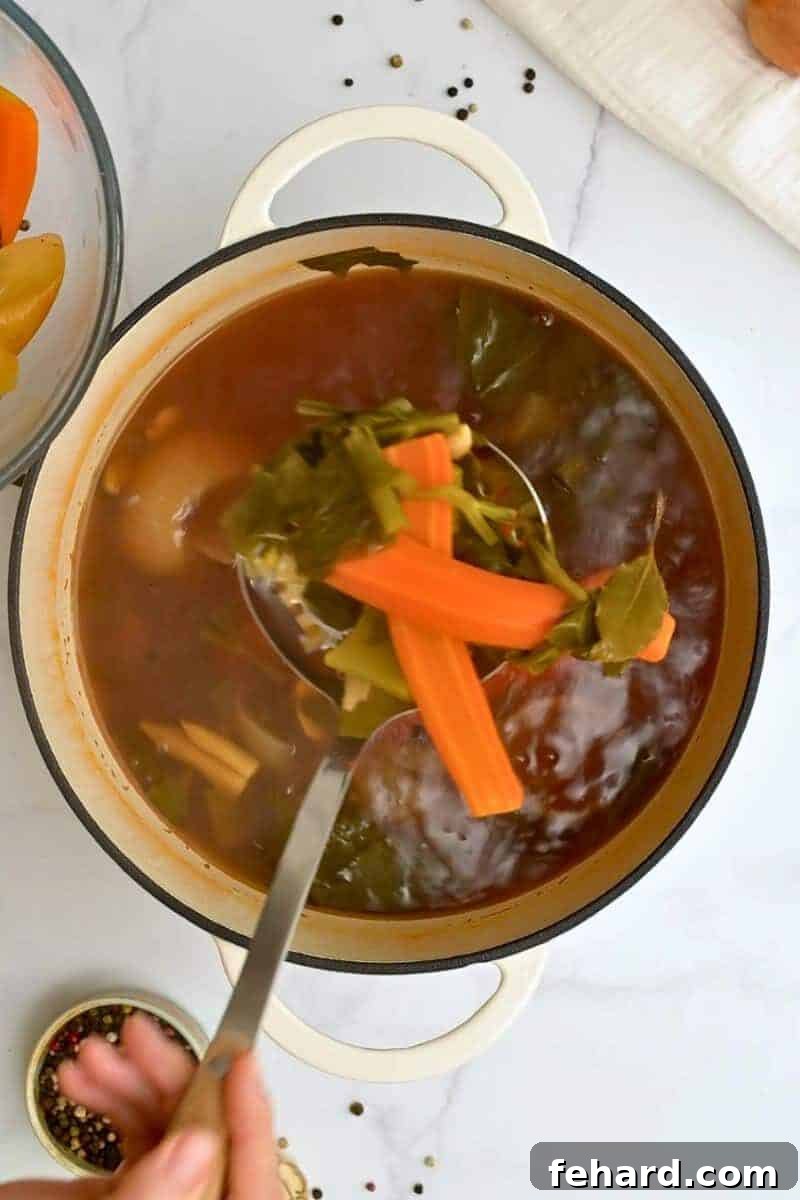
- Strain the Solids: Once the broth has finished cooking by your chosen method, carefully strain the solids from the liquid. You can use a fine-mesh sieve, a large colander lined with cheesecloth, or a specialized strainer insert if using an Instant Pot. Gently press the solids to extract any remaining liquid, but avoid mashing them vigorously, as this can release starchy or bitter flavors that will make your broth cloudy. Discard all the cooked vegetable scraps and herbs into the trash. Avoid putting them down the garbage disposal, as they can be too fibrous and might clog it.
- Allow to Cool Completely: Before transferring your homemade broth to storage containers, it is absolutely essential to let it cool down to room temperature. Pouring hot broth directly into sealed containers or the refrigerator can create condensation, promote bacterial growth, and even raise the internal temperature of your refrigerator, impacting other food items. You can speed up the cooling process by placing the pot in an ice bath or portioning the broth into shallower containers.
Storing Your Homemade Vegetable Broth for Maximum Freshness
Proper storage is key to extending the life of your homemade vegetable broth and ensuring you always have this versatile ingredient on hand.
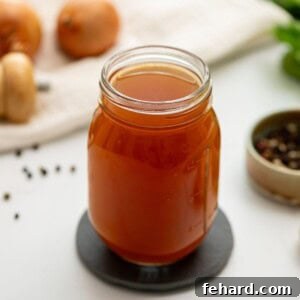
- Refrigerate: Once completely cooled, transfer your homemade vegetable broth to airtight storage containers or clean glass jars. It can be safely stored in the refrigerator for up to 5-7 days. Always ensure the containers are well-sealed to prevent absorption of other odors from your fridge.
- Freeze for Long-Term Storage: Freezing is an excellent way to preserve your broth for extended periods. I highly recommend portioning out the broth into convenient 2 to 4-cup quantities before freezing. This makes it easy to thaw just the amount you need for specific recipes.
- Freezer-Safe Containers: Use rigid, freezer-safe plastic containers or glass jars (leave headspace for expansion) for larger portions.
- Souper Cubes: For ultimate convenience, Souper Cubes (my personal favorite) allow you to freeze broth in perfectly measured blocks that are easy to pop out and store in freezer bags.
- Ice Cube Trays: For smaller portions (e.g., for deglazing pans or adding a splash of flavor), freeze broth in standard ice cube trays. Once solid, transfer the cubes to a freezer bag.
Homemade vegetable broth can be stored in the freezer for up to 3 months without significant loss of quality. To use, simply defrost the desired amount overnight in the refrigerator or gently heat directly from frozen in a pot, adding a little water if needed.
Unlock Culinary Potential: Versatile Uses for Your Homemade Vegetable Broth
With a batch of homemade vegetable broth on hand, your culinary possibilities are endless. This flavorful liquid is far more than just a soup base; it’s a fundamental ingredient that can elevate the taste and texture of countless dishes. Here are some of our favorite ways to utilize this kitchen staple:
- Hearty Soups and Stews: The most obvious application, but homemade broth truly shines here. Use it as the base for nourishing soups like Instant Pot Minestrone, comforting Potato Corn Chowder, or a robust Instant Pot Lentil Soup. It’s also perfect for stews and chilis, such as Instant Pot Vegetarian Chili.
- Flavorful Grains: Cook rice, quinoa, couscous, or any grain in vegetable broth instead of water to infuse them with incredible depth. This simple swap makes a huge difference in dishes like pilafs and risottos.
- Sauces and Gravies: Homemade broth is an excellent liquid component for creating rich, savory sauces and gravies. It provides a foundational flavor that store-bought versions often lack.
- Deglazing Pans: After sautéing vegetables or searing tofu, use a splash of hot vegetable broth to deglaze the pan. This releases all the flavorful browned bits, creating an instant sauce.
- Steaming Vegetables: Instead of plain water, steam your vegetables in a small amount of broth for added flavor and nutrients.
- Pasta Dishes: Incorporate broth into pasta dishes like Pasta Primavera or even creamy Instant Pot Mac and Cheese for a richer, more complex taste.
- Mashed Potatoes: Achieve perfectly creamy and flavorful mashed potatoes by substituting some of the milk or cream with warm vegetable broth, as seen in Slow Cooker Mashed Potatoes.
- Bean and Legume Dishes: Enhance the flavor of bean and lentil-based meals, such as Instant Pot White Bean and Kale Soup, by cooking them in vegetable broth.
We hope you enjoy the incredible flavor and satisfaction of making your own Homemade Vegetable Broth! If you try this recipe, we would love for you to leave a comment and review below.
Homemade Vegetable Broth Recipe
This easy Vegetable Broth recipe can be made using whole vegetables or vegetable scraps, producing the most delicious and healthy homemade broth for all your culinary needs.
By: Kristen Chidsey
Servings: 16 cups
Prep Time: 5 minutes
Cook Time: 1 hour (Stovetop/Instant Pot) / 5-12 hours (Slow Cooker)
Total Time: 1 hour 5 minutes (minimum)
Pin this Recipe on Pinterest |
Rate this Recipe |
Print Recipe
Ingredients
- 2 medium yellow onions, cut in half
- 3 stalks celery, leaves included, roughly chopped
- 4 large carrots, cut in half
- 3 cloves garlic, optional
- 2 dried bay leaves
- 1 teaspoon whole peppercorns
- 3 sprigs fresh thyme
- ½ teaspoon kosher salt, more, or less to taste
- 1 tablespoon tomato paste, optional
- 1 tablespoon dried shiitake mushrooms, optional
- 8 cups cold water, + more as needed
Instructions
- Place the 2 medium yellow onions, 3 stalks celery, and 4 large carrots (or 3-4 cups vegetable scraps) in the base of an inner pot (Instant Pot), slow cooker, or large stockpot. Add in the 3 cloves garlic, 2 dried bay leaves, 1 teaspoon whole peppercorns, 3 sprigs fresh thyme, ½ teaspoon kosher salt, 1 tablespoon tomato paste, and 1 tablespoon dried shiitake mushrooms. Cover with 8 cups cold water.
- For Stovetop: Bring the mixture to a gentle boil over medium heat. Once small bubbles are forming along the sides of the pan, turn the heat to low, cover the pan, and simmer for 1 to 2 hours, adding up to 2 cups additional water if needed to keep vegetables submerged.
- For Instant Pot: Cook on high pressure for 15 minutes. Once cooking is complete, allow for a natural pressure release for 10-15 minutes, then manually release any remaining pressure.
- For Slow Cooker: Cook on low for 8-12 hours or on high for 5-6 hours.
- Strain the solids from the broth using a fine-mesh sieve or colander. Discard the solids in the trash (not the garbage disposal). Let the stock cool completely to room temperature before storing in airtight containers. Use as desired.
Notes
- Vegetable Scraps: You can use 3-4 cups of vegetable scraps in place of whole onions, carrots, and celery. Be sure to wash your vegetables/herbs well. Store carrot peels, ends of carrots, wilted celery, ends of onions, onion peels, etc., in a freezer-safe bag, adding to it as needed. Feel free to add a variety of vegetable/herb scraps, but always avoid cruciferous vegetables (broccoli, cauliflower, cabbage, Brussels sprouts), starchy/flavorless vegetables (potatoes, zucchini, yellow squash), and potent herbs like cilantro, basil, and rosemary, which can overpower or bitter the broth.
- Dried Mushrooms: The dried mushrooms add a wonderful earthy, umami flavor, but they can easily be omitted if preferred. Alternatively, you can use ¼ cup fresh shiitake mushrooms or mushroom stems in place of dried mushrooms.
- Storage: Transfer the cooled vegetable broth to airtight storage containers or clean glass jars and store in the refrigerator for up to 7 days. For longer storage, freeze the cooled broth in freezer-safe containers or souper cubes (my personal favorite) for up to 3 months in the freezer. Defrost the broth overnight in the refrigerator as needed, or gently reheat from frozen.
Nutrition Information (per serving, approximate)
Calories: 18 kcal | Carbohydrates: 4g | Protein: 1g | Fat: 1g | Saturated Fat: 1g | Sodium: 98mg | Potassium: 120mg | Fiber: 1g | Sugar: 2g | Vitamin A: 2597 IU | Vitamin C: 2mg | Calcium: 14mg | Iron: 1mg
Nutrition information is automatically calculated and should only be used as an approximation.
Tried this recipe? Mention @amindfullmom or tag #amindfullmom!
This recipe was originally shared in 2017 but updated and expanded in 2025 for enhanced clarity and comprehensive details.