
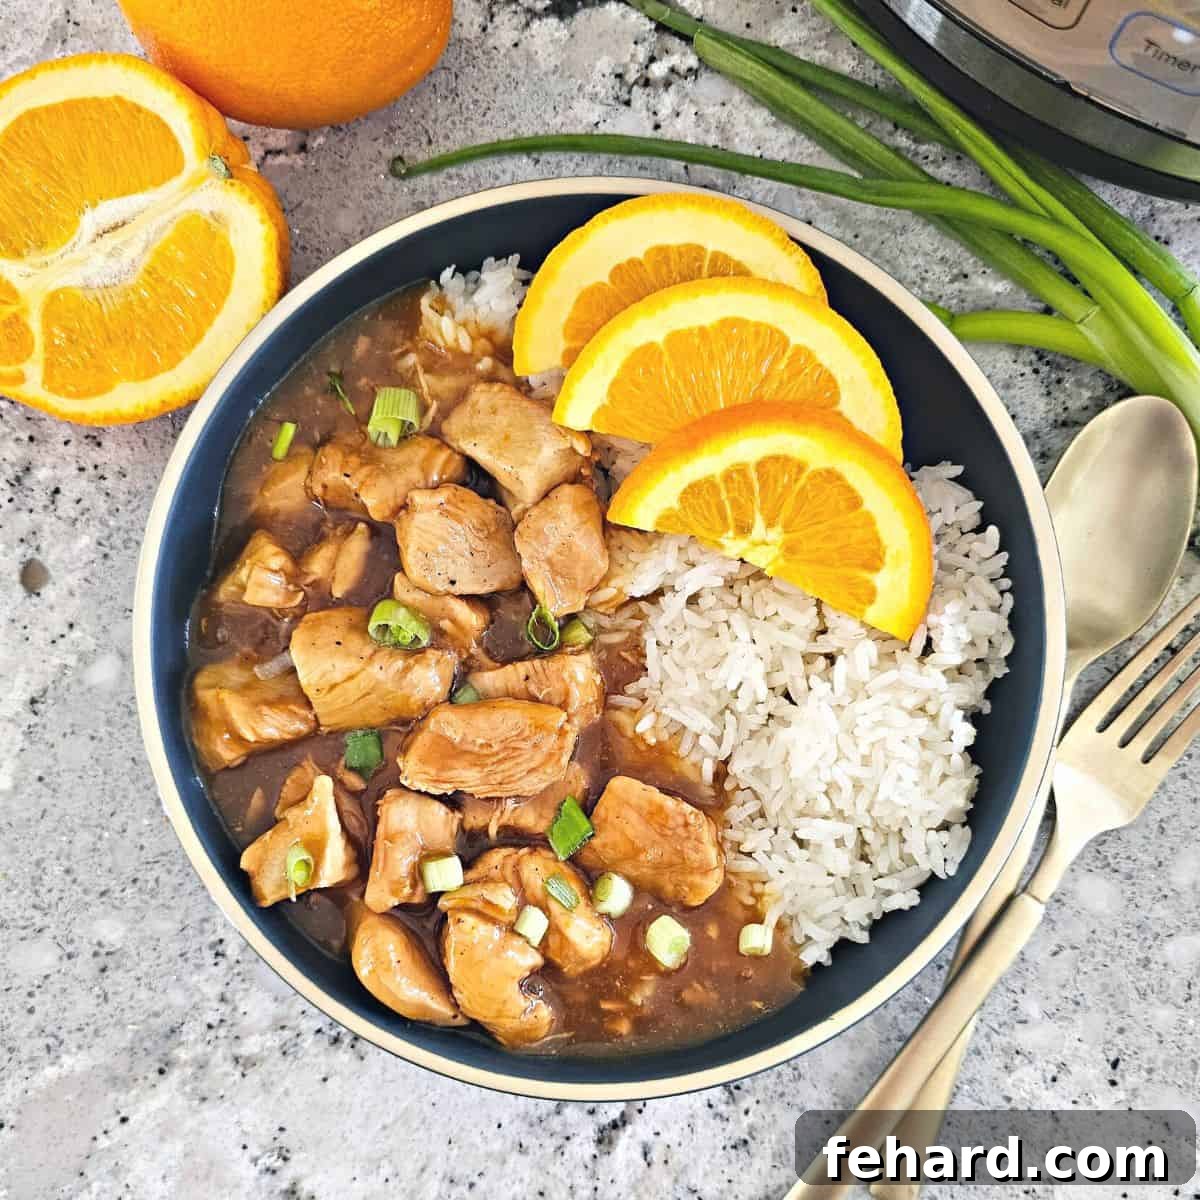
Satisfy your craving for a sweet and savory delight with this incredible **Instant Pot Orange Chicken** recipe! Imagine tender, succulent chicken pieces coated in a vibrant, tangy citrus sauce, all coming together in record time within your pressure cooker. This flavor-packed, copycat version of a beloved takeout classic offers all the taste you love, but with the added benefits of being homemade, healthier, and unbelievably easy to whip up on any busy weeknight.
Looking to expand your repertoire of quick and easy Instant Pot copycat recipes? Don’t miss these other fan favorites: Instant Pot Sweet and Sour Chicken, Instant Pot Beef and Broccoli, Instant Pot Teriyaki Chicken, and Instant Pot Mongolian Beef!
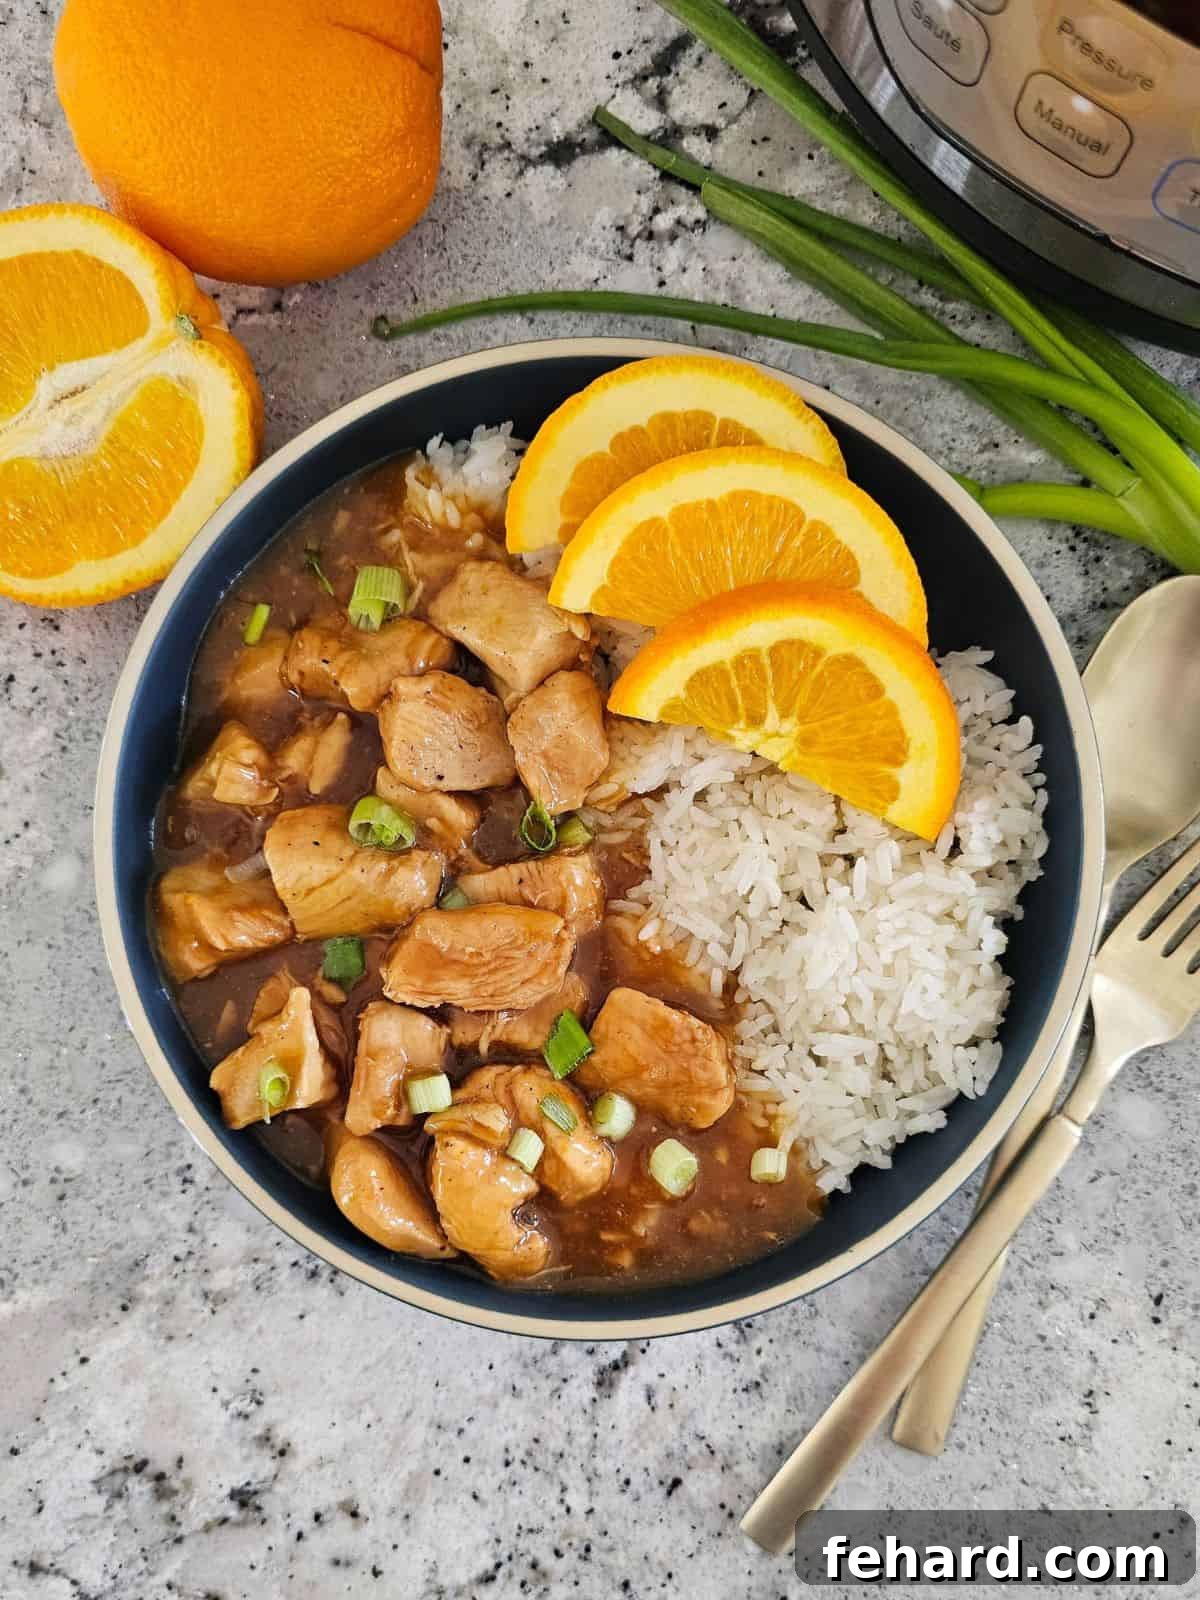
Experience the Difference: Why Homemade Instant Pot Orange Chicken Triumphs Over Takeout
Inspired by our popular Copycat Orange Chicken recipe, this Instant Pot version has become a simple yet spectacular dinner solution we turn to time and again. It redefines what a quick meal can be, transforming an ordinary weeknight into an extraordinary culinary experience with minimal fuss.
This isn’t just another 30-minute healthy dinner recipe; it’s a testament to the power of home cooking. Crafted with affordable, easy-to-find ingredients, it’s a meal that the entire family will adore. What truly sets our Instant Pot Orange Chicken apart is its superior nutritional profile. Unlike typical greasy takeout dishes that are often laden with excessive fat, sodium, and refined sugars, our homemade version offers a lighter, fresher alternative. And honestly, in our opinion, it tastes infinitely better. The vibrant orange sauce is never greasy, allowing the pure, zesty essence of fresh oranges to shine through with every bite. You’ll be amazed at the depth of flavor you can achieve in your own kitchen.
But the convenience doesn’t stop there. Imagine cooking your entire meal in a single appliance! You can effortlessly employ the pot-in-pot cooking method to pressure cook fluffy rice right alongside your chicken. This ingenious technique makes Instant Pot Orange Chicken a true one-pot wonder, drastically cutting down on cleanup and making it the ultimate solution for busy evenings. So, let’s get dinner done, deliciously and efficiently!
Crafting Your Masterpiece: A Step-by-Step Guide to Instant Pot Orange Chicken
For those new to the world of electric pressure cooking, or if you simply wish to brush up on the various functions of your Instant Pot, we highly recommend consulting our guide on How to Use an Instant Pot. This will ensure the best results for this recipe and all your future Instant Pot culinary adventures. Detailed, step-by-step instructions can also be found in the recipe card below.
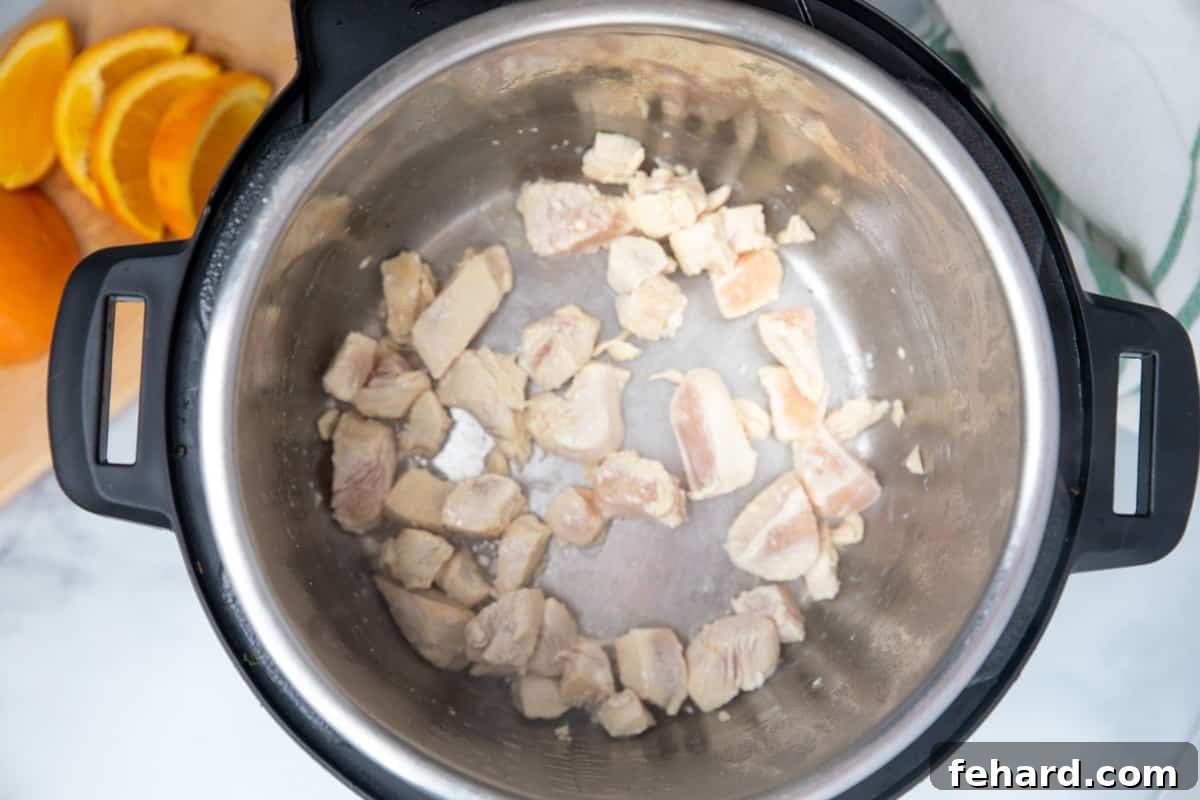
1. Perfectly Sautéing the Chicken for Enhanced Texture and Flavor
While an optional step, sautéing the chicken before pressure cooking adds a delightful dimension to the dish. This quick browning process creates a beautiful golden crust on the chicken pieces, which helps to lock in their natural juices, contributing to a more tender and flavorful outcome. It also adds a pleasant textural contrast that elevates the overall eating experience. Simply turn on the Instant Pot’s sauté function, add a touch of oil, and sear your chicken chunks until lightly browned on all sides.
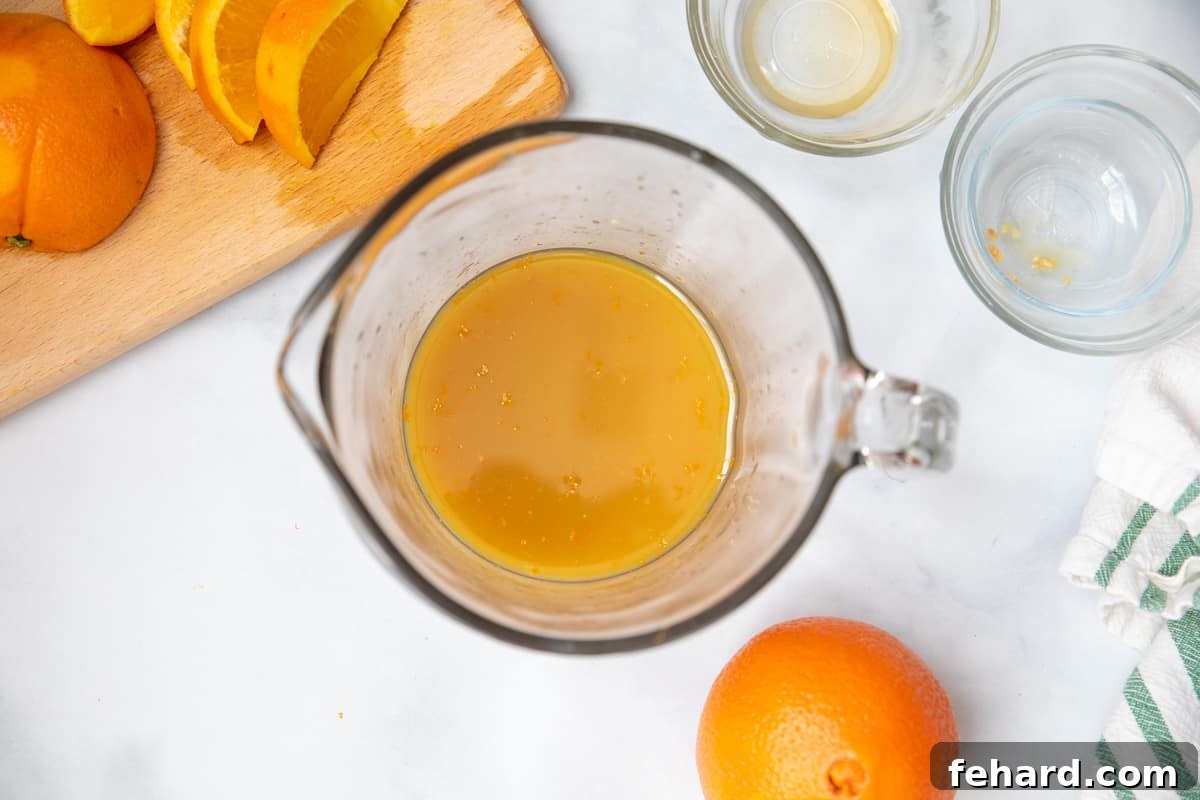
2. Preparing the Quintessential Sweet and Tangy Orange Sauce
The vibrant, aromatic orange sauce is the star of this dish, bringing together a symphony of sweet, savory, and tangy notes. For the most authentic and fresh flavor, prioritize freshly squeezed orange juice and orange zest. Remember to zest the orange first – the outermost layer holds the most concentrated essential oils – then slice it in half to extract the juice. This ensures maximum citrusy brightness. Into this base, you’ll whisk low-sodium soy sauce for umami depth, brown sugar or honey for balanced sweetness, aromatic fresh garlic and ginger, and a splash of rice wine vinegar to provide that essential tangy counterpoint. The careful balance of these ingredients creates a sauce that is truly irresistible.
3. The Crucial Step: Deglazing the Inner Pot for Flavor and Safety
To prevent the dreaded “Burn” notice on your Instant Pot and ensure every ounce of flavor is captured, deglazing the inner pot is a non-negotiable step. After sautéing the chicken, carefully pour the prepared citrus sauce into the inner pot. Use a wooden spoon or a sturdy spatula to gently scrape up any browned bits that may be stuck to the bottom. These seemingly small fragments are packed with concentrated flavor, which will now dissolve into your sauce, enriching its profile and preventing any scorching during the pressure cooking cycle. This ensures both a delicious outcome and a smooth cooking process.
4. Elevate Your Meal: Optional Pot-in-Pot Rice Cooking
For the ultimate convenience and a truly one-pot meal, consider cooking your rice simultaneously using the ingenious pot-in-pot cooking method. This allows you to cook your preferred long-grain white rice directly above the chicken. To do this, rinse your rice thoroughly and place it in a heat-safe stainless steel bowl with an equal amount of water. Carefully place a trivet (a metal rack designed for pressure cooking) above the chicken in the Instant Pot, then position the bowl of rice on the trivet. The rice, contained within the stainless steel bowl and cooking indirectly, requires a slightly adjusted time. A cooking duration of 5 minutes under high pressure, followed by at least 10 minutes of natural pressure release, will yield perfectly cooked, fluffy rice every single time.
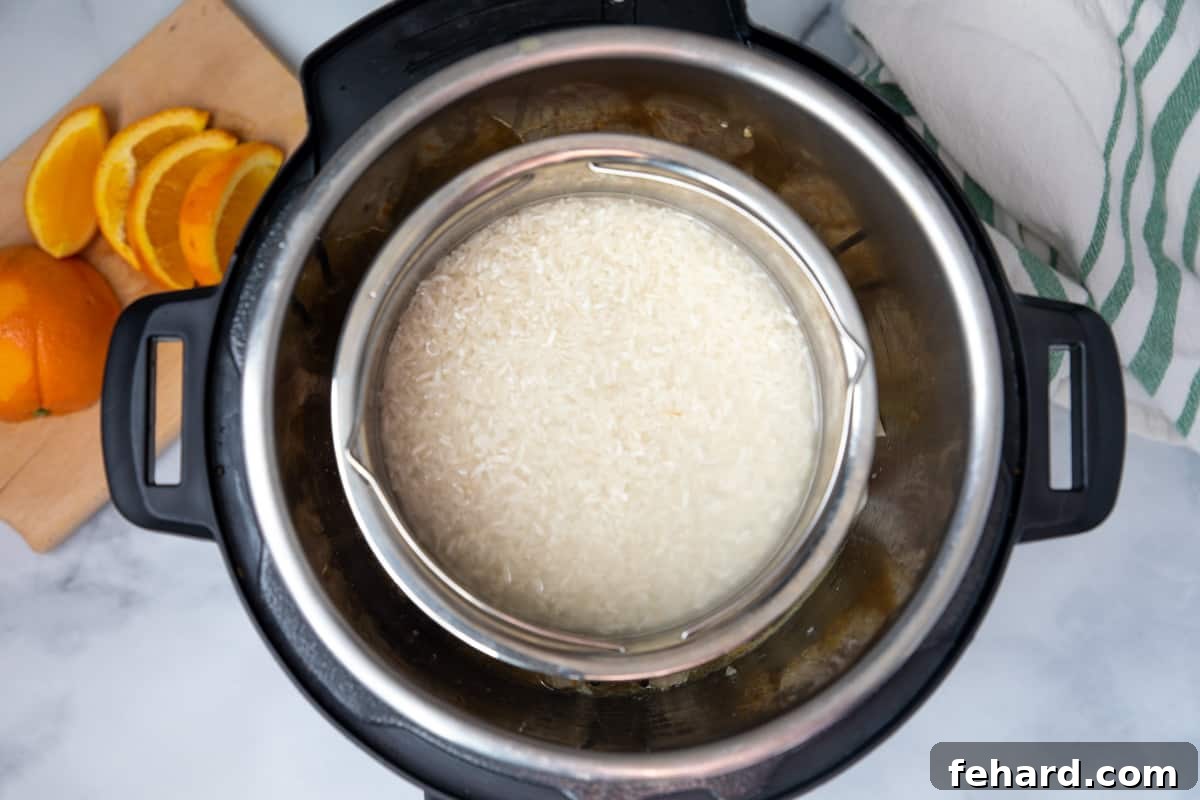
5. Pressure Cooking for Tender Perfection, Followed by Natural Release
The beauty of the Instant Pot lies in its ability to cook meals rapidly. This recipe requires only 5 minutes of high-pressure cooking, quickly transforming raw chicken into tender, juicy pieces. However, the secret to truly succulent chicken, preventing it from becoming tough or dry, lies in the natural pressure release (NPR) phase. It is absolutely essential to allow for at least 10 minutes of natural pressure release once the cooking cycle is complete. During this period, the pressure inside the cooker gradually dissipates, and the chicken continues to gently cook in the residual heat, absorbing maximum flavor and moisture. Resist the temptation to manually release the pressure early; patience here is key for perfectly tender results. You can even let the Instant Pot remain on its “Keep Warm” setting during this time.
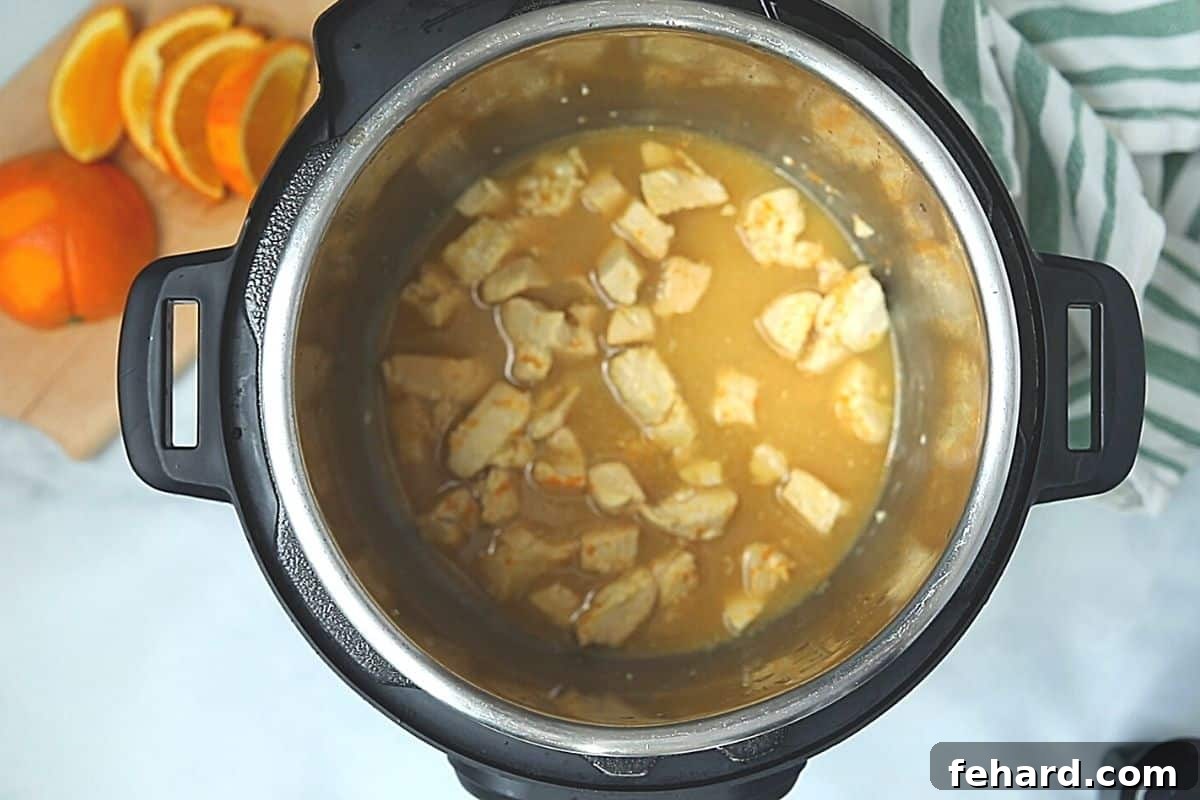
6. The Finishing Touch: Thickening the Sauce with a Cornstarch Slurry
To achieve the classic thick, glossy, and sticky consistency that makes orange chicken so appealing, a cornstarch slurry is your best friend. Once the pressure cooking and natural release are complete, turn your Instant Pot back to the sauté function. Allow the sauce to come to a gentle boil. In a separate small bowl, whisk together 1 tablespoon of cornstarch with 2 tablespoons of cold water until a smooth, lump-free slurry forms. Gradually whisk this mixture into the bubbling sauce in the Instant Pot, stirring constantly. You’ll observe the sauce rapidly thickening to a beautiful, clingy consistency in just a minute or two. Once your desired thickness is reached, turn off the Instant Pot, and your magnificent orange chicken is ready to serve!
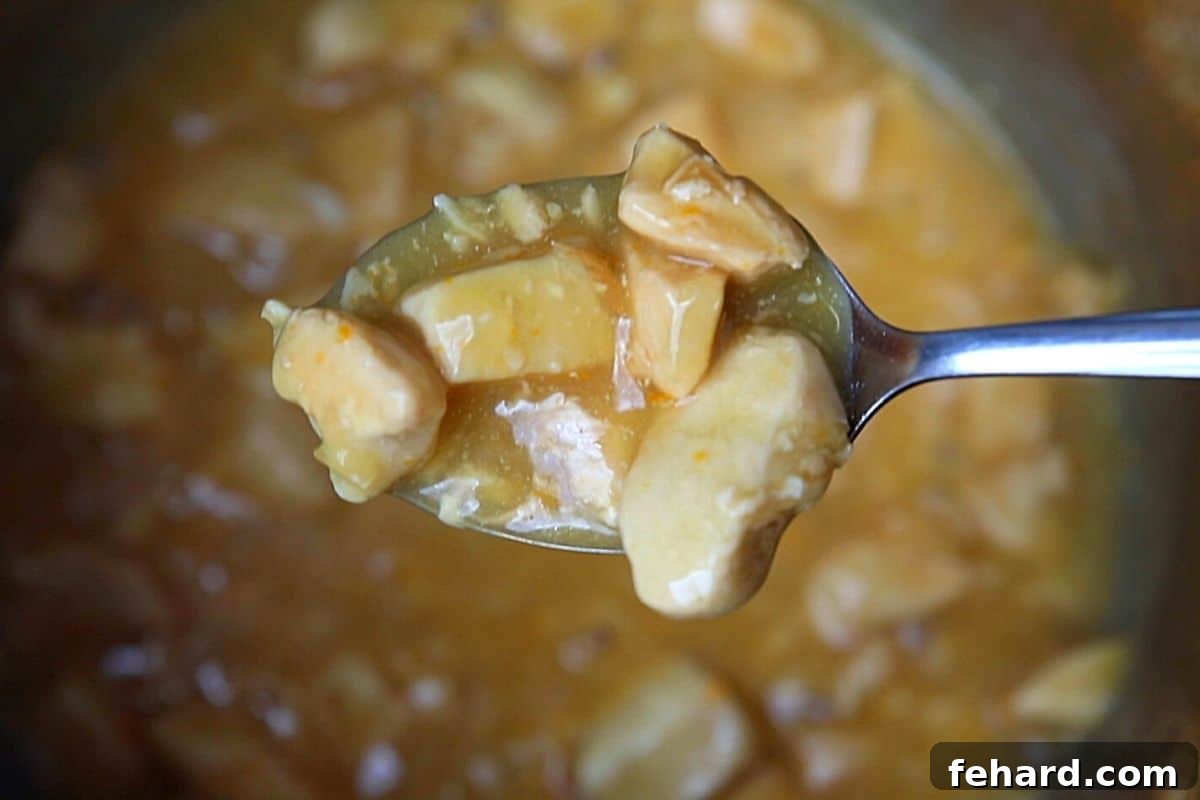
Essential Tips for Achieving Instant Pot Orange Chicken Perfection
Mastering this delicious dish is simple with a few key considerations:
- Embrace Fresh Oranges: For the most vibrant and authentic flavor, always use fresh oranges for both the zest and juice. The aromatic oils in the zest are paramount to the sauce’s bright taste.
- Don’t Rush Deglazing: This seemingly minor step is critical! Thoroughly scraping up all browned bits from the bottom of the Instant Pot after sautéing prevents the “Burn” notice and infuses the sauce with incredible depth.
- Respect Natural Pressure Release: For truly tender and juicy chicken that isn’t dry, allow a minimum of 10 minutes for natural pressure release. This gradual depressurization process is essential.
- Uniform Chicken Chunks: Cut your chicken breasts or thighs into roughly 1-inch pieces. This ensures even cooking throughout the pressure cycle.
- Taste and Adjust: Before serving, always taste your sauce and adjust seasonings if necessary. You might want a touch more sweetness, tanginess, or spice to suit your preference.
- Serve Immediately: While leftovers are fantastic, this dish is at its peak freshness and flavor when served hot, straight from the Instant Pot.
Elevate Your Meal: Delicious Serving Suggestions
Instant Pot Orange Chicken is wonderfully versatile and pairs beautifully with a variety of sides to create a complete and satisfying meal:
- Classic Steamed Rice: Whether white or brown, a bed of perfectly steamed rice is the traditional accompaniment, ideal for soaking up every last drop of the flavorful orange sauce. Remember our pot-in-pot method for ultimate ease!
- Healthy Cauliflower Rice: For a low-carb, grain-free option, serve your orange chicken with fluffy cauliflower rice.
- Fresh Steamed Vegetables: Add a refreshing crunch and boost of nutrients with sides like steamed broccoli florets, crisp green beans, or snap peas. You can even gently toss these steamed vegetables into the chicken and sauce after cooking for an all-in-one dish.
- Asian-Inspired Noodles: For a heartier meal, consider serving alongside simple stir-fried noodles or lo mein.
- Garnish for Perfection: A sprinkle of toasted sesame seeds and thinly sliced green onions (scallions) adds both visual appeal and a fresh, aromatic finish to your plated dish.
Customizing Your Instant Pot Orange Chicken: Modifications and Allergy Accommodations
- Gluten-Free Orange Chicken: To ensure your dish is entirely gluten-free, simply substitute regular soy sauce with an equal amount of tamari or coconut aminos. Always double-check ingredient labels to confirm they are certified gluten-free.
- Corn-Free Thickener Options: If you or your family have a corn allergy, don’t worry! You can easily replace the cornstarch with an equal amount of tapioca starch or arrowroot powder. Both alternatives will effectively thicken the sauce to a beautiful, luscious consistency.
- Adjusting Sweetness Levels: For those who prefer a significantly sweeter orange chicken, mirroring some restaurant styles, feel free to add an additional 1 tablespoon of brown sugar or honey to the sauce mixture before pressure cooking. Taste and adjust to your preferred sweetness.
- Adding a Spicy Kick: While the sauce offers a balanced sweet and tangy profile, if you enjoy a touch of heat, you can easily introduce 1-2 teaspoons of Sriracha or ¼ teaspoon of crushed red pepper flakes to the orange juice mixture before pressure cooking. Adjust the quantity to match your desired spice level.
- Boosting with Veggies: Enhance the nutritional value and add wonderful texture by incorporating fresh vegetables. You can serve steamed broccoli florets, tender green beans, or a vibrant stir-fry vegetable mix on the side, or for a convenient one-pan approach, gently toss pre-steamed veggies directly into the chicken and orange sauce after the pressure cooking phase.
- Protein Alternatives: While chicken breasts or thighs are traditional, this recipe is adaptable. Feel free to experiment with other proteins such as pork tenderloin, turkey breast, or even firm tofu for a vegetarian option, adjusting cooking times as necessary.
Storing and Reheating Your Instant Pot Orange Chicken
- Refrigerate: To store leftovers, allow the Instant Pot Orange Chicken to cool completely to room temperature. Then, transfer it to an airtight container and store it in the refrigerator for up to 4 days. This makes it a fantastic option for meal prep throughout the week.
- Freeze: If you plan to enjoy your leftovers beyond 4 days, this dish freezes beautifully. Once cooled, store the orange chicken in a freezer-safe container or heavy-duty freezer bag. It can be kept in the freezer for up to 3 months, ready for a quick and easy meal whenever you need it.
- Reheat:
- If frozen, allow the orange chicken to thaw in the refrigerator overnight for best results.
- Stovetop: Reheat on low heat in a skillet, stirring occasionally. Add a small splash of water or broth if the sauce has thickened too much.
- Instant Pot: Utilize the sauté function on your Instant Pot to gently warm the chicken and sauce until heated through.
- Microwave: For individual portions, microwave on high for 1-2 minutes per serving, stirring halfway through, until thoroughly hot.
Frequently Asked Questions (FAQ) About Instant Pot Orange Chicken
Can I use frozen chicken in this recipe?
Yes, you can! If using frozen chicken, ensure it’s cut into 1-inch chunks for even cooking. You might need to slightly increase the pressure cooking time by 1-2 minutes (aim for 6-7 minutes instead of 5 minutes). Always use a meat thermometer to ensure the chicken reaches an internal temperature of 165°F (74°C).
What if I don’t have fresh ginger root?
Fresh ginger provides the most vibrant and authentic flavor. If fresh ginger is not available, it is generally recommended to omit it rather than substituting with powdered ginger, as the flavor profile is quite different. If you absolutely must substitute, use ¼ teaspoon of ground ginger for every tablespoon of fresh grated ginger, but be aware the fresh taste will be muted.
Can I use bottled orange juice instead of fresh?
Absolutely! While fresh orange juice and zest deliver the brightest and most intense citrus flavor, store-bought 100% orange juice works perfectly well. Opt for a brand that is not from concentrate if possible, for a cleaner taste.
I got a “Burn” notice on my Instant Pot. What went wrong?
The “Burn” notice typically occurs when food particles are stuck to the bottom of the inner pot, preventing proper pressure build-up or causing scorching. It’s crucial to thoroughly deglaze the pot after sautéing the chicken by scraping up any browned bits with a wooden spoon or spatula before adding the sauce and pressure cooking.
Can I prepare this dish ahead of time for meal prep?
Yes, Instant Pot Orange Chicken is an excellent candidate for meal prep! Follow the recipe instructions completely, then allow the dish to cool before storing it in an airtight container in the refrigerator or freezer as detailed in the “Storage and Reheating” section. It reheats beautifully and makes for a convenient future meal.
Explore More Delightful & Easy Instant Pot Meals
If you’ve fallen in love with the convenience and delicious results of this orange chicken recipe, there’s a whole world of Instant Pot meals waiting for you! This versatile appliance makes creating flavorful dishes incredibly easy. Discover more of our most popular and equally simple Instant Pot recipes:
- Instant Pot Lemon Chicken
- Instant Pot Spaghetti
- Instant Pot Mac and Cheese
- Instant Pot Beef Stroganoff
- Instant Pot Hamburger Helper
- Instant Pot Beef and Broccoli
We sincerely hope you cherish this easy and incredibly flavorful Instant Pot Orange Chicken recipe! If you tried it and loved it, we would be absolutely thrilled if you could leave a comment and review below to share your culinary experience with us!
Instant Pot Orange Chicken
Servings: 4
Cook: 9 mins
Pressure Build-Up and Release: 15 mins
Total: 29 mins
Rate Recipe
Print Recipe

Made with tender chunks of chicken and a sweet and savory citrus sauce, this healthier spin on a popular Chinese-American take-out dish is sure to be a family favorite!
Video
(Video content placeholder – original embedded video has been removed.)
Ingredients
- ½ tablespoon canola oil, or olive oil
- 1 pound boneless, skinless chicken breasts or thighs, cut into 1 inch chunks
- 1 cup orange juice
- 2 teaspoons orange zest, ~the zest of one large navel orange
- ¼ cup low-sodium soy sauce
- 2 tablespoons brown sugar, or honey
- 2 tablespoons rice wine vinegar
- 1 tablespoon fresh ginger root, grated
- 1 clove garlic, minced
- 1 tablespoon cornstarch
- 2 tablespoons water
Instructions
- Turn the Instant Pot to sauté, add in ½ tablespoon canola oil, and let heat for 1-2 minutes.
- Once the oil is heated, add 1 pound boneless, skinless chicken breasts or thighs (cubed) to the inner pot and sauté for 2-3 minutes, or until lightly browned on all sides. Once the chicken is golden, hit cancel to turn the Instant Pot off.
- In a small bowl, combine 1 cup orange juice, 2 teaspoons orange zest, ¼ cup low-sodium soy sauce, 2 tablespoons brown sugar, 2 tablespoons rice wine vinegar, 1 tablespoon fresh ginger root, and 1 clove garlic (minced) in a small bowl. Add this mixture to the inner pot and using a wooden spoon or spatula, scrape up any browned bits off the bottom of the pot, while stirring the sauce into the chicken.
- Place the lid on the pressure cooker, be sure the vent knob is sealed or locked, and set it to cook on HIGH pressure for 5 minutes. Do this by hitting the manual or pressure cook button and using the +/- buttons to adjust until it reads 5.
- Once the cooking time has elapsed, allow the pressure to release naturally for at least 10 minutes to keep the chicken tender. It is okay to leave on keep warm.
- Once the pressure has been released, remove the lid from the inner pot. Hit cancel to turn off the keep warm function and then hit sauté. Allow the mixture to come to a boil. Meanwhile, whisk together 1 tablespoon cornstarch with 2 tablespoons water until dissolved. Whisk the cornstarch slurry into the bubbling sauce. Stir/whisk constantly, until the sauce has thickened. It won’t take but a minute or two. Once thickened, turn the Instant Pot off.
- Serve with steamed rice or cauliflower rice.
Equipment
- Electric Pressure Cooker (6 or 8 quart)
Notes
- Orange Juice: Use ¾ cup for a 6-quart Instant Pot and 1 cup if using an 8-quart Instant Pot. Use fresh or refrigerated orange juice.
- Corn-Free Modifications: If you have a corn allergy, you can substitute the cornstarch for tapioca starch or arrowroot powder.
- Gluten-Free Modifications: If you need this to be Gluten-Free, be sure to use Tamari or soy sauce labeled gluten-free.
- Ginger: If you do not have fresh ginger, do NOT use powdered ginger, just skip the ginger altogether.
- Rice Wine Vinegar: Rice wine vinegar is a mild vinegar often used in Asian dishes. If you don’t have rice wine vinegar, white distilled vinegar will work in its place.
- Storage: Cooled Leftovers can be stored in an air-tight container for up to 3 days in the refrigerator or frozen for up to 3 months.
Nutrition
Calories: 192kcal
Carbohydrates: 14g
Protein: 25g
Fat: 3g
Cholesterol: 72mg
Sodium: 375mg
Potassium: 541mg
Sugar: 10g
Vitamin A: 125IU
Vitamin C: 24.8mg
Calcium: 18mg
Iron: 0.8mg
Nutrition information is automatically calculated, so should only be used as an approximation.
Tried this recipe? We’d love to see your creation! Mention @amindfullmom or tag #amindfullmom on social media!