
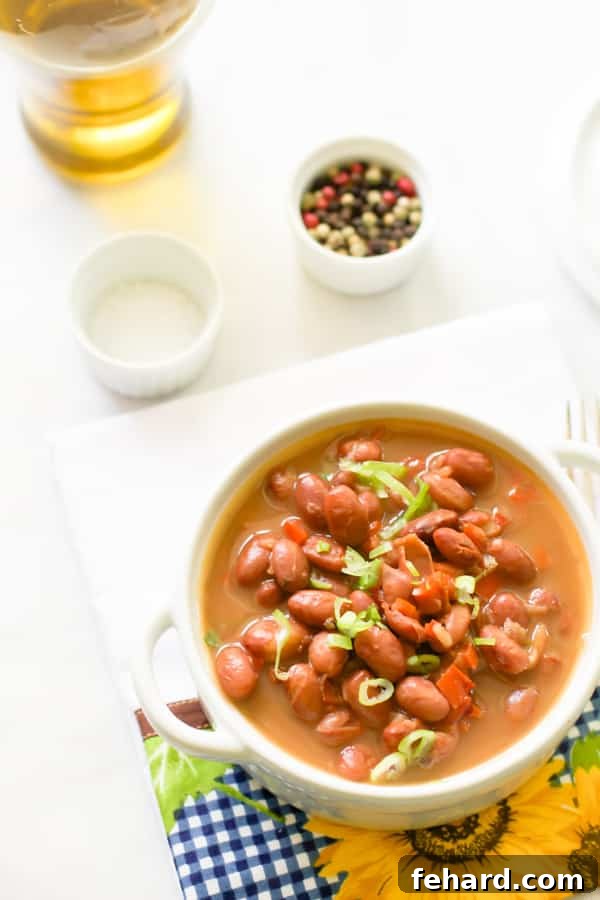
Master the Art of Pressure Cooker Beans: Quick, Flavorful, and Homemade
Are you ready to transform your cooking routine and elevate your meals with truly homemade beans? Today, we’re diving into the incredibly efficient and rewarding world of pressure cooking to show you How To Make Beans In A Pressure Cooker. This method isn’t just about speed; it’s about achieving perfectly cooked, tender, and intensely flavorful beans from scratch in an astonishingly short time – often as little as 30 minutes. Forget the hours of simmering on the stovetop or the reliance on less flavorful canned alternatives. This recipe is a culinary game-changer, designed to save you precious time in the kitchen without compromising on taste or quality.
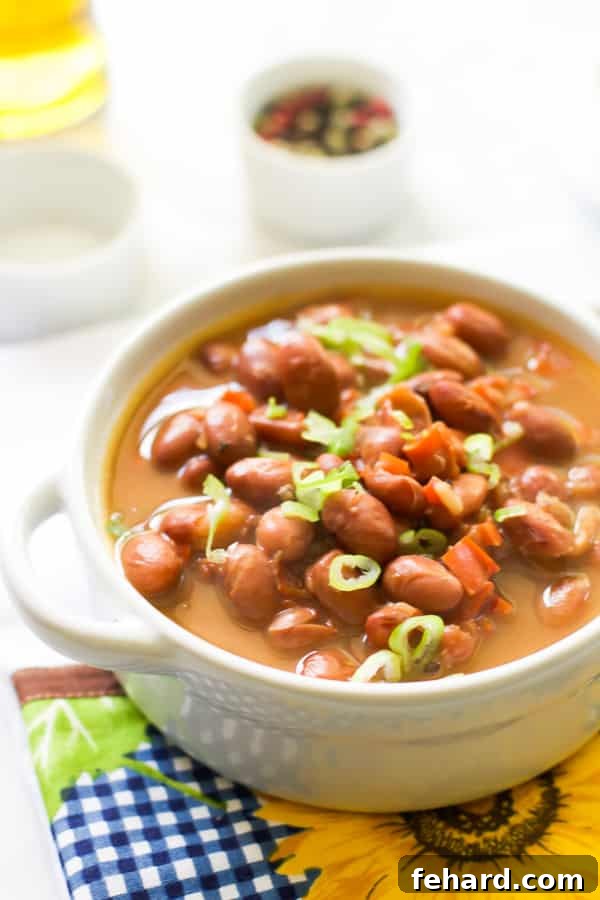
Why Pressure Cooker Beans Are a Game-Changer for Every Home Cook
The pressure cooker is often hailed as a kitchen marvel, and for good reason, especially when it comes to cooking legumes like beans. Its ability to drastically reduce cooking times makes it an invaluable tool for busy individuals and families seeking wholesome, homemade meals. But how does it work its magic? By creating a sealed environment, a pressure cooker raises the boiling point of water and traps steam, leading to significantly higher cooking temperatures and pressure inside the pot. This intense heat and pressure force liquid into the beans more quickly, breaking down their tough outer skins and starchy interiors in a fraction of the time a conventional pot would require.
Beyond speed, pressure cooking offers numerous benefits. It helps retain more of the beans’ natural vitamins and minerals, often lost during longer cooking methods. The enclosed environment also ensures even cooking, resulting in a consistently tender texture throughout each bean. Furthermore, cooking dry beans from scratch in a pressure cooker is significantly more economical than buying canned beans. You gain complete control over the ingredients, avoiding unwanted sodium, preservatives, and BPA linings often found in store-bought options. It’s a healthier, more cost-effective, and ultimately more delicious way to enjoy this versatile staple.
A Taste of Brazil: The Heart of Our Bean Recipe
For many Brazilians, beans and rice are not just a meal; they are a daily ritual, a cornerstone of the national diet, especially in the vibrant Northeast region where it’s eaten almost every day for lunch. If you were to ask what constitutes a traditional Brazilian meal, the answer would almost always include these two humble yet incredibly satisfying ingredients, often accompanied by a fresh salad and a protein. The deep cultural roots of this dish highlight the importance of perfectly cooked, flavorful beans. While there are countless regional variations across Brazil’s vast landscape, each recipe culminating in a delicious and hearty dish, the method I share today is inspired by my mother’s cherished recipe.
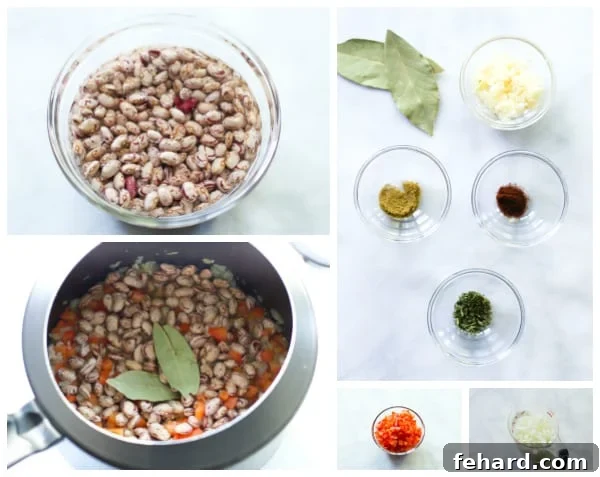
My mother traditionally used water for cooking her beans, and they were always wonderful. However, I’ve found that incorporating vegetable broth adds an extra layer of depth and savory flavor that truly elevates the dish. For this recipe, we’ll be focusing on Romano beans, a common and delicious variety, but the principles can be applied to other popular Brazilian beans like black beans or carioca beans. Embracing homemade beans allows you to savor the rich, authentic flavors that define Brazilian comfort food, ensuring that every spoonful is packed with wholesome goodness.
Preparing Your Beans for Pressure Cooking: Essential Steps
Sorting and Washing: The First Essential Steps
Before you even think about cooking, proper preparation of dry beans is crucial for both safety and optimal results. The very first step is to diligently pick through your dried beans. Despite modern packaging, it’s not uncommon to find small stones, bits of debris, or damaged beans mixed in. Spreading the beans out on a clean, light-colored surface or a baking sheet makes this inspection easier. Discard anything that doesn’t look like a healthy bean. This simple step prevents unpleasant surprises and ensures a clean, enjoyable meal.
Once sorted, transfer your beans to a colander and rinse them thoroughly under cold running water. This washing process removes any remaining dust, dirt, or foreign particles that might cling to the beans. Rinse until the water runs clear, ensuring your beans are pristine and ready for the next stage of preparation.
Soaking for Success (and Digestion!)
Soaking beans is a step many are tempted to skip, but it offers significant advantages. Primarily, soaking helps to reduce cooking time even further, as the beans absorb water and begin to soften before they hit the heat. It also contributes to a more uniform texture, preventing some beans from becoming mushy while others remain firm. More importantly, soaking helps to break down oligosaccharides, complex sugars responsible for gas and bloating, making the beans easier to digest for most people. An overnight soak (at least 8-12 hours) in plenty of water is ideal, ensuring the beans are fully hydrated.
If you’re short on time, a quick-soak method can be employed: simply cover the sorted and washed beans with water in a pot, bring to a boil for 2-3 minutes, then remove from heat and let them stand, covered, for at least one hour. Regardless of the method, always drain and rinse the soaked beans thoroughly before cooking. Discarding the soaking water is key, as it contains those indigestible compounds that contribute to gas. This pre-treatment sets the stage for a perfect batch of pressure cooker beans.
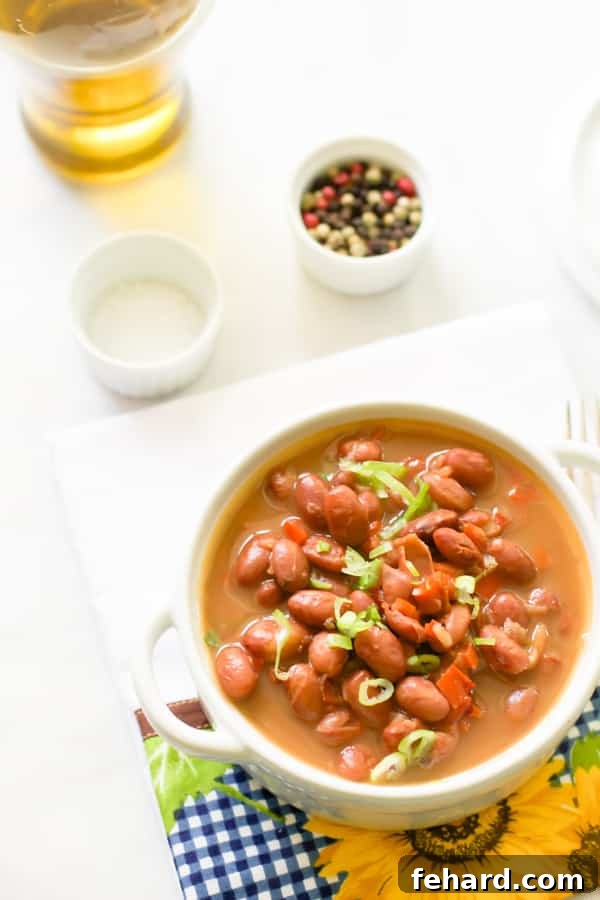
Homemade Pressure Cooker Beans Recipe
This recipe provides a straightforward and incredibly effective way to create a hearty, flavorful pot of beans that can serve as the foundation for countless meals. With minimal prep and the magic of your pressure cooker, you’ll have tender beans ready in no time.
Ingredients
- 2 cups dried Romano beans (or your preferred variety)
- 8 cups of vegetable broth or water
- 2 tbsp olive oil
- 1 medium onion, chopped
- 3 cloves of garlic, minced
- 1 whole red pepper (or any other kind you prefer), chopped
- 1 tbsp tomato paste
- 1 tsp dried parsley
- A pinch of cumin
- A pinch of chili pepper
- 2 bay leaves
- Salt and pepper to taste
Equipment Needed
- Pressure Cooker (stovetop or electric)
- Colander
- Cutting Board
- Sharp Knife
- Measuring Cups and Spoons
- Airtight containers for storage
Step-by-Step Instructions
- Prepare the Beans: First, carefully pick through the dried beans, discarding any small stones, debris, or damaged beans. This ensures a clean batch.
- Wash and Soak: Place the sorted beans in a colander and rinse them thoroughly under cold running water. Transfer them to a large bowl, cover with at least 3 cups of fresh water, and let them soak overnight (8-12 hours) or for a minimum of 4 hours. If short on time, use the quick-soak method described above.
- Rinse After Soaking: Once soaked, drain the beans in a colander and rinse them again under cold water. This removes the soaking water which can contain gas-causing compounds.
- Sauté Aromatics: Heat the olive oil in your pressure cooker over medium heat. Add the chopped onion and sauté until it becomes translucent and slightly golden, about 5-7 minutes. Then, add the minced garlic and cook for another minute until fragrant, being careful not to burn it.
- Build Flavor Base: Stir in the chopped red pepper, tomato paste, dried parsley, cumin, and chili pepper. Sauté for about 5 minutes, allowing the flavors to meld and the tomato paste to deepen in color. This step is crucial for a rich flavor profile.
- Add Beans and Liquid: Carefully add the rinsed and drained beans to the pressure cooker, along with the bay leaves. Pour in the 8 cups of vegetable broth (or water). Ensure the beans are fully submerged; add a little more liquid if needed.
- Pressure Cook: Securely close the lid of your pressure cooker. Increase the heat to high and bring the cooker up to full pressure. Once the pressure indicator shows it’s fully pressurized, reduce the heat to medium-low, just enough to maintain a steady pressure. Cook for 30-40 minutes. The exact time may vary slightly depending on your pressure cooker model and the age of the beans, so refer to your appliance’s manual if unsure.
- Release Pressure: Once the cooking time is complete, remove the pressure cooker from the heat. Allow the pressure to release naturally for about 10-15 minutes, then use the quick-release method (following your cooker’s instructions) to fully depressurize. Never force open a hot pressure cooker.
- Season and Serve: Once the pressure has fully released and it’s safe to open, carefully remove the lid. Stir the beans and taste. This is the crucial moment to add salt and pepper to your preference. If the beans aren’t as tender as you’d like, you can cook them for a few more minutes without the lid, or if they need more liquid, add a splash of hot water or broth.
- Garnish: Discard the bay leaves before serving. Top with fresh chopped green onions for a touch of freshness. These delicious homemade beans are traditionally served warm alongside fluffy rice.
Pro Tips for Perfect Pressure Cooker Beans
Achieving perfectly cooked beans every time involves a few simple tricks that can make a big difference in both taste and texture.
- Broth vs. Water: Enhancing Flavor: As mentioned, using a good quality vegetable broth instead of plain water can dramatically enhance the depth of flavor in your beans. If using broth, opt for a low-sodium version to control the overall saltiness, as you’ll be adding salt later.
- Seasoning Strategy: When to Add Salt: It’s generally recommended to add salt to beans towards the end of the cooking process, or after the pressure cooking is complete. Adding salt too early, particularly during the soaking or initial cooking stage, can sometimes toughen the bean skins and extend cooking time. Taste and adjust seasoning generously at the end.
- Customizing Flavors: Feel free to experiment with your seasoning! A pinch of smoked paprika can add a lovely smoky note, or a dash of cayenne for a subtle kick. Fresh herbs like cilantro or parsley, added at the very end, can brighten the dish. You can also vary the type of pepper used; a bell pepper works well for a milder flavor, while a jalapeño can add heat.
- Pressure Release: Natural vs. Quick Release: For delicate foods or those prone to foaming, natural pressure release is often preferred. However, for beans, a quick release after a short natural release (10-15 minutes) is usually fine and helps stop the cooking process promptly. Always follow your pressure cooker’s safety guidelines.
- Troubleshooting: If Beans Are Still Firm: If, after the recommended cooking time, your beans aren’t as tender as you’d like, simply secure the lid again and pressure cook for an additional 5-10 minutes. This can happen with older beans or certain varieties. Conversely, if they are too soupy, you can simmer them uncovered for a few minutes to reduce the liquid.
Storing and Freezing Your Delicious Beans
One of the greatest advantages of making beans from scratch, especially in a pressure cooker, is the ability to easily prepare a large batch for future use. This is a fantastic strategy for meal prepping, ensuring you always have a healthy, protein-packed component ready to go.
- Refrigeration: Once your beans have cooled completely, transfer them to an airtight container. They will keep beautifully in the refrigerator for up to 5-7 days. Be sure to include some of their cooking liquid to keep them moist and flavorful.
- Freezing for Long-Term Storage: For longer preservation, freezing is your best friend. Allow the cooked beans to cool entirely before transferring them to freezer-safe bags or containers. It’s crucial to include enough of the cooking liquid to cover the beans; this helps maintain their texture and prevents freezer burn. Label the containers with the date, and freeze for up to 3-4 months. When ready to use, simply thaw them in the refrigerator overnight or gently reheat from frozen on the stovetop or in the microwave, adding a splash of water or broth if needed.
- Batch Cooking Benefits: Having a stash of pre-cooked beans means you’re always just minutes away from a wholesome meal. They’re perfect for quick lunches, last-minute dinners, or when you need an ingredient for another recipe.
Creative Ways to Serve Your Pressure Cooker Beans
These homemade pressure cooker beans are incredibly versatile and can be incorporated into a wide array of dishes. While the classic pairing with rice is always a winner, don’t limit yourself!
- Traditional Brazilian Style: Serve alongside fluffy white or brown rice, a simple green salad, and your favorite meat or plant-based protein for a complete and satisfying meal.
- Hearty Soups and Stews: Use them as a base for minestrone, chili, or a comforting vegetable soup. Their rich liquid will add immense flavor.
- Tacos and Burritos: Mash them slightly or keep them whole as a flavorful filling for tacos, burritos, or quesadillas.
- Dips and Spreads: Blend them with a touch of olive oil, lemon juice, garlic, and tahini for a spin on hummus, or create a rustic bean dip for chips and crudités.
- Salads: Add cooled beans to a vibrant bean salad with fresh vegetables, herbs, and a zesty vinaigrette.
- Feijoada: If using black beans, these are the perfect foundation for a simplified version of Brazil’s national dish, feijoada, with various smoked meats or vegan alternatives.
- Side Dish: Simply serve them as a warm, comforting side dish seasoned with a little extra fresh herbs.
More “How-To Make” Recipes to Elevate Your Cooking
Ready to expand your culinary skills? Check out these other easy and delicious “how-to” guides:
Learn How to Make Crispy Roasted Green Beans and create a delightful vegetable side dish!
This is an easy photo tutorial on How to Make Fluffy Rice, the perfect accompaniment to your beans.
Learn How to Make Whole Wheat Pizza Dough! It’s made with 100% whole wheat flour and a blend of aromatic spices for a healthier take on pizza night.
This Homemade Tomato Sauce is a simple yet flavorful blend made with fresh onions, garlic, olive oil, ripe tomatoes, bay leaves, and perfect seasonings.
Learn How to Make Basic Vinaigrette and effortlessly create your own delicious, preservative-free salad dressing.
We hope this comprehensive guide inspires you to make homemade beans a regular part of your cooking repertoire. The efficiency of the pressure cooker combined with fresh, quality ingredients truly makes a difference. Enjoy the incredible flavor and nutritional benefits of your freshly prepared beans!
Thanks a lot for reading. Want to browse all of my easy and delicious recipe posts? Follow my Primavera Kitchen Board on Pinterest! I also have an awesome How-To Pinterest Board filled with helpful cooking tips.