
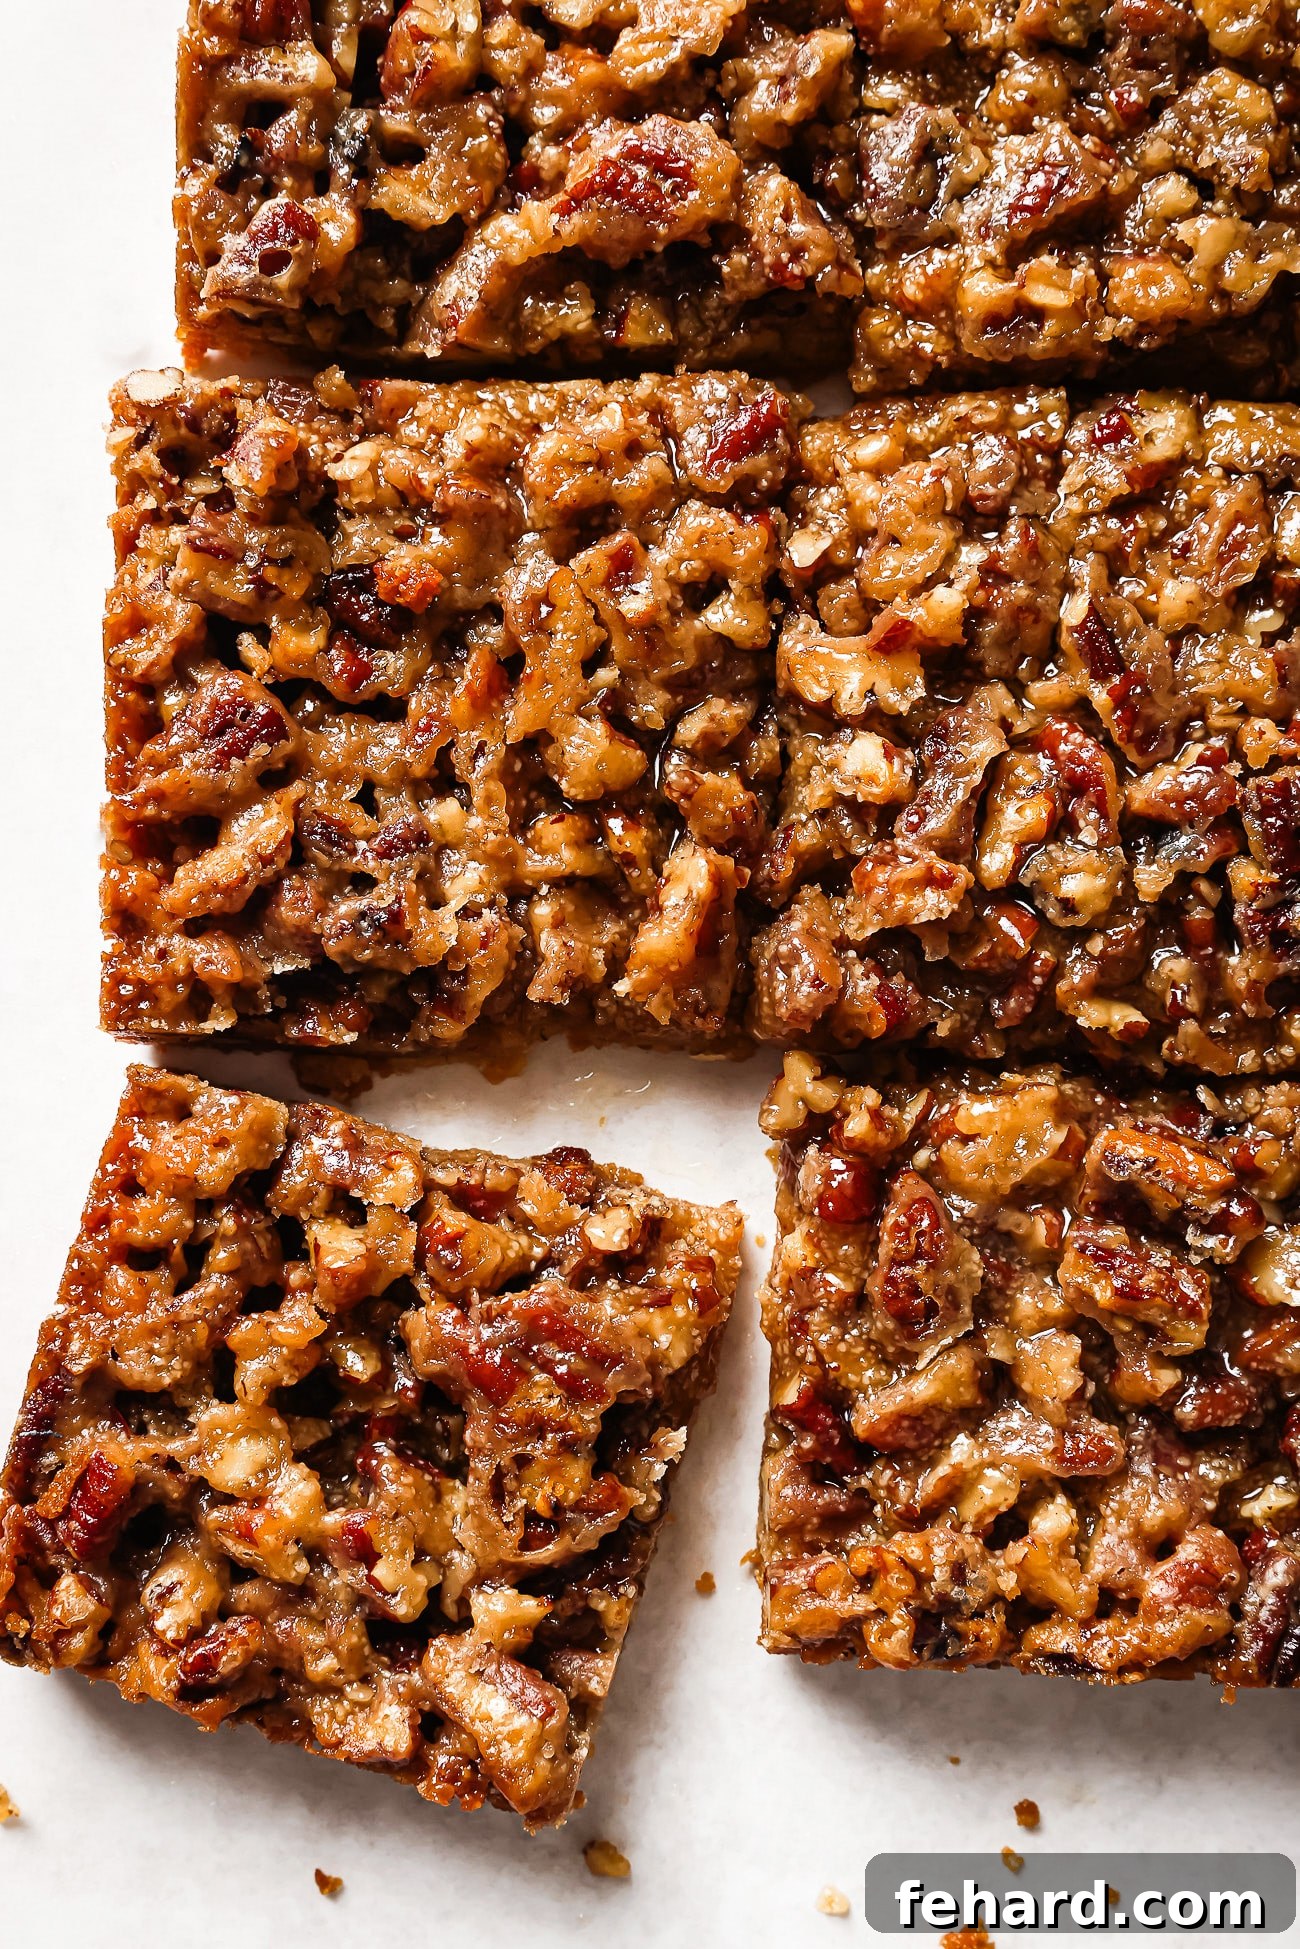
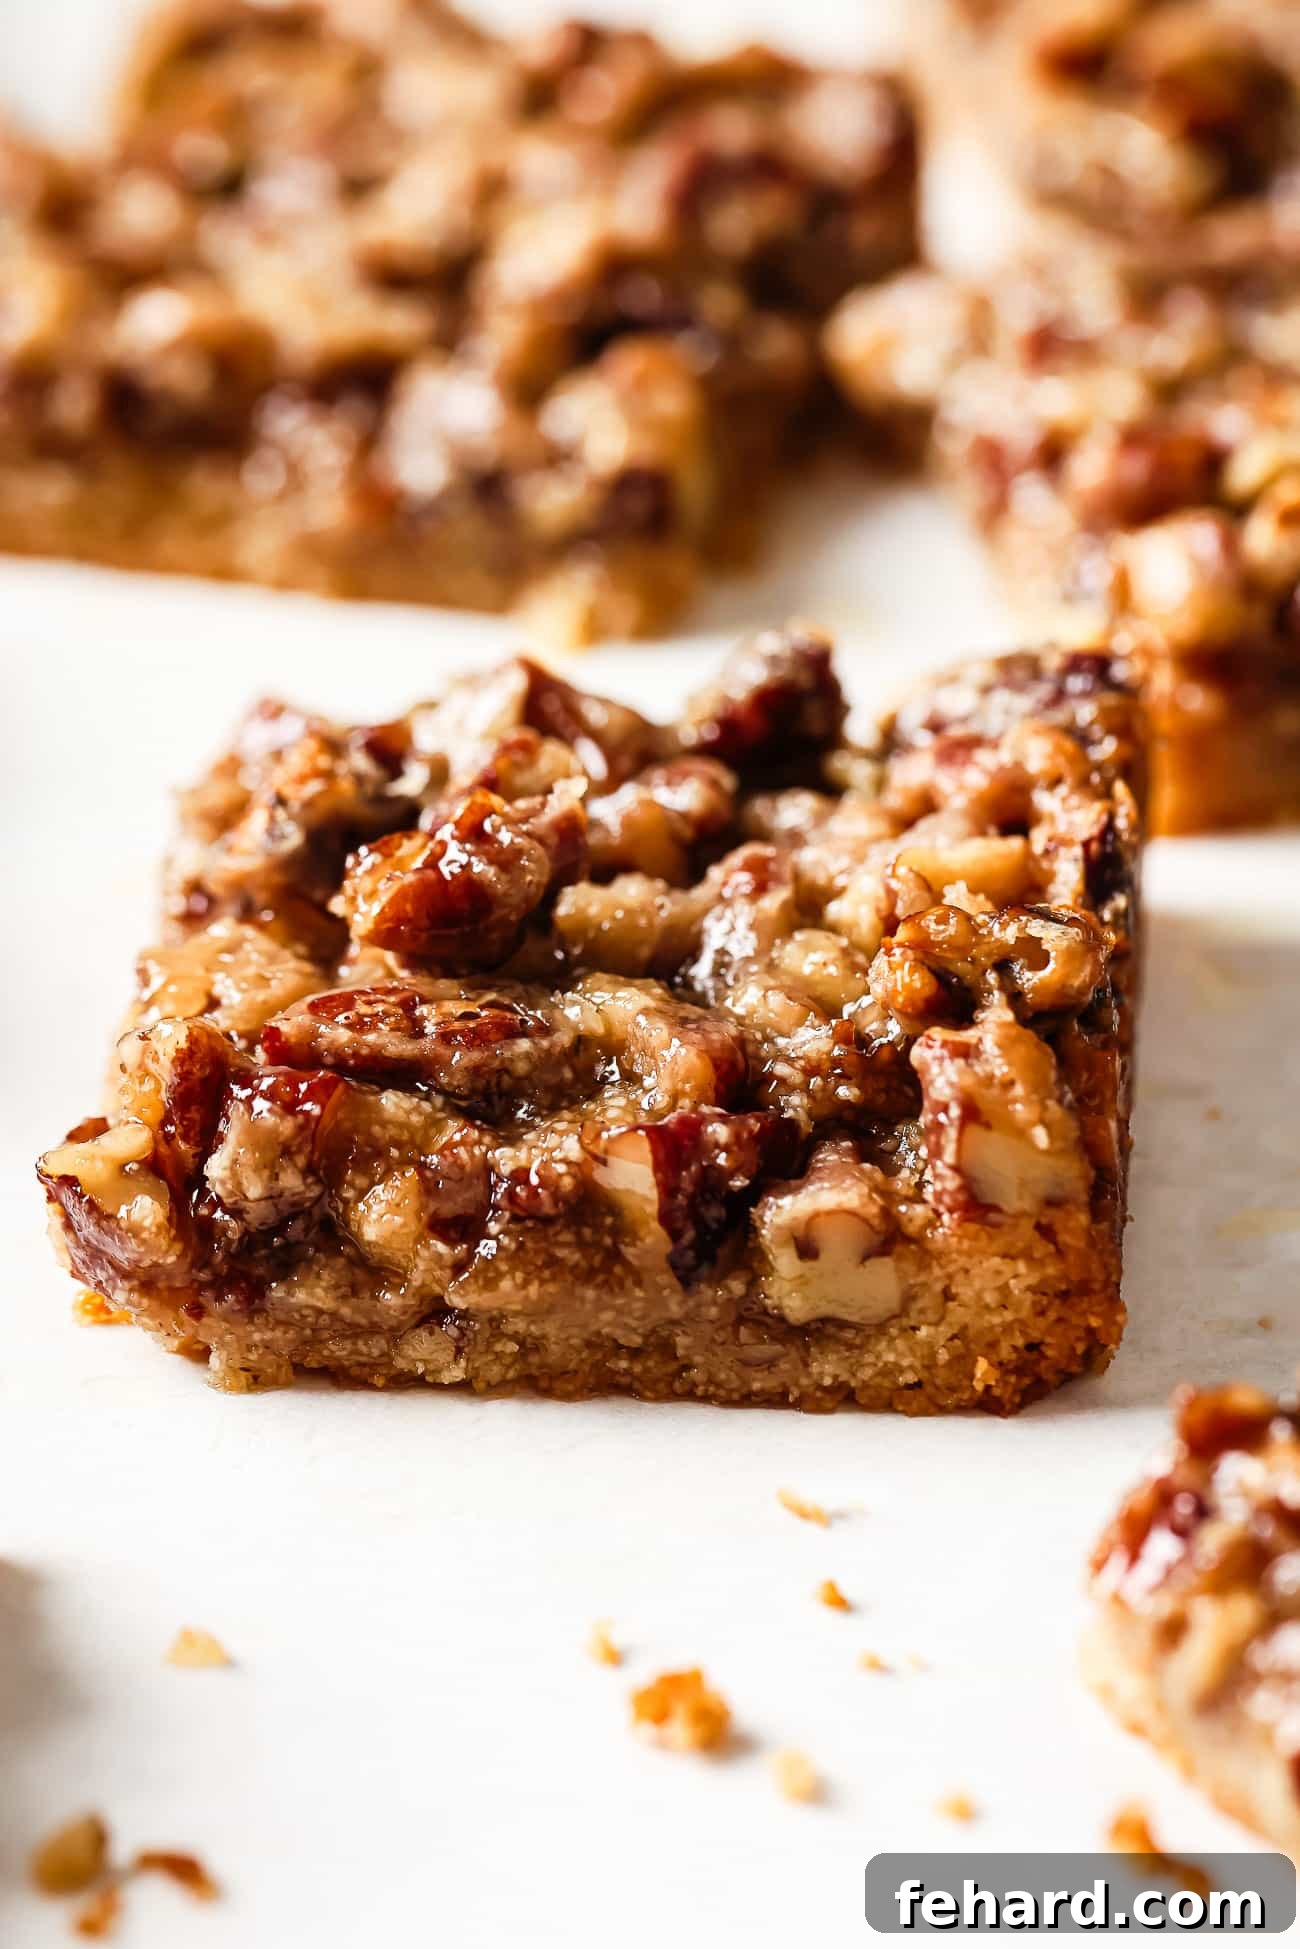
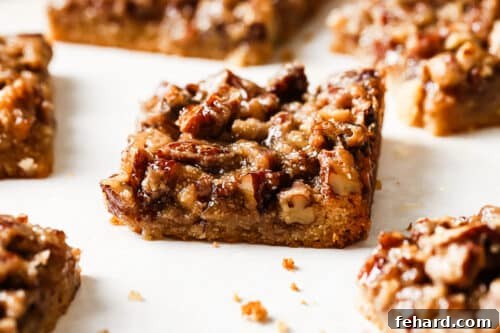
Prepare to fall in love with these Gluten-Free Pecan Pie Bars, an exquisite twist on a beloved classic. These bars capture all the rich, buttery, and deeply sweet maple flavors of traditional pecan pie, but in a wonderfully convenient, handheld form. Each bite offers a delightful symphony of textures: a soft, melt-in-your-mouth crust, a gooey, caramelized pecan filling, and the satisfying crunch of perfectly roasted pecans. They are the quintessential dessert for autumn gatherings, festive holiday celebrations, or simply when you’re craving a cozy, sweet treat without the fuss of a whole pie. Best of all, they’re entirely gluten-free, ensuring everyone can enjoy a slice of pure comfort.
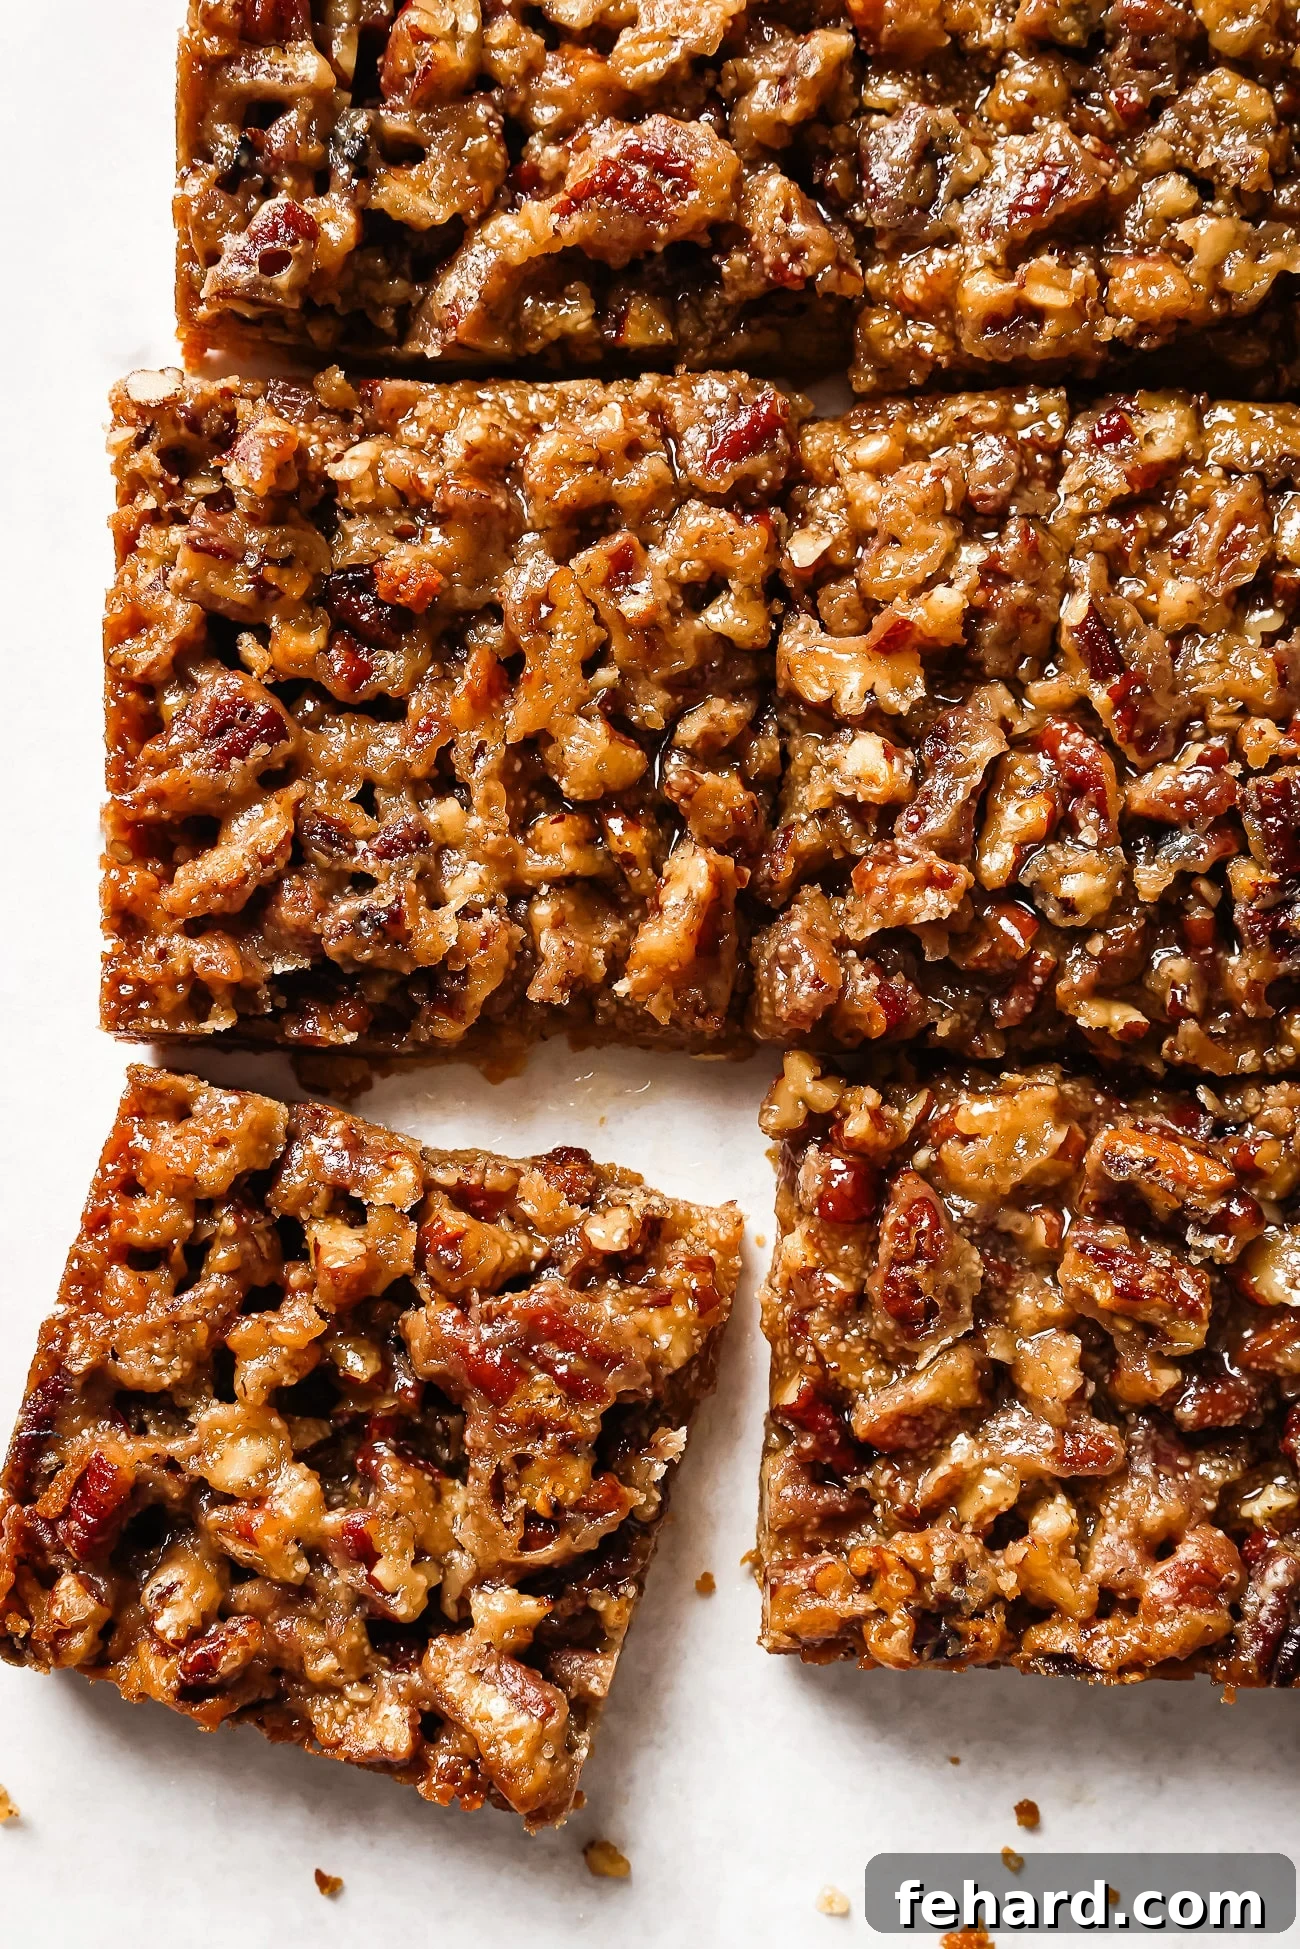
All the Pie Flavor, None of the Fuss!
As a passionate baker, I understand the joy (and occasional stress!) that comes with preparing holiday desserts. That’s precisely why I poured my heart into perfecting these Pecan Pie Bars. Made with fine almond flour, they offer an incredibly easy and quick dessert solution, sidestepping all the time-consuming effort typically required for a traditional pecan pie. Forget about meticulously rolling out dough, dealing with a fragile crust, or enduring long, drawn-out baking times. These bars streamline the process without compromising on that cherished, rich, buttery flavor and the signature gooey texture that makes pecan pie so irresistible.
Much like my beloved Gluten-Free Apple Cider Donuts and Gluten-Free Apple Crisp, these pecan bars are infused with all the comforting essence of fall. What makes them truly special for me is that, despite being entirely gluten-free, absolutely no one ever detects the difference! They’re met with rave reviews every time. I often find myself serving these bars after a hearty, comforting dinner, such as my Apple Cider Beef Stew or Apple Cider Chicken, to seamlessly extend the autumn theme. They’re equally delightful as an afternoon pick-me-up, perfectly paired with a warm mug of homemade apple cider. It’s pure autumn happiness in every square!
Mastering the Ingredients: What Makes Our Pecan Pie Bars Shine
Crafting the perfect gluten-free pecan pie bar involves selecting high-quality ingredients that work harmoniously to achieve that ideal balance of texture and flavor. Here’s a closer look at the stars of this recipe:
- Almond Flour: This is the hero of our gluten-free crust. After experimenting with several gluten-free alternatives, I found that fine-grain almond flour, particularly from brands like Bob’s Red Mill, delivers an unparalleled soft, tender, and buttery texture. It binds beautifully, preventing the crust from crumbling excessively, and lends a subtle, nutty undertone that complements the pecans exquisitely. It’s crucial for a crust that holds its shape and melts in your mouth.
- Tapioca Flour: Don’t underestimate the power of tapioca flour! In my multiple tests of this recipe, I quickly discovered that this ingredient is a game-changer for the crust. It provides a slight chewiness and essential structural integrity, preventing the crust from becoming too crumbly or dry. This is key for achieving clean, even slices that look as good as they taste. It acts as a fantastic binder, ensuring the crust holds up to the rich filling.
- Pure Maple Syrup: Moving away from corn syrup, which is often found in traditional pecan pie recipes, I opted for pure maple syrup, and the results were simply sublime. Maple syrup not only provides a natural, wholesome sweetness but also infuses the filling with a warm, complex depth of flavor that artificial syrups simply can’t replicate. I tested both dark and amber maple syrup and found amber to be my favorite, offering a perfectly balanced, robust maple essence without being overpowering. It contributes significantly to the signature gooey texture.
- Unsalted Butter: The cornerstone of classic baking, melted butter is essential for both the crust and the filling. It imparts that beloved rich, decadent flavor and ensures both layers bake up to a beautiful golden perfection. For those seeking a dairy-free option, I’ve successfully tested this recipe using coconut oil, which also yields delicious results, offering a versatile alternative without sacrificing taste.
- Pecans: The undisputed star of the show! The preparation of your pecans makes a difference. I experimented with both halved and finely chopped pecans, and chopped pecans consistently won. They distribute far more evenly throughout the gooey filling, ensuring every single bite contains that delightful, signature nutty crunch. This also makes the bars much easier to cut into neat, attractive squares once they’ve cooled.
- Coconut Milk (or Heavy Cream): Just a touch of coconut milk is added to the filling to create an extra smooth, velvety texture. It contributes to the luscious mouthfeel and helps achieve that perfectly gooey consistency. If you prefer, heavy cream works equally well and can be substituted seamlessly, allowing you to tailor the recipe to your preference or what you have on hand.
Step-by-Step Guide: How to Bake Perfect Gluten-Free Pecan Pie Bars
Creating these delightful gluten-free pecan pie bars is surprisingly straightforward. Follow these detailed steps for a perfectly golden crust and a rich, gooey filling every time:
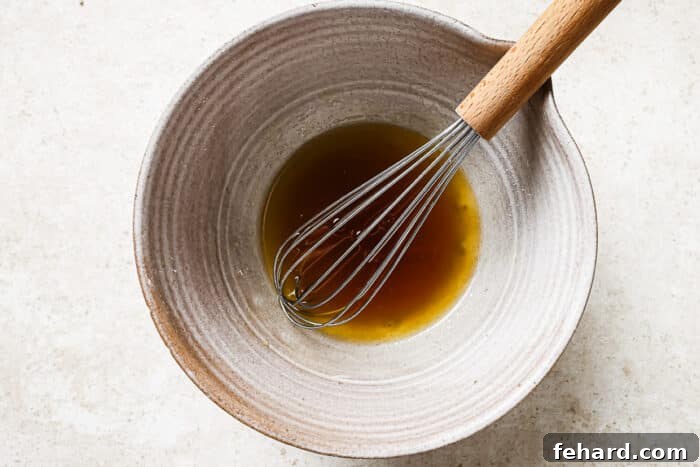
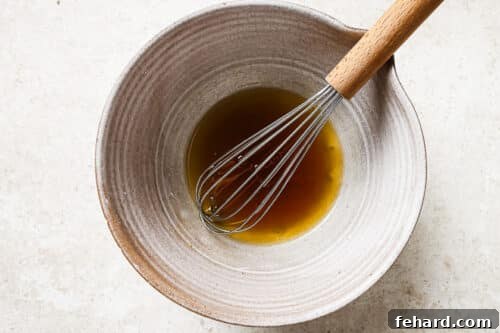
Step 1: Prepare Your Pan and Wet Ingredients. Start by preheating your oven to 350°F (175°C). Line an 8×8-inch baking pan with parchment paper, making sure to leave enough overhang on the sides. This thoughtful step will be your best friend later for effortless lifting and clean cutting. In a medium-sized bowl, combine the melted butter, pure maple syrup, and vanilla extract for the crust. Whisk these wet ingredients together until they are well combined and smooth.
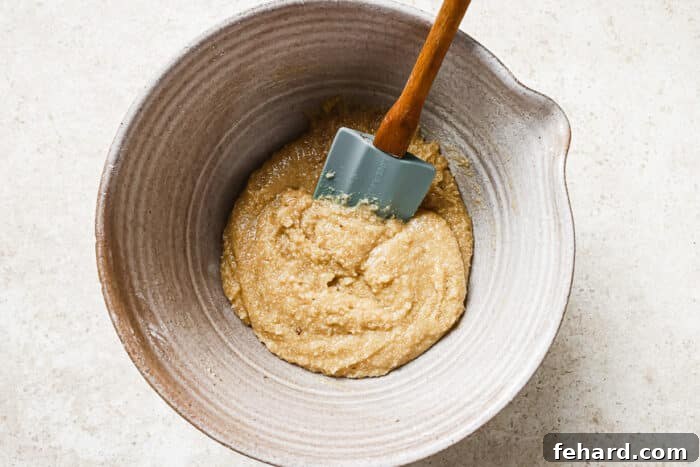
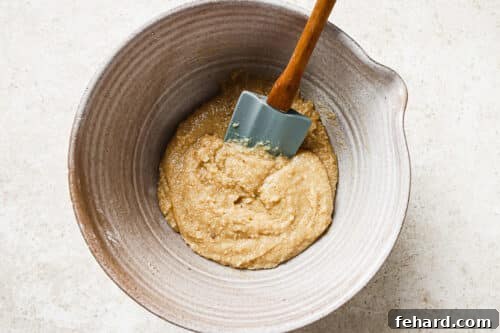
Step 2: Form the Crust Dough. To the bowl with your wet ingredients, add the almond flour, tapioca flour, and a pinch of salt. Using a sturdy spoon or your hands, stir and mix these dry ingredients into the wet until a soft, pliable dough forms. Ensure there are no dry pockets of flour; the dough should come together easily.
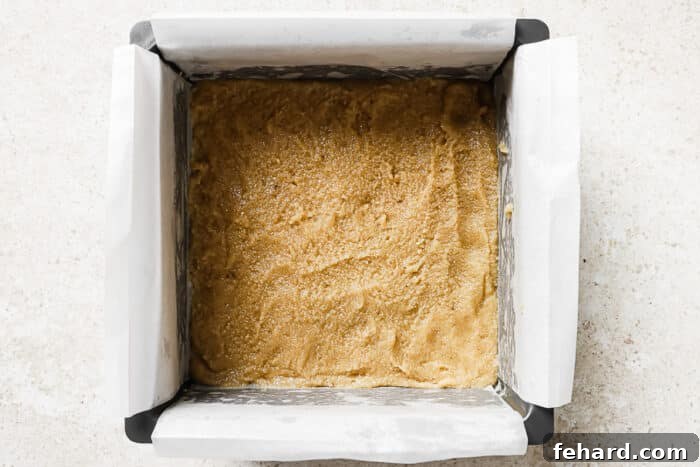
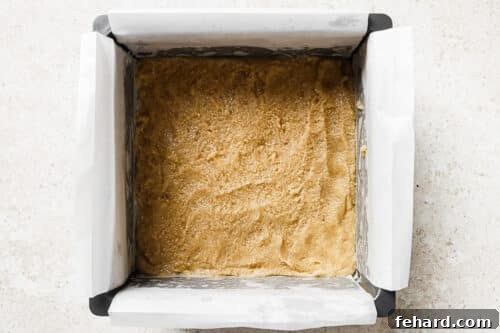
Step 3: Pre-Bake the Crust. Evenly press the prepared dough into the bottom of your parchment-lined baking dish. You can use your fingers or the back of a measuring cup to achieve a smooth, uniform layer. Bake this crust in the preheated oven for 10–15 minutes, or until it turns a delicate light golden brown. This crucial pre-bake step prevents a soggy crust and ensures a firm foundation for your bars. Once baked, remove the pan from the oven and set it aside to cool slightly.
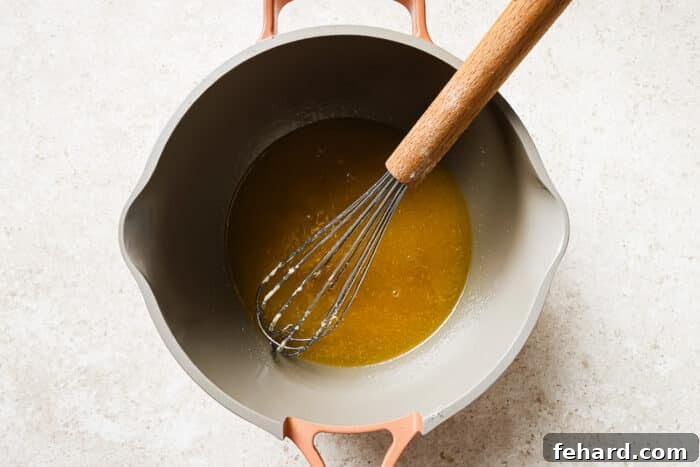
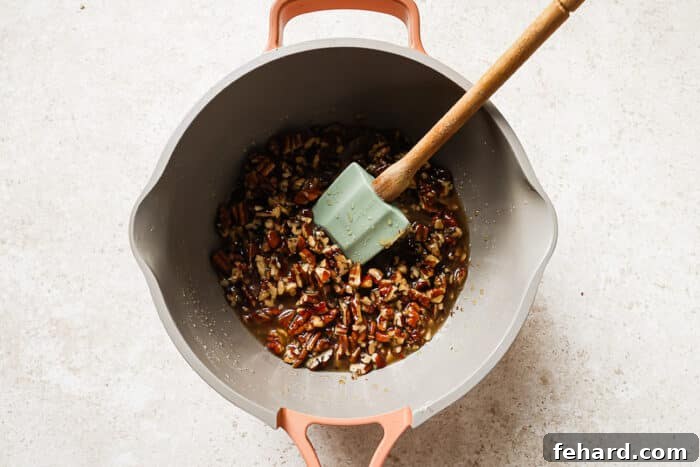
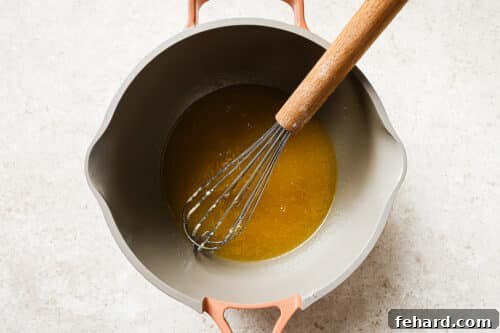
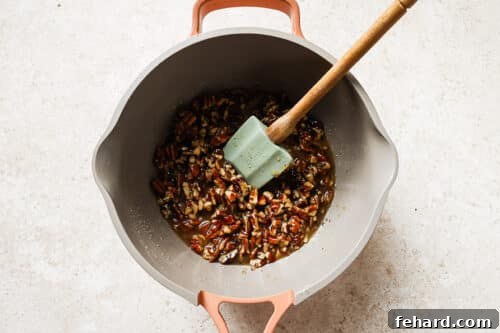
Step 4: Prepare the Gooey Pecan Filling. While the crust cools, turn your attention to the luscious filling. In a medium saucepan, combine the melted butter, pure maple syrup, granulated sugar (or brown sugar for a deeper molasses note), vanilla extract, and a touch of salt and coconut milk. Place the saucepan over medium heat and bring the mixture to a gentle simmer, whisking frequently for about 3–4 minutes. The mixture should thicken slightly and become cohesive. Remove from heat, then stir in the chopped pecans, ensuring they are thoroughly coated in the rich, caramelized sauce.
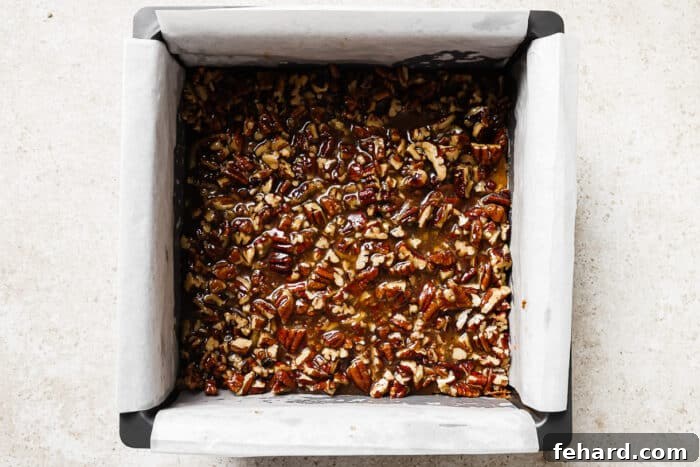
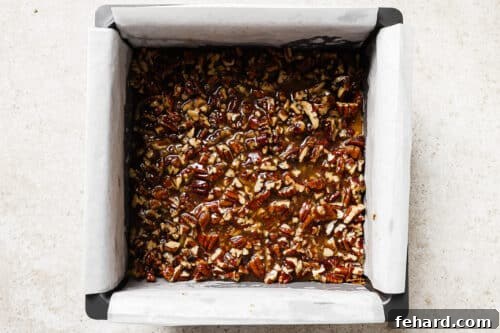
Step 5: Assemble and Bake. Carefully pour the warm pecan mixture evenly over the pre-baked crust in the baking pan. Use a spatula to gently spread the filling, making sure the chopped pecans are distributed uniformly across the entire surface. Return the pan to the oven and bake for an additional 18–20 minutes. The filling should be visibly bubbling around the edges and set in the center (it will still have a slight jiggle, which is perfect).
Step 6: Cool and Serve. This step requires patience, but it’s essential for perfect bars! Allow the pecan pie bars to cool completely in the pan on a wire rack. For the cleanest cuts and best texture, I highly recommend chilling them in the refrigerator for at least 2 hours (or even overnight) once they’ve reached room temperature. Once thoroughly chilled, use the parchment paper overhang to gently lift the entire slab out of the pan. Place it on a cutting board and slice into individual squares or bars with a sharp knife. Enjoy your perfectly crafted gluten-free pecan pie bars!
Pro Tips for Flawless Gluten-Free Pecan Pie Bars
Achieving the ideal pecan pie bar is simple with a few expert tricks. Keep these pointers in mind for a consistently delicious outcome:
- Line the Pan with Parchment Paper: This simple step is a lifesaver! Always line your baking pan with parchment paper, ensuring there’s a generous overhang on two opposite sides. This “sling” allows you to effortlessly lift the cooled bars out of the pan, making slicing incredibly easy and preventing any delicate crust from sticking or breaking.
- Don’t Skip Pre-Baking the Crust: This is a critical step for gluten-free crusts. Baking the crust first, before adding the filling, helps it to set properly and become firm. This prevents it from absorbing too much moisture from the gooey pecan filling, which can lead to a soggy, undesirable bottom layer. A pre-baked crust ensures a crisp, sturdy base.
- Let the Crust Cool Slightly: After pre-baking, allow the crust to cool for about 10-15 minutes before pouring the hot filling over it. This brief cooling period helps solidify the crust structure and prevents the hot filling from prematurely separating or creating a gap between the layers during the final bake.
- Avoid Overbaking the Filling: Keep a close eye on your bars during the final baking stage. The filling should still appear slightly jiggly in the very center when you remove the pan from the oven. This is the perfect indication that it’s done. The residual heat will continue to cook and firm up the filling as it cools. Overbaking can result in a dry, overly chewy, or brittle filling.
- Cool Completely Before Cutting: Patience is truly a virtue here! These bars need ample time to set properly. Resist the urge to cut them while warm. Allow them to cool completely to room temperature, and for the absolute best, cleanest slices, chill them in the refrigerator for at least 2 hours (or preferably overnight). This ensures the gooey filling solidifies perfectly, yielding beautifully defined, perfect squares that will look stunning on your holiday table or dessert platter.
- Accurate Flour Measurement: When working with gluten-free flours, precision is key. For best results, measure almond flour and tapioca flour by weight using a kitchen scale. If you don’t have a scale, use the “spoon and level” method: spoon the flour into your measuring cup and then level it off with a straight edge, rather than scooping directly from the bag, which can compact the flour and result in too much.
- Room Temperature Ingredients (for the crust): While butter is melted, ensure other ingredients like maple syrup for the crust are not ice cold. Room temperature ingredients generally combine more smoothly and result in a more uniform dough.
Frequently Asked Questions About Gluten-Free Pecan Pie Bars
Here are some common questions to help you bake and enjoy these delicious pecan pie bars:
- Can I make these pecan pie bars dairy-free? Absolutely! As mentioned in the key ingredients section, you can successfully substitute the butter with an equal amount of coconut oil (refined coconut oil will prevent a strong coconut flavor). Ensure all other ingredients you use are dairy-free if following a strict diet.
- What if I don’t have tapioca flour? Tapioca flour is highly recommended for its unique binding and chewiness properties in gluten-free baking. While you might be able to substitute with another starch like arrowroot powder, the texture of the crust might differ slightly. It’s best to stick to tapioca flour for the intended result.
- Can I use different types of nuts? While these are pecan pie bars, you could certainly experiment with other nuts! Walnuts would be a natural substitute, or a mix of pecans and walnuts would also be delicious. Just be aware that the flavor profile will change.
- How far in advance can I make these? These bars are excellent for making ahead! You can bake them 1-2 days in advance and store them at room temperature in an airtight container, or up to a week in the refrigerator. They even freeze beautifully, making them perfect for holiday meal prep.
- Do I need special gluten-free flour blends? No, this recipe specifically calls for almond flour and tapioca flour, which are naturally gluten-free. You don’t need a pre-mixed gluten-free all-purpose flour blend for this recipe, simplifying the ingredient list.
Gluten-Free Pecan Pie Bars Recipe
Author: Olivia Ribas
Yields: 14 – 16 little squares
Prep Time: 10 minutes
Cook Time: 35 minutes
Total Time: 45 minutes
These Gluten-Free Pecan Pie Bars are the perfect way to enjoy all the flavors of classic pecan pie in an easy, handheld treat. They’re rich, buttery, and filled with sweet maple flavor, crunchy pecans, and a soft, melt-in-your-mouth crust. Every bite has that perfect balance of nutty, gooey, and crisp! Perfect for fall gatherings, holidays, or anytime you’re craving something cozy and sweet.
Equipment
- 1 Nonstick 8×8-Inch Baking Pan
- 1 Parchment Paper
- Medium bowl
- Saucepan
- Whisk
- Spatula
Ingredients
For the crust:
- ¼ cup butter, melted
- ¼ cup maple syrup
- 1.5 teaspoon vanilla extract
- 1 ½ cups almond flour
- ¼ cup tapioca flour
- ¼ teaspoon salt
For the filling:
- ½ cup butter, melted
- ¼ cup maple syrup
- ½ cup sugar (granulated or brown sugar)
- 1 teaspoon vanilla extract
- ¼ teaspoon salt
- 1 tablespoon coconut milk (or heavy cream)
- 1 ½ cups pecans, chopped
Instructions
- Preheat your oven to 350°F (175°C). Line an 8×8-inch baking pan with parchment paper, leaving some overhang for easy removal.
- In a medium bowl, whisk together the melted butter, maple syrup, and vanilla for the crust.

- Add almond flour, tapioca flour, and salt. Stir until a soft dough forms.
- Press the dough evenly into the bottom of the prepared pan. Bake for 10–15 minutes, until lightly golden. Remove from oven and set aside to cool slightly.
- In a medium saucepan, whisk together the melted butter, maple syrup, sugar, vanilla, salt, and milk for the filling.
- Bring to a gentle simmer over medium heat, whisking frequently, until the mixture thickens slightly (about 3–4 minutes). Stir in the chopped pecans until well coated.
- Pour the pecan mixture evenly over the baked crust. Spread it out with a spatula so the pecans are evenly distributed.
- Bake for another 18–20 minutes, until the pecan filling is bubbling around the edges and set in the center.
- Let the bars cool completely in the pan on a wire rack. Then, for best results, refrigerate for at least 2 hours. Use the parchment overhang to lift them out of the pan and cut into squares or bars with a sharp knife.
Notes
Storage Instructions:
- At Room Temperature: Once completely cooled, store leftover bars in an airtight container at room temperature for up to 3 days. For best presentation, layer them with parchment paper to prevent sticking.
- In the Refrigerator: For extended freshness, keep these delicious bars in an airtight container in the fridge for up to 1 week. They will maintain their firm and fresh texture. Simply allow them to come to room temperature for about 15-20 minutes before serving for the optimal melt-in-your-mouth experience.
- In the Freezer: These bars are excellent for freezing! Wrap each individual bar tightly in plastic wrap, then place them in a freezer-safe bag or container. They can be frozen for up to 3 months. When you’re ready to enjoy, thaw them overnight in the refrigerator or for approximately 30 minutes at room temperature.
Nutrition Information
(Approximate values per serving, based on 1/16 of the recipe)
- Serving: 1/16
- Calories: 119 kcal
- Carbohydrates: 14g
- Protein: 1g
- Fat: 6g
- Cholesterol: 19mg
- Sodium: 325mg
- Potassium: 38mg
- Fiber: 1g
- Sugar: 11g
- Calcium: 95mg
Nutrition information is automatically calculated and should only be used as an approximation.
Did You Make This?
We love seeing your culinary creations! Follow @primaverakitchen on Instagram, snap a photo of your Gluten-Free Pecan Pie Bars, and tag it #primaverakitchen. We’d absolutely love to see your delicious recreation!