
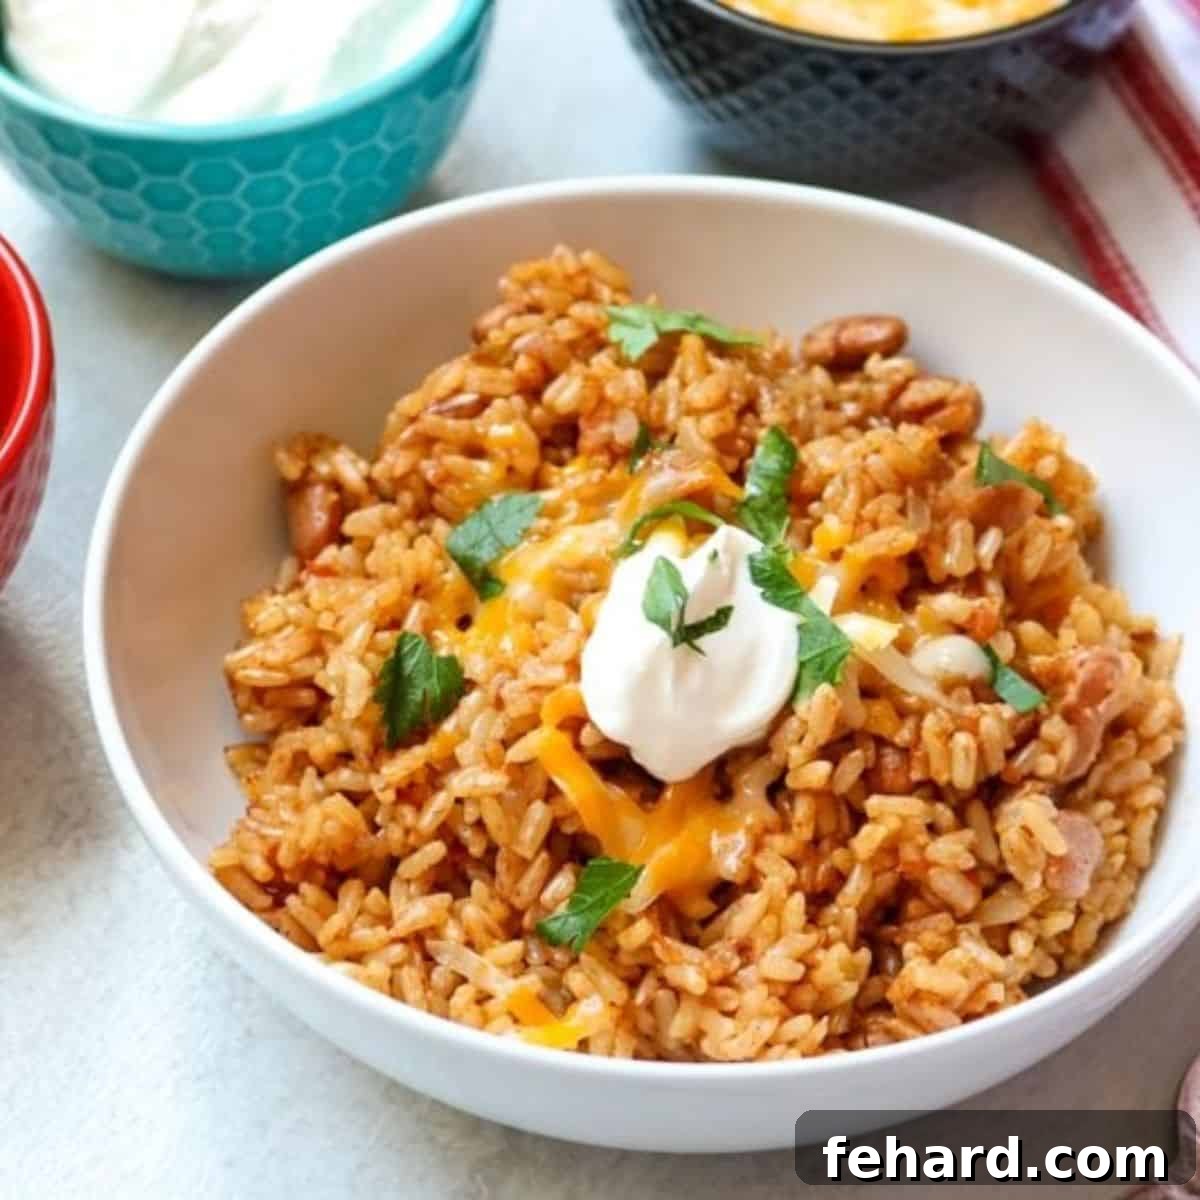
Get ready to fall in love with this incredibly simple and budget-friendly recipe for Instant Pot Rice and Beans! Utilizing the magic of your pressure cooker, this dish transforms humble dried red beans and brown rice, along with a carefully selected blend of seasonings, into a wholesome and flavorful meal. It’s the ultimate answer for a nutritious dinner that relies on affordable pantry staples.

The Instant Pot has revolutionized home cooking, proving itself indispensable for everyday essentials like perfect hard-boiled eggs, creamy homemade yogurt, impeccably fluffy rice, and, perhaps most notably, effortlessly cooking dried beans. Its precision and ease make it a true kitchen hero.
When you can combine two of these foundational staples – perfectly cooked rice and tender beans – into a single pot to create a cheap, easy, and satisfying meal or side dish, that’s what we call a culinary victory! This particular recipe for Instant Pot Rice and Beans is distinct from its Cajun-style cousin (Instant Pot Red Beans and Rice), offering a vibrant Tex-Mex flavor profile.
Whether you serve it as a hearty side with savory beef tacos, or as a robust and economical filling for simple bean burritos, you’ll be amazed by how incredibly affordable, straightforward, and bursting with flavor this dried beans and rice recipe truly is!
Why You’ll Adore This Instant Pot Rice & Beans Recipe
- No Soaking Required: Forget the overnight planning! Just like our popular recipe for Instant Pot Dried Beans, this recipe allows you to cook dried beans directly in the pressure cooker without any prior soaking. This saves you precious time and makes spontaneous meal preparation a breeze, proving that healthy, homemade food can be convenient.
- Perfect Results Every Time: The brilliance of the Instant Pot lies in its ability to perfectly synchronize the cooking process. It gently softens the dried beans while simultaneously cooking the brown rice to ideal doneness. The result is consistently plump, tender beans complementing nutty, chewy rice – a texture and flavor combination that’s hard to beat and impossible to achieve as easily on the stovetop.
- Incredibly Economical: This recipe truly shines as a budget-friendly powerhouse. By utilizing inexpensive dried beans, staple brown rice, and minimal fresh ingredients, you’re creating a nourishing meal that’s kind to your wallet. It’s an excellent choice for feeding a family, meal prepping, or simply reducing your grocery bill without sacrificing taste or nutritional value.
- Versatile and Customizable: This dish serves as a fantastic foundation for a myriad of culinary creations. It’s a superb vegetarian main course, a filling side dish, or an excellent component for burritos, bowls, and salads. Its adaptable nature means you can easily tweak the seasonings and toppings to suit any craving or dietary preference.
Essential Ingredients & Equipment for Perfect Results
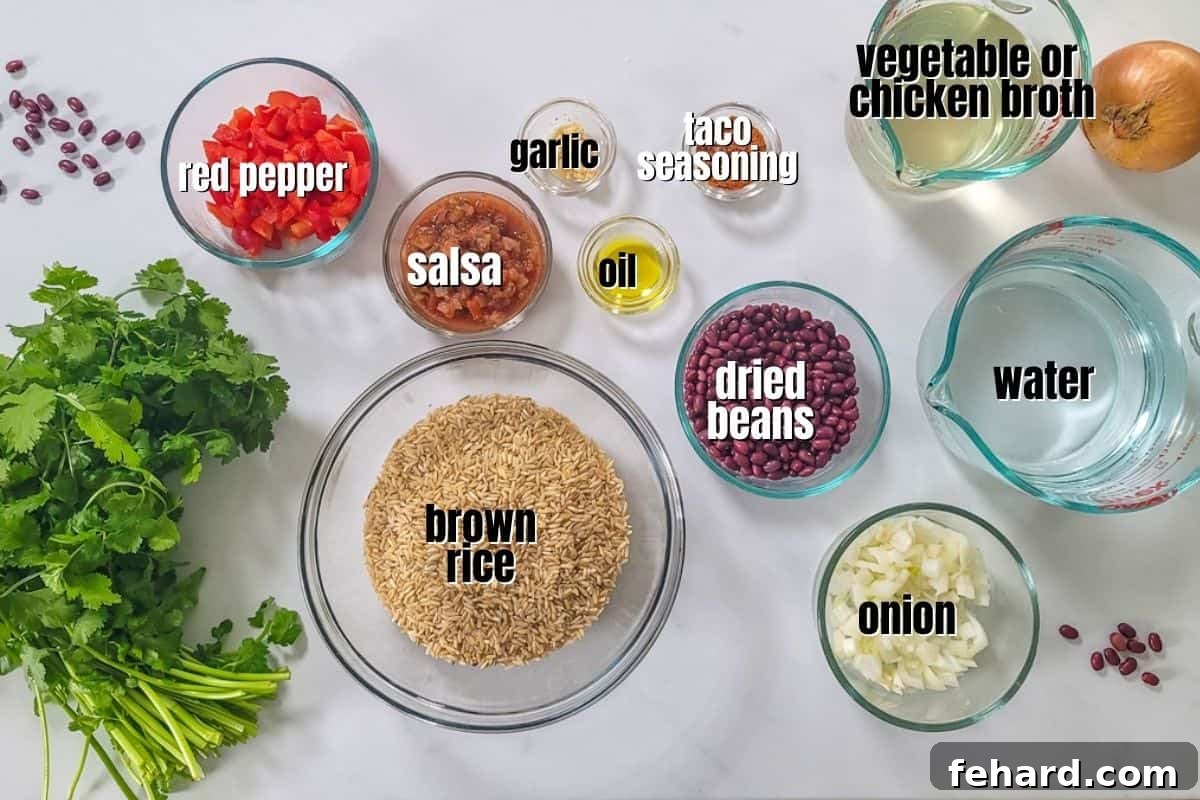
- Rice: For this specific recipe, using long-grain brown rice is crucial. Its longer cooking time perfectly aligns with the time it takes for the dried beans to soften in the pressure cooker, preventing your rice from becoming overcooked and mushy. Avoid instant rice or white rice, as their shorter cooking times will not yield the desired texture alongside the beans.
- Beans: The best dried beans for this recipe are pinto or small red beans. These varieties cook beautifully within the given timeframe, resulting in tender, creamy beans. Black beans and larger kidney beans tend to have longer cooking times, which makes them less suitable for this one-pot method where rice and beans cook simultaneously. Always remember to rinse and sort your dried beans thoroughly to remove any debris or small stones.
- Peppers and Onions: While entirely optional, sautéing fresh peppers (yellow, green, or red bell peppers all work wonderfully) and onions at the start of the recipe adds a foundational layer of aromatic flavor that truly elevates the dish. It takes only a few extra minutes but imparts a noticeable depth. If you’re pressed for time or catering to picky eaters, you can certainly skip this step for an even faster preparation.
- Liquid: A combination of water and low-sodium or salt-free chicken or vegetable broth is ideal for cooking the rice and beans. Using broth enhances the overall flavor of the dish, adding savory notes. However, to keep this meal as economical as possible, using only water is a perfectly acceptable alternative, allowing the other seasonings to shine.
- Seasonings: To achieve that beloved Tex-Mex flavor, we use a blend of spices that closely mimics homemade taco seasoning. Feel free to use your favorite store-bought blend as well. Other fantastic flavor alternatives include Cajun Seasoning for a Southern twist or Jerk Seasoning for a vibrant Caribbean profile. A critical tip: always add salt and salt-containing seasonings *after* the pressure cooking cycle. Salt can interfere with the beans’ ability to soften properly, leading to firm or undercooked beans.
- Salsa: Adding salsa after the rice and beans have cooked is a game-changer for flavor. Salsa comes pre-packed with a medley of tomatoes, onions, peppers, and spices, instantly boosting the dish’s vibrancy. Unlike diced tomatoes, which often require cooking to fully develop their flavor, salsa’s fresh, bright notes are best appreciated when stirred in at the end. Use your favorite jarred variety or truly elevate the dish with fresh homemade salsa.
Creative Flavor Variations to Explore
While the Tex-Mex version of Instant Pot Rice and Beans is delicious, this recipe is a versatile canvas for global flavors. Here are a couple of popular modifications to transport your taste buds:
- Cajun Instant Pot Red Beans and Rice: For a taste of Louisiana, start with dried red beans and brown rice. When you add the liquid, include a dried bay leaf to the mixture before pressure cooking. After the cooking cycle, remove the bay leaf and stir in 1 tablespoon of robust Cajun Seasoning and 2 teaspoons of your favorite hot sauce for a kick. For an extra authentic touch, cooked, diced andouille sausage can be stirred in at the end. If you’re seeking a truly traditional Cajun experience where the red bean stew is made separately from the rice, refer to my dedicated recipe for Instant Pot Red Beans and Rice.
- Jamaican Instant Pot Red Beans and Rice (Rice and Peas): Bring the vibrant flavors of the Caribbean to your kitchen. Use dried red beans and brown rice, and during the pressure cooking phase, add 3 sprigs of fresh thyme leaves and one scotch bonnet pepper, cut in half (handle with care!). After cooking, carefully remove the pepper and thyme, then stir in 1 tablespoon of bold Jamaican Jerk Seasoning. The scotch bonnet will infuse a wonderful heat and fruity aroma, but remember to remove it before serving unless you prefer an intense spice level. A splash of coconut milk stirred in at the end can also add a delightful creaminess.
Step-by-Step Guide: How to Make Instant Pot Rice and Beans
If you’re new to the Instant Pot or need a refresher on its various functions, we recommend starting with our comprehensive Instant Pot 101 guide to ensure the best results for this and future recipes. The full, detailed recipe card is provided below.
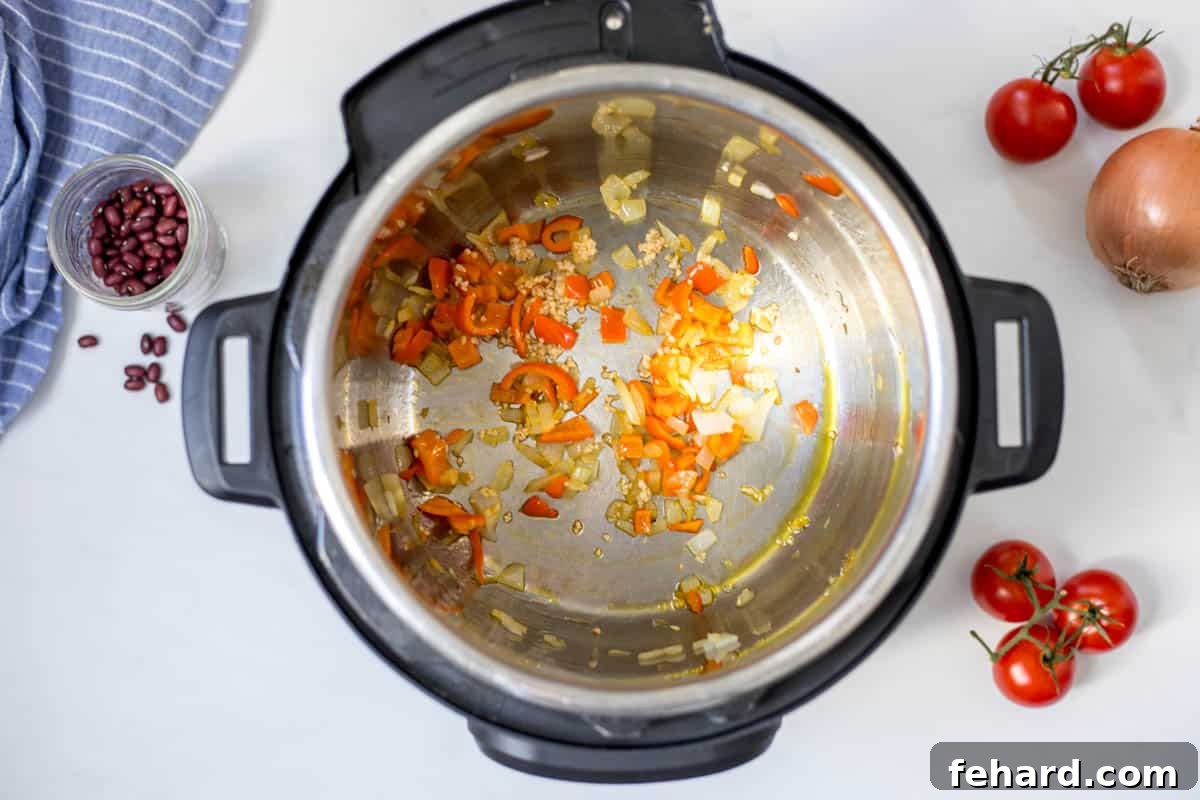
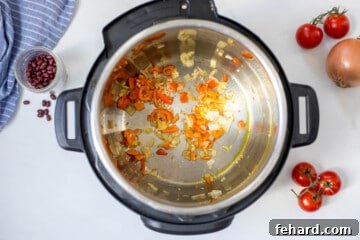
- Sauté Onions and Peppers (Optional): Begin by setting your Instant Pot to the “Saute” function. Add a small amount of extra virgin olive oil and allow it to heat briefly. Once warm, add your minced yellow onion and diced bell pepper (any color works well). Sauté for 2-3 minutes, stirring occasionally, until they just begin to soften and become fragrant. Stir in minced garlic for another 30 seconds until aromatic. This step, similar to making Instant Pot Spanish Rice, builds a fantastic flavor base. If you prefer a quicker meal or have family members who aren’t fond of these vegetables, you can easily skip this step. Once done, hit “Cancel” to turn off the saute function.
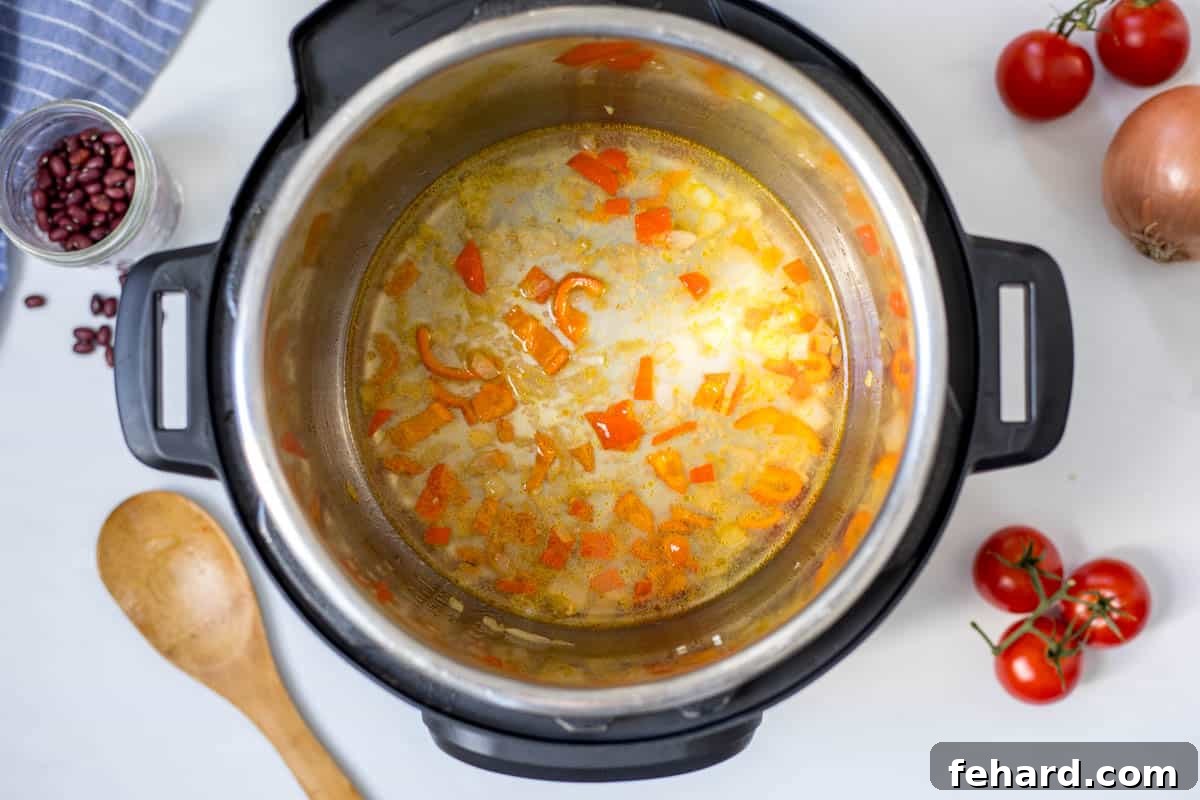
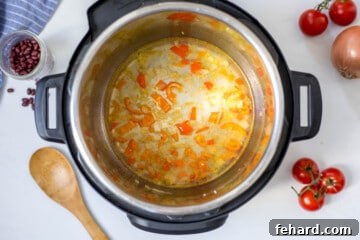
- Deglaze the Inner Pot: This step is non-negotiable if you used the saute function! To prevent a dreaded “burn notice,” you must deglaze the inner pot. Pour in a portion of the water or broth specified in the recipe. Use a sturdy wooden spoon or spatula to scrape up any browned bits that may have stuck to the bottom of the pot. Ensure the bottom is completely clean before proceeding.
- Rinse Rice and Beans: Thoroughly rinsing both your brown rice and dried beans is a crucial preparatory step. Rinsing the rice removes excess starch from the surface of the grains, which helps them remain separate and fluffy rather than clumping together. Rinsing the beans washes away any dust or dirt. It’s also a good practice to quickly sort through the dried beans to check for any small stones or imperfect beans that might have inadvertently made their way into the package.
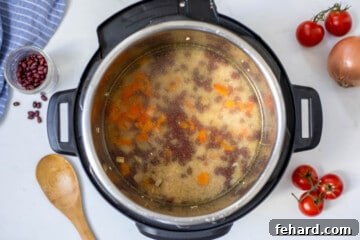
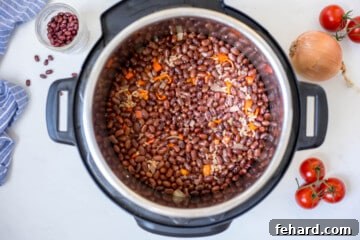
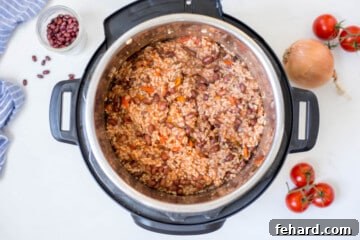
- Pressure Cook: After deglazing, add the remaining liquid, rinsed dried beans, and rinsed long-grain brown rice to the inner pot. Do not stir excessively at this point; try to keep the rice mostly on top of the beans. Secure the lid on your Instant Pot, making sure the sealing ring is properly in place and the venting knob is set to the “Sealing” position (or the lid is locked, depending on your model). Set your Instant Pot to “Manual” or “Pressure Cook” on HIGH pressure for 25 minutes. Once the cooking cycle is complete, the most important next step is to allow the pressure to release naturally (NPR) for at least 15 minutes. This extended natural release time is vital as it allows the beans to continue softening to perfection and ensures the rice remains wonderfully fluffy. Don’t be alarmed if you see the beans floating on top of the rice when you open the lid; this is completely normal as they cook.
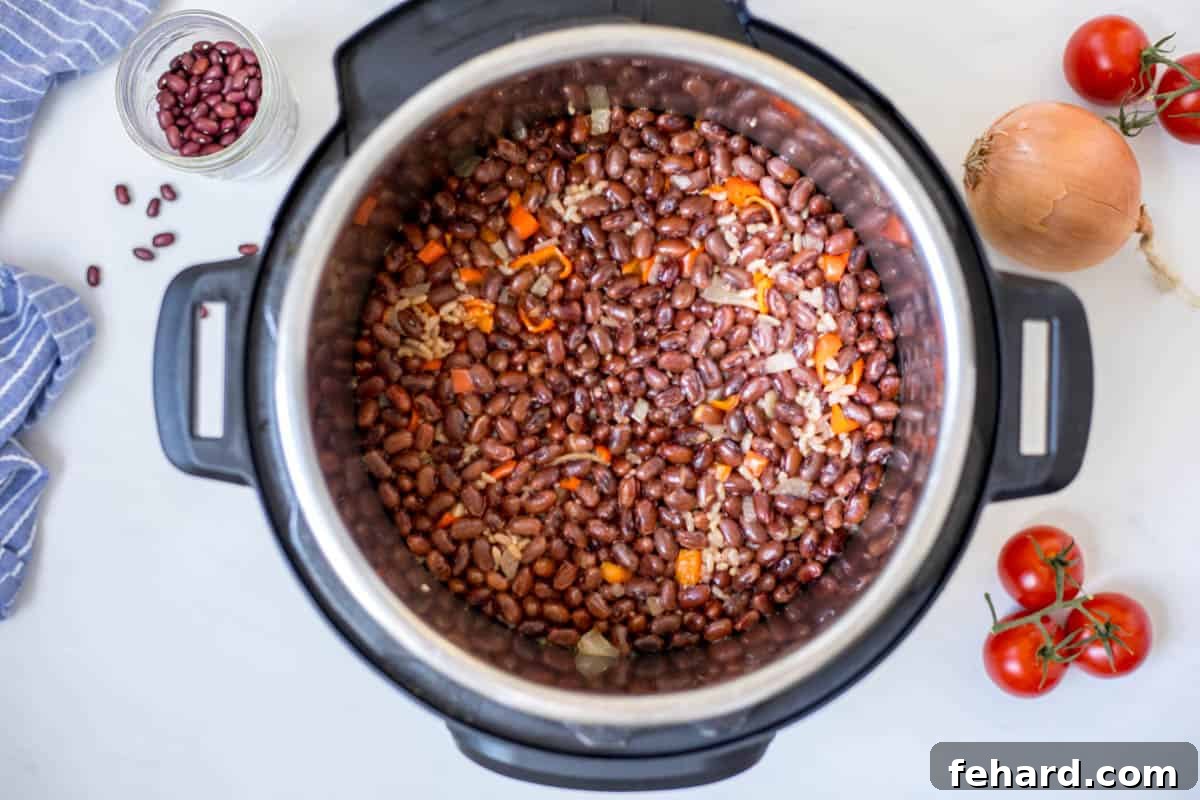
- Season and Fluff: As mentioned earlier, we intentionally avoid adding salt or salt-containing seasonings before pressure cooking, as it can hinder the beans from softening. Now is the time to add all your delicious flavor! Open the lid once the pressure has fully released. Stir in your desired amount of salsa and taco seasoning (or your chosen seasoning blend). Use a fork to gently fluff the rice and beans as you incorporate the seasonings and salsa. This technique prevents the rice from becoming mushy and helps maintain its individual grain structure. Replace the lid for a few minutes to allow the seasonings to warm through and meld with the rice and beans before serving.
Pro Tip: Always use a fork to fluff your Instant Pot rice and beans after cooking. This keeps the grains separate and light, preventing them from compacting or becoming gummy when you stir in additional ingredients.
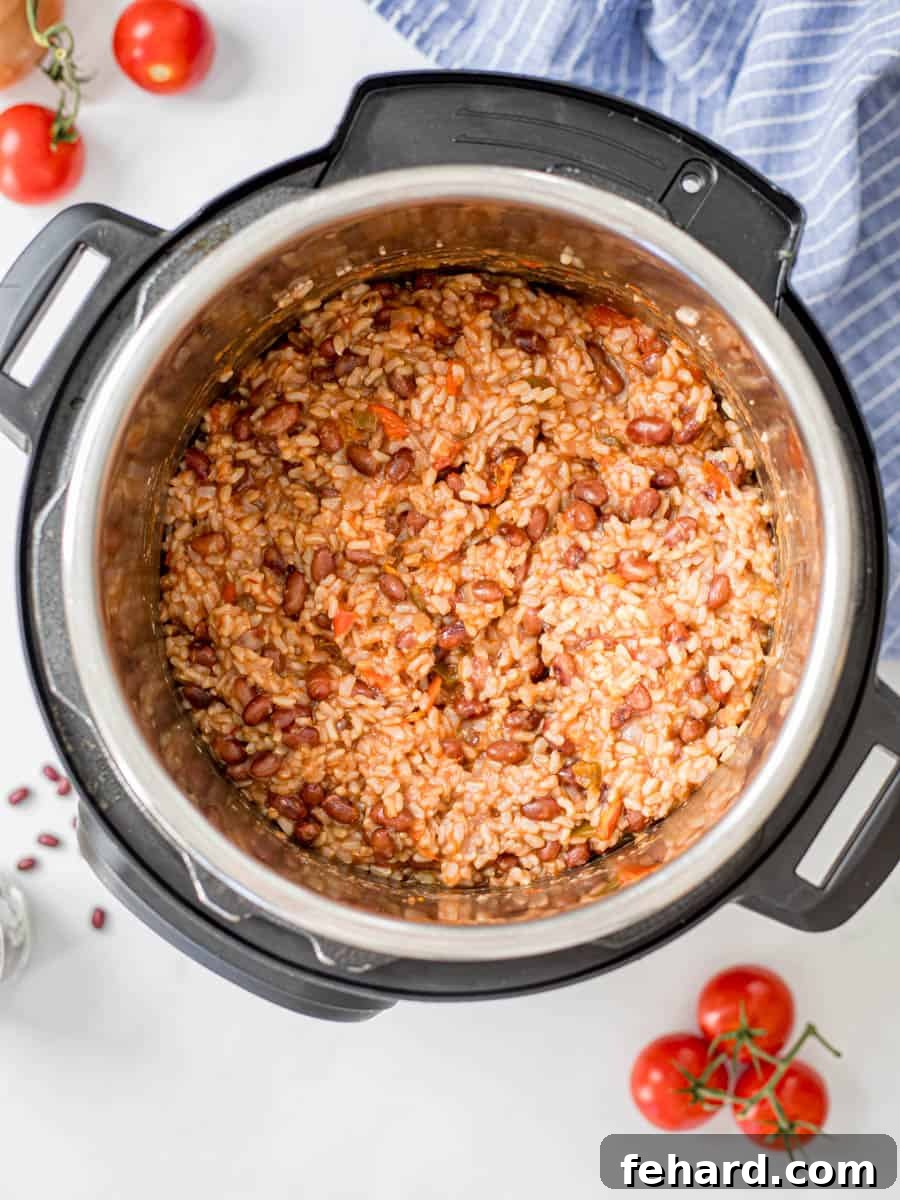
Creative Ways to Serve Your Instant Pot Rice and Beans
Instant Pot Rice and Beans is an incredibly versatile dish that can be the star of your meal or a perfect accompaniment. Its robust flavor and hearty texture make it suitable for countless applications. While it naturally pairs well with any Mexican or Tex-Mex meal, I often find myself enjoying it as a complete meal on its own. The possibilities are truly endless!
- Classic Side Dish: It makes an obvious and delicious side for main courses such as Chicken Enchiladas, tender Pork Carnitas, sizzling Instant Pot Steak Fajitas, vibrant Honey Lime Chicken Fajitas, classic Beef Tacos, or fresh Shrimp Tacos.
- Hearty Vegetarian Main: Serve the rice and beans as a satisfying, healthy, and meatless meal. Enhance its flavor and texture by topping it with shredded cheese (Cheddar or Monterey Jack are excellent), a dollop of cooling sour cream or Greek yogurt, and a sprinkle of fresh cilantro or pickled jalapeños for a zesty kick.
- Flavorful Burrito Filling: Transform your rice and beans into a quick and easy burrito! Roll up approximately ⅓ to ½ cup of the mixture into a warm flour tortilla. Add a generous scoop of creamy guacamole, a sprinkle of cheese, and perhaps a dash of hot sauce for a portable and filling meal.
- Tex-Mex Breakfast Bowl: For a unique and protein-packed breakfast, serve a portion of the rice and beans alongside a fried egg, perhaps with a runny yolk to mix into the dish. A sprinkle of hot sauce or a dash of chili powder can make this a vibrant morning start.
- Build a Dynamic Taco Salad: Reinvent your rice and beans by using them as the base for a fresh and satisfying Taco Salad. Instead of meat, toss the warm rice and bean mixture with crisp chopped romaine lettuce, juicy fresh tomatoes, creamy avocado slices, and your favorite salad dressing for a light yet filling lunch or dinner.
- Stuffed Bell Peppers: Use the rice and beans as a hearty filling for baked bell peppers. Cut bell peppers in half, remove seeds, stuff with the rice and bean mixture, top with cheese, and bake until tender.
Storage & Reheating Instructions for Convenience
This Instant Pot Rice and Beans recipe is fantastic for meal prepping, as it stores and reheats beautifully. Prepare a larger batch and enjoy delicious, homemade meals throughout the week!
- Refrigerate: Allow your cooked rice and beans to cool slightly to room temperature. Transfer the mixture to an airtight container. It will keep fresh in the refrigerator for 3-4 days, making it perfect for quick weekday lunches or dinners.
- Freeze: For longer storage, this dish freezes exceptionally well. Once cooled, portion the rice and beans into 1-2 cup servings within freezer-safe bags or containers. Label with the date and freeze for up to 3 months. Freezing in individual portions allows for convenient grab-and-go meals whenever you need them.
- Reheat:
- From Refrigerator: Place the desired amount of rice and beans into a microwave-safe dish. Add a splash of water or broth (about 1-2 tablespoons per serving) to reintroduce moisture, then cover loosely with a damp paper towel or napkin. Heat in 30-second intervals, stirring in between, until heated through. Fluff with a fork before serving.
- From Freezer: If frozen, it’s best to defrost the rice and beans in the refrigerator overnight before reheating. Follow the same microwave instructions as above. Alternatively, for a quicker reheat, you can use the Instant Pot’s pot-in-pot method. Place the frozen (or thawed) rice and beans in a heat-safe bowl on a trivet inside your Instant Pot with 1 cup of water in the main pot. Cook on high pressure for 2-5 minutes (depending on whether it’s thawed or frozen), then allow for a quick release of pressure.
Frequently Asked Questions About Instant Pot Rice and Beans
No, one of the greatest advantages of using an Instant Pot for dried beans is that soaking is entirely optional! The high-pressure environment tenderizes the beans effectively without the need for an overnight soak. While some people believe soaking aids in digestion or reduces cooking time, for this recipe, you can skip it and still achieve perfectly tender beans. We haven’t noticed any significant difference in digestion or final texture when cooking unsoaked beans in the Instant Pot.
Absolutely! If you prefer to soak your dried beans, you can certainly do so. Place your dried beans in a large bowl and cover them with cold water, ensuring there’s plenty of room for expansion. Soak for 12 hours, or overnight. Before preparing the recipe, drain and rinse the soaked beans thoroughly. When you proceed with the recipe, you will need to reduce the total liquid quantity from 5 cups to 3 cups, as the beans have already absorbed some moisture. The pressure cooking time will remain the same at 25 minutes to ensure both the beans and brown rice cook perfectly.
For this specific one-pot method where beans and rice cook simultaneously, using long-grain brown rice is essential due to its longer cooking time, which matches that of dried beans. If you wish to use white rice, you will need to adapt the recipe. You could either cook the dried beans separately in your Instant Pot first, or opt for canned beans. The cooking times and liquid amounts will significantly change. Please refer to the notes section in the recipe card for detailed modifications for using white rice.
Yes, you can easily adapt this recipe to use canned beans for an even quicker meal. To do so, combine 2 cups of rinsed long-grain brown rice with 2 cups of broth or water and ½ tablespoon of taco seasoning in the Instant Pot. Pressure cook on high for 22 minutes (for brown rice) or 3 minutes (for long-grain white rice). Once the rice is cooked and pressure has naturally released, open the pot and stir in 1 cup of salsa and 2-4 cups of canned beans that have been thoroughly drained and rinsed. Allow them to warm through together for a few minutes before serving. This method ensures perfectly cooked rice with pre-cooked beans.
Yes, absolutely. This is a crucial step for achieving tender beans. Salt, and seasonings containing salt, can significantly inhibit the softening process of dried beans when added at the beginning of pressure cooking. By waiting to season the dish until *after* the beans and rice have finished cooking, you ensure that the beans achieve their perfect tender texture within the given cooking time. Once cooked, you can then add your desired seasonings, like salsa and taco seasoning, to infuse the dish with flavor.
The age of dried beans can definitely affect their cooking time and final texture. Very old dried beans (over a year or two) may never fully soften, even with extended cooking. It’s best to use dried beans within 6-12 months of purchase and always check the expiration date on the package. Even recently purchased beans might have been in storage for a while. For the best results, use relatively fresh dried beans. If you suspect your beans are old, you might consider soaking them first, which can sometimes help, or using canned beans as an alternative.
Explore More Instant Pot Rice Recipes
If you love the convenience and delicious results of cooking rice in your Instant Pot, you’ll definitely want to try these other fantastic recipes:
- Instant Pot Brown Rice
- Instant Pot Chicken and Rice
- Instant Pot Rice Pilaf
- Instant Pot Cilantro Lime Rice
- Instant Pot Spanish Rice
- Instant Pot Jambalaya
- Instant Pot Jasmine Rice
If you’ve given this amazing Instant Pot Rice and Beans recipe a try, we’d absolutely love to hear from you! Please consider leaving a comment and a star rating below to share your experience and any delicious modifications you made.
Instant Pot Rice and Beans
Kristen Chidsey
8
5 mins
35 mins
1 hr
Rate

Video
Ingredients
- ½ tablespoon extra virgin olive oil
- 1 small yellow onion, minced
- 1 medium yellow, green, or red bell pepper, seeded and diced
- 1 teaspoon minced garlic
- 2 cups long-grain brown rice, rinsed well and drained
- 1 cup dried small red or pinto beans, rinsed and sorted
- 2 cups low-sodium or salt-free chicken or vegetable broth
- 3 cups water
- 1 cup salsa
- 1 tablespoon Homemade Taco Seasoning, or store-bought taco seasoning
- cheese, sour cream, cilantro for serving, optional
Instructions
-
Turn the Instant Pot to saute, add ½ tablespoon extra virgin olive oil, and let heat briefly. Once heated, add in 1 small yellow onion (minced) and 1 medium yellow, green, or red bell pepper (diced) and saute for 2-3 minutes until they are just beginning to soften up. Add 1 teaspoon minced garlic and saute for 30 seconds longer. Turn off the saute function by hitting cancel. (Feel free to skip this step if you are not wanting to add peppers or onions to the recipe.)

-
Add in 2 cups low-sodium or salt-free chicken or vegetable broth and be sure to scrape up any browned bits off the bottom of the inner pot. Stir in 3 cups water.
-
To the liquid add in 1 cup dried small red or pinto beans (rinsed) and then top with 2 cups long-grain brown rice (rinsed).
-
Place the lid on Instant Pot and be sure the venting knob is closed or the lid is locked. Cook on High Pressure for 25 minutes. Hit the manual or pressure cook button and use the +/- buttons to adjust until the screen reads 25.
-
Once cook time has elapsed, let the pressure release naturally, or for at least 15 minutes.
-
After the pressure has fully released, open the lid. Add in 1 cup salsa and 1 tablespoon Homemade Taco Seasoning and use a fork to fluff the rice and stir in the salsa and seasonings. Place the lid back on the pressure cooker to let the ingredients warm through for just a few minutes.
-
Serve with desired toppings.
Equipment
-
Electric Pressure Cooker (6 or 8 quart)
Notes
Dried Beans: Small red beans or pinto beans yield the best results in this one-pot rice and beans recipe. Other bean varieties may have different cook times and may not soften correctly alongside the brown rice.
***Old dried beans may take longer to cook and never fully soften.*** For optimal results, it is always best to use dried beans within 6 months of purchasing. Always check the expiration date, as even recently bought beans may have been stored for a while.
Modifications for using White Rice: To use white rice, combine 2 cups of rinsed long-grain white rice in the pressure cooker with 2 cups of water or broth and ½ tablespoon of taco seasoning. Set the cooking time to 3 minutes on high pressure. Once cooked, allow pressure to release naturally. Then, open the Instant Pot and stir in 2-4 cups of pre-cooked beans (either separately cooked dried beans or canned beans) and 1 cup of salsa. Allow to warm through before serving as desired.
Using Canned Beans: For a quicker version with canned beans, combine 2 cups of rinsed brown rice with 2 cups of broth or water and ½ tablespoon taco seasoning in the inner pot. Cook on high pressure for 22 minutes (for brown rice) or 3 minutes (for long-grain white rice). Once the rice is cooked and pressure naturally released, open the Instant Pot and stir in 1 cup of salsa and 2-4 cups of canned beans (drained and rinsed).
Using Soaked Beans: If you choose to soak your beans, place them in a large bowl and cover with cold water for 12 hours or overnight. Drain and rinse the soaked beans before cooking. Proceed with the recipe as directed, but reduce the total liquid from 5 cups to 3 cups. The pressure cooking time will remain the same.
Storage: Cooked rice and beans can be stored in an airtight container in the refrigerator for 4-5 days. For longer storage, freeze in a freezer-safe container for up to 3 months. To reheat, defrost overnight in the fridge if frozen. Transfer to a heat-safe dish, add a splash of water or stock, and microwave for 1-2 minutes per serving until heated through. Alternatively, use the pot-in-pot method in your Instant Pot and reheat on high pressure for 2 minutes.
Be sure to check out our cooking modifications for higher elevation if you live at high altitude.
Nutrition
Carbohydrates: 56g
Protein: 9g
Fat: 2g
Sodium: 494mg
Potassium: 559mg
Fiber: 6g
Sugar: 2g
Vitamin A: 310IU
Vitamin C: 2.9mg
Calcium: 48mg
Iron: 2.6mg
Nutrition information is automatically calculated, so should only be used as an approximation.
Tried this recipe?
Mention @amindfullmom or tag #amindfullmom!
This post was originally published in 2018 and updated in 2023.