
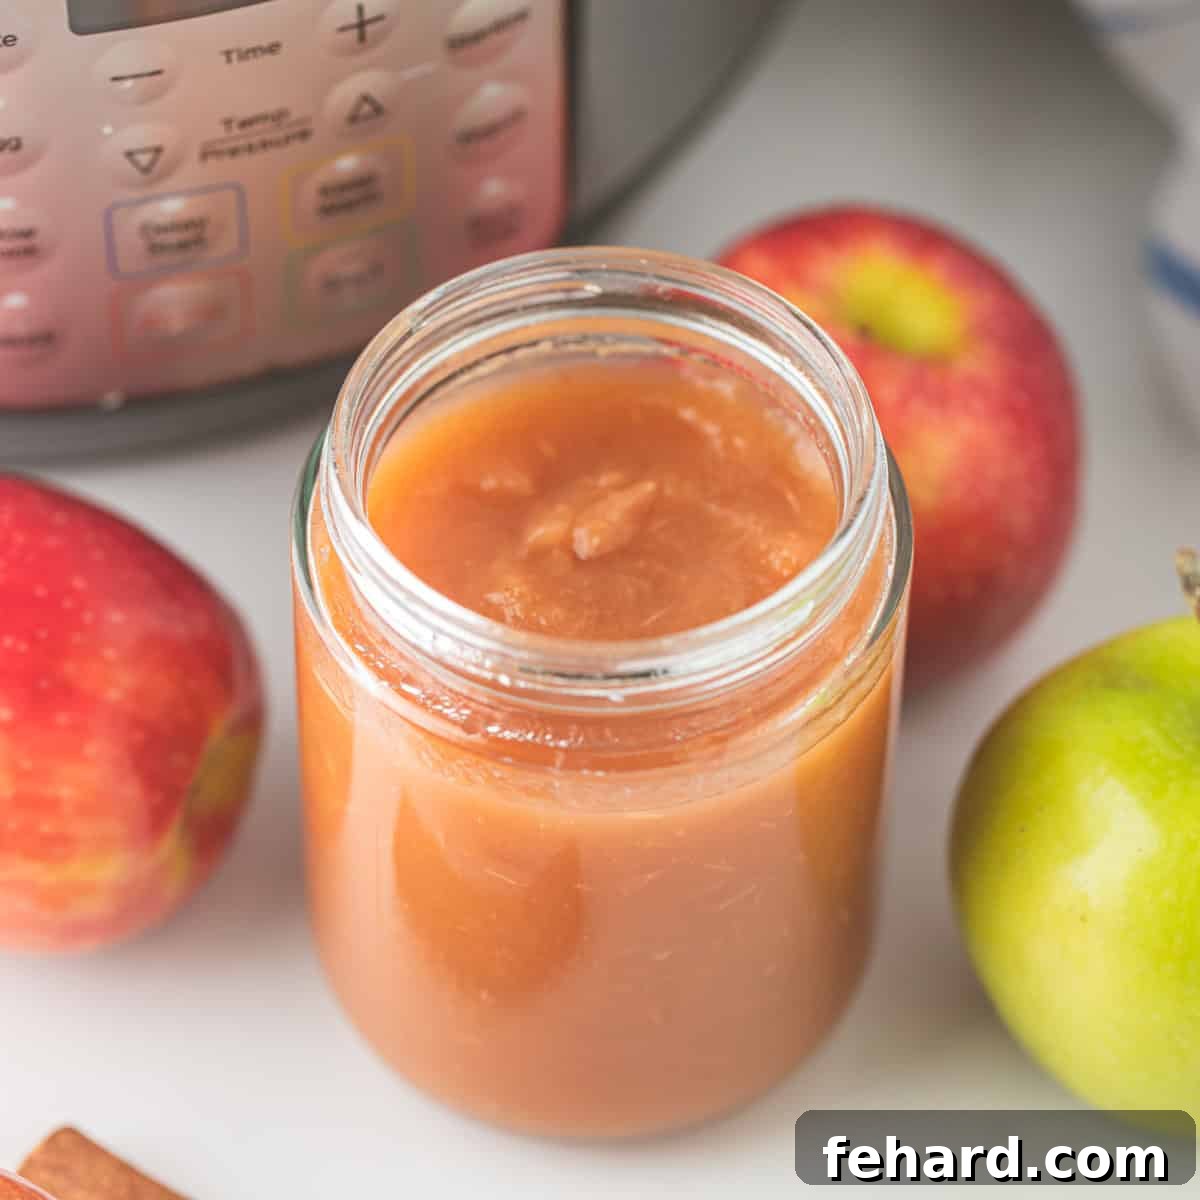
Transforming fresh apples into a naturally sweet, incredibly smooth, and utterly delicious homemade applesauce has never been easier, thanks to this Instant Pot Applesauce recipe. Forget the tedious task of peeling and constant stirring over a hot stove. In just 12 minutes of active pressure-cooking, you will achieve the finest homemade applesauce you’ve ever tasted, bursting with pure apple flavor.
It might sound surprising, but in our home, the announcement of homemade applesauce often generates more excitement than even chocolate chip cookies – and believe me, cookies are highly cherished! There’s an undeniable magic to applesauce made with crisp, seasonal apples. While our traditional stove-top applesauce recipe is straightforward, the Instant Pot elevates simplicity to an entirely new level, making this method truly unmatched for convenience and flavor.
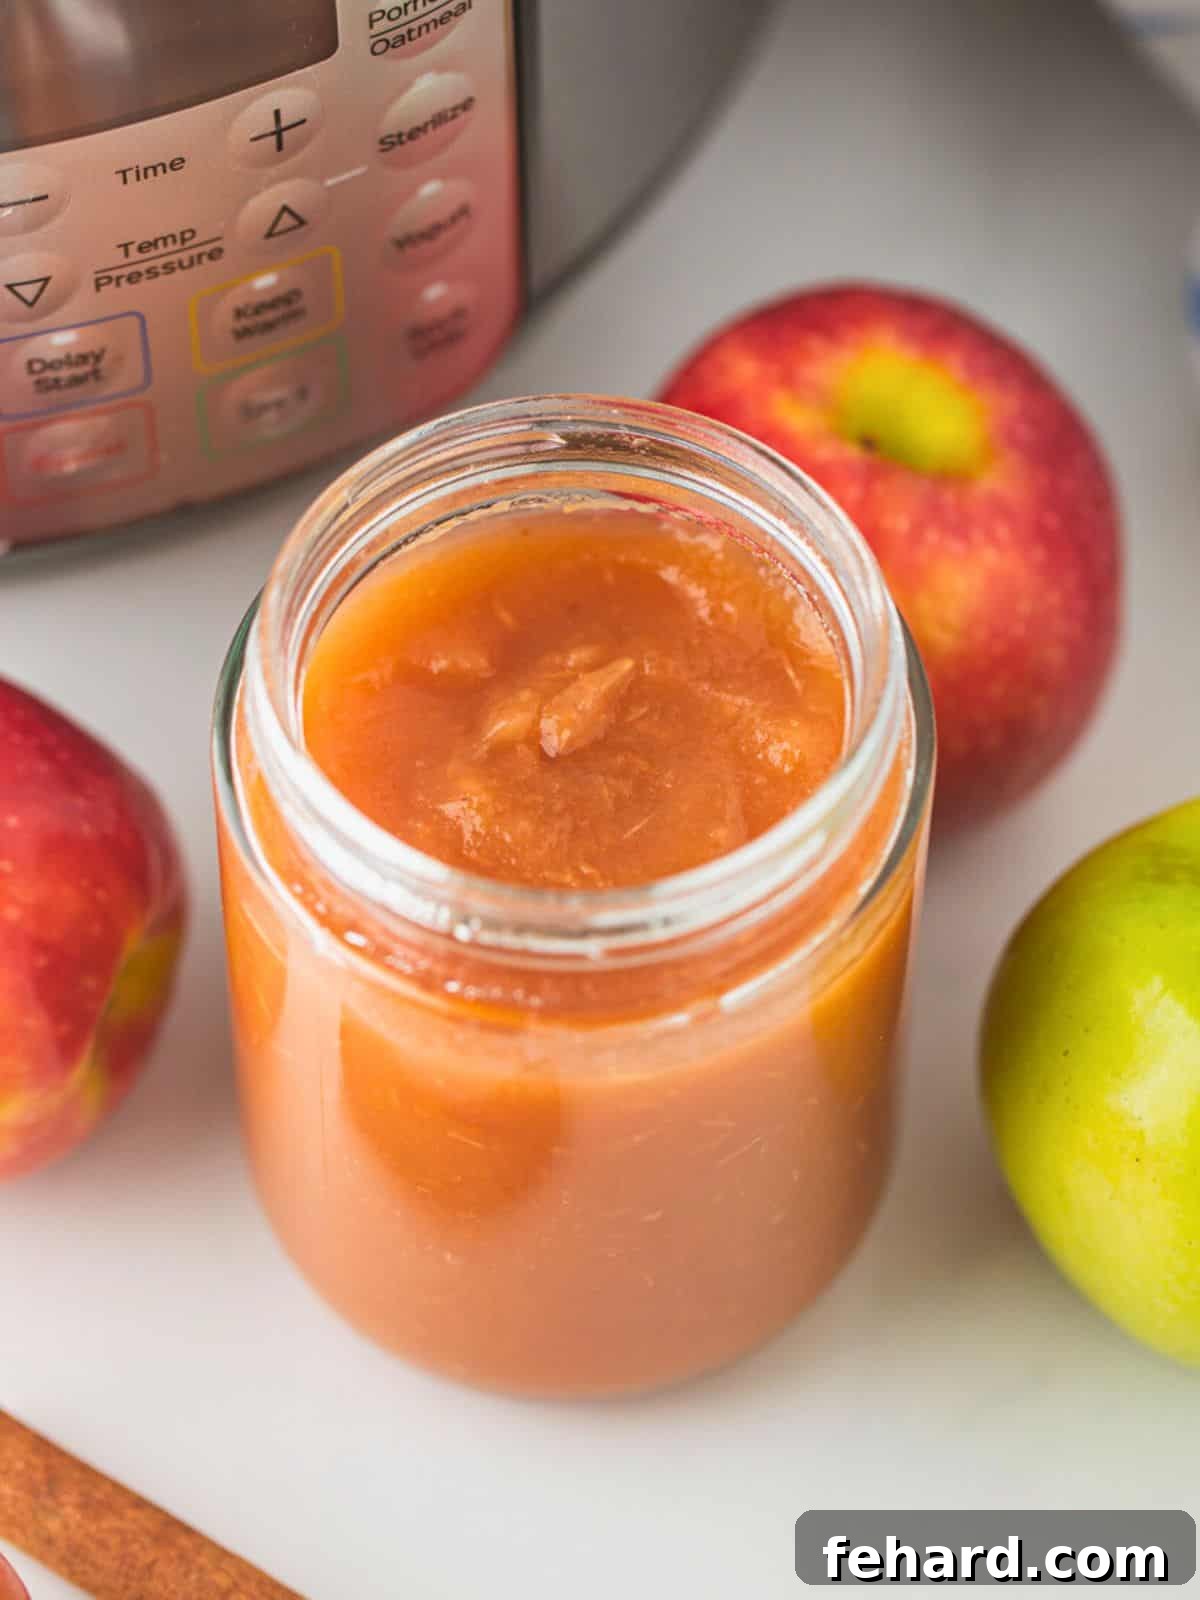
Why You’ll Adore This Instant Pot Applesauce

If there’s one apple-based creation you absolutely must experience, it’s this Instant Pot Applesauce. While we certainly cherish delightful treats like Dutch apple pie and classic homemade apple crisp, nothing quite compares to the sheer ease, pure flavor, and satisfying simplicity of pressure cooker applesauce. Let’s delve into what makes this recipe an absolute staple:
- Unbeatable Natural Flavor: This recipe highlights the inherent sweetness and rich aroma of fresh apples. With no added sugar or artificial preservatives, you get to savor the pure essence of the fruit at its peak. One taste and you’ll undoubtedly question why you ever settled for less flavorful, store-bought alternatives. It’s a game-changer for your palate!
- Effortless Preparation – No Peeling Required: The genius of pressure cooking truly shines here. The intense heat and steam work wonders, softening the apple skins to such an extent that they effortlessly blend right into the applesauce. This not only saves you significant time and effort in the kitchen but also boosts the nutritional profile by retaining valuable fiber and vitamins often discarded with the peels.
- Economical and Resourceful: Keep an eye out for fantastic deals on apples at your local grocery stores, especially “manager’s specials,” or inquire at orchards for discounted fruit. Those slightly bruised or “ugly” apples that might not look perfect for display are absolutely ideal for making homemade applesauce. This recipe transforms less-than-perfect produce into a gourmet delight, helping you save money and reduce food waste.
- Hands-Off Cooking: Unlike traditional stovetop methods that demand constant vigilance and stirring to prevent scorching, the Instant Pot handles the cooking entirely on its own. Once you set the timer, you’re free to attend to other tasks, making it perfect for busy weeknights or meal prepping.
- Silky Smooth Texture: The pressure cooking process breaks down the apple flesh completely, making it incredibly easy to blend into a perfectly silky and smooth consistency. Whether you prefer it chunky or velvety, the Instant Pot sets the stage for your desired texture with minimal effort.
Happy Cooking! We hope this recipe brings much joy to your kitchen. xo Kristen
5-⭐ Reader Review
I’ve made this recipe countless times, and it consistently turns out delicious! 😋 I’ve successfully used a variety of apples, and it’s always a winner. It’s such an easy and wonderful recipe that I make frequently, storing it in containers to freeze and share with friends, neighbors, and even our church priest. I’ve used both water and apple cider, and both yield fantastic results. Thank you for a recipe that makes applesauce an absolute breeze! 🥰 –Angeline ⭐⭐⭐⭐⭐
My Pro Tip
Maximizing Flavor & Efficiency
For the most vibrant and naturally sweet applesauce, always opt for apples that are in season and at their peak ripeness. Don’t be afraid to mix different varieties – a combination of sweet and slightly tart apples often creates the most complex and satisfying flavor profile. Furthermore, resist the urge to add too much liquid initially, as apples release a surprising amount of juice during pressure cooking. This ensures a concentrated flavor without diluting the natural apple goodness.
Essential Ingredients and Equipment
Creating perfect Instant Pot Applesauce requires minimal effort and only two core ingredients, plus your trusty Instant Pot:
- Apples: The choice of apples significantly influences the final flavor and texture. For an ideal naturally sweet and easily digestible applesauce, select soft-flesh, sweet apple varieties such as Gala, Golden Delicious, Fuji, or McIntosh. These varieties break down beautifully under pressure and contribute a lovely inherent sweetness. If you prefer a balanced sweet-tart flavor, consider adding one or two tart Granny Smith apples to the mix, but be mindful not to overdo it, as too many tart apples can make your applesauce overly sharp. Experiment to find your favorite blend!
- Liquid: While apples release a good amount of liquid during the cooking process, a small initial amount is crucial for preventing a “burn” notice and helping the Instant Pot come to pressure safely. I highly recommend using 100% apple juice or apple cider. These liquids not only provide the necessary moisture but also enhance the natural sweetness and complement the inherent apple flavor, creating a more robust and delicious applesauce. If you don’t have apple juice or cider, water can be used, but the apple flavor might be slightly less intense.
- Equipment: At the heart of this recipe is your Electric Pressure Cooker (6 or 8 quart). You’ll also need a sharp knife and cutting board for prepping the apples, and a high-powered blender or food processor for achieving that desired silky-smooth consistency. A slotted spoon or spider strainer will be useful for transferring the cooked apples.
Step-by-Step Guide: How to Make Instant Pot Applesauce
Get ready to be amazed by the sheer simplicity of making homemade applesauce in your Instant Pot. This process is so straightforward, your mind is truly about to be blown!
- Prepare Your Apples: Begin by thoroughly washing your selected apples under cool running water. Since we’re embracing the nutritional benefits and convenience of keeping the peels on, a good wash is essential. Next, carefully remove the core from each apple. You can use an apple corer for efficiency or simply cut around the core. Once cored, dice the apples into roughly 2-inch chunks. Uniformity isn’t critical here, but similar sizes will ensure even cooking.
- Load the Instant Pot: Transfer the diced apples into the inner pot of your Instant Pot. I often find it convenient to add the apples as I chop them, maximizing my cutting board space. Once all apples are in, pour the recommended amount of apple juice (or apple cider/water) over them. For a 3 or 6-quart Instant Pot model, typically ½ cup of liquid is sufficient. For larger 8-quart models, use ¾ cup. This small amount is enough to help the pot come to pressure while allowing the apples to release their natural juices.
Important Note on Liquid Amount
In most Instant Pot recipes, maintaining at least 1 to 1½ cups of thin liquid (depending on the pot size) is crucial to prevent the dreaded “burn” notice. However, this applesauce recipe is a delightful exception. Apples are inherently high in water content and will release a significant amount of liquid as they begin to heat and soften under pressure. This natural release of moisture means you can use a much smaller initial volume of liquid without risking a burn notice, ensuring a concentrated and flavorful applesauce.
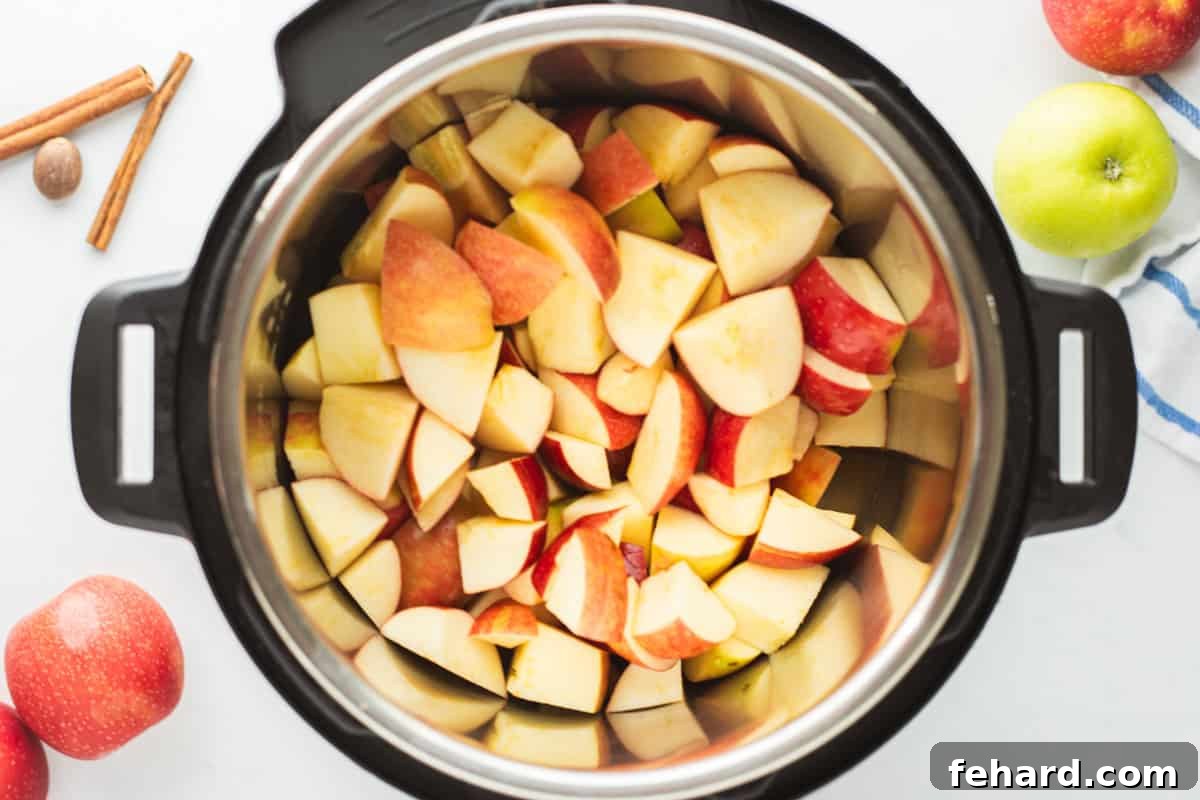
- Pressure Cook to Perfection: Secure the lid onto your Instant Pot, ensuring it’s properly sealed and locked. Rotate the vent knob to the “Sealing” position. Select the “Manual” or “Pressure Cook” setting and adjust the cooking time to 12 minutes on high pressure. Once the cooking cycle is complete, the Instant Pot will beep. At this point, resist the urge to immediately release the pressure. Instead, allow the pressure to release naturally for at least 10 minutes (15 minutes is even better). This natural release helps to further tenderize the apples and prevents any sudden bursts of hot steam. After the natural release period, carefully turn the vent knob to “Venting” for a quick release of any remaining pressure.
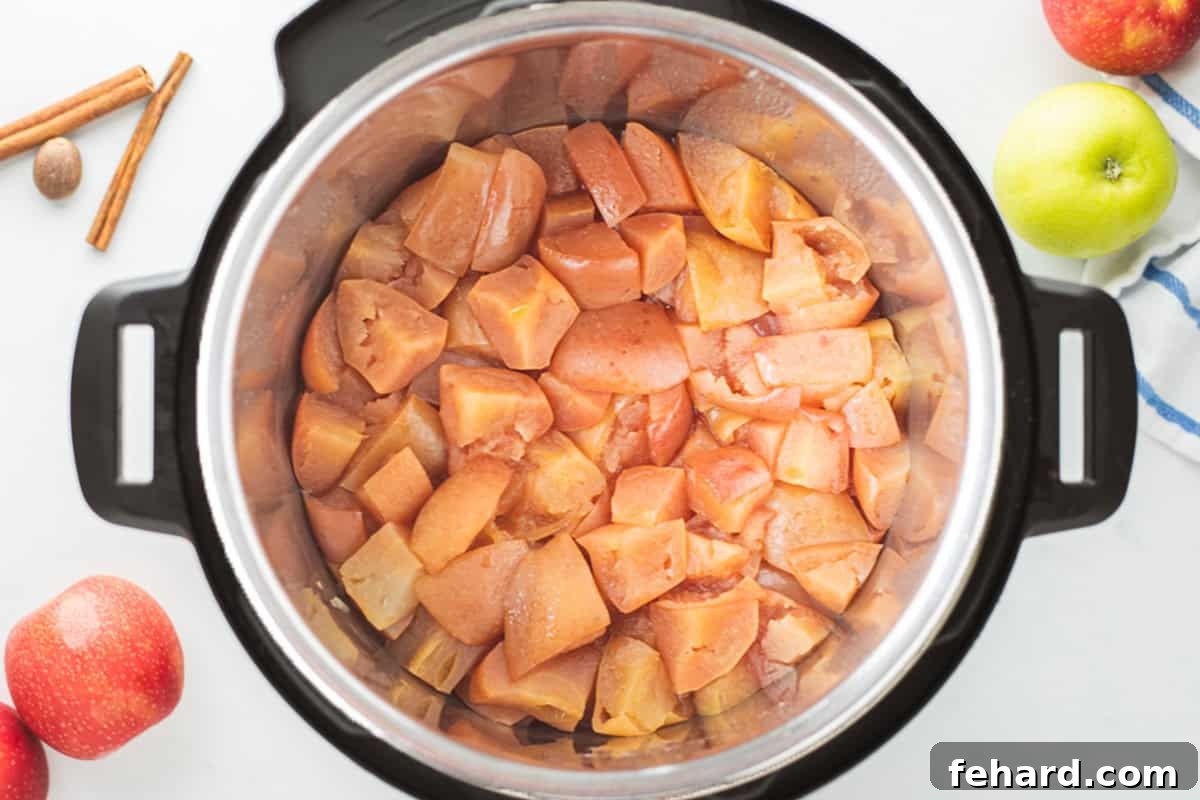
- Blend to Silky Smoothness: Once the pressure has fully released and the lid is safe to open, carefully transfer the cooked apples to a high-powered blender or food processor. Use a slotted spoon or spider strainer to leave the cooking liquid behind in the Instant Pot’s inner pot. This allows you to control the thickness of your applesauce. Secure the blender lid, but ensure the small vent cap is removed or the lid is slightly cracked to allow steam to escape safely (this prevents pressure buildup). Blend the apples until they reach your desired smooth, silky consistency. If the applesauce is too thick for your preference, gradually add a splash of the reserved cooking liquid, blending after each addition, until you achieve the perfect texture.
Don’t Discard the Cooking Liquid!
The flavorful liquid remaining in the Instant Pot is liquid gold! It’s infused with concentrated apple essence and should absolutely not be thrown away. You can use this delicious liquid in a variety of ways: enjoy it as a warm, comforting drink on its own, use it to make a batch of festive mulled cider or Christmas tea, or even use it in place of milk or water to naturally sweeten and flavor your morning oatmeal – think alongside recipes like baked apple oatmeal! It stores well in the refrigerator in an airtight container for up to 5 days, just like the applesauce itself.
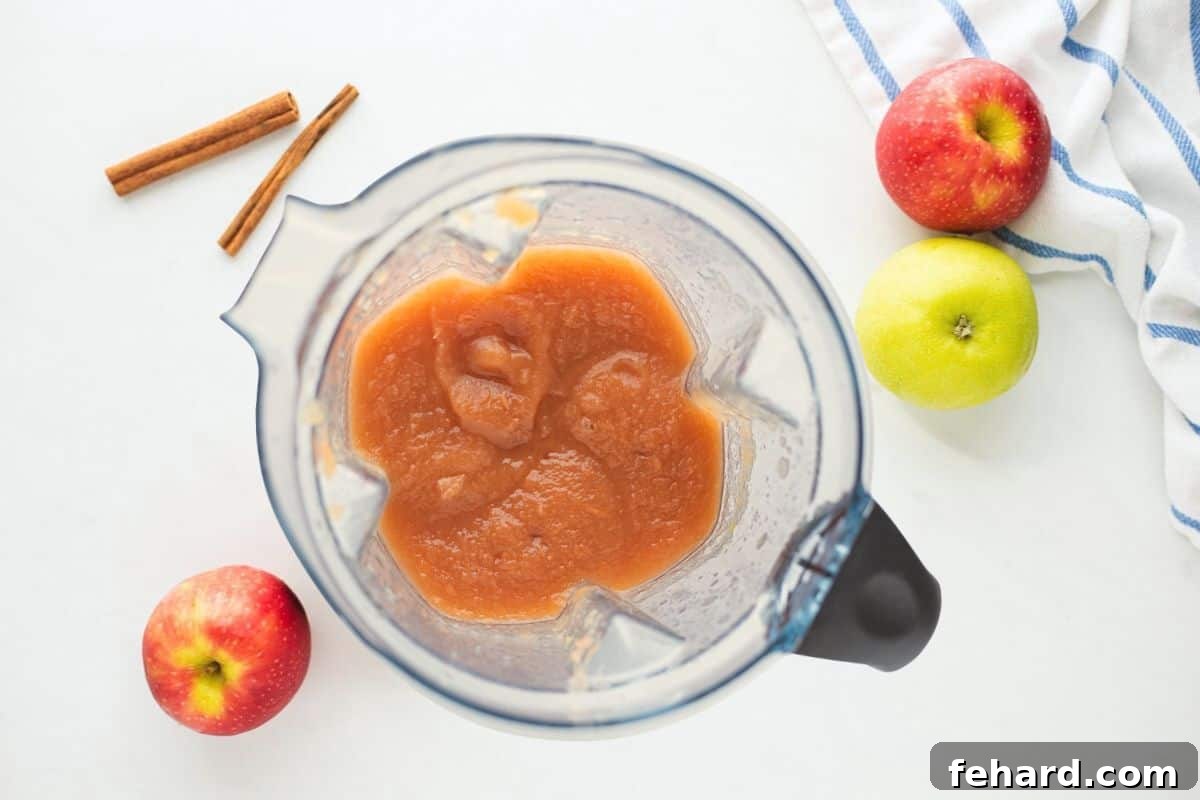
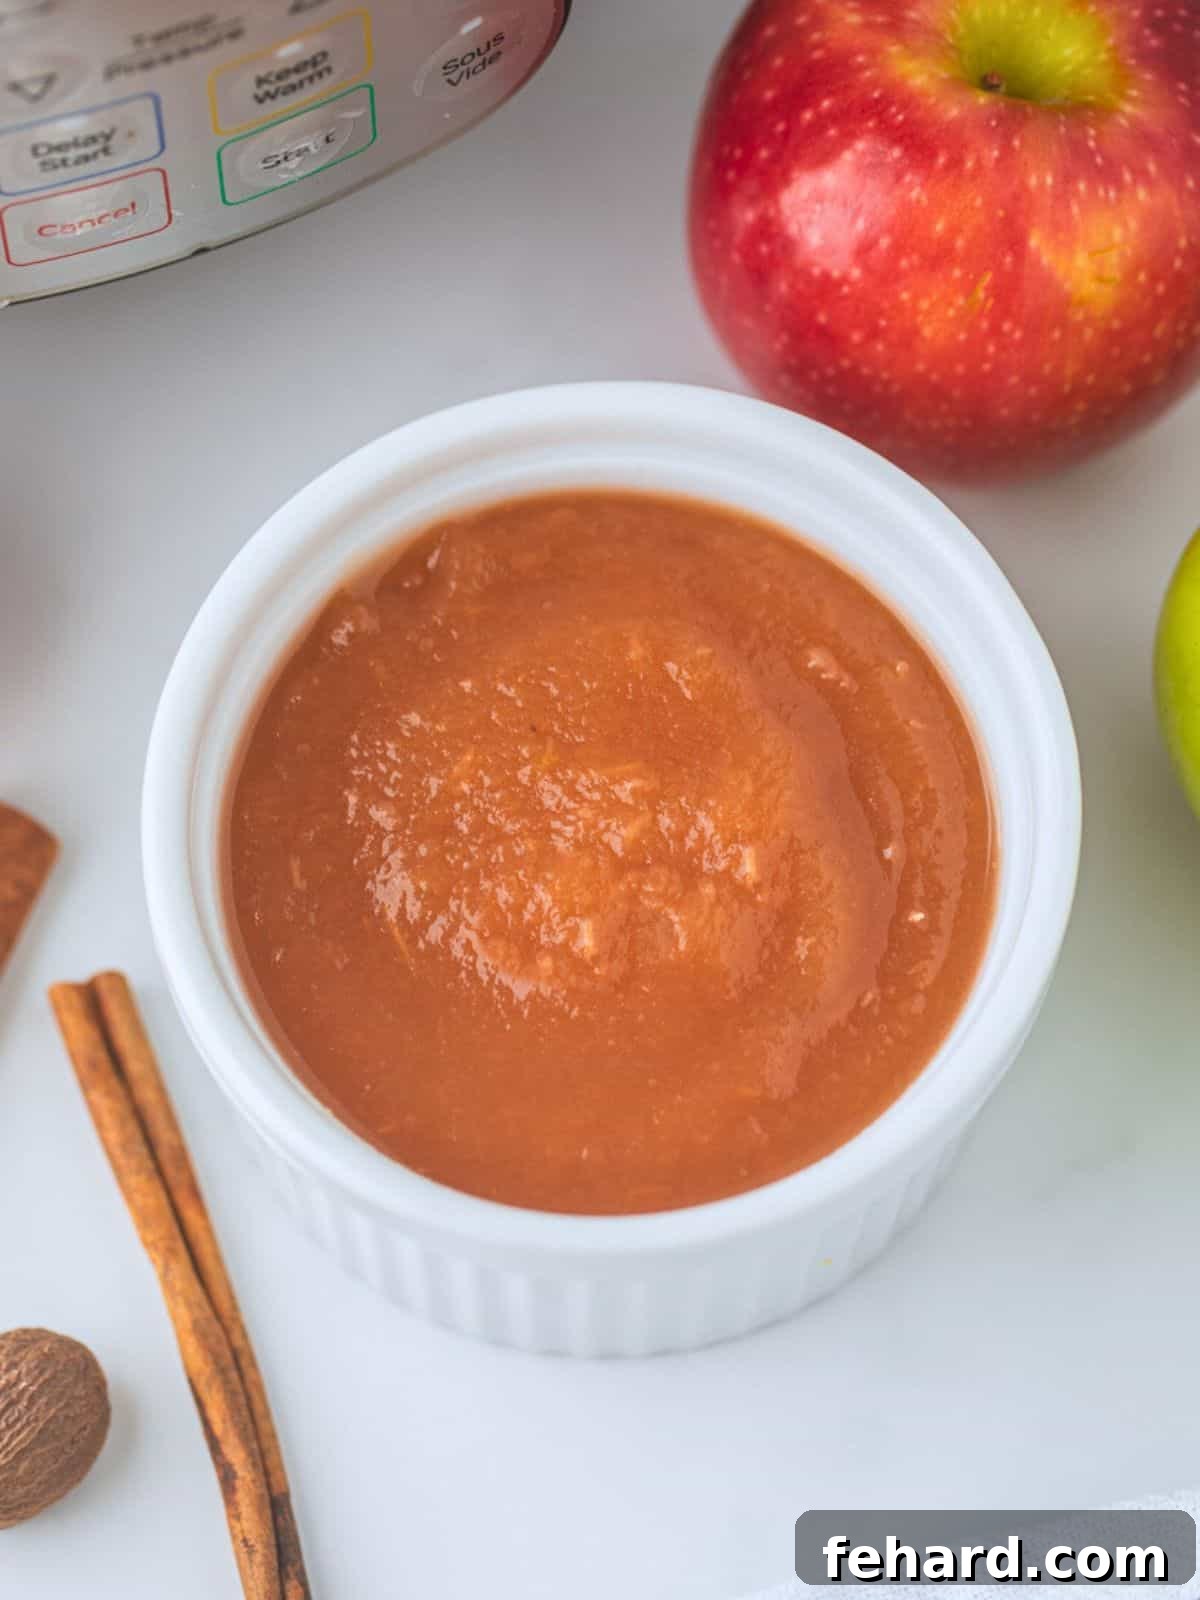
- Serve and Enjoy: While my children (and I wholeheartedly agree!) will tell you there’s nothing quite like warm, freshly made applesauce, it’s equally delightful when chilled. This versatile homemade applesauce is perfect on its own as a healthy snack, alongside pork chops or poultry, or as an incredible ingredient in various recipes. Think moist applesauce muffins, wholesome banana applesauce cookies, or flavorful apple bread. The possibilities are truly endless!
Understanding Yield and Scaling
One of the many reasons to embrace Instant Pot Applesauce is its incredible adaptability. You can effortlessly scale this recipe up or down without needing to adjust the liquid amount or the cooking time. Whether you have just a few apples or wish to fill your pot to its maximum safe capacity, your results will consistently be perfect.
- Typical Yield: As a general guideline, approximately 3 pounds of fresh apples will yield about 1 quart (4 cups) of delicious homemade applesauce. Your actual yield will vary depending on the specific weight and variety of apples you choose.
- Max Fill Line: For safe and efficient pressure cooking, it is crucial not to fill your Instant Pot more than ⅔ full with apples and liquid combined. This ensures there’s enough room for steam to build and maintain pressure effectively, preventing any safety issues or “burn” notices.
- For 3-Quart Models: If you own a smaller 3-quart Instant Pot, plan on using roughly 2 pounds of apples. The cooking time and liquid recommendations remain the same as for larger models, making it perfectly scalable for smaller batches.
- Scaling Up: If you have a bounty of apples and a larger Instant Pot (6 or 8 quart), feel free to maximize its capacity up to the ⅔ fill line. The cooking time for the apples themselves remains constant, as pressure cooking is largely determined by the density of the food and the time it takes to reach pressure, rather than the quantity of ingredients.
Creative Variations to Customize Your Applesauce
This basic Instant Pot Applesauce recipe provides a wonderful foundation, but it’s also incredibly versatile! Feel free to get creative and customize it to your taste preferences with these delightful variations:
- Warm Cinnamon Applesauce: For a classic and comforting flavor, simply add 1 to 2 teaspoons of ground cinnamon directly into the inner pot along with the apples and liquid before you begin pressure cooking. The cinnamon will infuse beautifully throughout the applesauce as it cooks, creating a fragrant and spiced treat. You can also experiment with a pinch of nutmeg or allspice for a richer aroma.
- Tart & Bright Applesauce: If you prefer a more piquant and vibrant applesauce, incorporate more tart apples. Use a ratio of half Granny Smith apples and half sweet apples. After blending, stir in 1 teaspoon of fresh lemon juice. The lemon juice brightens the flavor profile and prevents browning, ensuring your applesauce stays a beautiful golden hue.
- Extra Sweet Delight: While this applesauce is naturally sweet, you can enhance it further if desired. Add 1 to 2 tablespoons of your preferred sweetener—granulated sugar, brown sugar, maple syrup, or honey—either before pressure cooking or after blending. Taste and adjust to achieve your perfect level of sweetness.
- Chunky Style Applesauce: For those who enjoy a more rustic texture, you can easily achieve a chunky applesauce. After pressure cooking, instead of transferring the apples to a blender, mash them gently with a potato masher directly in the Instant Pot or in a large bowl. For an even chunkier result, you might choose to peel the apples before cooking, though it’s not strictly necessary as the peels soften considerably.
- Vanilla Bean Infusion: Add a split vanilla bean (or ½ teaspoon vanilla extract after cooking) to the pot with the apples for a sophisticated, aromatic twist.
- Ginger Zest: For a subtle warmth and zing, grate in 1 teaspoon of fresh ginger along with the apples before cooking.
More Instant Pot Staple Recipes
Just like this incredibly easy Instant Pot Applesauce, the following recipes are foundational kitchen staples that become even simpler and more convenient when prepared in your Instant Pot. Discover how effortlessly you can create these everyday essentials:
- Instant Pot Hard Boiled Eggs: Perfectly cooked eggs, easy to peel every time.
- Instant Pot Spaghetti Sauce: Rich, flavorful sauce in a fraction of the time.
- Instant Pot Yogurt: Creamy, homemade yogurt with minimal effort.
- Instant Pot Brown Rice: Fluffy, perfectly cooked brown rice every single time.
- Instant Pot Beans: Cook dried beans from scratch without pre-soaking.
With minimal preparation, a completely hands-off cooking process, and a burst of fresh, authentic apple flavor, this Instant Pot Applesauce is undeniable proof that homemade creations can be both significantly easier and undeniably superior to anything you’d buy at the store. We sincerely encourage you to give this recipe a try and experience the delicious difference for yourself. Don’t forget to leave a comment below – we’d absolutely love to hear how your batch turns out and what your favorite apple combinations are!
Instant Pot Applesauce
Kristen Chidsey
8
5 minutes
12 minutes
20 minutes
27 minutes
Rate

Ingredients
-
3
pounds
apples,
about 12 small apples or 9 medium apples -
½-¾
cup
apple juice,
see note on liquid
Instructions
-
Wash the apples thoroughly. Remove the core from each apple and then dice them into approximately 2-inch chunks. There is no need to peel the apples unless you specifically desire a peel-free applesauce.
-
Add the prepared apple chunks to the inner pot of your Instant Pot, followed by the apple juice. For 3-quart or 6-quart Instant Pot models, use ½ cup of liquid. For an 8-quart Instant Pot, use ¾ cup of liquid.
-
Secure the lid onto your pressure cooker. Ensure the vent knob is turned to the “Sealing” position, meaning your lid is properly sealed and locked for pressure cooking.
-
Select the “Manual” or “Pressure Cook” function on your Instant Pot and set the cooking time to 12 minutes on high pressure.
-
Once the cooking time has finished, allow the pressure to release naturally for at least 10 minutes. For even softer apples and a richer flavor, a 15-minute natural pressure release is optimal before carefully releasing any remaining pressure using the quick release method.
-
Using a spider strainer or a slotted spoon, carefully remove the pressure-cooked apples from the inner pot. Leave the delicious cooking liquid behind in the pot. Transfer the apples into a high-powered blender or a food processor equipped with an s-blade.
-
Place the lid securely on your blender, making sure to slightly crack open the top vent (or remove the small cap) to allow steam to escape safely during blending. Blend the apples until you achieve your desired smooth consistency. If the applesauce is too thick, gradually add small splashes of the reserved cooking liquid until it reaches your preferred texture.
-
Serve the applesauce warm for a truly comforting treat, or allow it to cool completely. Once cooled, store the applesauce in an airtight container in the refrigerator for up to 5 days.
Equipment
-
Electric Pressure Cooker (6 or 8 quart)
-
High-Powered Blender or Food Processor
-
Slotted Spoon or Spider Strainer
Notes for Perfect Applesauce
Amount of Apples: This recipe is incredibly flexible. Use as few apples as you like or pack in as many as your Instant Pot allows, ensuring you do not fill the inner pot beyond the ⅔ full mark. The cooking time and initial liquid amount remain constant, regardless of the apple quantity (within the safe fill limits).
3-Quart Instant Pot Model: If using a smaller 3-quart Instant Pot, we recommend using approximately 2 pounds of apples and ½ cup of apple juice. The pressure cooking time should remain the same at 12 minutes on high pressure.
To Adjust Sweetness: While naturally sweet, you can enhance the flavor further by adding 1-2 tablespoons of granulated sugar, brown sugar, maple syrup, or honey. Incorporate the sweetener either before the pressure cooking process or stir it in after the applesauce has been blended.
Adding Cinnamon: For a classic flavor, feel free to add 1-2 teaspoons of ground cinnamon (or to taste) into the Instant Pot along with the apples and liquid before you begin cooking.
Storage & Freezing: Allow the applesauce to cool completely before storing it. It will keep well in airtight jars or containers in the refrigerator for up to 5 days. For longer storage, transfer the cooled applesauce to freezer-safe containers (leaving some headspace for expansion) and freeze for up to 6 months. Thaw overnight in the refrigerator before serving.
Reserved Cooking Liquid: The liquid left in the pot after cooking the apples is highly flavorful! Don’t discard it. Enjoy it as a warming drink, use it to naturally sweeten your oatmeal, or even use it as a base for making another batch of applesauce. It can be stored in the fridge in an airtight container for up to 5 days.
Note on Blending: If you find that your blender isn’t quite powerful enough to achieve a perfectly silky and smooth consistency, you have the option to strain the pureed applesauce through a fine-mesh strainer after blending. This will remove any tiny bits of peel or apple flesh, resulting in an exceptionally smooth texture.
Nutrition Information (per serving)
Calories:
73
kcal
Carbohydrates:
19
g
Sodium:
2
mg
Potassium:
152
mg
Fiber:
2
g
Sugar:
14
g
Vitamin A:
60
IU
Vitamin C:
5.5
mg
Calcium:
9
mg
Iron:
0.2
mg
Nutrition information is automatically calculated and provided for estimation purposes only. It may vary based on specific ingredients and preparation methods.
Tried this recipe?
Mention
@amindfullmom or tag
#amindfullmom!
This recipe was originally shared in 2019 and comprehensively updated in 2025 to include enhanced tips, more detailed instructions, and further variations for the ultimate homemade Instant Pot Applesauce experience.