
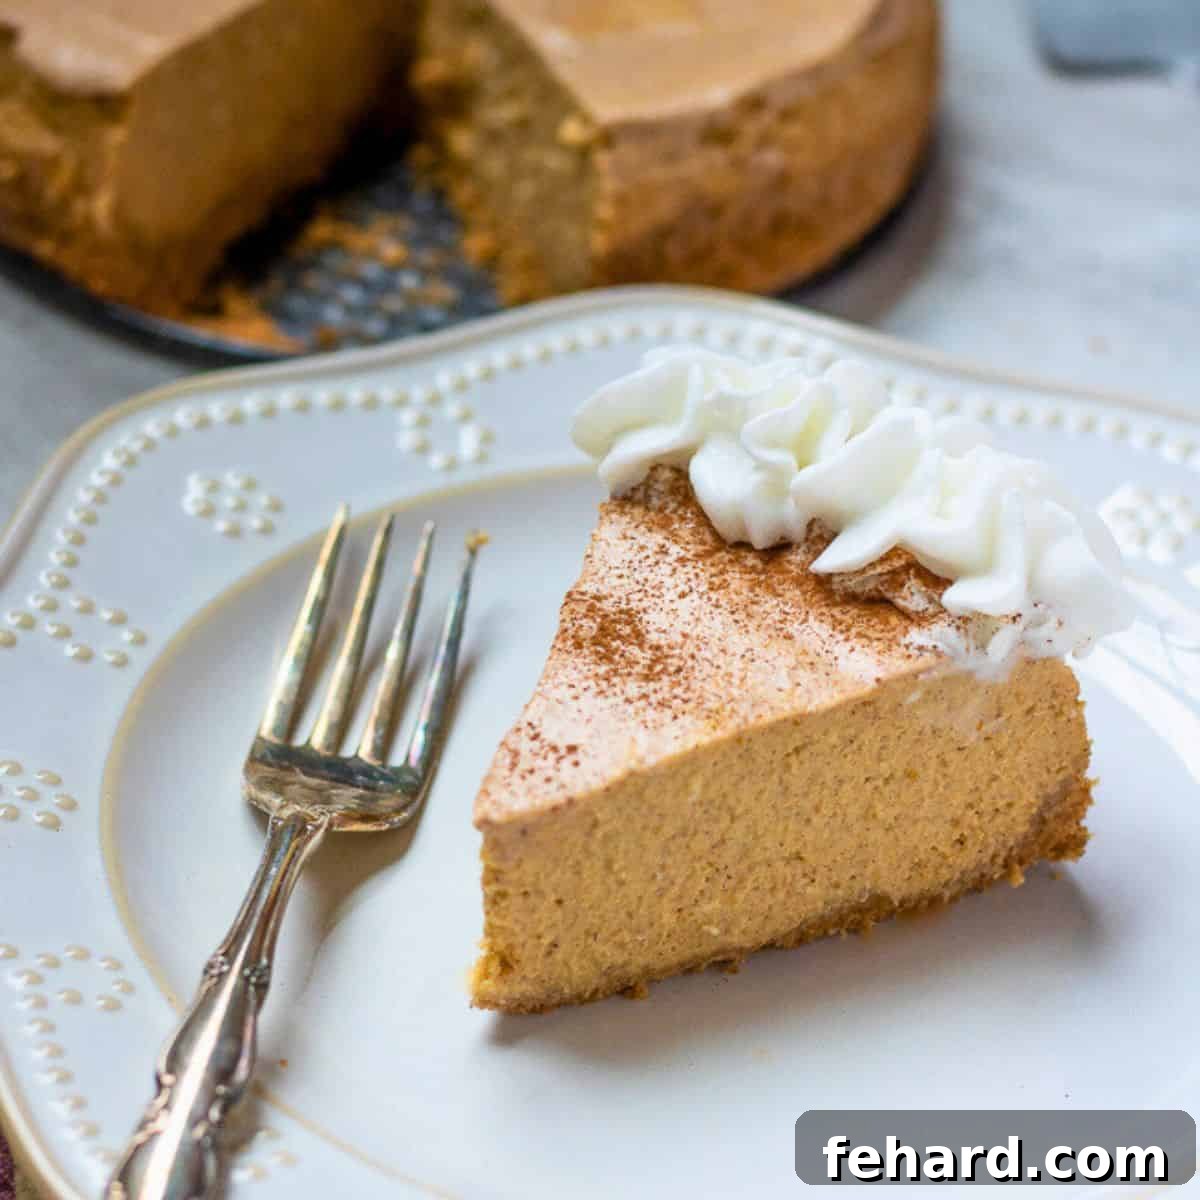
Ultimate Instant Pot Pumpkin Cheesecake: Creamy Perfection, Every Time
Prepare to impress with this show-stopping, yet incredibly easy Instant Pot Pumpkin Cheesecake recipe! Featuring a delightfully spicy gingersnap crust and a luxuriously smooth, richly spiced pumpkin cream cheese batter, this dessert promises to be a flawless masterpiece. Say goodbye to complicated water baths and dreaded cracks—the Instant Pot delivers consistent perfection with minimal effort, making it your go-to recipe for the holiday season or any special occasion.
If you’re a devoted fan of traditional pumpkin pie and adore the classic richness of a New York-style cheesecake, then this Instant Pot Pumpkin Cheesecake is tailor-made for you. It masterfully blends the beloved flavors and textures of two iconic desserts into one unforgettable treat that will leave everyone asking for more.
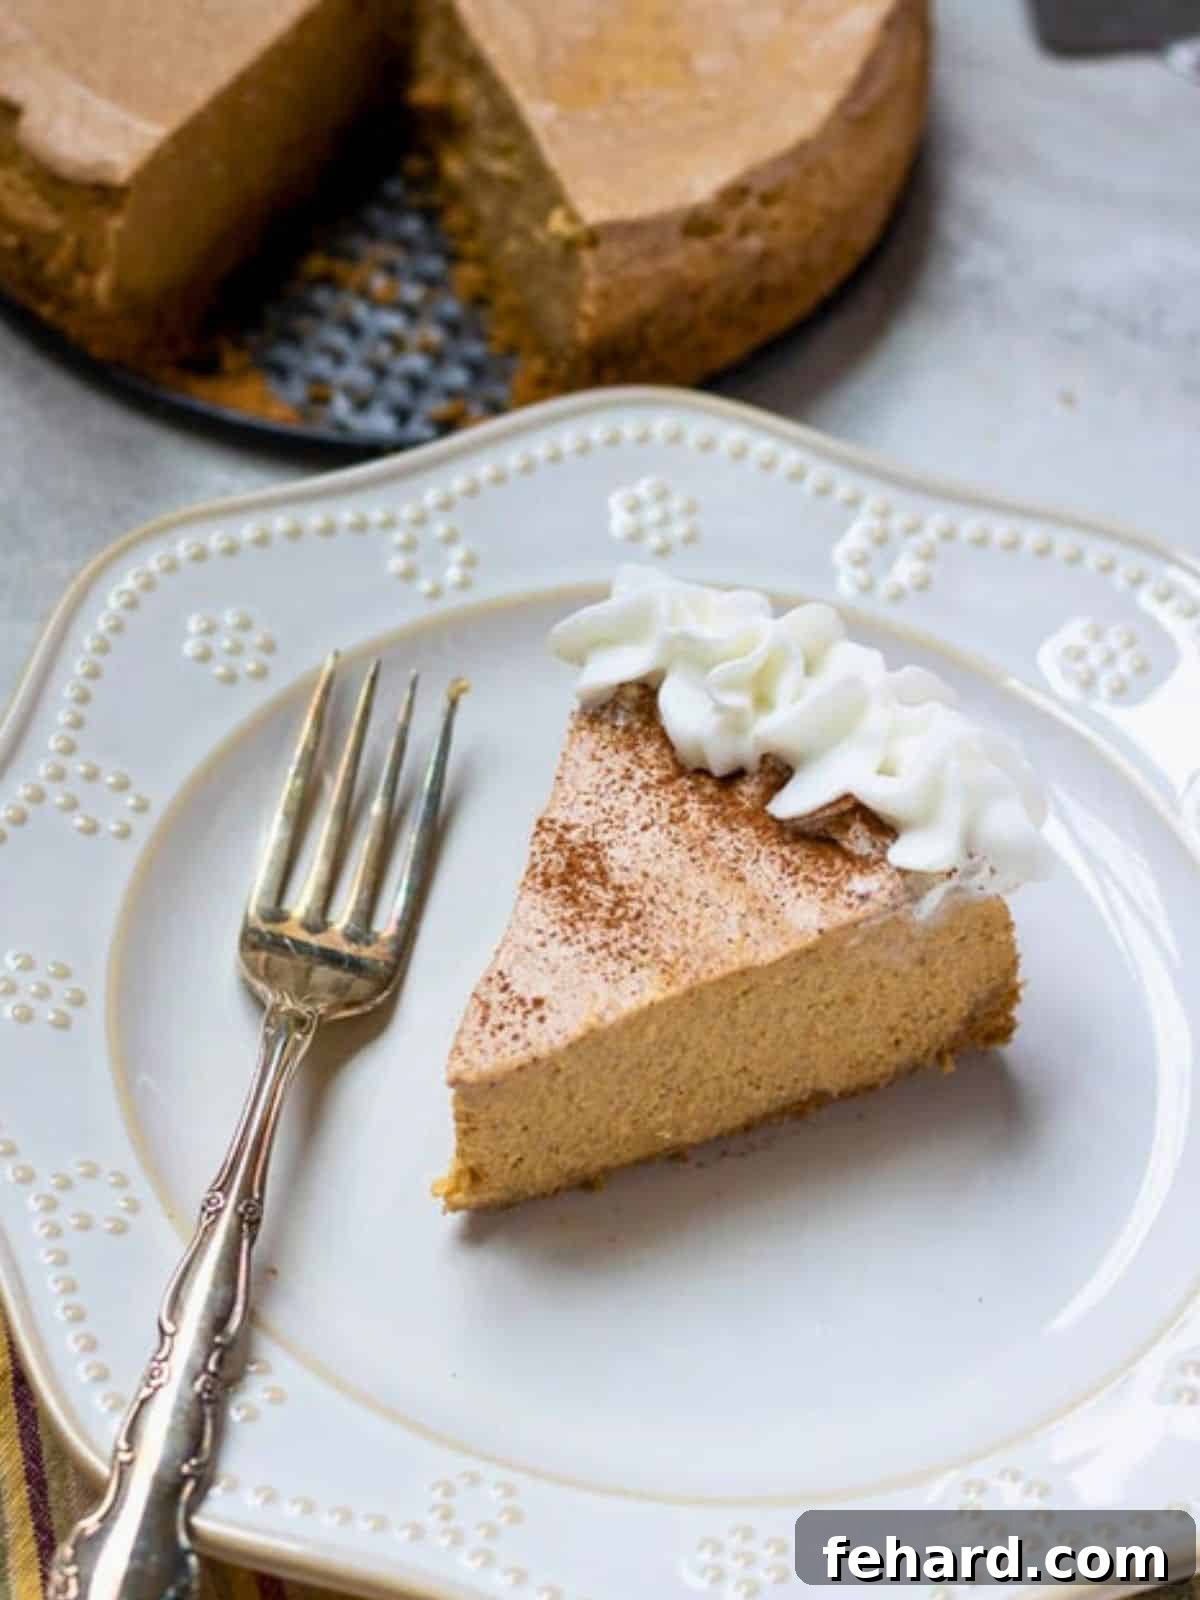
Why the Instant Pot is Your Secret Weapon for Perfect Cheesecake
The Instant Pot isn’t just for savory meals; it’s a game-changer for desserts, especially cheesecakes. The sealed, high-pressure environment creates a consistent, moist heat that is ideal for baking cheesecakes evenly without drying them out. This method eliminates the need for a traditional water bath, which can often be cumbersome and risky, leading to soggy crusts or water seeping into your dessert. With the Instant Pot, you get a consistently creamy, crack-free cheesecake every single time. Here are some essential tips to ensure your Instant Pot Pumpkin Cheesecake reaches peak perfection:
Essential Tips for Instant Pot Pumpkin Cheesecake Success
- Achieve a Silky Batter with Room Temperature Ingredients: This is perhaps the most crucial tip for any cheesecake. Ensure your cream cheese and eggs are at room temperature for at least 3-4 hours before you begin mixing. Cold ingredients do not emulsify properly, leading to a lumpy batter. Room temperature ingredients blend together smoothly, creating a homogeneous, air-free mixture that bakes into a delightfully creamy cheesecake.
- Select the Right Pan for Flawless Fit and Bake: For cheesecakes in an Instant Pot, a 7-inch springform pan or a sturdy 7-inch cake pan is essential. This size fits perfectly within most 6-quart or 8-quart Instant Pot inner pots, allowing sufficient space for steam circulation. A springform pan makes for easy removal and presentation, ensuring your beautiful cheesecake stays intact.
- Master the Art of Mixing: Don’t Overmix the Eggs: After incorporating the cream cheese, pumpkin, sugar, and spices, add the eggs last. Mix them in very lightly and only until they are *just* combined. Overmixing eggs can introduce too much air into the batter, which expands during cooking and then collapses during cooling, leading to unsightly cracks or a deflated texture. Gentle mixing is key to a dense, smooth cheesecake.
- Prevent Flavor Transfer with a Dedicated Sealing Ring: Your Instant Pot’s silicone sealing ring is porous and can absorb strong odors from savory dishes like chili or curry. To prevent these lingering flavors from transferring to your delicate pumpkin cheesecake, it’s highly recommended to have two separate sealing rings: one for savory cooking and another exclusively for sweet dishes. This small investment makes a huge difference in the purity of your dessert’s flavor.
- Plan Ahead for Deeper Flavor: Make in Advance: Like many fine desserts, cheesecake benefits immensely from chilling time. For the absolute best flavor and texture, prepare your Instant Pot Pumpkin Cheesecake at least 8 hours, or ideally a full day, before you plan to serve it. This extended refrigeration period allows the flavors to meld and deepen, and the cheesecake to set perfectly, resulting in an even creamier, more satisfying slice. This also makes it a perfect make-ahead Thanksgiving recipe or holiday dessert!
Step-by-Step Guide: Crafting Your Instant Pot Pumpkin Cheesecake
Creating this delicious pumpkin cheesecake in your Instant Pot is a straightforward process when you follow these steps carefully. The detailed ingredient quantities and precise instructions are provided in the comprehensive recipe summary below, but these tips will guide you through achieving perfect results.
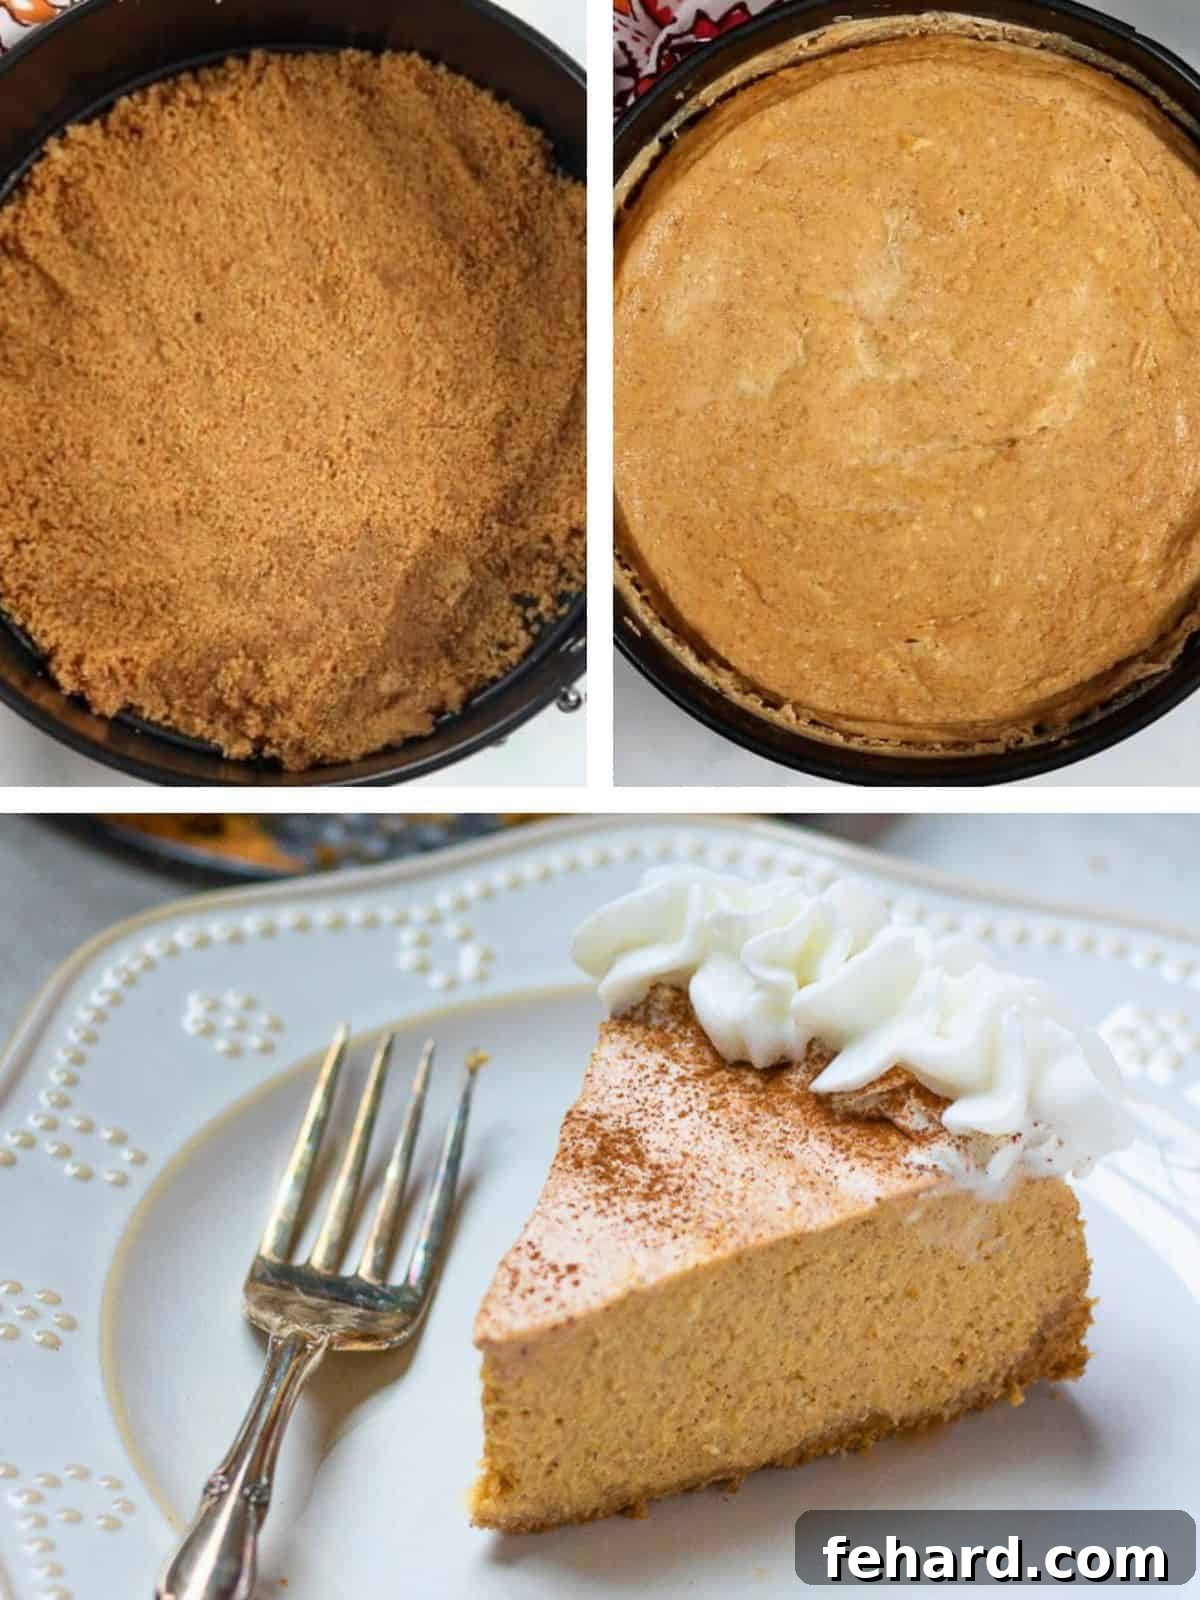
- Prepare the Irresistible Gingersnap Crust: Begin by combining gingersnap cookies and pecans in a food processor. Pulse them until they are finely ground into even crumbs. Then, drizzle in the melted unsalted butter and pulse again until the mixture achieves a consistency resembling wet sand—it should hold together when pressed. Firmly press this flavorful crust mixture into the bottom of a lightly greased 7×3-inch springform pan. For optimal setting and to prevent sogginess, immediately place the crust into the freezer while you prepare the rich pumpkin cheesecake filling. If you desire an extra-crispy crust, you can pre-bake it at 350°F (175°C) for 10 minutes before adding the filling.
- Craft the Silky Pumpkin Cheesecake Filling: In a large mixing bowl, combine the softened cream cheese, luscious pumpkin puree (ensure it’s 100% pumpkin, not pie filling), granulated sugar, cornstarch, fragrant cinnamon, freshly grated nutmeg, and vanilla extract. Beat these ingredients on low speed until the mixture is completely smooth and creamy, with no lumps. Next, carefully add the room temperature eggs. Mix on the lowest speed possible, just until the eggs are fully incorporated into the batter. Be vigilant not to overmix, as this introduces air that can lead to cracks.
- Assemble and Prepare for Pressure Cooking: Retrieve the chilled crust from the freezer. Pour the prepared pumpkin cheesecake filling smoothly over the crust in the springform pan. Gently tap the pan a few times on your counter to release any trapped air bubbles, ensuring a dense and even texture. To prevent any condensation from dripping onto the cheesecake during the pressure cooking process, cover the top of the pan tightly with a piece of aluminum foil.
- Master the Pressure Cooking Process: Pour precisely 1½ cups of cold tap water into the inner pot of your Instant Pot. Insert the metal trivet (the rack that typically comes with your Instant Pot) into the bottom of the pot. Carefully place your foil-covered cheesecake pan onto the trivet, ensuring it is centered and stable. Secure the Instant Pot lid, making sure the sealing vent knob is turned to the “Sealing” position. Set your Instant Pot to cook on HIGH pressure for 45 minutes.
- Allow for Natural Pressure Release (NPR): Once the 45-minute cooking cycle is complete, resist the urge to immediately release the pressure. Instead, allow the pressure to release naturally for at least 15 minutes. This gradual release is crucial for cheesecakes, as it prevents sudden temperature changes that can cause the cheesecake to crack. After 15 minutes of natural release, you can then carefully perform a quick release of any remaining pressure. Once the pin drops, carefully remove the lid.
- Chill Thoroughly and Serve with Elegance: Gently lift the cheesecake out of the Instant Pot using the trivet handles. Place it on a wire rack and allow it to cool at room temperature for about 10 minutes. After this initial cooling, carefully remove the foil cover. Run a thin butter knife around the edges of the cheesecake to gently loosen it from the pan sides before unlatching the springform. To prevent condensation during chilling, place a paper towel or a piece of parchment paper directly on top of the cheesecake (avoiding contact with the surface if possible, or just resting it gently) before covering the entire pan tightly with plastic wrap or aluminum foil. Refrigerate the Instant Pot Pumpkin Cheesecake for a minimum of 8 hours, and ideally 12 hours, before serving. This prolonged chilling period is vital for the cheesecake to firm up and for its rich, complex flavors to fully develop. Serve chilled, perhaps with a dollop of fresh homemade whipped cream or a sprinkle of extra cinnamon for a truly indulgent experience.
Recipe Modifications and Creative Variations
One of the best aspects of this Instant Pot Pumpkin Cheesecake recipe is its versatility. Feel free to customize it to your personal preferences or dietary needs with these delicious modifications:
- Crust Alternatives: Beyond Gingersnaps: While gingersnap cookies offer a wonderful spicy complement to the pumpkin, you can easily swap them out. Use an equal amount of finely crushed chocolate sandwich cookies for a darker, richer crust, classic graham cracker crumbs for a more traditional cheesecake base, or even Biscoff cookies for a unique caramel-spiced twist. Each option brings its own delightful character to the dessert.
- Crafting a Nut-Free Crust: If you need to make this cheesecake nut-free, simply replace the pecans in the crust recipe with an equal amount of additional gingersnap or graham cracker crumbs. This ensures the crust maintains its structure and deliciousness without any tree nuts, making it safe for those with allergies.
- Utilizing Homemade Pumpkin Puree: If you prefer to use fresh homemade pumpkin puree, it’s essential to adjust its consistency to match that of canned pumpkin puree, which is typically thicker. Place your homemade pumpkin puree in a fine-mesh strainer lined with cheesecloth and set it over a large bowl. Refrigerate for a couple of hours to allow excess liquid to drain off. Once adequately drained, measure out ½ cup of the thicker puree to use in your recipe, ensuring the cheesecake filling doesn’t become too watery.
- Achieve an Extra Crispy Crust: For those who love a crust with a pronounced crunch, consider baking the gingersnap and pecan crust before adding the filling. Simply press the crust mixture into your pan and bake it at 350°F (175°C) for 10 minutes. Let it cool slightly before pouring in the pumpkin cheesecake batter and proceeding with the pressure cooking steps.
Storage Instructions for Optimal Freshness
Proper storage is key to enjoying your Instant Pot Pumpkin Cheesecake for days to come, or even saving it for a future treat:
- Refrigeration for Short-Term Enjoyment: Once your cheesecake has fully cooled after pressure cooking, place a paper towel or a piece of parchment paper directly over the top of the pan before wrapping it tightly with aluminum foil or plastic wrap. This layer helps absorb any condensation, preventing the top of your cheesecake from becoming soggy. Store the cheesecake in the refrigerator for up to 4 days.
- Freezing for Long-Term Delight: For longer storage, you can freeze individual slices or the entire cheesecake. Carefully remove the chilled cheesecake from the springform pan. Wrap it thoroughly in a layer of plastic wrap, followed by a layer of heavy-duty aluminum foil. For added protection against freezer burn, place the wrapped cheesecake in a freezer-safe bag or airtight container. It can be frozen for up to 1 month. To serve, allow the frozen cheesecake to defrost slowly in the refrigerator overnight before indulging.
Explore More Instant Pot Cheesecake Flavor Variations
If you’ve fallen in love with the ease and perfection of making cheesecake in your Instant Pot, you’ll be thrilled to know the possibilities are endless! Expand your dessert repertoire with these other fantastic Instant Pot cheesecake recipes:
- Classic Instant Pot Cheesecake: The foundational recipe for perfectly smooth, rich cheesecake.
- Decadent Instant Pot Chocolate Cheesecake: A rich, indulgent chocolate version for the true chocoholics.
- Instant Pot Carrot Cake Cheesecake: A delightful fusion of classic carrot cake flavors with creamy cheesecake.
Instant Pot Pumpkin Cheesecake Recipe Card
Rating: 4.90 from 19 votes
By: Kristen Chidsey
Servings: 12
Prep Time: 10 mins
Cook Time: 45 mins
Pressure Release: 15 mins
Total Time: 1 hr 5 mins (excluding chilling time)
This Instant Pot Pumpkin Cheesecake delivers a consistently perfect texture and rich, comforting flavor, making it an ideal dessert for any fall or holiday gathering. Its gingersnap crust adds a wonderful spiced crunch that complements the creamy pumpkin filling beautifully.
Ingredients
Gingersnap Crust
- ¾ cup gingersnap cookie crumbs (~about 10 gingersnaps)
- ¼ cup pecans, finely chopped
- 2 tablespoons unsalted butter, melted
Pumpkin Cheesecake Batter
- 16 ounces full-fat cream cheese, at room temperature
- ½ cup canned pumpkin puree (*see notes for using homemade)
- ⅔ cup granulated sugar
- 1 tablespoon cornstarch
- 1 teaspoon cinnamon
- ½ teaspoon grated nutmeg
- ½ teaspoon vanilla extract
- 2 large eggs, at room temperature
Instructions
Gingersnap Crust Preparation
- In a food processor fitted with an s-blade, combine approximately 10 gingersnap cookies (to yield ¾ cup gingersnap cookie crumbs) with ¼ cup pecans. Pulse until they are finely broken down into crumbs. Ensure the mixture equals about 1 cup of crumbs; if not, add a couple more cookies and process again.
- Add 2 tablespoons of melted unsalted butter to the food processor and pulse until the mixture resembles wet sand.
- Press the mixture firmly into a lightly greased 7 by 3-inch springform pan or cake pan. Immediately place the crust into the freezer while you prepare the cheesecake filling. For an even crispier crust, you can bake it at 350℉ (175℃) for 10 minutes prior to adding the filling.
Instant Pot Pumpkin Cheesecake Baking
- In a large mixing bowl, beat 16 ounces of full-fat cream cheese, ½ cup canned pumpkin puree, ⅔ cup granulated sugar, 1 tablespoon cornstarch, 1 teaspoon cinnamon, ½ teaspoon grated nutmeg, and ½ teaspoon vanilla extract on low speed until the mixture is just smooth and creamy. Add 2 large eggs and beat on low speed until they are *just* combined. Be careful not to overmix the batter.
- Pour the prepared batter into the chilled crust. Gently tap the pan on the counter a few times to help release any trapped air bubbles. Cover the pan tightly with aluminum foil to prevent condensation from dripping onto the cheesecake during cooking.
- Pour 1½ cups of cold tap water into the inner pot of your Instant Pot. Place the trivet inside the pot, then carefully position the foil-covered pumpkin cheesecake pan on the trivet. Secure the Instant Pot lid, ensuring the vent knob is pointed towards the “Sealed” position.
- Set the Instant Pot to cook on HIGH pressure for 45 minutes. (This is typically done by pressing the “Manual” or “Pressure Cook” button and using the +/- buttons to adjust the time.)
- Once the cooking time has elapsed, allow the pressure to release naturally for a minimum of 15 minutes. This natural pressure release is vital for preventing cracks in your cheesecake. After 15 minutes, carefully perform a quick release for any remaining pressure. Once the float valve drops, you can safely remove the Instant Pot lid.
- Allow the pumpkin cheesecake to cool in the pan for at least 10 minutes at room temperature before carefully removing the foil. After 10 minutes, gently run a thin butter knife around the sides of the cheesecake to loosen it from the pan before unlatching the springform.
- To finish, place a paper towel or a piece of parchment paper on top of the cheesecake (to absorb condensation), then cover the entire pan tightly with plastic wrap or foil. Refrigerate the Instant Pot Pumpkin Cheesecake for 8-12 hours before serving. This extensive chilling period is crucial for setting the cheesecake and developing its full, rich flavor.
Equipment
- Electric Pressure Cooker (6 or 8 quart)
- 7-inch Springform Pan
- Food Processor
Chef’s Notes & Expert Tips
Prep in Advance: For the ultimate flavor and texture, much like other cheesecakes, this pumpkin cheesecake truly shines when prepared at least 8 hours in advance, allowing ample time for the flavors to meld and deepen.
Storage: Your delicious pumpkin cheesecake can be stored in an airtight container in the refrigerator for up to 4 days. For longer preservation, it freezes beautifully for up to 30 days. Ensure it’s well-wrapped to prevent freezer burn.
Pumpkin Type: Always use 100% pure pumpkin puree for this recipe, NOT pumpkin pie filling. Pumpkin pie filling contains added sugars and spices that will alter the cheesecake’s taste and consistency. If you’re using homemade pumpkin puree, it’s typically thinner than canned. To achieve the correct consistency, drain your homemade puree in a fine-mesh strainer lined with cheesecloth for about 4 hours in the refrigerator, then measure out ½ cup of the strained puree.
Crust Customization: While the gingersnap crust offers a delightful spicy kick, feel free to substitute with graham crackers, chocolate cookies, or any other cookie of your choice. If you need a nut-free option, simply replace the pecans with an equal amount of additional cookie crumbs, making it a full cup of cookie crumbs total.
Pan Size Matters: A 7-inch springform pan is the perfect fit for both 6-quart and 8-quart Instant Pot models, allowing for proper cooking and easy placement/removal. While a springform pan is highly recommended for cheesecakes due to its removable sides, a 7-inch stainless steel cake pan can also be used if you don’t have a springform, though removal will require more care.
Spice Adjustment: If you prefer a more pronounced, classic pumpkin spice flavor profile, you can substitute the 1 teaspoon of cinnamon with 1 teaspoon of pumpkin pie spice.
Cold Water is Key: It is crucial to use cold tap water at the bottom of your Instant Pot’s inner pot. Using warm or hot water can significantly alter the pressure build-up and cooking results, affecting the cheesecake’s final texture.
Foil Cover Importance: Covering the cheesecake pan tightly with foil is essential to prevent condensation from dripping onto the surface of your cheesecake, which can make it watery or cause cracks. If you opt *not* to cover it with foil, reduce the high-pressure cooking time to 35 minutes and exercise extreme caution when removing the Instant Pot lid to avoid dripping condensation onto the delicate cheesecake surface.
Addressing Bubbling/Cracking: Some pressure cooker models may run slightly hotter, which can occasionally cause the cheesecake to bubble or crack. The addition of cornstarch to the batter, combined with careful attention to *not overmixing the eggs*, is key to preventing this issue and ensuring a perfectly smooth, crack-free top.
For those cooking at higher altitudes (2500+ feet above sea level), please consult specific Instant Pot High Altitude Conversion guidelines for potential adjustments to cooking times.
Nutrition Information (Approximate Per Serving)
Calories: 244 kcal
Carbohydrates: 18g
Protein: 3g
Fat: 17g
Saturated Fat: 8g
Cholesterol: 73mg
Sodium: 184mg
Potassium: 122mg
Fiber: 1g
Sugar: 14g
Vitamin A: 3785IU
Vitamin C: 0.8mg
Calcium: 54mg
Iron: 0.8mg
Nutrition information is automatically calculated and should be used as an approximation. Individual results may vary based on ingredients and preparation methods.