
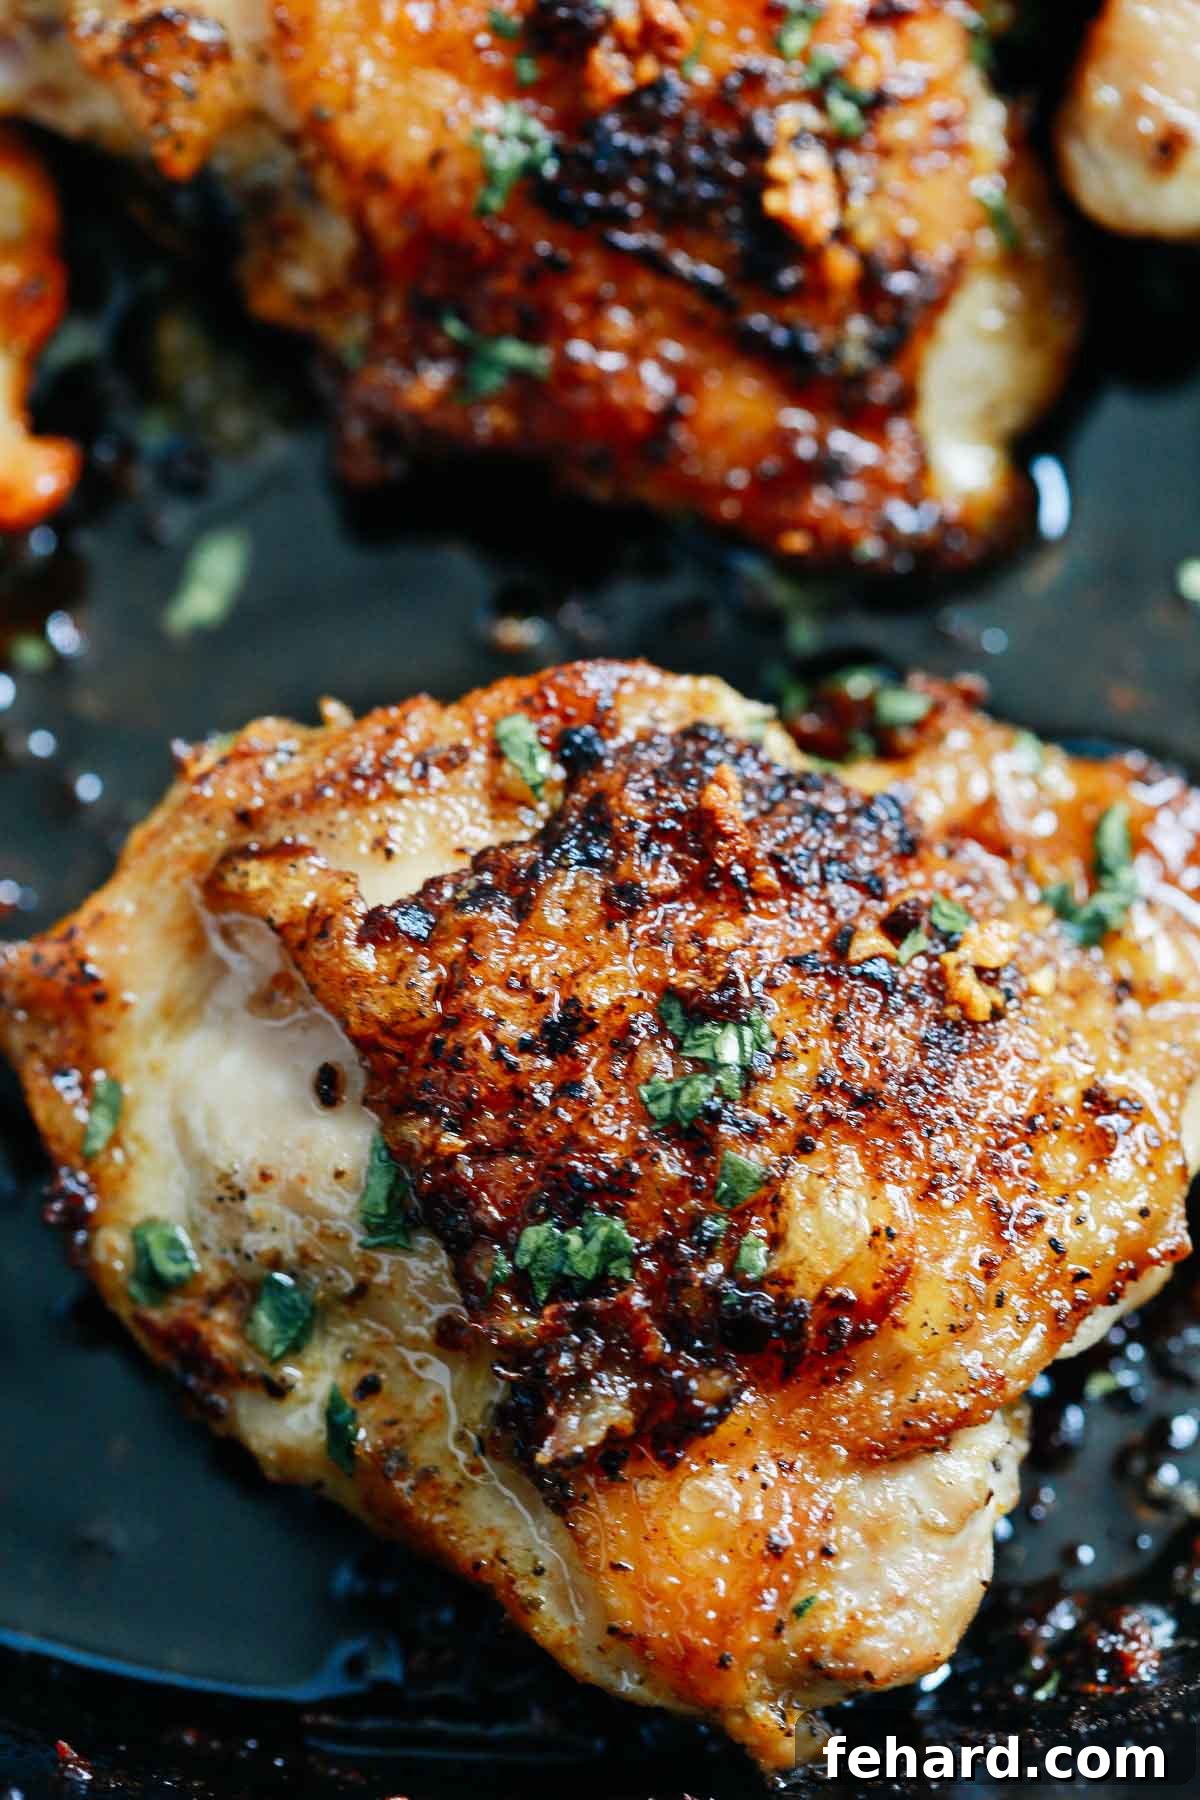
Irresistible Garlic Butter Baked Chicken Thighs: Your Ultimate Weeknight Dinner Solution
Unlock the secret to the most tender, juicy, and flavor-packed chicken you’ve ever made with our recipe for **Garlic Butter Baked Chicken Thighs**. This simple yet sensational dish transforms humble chicken thighs into a culinary masterpiece, boasting irresistibly crispy, golden skin and succulent meat bathed in a rich, aromatic garlic butter sauce. Perfect for bustling weeknights or relaxed family dinners, this oven-baked marvel comes together in just 45 minutes, promising a delightful meal that will have everyone asking for seconds.
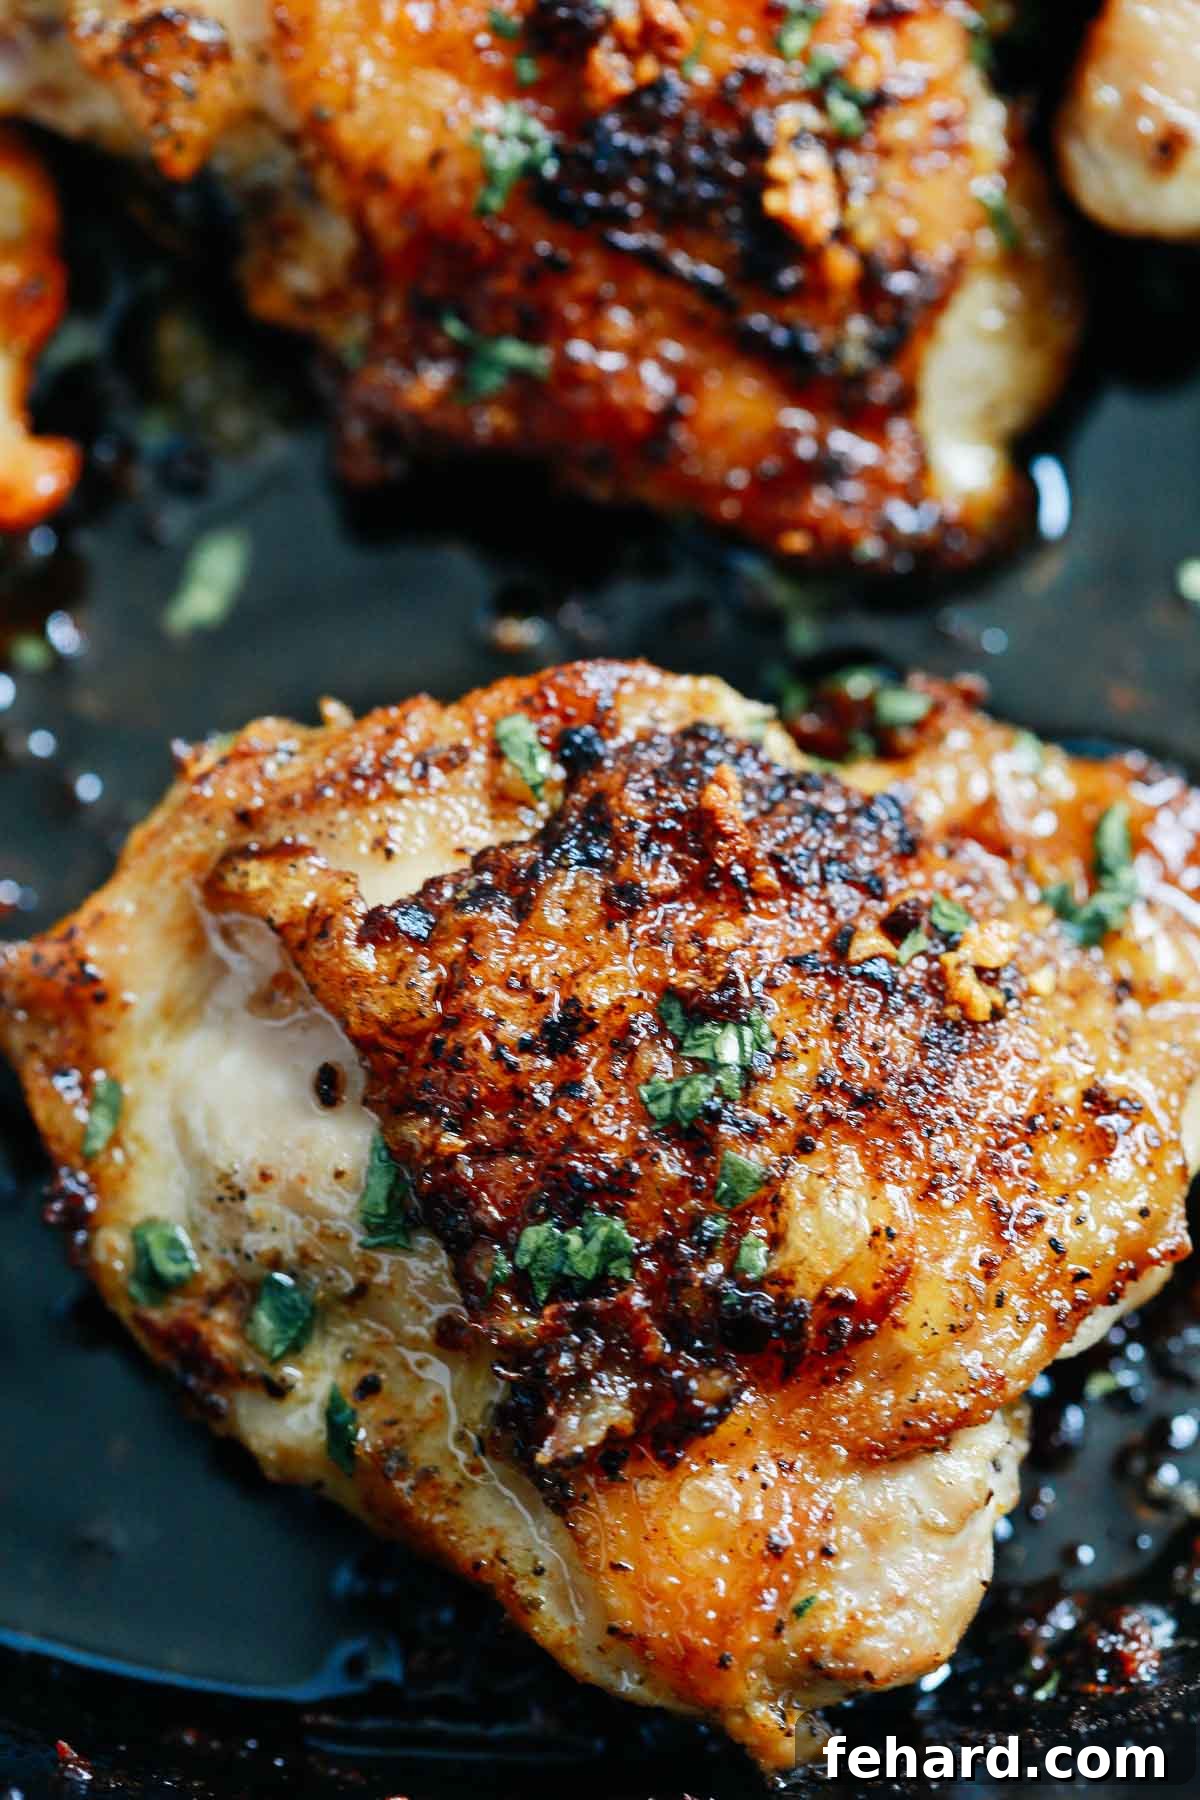
Why These Garlic Butter Baked Chicken Thighs Will Become Your New Family Favorite
There’s a reason why certain recipes earn a permanent spot in our meal rotation, and for my family, these garlic butter chicken thighs are a cherished staple. The sheer joy of seeing my son and husband eagerly devour every last bite, often playfully vying for the coveted crispy skin, is incredibly rewarding. It’s more than just a meal; it’s a moment of shared happiness at the dinner table. Having prepared this dish countless times, perfecting it over years, I’m thrilled to finally share this foolproof method with you.
What truly sets this recipe apart is its remarkable simplicity without compromising on extraordinary flavor. You might be surprised to learn that such profoundly juicy and aromatic chicken requires only a handful of essential ingredients. This minimal ingredient list makes it an accessible option for even the busiest home cooks, proving that gourmet flavors don’t have to come with a complicated prep process. It’s the kind of recipe that delivers consistent, outstanding results every single time, ensuring a stress-free and delicious dinner experience.
Forget dry, bland chicken! This recipe focuses on creating a harmonious blend of textures and tastes. The initial sear on the stovetop ensures that coveted crispy skin, sealing in the natural juices. Then, a rich garlic butter sauce is lovingly crafted right in the same pan, infusing every fiber of the chicken with an incredible depth of flavor. The oven then takes over, baking the thighs to tender perfection, allowing the flavors to meld beautifully. The result is a golden-brown exterior, a moist interior, and an irresistible aroma that fills your kitchen and beckons everyone to the table.
Essential Ingredients for Unforgettable Flavor
Crafting the perfect dish often comes down to selecting quality ingredients and understanding how they contribute to the final taste. For these garlic butter baked chicken thighs, the magic truly lies in these three core components:
Premium Chicken Thighs
For this recipe, I highly recommend using **bone-in, skin-on chicken thighs**. The bone acts as a natural heat conductor, ensuring more even cooking and helping the meat stay incredibly moist. The skin is your secret weapon for achieving that coveted crispiness and golden-brown perfection, adding a rich layer of flavor as it renders down. While you can certainly adapt this recipe for boneless, skinless chicken thighs or even chicken breasts, keep in mind that the cooking times will differ (as detailed below), and you might miss out on some of the inherent juiciness and flavor that the bone and skin provide. If using boneless, ensure you don’t overcook them to prevent dryness.
Fresh, Aromatic Garlic
**Garlic** is the heart of our sauce, and its quality makes all the difference. I strongly advocate for using freshly crushed or minced garlic cloves. The robust, pungent, and vibrant flavor and aroma of fresh garlic simply cannot be matched by pre-ground or jarred alternatives. While convenient, pre-minced garlic often lacks the intense depth and can sometimes have a slightly bitter taste. Taking a few extra moments to crush fresh cloves will elevate your garlic butter sauce from good to truly exceptional.
Rich, Creamy Butter
**Butter** is the other star ingredient, providing richness, tenderness, and that beautiful golden sheen. I opt for unsalted butter, as it gives you complete control over the salt content of your dish. This allows you to season the chicken and sauce precisely to your liking, enhancing the natural flavors of the other ingredients without making the dish overly salty. If you only have salted butter on hand, simply reduce the amount of added salt in the seasoning steps. The butter, combined with the chicken’s rendered fat and garlic, creates an incredibly luscious pan sauce that you’ll want to spoon over everything.
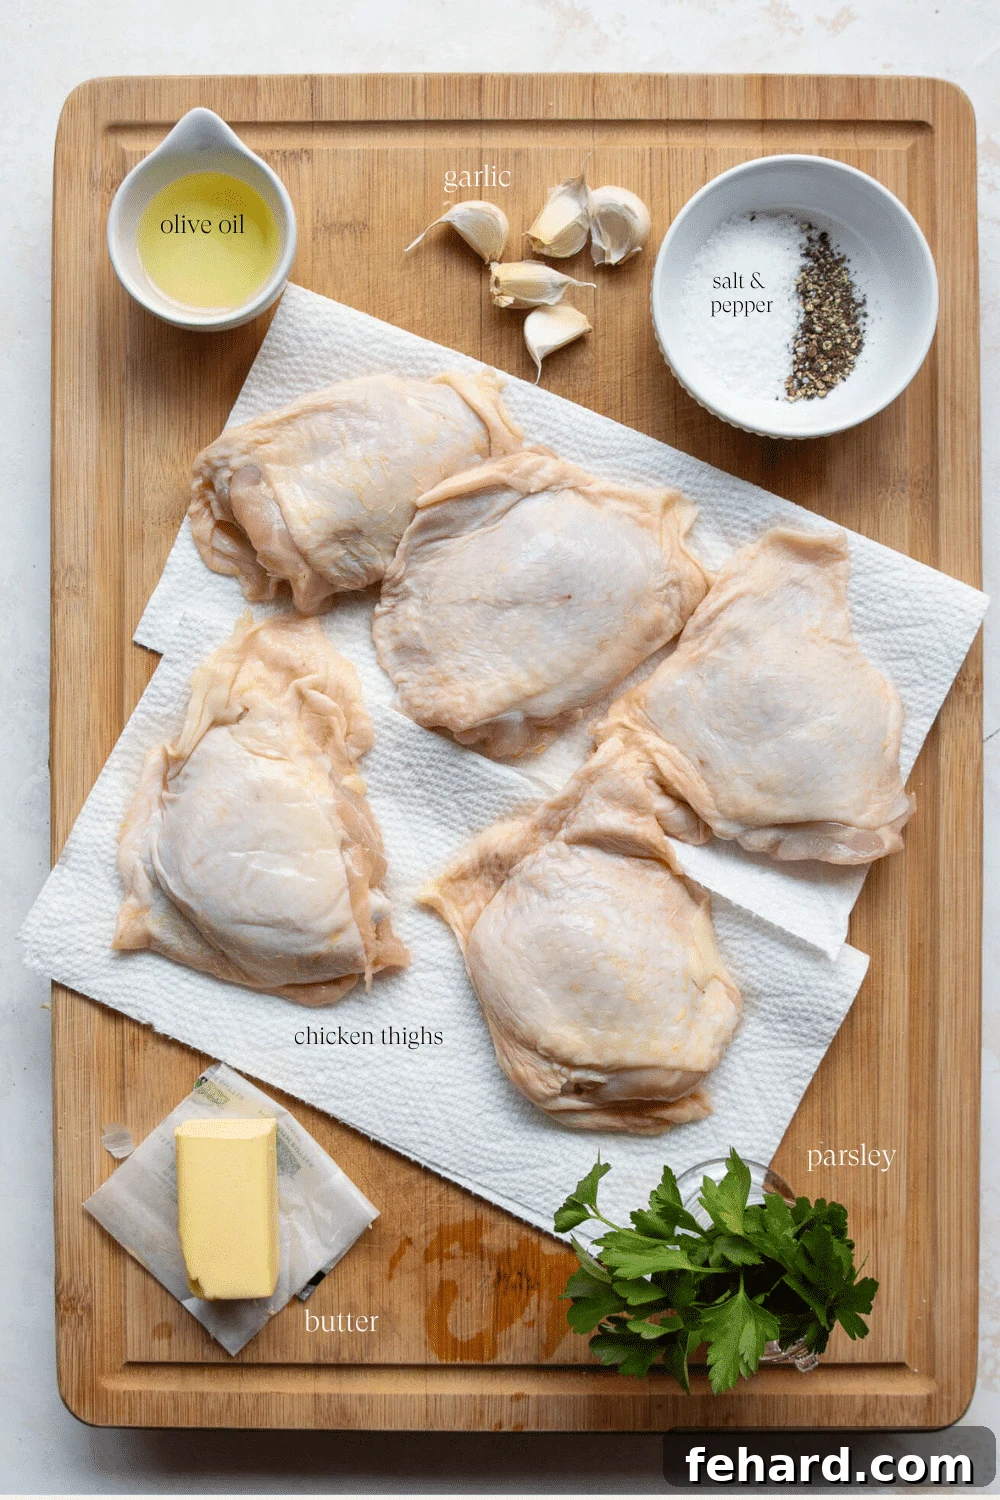
In addition to these core ingredients, you’ll need a touch of **olive oil** for searing and, of course, **salt and black pepper** to season the chicken. A sprinkle of fresh parsley at the end adds a vibrant touch of color and a fresh herbaceous note.
Mastering the Art of Perfect Chicken Thighs: Step-by-Step Guide
Achieving perfectly crispy skin and moist, tender meat is easier than you think. Follow these steps for an outstanding meal:
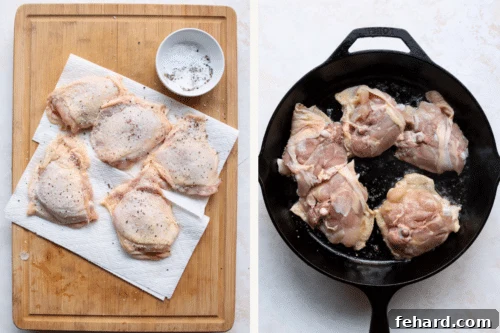
- Preparation is Key: Begin by thoroughly patting the chicken thighs dry with paper towels. This crucial step removes excess moisture from the skin, which is essential for ensuring it gets wonderfully crispy during searing. Don’t skip this!
- Season Generously: Once dried, season both sides of your chicken thighs liberally with salt and freshly ground black pepper. This initial seasoning is vital for building a strong flavor base.
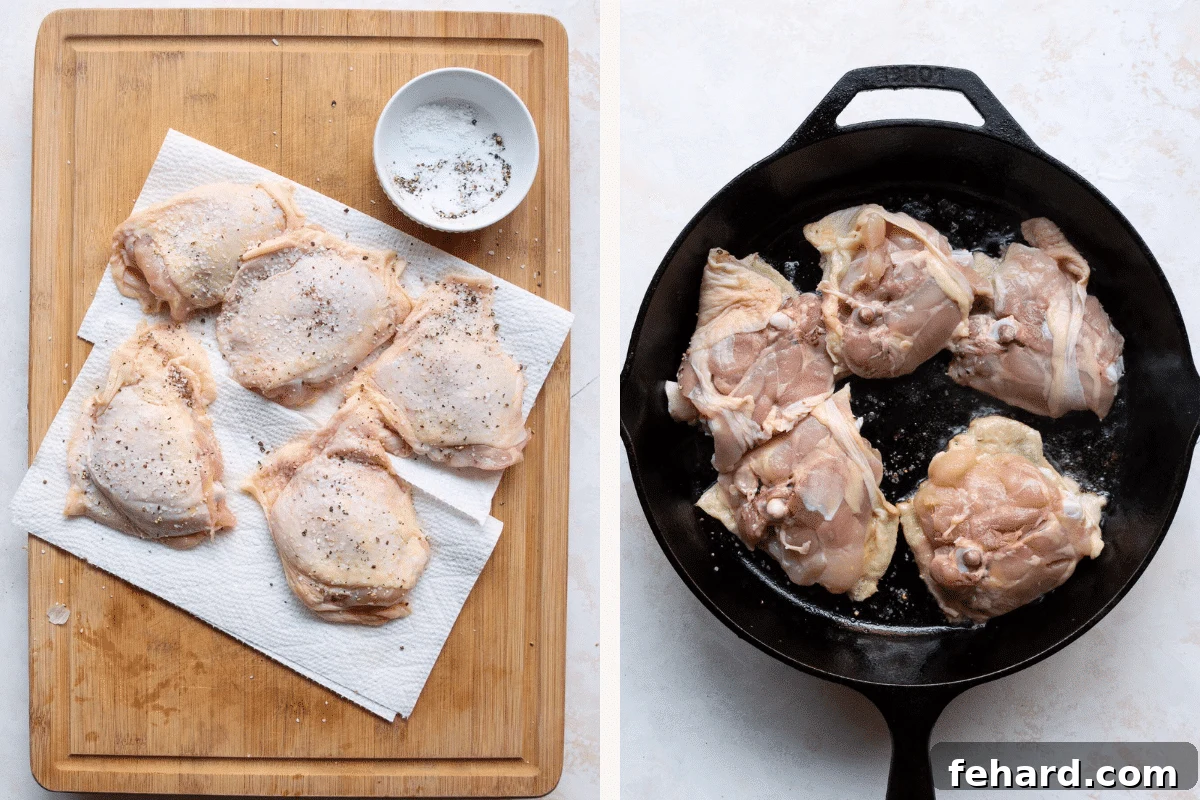
- Sear for Crispy Skin: Heat a cast-iron skillet (or another oven-safe pan) over medium-high heat. Add a tablespoon of olive oil. Once shimmering, carefully place the chicken thighs skin-side down in a single layer. Avoid overcrowding the pan; work in batches if necessary to ensure even searing. Cook undisturbed for about 5-7 minutes, or until the skin turns a beautiful golden-brown and becomes wonderfully crispy. This searing step is paramount for texture and flavor.
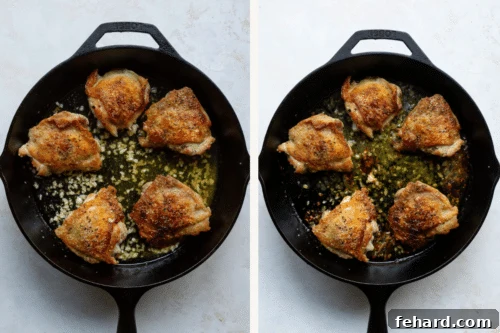
- Craft the Garlic Butter: Once the skin is crispy, flip the chicken thighs over. While the chicken continues to cook on the other side (just for a minute or two), move it slightly to one side of the pan. Add the butter to the empty side of the pan. Allow it to melt gently.
- Infuse with Garlic: Once the butter has melted, add your freshly crushed garlic to the butter. Stir constantly for about 30-60 seconds, allowing the garlic to become fragrant. Be mindful of the heat; you want the garlic to soften and release its aroma, not burn, which would turn it bitter.
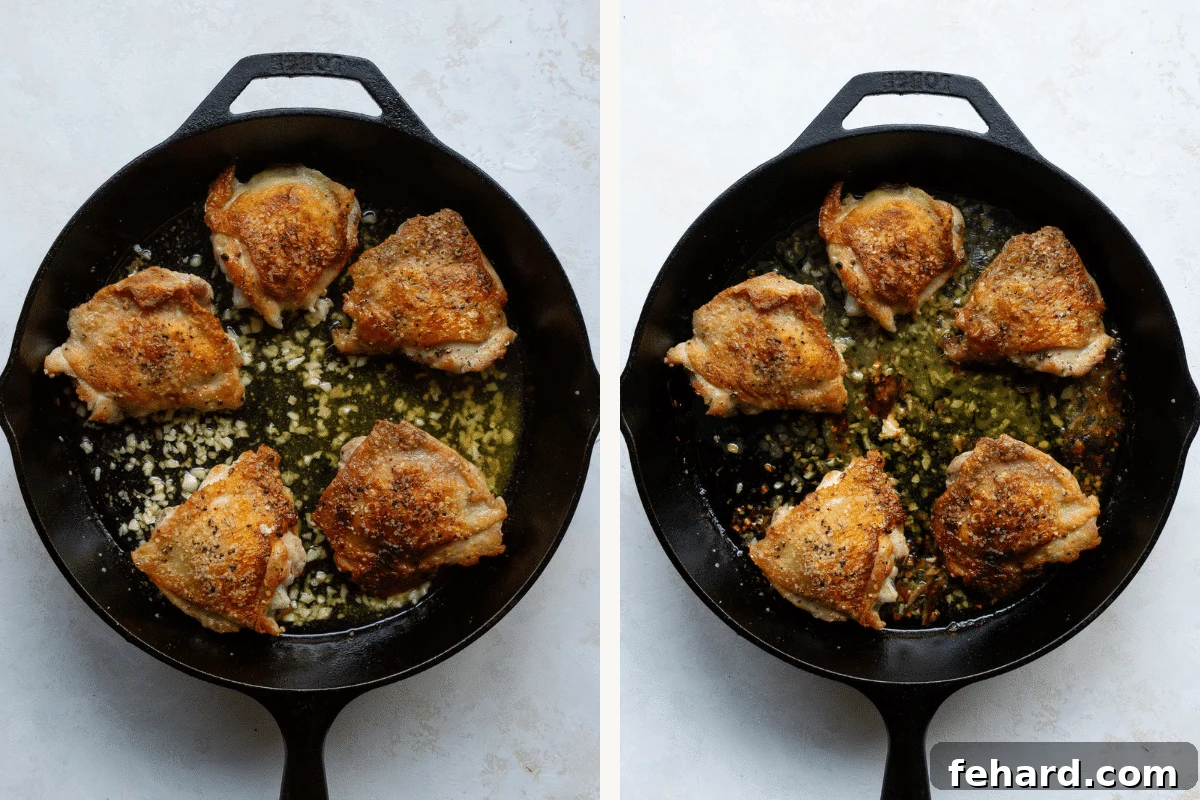
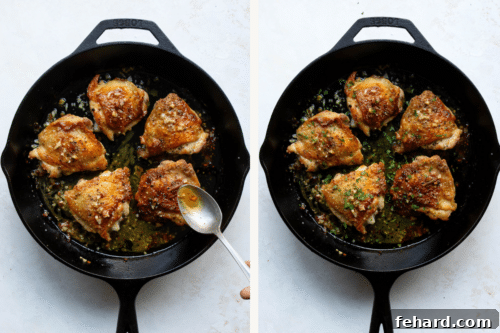
- Finish in the Oven: Pour the luscious garlic butter over the chicken thighs. Transfer the entire skillet to a preheated oven (400°F / 200°C) and bake for approximately 25-30 minutes, or until the chicken is cooked through and reaches an internal temperature of 165°F (74°C). If you notice the skin darkening too quickly, loosely tent the skillet with aluminum foil to prevent burning while the meat finishes cooking.
- Check for Doneness: The most accurate way to ensure your chicken is perfectly cooked without drying it out is by using a reliable meat thermometer. Insert it into the thickest part of the thigh, avoiding the bone. The internal temperature should register 165°F (74°C).
- Rest Before Serving: Once cooked, remove the skillet from the oven. For optimal juiciness, allow the chicken thighs to rest in the pan for 5-10 minutes before serving. This allows the juices to redistribute throughout the meat, resulting in incredibly tender and moist chicken. Spoon any remaining garlic butter sauce from the pan over the chicken before serving, and garnish with fresh chopped parsley for a burst of color and freshness.
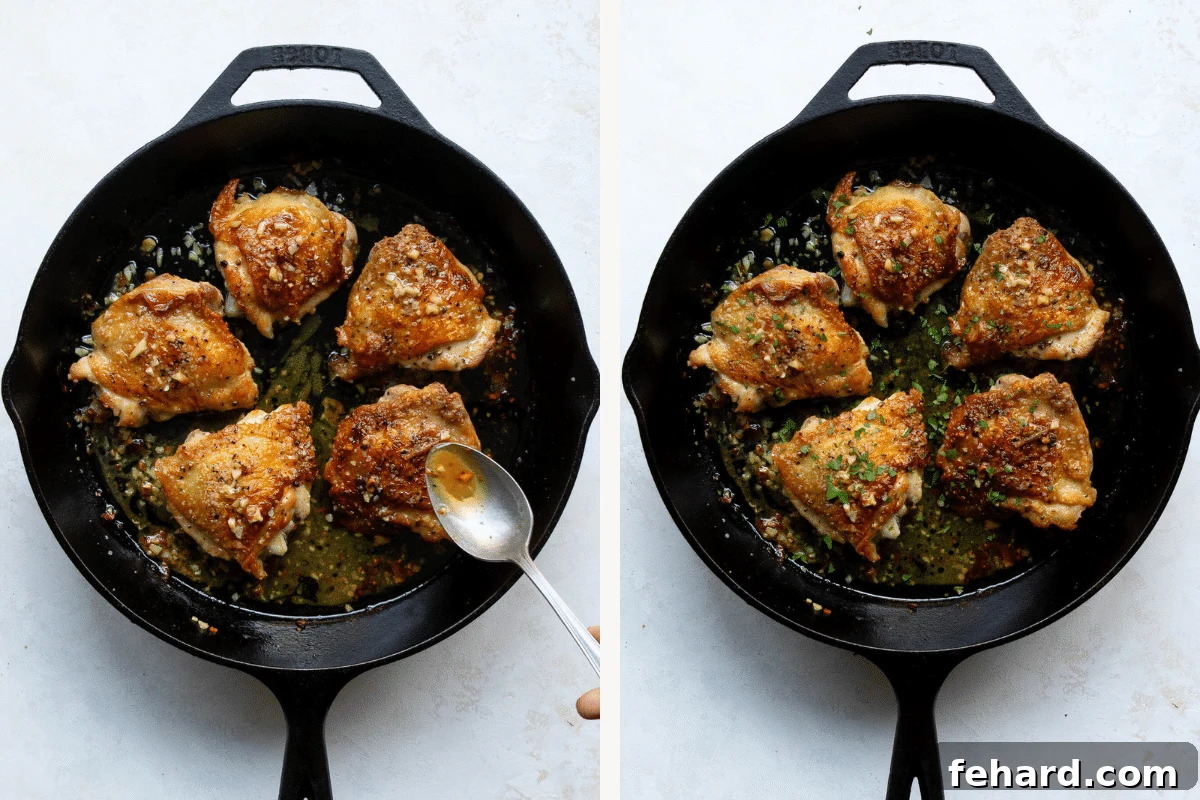
Optimal Baking Times for Different Chicken Thighs
Understanding approximate baking times is crucial for perfectly cooked chicken. While relying on a meat thermometer is always the most accurate approach, here are general guidelines for different types of chicken thighs when baking at 400°F (200°C) after an initial sear:
- For **boneless, skinless chicken thighs**, expect a baking time of approximately 15 to 20 minutes. Due to their smaller size and lack of bone, they cook more quickly.
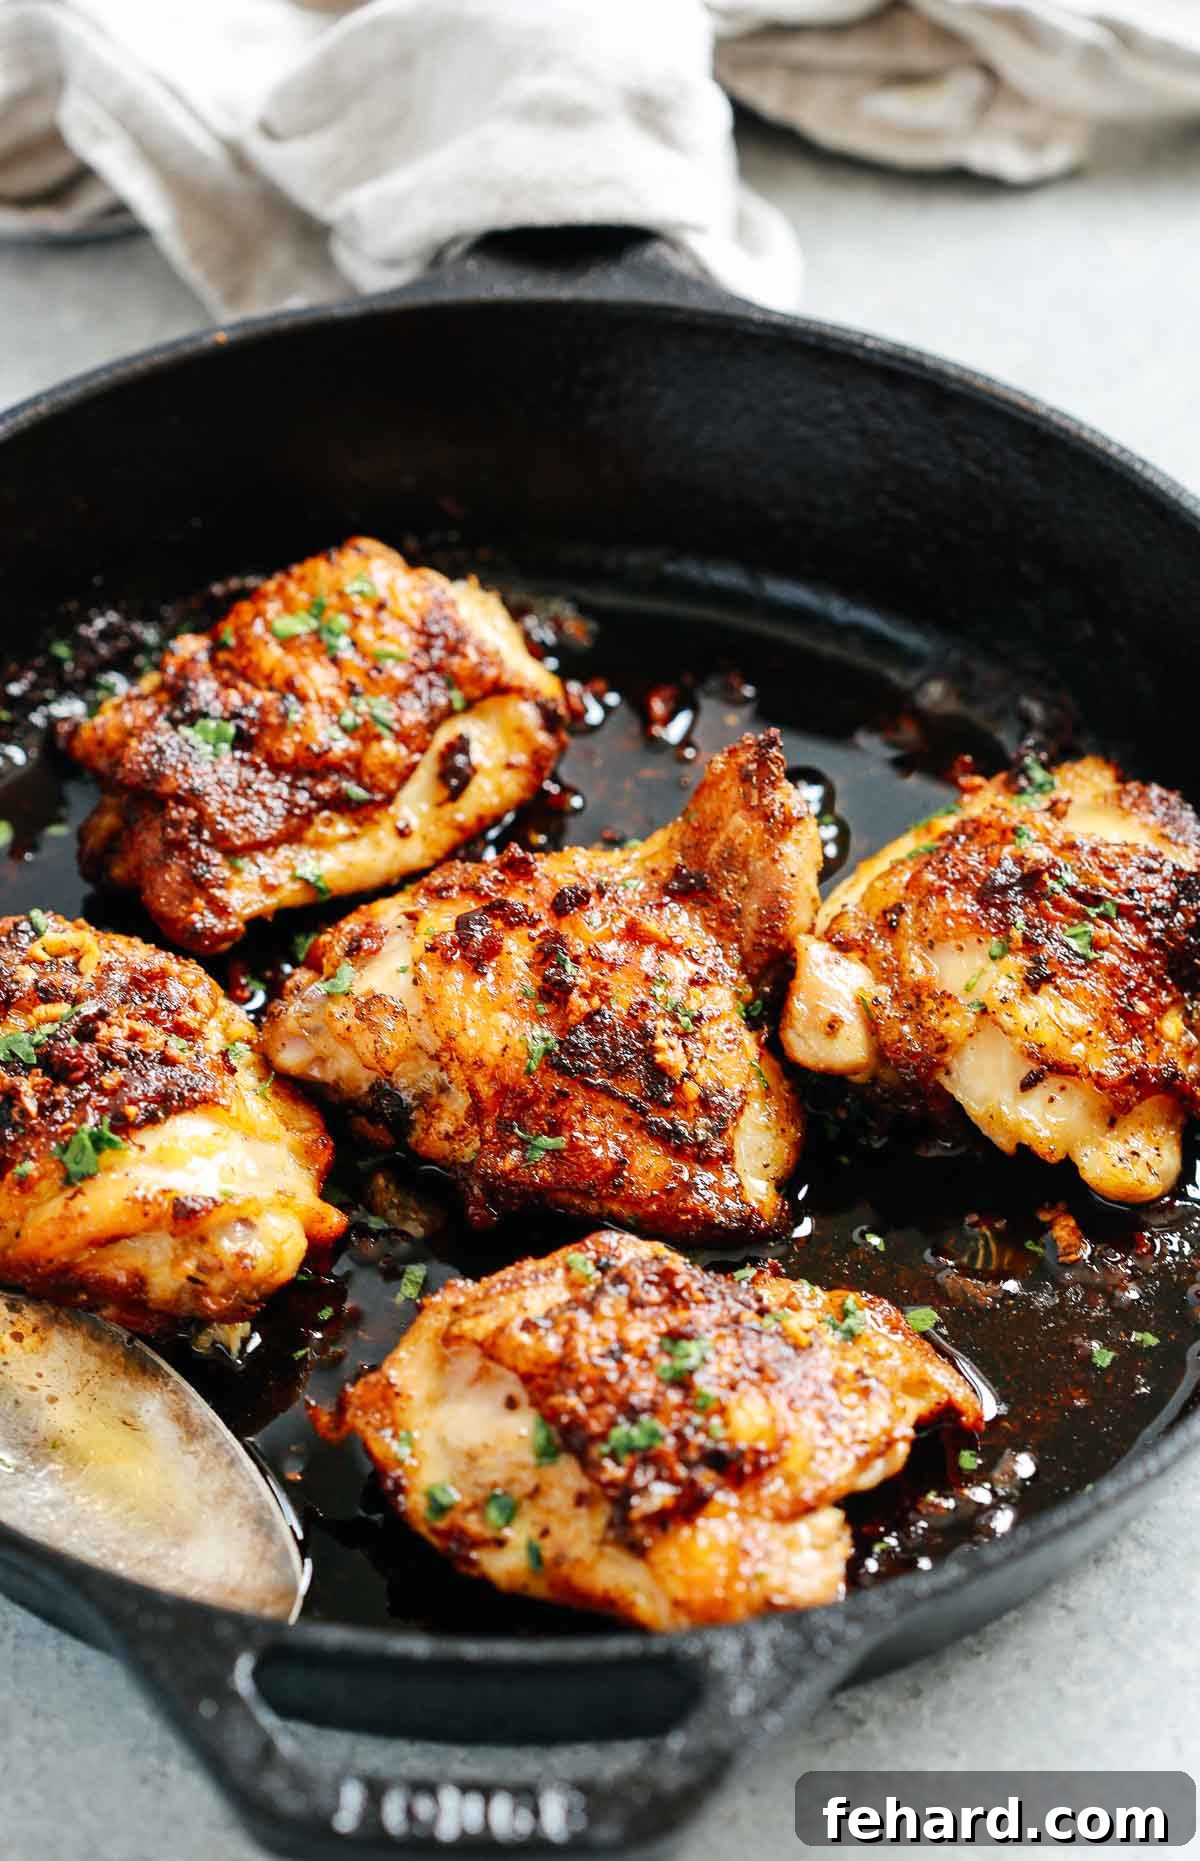
- For **bone-in, skin-on chicken thighs** (as used in this recipe), the baking time typically ranges between 25 and 30 minutes. The bone requires a bit longer for the heat to penetrate and cook the meat thoroughly.
Always remember that these are estimates. Factors like the thickness and size of your specific chicken thighs, as well as the calibration of your oven, can influence the exact cooking duration. The goal is always to reach that safe internal temperature of 165°F (74°C) for juicy, safe-to-eat chicken.
Storage and Reheating Tips
These garlic butter chicken thighs are so delicious, you might not have leftovers! But if you do, here’s how to store and reheat them to maintain their delectable flavor and texture:
To Store:
Allow the baked chicken thighs to cool completely before transferring them to an airtight container. Store them in the refrigerator for up to 4 days. This makes them perfect for meal prepping and quick lunches throughout the week.
To Freeze:
For longer storage, once the chicken has cooled, place it in a freezer-safe container or heavy-duty freezer bag. Label with the date and freeze for up to 3 months. Thawing frozen chicken properly is important for both safety and quality.
To Reheat:
The best way to reheat baked chicken thighs, especially if you want to revive that crispy skin, is in the oven. First, thaw frozen chicken in the refrigerator overnight. Then, preheat your oven to 350°F (175°C). Place the chicken thighs on a baking sheet and heat for about 15-20 minutes, or until warmed through. This method helps to maintain the crispy skin and prevents the chicken from drying out. While reheating in the microwave is an option for speed, be aware that it will likely result in soggy skin and a slightly less appealing texture. If you use the microwave, heat in short intervals until warmed.
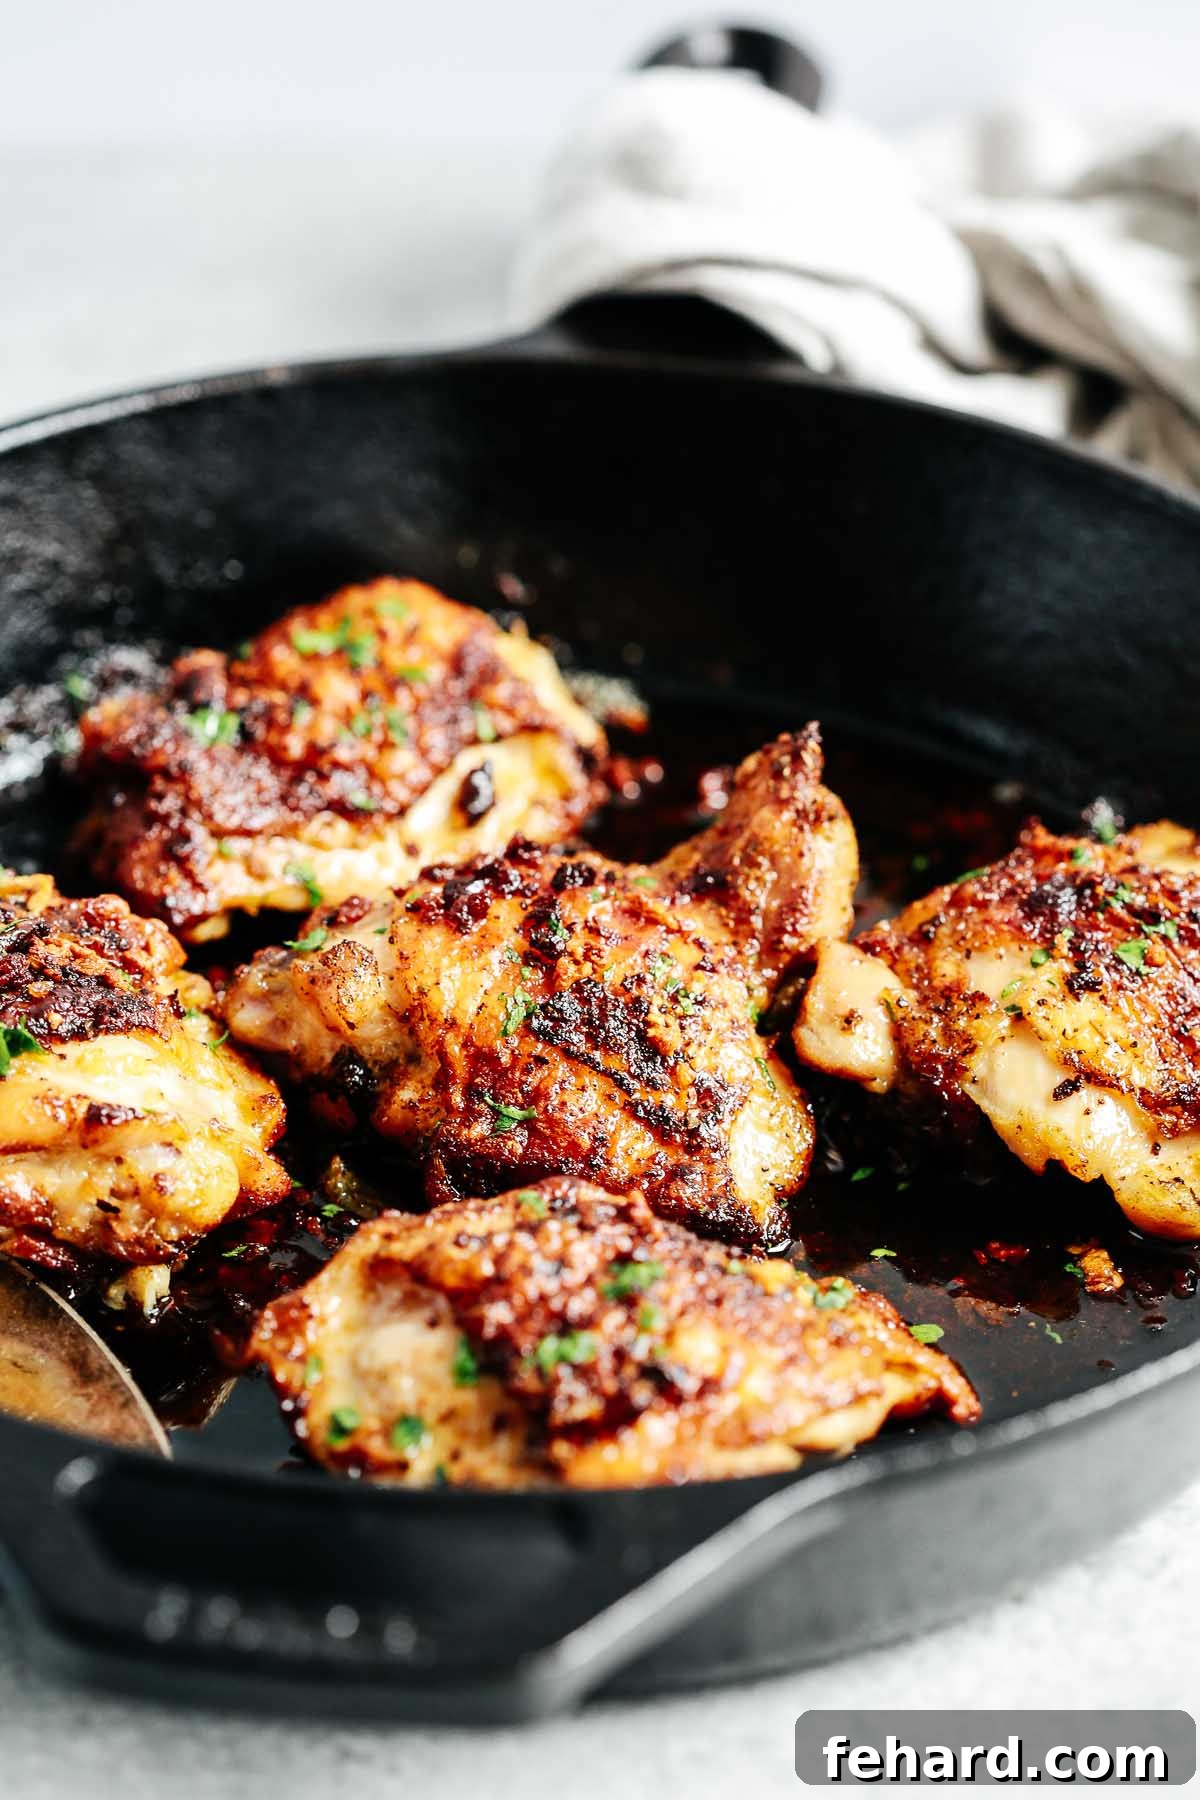
Perfect Pairings: What to Serve with Garlic Butter Chicken Thighs
These incredibly versatile garlic butter chicken thighs pair beautifully with a wide array of side dishes, making it easy to create a complete and satisfying meal. Here are some of my favorite suggestions:
- Roasted Vegetables: A timeless and healthy companion! Roasting brings out the natural sweetness of vegetables. Try a medley of easy roasted vegetables like broccoli, carrots, bell peppers, or zucchini. The rich flavors of the chicken complement the earthy notes of roasted veggies perfectly.
- Creamy Mashed Potatoes: For a truly comforting meal, serve your chicken alongside a generous dollop of fluffy mashed potatoes. They are ideal for soaking up every last bit of that delicious garlic butter sauce.
- Crispy Roasted Green Beans: If you’re looking for a simple, vibrant green side, roasted green beans are a fantastic choice. Their slight crunch and fresh flavor provide a lovely contrast to the richness of the chicken.
- Sweet Potato Sides: Roasted sweet potato wedges or a creamy sweet potato puree offer a delightful balance of sweet and savory. Their natural sweetness is a wonderful counterpoint to the garlic and butter.
- Refreshing Broccoli Salad: For a lighter, crunchier option, a vibrant broccoli salad can be an excellent choice. Its fresh, tangy notes can cut through the richness of the chicken, making each bite feel invigorating.
- Simple Rice or Quinoa: A bed of fluffy white rice, brown rice, or nutritious quinoa can absorb the flavorful pan drippings, offering a wholesome and satisfying foundation for your meal.
- Crusty Bread: Don’t forget a good loaf of crusty bread to mop up all that glorious garlic butter sauce!
Discover More Delicious Chicken Thigh Recipes
If you’ve enjoyed these Garlic Butter Baked Chicken Thighs, you’ll be thrilled to explore other incredible ways to prepare this versatile cut of poultry. Chicken thighs are a staple in my kitchen for their rich flavor, tenderness, and affordability. Dive into more family-favorite recipes that promise delicious results with minimal fuss.
Grilled Chicken Thighs
35 mins
Chicken Thighs with Potatoes
1 hr 10 mins
Baked Chicken Thighs and Rice
1 hr 30 mins
Slow Cooker Chicken Thighs
4 hrs 10 mins

Garlic Butter Baked Chicken Thighs Recipe
Rated 3.61 out of 5 stars from 4420 votes
Olivia Ribas
5 people
10 minutes
35 minutes
45 minutes
Garlic Butter Baked Chicken Thighs offer the ultimate solution for a flavorful and incredibly easy weeknight dinner. These oven-baked chicken thighs are perfectly seasoned and coated in a rich, luscious garlic butter sauce, which ensures the meat remains exceptionally juicy and tender. Ready in just 45 minutes, these chicken thighs, with their irresistible crispy, golden skin, are perfect for busy families seeking a delicious and effortless meal that delivers on taste and satisfaction.
Video
(Original content included an embedded video player. Please refer to the source for video instructions.)
Ingredients
- 5 chicken thighs (skin on and bone in)
- Salt and black pepper (to taste)
- 1 tablespoon olive oil
- 1/4 cup butter
- 5 cloves garlic (crushed)
- Fresh parsley (chopped, for garnish)
Instructions
-
Preheat your oven to 400°F (200°C). Position an oven rack in the center. Thoroughly pat the chicken thighs dry with paper towels to ensure crispy skin. Season both sides generously with salt and black pepper.

-
Heat olive oil in a 10-inch cast iron skillet (or other oven-safe skillet) over medium-high heat. Carefully place the chicken thighs, skin-side down, in a single layer. Sear for about 5-7 minutes until the skin is beautifully golden-brown and crispy. Once the skin is crispy, flip the chicken over. If excess fat has rendered, carefully spoon some out of the pan.
-
Push the chicken thighs slightly to one side of the skillet. Add the butter to the empty side of the pan and allow it to melt. Once melted, add the crushed garlic and stir it into the butter for about 30 seconds until fragrant. Be careful not to burn the garlic.
-
Spoon the garlic butter sauce over the chicken thighs. Transfer the entire skillet to the preheated oven and bake for approximately 25-30 minutes, or until the chicken reaches an internal temperature of 165°F (74°C) when measured with a meat thermometer in the thickest part of the thigh (avoiding the bone). If the chicken skin starts to darken too much, you can loosely tent it with foil. Once cooked, spoon some of the garlic butter sauce over each chicken thigh. Garnish with fresh chopped parsley before serving.
Notes
- If you do not have an oven-safe skillet, you can transfer the seared chicken thighs and the garlic butter sauce to a baking dish, baking sheet, or sheet pan before placing it in the oven to bake.
- After you’ve baked the chicken thighs, it’s beneficial to let them rest for 5-10 minutes before serving. This allows the juices to redistribute throughout the meat, ensuring each bite is incredibly tender and moist.
- For an extra layer of flavor, consider adding a squeeze of fresh lemon juice over the chicken just before serving.
Nutrition
,
Calories: 214kcal
,
Carbohydrates: 1g
,
Protein: 15g
,
Fat: 18g
,
Cholesterol: 96mg
,
Sodium: 130mg
,
Potassium: 15mg
Nutrition information is automatically calculated and should only be used as an approximation.
Did You Make This?
Follow @primaverakitchen on Instagram, snap a photo, and tag it #primaverakitchen. We’d love to see your recreation and share your culinary success!