
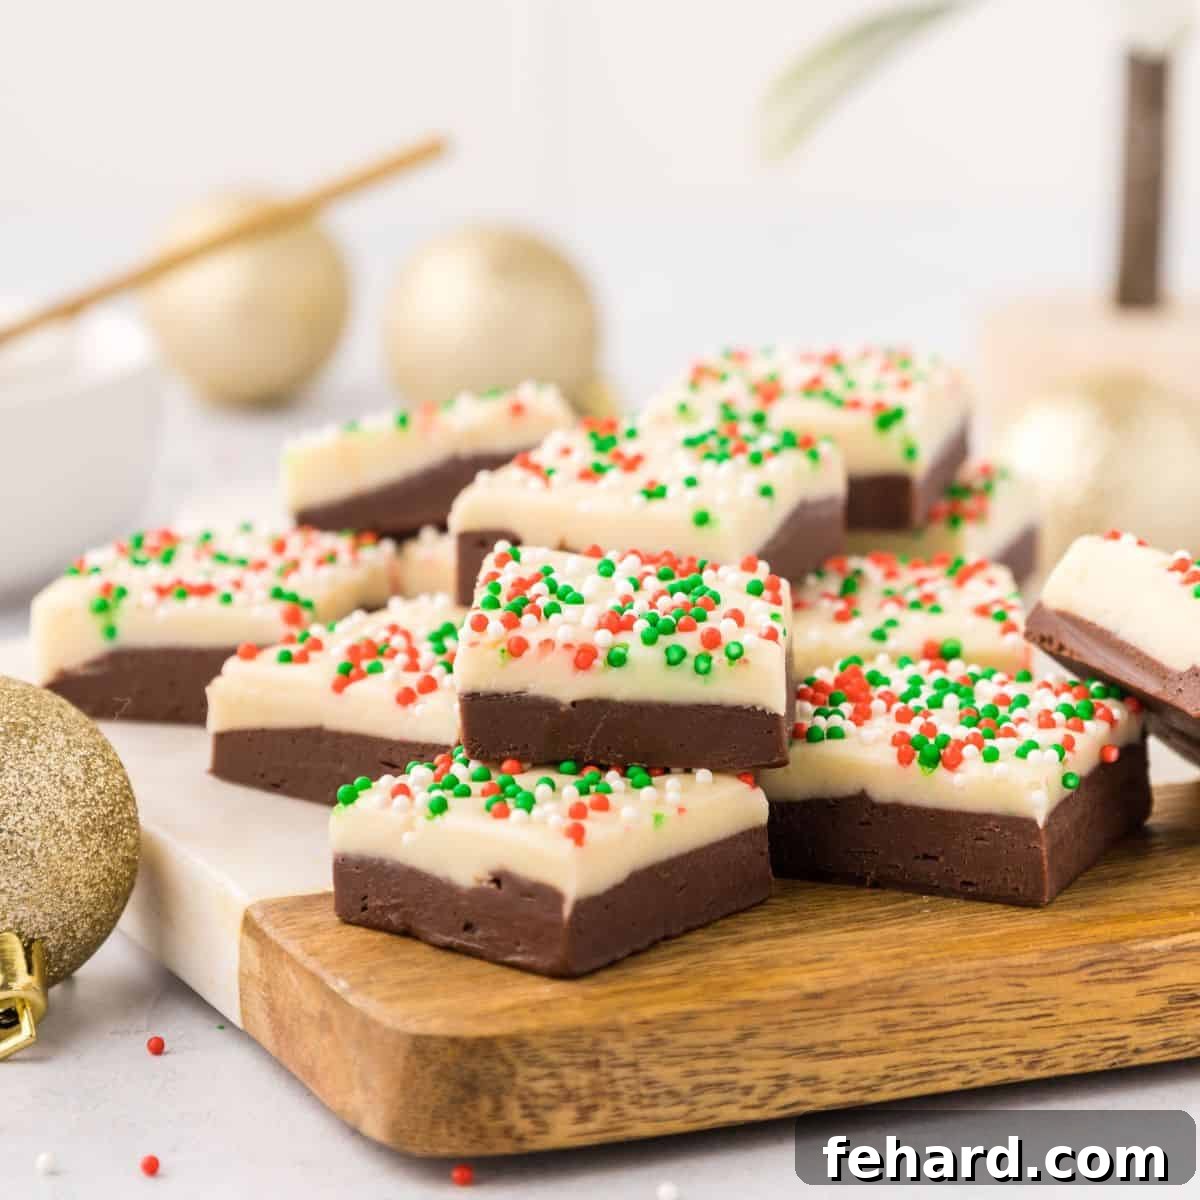
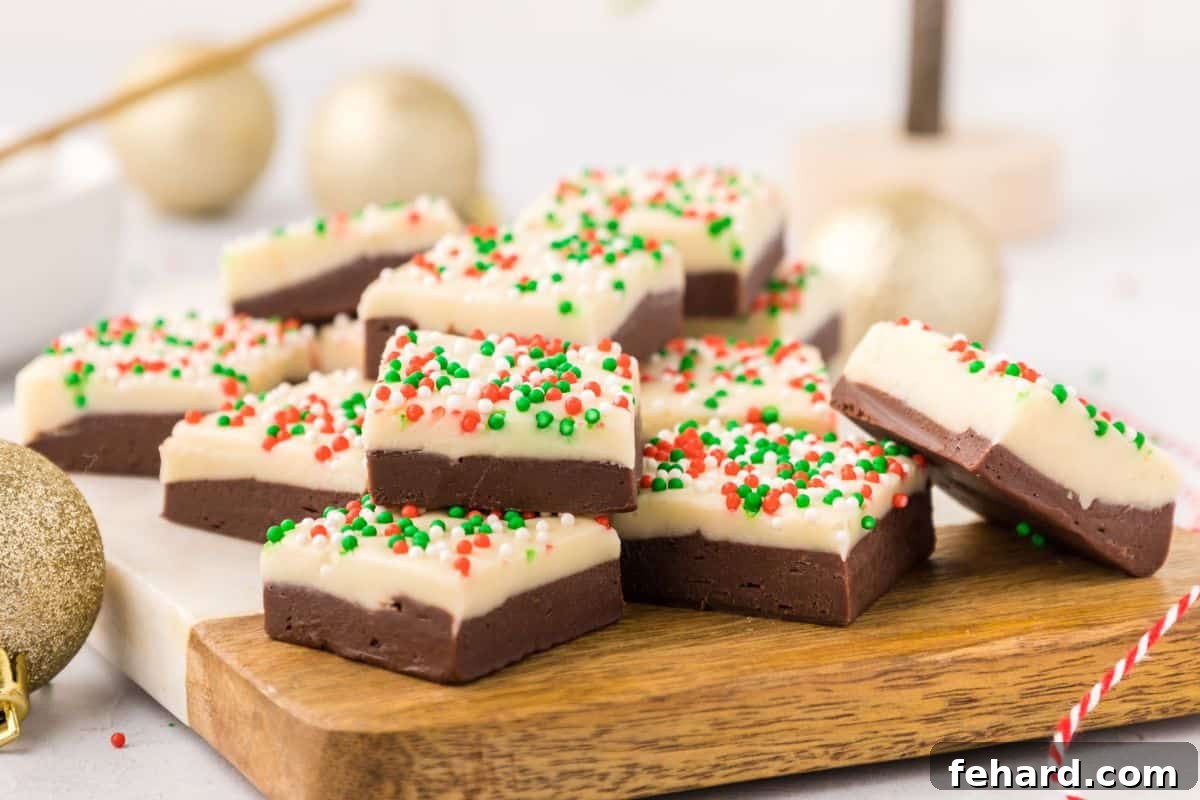
Embrace the festive spirit with this incredibly simple yet stunning **Layered Christmas Fudge** recipe. Featuring luscious layers of rich semi-sweet chocolate, creamy sweet white chocolate, and vibrant festive nonpareils, this holiday treat is a true delight. It’s so easy to make, you’ll wonder why you ever bought fudge from a store! Perfect for sharing as a thoughtful homemade gift or indulging in yourself, this fudge promises a smooth, melt-in-your-mouth experience that captures the essence of the holiday season.
Say goodbye to complicated candy-making methods! This foolproof Christmas fudge recipe requires absolutely no candy thermometer and no specialty equipment. With just a few basic ingredients and a mere handful of minutes for hands-on preparation, you’ll create a show-stopping easy holiday treat that will be adored by everyone who tries it. Get ready to impress your friends and family with this effortless, delicious creation!
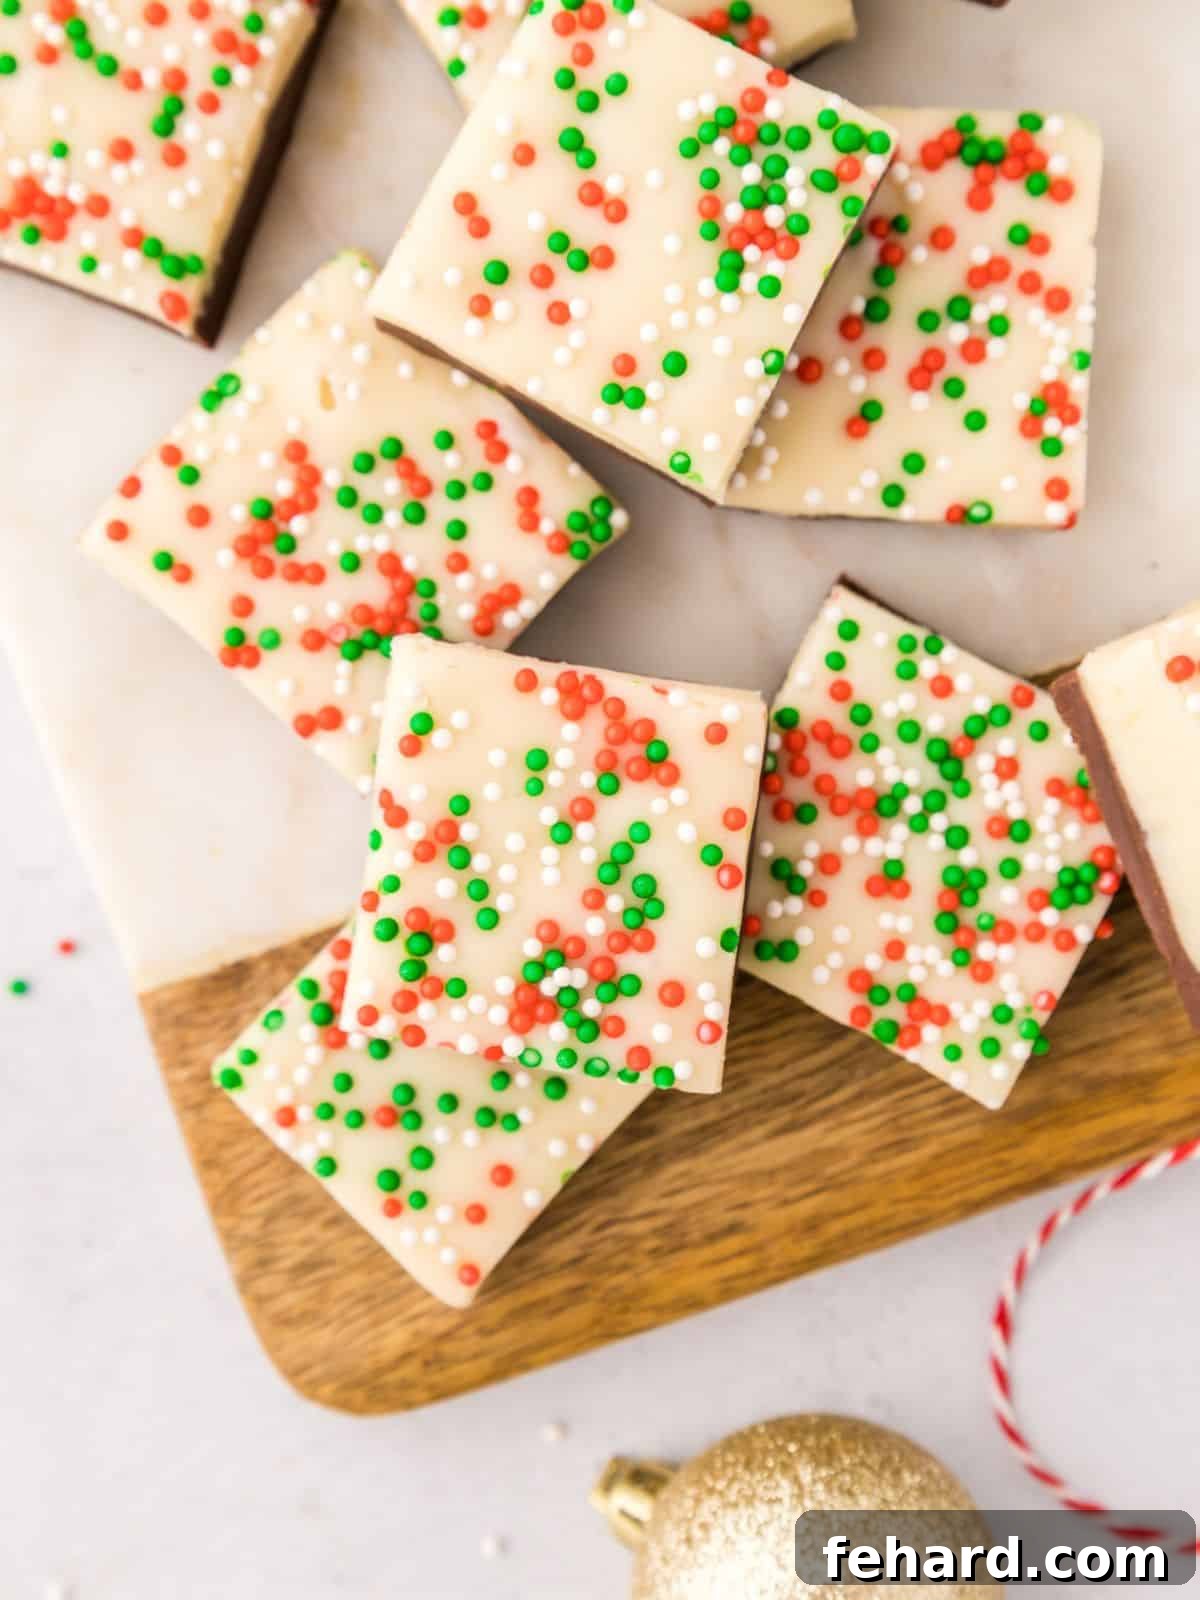
Expert Tips for Crafting the Perfect Christmas Fudge
Achieving perfectly smooth, creamy, and just-sweet-enough fudge without being overly cloying is simpler than you think. Pay close attention to these key details to ensure your holiday fudge turns out absolutely perfect every time:
- Always use full-fat sweetened condensed milk. This is perhaps the most crucial tip! Fat-free or evaporated milk simply will not yield the thick, rich, and creamy texture essential for proper fudge. Sweetened condensed milk is specifically formulated with a higher sugar content and consistency, which is vital for the fudge to set correctly and achieve its signature chewiness. Double-check your can to ensure it says “sweetened condensed milk” – a common mistake can derail your efforts!
- Choose semi-sweet chocolate for balance. While dark or milk chocolate might be tempting, semi-sweet chocolate chips provide the ideal balance of sweetness and cocoa richness for this recipe. Using dark chocolate can make the fudge too bitter, while milk chocolate can result in an overly sweet and less complex flavor profile. Semi-sweet ensures a classic, crowd-pleasing taste that complements the sweet white chocolate layer beautifully.
- Invest in quality white chocolate. The type of white chocolate you use makes a significant difference in the final texture and flavor of your fudge. Look for brands that list cocoa butter as a primary ingredient, rather than just palm oil or coconut oil. White chocolate made with real cocoa butter melts more smoothly, has a richer flavor, and results in a creamier, more luxurious fudge. Personal favorites often include Guittard white baking chips or a quality white chocolate bar chopped into small, even pieces for better melting.
- Line your pan with parchment paper, leaving an overhang. This simple step will save you immense frustration later! Lining your 8×8 baking pan with parchment paper and ensuring there’s a generous overhang on two sides creates convenient “handles.” Once the fudge is set, you can effortlessly lift the entire block out of the pan, making slicing into perfect squares a quick and mess-free task, rather than wrestling with sticky edges.
- Allow ample chilling time. While the hands-on preparation for this fudge is incredibly quick – often less than 10 minutes – patience during the chilling phase is paramount. The fudge needs sufficient time to set up properly. A minimum of 3 hours in the refrigerator is essential, but for the absolute best flavor, firmness, and texture, allowing it to chill overnight (12 hours or more) is highly recommended. This extended chilling period allows the sugars and fats to crystalize and solidify correctly, preventing sticky or gooey squares.
How to Master Layered Christmas Fudge
Creating this stunning holiday fudge with distinct, beautiful layers is surprisingly straightforward when you approach it in segments. We’ll start with the rich semi-sweet chocolate base. Once it’s nearly set, we’ll gently top it with the creamy white chocolate layer, finishing with a festive flourish of sprinkles. This detailed, step-by-step section will guide you through each part of the process, ensuring perfect results every time.
Step One: Prepare the Rich Semi-Sweet Chocolate Layer
This microwave fudge recipe simplifies the entire process, making it accessible for even novice bakers. The microwave gently melts the chocolate, ensuring a smooth and consistent base.
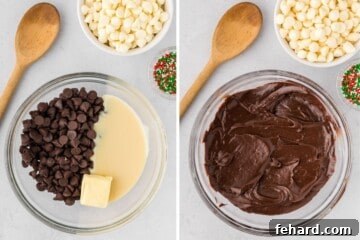
- Begin by combining 1 cup of semi-sweet chocolate chips with 1 tablespoon of unsalted butter and exactly half a can of sweetened condensed milk in a sturdy, heat-safe bowl.
- Microwave the mixture in short 30-second intervals. After each interval, remove the bowl and stir vigorously with a spatula. This intermittent heating and stirring is key to preventing the chocolate from seizing or burning, ensuring a glossy, smooth, and perfectly melted consistency. Continue until no lumps remain.
- Once the chocolate mixture is beautifully smooth, stir in 1 teaspoon of vanilla extract for a hint of warmth and depth.
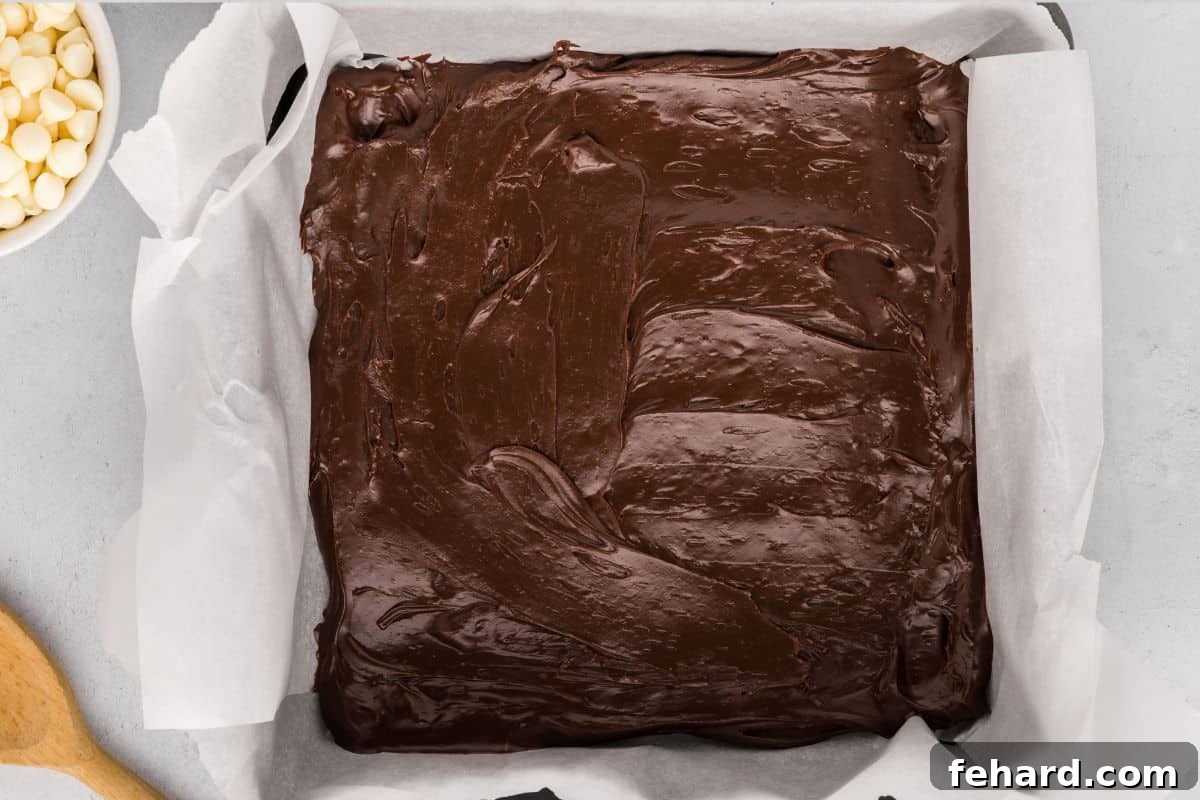
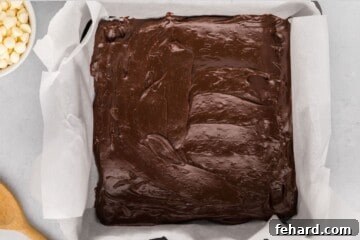
- Carefully pour this rich chocolate mixture into your prepared pan, spreading it evenly across the bottom.
- Transfer the pan to the refrigerator and chill for 15-20 minutes. The goal here is for the chocolate layer to be set but not fully hardened. This semi-set state is crucial as it prevents the subsequent white chocolate layer from swirling into the semi-sweet base, yet still allows the layers to adhere beautifully to each other.
Understanding “Half a Can” of Sweetened Condensed Milk: A standard can of sweetened condensed milk typically contains 14 ounces. Therefore, for each layer, you will need precisely 7 ounces of sweetened condensed milk. While you can attempt to eyeball it, for the most consistent results, it’s highly recommended to use a kitchen scale. Place your bowl on the scale, zero it out, and then pour in the sweetened condensed milk until it reaches 7 fluid ounces (or 7 oz by weight, as condensed milk is quite dense). This precision ensures both layers have the perfect consistency and sweetness.
Step Two: Craft the Creamy White Chocolate Layer
To maintain the pristine, bright white color of this layer, it is essential to use a clean and completely dry bowl for melting the white chocolate. Any moisture can cause white chocolate to seize.
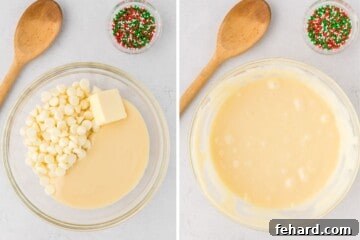
- In a separate, clean, and heat-safe bowl, combine 1 cup of quality white chocolate chips with 1 tablespoon of unsalted butter and the remaining half can (7 ounces) of sweetened condensed milk.
- Similar to the first layer, microwave in controlled 30-second intervals, stirring thoroughly after each. Continue this process until the white chocolate mixture is glossy and perfectly smooth, with no lingering solid pieces. White chocolate can be more temperamental than semi-sweet, so be extra careful not to overheat it.
- Once melted and smooth, stir in 1 teaspoon of vanilla extract.
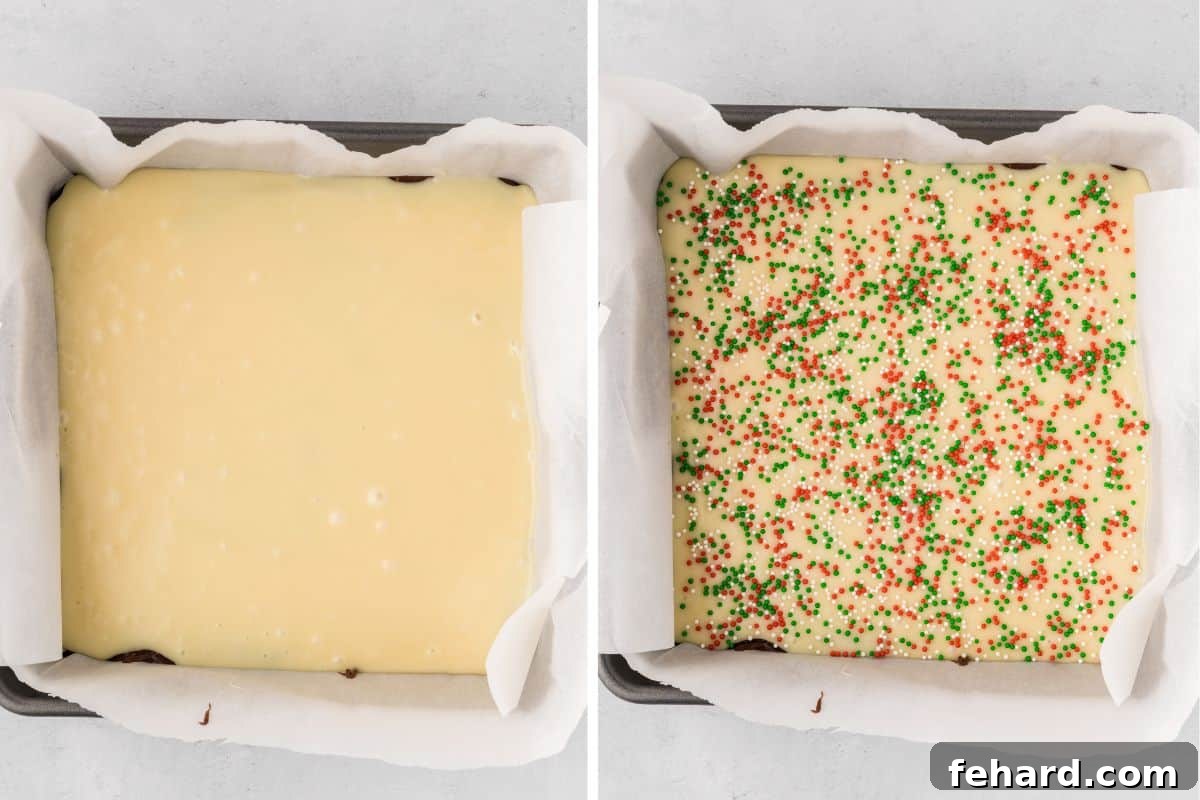
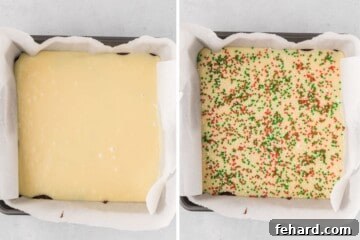
- Carefully pour the warm white chocolate mixture directly over the semi-set semi-sweet chocolate layer. If necessary, use an offset spatula to gently and quickly spread the white chocolate evenly to the edges, creating a uniform second layer.
- This is where the magic happens for the festive look! Immediately and generously sprinkle your chosen Christmas nonpareils or sprinkles over the entire surface of the warm white chocolate layer. Working quickly is key here, as the white chocolate will begin to set, ensuring the sprinkles adhere firmly and don’t fall off later.
Pro Tip: Work Quickly with Sprinkles! Have your festive sprinkles or nonpareils ready and opened before you even start melting the white chocolate. As soon as the white chocolate layer is poured and spread, you need to add the sprinkles immediately. The warmth of the fudge will help them stick as it begins to cool and set, creating a beautiful, vibrant top layer.
Step Three: The Essential Chilling Period
Patience is a virtue, especially when it comes to homemade fudge. Regardless of the variety, allowing your fudge to properly set up in the refrigerator is absolutely critical for achieving the desired texture and preventing a sticky, crumbly mess. Sugar and fats require adequate time to cool and crystalize, forming that firm yet creamy consistency. While a minimum of 2-3 hours is necessary, chilling the fudge overnight (for 8-12 hours) yields the best results in terms of both flavor development and ideal firmness. Do not rush this step!
Step Four: Slice and Savor Your Creation
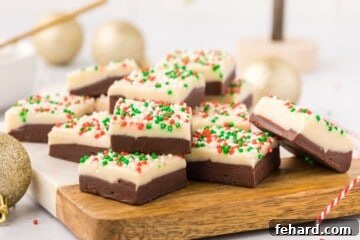
Once your Christmas fudge is thoroughly chilled and completely set, it’s time to enjoy the fruits of your labor! Utilizing the parchment paper overhang, gently lift the entire block of fudge from the baking pan. This makes the cutting process incredibly easy and clean. For the cleanest, most precise edges, use a sharp chef’s knife. For an extra neat cut, warm the knife under hot water, wipe it completely dry, make a slice, and then repeat the warming and wiping process between each cut. This prevents the chocolate from sticking and creates beautifully defined squares, ready to be served or packaged.
Exciting Holiday Fudge Variations
This Christmas fudge recipe is a fantastic starting point for endless customization! Get creative and adapt it to suit your taste or specific holiday theme:
- Zesty Peppermint Delight: Transform your fudge into a cool and refreshing treat. Simply replace the Christmas nonpareils with finely crushed candy canes. For an extra burst of flavor, swap out the vanilla extract in the white chocolate layer for ⅛ teaspoon of high-quality peppermint extract. The contrast of the sweet chocolate and cool peppermint is utterly divine!
- Simplified One-Layer Shortcut: If you’re pressed for time or prefer a single-flavor fudge, this recipe can easily be adapted. Simply use all semi-sweet chocolate or all white chocolate (double the quantities for one layer). The technique remains the same, just with fewer steps. Keep in mind that the white chocolate layer truly makes the festive sprinkles pop visually!
- Fudge for Any Occasion: This recipe isn’t just for Christmas! Easily adapt it for any holiday or celebration. Swap out the red and green Christmas nonpareils for pastel colors to create delightful Easter Fudge, or opt for classic black and orange sprinkles to make spooky Halloween Fudge. The possibilities are endless!
- A Satisfying Nutty Twist: For those who love a bit of crunch, fold ½ cup of finely chopped toasted pecans (or walnuts) into the semi-sweet chocolate layer just before it sets. The toasted nuts add a wonderful texture and a complementary nutty flavor that elevates the classic chocolate taste.
Important Storage Guidelines for Your Fudge
Your homemade Christmas fudge will maintain its exquisite quality and flavor when stored correctly. Place the cooled and cut fudge pieces in an airtight container and keep it in the refrigerator. Under these conditions, it will remain fresh and delicious for up to 2 weeks. However, resist the temptation to extend its shelf-life by freezing the fudge. Freezing can cause the sugar crystals to change, leading to a grainy, altered texture and a diminished flavor profile, which would be a shame for such a delightful treat.
Discover More Easy Christmas Treats
Looking for more simple and delicious recipes to complete your holiday dessert spread? Explore these other delightful Christmas treats that are just as easy to make and equally impressive:
- Classic Peanut Butter Buckeye Balls
- Addictive Saltine Cracker Toffee
- Homemade Peppermint Bark
- Warm and Inviting Christmas Tea
- Simple Christmas Bark Recipe
- Irresistible Homemade Thin Mint Cookies
Christmas Fudge
Kristen Chidsey
36
10 minutes
3 hours 10 minutes
Ingredients
For Semi-Sweet Chocolate Layer
- 7 ounces sweetened condensed milk, (half a can)
- 1 tablespoon unsalted butter
- 1 cup semi-sweet chocolate chips
- 1 teaspoon vanilla extract
For White Chocolate Layer
- 1 cup white chocolate chips
- 7 ounces sweetened condensed milk
- 1 tablespoon unsalted butter
- 1 teaspoon vanilla extract
- 2 tablespoons Christmas nonpareils, or sprinkles
Instructions
-
Line an 8×8 baking pan with parchment paper, allowing an overhang on two sides for easy removal, and set aside.
-
In a heat-safe medium bowl, combine 1 cup semi-sweet chocolate chips, 1 tablespoon unsalted butter, and 7 ounces (half a can) sweetened condensed milk. Microwave in 30-second intervals, stirring vigorously after each, until the chocolate is completely melted and the mixture is glossy and smooth. Stir in 1 teaspoon vanilla extract.

-
Pour and spread the semi-sweet chocolate mixture evenly into the prepared baking pan. Place it in the refrigerator to chill for 15-20 minutes, or until the chocolate is just firm to the touch but not fully hardened. This prevents the layers from blending.
-
While the semi-sweet layer chills, prepare the white chocolate layer. In a clean, dry, heat-safe medium bowl, combine 1 cup white chocolate chips, 1 tablespoon unsalted butter, and the remaining 7 ounces sweetened condensed milk. Microwave in 30-second increments, stirring after each, until the white chocolate is fully melted and smooth. Stir in 1 teaspoon vanilla extract.
-
Promptly pour the warm white chocolate layer over the chilled semi-sweet layer. Use an offset spatula to gently spread it evenly if needed. Immediately and generously sprinkle your chosen Christmas nonpareils or sprinkles over the top, ensuring they adhere to the warm white chocolate.
-
Cover the pan loosely with a lid or plastic wrap and refrigerate until the fudge is completely set. This will take at least 2-3 hours, but for optimal flavor, firmness, and ease of cutting, chilling it overnight (8-12 hours) is highly recommended.
-
Once fully set, use the parchment paper overhang to lift the fudge block from the pan. Place it on a cutting board and use a sharp knife (warmed under hot water and wiped dry between cuts for clean edges) to cut into 1-inch pieces. Serve and enjoy!
Equipment
-
Parchment Paper
-
8×8 baking pan
-
Microwave-safe bowls
-
Spatula
-
Sharp knife
Notes
Sprinkle Selection: Feel free to customize your fudge with any festive holiday sprinkles or nonpareils that catch your eye. Red, green, silver, gold – mix and match to create your perfect holiday look.
Optimal Storage: Store your prepared Christmas fudge in an airtight container in the refrigerator for up to 2 weeks to maintain its freshness and delightful texture. It is not recommended to freeze the fudge, as this can lead to undesirable crystallization and a grainy texture, compromising its quality.
Nutrition
Carbohydrates: 12g
Protein: 1g
Fat: 5g
Saturated Fat: 3g
Polyunsaturated Fat: 0.2g
Monounsaturated Fat: 1g
Trans Fat: 0.03g
Cholesterol: 7mg
Sodium: 19mg
Potassium: 84mg
Fiber: 0.4g
Sugar: 11g
Vitamin A: 53IU
Vitamin C: 0.3mg
Calcium: 45mg
Iron: 0.3mg
Nutrition information is automatically calculated, so should only be used as an approximation.