
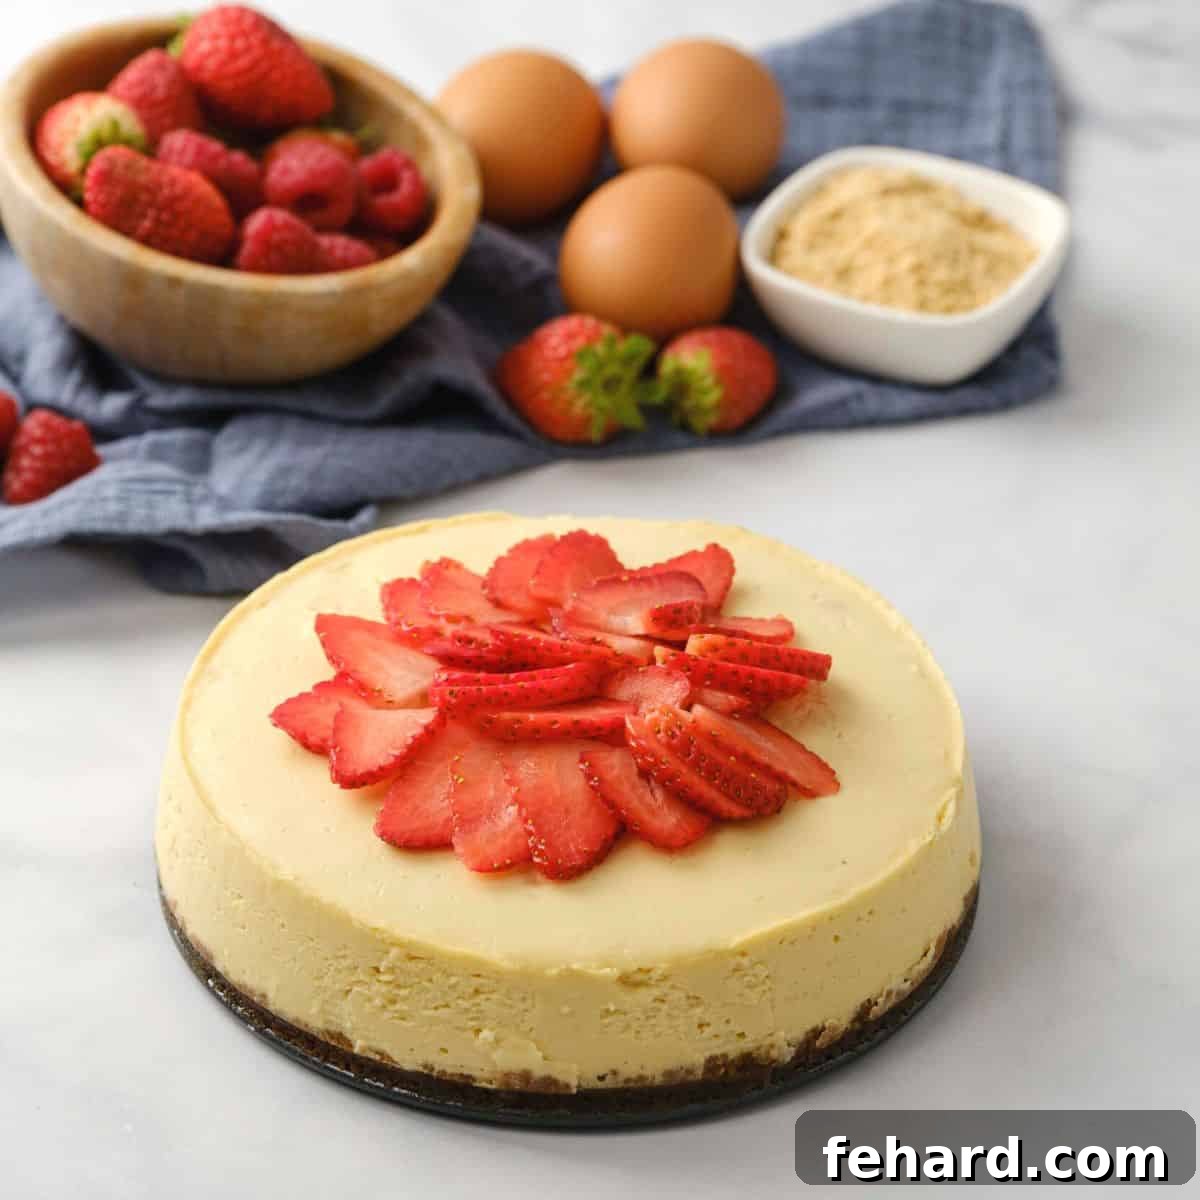
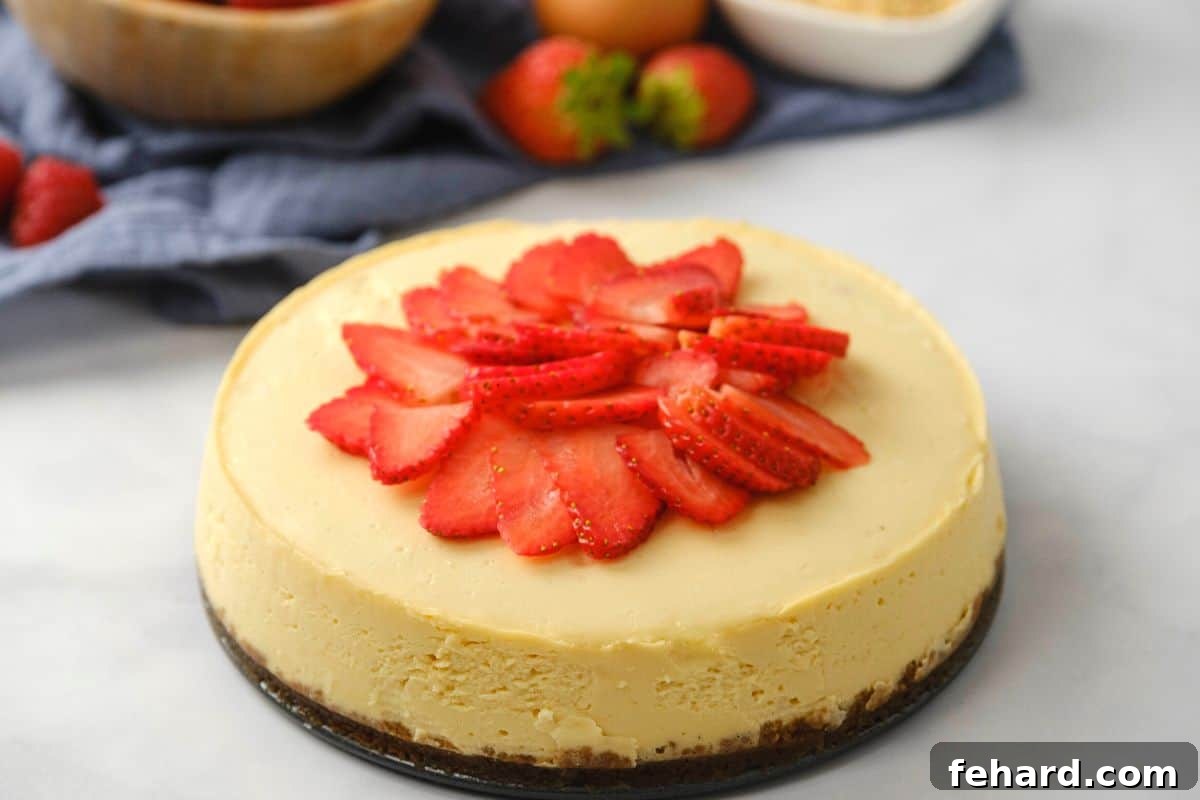
Prepare to be amazed by the luscious simplicity of this Instant Pot Cheesecake recipe. Baked to perfection in the moist, controlled environment of your Instant Pot, this cheesecake promises an incredibly smooth, velvety texture and a rich, decadent flavor, making it a guaranteed success every single time.
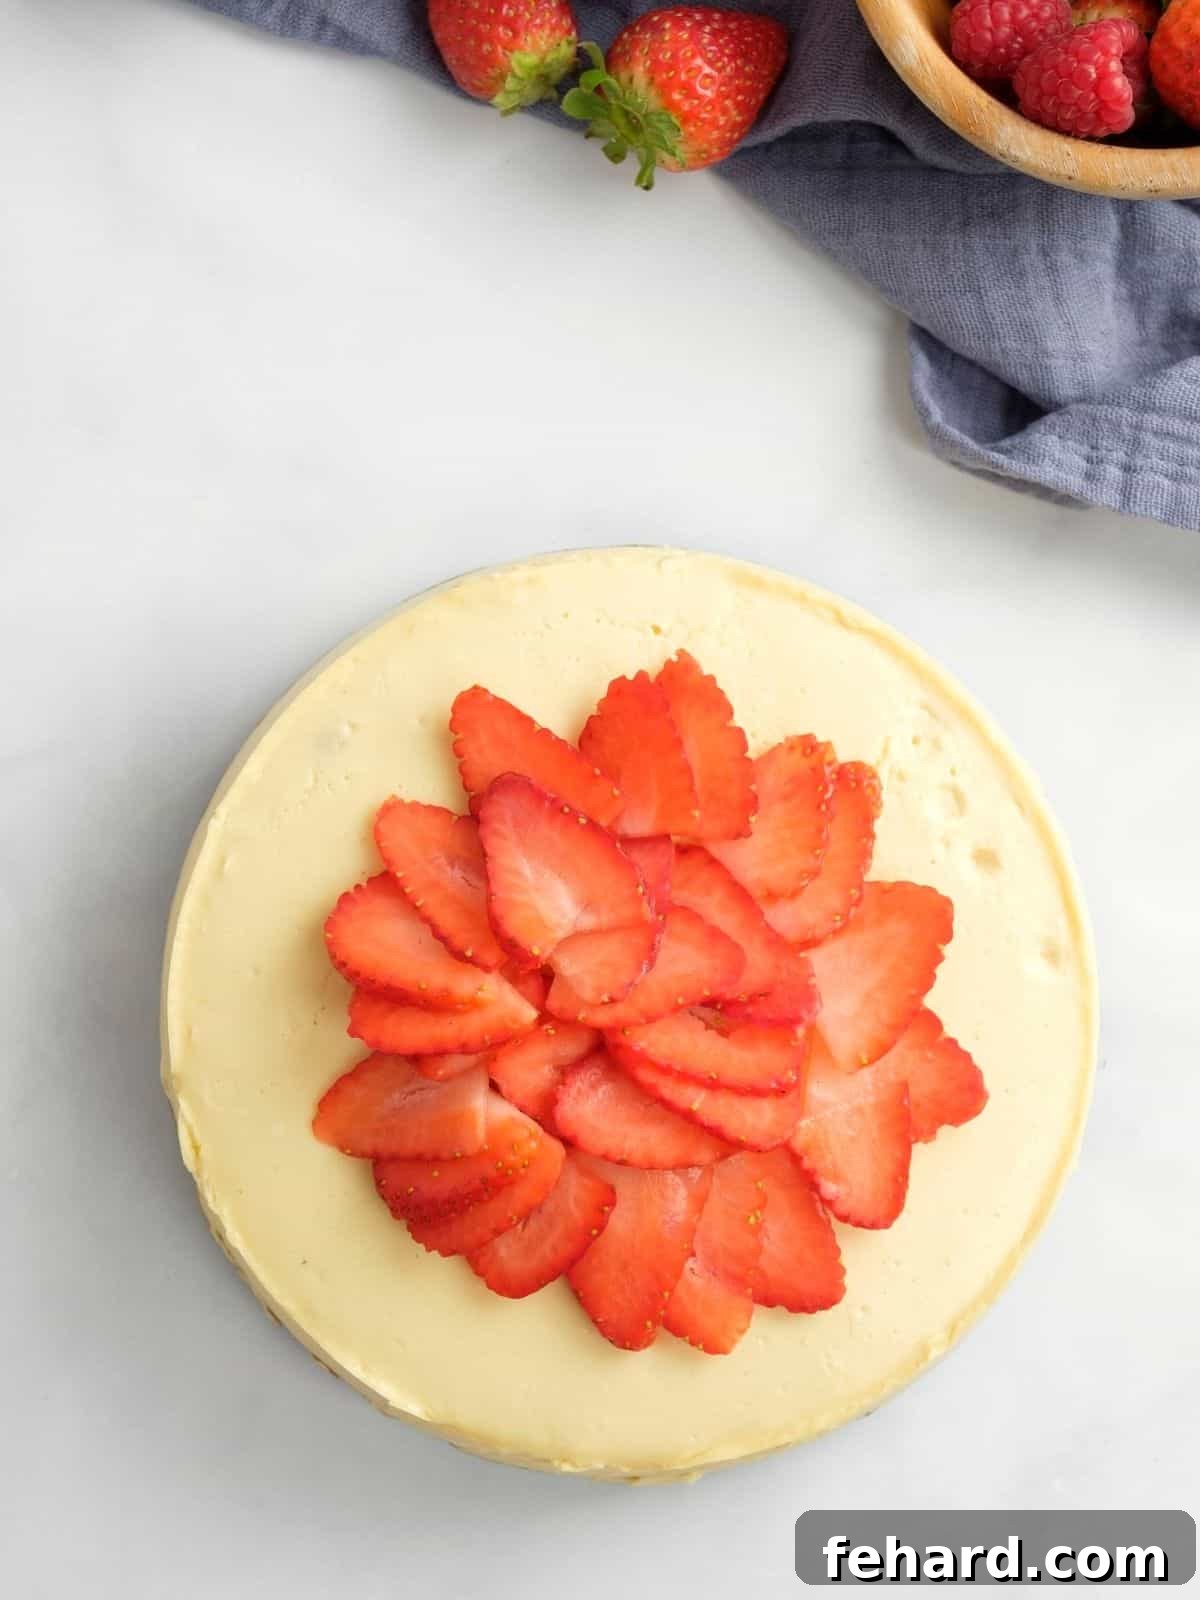
While the Instant Pot is a versatile kitchen appliance, it’s not a universal solution for *every* recipe. Some dishes, like muffins, cookies, and steak, often yield better results when prepared using traditional methods. However, when it comes to cheesecake, the Instant Pot truly shines. It transforms the often-intimidating process of making a classic cheesecake into an effortless culinary triumph.
From the autumnal delight of Instant Pot Pumpkin Cheesecake to the rich indulgence of Instant Pot Chocolate Cheesecake, and especially this timeless Instant Pot Classic Cheesecake, pressure cooker cheesecakes consistently deliver superior results. Whether elegantly garnished with fresh seasonal berries, a cloud of homemade whipped cream, a generous spoonful of cherry pie filling, or a delightful drizzle of chocolate syrup, this Instant Pot Cheesecake is undoubtedly a show-stopping dessert that will impress everyone at your table.
Why Instant Pot Cheesecake is a Game-Changer: The Ultimate Dessert Hack
Many home bakers find traditional cheesecake daunting, often struggling with cracks or uneven textures. The Instant Pot eliminates these common challenges, offering a superior method for achieving cheesecake perfection. Here’s why it’s the ultimate way to make cheesecake:
- The Perfect Moist Environment. A perfectly cooked classic cheesecake traditionally relies on a water bath in the oven to create a moist, steam-filled environment, preventing cracks and ensuring an even bake. The Instant Pot inherently operates using moist heat during its pressure cooking cycle. This creates an unparalleled, consistent steaming environment that mimics and even surpasses a conventional water bath, making it the ideal vessel for achieving that signature creamy, smooth cheesecake texture without any fuss. It’s almost as if the Instant Pot was specifically designed for cheesecake recipes!
- Unrivaled Texture and Rich Flavor. This Instant Pot Cheesecake recipe delivers everything a premium cheesecake should be. It begins with a perfectly buttery graham cracker crust, providing a delightful contrast to the silky-smooth, sweetened cream cheese filling. Each bite is a harmonious blend of rich creaminess and a surprisingly light, fluffy consistency, finishing with just the right balance of tangy notes and sweet indulgence. This recipe truly elevates the standard for homemade cheesecake.
- Ideal Smaller Size for Any Occasion. Traditional cheesecakes can be quite large, often making them more suitable for big gatherings. This Instant Pot Cheesecake yields a smaller, yet perfectly portioned dessert, ideal for intimate family dinners, small celebrations, or simply when you crave a delicious treat without having too many leftovers. Its manageable size makes it a go-to recipe for any occasion, big or small.
Essential Ingredients for Your Perfect Instant Pot Cheesecake
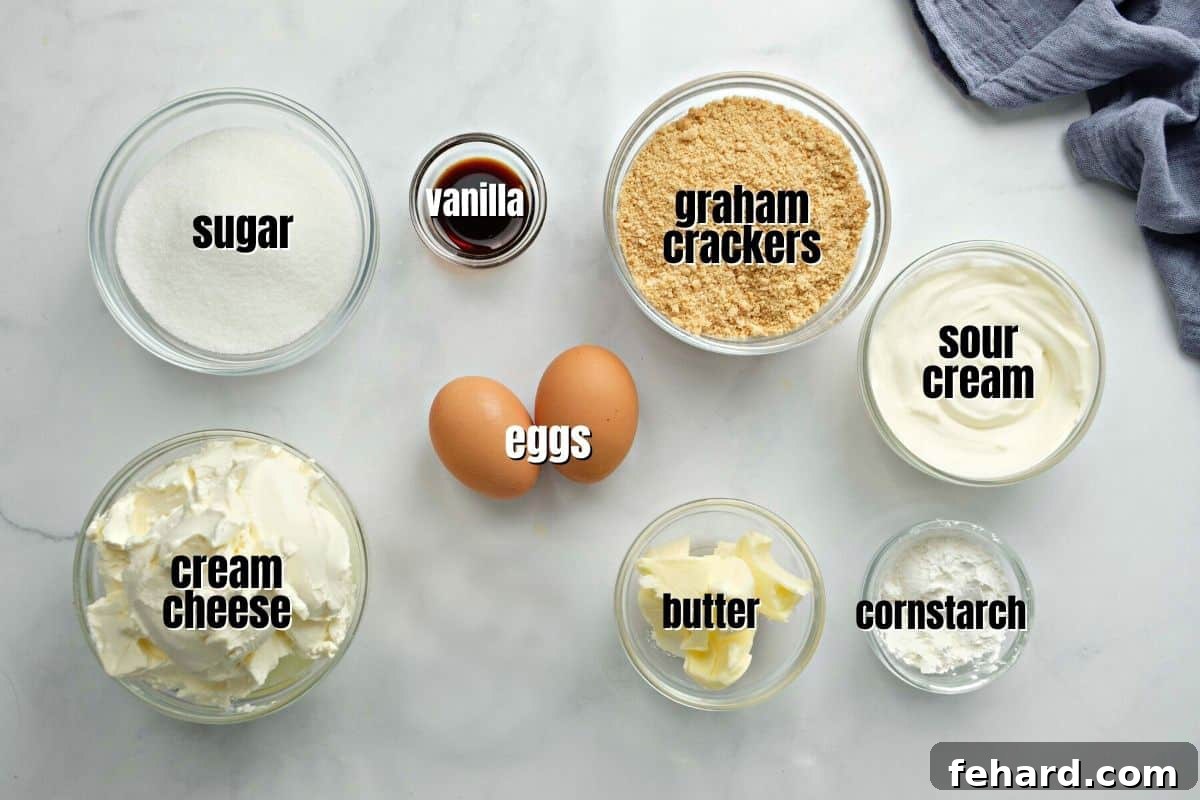
Crafting this exquisite Instant Pot Cheesecake requires only a handful of standard ingredients for both the buttery graham cracker crust and the luscious cheesecake batter. The secret to its impeccable texture and flavor lies not just in the ingredients themselves, but also in their preparation. Always ensure your dairy and eggs are at room temperature before you begin – this crucial step guarantees a smooth, lump-free batter and an evenly baked cheesecake.
Cheesecake Graham Cracker Crust
- 1 cup graham cracker crumbs (finely crushed)
- 3 tablespoons unsalted butter, melted
- 1 tablespoon granulated sugar
- Pinch of sea salt
Cheesecake Filling
- 2 (8-ounce packages) full-fat cream cheese, softened to room temperature
- ⅔ cup granulated sugar
- ½ cup full-fat sour cream, at room temperature
- 2 tablespoons cornstarch (or all-purpose flour for substitution)
- 2 teaspoons pure vanilla extract
- 2 large eggs, at room temperature
How To Craft Your Flawless Instant Pot Cheesecake
Achieving a perfect cheesecake is all about attention to detail. Follow these comprehensive steps and expert tips to ensure an utterly delightful result. You’ll find the precise ingredient quantities and a summarized recipe in the recipe card towards the bottom of this page.
Step 1: Prepare the Graham Cracker Crust
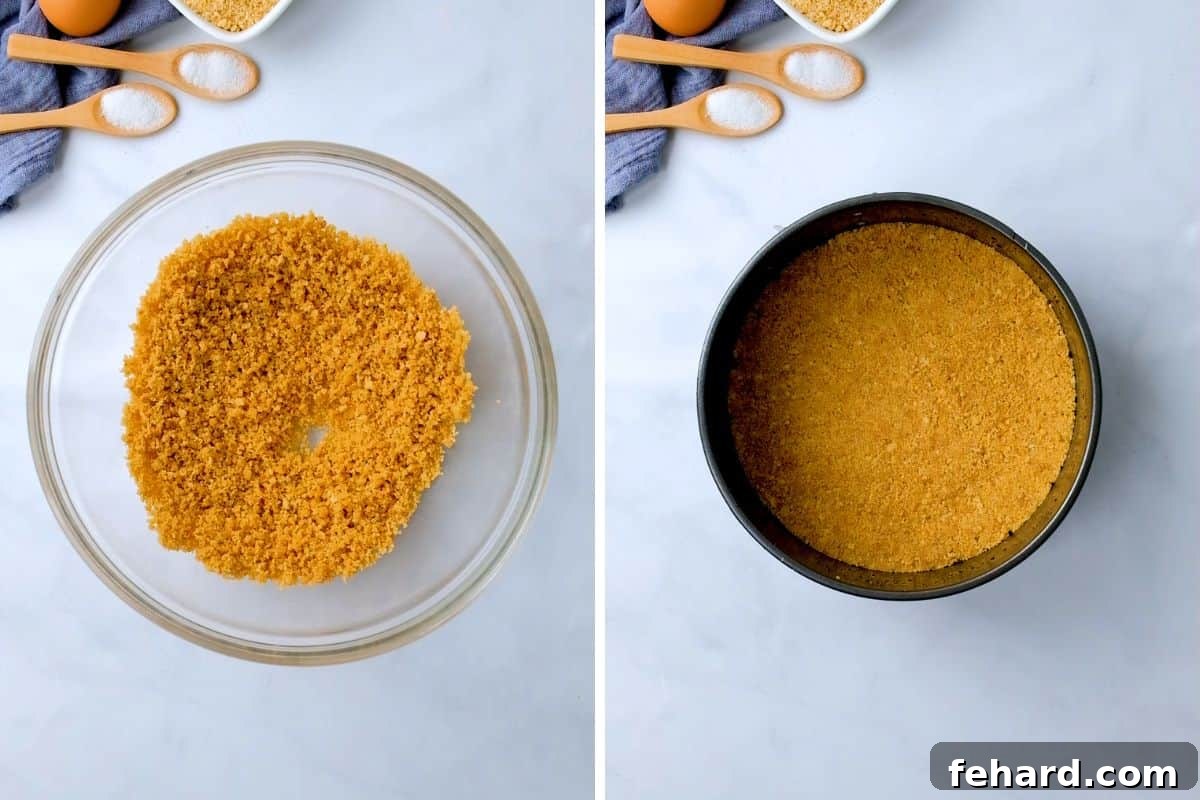
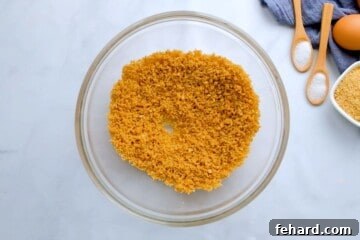
Start by lightly greasing a 7-inch springform pan or push pan. In a medium bowl, combine your finely crushed graham cracker crumbs with melted butter and a touch of sugar and sea salt. Mix until the crumbs are uniformly moistened, resembling wet sand. Press this mixture firmly and evenly into the bottom of your prepared pan. This creates a sturdy foundation for your cheesecake. To set the crust, you have two options: either freeze it for about 15-20 minutes while you prepare the filling, or bake it in a preheated oven at 325°F (165°C) for 15 minutes. Both methods help prevent a soggy crust.
Step 2: Craft the Creamy Cheesecake Filling (The “Don’t Overmix” Rule!)
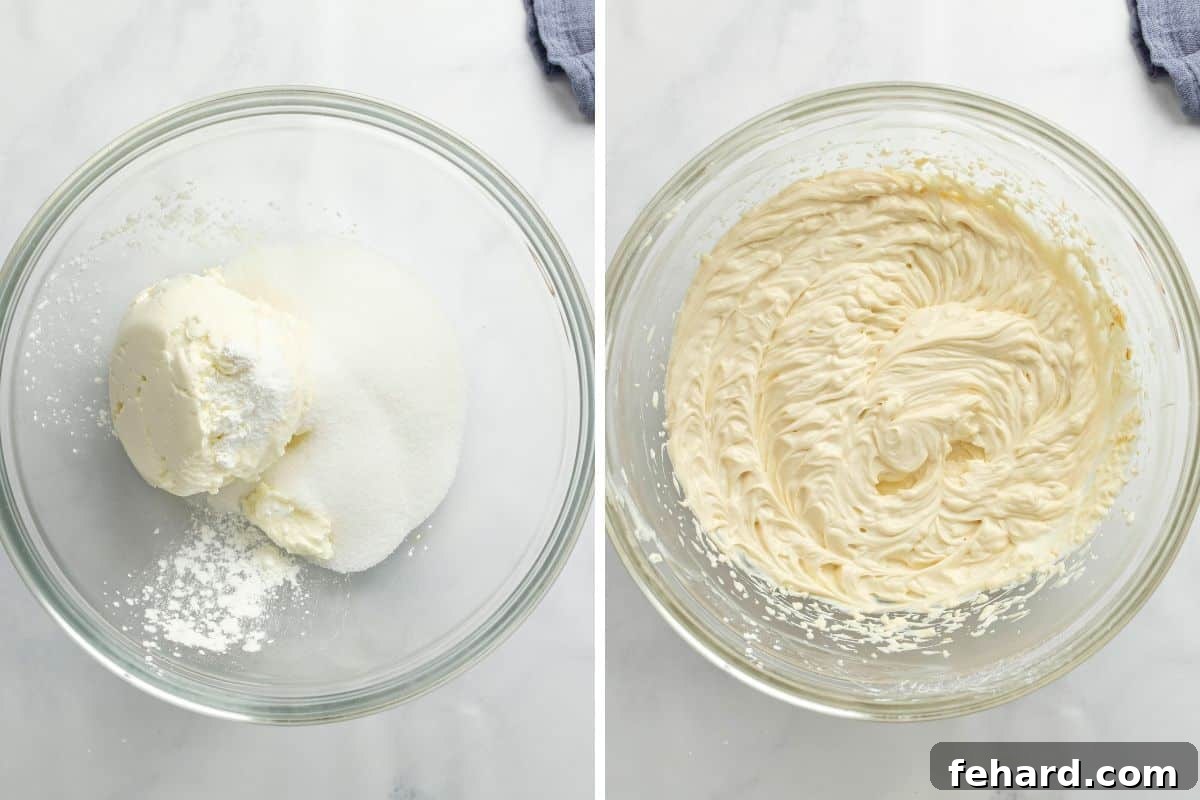
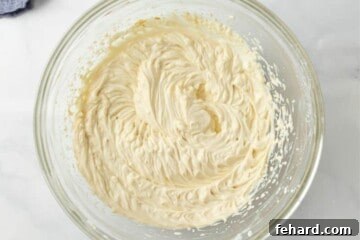
This stage is paramount for achieving a crack-free, silky cheesecake. Begin by combining the room temperature cream cheese, cornstarch, and sugar in a large bowl. Using a handheld mixer on medium-low speed, mix ONLY until the mixture is just smooth. The key here is to avoid overmixing, which incorporates too much air into the batter, leading to cracks during baking. Next, gently fold in the sour cream and vanilla extract on low speed until they are just combined – typically 15-20 seconds. Finally, add the eggs one at a time, mixing on the lowest speed possible until each egg is barely incorporated. Stop mixing as soon as you no longer see streaks of egg. Remember: less mixing equals a smoother, more perfect cheesecake.
Step 3: Assemble Your Cheesecake for Pressure Cooking
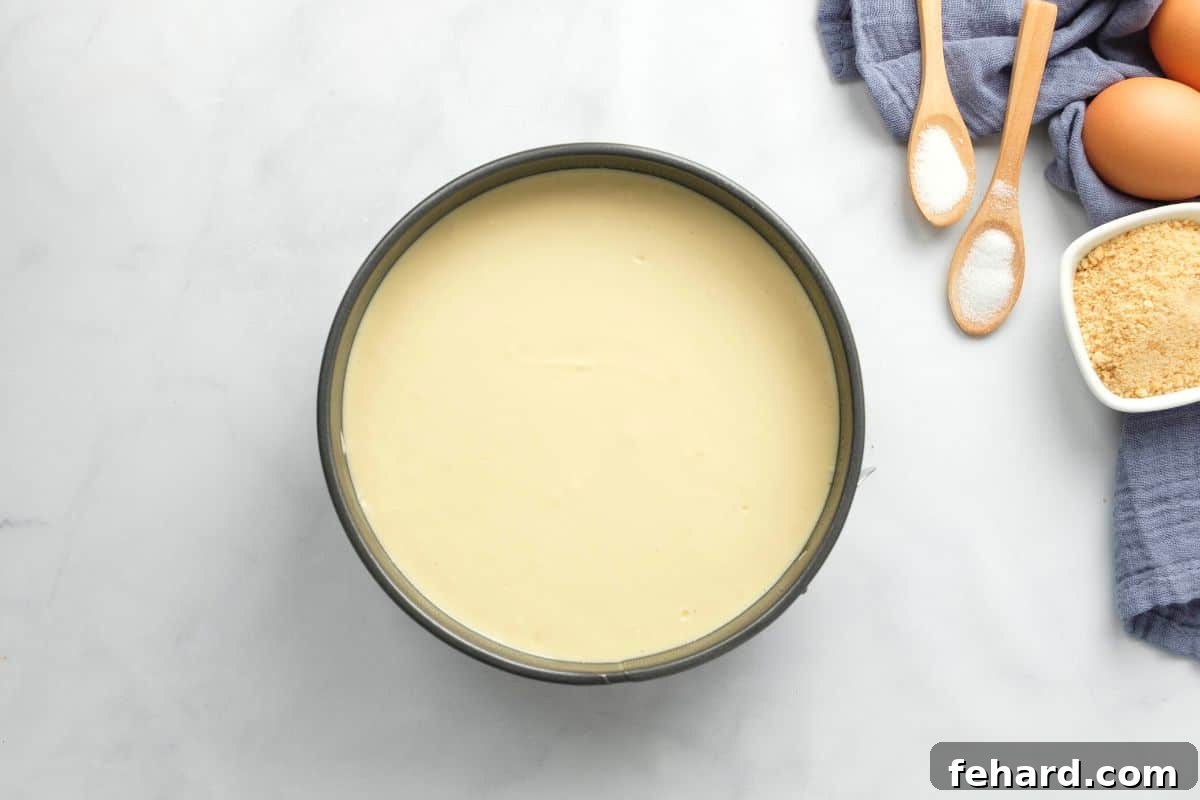
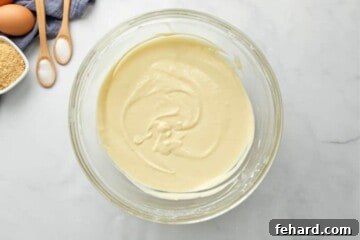
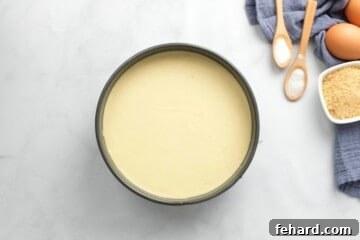
Carefully pour the prepared cheesecake batter over the set graham cracker crust in the springform pan. Once the batter is in the pan, gently tap the filled pan a few times on your counter. This action helps to release any trapped air bubbles from within the batter. If you observe any bubbles rising to the surface, use a fork or a toothpick to gently pop them. This simple step further contributes to a smooth, uniform cheesecake texture.
Step 4: Pressure Cook the Cheesecake to Perfection
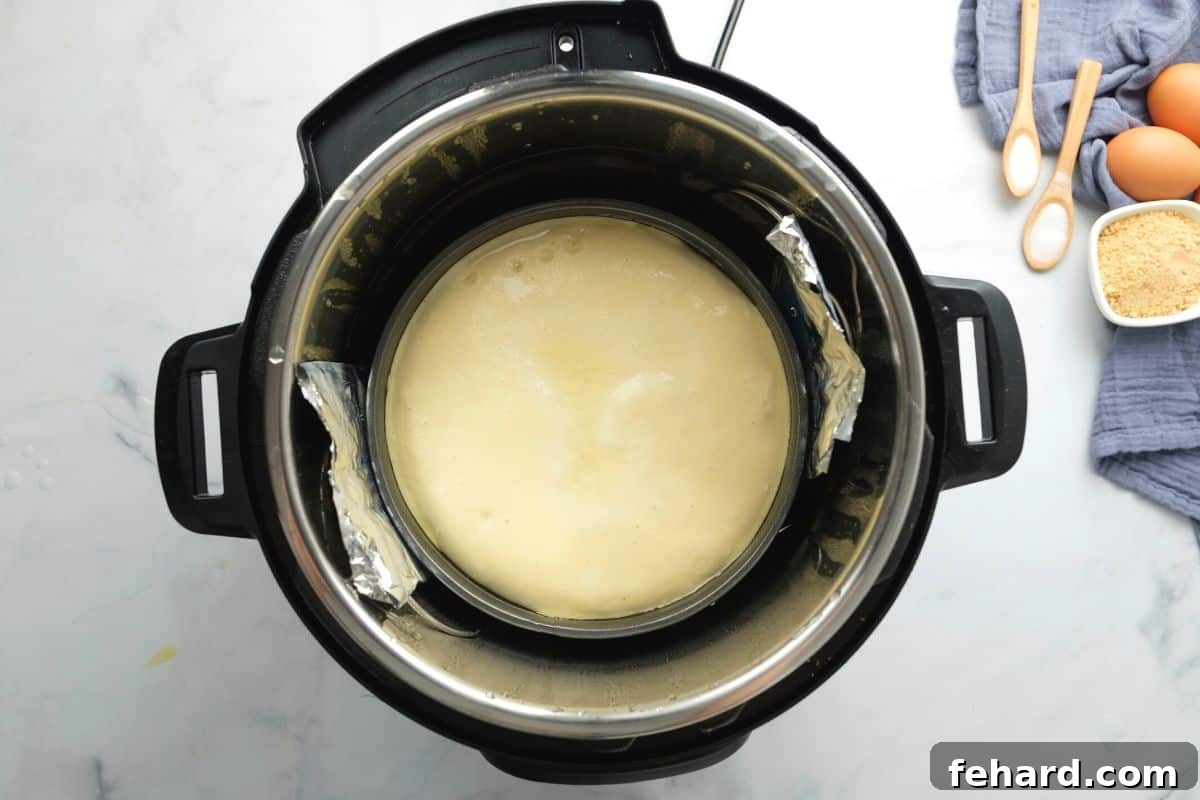
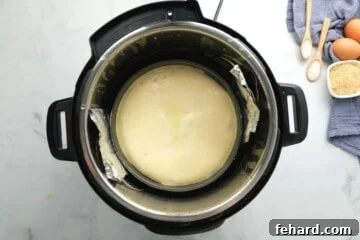
Employing the efficient pot-in-pot cooking method, pour 1.5 cups of cold water into the inner pot of your Instant Pot and place the metal trivet inside. Carefully lower your cheesecake pan onto the trivet. For easier removal, you can create a foil sling by folding a long piece of aluminum foil into a strip, placing it under the pan before lowering, and using the ends to lift the cheesecake out after cooking. Secure the Instant Pot lid, ensure the vent knob is sealed, and set it to cook on high pressure for 25 minutes. Once the cooking time concludes, it is absolutely critical to allow the pressure to release naturally on its own. This natural pressure release will take approximately 10-20 minutes. Resist the temptation to perform a quick release of pressure, as this abrupt change in temperature and pressure is a primary cause of cracked, undercooked cheesecakes with an undesirable texture. A gentle, natural release is key for a flawless finish. Once fully depressurized, carefully open the lid. The center of the cheesecake might still have a slight jiggle, which is perfectly normal and indicates a creamy texture once chilled.
Step 5: Chill for Maximum Flavor and Texture
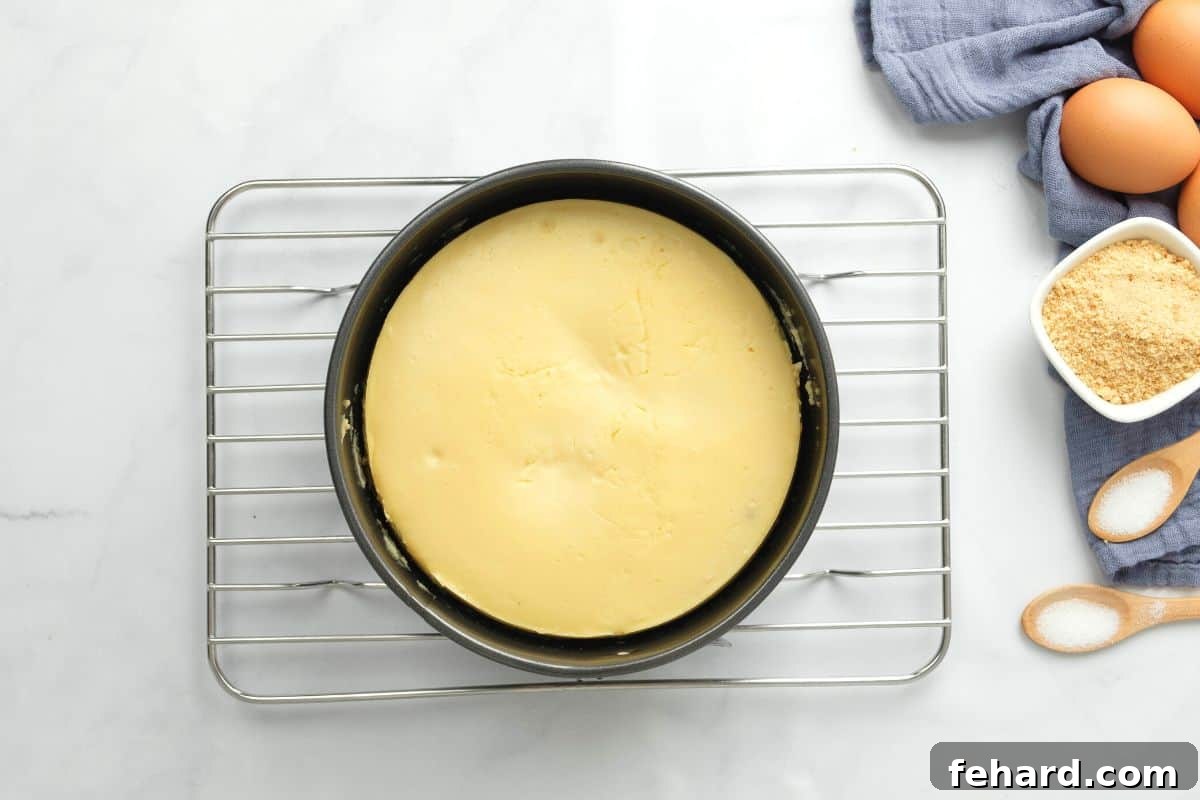
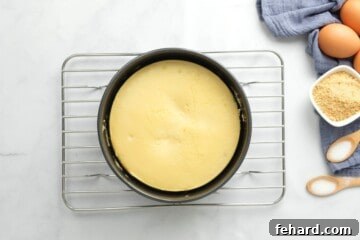
Just like any classic cheesecake, the Instant Pot version requires ample chilling time to fully develop its rich flavor and firm, creamy texture. After carefully removing the cheesecake from the Instant Pot, let it cool completely on a wire rack at room temperature. Once cooled, cover the cheesecake securely with plastic wrap or foil. Then, transfer it to the refrigerator and allow it to chill for a minimum of 8 hours, ideally 12-24 hours. This extended chilling period is crucial for the cheesecake to fully set, allowing the flavors to meld beautifully and creating that signature dense, yet smooth consistency that makes cheesecake so irresistible. Patience is truly a virtue when it comes to cheesecake!
Step 6: Serve with Your Favorite Toppings and Enjoy!
Before serving, remove your chilled Instant Pot Cheesecake from the refrigerator and let it sit at room temperature for about 15-30 minutes. This allows the cheesecake to soften slightly, enhancing its creamy texture and making it easier to slice cleanly. Once ready, carefully unmold the cheesecake from the springform pan. Slice it into wedges and serve as desired. This Instant Pot Cheesecake is wonderfully delicious on its own, showcasing its pure, rich flavor. However, it also pairs beautifully with a variety of toppings: fresh seasonal fruits like berries or sliced peaches, a vibrant cherry or strawberry pie filling, a luscious drizzle of homemade chocolate syrup, a dollop of fluffy whipped cream, or a swirl of caramel sauce. Let your personal palate be your guide for the perfect accompaniment!
∗ Top Tips for the BEST Instant Pot Cheesecake ∗
Elevate your cheesecake game with these expert tips, ensuring a perfectly smooth, creamy, and delightful Instant Pot Cheesecake every time:
- Plan Ahead for Optimal Flavor. True cheesecake connoisseurs know that patience is key. Just like all exceptional cheesecake recipes, your Instant Pot Cheesecake truly benefits from being prepared at least 8 hours, and ideally 24-48 hours, before you plan to serve it. This crucial chilling period allows the cheesecake to fully set, firm up, and, most importantly, allows all the delicious flavors to meld and deepen, resulting in a more complex and satisfying taste experience.
- Embrace Room Temperature Ingredients. I cannot stress this enough: using room temperature eggs, cream cheese, and sour cream is absolutely paramount. Cold ingredients don’t emulsify properly, leading to a lumpy batter and potentially a grainy, inconsistent texture in your final cheesecake. Room temperature ingredients blend smoothly and evenly, guaranteeing that coveted smooth and creamy cheesecake consistency.
- The Golden Rule: Do NOT Overmix! This is perhaps the most critical tip for preventing cheesecake disasters like cracks or curdled textures. Overmixing your batter, especially after adding the eggs, whips in excessive air. These air bubbles expand during cooking and then collapse during cooling, creating unsightly cracks on the surface. To avoid this, use room temperature ingredients (as mentioned above!) and mix on the lowest speed possible, only until the ingredients are just combined and smooth. Stop mixing the moment you see no more streaks of ingredients.
- Keep Your Sealing Ring Scent-Free. The silicone sealing ring in your Instant Pot is notorious for absorbing strong food odors. Imagine a delicate vanilla cheesecake tasting faintly of your last chili or pot roast! To prevent any savory flavors from lingering in your sweet desserts, I highly recommend owning at least two separate sealing rings for your Instant Pot: one dedicated solely to savory dishes and another exclusively for sweet creations. This simple precaution ensures your cheesecake tastes purely of deliciousness, not last night’s Instant Pot Chili.
Recipe Modifications and Creative Variations
While this classic Instant Pot Cheesecake recipe is perfect as is, it’s also incredibly adaptable. Feel free to experiment with these simple modifications to suit your taste or available ingredients:
- Vary the Crust for Unique Flavors. The traditional graham cracker base offers a delightful crunch and classic flavor. However, you can easily substitute it with an equal amount of other crushed cookies for a different twist. Consider vanilla wafer crumbs for a milder flavor, chocolate graham cracker crumbs for a deeper, richer base, or even Biscoff cookie crumbs for a wonderfully spiced and caramel-like foundation.
- Cornstarch Alternatives for Stability. The small amount of cornstarch added to the cheesecake batter plays a crucial role in ensuring a smooth texture and preventing cracks. If you don’t have cornstarch on hand, an equal amount of all-purpose flour can be used as a direct substitute. Both starches help to stabilize the cream cheese mixture and contribute to that coveted creamy consistency.
- Adjusting for Different Pan Sizes. This recipe is optimized for a 7-inch springform pan, which fits perfectly in most 6 or 8-quart Instant Pot models. If you opt to use a smaller 6-inch cheesecake pan, you will need to increase the pressure cooking time by approximately 7 minutes to ensure it bakes through evenly. Always check for a slight jiggle in the center to confirm doneness.
Storage Instructions for Optimal Freshness
Proper storage is essential to maintain the freshness and quality of your Instant Pot Cheesecake. Here’s how to store it for both short-term enjoyment and longer-term preservation:
- Refrigerate: For immediate enjoyment, leftover cheesecake can be stored in the refrigerator for up to 4 days. Ensure it is tightly wrapped in several layers of plastic wrap or placed in an airtight container to prevent it from absorbing other odors and drying out.
- Freeze: If you wish to savor your delicious cheesecake for an extended period, it freezes beautifully for up to 1 month. Once the cheesecake has fully cooled and chilled, wrap it meticulously in two layers of plastic wrap, followed by two layers of heavy-duty aluminum foil. Then, place the thoroughly wrapped cheesecake into a large freezer-safe storage bag or container. To enjoy, simply defrost the cheesecake overnight in the refrigerator. Consume the defrosted cake within 4 days for the best quality.
More Irresistible Dessert Recipes to Explore
If you loved this Instant Pot Cheesecake, you might also enjoy these other delightful dessert recipes, perfect for satisfying any sweet craving:
- Decadent Instant Pot Lava Cakes
- Adorable Mini Cheesecake Bites
- Elegant Instant Pot Creme Brulee
- Easy Homemade Fudgy Brownies
- Moist Sour Cream Banana Cake
- Tangy Lemon Cheesecake Bars
- Classic Peanut Butter Blossom Cookies
If you found this Instant Pot Cheesecake recipe delightful, we would be thrilled if you shared your experience by leaving a comment and a review below. Your feedback helps us and other home cooks!
Instant Pot Cheesecake Recipe
Print Recipe

Video
Instructions
For Graham Cracker Crust
-
Spray a 7×3-inch springform pan with nonstick cooking spray. Set aside. If baking crust, preheat the oven to 325°F/165℃.
-
Place the graham crackers in a storage bag and roll them with a rolling pin until finely ground. Measure out 1 cup graham cracker crumbs and place them into a medium mixing bowl. Add 1 tablespoon sugar and a pinch of sea salt and mix until fully combined. Add in 3 tablespoons butter (melted) and mix until the mixture resembles wet sand.

-
Pour in the graham cracker crumbs mixture. Gently press down the crumbs with a cup or measuring cup to form a firm, even layer on the bottom of the pan.
-
Place the crust in a 325°F/165℃ oven for 15 minutes. After baking, remove the crust from the oven and let it cool while you prepare the batter. Alternatively, place the prepared crust in the freezer while you prepare the batter rather than baking it.

Cheesecake Batter
-
In a large bowl, mix 2 (8-ounce packages) full-fat cream cheese, ⅔ cup granulated sugar, and 2 tablespoons cornstarch with a handheld mixer on medium-low speed until smooth, being careful to not overmix, as this incorporates a lot of air into the cheesecake.
-
On low speed, add the ½ cup full-fat sour cream and 2 teaspoons vanilla extract, until just combined; this should only take 15-20 seconds. Add 2 large eggs one at a time, and continue to mix until blended. Don’t overmix!
-
Pour the batter into the springform pan on top of the crust. Tap the filled pan gently on the counter to bring air bubbles to the surface and pop with a fork or a toothpick.
Pressure Cook
-
Pour 1-½ cups of cold tap water into the inner pot of the pressure cooker. Place the metal trivet in the inner pot. Place the cheesecake pan on top of the trivet, using a foil sling under the pan if desired.
-
Close the lid, be sure the vent knob is sealed, and set it to cook on high pressure for 25 minutes, using the manual or pressure cooker button.
-
Once the cooking time has elapsed, allow the pressure to release naturally FULLY. Once the pressure has been released, open the lid slowly. Check the cheesecake to see if the middle is set. If the cheesecake isn’t quite done, return the lid and cook at High Pressure for an additional 5 minutes, followed by a full natural release of pressure.
-
Use a paper towel to gently absorb any condensation on the surface. Carefully, remove the cheesecake from the pot and let it cool on a wire rack. After 10 minutes, use a butter or pairing knife to loosen the sides of the cheesecake from the pan.
-
Continue to allow the cheesecake to cool to room temperature. Once cooled, cover well with plastic wrap and/or foil and chill for 8-12 hours. Unmold the cheesecake, slice, and serve as desired.

Equipment
-
Electric Pressure Cooker (6 or 8 quart)
-
7 inch springform pan
Notes
Springform Pan: A 7-inch pan is a perfect size to fit inside a 6 or 8-quart pressure cooker. If you use a 6-inch cheesecake pan, you will need to add 7 minutes to the cooking time.
If cooking at higher elevations, refer to Instant Pot High Altitude Conversion.
Nutrition
Carbohydrates: 29g
Protein: 3g
Fat: 9g
Saturated Fat: 5g
Polyunsaturated Fat: 1g
Monounsaturated Fat: 3g
Trans Fat: 0.2g
Cholesterol: 61mg
Sodium: 124mg
Potassium: 55mg
Fiber: 0.4g
Sugar: 21g
Vitamin A: 284IU
Vitamin C: 0.1mg
Calcium: 31mg
Iron: 1mg
Nutrition information is automatically calculated, so should only be used as an approximation.
Tried this recipe?
Mention @amindfullmom or tag #amindfullmom!