
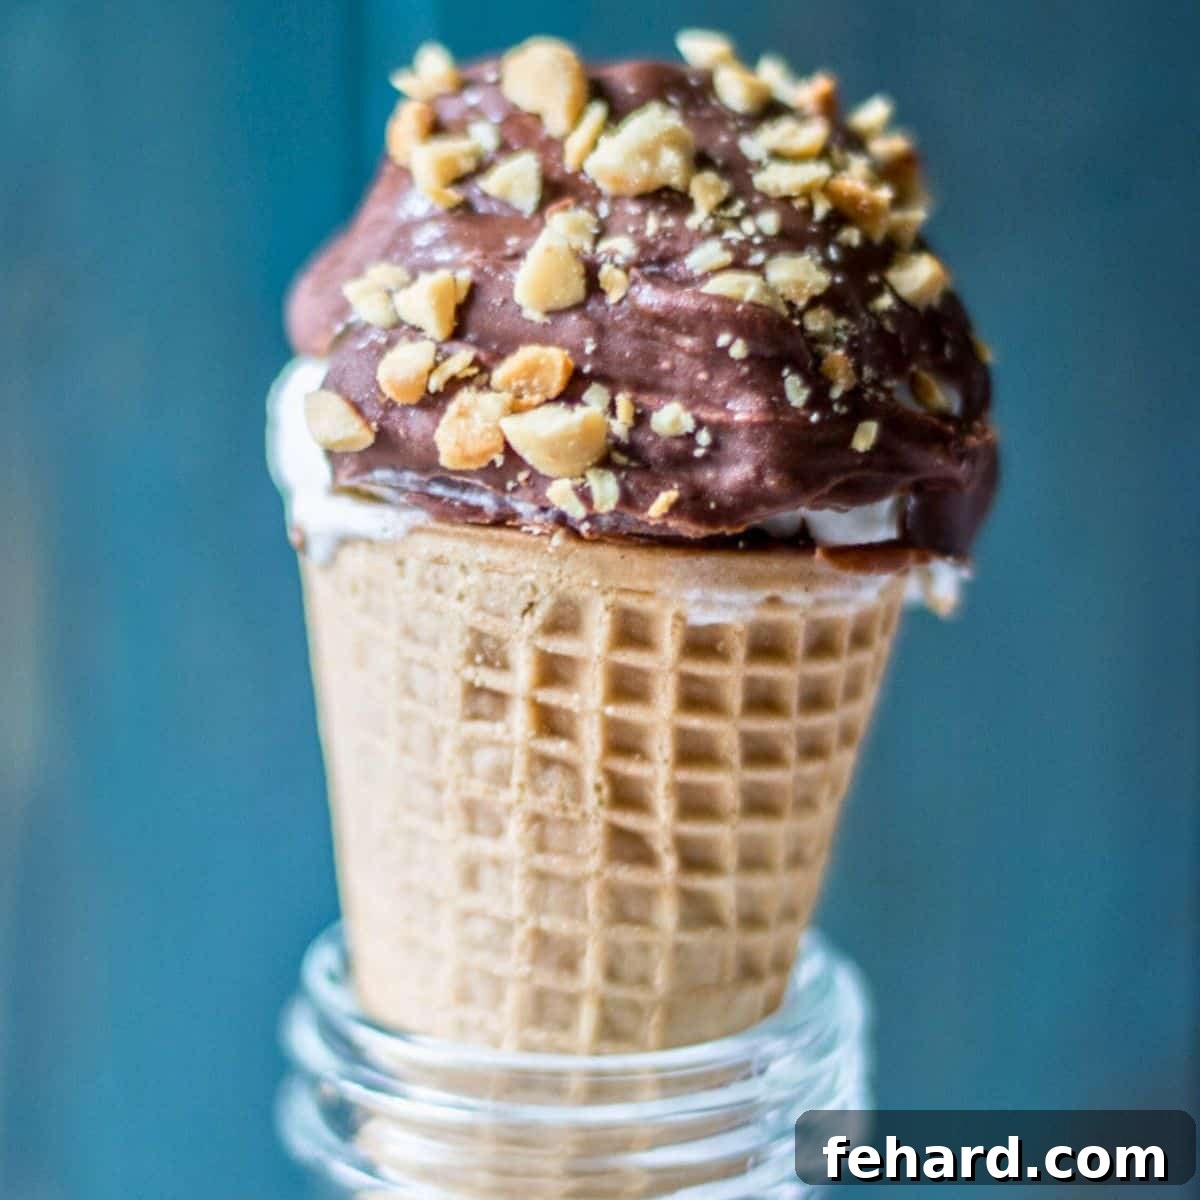
Say goodbye to chasing down the ice cream truck and hello to creating your very own Copycat Drumstick Ice Cream Cones right in your kitchen! This incredibly easy recipe brings together everything you adore about the classic frozen delight: velvety smooth ice cream, a perfectly crisp chocolate shell, and a satisfying crunch of peanuts. Using only simple, readily available ingredients, you can recreate this beloved treat, making summer memories even sweeter.
Craving more delightful frozen indulgences? Be sure to explore our recipes for Homemade Fudgesicles, refreshing Watermelon Granita, and fun Frozen Yogurt Bark for a variety of cool treats.
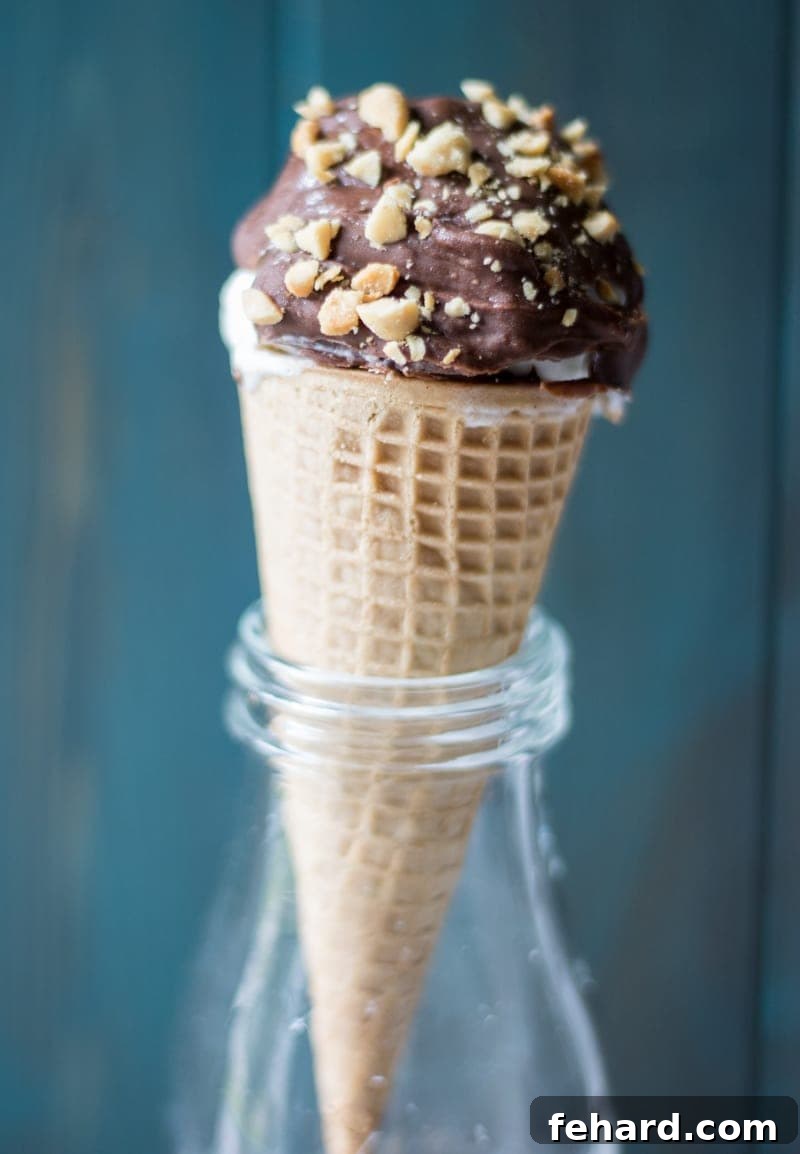
Reliving Childhood: The Ultimate Nostalgic Summer Treat

Few things evoke the joyous spirit of summer quite like a classic Drumstick Ice Cream Cone. For me, it’s a cherished memory from childhood – that perfect contrast between the rich, creamy softness of the ice cream and the satisfying snap of the chocolate coating, all finished with the delightful crunch of nuts. It was, and still is, pure perfection in every bite.
Decades later, my love for Drumsticks remains as strong as ever, but I’ve discovered an even better way to enjoy them: by making them myself! This homemade version isn’t just about saving a few dollars; it’s about elevating the entire experience. You get to choose high-quality ingredients, control the sweetness, and customize every element, resulting in a treat that tastes a million times better than anything you’d buy from the store.
Beyond the delicious outcome, crafting your own Ice Cream Drumsticks is a fantastic activity for the whole family. It’s incredibly easy, engaging, and hands-on – what child (or adult!) doesn’t revel in the fun of scooping ice cream and showering it with their favorite toppings? It’s a delightful way to spend an afternoon and create lasting memories together.
Happy Cooking, and enjoy these incredible homemade delights! xo Kristen
Recipe Highlights & What You’ll Learn
- Homemade Drumstick Ice Cream Cone Recipe Overview
- Essential Ingredients for Perfect Drumsticks
- Step-By-Step Guide to Crafting Your Drumsticks
- Expert Tips for Drumstick Success
- Dietary Adjustments for Every Preference
Mastering Your Ingredients: Tips for the Best Drumsticks
While the classic Drumstick features vanilla ice cream, a rich chocolate coating, and chopped peanuts, the beauty of making your own is the freedom to customize! Let your culinary imagination soar and your taste buds be your guide. Here’s a detailed look at the core ingredients and how you can personalize them for your perfect frozen treat.
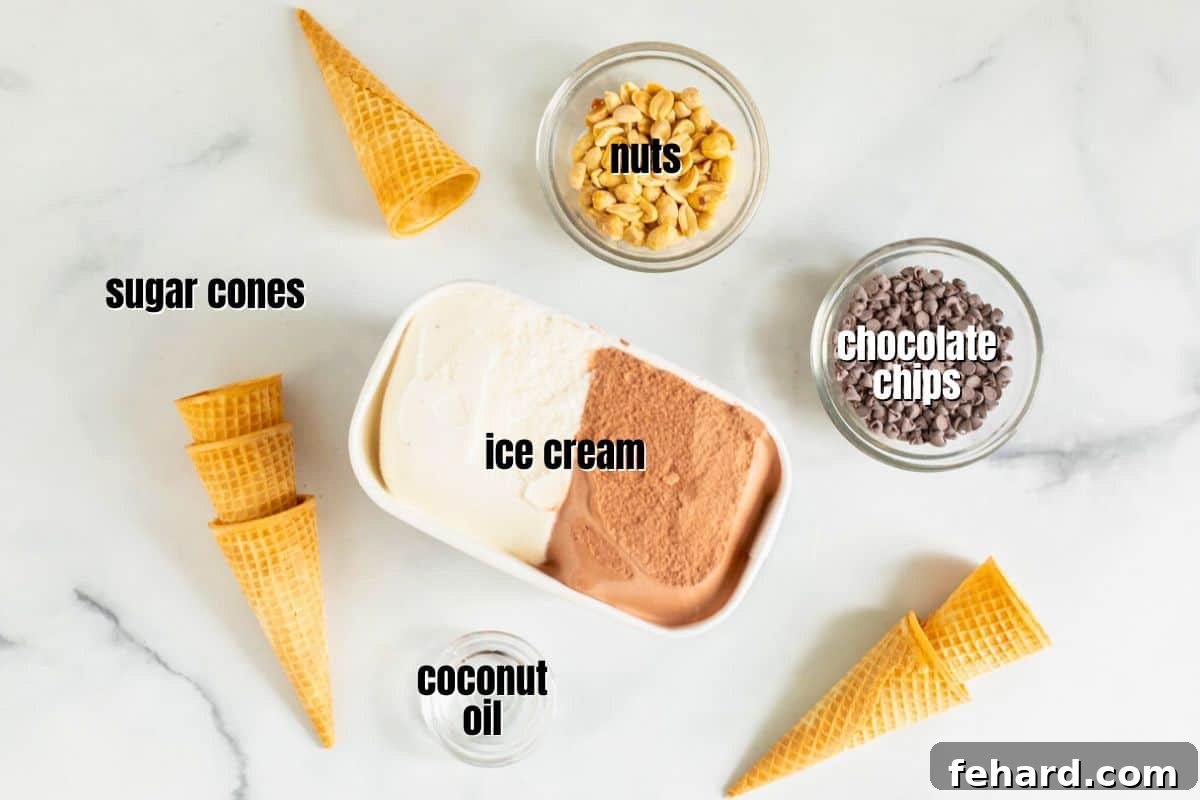
- Ice Cream Cones: For that truly authentic Drumstick crunch, sugar cones are your top choice. Their sturdy structure holds up well to filling and coating. However, don’t limit yourself! For an extra-large, satisfying treat, opt for a waffle cone. Cake cones can also work, offering a softer bite, but be mindful that they might become slightly less crisp after freezing and dipping.
- Ice Cream: This is where you can truly make the recipe your own! While vanilla is traditional and wonderfully versatile, feel free to experiment with any ice cream flavor you adore. Chocolate, strawberry, mint chip, or even a swirl variety would be incredible. Whether you prefer homemade vanilla ice cream, a premium store-bought brand, or an easy no-churn ice cream recipe, the choice is yours. Just ensure it’s well-frozen for easier handling.
- Chocolate: The chocolate shell is a signature element. You can use any type of chocolate chips or finely chopped chocolate bars you prefer. Milk chocolate offers a sweeter, milder flavor, while semi-sweet chocolate is a popular choice for a balanced taste. Personally, I find dark chocolate provides a wonderful depth of flavor that complements the sweetness of the ice cream beautifully. High-quality chocolate will result in a smoother, more decadent coating.
- Coconut Oil: This ingredient is essential for achieving that characteristic crisp, quick-setting chocolate shell. Adding coconut oil to the melted chocolate helps it thin out, making it easier to dip the cold ice cream without it immediately solidifying into a thick, uneven layer. More importantly, it helps the chocolate harden almost instantly upon contact with the frozen ice cream, creating that satisfying “snap” when you bite into it. It also imparts a lovely, glossy finish to your drumsticks.
- Toppings: The classic Drumstick features chopped peanuts, and for good reason – their salty crunch perfectly contrasts the sweet ice cream and chocolate. However, this is another prime opportunity for customization! Consider chopped almonds, pecans, walnuts, colorful sprinkles for a festive touch, mini chocolate chips, crushed cookies (like Oreos!), or even a drizzle of caramel or white chocolate. You can also choose to omit toppings altogether for a simpler, yet equally delicious, chocolate-dipped cone.
Step-By-Step Guide: Crafting Your Perfect Drumstick Ice Cream Cones
Creating homemade Drumstick Ice Cream Cones is a fun and rewarding process. Follow these detailed steps to achieve perfect results every time. You’ll find precise ingredient quantities and comprehensive instructions in the recipe card located at the very end of this post.
- Prepare Your Workspace and Initial Chocolate Melt. Begin by lining a baking sheet with parchment paper or wax paper, then place it into your freezer. This chilled surface will be crucial for quickly setting your assembled cones. Next, measure about 2 ounces of your chosen chocolate chips or chopped chocolate into a small microwave-safe bowl. Heat the chocolate in 30-second bursts, stirring thoroughly after each interval, until it’s completely smooth and melted. Stir in 1 teaspoon of coconut oil until it’s fully incorporated and the mixture is glossy. This small batch of chocolate is specifically for coating the inside of your cones.
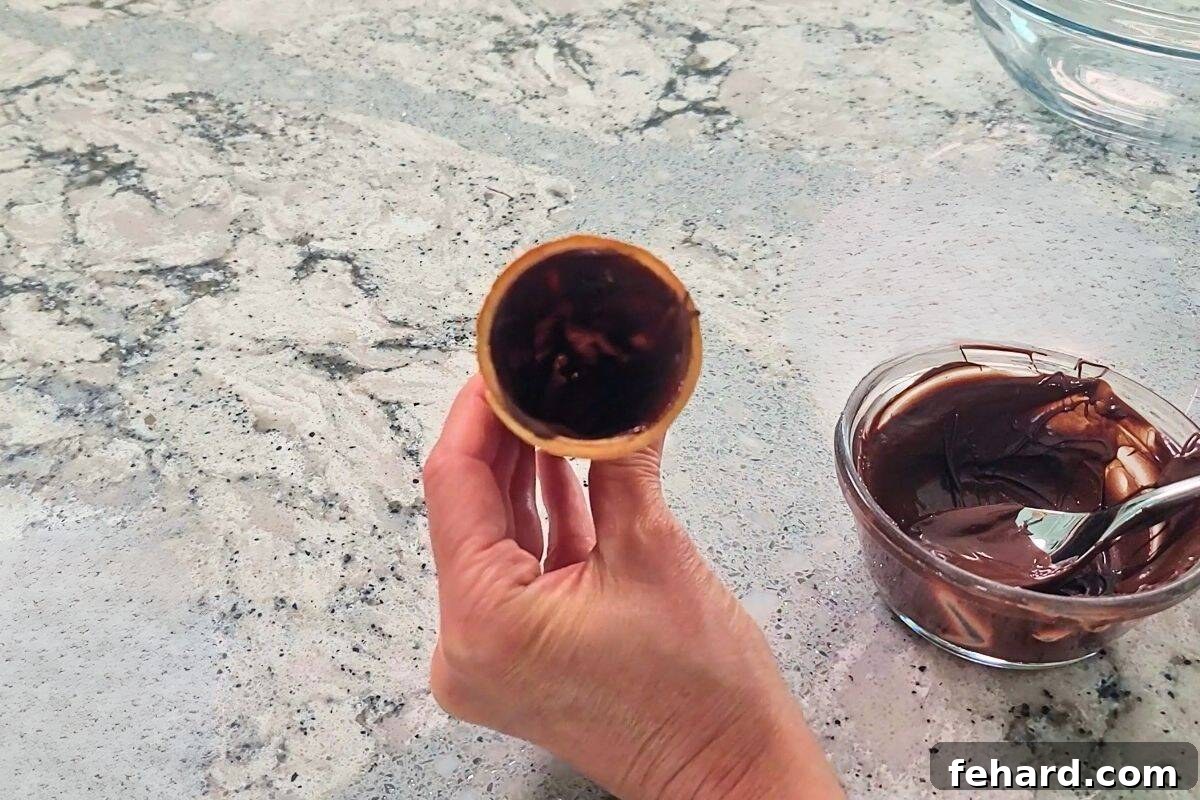
- Create the Cone’s Chocolate Lining. Take one sugar cone at a time. Drizzle approximately one teaspoon of the melted chocolate mixture into the cone. Using a small pastry brush, the back of a small spoon, or a butter knife, carefully spread the chocolate to evenly coat the entire interior of the cone with a thin layer. This step is vital for preventing the cone from becoming soggy when filled with ice cream and helps maintain its crispness. I personally find a butter knife works exceptionally well for this task. Set the coated cones aside for a few minutes to allow the chocolate to harden.
- Generously Fill Cones with Ice Cream. Now for the fun part! Working efficiently with one cone at a time, fill the base of the cone firmly with your desired ice cream. Then, add a generous scoop of ice cream to the top, shaping it into a smooth, appealing dome. The key here is to work quickly to prevent the ice cream from melting too much. Immediately transfer the filled ice cream cone to the prepared baking sheet in the freezer. Repeat this process for all your cones, ensuring they are well-spaced on the baking sheet.
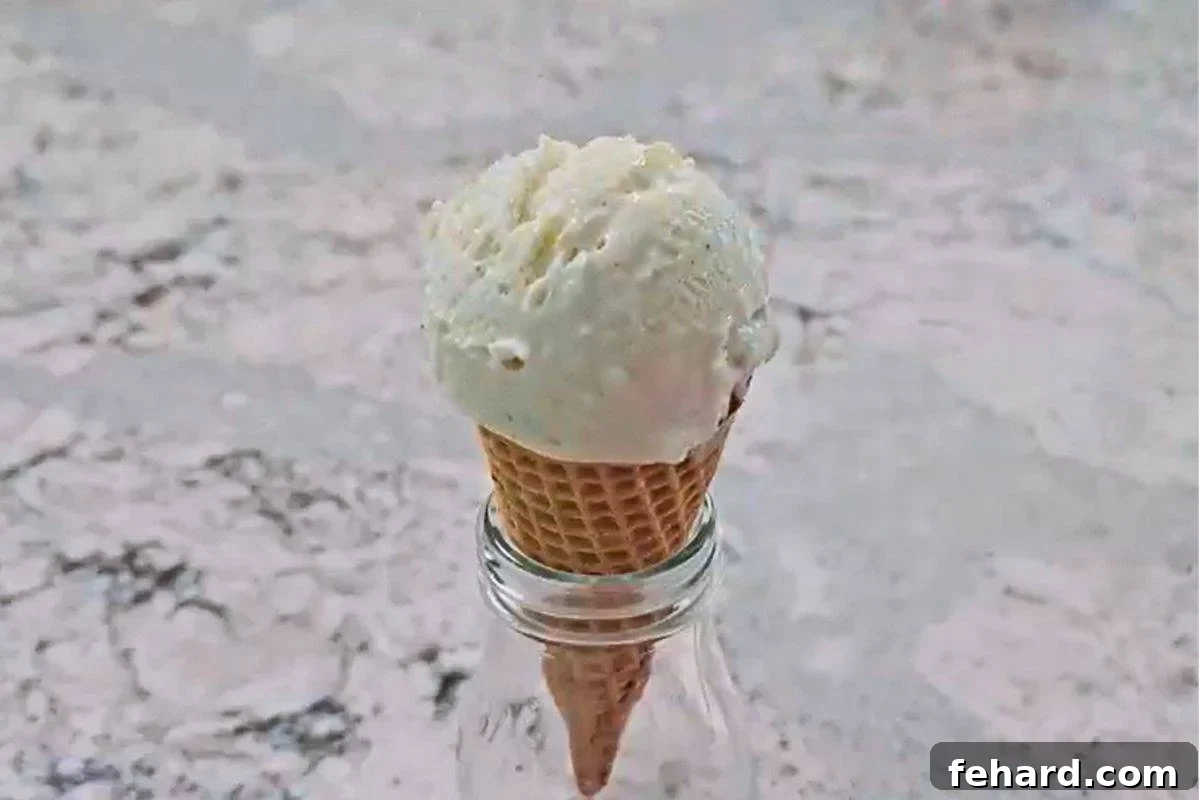
- Crucial Freezing Step. This step is non-negotiable for perfectly dipped Drumsticks. Allow the filled ice cream cones to freeze for at least one hour, or until the ice cream is completely solid. Skipping or shortening this freezing time will result in a melty, messy situation when you try to coat them with the warm melted chocolate. Patience here truly pays off!
- Prepare the Final Chocolate Coating. Just before you’re ready to remove the thoroughly frozen ice cream cones from the freezer, prepare the larger batch of chocolate coating. Place the remaining 14 ounces of chocolate (chips or chopped) into a microwave-safe bowl. Melt the chocolate in 30-second intervals, stirring vigorously after each interval, until it is entirely smooth and fluid. Then, stir in the remaining 2 tablespoons of coconut oil until it’s fully incorporated and the mixture is silky smooth. This will be your dipping chocolate.
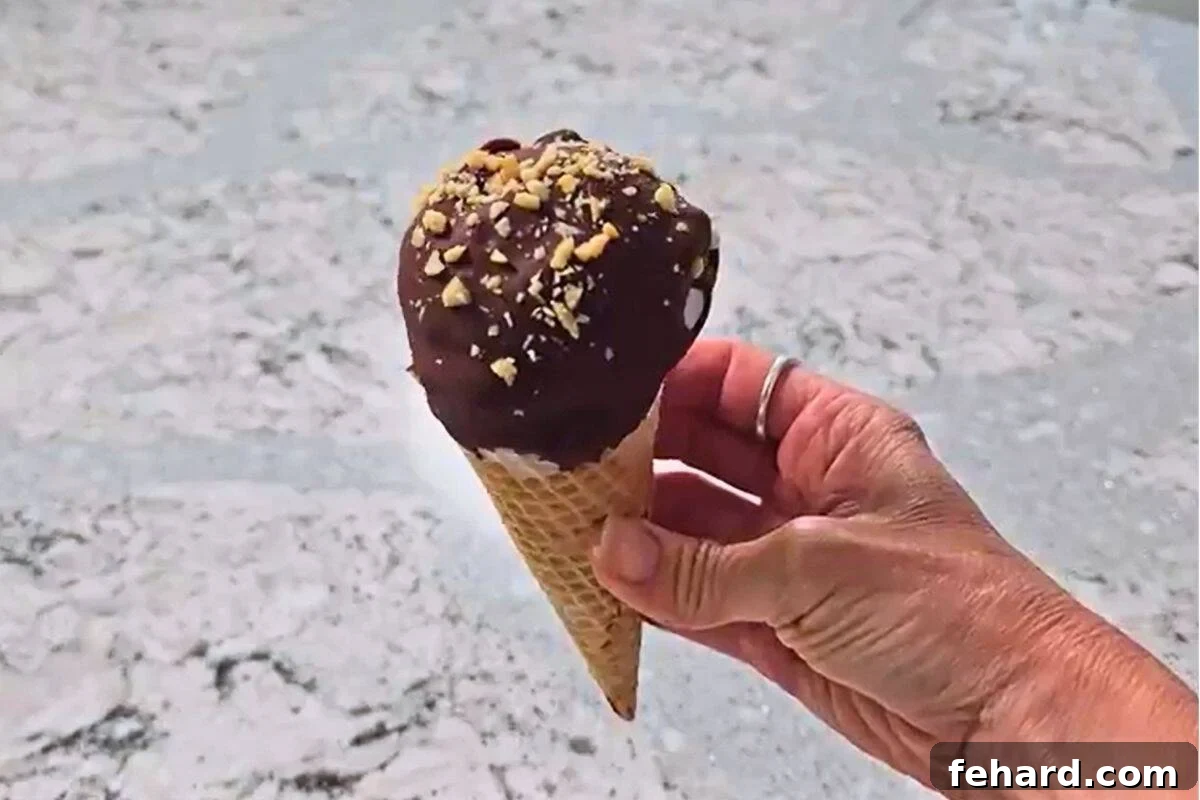
- Coat the Ice Cream with Chocolate. Speed and efficiency are key here! Retrieve only one prepared ice cream cone from the freezer at a time. If your ice cream is truly frozen solid and hard to the touch, you can quickly dip the entire ice cream portion into the melted chocolate. Alternatively, and often easier for beginners, you can spoon the melted chocolate over the dome of ice cream, ensuring an even and complete coating. Work swiftly, as the cold ice cream will cause the chocolate to set very quickly.
- Add Your Chosen Toppings. Immediately after coating the ice cream with chocolate, and while the chocolate is still wet and pliable, generously sprinkle your chopped peanuts or other desired toppings over the chocolate. The chocolate hardens rapidly, so having your toppings ready and within arm’s reach is essential. Once topped, return the ice cream cone to the baking sheet in the freezer. Retrieve the next cone from the freezer, and repeat the coating and topping process. Continue until all your Drumstick Ice Cream Cones are beautifully assembled.
- Final Freeze and Serve. Once all the ice cream drumstick cones are assembled and topped, return the entire baking sheet to the freezer for a final chill of at least 30 minutes. This ensures the chocolate is fully set and the ice cream is firm. After this final freeze, your homemade Copycat Drumstick Ice Cream Cones are ready to be served and enjoyed! For longer storage, transfer the prepared cones to an airtight freezer-safe container, where they will keep well for up to two weeks, though we doubt they’ll last that long!
Kristen’s Expert Tips for Flawless Homemade Drumsticks
- Never Skip the Cone Lining. This initial chocolate coating inside the cone is more than just an extra layer of flavor. It acts as a crucial barrier, preventing moisture from the ice cream from seeping into the cone. This ensures your cone remains wonderfully crispy and crunchy, even after being frozen with ice cream inside. It’s a small step that makes a huge difference in texture!
- Utilize a Jar for Stability. Filling ice cream cones can sometimes be a wobbly affair. To make the process significantly easier and less messy, place each empty cone upright in a small glass jar or a sturdy cup. This provides excellent stability while you’re scooping in the ice cream, allowing you to create that perfect dome without spills.
- Pre-Chill Your Baking Sheet. Having a baking sheet lined with parchment or wax paper already in the freezer is a game-changer. As soon as you finish filling and assembling each cone, you can immediately transfer it to the super-chilled sheet. This rapid chilling helps prevent melting and ensures your cones firm up quickly, preparing them for the final chocolate dip.
- Organize Your Toppings in Advance. The chocolate coating sets incredibly fast once it touches the cold ice cream. To ensure your toppings adhere beautifully, have your chopped nuts, sprinkles, or any other desired garnishes measured out and ready in a wide, shallow bowl right next to your melted chocolate dipping station. This way, you can dip the cone and immediately roll or sprinkle on the toppings before the chocolate hardens. Working quickly and having everything prepped will make this step smooth and successful.
Inclusive Indulgence: Dietary Modifications for Everyone
One of the most fantastic aspects of making Homemade Ice Cream Drumsticks is the ability to tailor them to various dietary needs and preferences. This means virtually everyone can enjoy this delightful frozen treat, regardless of allergies or specific diets!
- Dairy-Free Option: Achieving a dairy-free Drumstick is wonderfully straightforward. Simply choose your favorite high-quality dairy-free ice cream (there are many fantastic almond, oat, or coconut milk-based options available) and pair it with a good brand of dairy-free chocolate chips or chopped chocolate. Ensure your toppings are also dairy-free.
- Gluten-Free Choice: For those avoiding gluten, the primary concern is the cone. Fortunately, a wide variety of excellent gluten-free ice cream cones are now readily available in most supermarkets. Always double-check the ingredient label on your chosen ice cream, as some flavors, like cookie dough or certain mixes, can contain hidden sources of gluten. Stick to simpler flavors like vanilla or chocolate to be safe, or check for certified gluten-free labels.
- Nut-Free Recipe: If nut allergies are a concern, simply omit the chopped nuts from the chocolate coating. There are plenty of other delicious nut-free topping options like sprinkles, mini chocolate chips, or crushed pretzels. Also, be diligent about checking the ingredient labels on your ice cream and chocolate to ensure they are certified nut-free and processed in a nut-free facility if severe allergies are present.
- Coconut-Free Alternative: While coconut oil is excellent for the chocolate shell’s texture, it can be easily substituted if you have a coconut allergy or simply dislike the flavor. A neutral-flavored oil, such as canola oil, grapeseed oil, or even a very light olive oil, can be used in its place to achieve a similar quick-setting, crisp texture for the chocolate.
- Egg-Free Preparation: Many ice creams contain eggs, so for an egg-free Drumstick, ensure you select an egg-free ice cream variety. Our recipe for no-churn vanilla ice cream is a fantastic egg-free base option. Additionally, carefully check the ingredients list on your ice cream cones, as some brands may include egg in their formulations.
Explore More Delectable Summer Dessert Recipes
Summer is the season for sweet treats! If you loved making these homemade Drumstick Ice Cream Cones, you’re sure to enjoy these other delightful desserts perfect for warm weather gatherings and family indulgence:
- Classic Cherry Crumb Pie: A timeless favorite with a sweet-tart filling and a buttery crumb topping.
- Irresistible Blackberry Crisp: Juicy blackberries baked under a golden, crunchy oat topping.
- Easy Blueberry Crumb Bars: All the flavor of blueberry pie in convenient, handheld bar form.
- Sweet Peach Crisp: A comforting dessert featuring tender, ripe peaches and a crispy oat topping.
- Southern Peach Cobbler: Warm, luscious peaches topped with a tender, biscuit-like crust.
Did you savor this recipe?
If you thoroughly enjoyed crafting and tasting this homemade Copycat Drumstick Ice Cream Cone recipe, we would be incredibly grateful if you could take a moment to share your experience! Please leave a comment and a 5-star review at the bottom of this post. Your feedback helps us and other home cooks discover wonderful new treats. Thank you for your support!
Homemade Drumstick Ice Cream Cones
Kristen Chidsey
6
1 hour
30 minutes
1 hour
30 minutes
Rate
Video Tutorial
Ingredients
-
2 ounces chocolate chips or chopped chocolate, for coating cones -
1 teaspoon coconut oil, for coating cones -
6 sugar cones -
48 ounces ice cream , any variety -
14 ounces chocolate chips or chopped chocolate, for dipping ice cream cones -
2 tablespoon coconut oil, for dipping ice cream cones -
½ cup chopped nuts or sprinkles, optional
Instructions
-
Line a baking sheet with parchment paper or wax paper, then immediately place it into your freezer to thoroughly chill.
-
In a small, microwave-safe bowl, melt 2 ounces of chocolate chips (or chopped chocolate) in 30-second intervals. Stir well after each interval until the chocolate is completely smooth. Stir in 1 teaspoon of coconut oil until fully incorporated and glossy.
-
Take one cone at a time and drizzle about 2 teaspoons of the melted chocolate mixture into the cone. Using a pastry brush, a small spoon, or a butter knife, carefully spread the chocolate to evenly coat the entire interior of the cone with a thin layer. Allow the cones to sit for a few minutes for the chocolate lining to harden completely.
-
Working quickly with one cone at a time, fill the sugar cone firmly with your chosen ice cream. Top with an additional scoop of ice cream, shaping it into a smooth dome. Immediately place the filled cone onto the chilled parchment-lined baking sheet in the freezer. Repeat this process for each cone until all are filled. Freeze for at least one hour, or until the ice cream is solid.
-
Once the cones are almost solid, place the remaining 14 ounces of chocolate in a larger microwave-safe bowl. Melt in 30-second intervals, stirring vigorously after each, until the chocolate is completely melted and smooth. Stir in the remaining 2 tablespoons of coconut oil until fully incorporated.
-
Remove one ice cream cone from the freezer at a time. Working very quickly, spoon the melted chocolate over the ice cream dome to fully coat it. You can also quickly dip the ice cream into the chocolate if it’s firm enough. Immediately sprinkle with chopped peanuts or your preferred toppings.
-
Place the freshly coated and topped ice cream cone back onto the lined baking sheet in the freezer. Retrieve another cone and repeat the coating and topping process. Once all Drumstick Ice Cream Cones are assembled, freeze for an additional 30 minutes before serving.
-
After the final 30-minute freeze, your homemade Drumsticks are ready to enjoy! For longer storage, transfer them to an airtight freezer-safe container, where they will remain fresh for up to 2 weeks.
Notes
Ice Cream Options: While traditional Drumsticks feature vanilla ice cream, these homemade cones are absolutely delicious with ANY flavor of ice cream! Experiment with chocolate, strawberry, mint, or even a swirled variety. Don’t forget, you can also select dairy-free or vegan ice cream if needed to cater to specific dietary requirements.
Dairy-Free Drumstick Ice Cream Cones: To make a completely dairy-free version, simply ensure you use both dairy-free chocolate chips (or chopped chocolate) and your preferred brand of dairy-free ice cream. Most major supermarkets now offer excellent dairy-free alternatives.
Topping Options: Chopped nuts are the classic Drumstick topping, providing a wonderful textural contrast. However, they are entirely optional and can be left off if preferred. For a fun twist, colorful sprinkles are always a hit, especially with kids! Remember to sprinkle your chosen toppings onto the chocolate immediately after dipping, before it has a chance to set.
Nutrition Information
Carbohydrates: 42g
Protein: 11g
Fat: 16g
Saturated Fat: 5g
Cholesterol: 27mg
Sodium: 87mg
Potassium: 678mg
Fiber: 4g
Sugar: 39g
Vitamin A: 945IU
Vitamin C: 1.6mg
Calcium: 259mg
Iron: 3.2mg
Nutrition information is automatically calculated, so should only be used as an approximation.
Tried this recipe?
Mention @amindfullmom or tag #amindfullmom!