
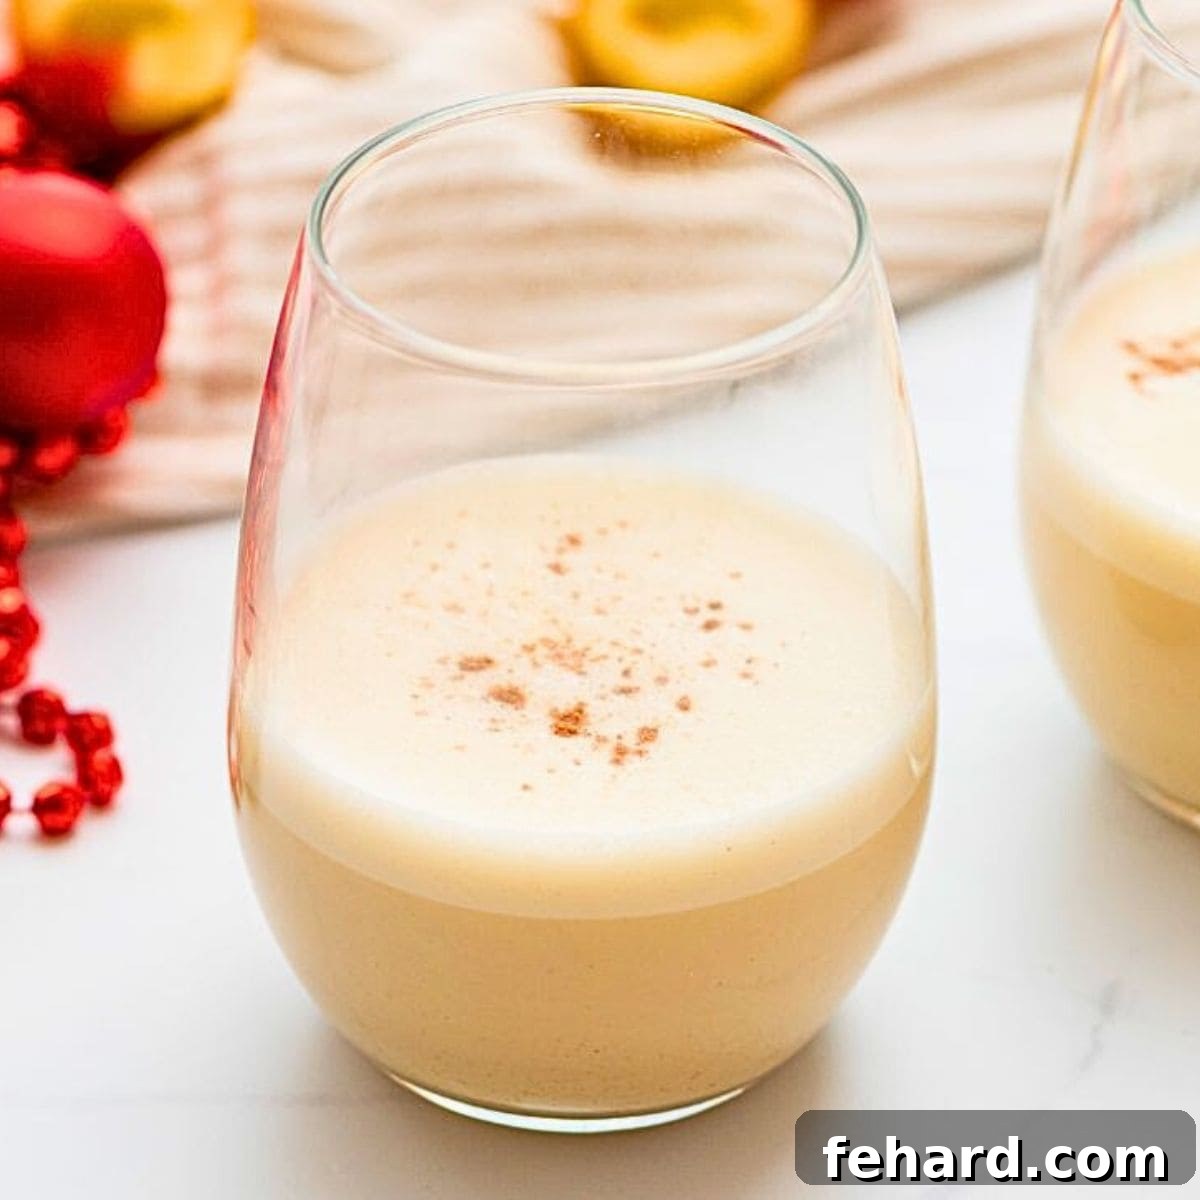
Luxurious Dairy-Free Eggnog: Your Essential Holiday Beverage Recipe
Embrace the festive spirit with our decadent Dairy-Free Eggnog recipe, crafted for a rich, creamy, and utterly delicious experience without a drop of dairy. Featuring thick, nutty coconut milk, a symphony of warming spices like freshly grated nutmeg and cinnamon, and the natural sweetness of maple syrup, this recipe delivers all the luxurious flavor of classic eggnog. Whether served with a splash of bourbon for adult gatherings or enjoyed as a comforting non-alcoholic treat, this festive beverage will quickly become a cherished tradition throughout the holiday season.
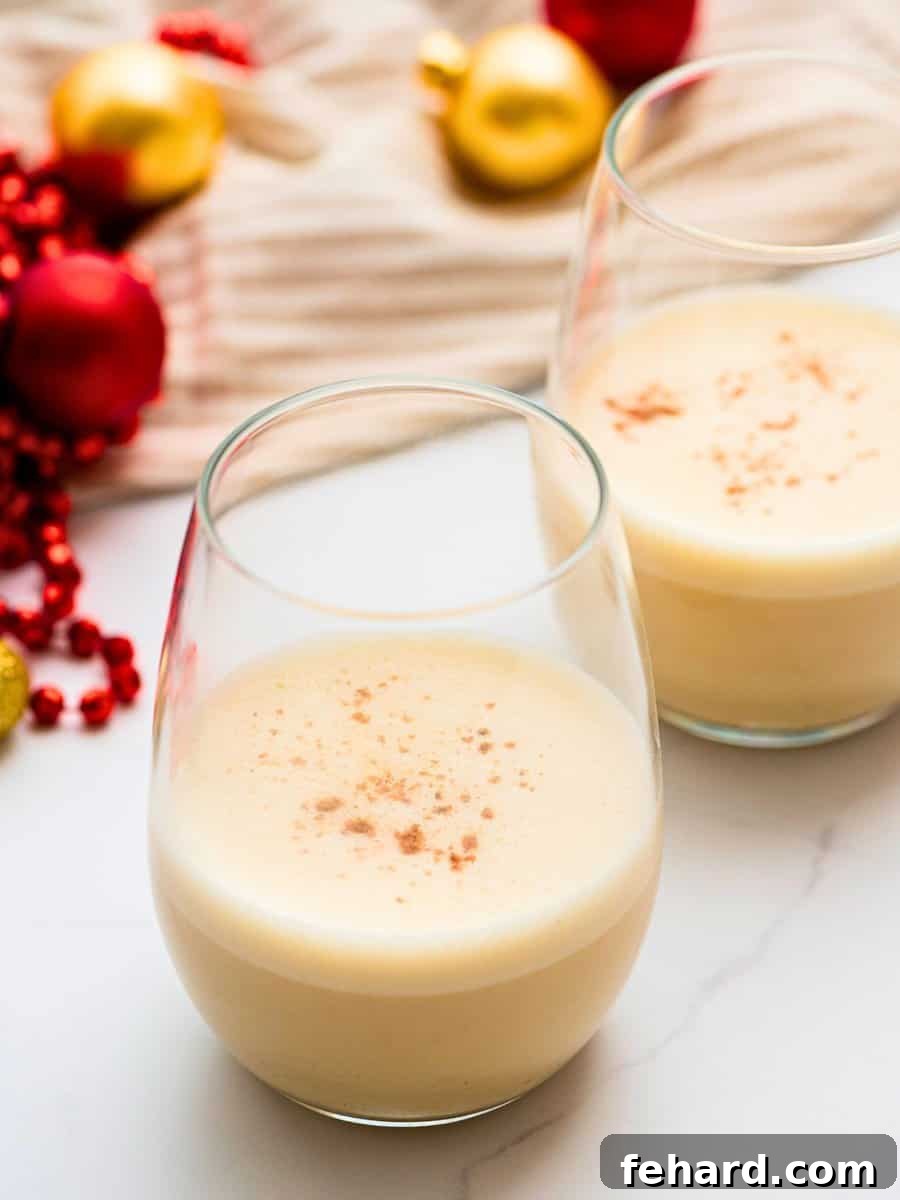
Why Choose Dairy-Free Eggnog for Your Holidays?
Eggnog is a quintessential holiday drink, beloved for its creamy texture and rich, spiced flavor. However, traditional recipes can be a challenge for those with dairy sensitivities, lactose intolerance, or who simply prefer a plant-based lifestyle. This dairy-free version ensures everyone can partake in the joy of eggnog without compromise. By substituting traditional milk and cream with full-fat coconut milk, we achieve a remarkably similar richness and mouthfeel, coupled with a subtle tropical hint that complements the warming spices beautifully. It’s an inclusive twist on a timeless classic, perfect for any festive gathering.
Kristen’s Keys to Achieving Perfectly Creamy Dairy-Free Eggnog
Crafting silky, creamy eggnog that’s entirely dairy-free requires attention to a few key details. Follow these essential tips to ensure your homemade dairy-free eggnog is thick, luscious, and utterly delicious, even without traditional dairy products.
- Opt for Canned Full-Fat Coconut Milk: This is the cornerstone of our dairy-free eggnog’s rich texture. Unlike almond or soy milk, the high fat content in canned full-fat coconut milk provides the essential thickness and luxurious mouthfeel that truly replicates the decadence of classic eggnog. Shake the cans well before opening to ensure the cream and liquid are fully incorporated.
- Sweeten with Pure Maple Syrup: Maple syrup does more than just sweeten; its unique caramel notes naturally enhance and deepen the warming flavors of cinnamon and nutmeg. It’s a fantastic natural sweetener that adds complexity and a comforting aroma to your holiday drink. Adjust the amount to your personal taste preferences for sweetness.
- Always Grate Whole Nutmeg Fresh: Avoid pre-ground nutmeg whenever possible. The difference in flavor is astounding. Grating a whole nutmeg bulb with a Microplane releases its vibrant, aromatic oils, delivering a warm, fragrant spice that ground nutmeg simply cannot match. Ground nutmeg can often be overpowering or even bitter, detracting from the overall delicate balance of flavors.
- Master the Art of Tempering Eggs: This step is crucial to prevent the egg yolks from scrambling and creating a lumpy texture. The secret lies in slowly and gradually streaming the warm coconut milk mixture into the beaten egg yolks, rather than adding them all at once. This gentle process gradually raises the temperature of the egg yolks, ensuring a smooth, emulsified base for your eggnog. We’ll walk you through this technique in detail below.
- Chill for Optimal Flavor and Texture: Patience is key! For the best results, chill your dairy-free eggnog for at least 2-3 hours. Chilling allows the complex flavors from the spices and maple syrup to meld beautifully, deepen, and fully develop. Overnight refrigeration is even better, as it also helps the eggnog to thicken to its ideal, velvety consistency.
A 5-Star Reader Favorite!
“Amazing! The best recipe ever! I had three egg yolks left over from making macarons and saw your recipe as my first hit. A winner! This one is a keeper! Only problem is I am going to drink the whole batch before anyone gets a chance to try it! ” -Miriam⭐⭐⭐⭐⭐
How to Make Homemade Dairy-Free Eggnog: A Step-by-Step Guide
Creating homemade dairy-free eggnog is simpler than you might think, and this detailed step-by-step section is designed to make the process easy and foolproof, ensuring a perfect batch every time.
Step One: Prepare the Egg Yolk and Maple Syrup Base
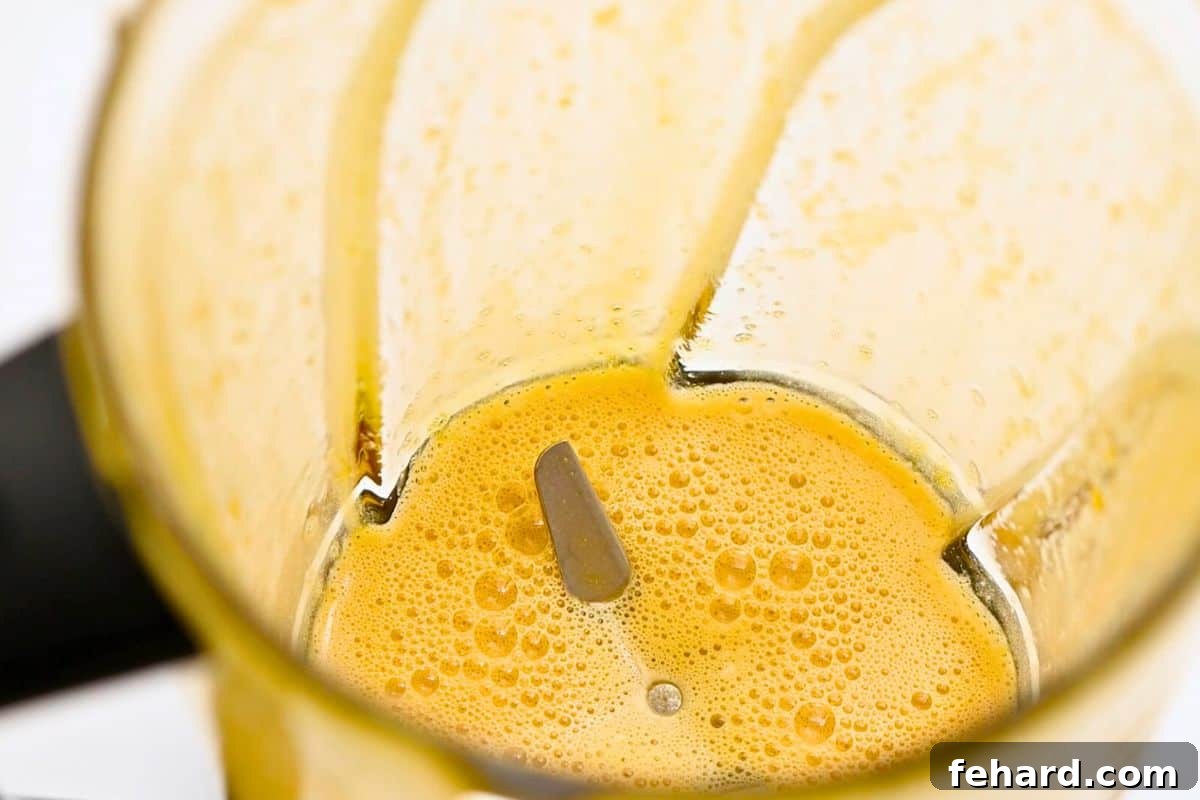
Begin by combining the egg yolks and maple syrup in a blender. Blend on medium-high speed until the mixture becomes pale in color and slightly thickened. This typically takes about one minute for high-powered blenders, but if you’re using a weaker blender, allow a few extra minutes to achieve the desired consistency. The blending process incorporates air, making the eggnog lighter and contributing to its creamy texture.
No Blender? No Problem! If you don’t have a blender, you can achieve similar results by beating the egg yolks and maple syrup in a large, heat-safe mixing bowl with a handheld electric mixer. Continue beating until the mixture is light, fluffy, and noticeably pale.
Step Two: Gently Warm the Spiced Coconut Milk
In a medium, heavy-bottomed saucepan, combine the full-fat coconut milk with the freshly grated nutmeg and ground cinnamon. Place the saucepan over medium heat, stirring frequently to prevent scorching on the bottom. Continue heating until you begin to see small bubbles forming around the edges of the pan. It’s crucial not to let the mixture come to a full, rolling boil, as this can sometimes cause the coconut milk to separate or curdle, affecting the final texture of your eggnog. Aim for a gentle simmer.
Step Three: Temper the Eggs for a Smooth Consistency
This is often the step that gives people pause, but rest assured, it’s quite easy when done correctly! Tempering prevents the egg yolks from scrambling when introduced to the warm liquid. The key is to introduce the hot coconut milk to the egg mixture very slowly while ensuring constant agitation.
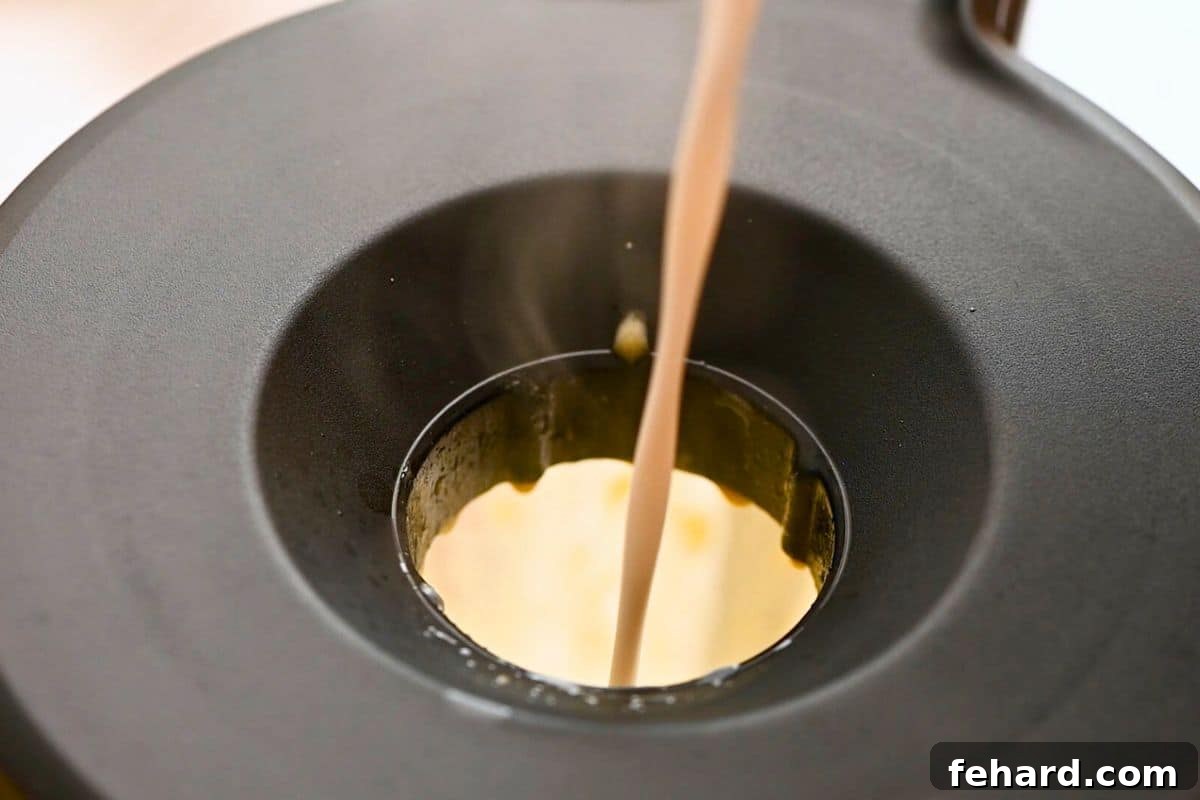
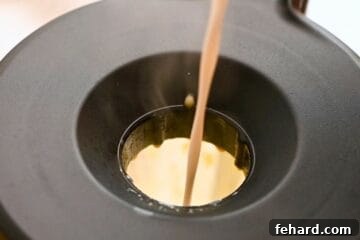
- If using a blender, turn it back on to a low speed. Carefully remove the filler cap (the clear center cap) from the blender lid.
- While the blender is running, very slowly and steadily stream the warmed coconut milk mixture through the opening into the egg yolk base. The continuous motion of the blender helps to emulsify the mixtures, creating a perfectly smooth and uniform blend.
- No Blender? If you’re using a handheld mixer, continue mixing the egg yolks and maple syrup in the large heat-safe bowl. Gradually and slowly stream the warm coconut milk into the bowl while the mixer is running, ensuring everything is well combined and smooth.
Step Four: Strain and Gently Thicken the Eggnog
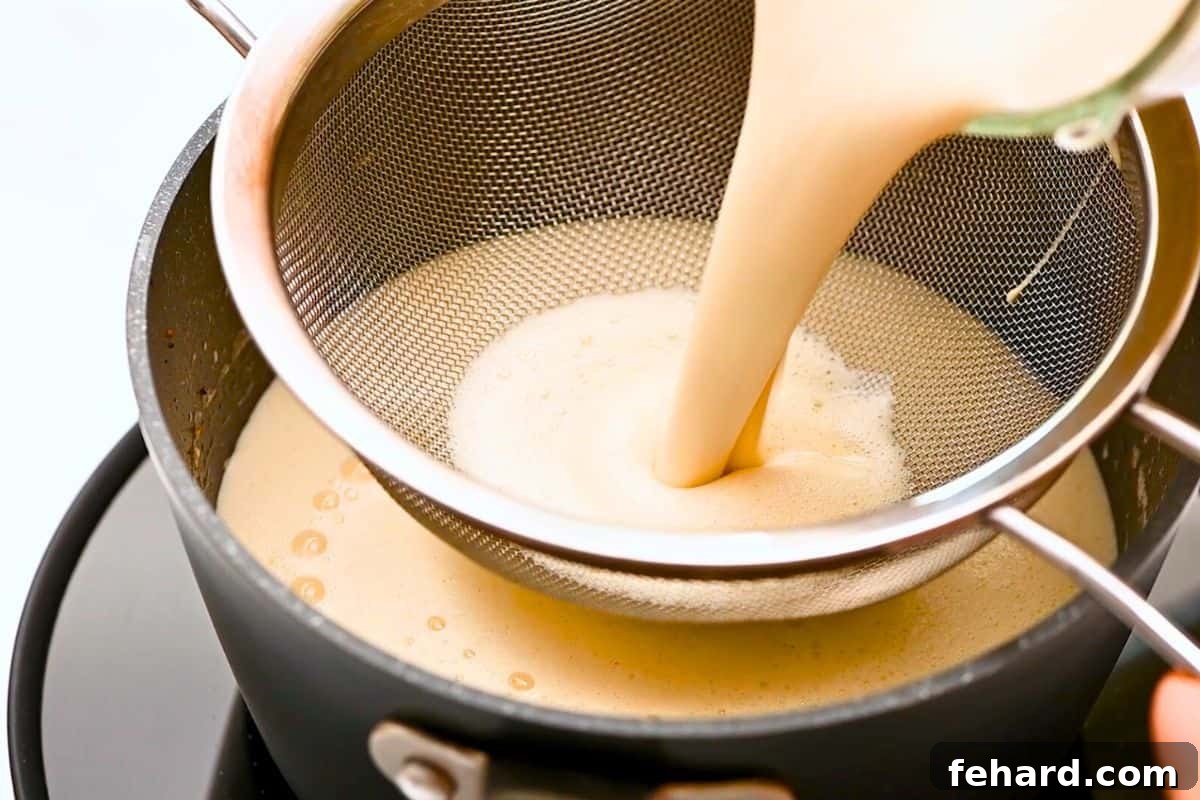
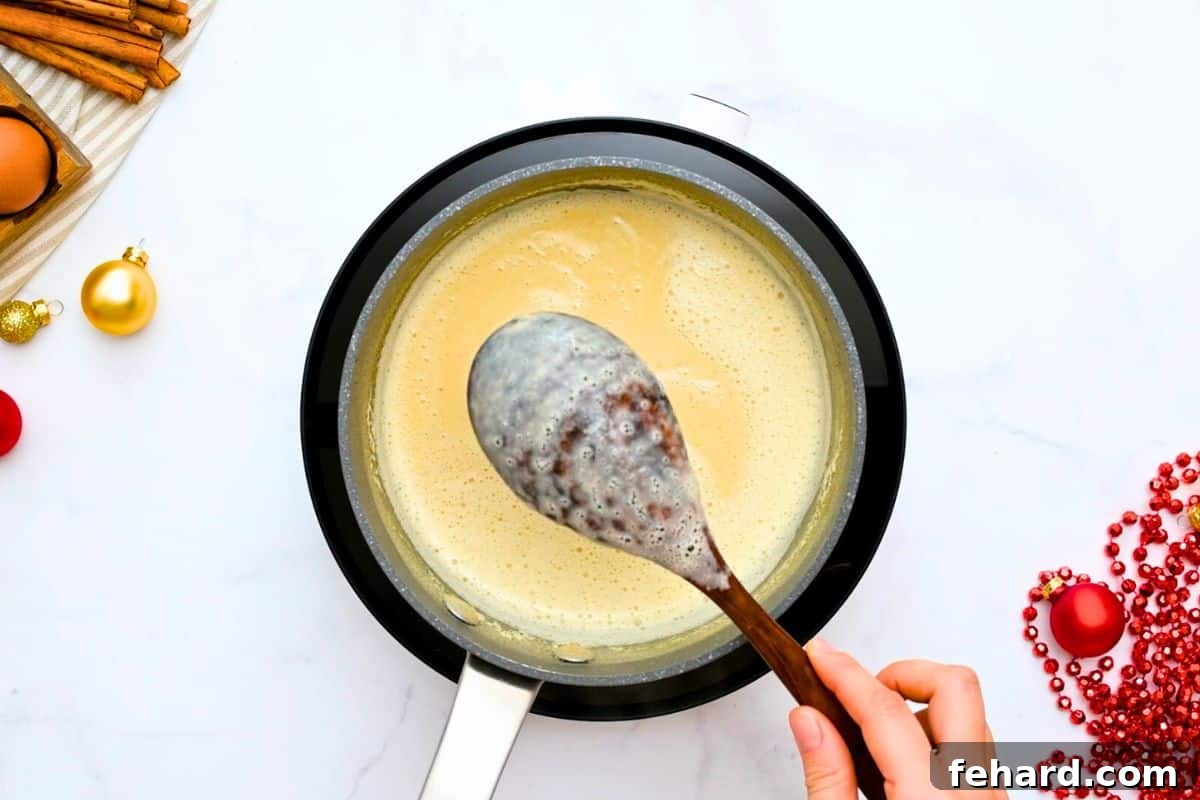
To ensure an absolutely smooth and lump-free eggnog, it’s a good practice to pour the entire mixture back into the same saucepan, but this time through a fine-mesh strainer. This step acts as a safeguard, catching any small bits of scrambled egg that might have formed despite careful tempering, ensuring a flawless texture. Once strained, gently heat the mixture over medium heat, stirring constantly with a wooden spoon. Continue cooking until the eggnog thickens enough to coat the back of the spoon, and it is warmed through.
👉🏻When is homemade eggnog safe to drink? Because this recipe uses raw egg yolks, it is absolutely critical to heat the eggnog mixture to an internal temperature of 160°F (71°C). This temperature is sufficient to kill harmful bacteria such as Salmonella, making your homemade eggnog safe to consume. Use a reliable food thermometer to confirm the temperature.
Step Five: Final Touches and Chilling
Once your eggnog has reached the desired thickness and safe temperature, remove it from the heat. Stir in the vanilla extract for an extra layer of warmth and sweetness. If you’re preparing an adult version, now is the time to add bourbon or your preferred spirit. Allow the eggnog to cool slightly at room temperature before transferring it to an airtight container. Refrigerate until thoroughly chilled, which will further enhance its flavor and thicken its consistency. It can be stored in the refrigerator for up to 4 days.
Step Six: Serve Your Festive Dairy-Free Eggnog
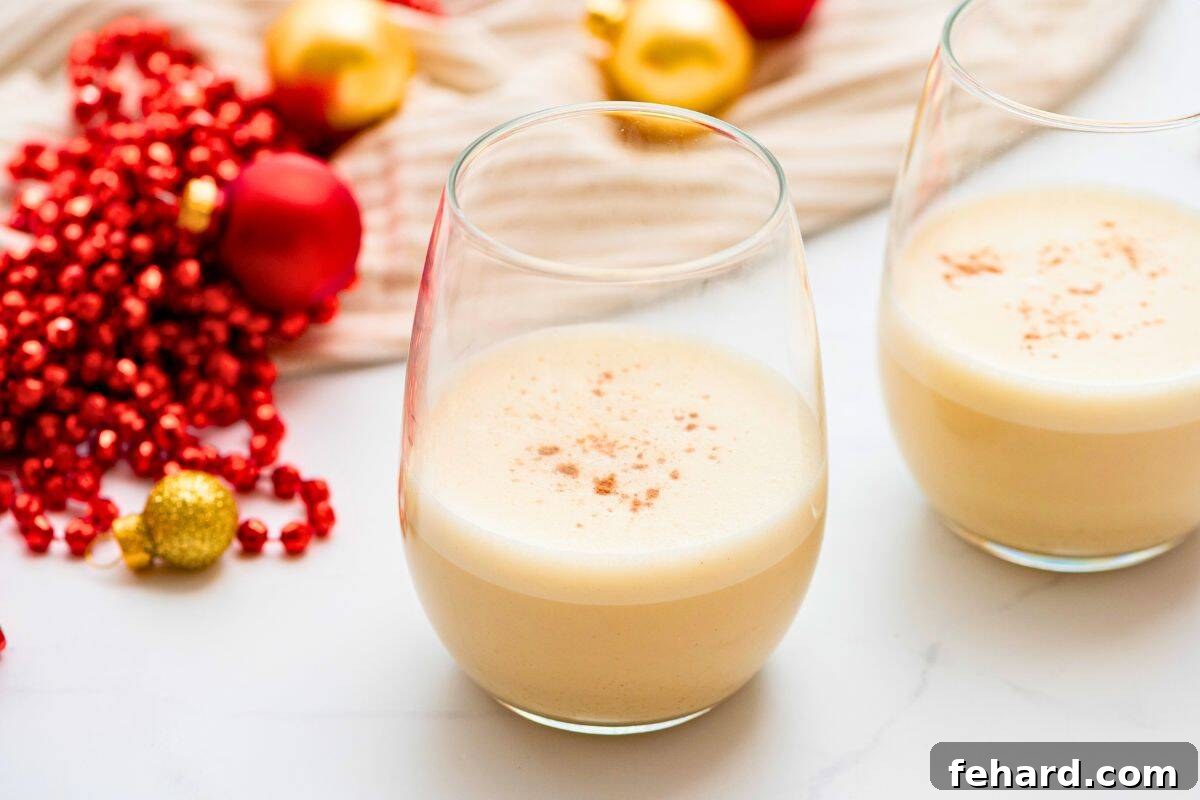
When you’re ready to serve, give the eggnog a good whisk or a quick pulse in a blender if it has separated slightly (a common occurrence with coconut milk when chilled). Pour the chilled eggnog into elegant glasses and garnish generously with additional freshly grated nutmeg for an inviting aroma and a beautiful, festive touch. You can also add a cinnamon stick or a dollop of dairy-free whipped cream for extra indulgence.
👉🏻Separated Eggnog Troubleshooting: If your eggnog appears separated after chilling, especially due to the coconut milk solids, don’t worry! This is completely normal. Simply whisk it vigorously or give it a quick pulse in a blender before serving to restore its smooth, unified texture.
Variations and Serving Suggestions for Your Dairy-Free Eggnog
While this recipe provides a fantastic base for dairy-free eggnog, feel free to customize it to your liking. For an extra spicy kick, consider adding a pinch of ground cloves or allspice to the coconut milk mixture. A dash of almond extract can also add a delightful complexity. If you’re serving adults, beyond bourbon, consider adding dark rum, brandy, or even a spiced liqueur. For a hot eggnog experience, gently reheat the chilled eggnog over low heat, stirring constantly, until warm (do not boil). Serve with a cinnamon stick for stirring.
Frequently Asked Questions About Dairy-Free Eggnog
Can I make this eggnog entirely vegan?
This recipe is dairy-free but still uses egg yolks. To make it completely vegan, you would need to use a plant-based egg substitute. Recipes for vegan eggnog often use silken tofu or a combination of plant-based milks and starches to achieve a similar creamy texture.
What kind of coconut milk is best for dairy-free eggnog?
For the best results, always use full-fat canned coconut milk. The higher fat content is crucial for achieving the rich, thick texture that mimics traditional eggnog. Light coconut milk or carton coconut beverages will not provide the same creaminess.
How long does homemade dairy-free eggnog last?
When stored in an airtight container in the refrigerator, your homemade dairy-free eggnog will stay fresh for up to 4 days. Always ensure it was heated to 160°F (71°C) during preparation for safety.
Can I prepare this eggnog ahead of time?
Absolutely! In fact, preparing it a day in advance is highly recommended. This allows the flavors to deepen and meld, resulting in a more complex and satisfying taste. Just remember to give it a good whisk or blend before serving, as coconut milk can separate when chilled.
Is it really necessary to use fresh nutmeg?
While you can technically use ground nutmeg, we strongly recommend fresh. Grating whole nutmeg just before use releases potent aromatic oils that provide a far superior, more nuanced, and less bitter flavor compared to pre-ground varieties.
Dairy-Free Eggnog
Kristen Chidsey
8
5 mins
15 mins
20 mins
Print Recipe
Ingredients
- 4 egg yolks, from large eggs
- ¼ cup maple syrup, + more to taste
- 2 (13.5-ounce) cans full-fat coconut milk
- 1 teaspoon grated nutmeg
- ½ teaspoon ground cinnamon
- 1 teaspoon vanilla extract
- 4 ounces bourbon, optional
Instructions
-
In a blender, blend 4 egg yolks with ¼ cup maple syrup until light and fluffy on medium-high speed. Alternatively, use a hand-held mixer to beat the eggs and syrup until fluffy. Leave this mixture in the blender (or bowl).

-
Combine 2 (13.5-ounce) cans full-fat coconut milk, 1 teaspoon grated nutmeg, and ½ teaspoon ground cinnamon in a medium saucepan. Heat over medium-high heat until simmering, but not boiling. Be sure to whisk often to prevent the mixture from scalding on the bottom.
-
Once small bubbles begin to form on the side of the pan, remove the coconut milk mixture from the heat. Turn the blender on low speed and very slowly stream the hot coconut milk into the hole in the top of the blender (while it’s running), allowing it to mix with the egg mixture. Alternatively, if using a handheld mixer, slowly stream the heated coconut milk into the mixing bowl while continuously mixing.
-
Transfer the combined mixture back to the saucepan, pouring it through a fine-mesh strainer to catch any potential lumps. Gently heat, stirring constantly, over medium heat until the mixture thickens enough to coat the back of a wooden spoon and the temperature reaches 160℉ (71°C) with a thermometer.
-
Once the eggnog has thickened and reached the safe temperature, remove it from the heat. Stir in the 1 teaspoon vanilla extract and the optional bourbon if desired.
-
Allow the eggnog to cool to room temperature. Once cooled, transfer it to an airtight container and refrigerate to chill completely. For the best flavor and texture, chill overnight. Serve as desired.



Equipment
-
Blender or Handheld Electric Mixer
-
Heavy-Bottomed Saucepan
-
Fine-Mesh Strainer
-
Food Thermometer
Notes
Storage: Store your dairy-free eggnog in an airtight container in the refrigerator for up to 4 days. It is normal for coconut milk solids to firm up when cold, so you may need to whisk or blend the eggnog to reincorporate them before serving.
Coconut Milk: For the best results, you must use full-fat canned coconut milk. Its high-fat content is essential for a thick, creamy texture. If dairy is not a concern, this recipe can also be made perfectly with whole milk.
Nutrition
Carbohydrates: 13g
Protein: 4g
Fat: 21g
Saturated Fat: 17g
Cholesterol: 97mg
Sodium: 23mg
Potassium: 348mg
Fiber: 2g
Sugar: 10g
Vitamin A: 130IU
Vitamin C: 3.4mg
Calcium: 42mg
Iron: 2.2mg
Nutrition information is automatically calculated and should be used as an approximation.
Tried this recipe?
Mention @amindfullmom or tag #amindfullmom!
More Festive Holiday Beverage Ideas
Looking for more delightful drinks to enjoy during the holiday season? Explore these other popular recipes that are perfect for cozy evenings and festive gatherings:
- Homemade Hot Chocolate
- Easy Mulled Wine
- Slow Cooker Mulled Cranberry Cider
- Christmas Tea
This Dairy-Free Coconut Milk Eggnog recipe was originally published in 2018 and comprehensively updated in 2025 to provide the most accurate and helpful information.
Please note:
– I’ve removed all `