
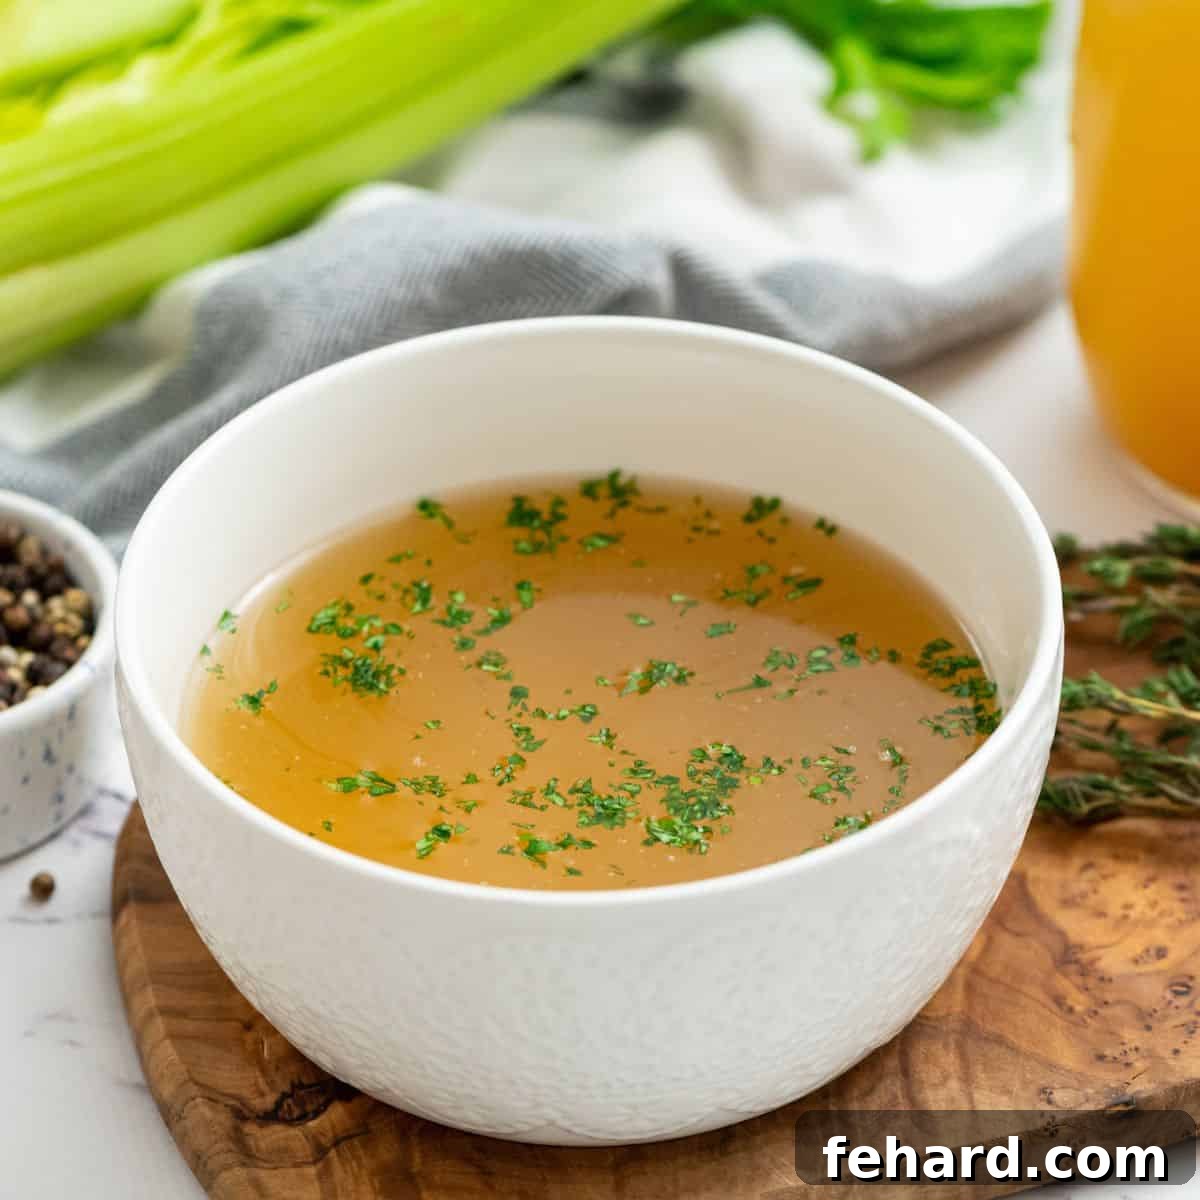
Mastering Homemade Chicken Stock: Your Guide to Rich, Flavorful Broth
Transform your home cooking with the unparalleled depth and richness of homemade chicken stock. Far more than just a foundational ingredient, a truly great homemade stock elevates soups, sauces, stews, and countless other dishes from ordinary to extraordinary. This comprehensive guide will walk you through everything you need to know to create a perfectly seasoned, aromatic, and deeply satisfying chicken stock that will become an indispensable part of your culinary repertoire. Forget bland, store-bought cartons – making your own is surprisingly simple, incredibly cost-effective, and delivers a superior taste that you’ll immediately notice.
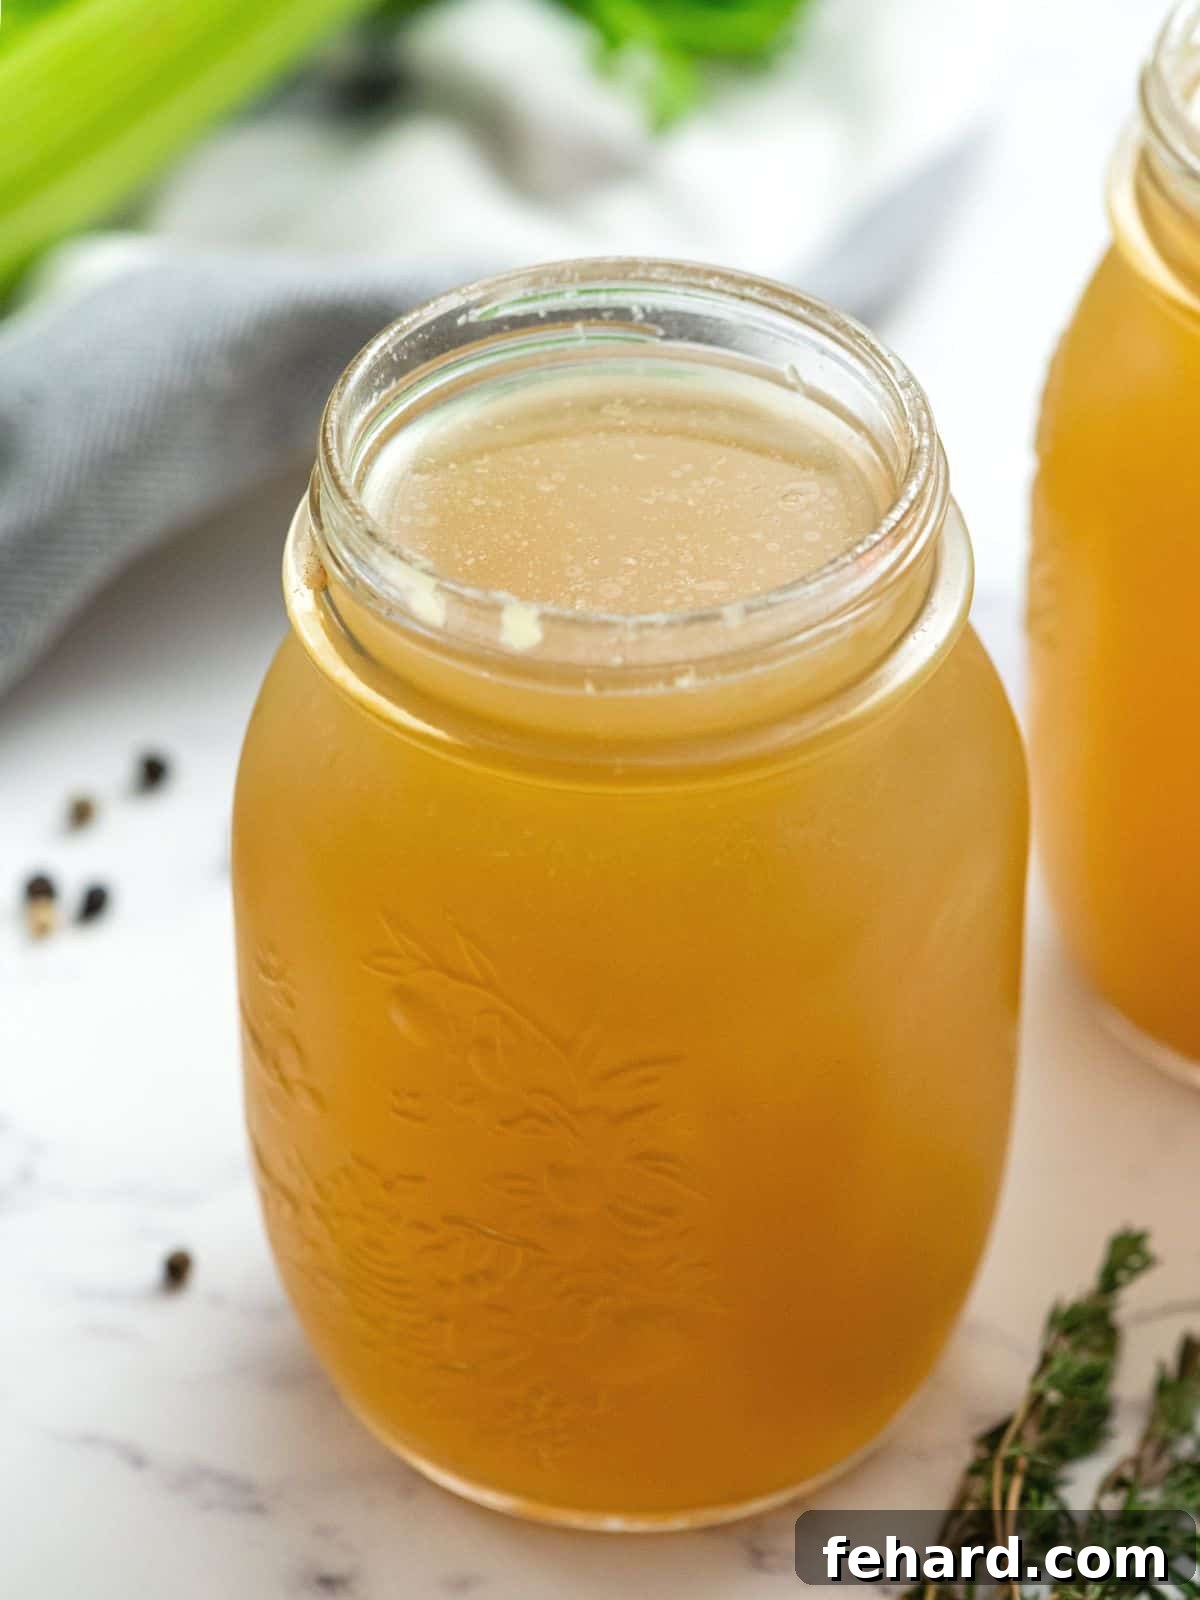
Why Homemade Chicken Stock Reigns Supreme
Once you experience the difference, there’s no going back to store-bought broth. Here’s why making your own chicken stock is the ultimate choice for any home cook:
- Unmatched Superior Flavor: The most compelling reason to make your own chicken stock is the profound difference in taste. Commercial stocks often lack the nuanced, robust flavor that comes from slowly simmering real bones and fresh vegetables. Our recipe ensures a rich, savory base that will make all your dishes taste authentically better and more complex than anything made with a store-bought alternative.
- Complete Quality Control: When you make chicken stock from scratch, you’re in charge of every ingredient. This means no hidden additives like MSG, artificial food colorings, yeast extract, or unnecessary preservatives that are commonly found in packaged broths. You also have full control over the sodium content, allowing you to tailor it to your dietary needs or the specific requirements of your recipes. This ensures a purer, healthier foundation for your meals.
- Incredibly Cost-Effective: One of the best aspects of homemade chicken stock is how budget-friendly it is. This recipe cleverly utilizes leftover chicken bones and vegetable scraps that might otherwise go to waste. Essentially, your main expenditure is just water and a bit of time, turning what many consider “trash” into liquid gold. It’s an excellent way to save money while enjoying premium ingredients.
- Generous Yield and Easy Storage: This recipe produces a significant quantity of delicious chicken stock, ensuring you always have some on hand. What’s more, homemade stock freezes beautifully, allowing you to make a large batch and store it in convenient portions for future use. This means less frequent cooking and more spontaneous, flavorful meals throughout the week or month.
- Aromatic Experience: The process of simmering chicken bones and vegetables fills your home with an incredibly comforting and appetizing aroma. It’s a simple pleasure that enhances the cooking experience and builds anticipation for the delicious meals to come.
- Nutritional Benefits: Homemade chicken stock, especially when simmered for a longer duration (often called bone broth), extracts valuable collagen, gelatin, and minerals from the bones. These components are believed to support gut health, joint function, and even skin elasticity, adding a healthy boost to your diet.
Essential Ingredients for the Best Chicken Stock
While the bare essentials for chicken stock are simply chicken bones and water, adding a few key ingredients will significantly enhance its flavor and aroma. Think of these additions as building blocks for a deeply savory and well-rounded broth.
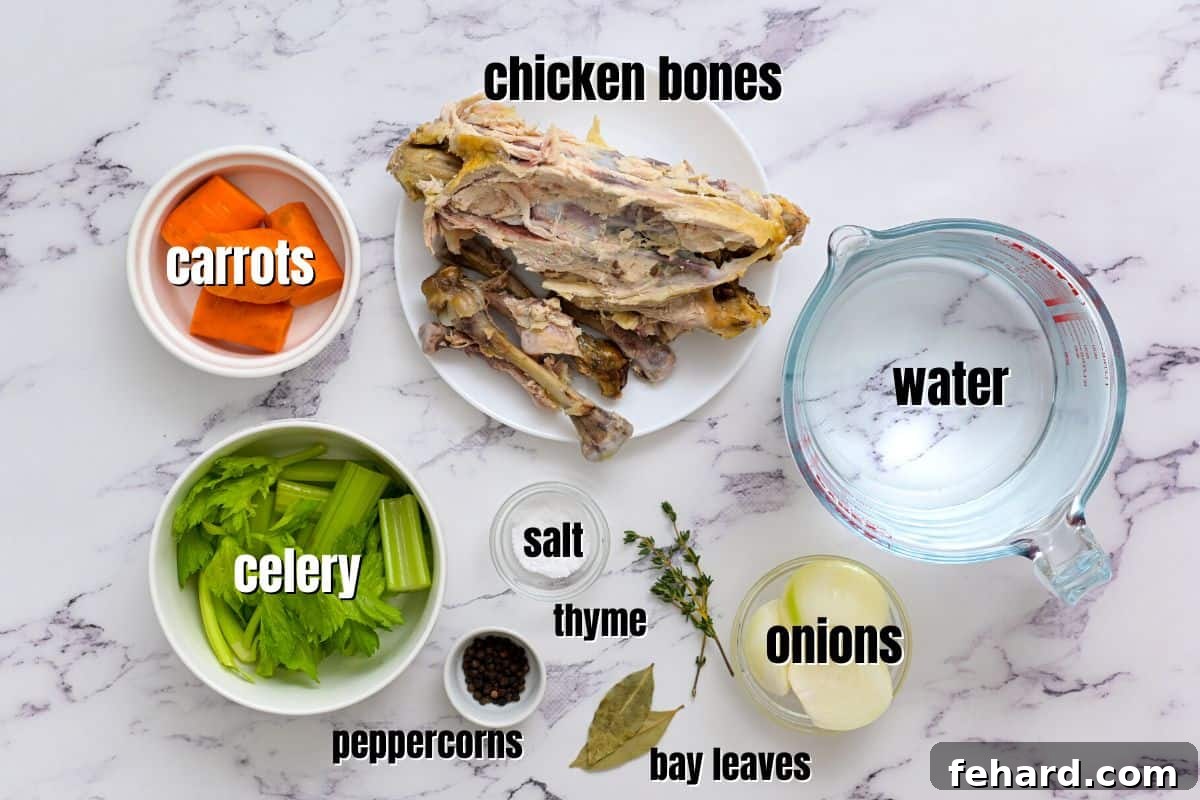
- Chicken Bones: The foundation of your stock. The best bones come from a cooked chicken, such as the carcass leftover from a whole roasted chicken. You can also use bones from bone-in chicken breasts, bone-in chicken thighs, chicken wings, or even chicken feet for extra gelatin. The roasted bones add a deeper, more complex flavor.
- Aromatic Vegetables (Mirepoix): The classic trio of celery, carrots, and onions is crucial for lending a balanced, earthy, and sweet flavor to your stock. These vegetables are often referred to as a “mirepoix” in French culinary traditions. They provide a foundational taste that mimics and often surpasses the flavor profile of store-bought stocks. Don’t worry about peeling carrots or onions too meticulously, as their skins contribute to color and flavor.
- Fresh Herbs: Herbs infuse the stock with aromatic nuances. Fresh thyme is an excellent choice, as its earthy and slightly floral notes pair beautifully with chicken. Dried bay leaves are also essential for rounding out the flavor with their subtle medicinal, slightly minty notes. For an even warmer, more complex profile, consider adding a teaspoon of poultry seasoning.
- Salt: Kosher salt is recommended for its pure flavor and ease of measurement. The amount can be adjusted or even omitted entirely if you prefer a sodium-free stock, allowing you to season your final dishes precisely. This recipe uses an amount similar to a reduced-sodium commercial stock.
- Peppercorns: Whole black peppercorns impart a bold, earthy, and subtle spicy kick. Unlike ground black pepper, which can make your stock cloudy and gritty, whole peppercorns release their flavor slowly and can be easily strained out, leaving behind a clear and robust broth.
- Water: The unsung hero! Use cold, filtered water for the best results. Starting with cold water allows the impurities to slowly rise to the surface, making them easier to skim off, which contributes to a clearer stock.
∗ Money-Saving Tip: Utilize Your Kitchen Scraps! ∗
Embrace the philosophy of “no waste” by using your kitchen scraps to create a remarkably rich and flavorful chicken stock for next to nothing. Instead of reaching for whole, pristine celery stalks, fresh herb sprigs, or entire carrots, save the parts you’d usually discard. Every time you chop an onion, peel a carrot, or trim celery ends, place these scraps into a freezer-safe gallon-size bag. Keep this bag in your freezer for up to a month, adding more scraps as you collect them. Once you have a collection of chicken bones, simply pull out your bag of frozen vegetable scraps to use in place of fresh produce and herbs. This ingenious method turns potential food waste into a foundational ingredient for free, making your homemade chicken stock not only delicious but incredibly economical. Imagine the satisfaction of transforming “trash” into a gourmet ingredient!
Expert Tips for Making the Best Chicken Stock
Achieving a rich, perfectly seasoned, and clear chicken stock is easier than you think. Follow these expert tips for optimal results:
- Simmer Slowly Over Medium-Low Heat: Patience is key. Avoid the temptation to crank up the heat to speed up the cooking process. A rapid, rolling boil can cause soluble proteins and rendered fat to emulsify into the liquid, resulting in a cloudy, greasy stock. Instead, maintain a gentle simmer (small bubbles just breaking the surface) over medium-low heat. This slow extraction process ensures a clearer, cleaner-tasting broth with maximum flavor development.
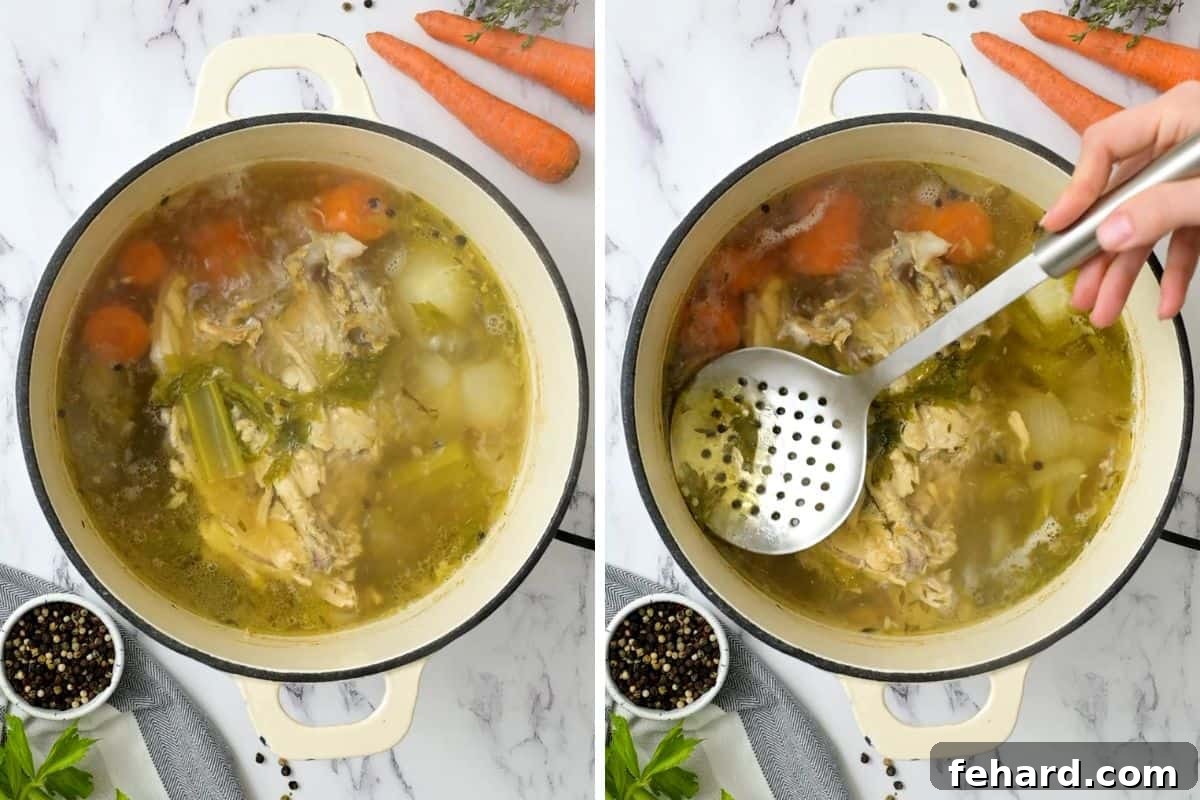
- Regularly Skim Off Scum: As your stock begins to simmer, impurities will rise to the surface, forming a grayish foam or “scum.” Use a slotted spoon or a fine-mesh skimmer to carefully remove this scum during the first hour or two of cooking. This step is vital for ensuring your finished stock is as clear and pristine as possible, contributing to its visual appeal and clean taste.
- Avoid Excessive Stirring: Once the stock is simmering, resist the urge to stir it frequently. Constant stirring can agitate the ingredients, leading to a cloudy stock by distributing sediment and small particles throughout the liquid. Allow the ingredients to gently release their flavors and nutrients without disturbance.
- Don’t Overcook: While slow simmering is good, excessively long cooking times (e.g., beyond 4-6 hours for chicken stock) can sometimes lead to a slightly bitter taste as certain compounds break down. For a balanced flavor, stick to the recommended 3-4 hours for this recipe.
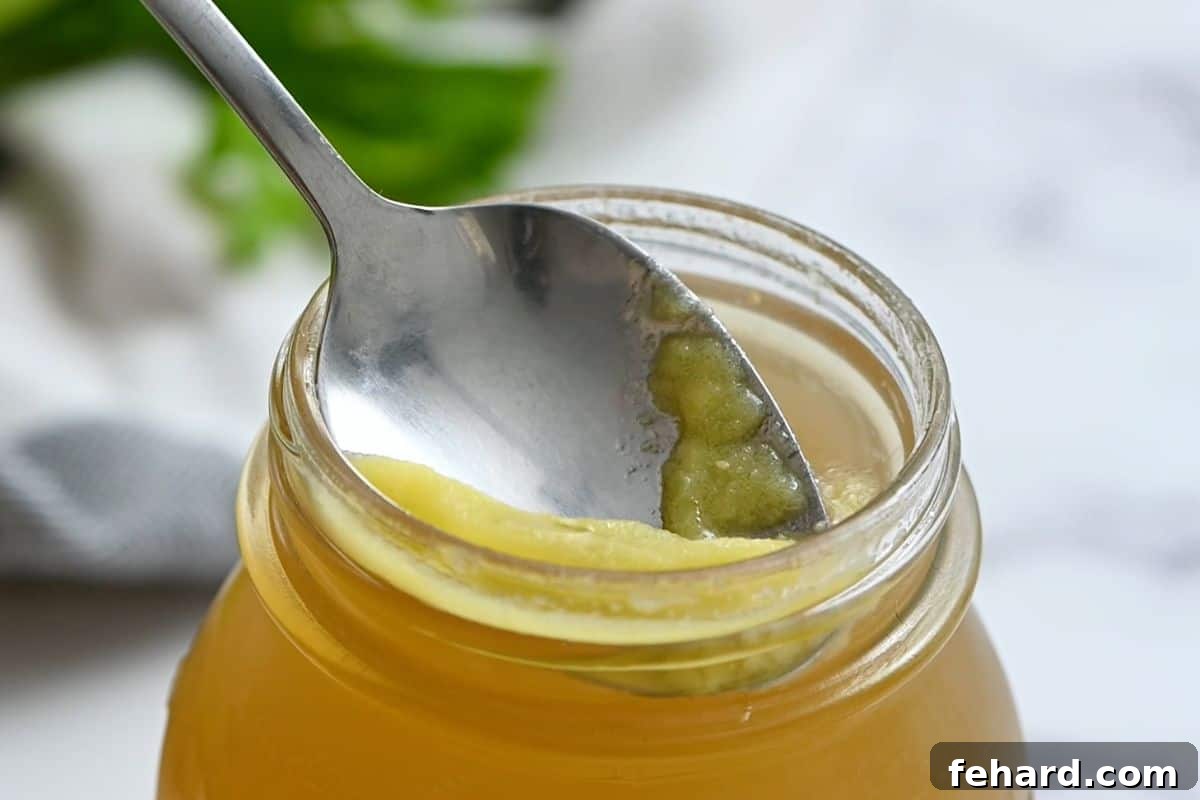
- Remove Fat Solids After Chilling: After your stock has finished cooking, has been strained, and has cooled, it’s entirely natural for a layer of fat to solidify on the surface. This fat acts as a protective layer, helping to preserve the stock. Once thoroughly chilled (preferably overnight in the refrigerator), use a spoon to easily scoop off the solidified fat. You can discard it, or save it to use for sautéing vegetables, adding richness to roasted potatoes, or enhancing the flavor of soups. This step results in a cleaner, less greasy stock.
- Strain Thoroughly: For a crystal-clear stock, strain the cooked liquid through a fine-mesh strainer lined with cheesecloth. This removes all solid particles and ensures a smooth, clean broth.
Alternative Cooking Methods for Chicken Stock
While the stovetop method is classic, you can achieve excellent results with less hands-on time using modern kitchen appliances:
Slow Cooker Chicken Stock
The slow cooker is an ideal tool for making homemade chicken stock, offering a “set it and forget it” approach. It develops a rich, flavorful stock with minimal effort.
To prepare Crockpot Chicken Stock, simply combine all your ingredients (chicken bones, vegetables, herbs, salt, peppercorns, and water) in a large slow cooker. Cook on the LOW setting for 8 to 12 hours. The extended, gentle simmering extracts maximum flavor and nutrients without requiring constant monitoring. Once cooked, strain out all the solids using a fine-mesh strainer. Allow the stock to cool completely to room temperature before transferring it to airtight storage containers and refrigerating or freezing.
∗ Instant Pot Option for Rapid Stock! ∗
For those with an electric pressure cooker, you can significantly accelerate the stock-making process. The Instant Pot uses high pressure to extract flavor and gelatin much faster than traditional methods, delivering rich chicken stock in a fraction of the time. Explore our dedicated recipe for Instant Pot Chicken Stock to learn how to harness this convenient cooking method.
How to Store Homemade Chicken Stock Effectively
Proper storage is crucial for extending the life of your homemade chicken stock. Whether you plan to use it within a few days or save it for months, preparing it correctly ensures freshness and safety. We recommend storing chicken stock in practical two to four-cup increments, as this quantity is commonly used in most recipes.
- Refrigerate: Once cooled completely, homemade chicken stock can be stored in clean glass jars or airtight plastic containers for up to 5 days in the refrigerator. Always ensure the stock is cold before refrigerating to prevent bacterial growth and to allow the fat layer to solidify, which helps seal the stock.
- Freeze: For longer storage, freezing is your best option. Transfer your completely cooled chicken stock into freezer-safe containers, heavy-duty freezer bags, or even ice cube trays for smaller portions. Remember to leave at least 1 to 2 inches of headspace in containers to account for expansion as the liquid freezes. Homemade chicken stock can be frozen for up to 3 months without significant loss of quality. When you’re ready to use it, simply defrost the chicken stock overnight in the refrigerator. For quicker thawing, you can also place a frozen block of stock directly into a pot over low heat.
- Labeling: Always label your containers with the date the stock was made. This helps you keep track of its freshness and ensures you use it within its optimal timeframe.
Frequently Asked Questions About Homemade Chicken Stock
The terms “broth” and “stock” are often used interchangeably, but there’s a traditional distinction. Chicken broth is typically made by simmering actual chicken meat (like chicken breasts, thighs, or a whole chicken) with water and seasonings. It tends to be lighter in body and flavor. Chicken stock, on the other hand, is made by simmering chicken bones (often roasted for deeper flavor) with water and aromatics. Stock is generally richer, darker in color, and contains more gelatin, which contributes to a fuller mouthfeel and a thicker consistency when chilled. This recipe focuses on creating a rich chicken stock from bones.
A cloudy stock usually indicates that it was cooked at too high a heat or boiled too vigorously. When stock boils, soluble proteins and rendered fat can emulsify into the liquid, making it opaque. While still safe to consume, a cloudy stock isn’t as visually appealing. To prevent this, always ensure your stock maintains a gentle simmer, never a rolling boil, and carefully skim any foam that rises to the surface during the initial cooking phase.
Yes, you can absolutely use raw chicken bones. However, roasting the bones first (even if raw) at a high temperature for 20-30 minutes will significantly deepen the flavor and color of your finished stock, adding a wonderful richness that raw bones alone might not provide. If using raw bones, you might also want to blanch them briefly before simmering to remove impurities and ensure a clearer stock.
The gelling of chicken stock when chilled is a sign of a high gelatin content, which comes from the collagen in the bones (especially joints, feet, and roasted carcasses). If your stock doesn’t gel, it doesn’t mean it’s bad; it just indicates less gelatin. This can happen if you didn’t use enough bones, particularly those rich in collagen, or if the simmering time wasn’t long enough to extract sufficient gelatin. It will still be flavorful and perfectly fine to use.
For chicken stock, a simmering time of 3-4 hours is generally ideal for extracting maximum flavor and gelatin without developing off-flavors. While some bone broths are simmered for much longer (12-24 hours), extended simmering for chicken stock can sometimes lead to a slightly bitter taste. Stick to the recommended timeframe for the best results.
Recipes That Shine with Homemade Chicken Stock
The beauty of homemade chicken stock lies in its versatility. Use this liquid gold in any recipe that calls for chicken broth or stock to elevate the flavor profile exponentially. Here are some of our favorite recipes that truly highlight the richness of homemade chicken stock:
- Instant Pot Chicken Noodle Soup: A comforting classic, made even better with a homemade base.
- Slow Cooker White Chicken Chili: The stock adds depth to this creamy and spicy chili.
- Creamy and Cheesy Chicken and Rice: A rich stock ensures a wonderfully savory and indulgent dish.
- Chicken Pot Pie: Creates an incredibly flavorful gravy for this ultimate comfort food.
- Baked Potato Soup: Enhances the earthy potato flavor with a hearty chicken foundation.
- Cream of Chicken Soup: Forget the can, make your own rich and flavorful cream of chicken soup base.
- Risotto: Achieving the perfect creamy risotto requires a flavorful liquid, and homemade chicken stock is unparalleled.
- Gravies and Sauces: The richness of homemade stock makes for extraordinary gravies and pan sauces.
If you enjoyed this detailed guide and recipe for Homemade Chicken Stock, please be sure to leave a comment and review below. Your feedback helps us share the joy of home cooking!
Homemade Chicken Stock Recipe
This recipe walks you step-by-step through how to easily make a rich and perfectly seasoned chicken stock.
Details
- Author: Kristen Chidsey
- Servings: 16 cups
- Prep Time: 3 minutes
- Cook Time: 3 hours
- Total Time: 3 hours 3 minutes
- Rating: 5 out of 5 stars (Based on 9 votes)
Ingredients
- 1 chicken carcass (or bones from 2-3 large chicken breasts, 5-6 chicken thighs, 10 chicken wings, or 7-8 chicken legs)
- 1 large carrot, washed and cut into quarters
- 2 large onions, peeled and quartered
- 2 stalks celery, leaves included, cut into quarters
- 1-2 sprigs fresh thyme
- 1 tablespoon kosher salt (adjust to taste, or omit for low-sodium)
- 2 dried bay leaves
- 1 tablespoon whole peppercorns
- 16 cups cold water
Instructions
-
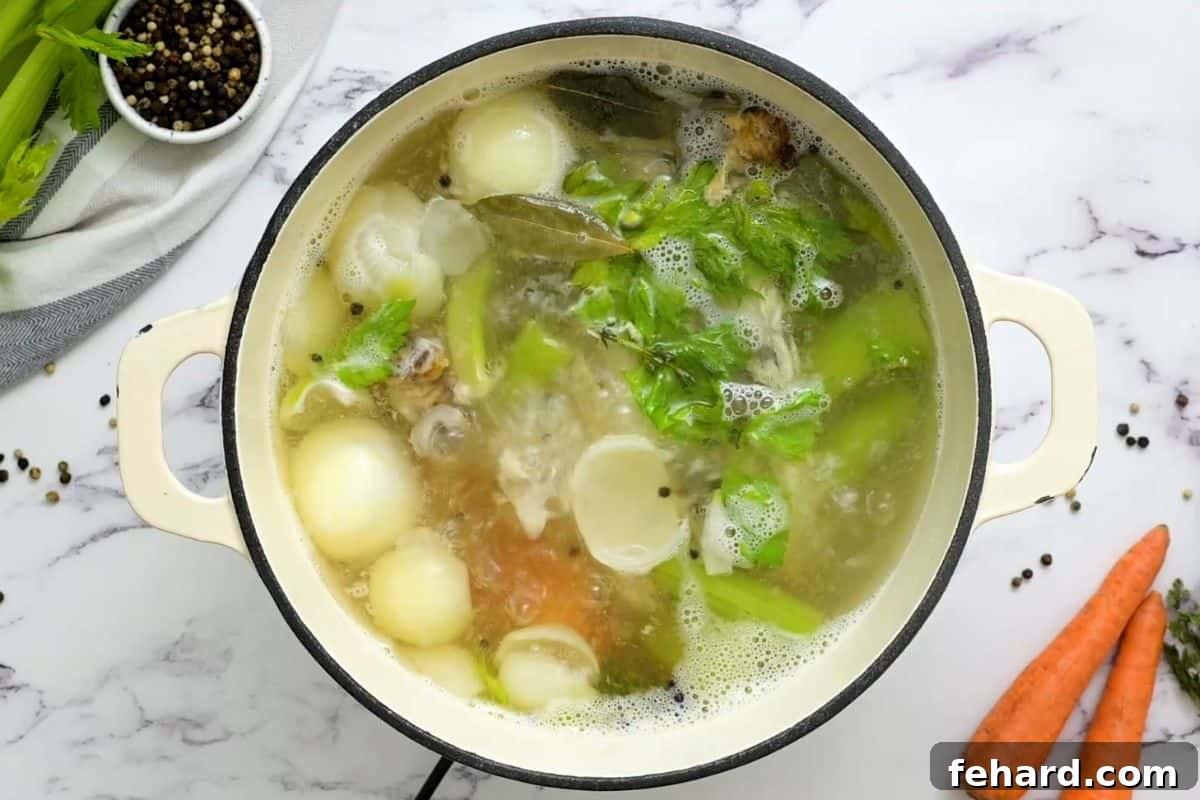
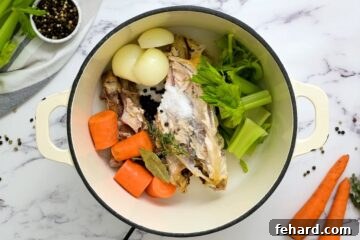
Place the chicken carcass (or alternative chicken bones), quartered carrot, quartered onions, quartered celery stalks with leaves, fresh thyme sprigs, kosher salt, dried bay leaves, and whole peppercorns into a large stock pot or Dutch oven. Cover all the ingredients completely with 16 cups of cold water.

All ingredients placed in the stockpot, ready for simmering. -
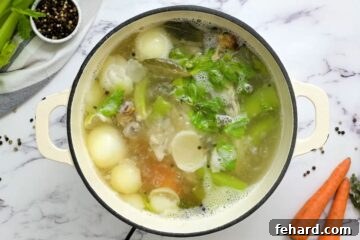
Bring the chicken stock to a very gentle simmer slowly over medium heat. Do not bring to a rolling boil. Once small bubbles just begin to break the surface, reduce the heat to low and maintain a slow, gentle simmer for 3 to 4 hours. The goal is a consistent, light simmer, not a vigorous boil.
The stock gently simmering on the stovetop. -
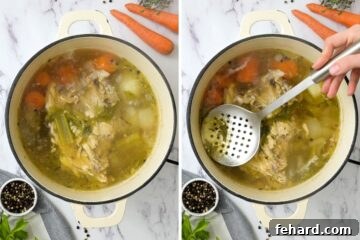
During the initial hour or two of simmering, regularly check the broth. Use a slotted spoon to carefully skim off any grayish foam or “scum” that rises to the surface as the stock cooks. This step helps ensure a clearer finished stock.
Skimming impurities from the stock for clarity. -
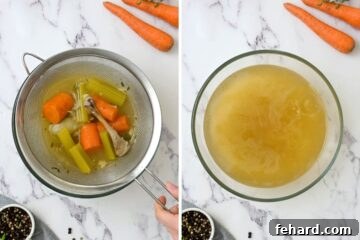
After simmering for the recommended 3-4 hours, remove the stockpot from the heat. Carefully use a fine-mesh strainer (preferably lined with cheesecloth for extra clarity) to strain off all the solid ingredients. Discard the strained solids. Allow the strained broth to cool completely to room temperature before proceeding to storage.
The process of straining the cooked stock. -
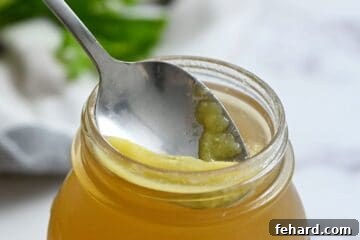
Transfer the cooled stock to appropriate storage containers or jars. Refrigerate overnight to allow the stock to chill thoroughly and for any remaining fat to solidify on the surface. After refrigeration, use a slotted spoon to scoop off any layer of fat solids that may have risen to the top of the broth. This step yields a leaner, cleaner stock.
Removing solidified fat after chilling. -
Store the finished chicken stock in the refrigerator for up to 5 days. For longer preservation, freeze the stock in freezer-safe containers or bags, ensuring you leave at least 1 inch of headspace for expansion. Frozen stock can be stored for up to 3 months. Defrost overnight in the refrigerator as needed for your recipes.
Equipment
- Fine mesh strainer (optional: cheesecloth for extra clarity)
- Large stockpot or Dutch oven
- Storage containers or jars
Notes
- Chicken Bones: In place of a whole chicken carcass, you can use bones from 2-3 large chicken breasts, 5-6 chicken thighs, 10 chicken wings, or 7-8 chicken legs. Roasting these bones first will enhance the flavor.
- Vegetables/Herbs: For an even more economical approach, use 3 cups of saved vegetable scraps (onion peels, carrot ends, celery trimmings) in place of fresh whole vegetables. Feel free to add 1 teaspoon of poultry seasoning for a deeper, earthy flavor.
- Sodium Content: You can reduce the salt to ½ tablespoon or omit it completely for a sodium-free chicken stock, allowing you to control the saltiness in your final dishes.
- Slow Cooker Instructions: To make Crockpot Chicken Stock, combine all ingredients in a large crockpot and cook on low for 8-12 hours. Strain out solids and cool to room temperature before storing.
- Instant Pot Instructions: For a faster method, use an electric pressure cooker. Refer to our Instant Pot Chicken Stock recipe for specific timings.
Nutrition Information
Per serving (approx. 1 cup):
- Calories: 15 kcal
- Carbohydrates: 3g
- Sodium: 200mg
- Potassium: 79mg
- Fiber: 1g
- Calcium: 40mg
- Iron: 0.6mg
Nutrition information is automatically calculated and should only be used as an approximation.
Tried this delightful recipe?
Mention @amindfullmom or tag #amindfullmom on Instagram! We love seeing your culinary creations.
This article was originally published in 2017 and thoroughly updated in 2022 to include new photos, video instructions, and expanded tips for an even better reader experience.