
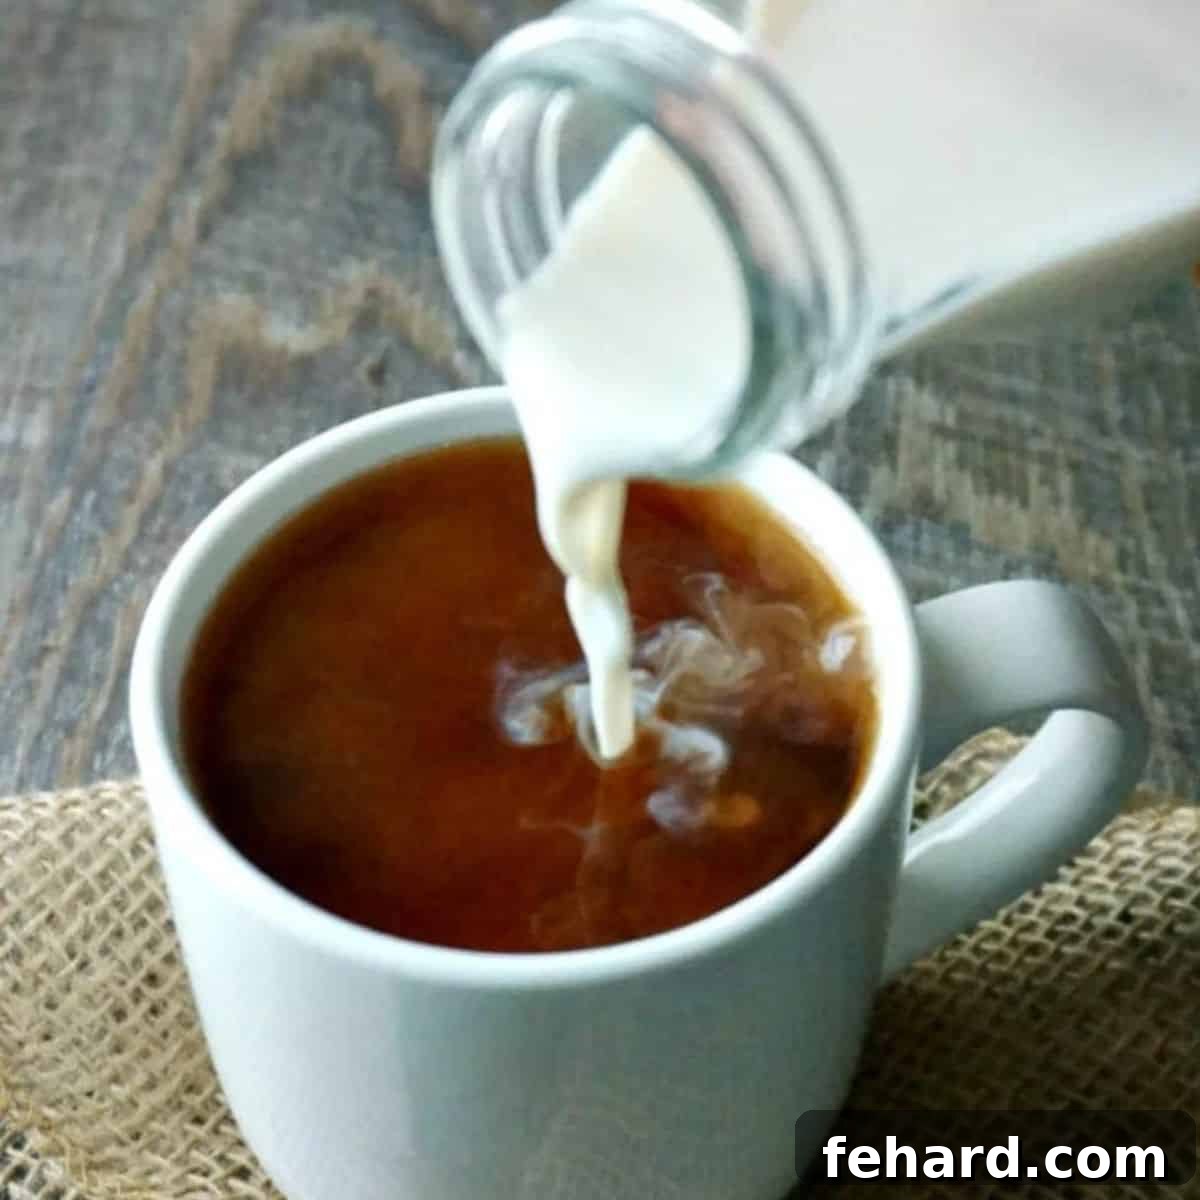
Say goodbye to store-bought creamers forever! This incredibly easy, 3-Ingredient Coconut Vanilla Coffee Creamer comes together in mere minutes, promising to transform your morning brew into a rich, luxurious, and completely dairy-free indulgence.
Whether you’re crafting a decadent homemade latte or simply enhancing your everyday cup of coffee, this simple, dairy-free creamer offers a multitude of benefits. Not only will it help you save money, but it also allows you to enjoy a deliciously customized coffee experience, free from unwanted additives. Get ready to elevate your coffee ritual to an entirely new level of enjoyment and flavor, all from the comfort of your kitchen.
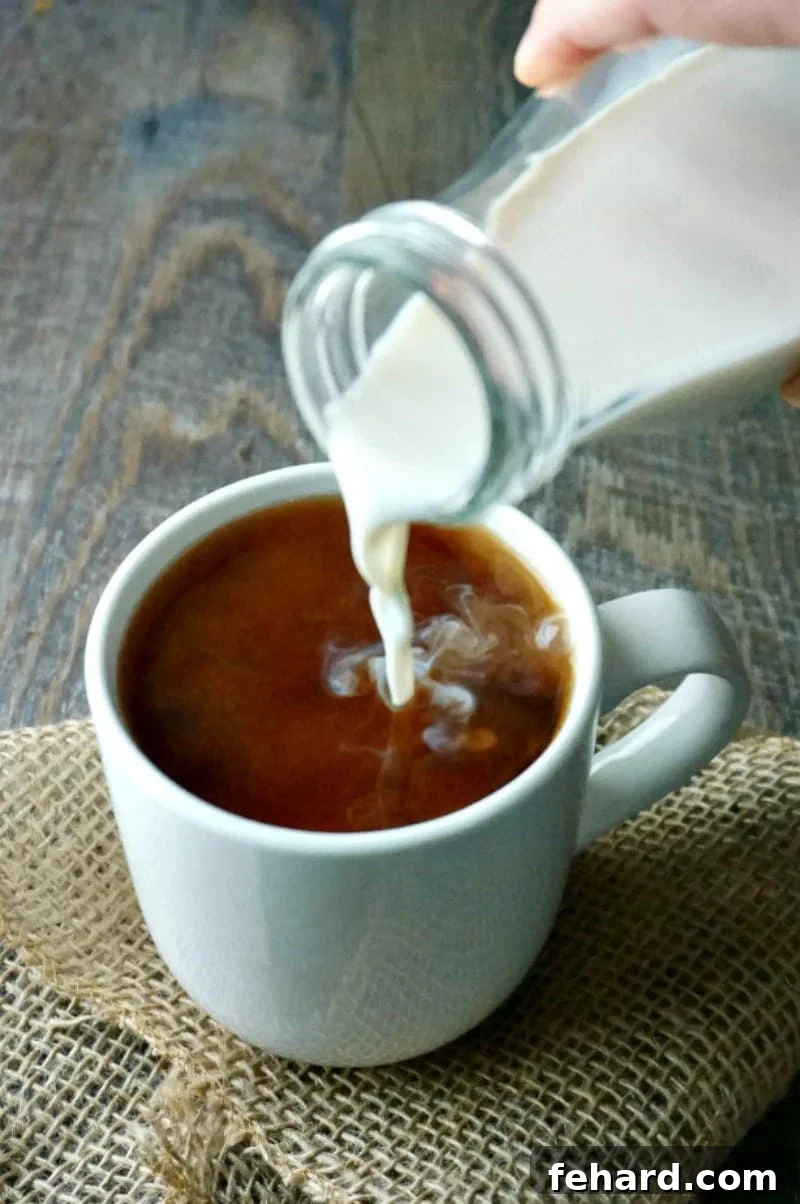
Why Choose Homemade Coffee Creamer? The Healthier, Happier Cup
Like many coffee lovers, my morning routine feels incomplete without that comforting first cup. And while I appreciate a dash of creaminess, I’ve long been dissatisfied with the options available on supermarket shelves. The truth is, most store-bought coffee creamers, even those marketed as “healthy” or “natural,” are often laden with a disheartening array of ingredients. These can include artificial flavors, high-fructose corn syrup, added preservatives, thickeners, emulsifiers, stabilizers like carrageenan, and even unhealthy trans fats. For those seeking a truly healthy start to their day, these hidden ingredients can detract from the simple pleasure of coffee.
Furthermore, if you follow a dairy-free diet, your choices in the creamer aisle become even more limited and often come with a premium price tag. The quest for a delicious, genuinely dairy-free option often ends in disappointment, either due to bland flavors, undesirable textures, or an excessively long list of processed ingredients.
This is where the magic of homemade creamer truly shines. By skipping the store-bought varieties, you take full control of what goes into your cup. With just three wholesome ingredients and a quick shake, you can effortlessly create a dairy-free creamer that is not only rich and velvety but also bursting with natural vanilla and coconut flavors, beautifully complemented by a subtle hint of maple. It’s the perfect guilt-free indulgence, allowing you to savor every sip without compromise.
The Secret to Simplicity: Our 3 Key Ingredients
The beauty of this homemade coffee creamer lies in its minimalist approach. With only three core ingredients, each plays a crucial role in achieving that perfect balance of flavor and creamy texture. To ensure the best possible results and a truly delightful creamer, it’s worth paying attention to the quality and type of each component.
- Coconut Milk: Your Creamy Base
The foundation of our dairy-free creamer is canned coconut milk, not to be confused with coconut cream or the thinner, refrigerated coconut beverage often found in cartons. Canned coconut milk offers the rich fat content essential for a luxurious, creamy texture. While you can use full-fat coconut milk for maximum richness, be aware that it might separate more readily when chilled, requiring a vigorous shake before each use. My personal favorite is Trader Joe’s Coconut Milk, which strikes an excellent balance—it’s thicker than many light brands but tends to separate less than some full-fat alternatives. However, feel free to use any brand of light or full-fat canned coconut milk that you prefer. Experiment to find the consistency you love most. - Maple Syrup: Nature’s Sweet Touch
For the sweetener, pure maple syrup is non-negotiable. Avoid pancake syrup or artificial maple-flavored syrups, as their chemical tastes will overpower the delicate flavors of the creamer. Pure maple syrup not only provides natural sweetness but also imparts a complex, caramel-like warmth that perfectly complements the coconut and vanilla. Its subtle notes elevate the overall flavor profile, creating a more sophisticated and inviting creamer. You can adjust the amount to suit your personal sweetness preference. - Vanilla Extract: The Warming Aroma
While technically optional, a good quality vanilla extract is highly recommended. It adds a comforting, aromatic depth to the creamer, making it feel more like a gourmet addition to your coffee. Pure vanilla extract offers a much richer and more authentic flavor than imitation vanilla. This simple addition can truly transform the creamer from good to extraordinary, providing a warm and inviting essence that enhances every sip. - Optional Additions: Customizing Your Creamer Experience
Don’t hesitate to get creative with your flavors! For an extra layer of warmth and spice, consider adding up to a teaspoon of ground cinnamon or half a teaspoon of freshly grated nutmeg. These spices blend beautifully with the existing flavors, offering a cozy twist. Other ideas include a pinch of cardamom for an exotic touch, a tablespoon of unsweetened cocoa powder for a chocolatey creamer, or a few drops of almond extract for a nutty profile. The possibilities are endless for tailoring this recipe to your taste.
How To Prepare & Store Your Homemade Coffee Creamer
Making this dairy-free coffee creamer is almost as quick and simple as pouring a cup of coffee. The ease of preparation makes it a perfect solution for busy mornings or whenever you crave a natural, flavorful addition to your beverage.
- Combine Ingredients: Begin by combining the canned coconut milk, pure maple syrup, and vanilla extract in a clean jar that has a tight-fitting lid. Alternatively, you can use a blender for an even smoother, more emulsified result, especially if your coconut milk is very thick or solid from refrigeration.
- Shake or Blend Well: Once all ingredients are in the jar, secure the lid tightly and shake vigorously for 2-3 minutes. If using a blender, blend on medium-high speed until the mixture is completely smooth and all ingredients are thoroughly combined and emulsified. This ensures a consistent texture and flavor throughout your creamer.
- Proper Storage: Transfer your freshly made creamer into an airtight container or keep it in the original jar if suitable. Store it in the refrigerator. This homemade creamer will stay fresh and delicious for up to 14 days, providing you with plenty of delightful coffee moments.
- Shake Before Each Use: Due to the natural fat content in coconut milk, some separation may occur during refrigeration. This is perfectly normal! Simply give the container a good shake before each use to re-emulsify the ingredients and restore that perfectly creamy consistency.
Not Dairy-Free? No Problem!
If dietary restrictions aren’t a concern for you and you enjoy traditional dairy, feel free to substitute half-and-half in place of the coconut milk. This simple swap will allow you to create a wonderfully rich and creamy Homemade Vanilla Coffee Creamer with a classic dairy base, keeping the same delightful maple and vanilla notes.
Beyond the Cup: Serving Suggestions and Versatile Uses
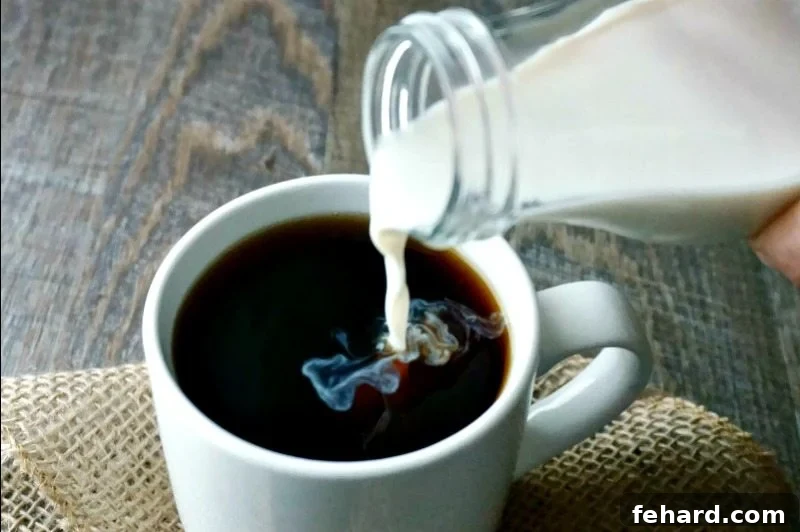
While this coconut vanilla coffee creamer is an absolute dream in your morning coffee, its versatility extends far beyond a simple cup. The subtle sweetness and creamy texture make it an excellent addition to a variety of other beverages and dishes, transforming them with a touch of gourmet flavor. Imagine pairing a steaming cup of coffee, enhanced with this homemade creamer, with a leisurely breakfast, a delightful brunch, or even as a refreshing mid-afternoon pick-me-up. The possibilities are truly endless!
- Morning Coffee & Tea: The obvious choice! Add a splash to your hot or iced coffee for an instant upgrade. It also works wonderfully in black or herbal teas for a creamy, dairy-free treat.
- Smoothies & Shakes: Incorporate a few tablespoons into your favorite fruit or protein smoothie for added creaminess and a hint of vanilla-coconut flavor.
- Hot Chocolate: Stir it into hot cocoa for a richer, more indulgent drink that feels extra special.
- Oatmeal & Cereals: Drizzle over a bowl of warm oatmeal or cold cereal to impart a creamy texture and delicate sweetness without needing extra milk.
- Dessert Enhancement: Use it as a dairy-free topping for fresh fruit, puddings, or even a healthier ice cream alternative.
- Baking: In some recipes that call for milk or cream, this creamer can serve as a flavorful dairy-free substitute, especially in muffins, quick breads, or pancake batters.
Here are a few of my favorite breakfast and brunch items that pair perfectly with a cup of coffee flavored with this delightful Coconut Coffee Creamer:
- Fluffy Overnight Cinnamon Rolls
- Wholesome Dairy-Free Pumpkin Muffins
- Creamy Instant Pot Oatmeal
- Delicious Whole Wheat Waffles
- Simple Banana Oat Pancakes
- Irresistible Gluten-Free Cinnamon Streusel Muffins
- Hearty Easy Potato Frittata
If you’ve given this fantastic dairy-free coffee creamer a try, I would absolutely love to hear from you! Please take a moment to leave a comment and review below to share your experience. Your feedback helps others discover the joy of homemade goodness!
Coconut Vanilla Coffee Creamer Recipe
Kristen Chidsey
16 servings
3 minutes
3 minutes
Print Recipe

Three simple ingredients come together to create a rich, flavorful, dairy-free coffee creamer, perfect for enhancing your daily cup.
Ingredients
- 1 (15 ounce) can coconut milk, full-fat or reduced-fat
- 2 tablespoons maple syrup (pure, not pancake syrup)
- 2 teaspoons vanilla extract (pure for best flavor)
Instructions
- Place all ingredients (coconut milk, maple syrup, and vanilla extract) into a large sealable jar. Secure the lid tightly. Shake well for 2-3 minutes until all the ingredients are thoroughly combined and emulsified. Alternatively, blend the ingredients in a blender until creamy and smooth.
- Store the homemade creamer in an airtight container in the refrigerator for up to 14 days. Remember to shake well before each use to re-incorporate any separated ingredients.
Notes
Coconut Milk: For optimal creaminess, use canned coconut milk, not coconut cream or the thinner refrigerated coconut beverages. While any brand works, some prefer specific brands for consistency. Separation of fat is natural and will recombine with a good shake.
Optional Additions: Enhance your creamer with additional flavors. Consider adding up to 1 teaspoon of ground cinnamon and/or ½ teaspoon of freshly grated nutmeg for a warm, spiced variation. Other ideas include a pinch of cardamom, a dash of almond extract, or unsweetened cocoa powder for a chocolate twist.
If you’re interested in a dairy version of homemade Vanilla Coffee Creamer, simply use half-and-half in place of the coconut milk.
Nutrition information provided is an approximation, based on a 2-tablespoon serving of creamer.
Nutrition Information (Approximate per 2 tbsp serving)
Calories: 60kcal | Carbohydrates: 2g | Fat: 5g | Saturated Fat: 5g | Sodium: 3mg | Potassium: 64mg | Sugar: 1g | Vitamin C: 0.2mg | Calcium: 8mg | Iron: 0.9mg
Nutrition information is automatically calculated and should only be used as an approximation. Individual results may vary based on specific ingredients and brands used.
Frequently Asked Questions About Homemade Creamer
Here are some common questions you might have when making your own dairy-free coffee creamer:
- Can I use other plant-based milks?
While canned coconut milk provides the richest and creamiest texture, you can experiment with other plant-based milks like almond milk, oat milk, or cashew milk. Be aware that these typically have a thinner consistency and may require a bit more sweetener or thickener (like a pinch of cornstarch, if tolerated) to achieve a similar mouthfeel. The flavor profile will also change significantly. - How can I adjust the sweetness?
The recipe calls for 2 tablespoons of maple syrup, which provides a moderate sweetness. Feel free to increase or decrease this amount by a tablespoon at a time until it perfectly matches your preference. You can also substitute other liquid sweeteners like agave nectar or a few drops of stevia or monk fruit extract, though this will alter the flavor profile. - My creamer separated in the fridge. Is it still good?
Yes, absolutely! Separation is completely normal with coconut milk-based products, especially when chilled. The fat from the coconut milk tends to solidify and separate from the water. Simply give the container a good, vigorous shake or stir it well before each use to re-emulsify the ingredients, and it will be perfectly creamy again. - Can I make a larger batch?
Certainly! This recipe is easily scalable. Simply double or triple the ingredients proportionally to make a larger batch. Just ensure you have a large enough airtight container for storage and remember the 14-day refrigeration guideline. - Is this creamer suitable for specific diets like Keto or Paleo?
This creamer is naturally vegan and dairy-free. Since it uses pure maple syrup, it is also paleo-friendly. For a strict keto diet, you would need to replace the maple syrup with a keto-friendly liquid sweetener alternative like liquid stevia or erythritol drops, as maple syrup contains natural sugars. - How do I make it thicker or thinner?
For a thicker creamer, use full-fat canned coconut milk and ensure it’s well-chilled. If you desire a thinner consistency, you can use light coconut milk or add a small amount of filtered water to the blended mixture until you reach your desired thickness.
Now that you have all the insights and instructions, there’s no reason to settle for anything less than perfect coffee. Embrace the simplicity and joy of creating your very own 3-Ingredient Coconut Vanilla Coffee Creamer. It’s a small change that promises a big impact on your daily routine, delivering unmatched freshness, flavor, and peace of mind with every cup. Get ready to fall in love with your morning coffee all over again!