
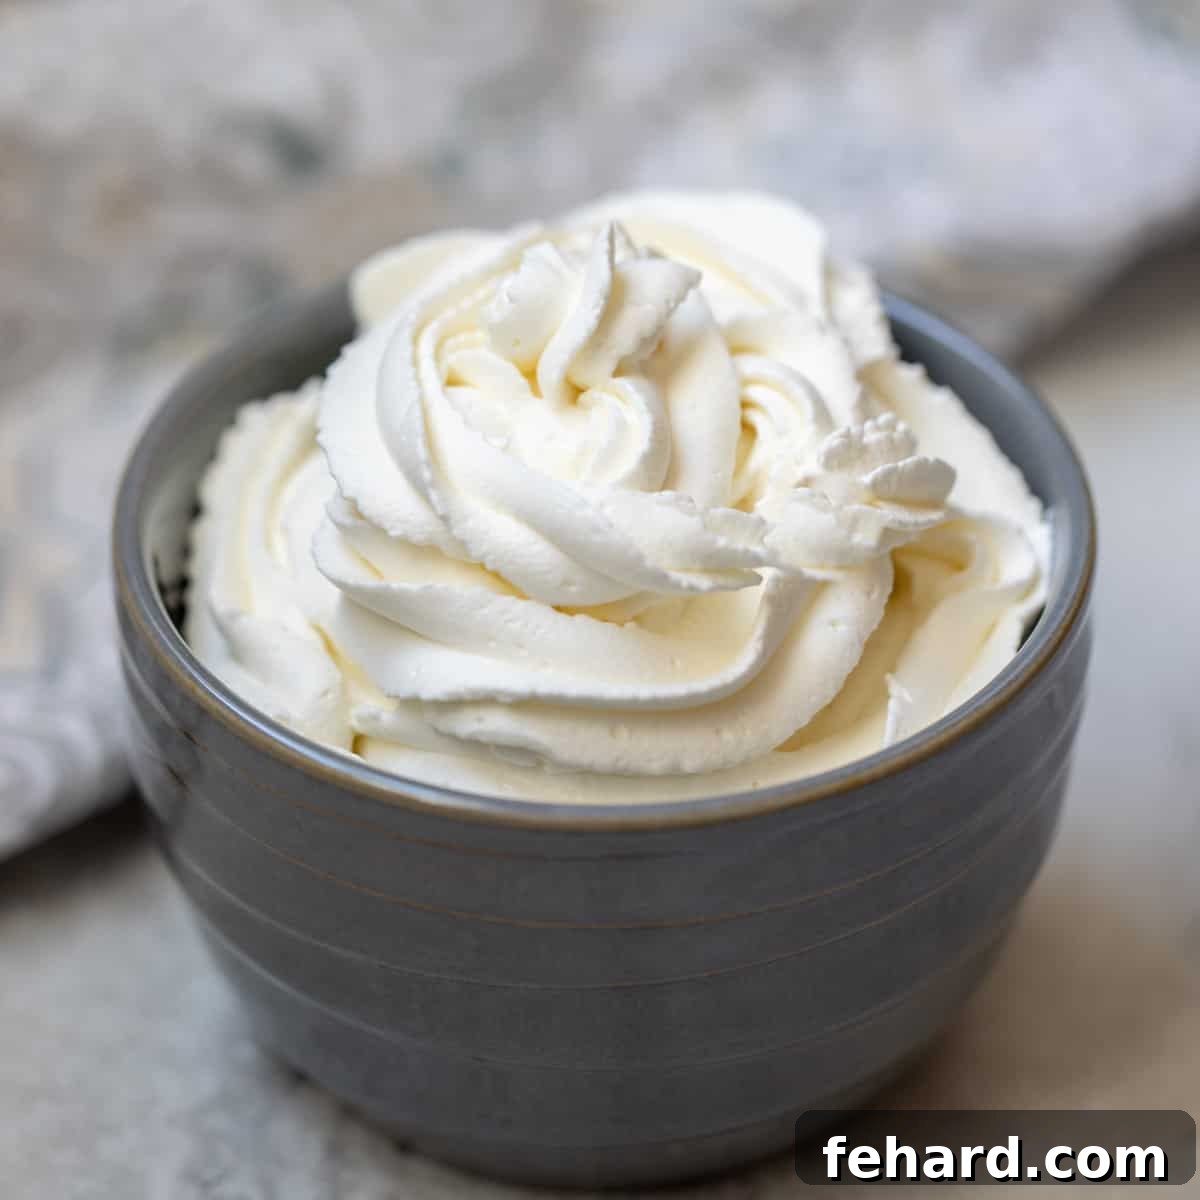
The Ultimate Guide to Perfect Homemade Whipped Cream: Easy, Fresh & Stabilized
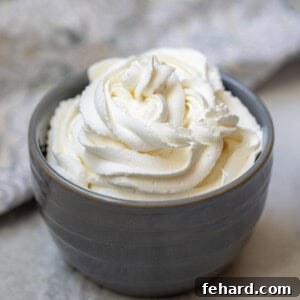
There’s nothing quite like the simple luxury of **Homemade Whipped Cream**. In just a few minutes, with **only 3 essential ingredients**, you can transform ordinary desserts into extraordinary culinary experiences. This isn’t just any whipped cream; it’s a light, airy, and utterly fluffy concoction that is, without a doubt, 100 times better than anything you’ll find in a store-bought can or tub. This comprehensive guide will walk you through every step, including detailed directions for creating **stabilized whipped cream** that holds its shape beautifully for hours, making it perfect for frosting cakes or topping pies ahead of time.
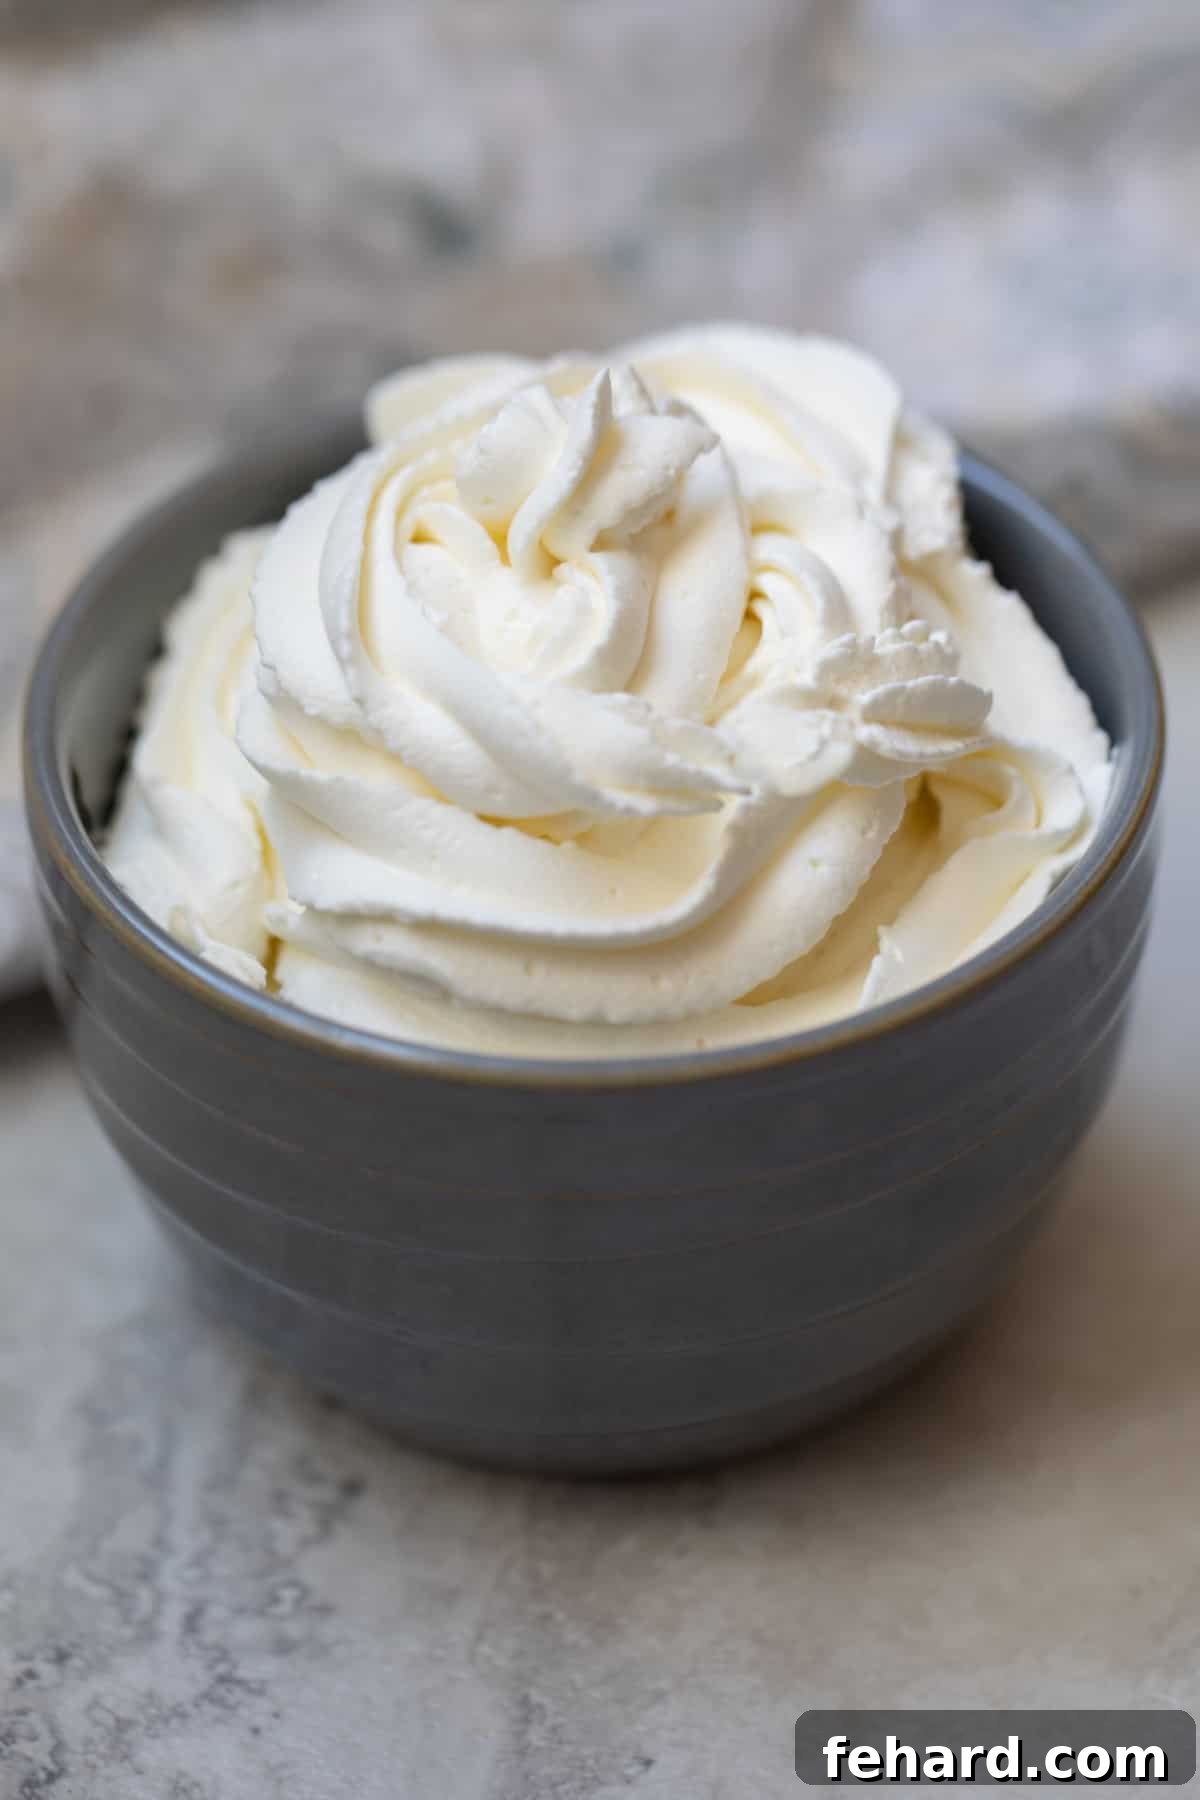
Why Homemade Whipped Cream is Always the Best Choice

Once you try homemade whipped cream, you’ll wonder why you ever settled for anything else. The difference is truly remarkable, and the benefits extend beyond just taste:
- Effortlessly Simple. Making whipped cream from scratch is surprisingly quick and straightforward. With minimal effort and just minutes of active time, you can achieve a light, airy, and incredibly creamy topping. It’s a fundamental skill that every home baker can master, promising delicious results every single time.
- Pure, Quality Ingredients. Take a moment to compare the ingredient list of store-bought whipped toppings (like Cool Whip or Reddi-Wip) to their homemade counterpart. You’ll often find tubs and cans laden with a long list of unfamiliar ingredients, including various stabilizers, emulsifiers, and preservatives. Homemade whipped cream, on the other hand, boasts a clean label: just three simple, natural ingredients – heavy cream, a touch of sugar, and vanilla extract. This purity translates directly to a healthier and more wholesome dessert topping.
- Unrivaled Flavor and Texture. This is where homemade truly shines. Store-bought versions often have an artificial aftertaste and a somewhat gluey or overly stiff texture. Freshly whipped cream offers a delicate, silky smooth texture that melts in your mouth, leaving behind a pure, sweet, and rich dairy flavor. It’s creamier, fluffier, and boasts a much more vibrant and authentic taste that enhances any dessert it accompanies.
Happy Cooking! xo Kristen
Table of Contents
- Homemade Whipped Cream Recipe Card
- Understanding Ingredients and Equipment
- Expert Tips for Flawless Whipped Cream
- How to Stabilize Whipped Cream for Lasting Freshness
- Creative Ways to Flavor Your Whipped Cream
- Delicious Ways to Use Homemade Whipped Cream
- Storage and Make-Ahead Tips
- Common Whipped Cream Q&A
Understanding Ingredients and Equipment for the Best Whipped Cream
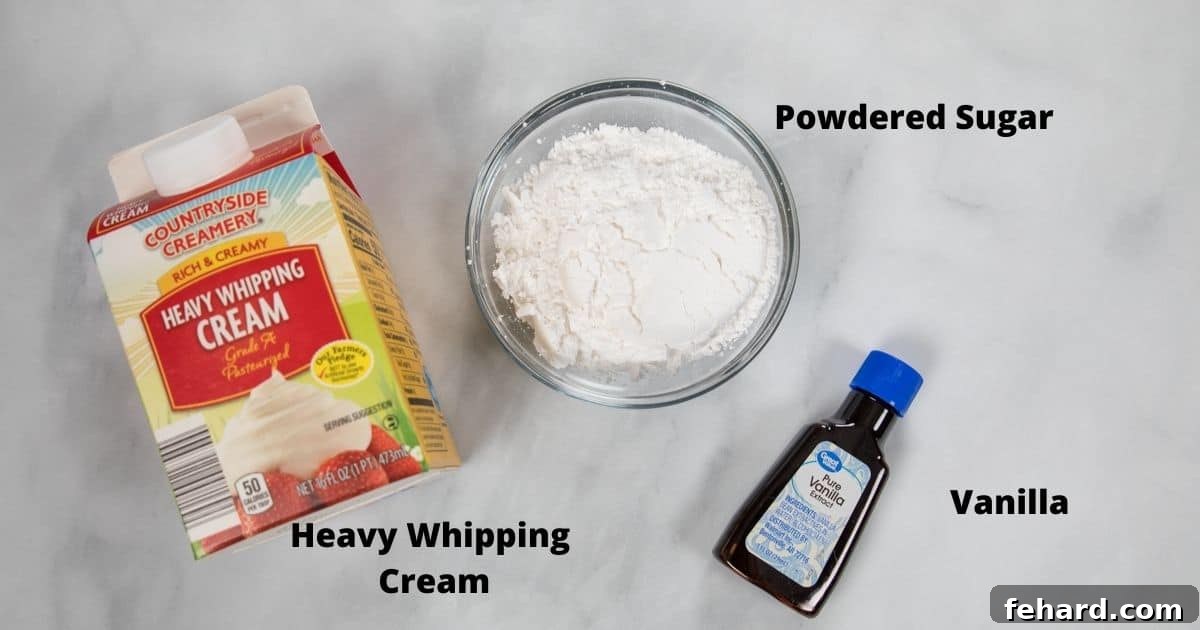
Success starts with the right foundation. Here’s a closer look at the key ingredients and equipment that will guarantee a perfect batch of homemade whipped cream:
- Heavy Whipping Cream: This is the star of our show, and the type of cream you choose is paramount. Always look for cream specifically labeled “Heavy Whipping Cream.” While “Heavy Cream” and “Whipping Cream” exist, heavy whipping cream contains a higher fat content (typically 38% or more) compared to heavy cream (usually 36%) or light whipping cream (30-35%). This higher fat percentage is crucial because fat molecules create a stronger, more stable emulsion when whipped, allowing the cream to hold its shape for much longer without deflating. Light cream simply doesn’t have enough fat to properly whip into stable peaks. Always ensure your cream is well-chilled before you begin.
- Sugar: For the smoothest, silkiest whipped cream, I wholeheartedly recommend using confectioners’ sugar, also known as powdered sugar. Its fine texture means it dissolves effortlessly into the cold cream, resulting in a perfectly smooth finish. Granulated sugar, while usable in a pinch, has larger crystals that can sometimes leave a slightly grainy texture in your final product if not thoroughly dissolved. The sugar not only adds sweetness but also contributes to the cream’s overall stability. Adjust the amount to your personal preference for sweetness.
- Vanilla Extract: While technically optional, a good quality vanilla extract adds an incredible depth of flavor and a subtle, aromatic sweetness that elevates the whipped cream beyond just “sweet cream.” It provides a warm, comforting note that complements a wide array of desserts. For a bolder flavor, consider using vanilla bean paste or scraping seeds from a fresh vanilla bean. If you’re experimenting with other flavors, you might omit or reduce the vanilla (more on flavoring later!).
- Mixer: You have a few options for whipping cream, each with its own advantages.
- Wire Whisk: The most old-fashioned method, perfect for a small batch or if you need a good arm workout! It requires more elbow grease and time but gives you precise control over the consistency.
- Handheld Kitchen Mixer: A versatile and popular choice for home cooks. It’s efficient and quicker than a hand whisk, offering good control.
- Stand Mixer fitted with a Wire Whisk Attachment: This is the fastest and most hands-off option, ideal for larger quantities. However, it requires careful monitoring, as a stand mixer can overwhip cream very quickly – often in a matter of seconds – so stay vigilant to avoid turning your perfect whipped cream into butter!
No matter which mixer you choose, ensure the whisk or beaters are clean and dry.
Expert Tips for Achieving Perfectly Light and Fluffy Whipped Cream
Mastering homemade whipped cream is all about a few simple techniques. The following tips are crucial for achieving consistently perfect results. You will find the precise ingredient quantities and step-by-step instructions in the recipe card at the bottom of this post.
- Chill EVERYTHING! This might be the single most important tip for success, just as it is for delicate pastries like homemade pie crust and homemade biscuits. Cold temperatures help the fat molecules in the cream remain firm, allowing them to trap air more efficiently and create a stable emulsion. Warm cream, on the other hand, will struggle to whip up and may even curdle. I highly recommend placing your mixing bowl (preferably metal or glass) and your whisk attachment or beaters into the freezer for 10-15 minutes before you plan to make the whipped cream. Ensure your heavy cream is also thoroughly chilled.
- Start mixing on low speed, then increase. When you first combine the cold cream and sugar, it’s best to begin mixing on a low speed. This initial gentle agitation helps to incorporate the sugar evenly and prevent the cream from splashing out of the bowl. Once small bubbles begin to form on the surface, you can gradually increase the speed to medium-high. This slow start ensures a smoother process and a more evenly whipped product.
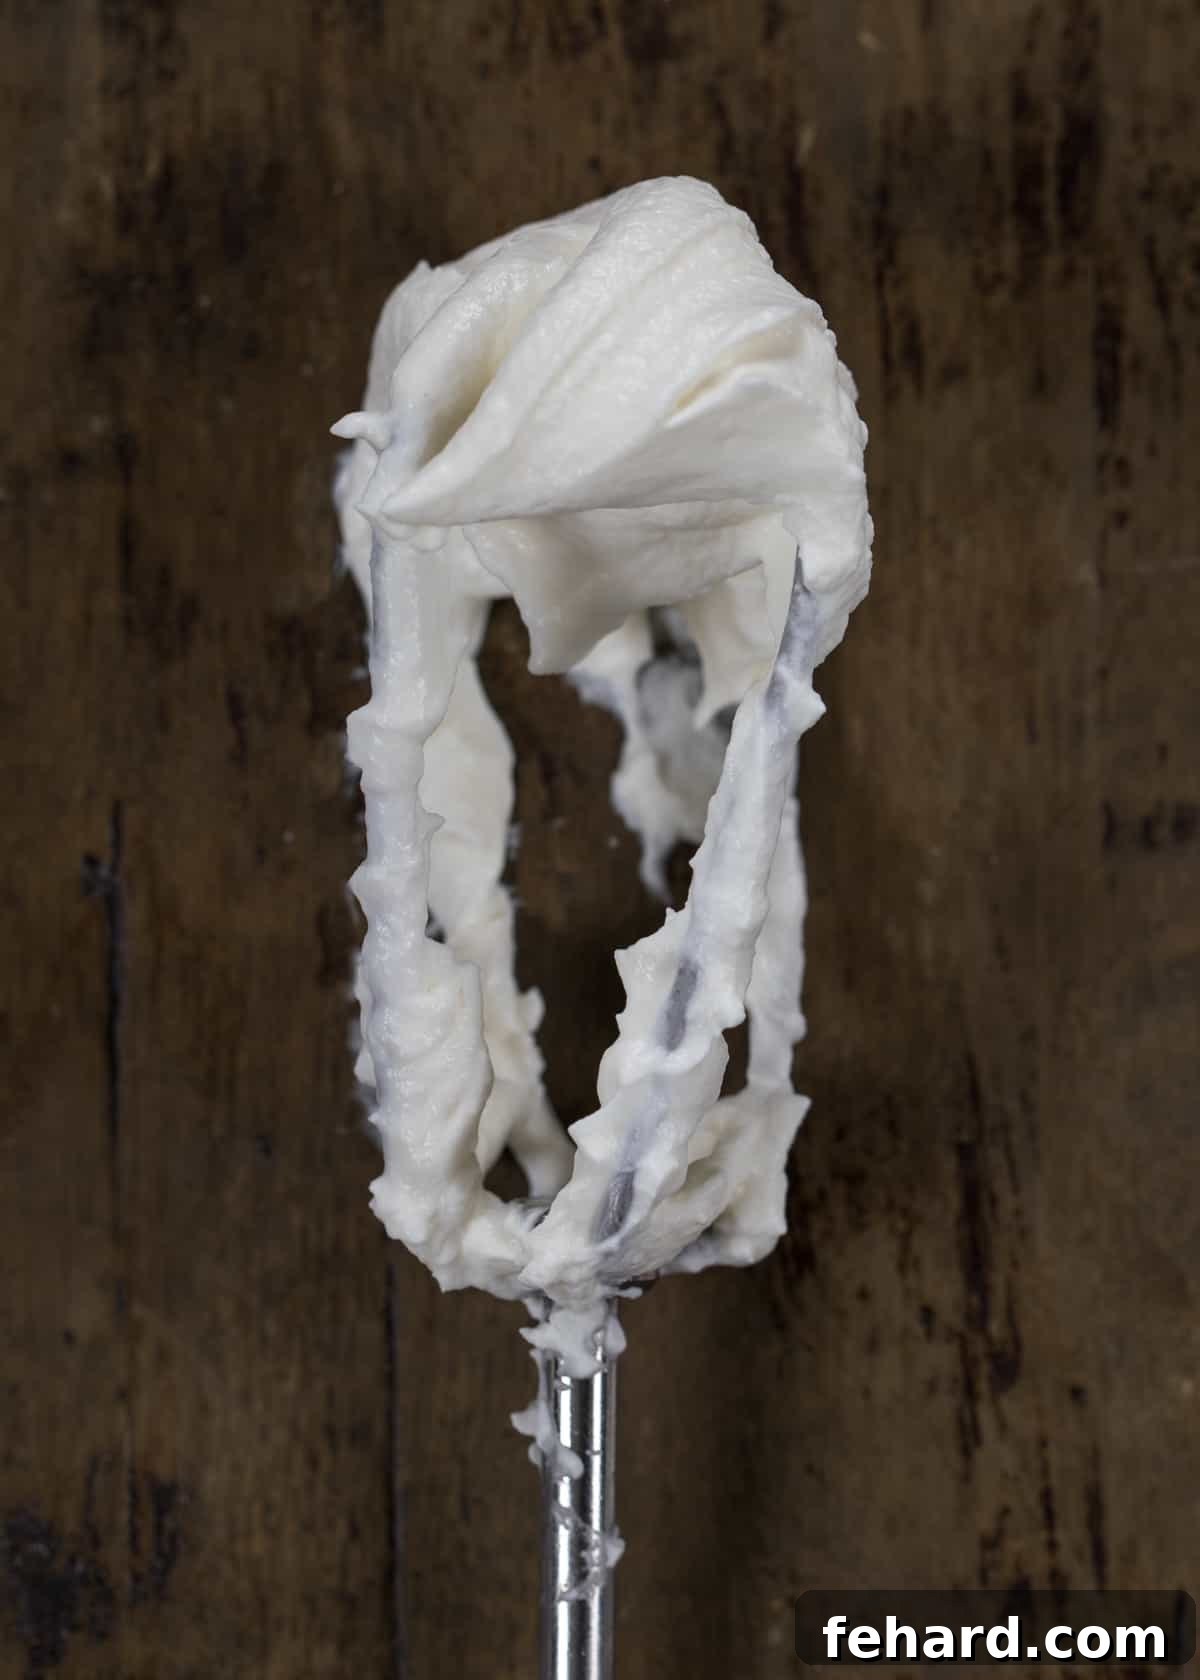
- Don’t Overwhip. This is Critical! The journey from perfectly soft, pillowy whipped cream to over-mixed, grainy, and somewhat curdled cream (or even butter!) is incredibly short – often a matter of mere seconds! Overwhipping breaks down the delicate air pockets, causing the cream to separate and become dense. To avoid this common pitfall, it is crucial to pay close attention. Begin checking the consistency every 15-30 seconds once you reach medium speed. You’re looking for peaks that hold their shape when the whisk is lifted but still have a slight droop at the tip (soft to medium peaks).
- Fresh is Best, but Stabilization Helps. While fresh whipped cream is absolutely divine and best used immediately for optimal texture and airiness, it can lose its volume and become watery over time. If you don’t plan to serve it right away, or if you need it to hold up in warmer conditions or for piping intricate designs, it is highly recommended to follow the directions for stabilizing your whipped cream (detailed in the next section).
How to Stabilize Whipped Cream for Lasting Freshness
If you need your whipped cream to hold its beautiful shape for several hours, withstand warmer temperatures, or serve as a more robust topping or frosting in place of store-bought whipped topping, stabilization is key. It’s a remarkably simple process that involves adding a small amount of an additional ingredient to your heavy whipping cream and powdered sugar before whipping. This helps to reinforce the cream’s structure, preventing it from weeping or deflating.
Methods for Stabilizing Whipped Cream:
- Using Cream of Tartar: This is a readily available acidic powder that helps strengthen the protein bonds in the cream. For every 1 cup of heavy whipping cream, add about ¼ teaspoon of cream of tartar along with the powdered sugar before you begin whipping. It’s flavorless and highly effective, offering excellent stability without altering the taste or texture.
- Using Dry Milk Powder: Another fantastic and simple stabilizer. Dry milk powder (skim or whole) adds extra milk solids that absorb excess moisture and provide structural support. For every 1 cup of heavy whipping cream, whisk in 1 tablespoon of dry milk powder with your powdered sugar. It also enhances the creamy flavor slightly.
- Using Unflavored Gelatin (Advanced): For the most robust stabilization, especially for piping or very warm environments, gelatin can be used. This method requires a bit more care. For 1 cup of heavy whipping cream, sprinkle ½ teaspoon of unflavored gelatin over 2 tablespoons of cold water in a small, microwave-safe bowl. Let it bloom for 5 minutes, then microwave for 5-10 seconds until completely dissolved (do not boil). Let it cool slightly but remain liquid. Whip your cream to soft peaks, then slowly drizzle in the cooled gelatin mixture while continuing to whip until stiff peaks form. This technique offers superior holding power but requires quick work and precise timing.
With stabilized whipped cream, you can prepare desserts hours in advance, or even a full day, without worrying about your beautiful topping collapsing.
Creative Ways to Flavor Your Homemade Whipped Cream
Classic whipped cream is a delight in its simplicity, but sometimes you want to add an extra layer of flavor to complement your dessert. Don’t be afraid to experiment! Use these ideas to inspire your next batch:
- Cinnamon Whipped Cream: A warm and comforting addition, perfect for apple pies or fall desserts. Simply add ½ teaspoon of ground cinnamon to the heavy whipping cream when you add the sugar.
- Peppermint Whipped Cream: Ideal for holiday treats or chocolate desserts. Omit the vanilla extract and instead add ¼ teaspoon of peppermint extract. A tiny drop of green food coloring can also make it festive.
- Maple Whipped Cream: A wonderfully natural sweetener that pairs beautifully with pancakes, waffles, or pumpkin-flavored desserts. Omit both the vanilla and sugar, and instead whisk in 1 tablespoon of pure maple syrup. Adjust to taste.
- Lemon or Orange Zest Whipped Cream: Brighten up your cream by adding 1-2 teaspoons of finely grated lemon or orange zest. It’s fantastic with berry desserts or cheesecakes.
- Cocoa Whipped Cream: For chocolate lovers! Sift in 1-2 tablespoons of unsweetened cocoa powder along with the powdered sugar for a rich, chocolatey topping.
- Coffee Whipped Cream: Dissolve 1 teaspoon of instant espresso powder or finely ground instant coffee in 1 teaspoon of hot water, then cool it completely. Add this along with the cream and sugar for a sophisticated coffee flavor, great for tiramisu or mocha lattes.
- Liqueur-Infused Whipped Cream: For an adult twist, a splash (1-2 teaspoons) of a complementary liqueur like Kahlua, Grand Marnier, Amaretto, or rum can add depth. Add it towards the end of whipping.
Remember to taste as you go when adding flavorings, especially extracts, as their potency can vary.
Endless Delicious Ways to Use Homemade Whipped Cream
Once you’ve mastered the art of homemade whipped cream, you’ll find countless opportunities to use it. Whether as a simple topping, a decadent filling, or a replacement for commercial whipped toppings in your favorite dessert recipes, this easy method will become a go-to in your kitchen. Here are some inspiring ideas:
- The Essential Pie Topping: In my book, it’s practically criminal to enjoy a slice of pumpkin pie without a generous dollop of fluffy whipped cream! It’s also the perfect accompaniment for ANY pie, including vibrant cherry crumble pie, rustic Dutch apple pie, or a classic lemon meringue.
- The Secret to Amazing Banana Pudding: The absolute BEST banana pudding is not just made, but perfected, with fresh whipped cream. Especially when paired with homemade vanilla pudding and fresh bananas, it creates an unforgettable, creamy delight.
- Elevating Cakes and Desserts: Homemade whipped cream is the ultimate partner for a vast array of desserts. Spoon it over creamy tapioca pudding, garnish a rich cheesecake or cute mini cheesecakes, or serve it alongside slices of moist hot milk cake and indulgent Texas sheet cake. The list is truly endless for elevating virtually any sweet treat!
- A Decadent Breakfast or Brunch Topping: Forget plain old maple syrup! Swap it out for a cloud of homemade whipped cream on your morning pancakes & waffles for an extra special treat. Add some fresh berries for a truly delightful start to your day.
- Finishing Touch for Drinks: A dollop of whipped cream instantly makes any beverage feel more luxurious. Whether added to a refreshing smoothie, a festive peppermint mocha, or a cozy mug of homemade hot chocolate, you simply can’t go wrong with this delightful edible flourish.
- The Ultimate Brownie Sundae: For a truly over-the-top dessert experience, top a warm, fudgy homemade brownie with a scoop of creamy no-churn ice cream, generously drizzle with rich hot fudge sauce, and then crown it all with a majestic dollop (or three!) of fresh whipped cream. Pure bliss!
- A Superior Replacement for Cool Whip: Homemade whipped cream is an excellent, all-natural substitute for store-bought whipped topping (like Cool Whip) in recipes. Simply use it cup for cup. Keep in mind that for recipes requiring stability (like a layered dessert or pie filling), you should stabilize the whipped cream first. Also, remember that even stabilized fresh whipped cream is best enjoyed within 24-48 hours of preparation, as its delicate texture can begin to lose its shape and become watery over time compared to highly processed alternatives.
Storage and Make-Ahead Tips for Whipped Cream
While fresh is always best, sometimes you need to plan ahead or have leftovers. Here’s how to handle your homemade whipped cream:
- Immediate Use: For the lightest, fluffiest texture, homemade whipped cream is ideally served right after it’s made.
- Refrigeration: If you have leftovers or need to make it a few hours in advance, cover the bowl tightly with plastic wrap and refrigerate for up to 24 hours. When ready to use, give it a quick whisk for 15-30 seconds to regain some of its volume, being careful not to overwhip.
- Stabilized Whipped Cream: As mentioned, stabilized whipped cream offers better longevity. It can typically be refrigerated for 1-2 days without significant loss of volume or texture, making it excellent for make-ahead desserts.
- Freezing Whipped Cream: You can freeze dollops of whipped cream! Pipe small mounds onto a parchment-lined baking sheet and freeze until solid. Once frozen, transfer them to an airtight container or freezer bag. They can be stored for up to 1-2 months. Thaw in the refrigerator for a few minutes before serving, or add directly to hot beverages. This is particularly useful for hot chocolate toppings!
Common Whipped Cream Questions & Answers
Here are answers to some frequently asked questions about making and using homemade whipped cream:
- Can I use light cream instead of heavy whipping cream? No, light cream (or half-and-half) does not have enough fat content to whip up properly and hold its shape. Always use heavy whipping cream for best results.
- Why won’t my whipped cream get stiff? The most common reasons are that your cream isn’t cold enough, your bowl/whisk aren’t cold, or you’re not using heavy whipping cream. Ensure all elements are thoroughly chilled!
- How do I know when it’s done whipping? Look for medium peaks. When you lift the whisk, the cream should form a peak that holds its shape but has a slight curl or droop at the very tip. If it’s too soft, keep whipping. If it’s stiff and crumbly, you’ve gone too far.
- What if I overwhip my cream? If your whipped cream starts to look grainy or curdled, you’ve gone too far. If it’s just slightly grainy, you might be able to salvage it by gently whisking in a tablespoon or two of fresh, unwhipped heavy cream by hand until it smooths out. If it separates completely and looks like butter, well, you’ve made butter!
- Can I make this dairy-free? Yes! You can use full-fat canned coconut cream (chilled overnight, use only the thick cream on top), or various commercial vegan whipping creams, following similar instructions.
Did you make this recipe?
If you enjoyed this recipe, please consider leaving a comment with a 5-star review at the bottom of the post. Your feedback helps other home cooks!
Never Miss a Recipe!
Sign up for our newsletter to get new recipes delivered straight to your inbox every week.
Join our community for more delicious and easy recipes!
Subscribe Now
Homemade Whipped Cream
Kristen Chidsey
16 servings
5
15
20
Review
Ingredients
- 1 cup heavy whipping cream, well-chilled
- 2 tablespoons confectioners’ sugar, or more to taste (powdered sugar)
- ½ teaspoon vanilla extract, optional but recommended
For Stabilized Whipped Cream (Optional)
- ¼ teaspoon cream of tartar, OR 1 tablespoon dry milk powder
Units: US Customary
Instructions
-
Prepare Your Equipment: For optimal results, place your clean, dry mixing bowl (preferably metal or glass) and the wire whisk attachment or beaters into the freezer for 10-15 minutes before you begin making the whipped cream. Ensure your heavy whipping cream is also thoroughly chilled.
-
Combine Ingredients: Once your equipment is chilled, pour the 1 cup of heavy whipping cream, 2 tablespoons of confectioners’ sugar, and ½ teaspoon of vanilla extract (if using) into the cold bowl. If making stabilized whipped cream, also add your chosen stabilizer (¼ teaspoon cream of tartar or 1 tablespoon dry milk powder) at this stage.
-
Start Whipping: Begin whipping the mixture on low speed until small bubbles just start to form on the surface. This prevents splashing and helps to evenly incorporate the sugar. Once bubbles appear, increase the mixer speed to medium-high.
-
Whip to Medium Peaks: Continue whisking until medium peaks form. You are looking for a consistency where the cream holds its shape when you lift the beaters or whisk, but the tip of the peak gently curls or droops. This creates a light, pillowy texture. **Crucially, do not overwhip!** The transition from perfect whipped cream to grainy, separated cream happens very quickly. Start checking the consistency every 15-30 seconds once the cream begins to thicken. Stop immediately when you reach your desired consistency.
-
Serve Immediately: For the freshest and most ethereal texture, serve your homemade whipped cream right away. If not using immediately, refer to the storage notes below.
Notes
Equipment Choice: You can achieve beautiful whipped cream using a hand whisk (requires more effort), a handheld electric mixer (a great balance of speed and control), or a stand mixer with a whisk attachment (fastest, but requires careful monitoring to prevent overwhipping).
Storing Fresh Whipped Cream: For optimal flavor and texture, fresh whipped cream is best enjoyed immediately. If you have leftovers, cover them tightly and refrigerate for up to 24 hours. A quick whisk for 15-30 seconds before serving can help restore some of its fluffiness, but be careful not to overwhip. Stabilized whipped cream will hold better for up to 48 hours.
Avoiding Overmixing: This is the most crucial step! The window between soft, pillowy whipped cream and over-mixed, grainy cream is very narrow. Check the peaks frequently (every 15-30 seconds) as the cream thickens to ensure you stop at the perfect, fluffy consistency.
Nutrition Information (per serving)
Carbohydrates: 1g
Protein: 1g
Fat: 6g
Saturated Fat: 3g
Cholesterol: 20mg
Sodium: 6mg
Potassium: 11mg
Sugar: 1g
Vitamin A: 219IU
Vitamin C: 1mg
Calcium: 10mg
Nutrition information is automatically calculated and should be used as an approximation only.
Tried this recipe?Mention @amindfullmom or tag #amindfullmom!