
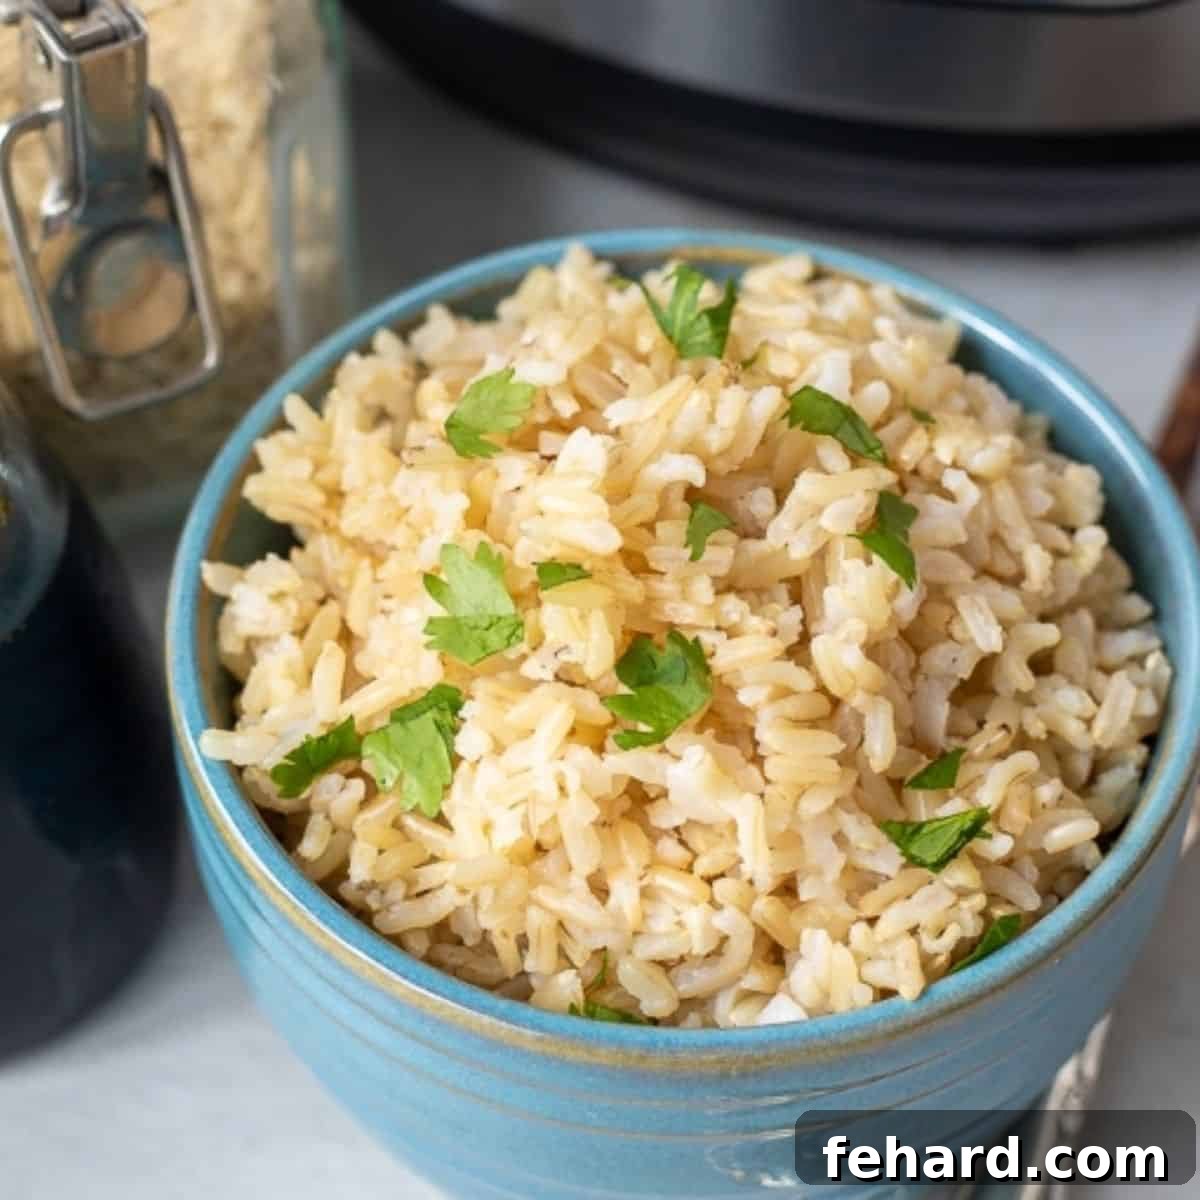
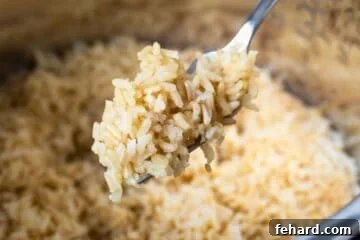
Tired of mushy, crunchy, or inconsistent brown rice? Look no further! This comprehensive guide reveals the secrets to making **perfect Instant Pot brown rice** that is consistently fluffy, tender, and nutty, every single time. Say goodbye to guesswork and hello to a foolproof method that will revolutionize your meal prep and everyday cooking. Whether you’re a seasoned Instant Pot user or just starting your pressure cooking journey, this recipe will transform the way you think about brown rice.
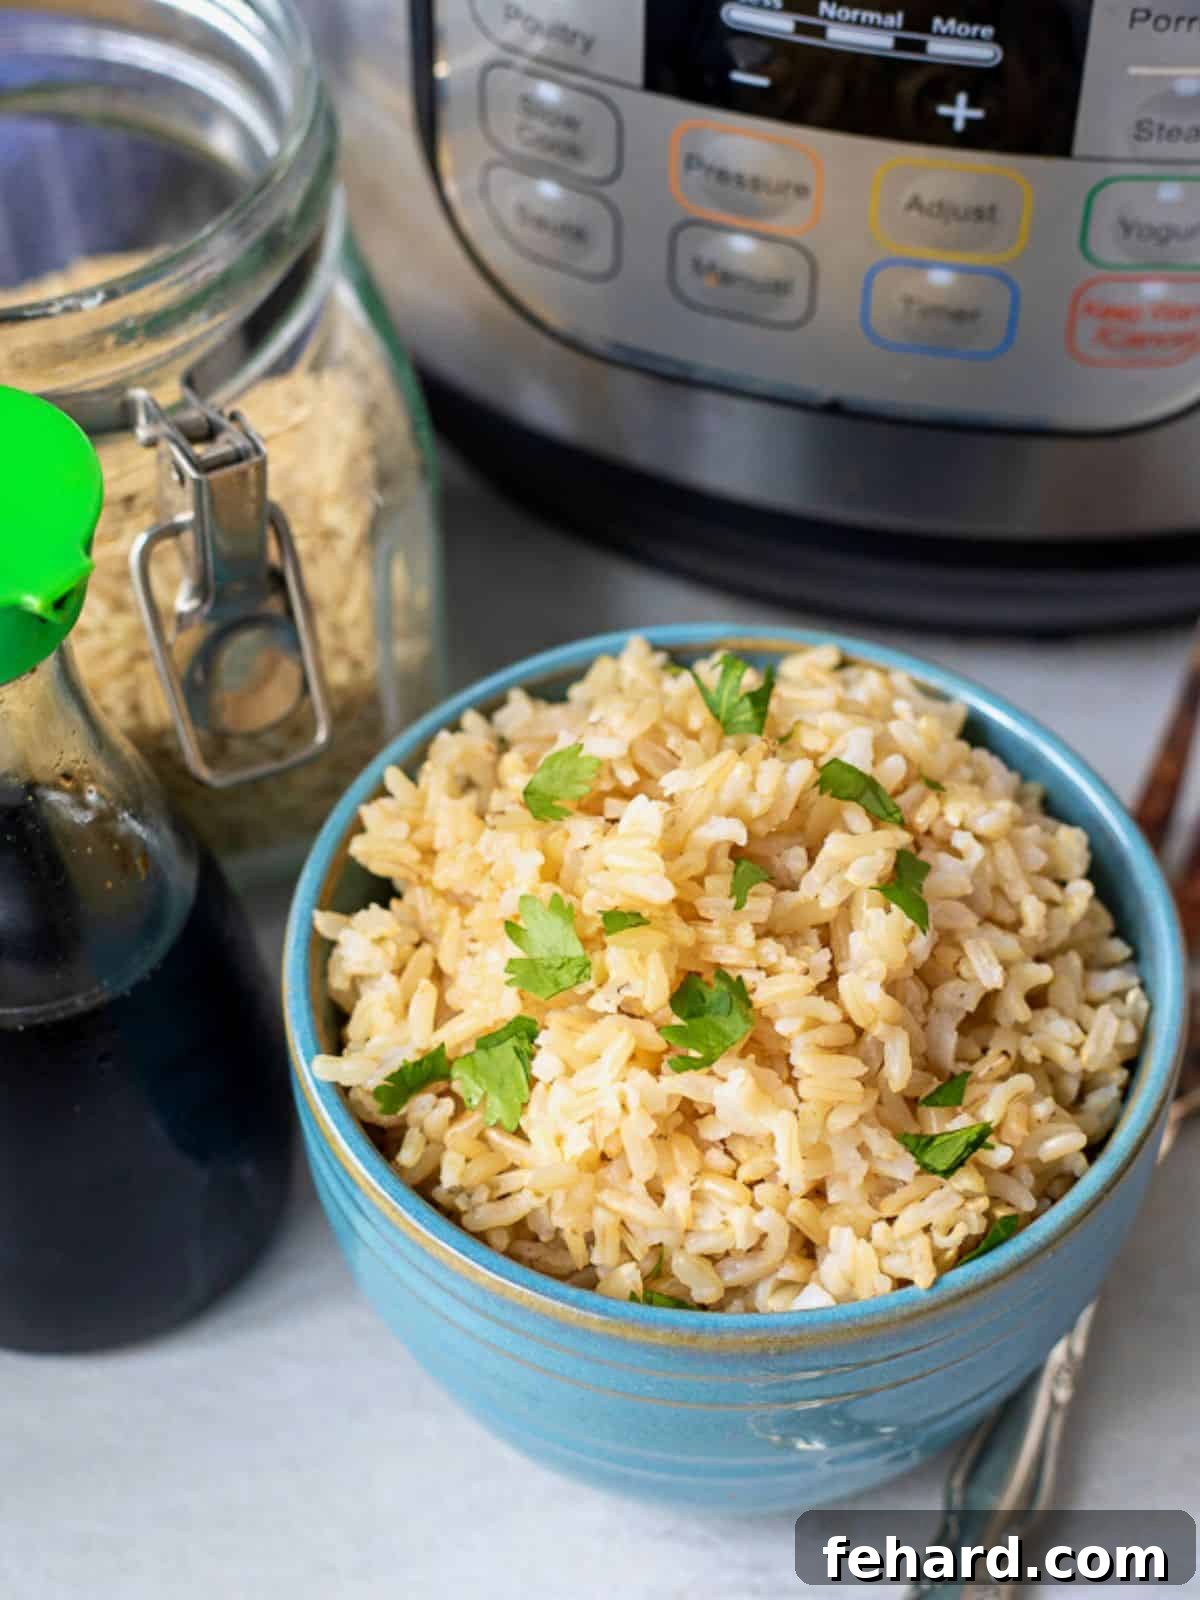
Why the Instant Pot is a Game-Changer for Brown Rice
For years, cooking brown rice on the stovetop was a culinary challenge for many. It often resulted in a frustratingly inconsistent texture – sometimes too soft and sticky, other times stubbornly hard and undercooked. The Instant Pot changes all of that. Its precisely controlled pressure environment cooks brown rice uniformly, locking in moisture and ensuring each grain is perfectly hydrated without evaporating excess liquid. This hands-off approach not only saves you time but also guarantees superior results, making it the preferred method for home cooks seeking reliability and excellence in their brown rice.
Kristen’s Expert Tips for Flawless Instant Pot Brown Rice
Achieving truly perfect brown rice in your Instant Pot hinges on a few crucial details. These aren’t just suggestions; they are key principles that ensure your rice is soft, wonderfully chewy, and never mushy or crunchy. Paying close attention to these tips will elevate your brown rice from good to absolutely outstanding.
- Rinse Your Rice Thoroughly: This step is non-negotiable for fluffy, separated grains. Brown rice, like its white counterpart, carries surface starch. Skipping the rinse allows this starch to release during cooking, leading to clumping and a mushy texture. A quick 1-2 minute rinse under cold running water, or soaking and draining a few times until the water runs clear, will wash away excess starch, ensuring your rice emerges light and distinct. This small effort makes a significant difference in the final product’s texture.
- Maintain a Precise 1:1 Rice-to-Liquid Ratio: Unlike stovetop cooking where liquid evaporates, the Instant Pot retains almost all the added moisture. This makes the liquid ratio incredibly important. Using too much liquid will inevitably result in mushy rice, while too little will leave it undercooked. For consistently perfect brown rice, a strict 1 cup of brown rice to 1 cup of liquid ratio is essential. This precise balance is the cornerstone of perfectly cooked grains every single time.
- Bypass the “Rice” Button: Many Instant Pot models feature a dedicated “Rice” button, but it’s often calibrated for white rice and may not account for the varying characteristics of different rice types, especially brown rice. For reliable results, always opt for the “Manual” or “Pressure Cook” setting. This puts you in full control of the cooking time and pressure level, allowing you to tailor it specifically to brown rice’s needs, whether it’s long-grain or short-grain, ensuring optimal texture and doneness across all Instant Pot models.
- Embrace Natural Pressure Release (NPR): Patience is a virtue when cooking brown rice in the Instant Pot. Once the cooking cycle finishes, resist the urge to immediately release the pressure. Allowing the pressure to release naturally for at least 15-20 minutes is critical. This crucial resting period allows the rice to fully absorb any remaining moisture, steam evenly, and firm up to its ideal texture. Prematurely releasing the pressure can lead to crunchy, undercooked grains and, more messily, a starchy spray from the vent knob.
- Never Overfill the Inner Pot: When preparing starchy foods like rice, it’s vital to never fill the Instant Pot’s inner pot more than halfway. Rice expands significantly during cooking, and overfilling can lead to uneven cooking, potential steam vent blockages, and messy overflows. Adhering to this guideline ensures safe operation and proper cooking, giving your rice ample space to expand and cook perfectly. For smaller Instant Pots (3-quart or 6-quart), aim for at least 1 cup of rice; for 8-quart models, start with at least 1.5 cups.
5-star Reader Review
“I hardly ever feel compelled to leave a recipe review, but this recipe is awesome. My stovetop brown rice always comes out mushy and split and this is nothing like that. Each rice kernel is full, nutty, separate, tender—amazing. I thought this would be too long to cook rice, but it’s perfect. My husband and I both love white rice, but we both agreed we’d eat more brown rice if it comes out like this.” –Carol
Mastering Instant Pot Brown Rice: A Step-by-Step Guide
Cooking brown rice in the Instant Pot is surprisingly simple, yielding superior results with minimal effort. This detailed guide will walk you through each step, ensuring you achieve perfectly fluffy and tender brown rice, whether you’re a beginner or an experienced pressure cooker enthusiast. Gone are the days of guessing and checking; this method guarantees success.
Step One: Thoroughly Rinse the Rice
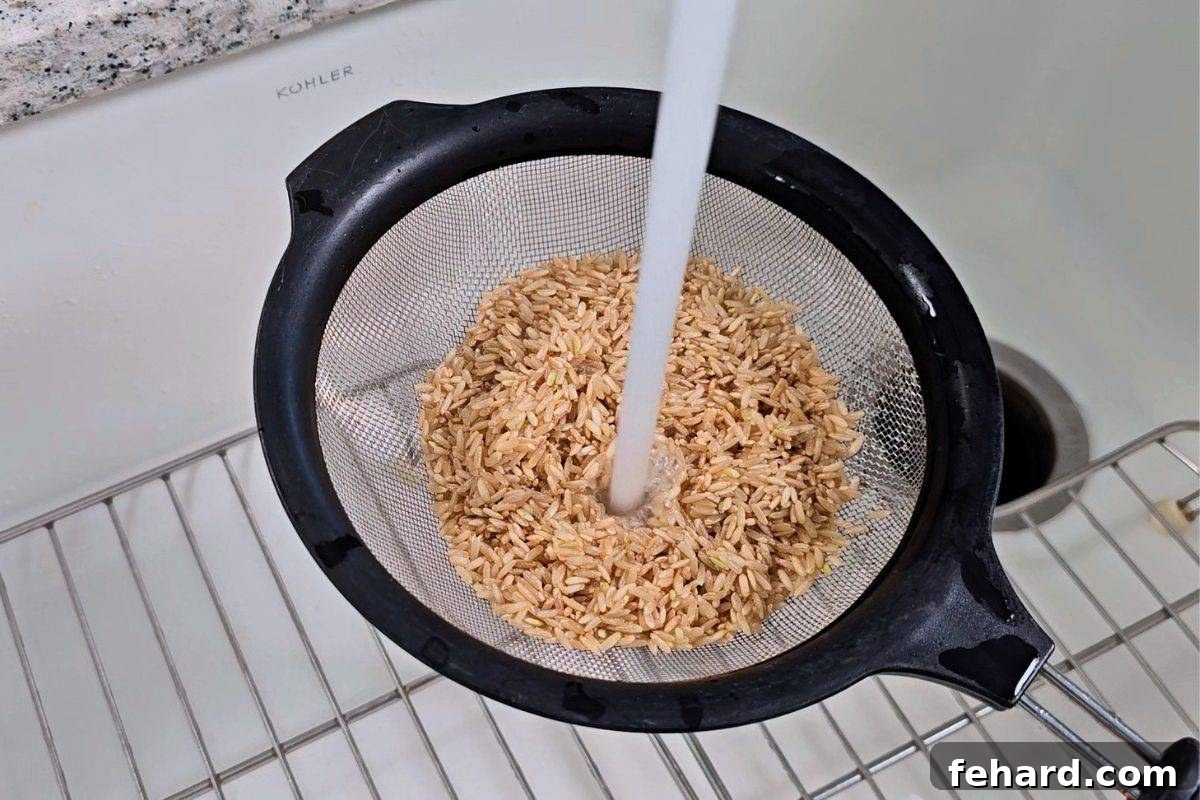
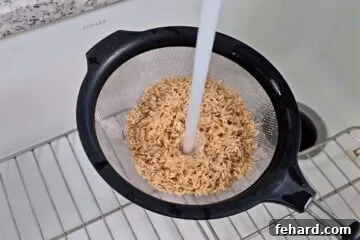
The first and most critical step for non-sticky, fluffy brown rice is rinsing. Measure your desired amount of brown rice and place it into a fine-mesh strainer. Rinse it under cold running water for 1 to 2 minutes. Continue rinsing until the water running through the strainer appears clear, indicating that most of the excess surface starch has been removed. Alternatively, you can place the rice in a large bowl, cover it with cold water, swirl it around, and then drain. Repeat this process 2-3 times until the water is clear.
Step Two: Combine Rice and Liquid in the Pot
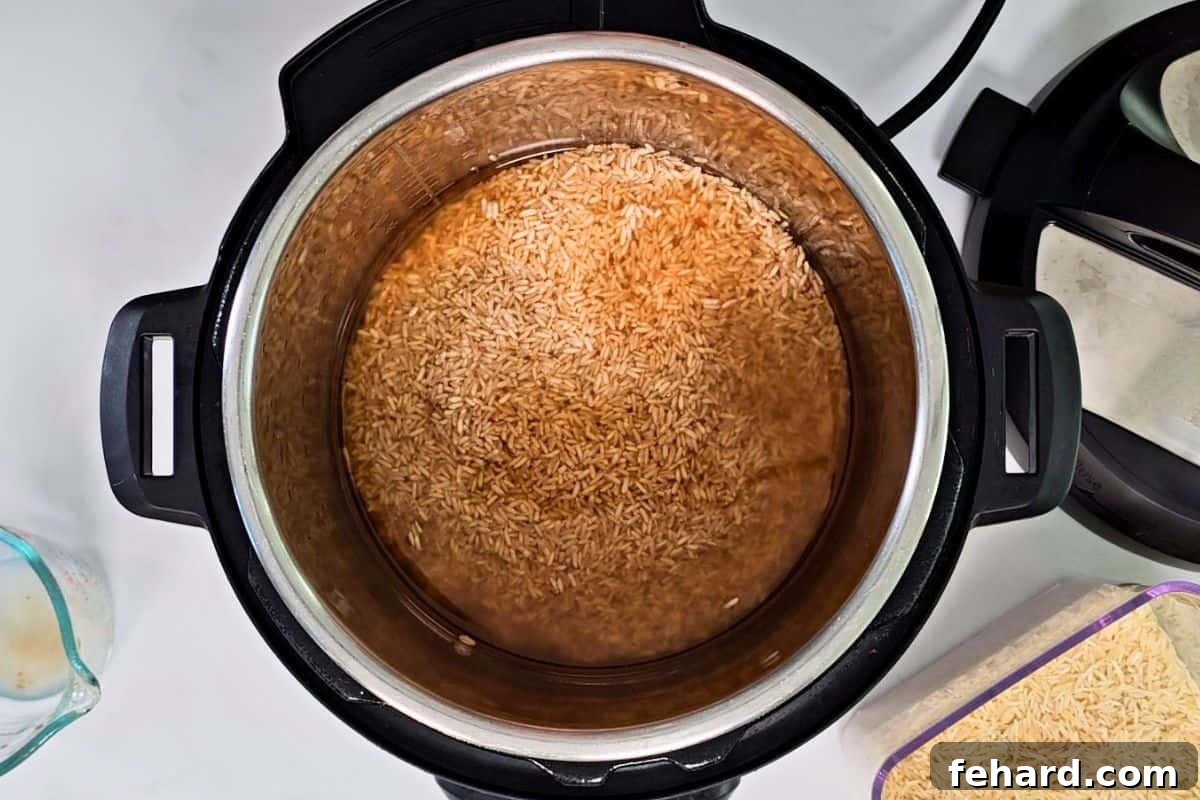
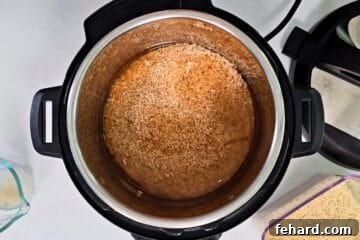
Transfer the thoroughly rinsed brown rice into the inner pot of your Instant Pot. The magic of Instant Pot brown rice lies in its precise liquid ratio. For every 1 cup of dry brown rice, add exactly 1 cup of liquid. You can use plain water for a neutral base, or elevate the flavor by using vegetable or chicken broth. If desired, add a pinch of salt (about ½ teaspoon per 2 cups of rice) for seasoning. Gently stir the rice and liquid with a spoon, ensuring all the grains are fully submerged and evenly distributed in the liquid. This prevents uneven cooking and ensures consistent hydration.
Step Three: Pressure Cook to Perfection
Secure the lid on your Instant Pot, ensuring it’s properly sealed, and turn the steam release valve to the “Sealing” position. Now, select the “Manual” or “Pressure Cook” button. For long-grain brown rice (the most common variety), set the cook time to 22 minutes on HIGH pressure. If you are using short-grain brown rice, increase the cook time to 24 minutes on HIGH pressure. Remember the golden rule: **DO NOT use the dedicated “Rice” function** for brown rice, as it often leads to inconsistent cooking. The “Manual” or “Pressure Cook” setting provides consistent heat and pressure across all Instant Pot models, guaranteeing better results.
Step Four: Allow Natural Pressure Release
Once the pressure cooking cycle is complete, the Instant Pot will typically switch to its “Keep Warm” setting. This is exactly what you want! **Do absolutely nothing** for at least 15 minutes. This period of natural pressure release (NPR) is crucial for brown rice. It allows the pressure inside the pot to gradually decrease and the rice grains to continue steaming and absorbing any remaining moisture, leading to a tender, fully cooked texture. Attempting a quick release too early will result in undercooked, crunchy rice and potentially a messy release of starchy water.
Step Five: Fluff and Serve
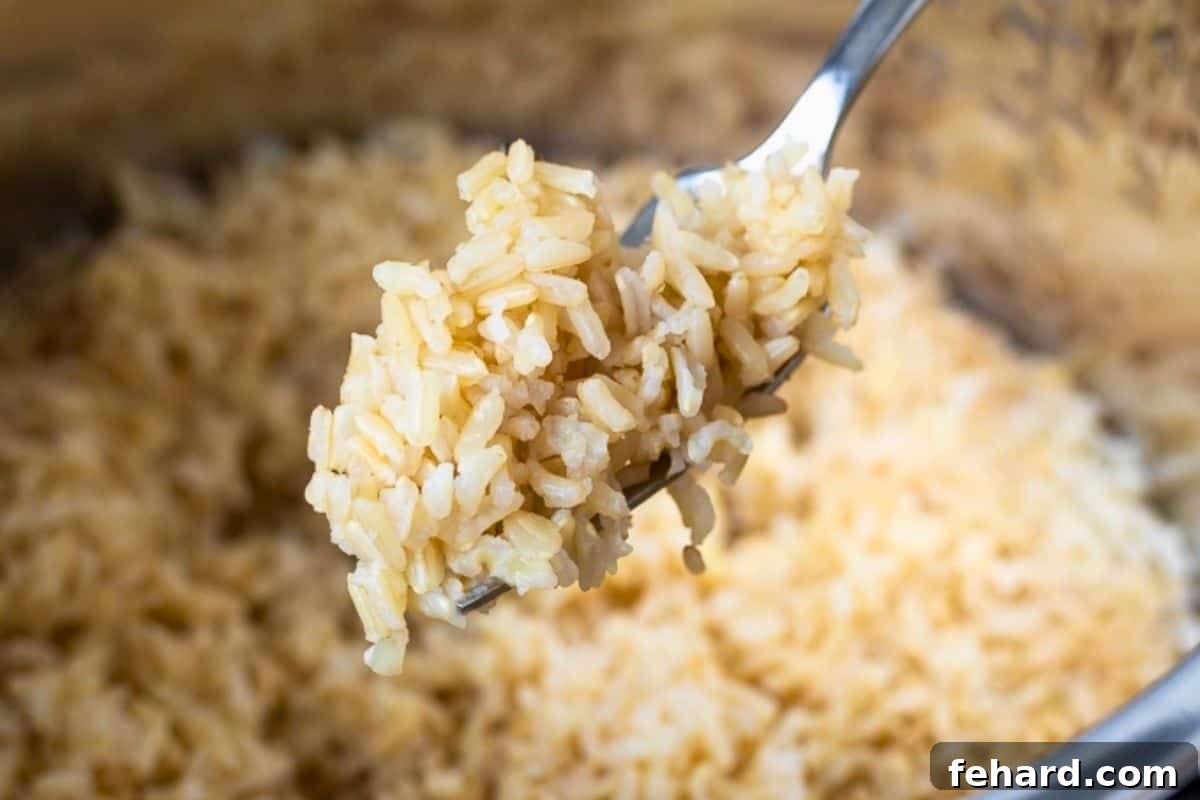
After the natural pressure release has completed (which could take up to 20 minutes for larger batches), the float valve will drop, indicating it’s safe to open the lid. Carefully remove the lid, tilting it away from your face to avoid any lingering steam. Instead of a spoon, use a fork to gently fluff the cooked brown rice. A fork helps to separate the individual grains without mashing them together, preserving their light and airy texture. This final step is key to achieving that desirable fluffy consistency. Serve your perfectly cooked Instant Pot brown rice as a delicious side dish or as a base for your favorite meals.
Delicious Seasoning Options to Elevate Your Brown Rice
This Instant Pot brown rice recipe is intentionally simple, providing a versatile canvas for countless culinary creations. It serves as an excellent base for stir-fries, Buddha bowls, hearty casseroles, or as a healthy side. However, if you wish to infuse more flavor into your rice before or after cooking, here are a few easy and delicious seasoning options:
- Dried Onion Soup Mix: For a rich, savory, and deeply oniony flavor, stir in 1 tablespoon of your favorite dried onion soup mix (homemade or store-bought) with the rice and liquid before pressure cooking. This adds a wonderful depth that pairs well with roasted meats or as a standalone side.
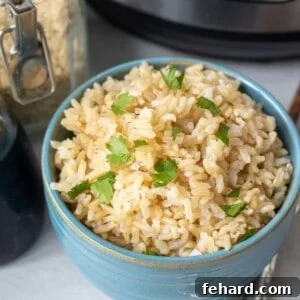
- Buttery Richness: To achieve a luxurious, buttery taste, you have two options. You can add 1 to 3 tablespoons of butter (or a dairy-free alternative) to the inner pot before pressure cooking. If adding before, place the butter on top of the rice to prevent it from settling at the bottom and potentially triggering a “burn” notice. Alternatively, stir in melted butter after the rice is fluffed for a fresh, aromatic finish.
- Tex-Mex Taco Seasoning: Transform your brown rice into a zesty Tex-Mex delight by adding 2-3 teaspoons of taco seasoning (again, homemade is great!) before cooking. This creates a flavorful rice perfect for burritos, tacos, or as a base for a vibrant taco bowl.
- Spicy Cajun Kick: For those who love a bit of heat, incorporate 2-3 teaspoons of Cajun seasoning before pressure cooking. This adds a bold, spicy, and aromatic profile. For an extra fiery kick, finish with a dash of hot sauce after fluffing, catering to those who appreciate a stronger spice level.
Safe Storage and Reheating Tips for Brown Rice
Proper storage of cooked rice is crucial for food safety and maintaining its quality. It’s important to cool cooked rice quickly before refrigerating or freezing to prevent bacterial growth. I recommend spreading the cooked brown rice thinly on a shallow baking sheet or plate immediately after fluffing. This allows it to cool rapidly, typically within 5-10 minutes, to room temperature. Once cooled, transfer it to an airtight container.
- Refrigeration: Cooked brown rice can be safely stored in an airtight container in the refrigerator for up to 4 days. Always ensure it’s cooled completely before sealing the container.
- Freezing: For longer storage, cooked brown rice freezes beautifully. Portion it into individual servings in freezer-safe bags or containers and freeze for up to 3 months. To reheat from frozen, thaw overnight in the refrigerator first, or proceed directly to reheating instructions with a little extra liquid and microwave time.
- Reheating: To reheat, place the desired amount of rice into a microwave-safe bowl. Add a splash of water or broth (about 1-2 tablespoons per cup of rice) to reintroduce moisture, then cover the bowl with a damp paper towel or a microwave-safe lid. Microwave in 1-minute intervals, stirring in between, until the rice is thoroughly warmed through and fluffy again. For stovetop reheating, place rice and a splash of liquid in a saucepan, cover, and heat over low heat until warm.
The Nutritional Benefits of Brown Rice
Choosing brown rice over white rice offers significant nutritional advantages. Brown rice is a whole grain, meaning it retains its bran and germ layers, which are rich in fiber, vitamins, and minerals. This makes it a healthier choice, contributing to better digestive health, more stable blood sugar levels, and a feeling of fullness that can aid in weight management. It’s an excellent source of manganese, selenium, magnesium, and B vitamins, making it a powerful addition to any balanced diet. Incorporating this perfectly cooked Instant Pot brown rice into your meals is an easy way to boost your nutrient intake and enjoy delicious, wholesome food.
Common Troubleshooting for Instant Pot Brown Rice
Even with a foolproof recipe, questions can arise. Here are answers to some common issues:
- Why is my brown rice mushy? The most common culprits are too much liquid or not rinsing the rice thoroughly. Ensure you stick to the 1:1 rice-to-liquid ratio and don’t skip the rinsing step. Also, remember that natural pressure release is key for proper texture; quick releasing too early can contribute to mushiness.
- Why is my brown rice crunchy/undercooked? This usually happens if there wasn’t enough liquid, the cooking time was too short, or if you quick-released the pressure. Always use the specified cooking times (22 min for long-grain, 24 min for short-grain) and allow for full natural pressure release.
- Can I double the recipe? Yes, you can double or even triple the recipe, as long as you don’t exceed the halfway mark of your Instant Pot’s inner pot. The liquid ratio remains 1:1, but the natural pressure release time might be slightly longer (up to 20-25 minutes). The pressure cooking time itself does not need to be adjusted for larger quantities.
More Delicious Instant Pot Rice Variations
Once you’ve mastered brown rice, explore other fantastic rice recipes using your Instant Pot:
- Instant Pot Jasmine Rice
- Instant Pot Rice Pilaf
- Instant Pot Risotto
- Instant Pot Cilantro Lime Rice
- Instant Pot Spanish Rice
Instant Pot Brown Rice
Kristen Chidsey
6
3 mins
22 mins
20 mins
45 mins
Video
Ingredients
- 2 cups brown rice, long-grain or short-grain
- 2 cups liquid, broth or water
- ½ teaspoon kosher salt, optional
Instructions
-
Measure out 2 cups brown rice and place it into a fine mesh colander. Rinse under cold water for 1-2 minutes until the water runs clear. Alternatively, place the rice inside a large bowl, cover with water, drain the water off and repeat 2-3 times until the water runs clear.

-
Place the rinsed rice into the inner pot of the pressure cooker. Pour 2 cups liquid of choice over the rice and add in ½ teaspoon kosher salt if using. Gently push the rice down so that it is fully and evenly submerged in the liquid.
-
Place the lid on the Instant Pot and be sure the vent knob is sealed. Hit the manual or pressure cook button and set to cook on high pressure for 22 minutes for long-grain brown rice or 24 minutes for short-grain brown rice. Do not use the rice function!
-
Once the cooking time has elapsed, allow the pressure to release naturally. This takes about 15-20 minutes, depending on how much rice you prepared.
-
Once the pressure is fully released, remove the lid from the pressure cooker and gently fluff the rice with a fork. Serve as desired.
Equipment
-
Electric Pressure Cooker (6 or 8 quart)
-
fine mesh strainer
Notes
Seasoning: Feel free to add in your own dried seasonings or 1 tablespoon of butter before or after cooking the rice. If adding butter prior to pressure cooking, be sure to place the butter on top of the dried rice, so that it does not cause a burn notice.
Storage: Let the rice cool quickly on a sheet pan before storing it in an airtight container for up to 4 days in the refrigerator or up to 3 months in the freezer. To reheat, place the rice into a heat-safe bowl, along with a couple of tablespoons of water, and microwave in 30-second intervals until heated.
Nutrition
Carbohydrates: 48g
Protein: 5g
Fat: 2g
Saturated Fat: 0.4g
Polyunsaturated Fat: 1g
Monounsaturated Fat: 1g
Sodium: 198mg
Potassium: 138mg
Fiber: 2g
Sugar: 1g
Calcium: 14mg
Iron: 1mg
Nutrition information is automatically calculated, so should only be used as an approximation.
Tried this recipe?Mention @amindfullmom or tag #amindfullmom!
This post was originally published in 2017 and thoroughly updated in 2025 to reflect the latest techniques and information for the perfect Instant Pot brown rice.