
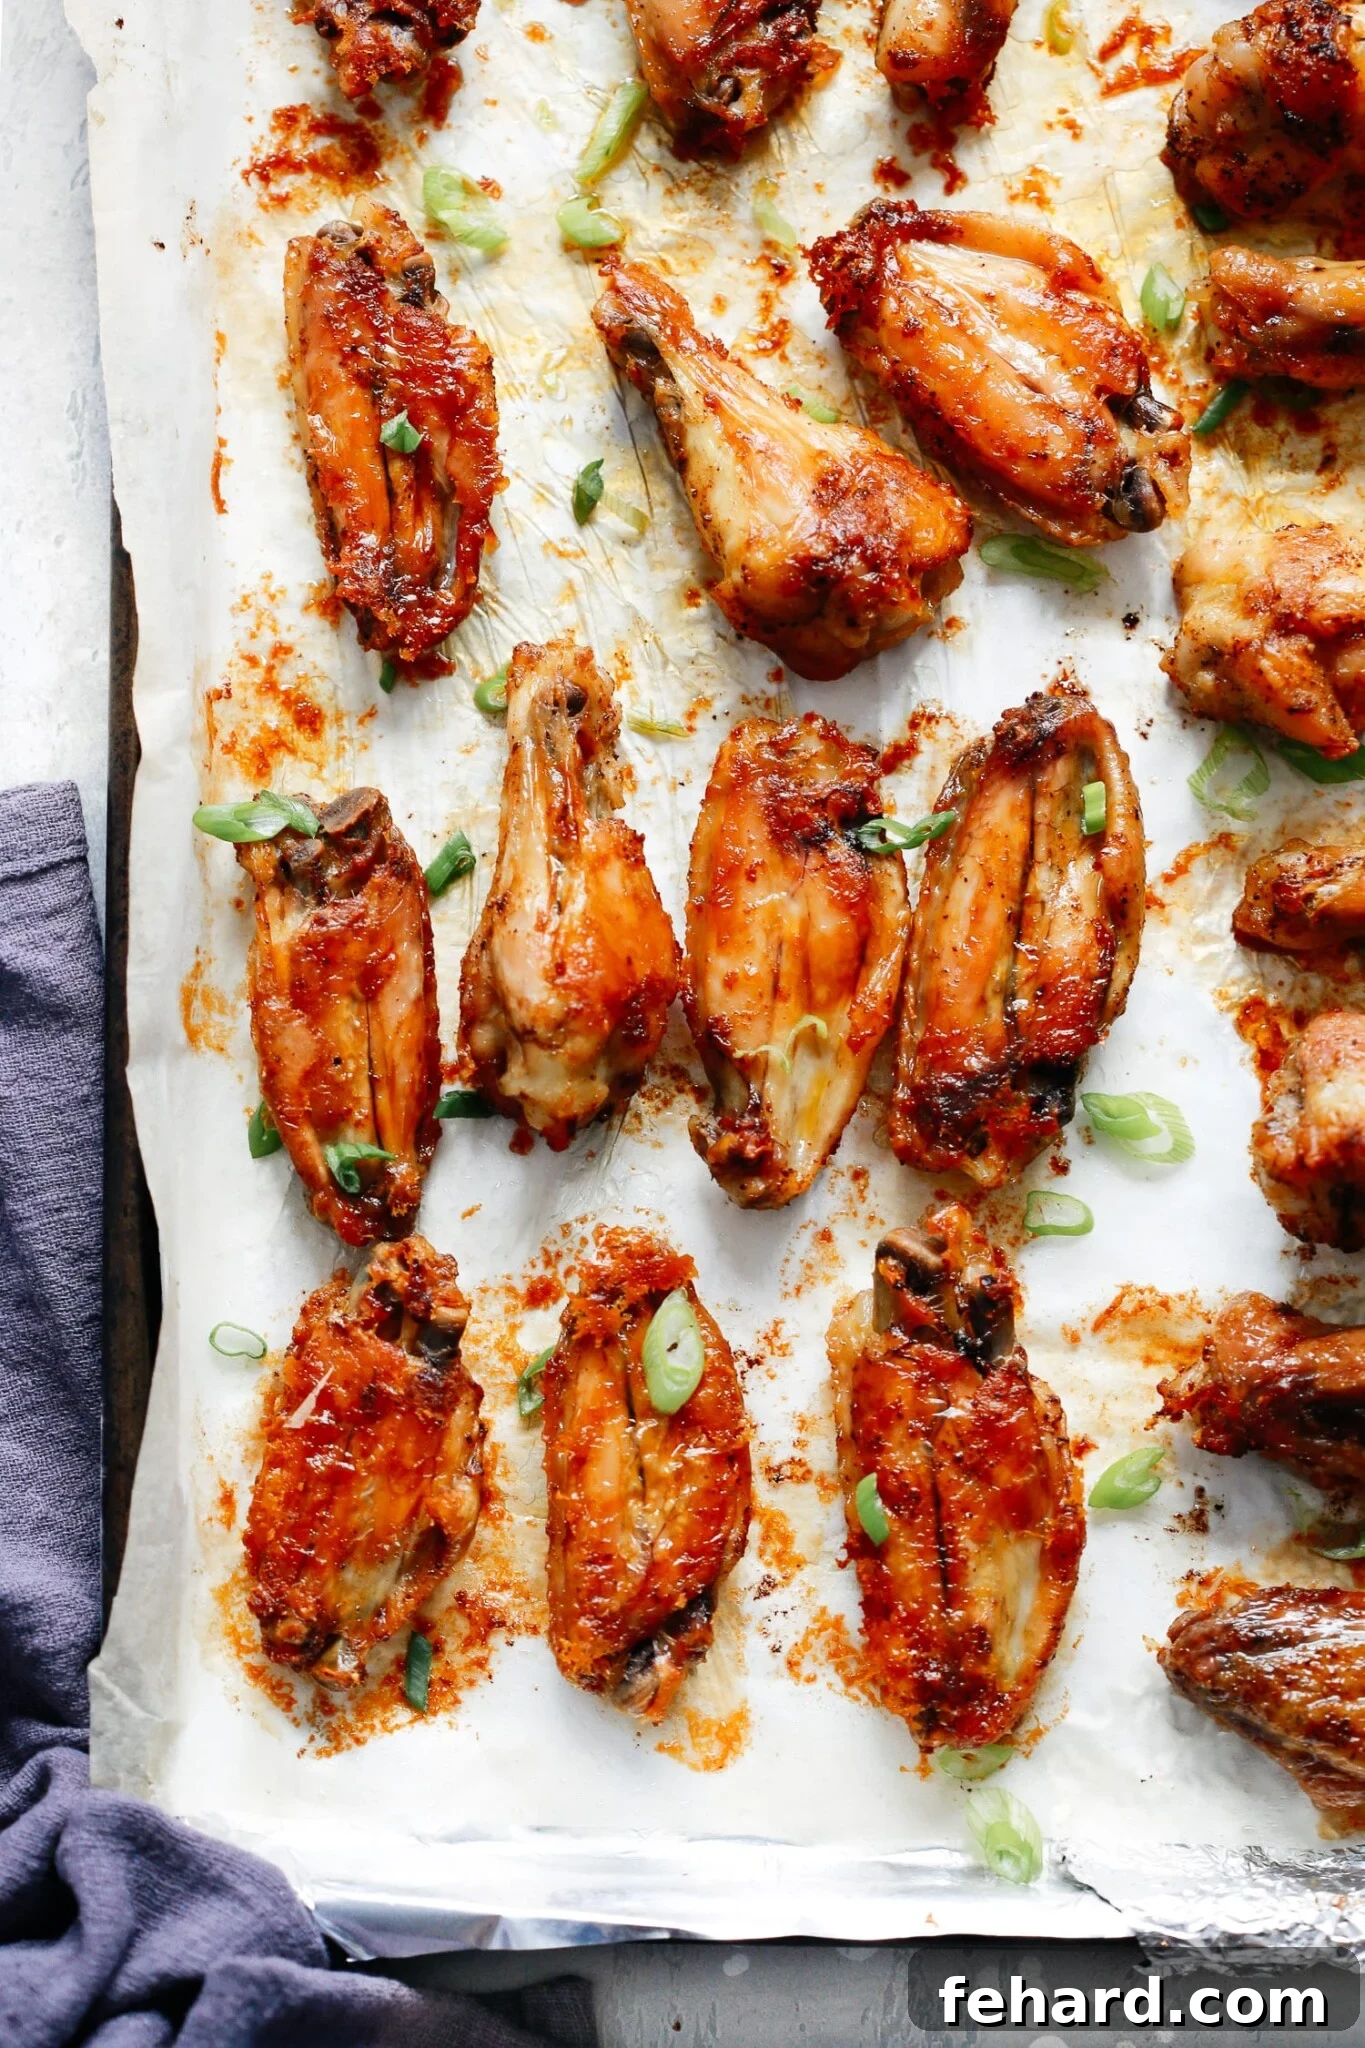
The Ultimate Crispy Baked Chicken Wings Recipe
Forget the greasy mess and hassle of deep-frying! These oven-baked chicken wings are your new secret weapon for achieving perfectly crispy, juicy, and incredibly flavorful wings every single time. With just a few simple ingredients and minimal effort, you can whip up a batch of golden-brown wings that are guaranteed to be a crowd-pleaser. Whether you’re hosting a game day party, planning a fun family dinner, or simply craving a finger-licking good snack, this recipe delivers all the satisfaction of classic wings with a healthy, easy-to-clean-up twist.
Looking for more amazing chicken wing inspiration? Don’t miss these other fan favorites:
- Salt and Pepper Chicken Wings
- Crispy Baked Chicken Wings Recipe (our original inspiration!)
- Air Fryer Chicken Wings Recipe for a different method
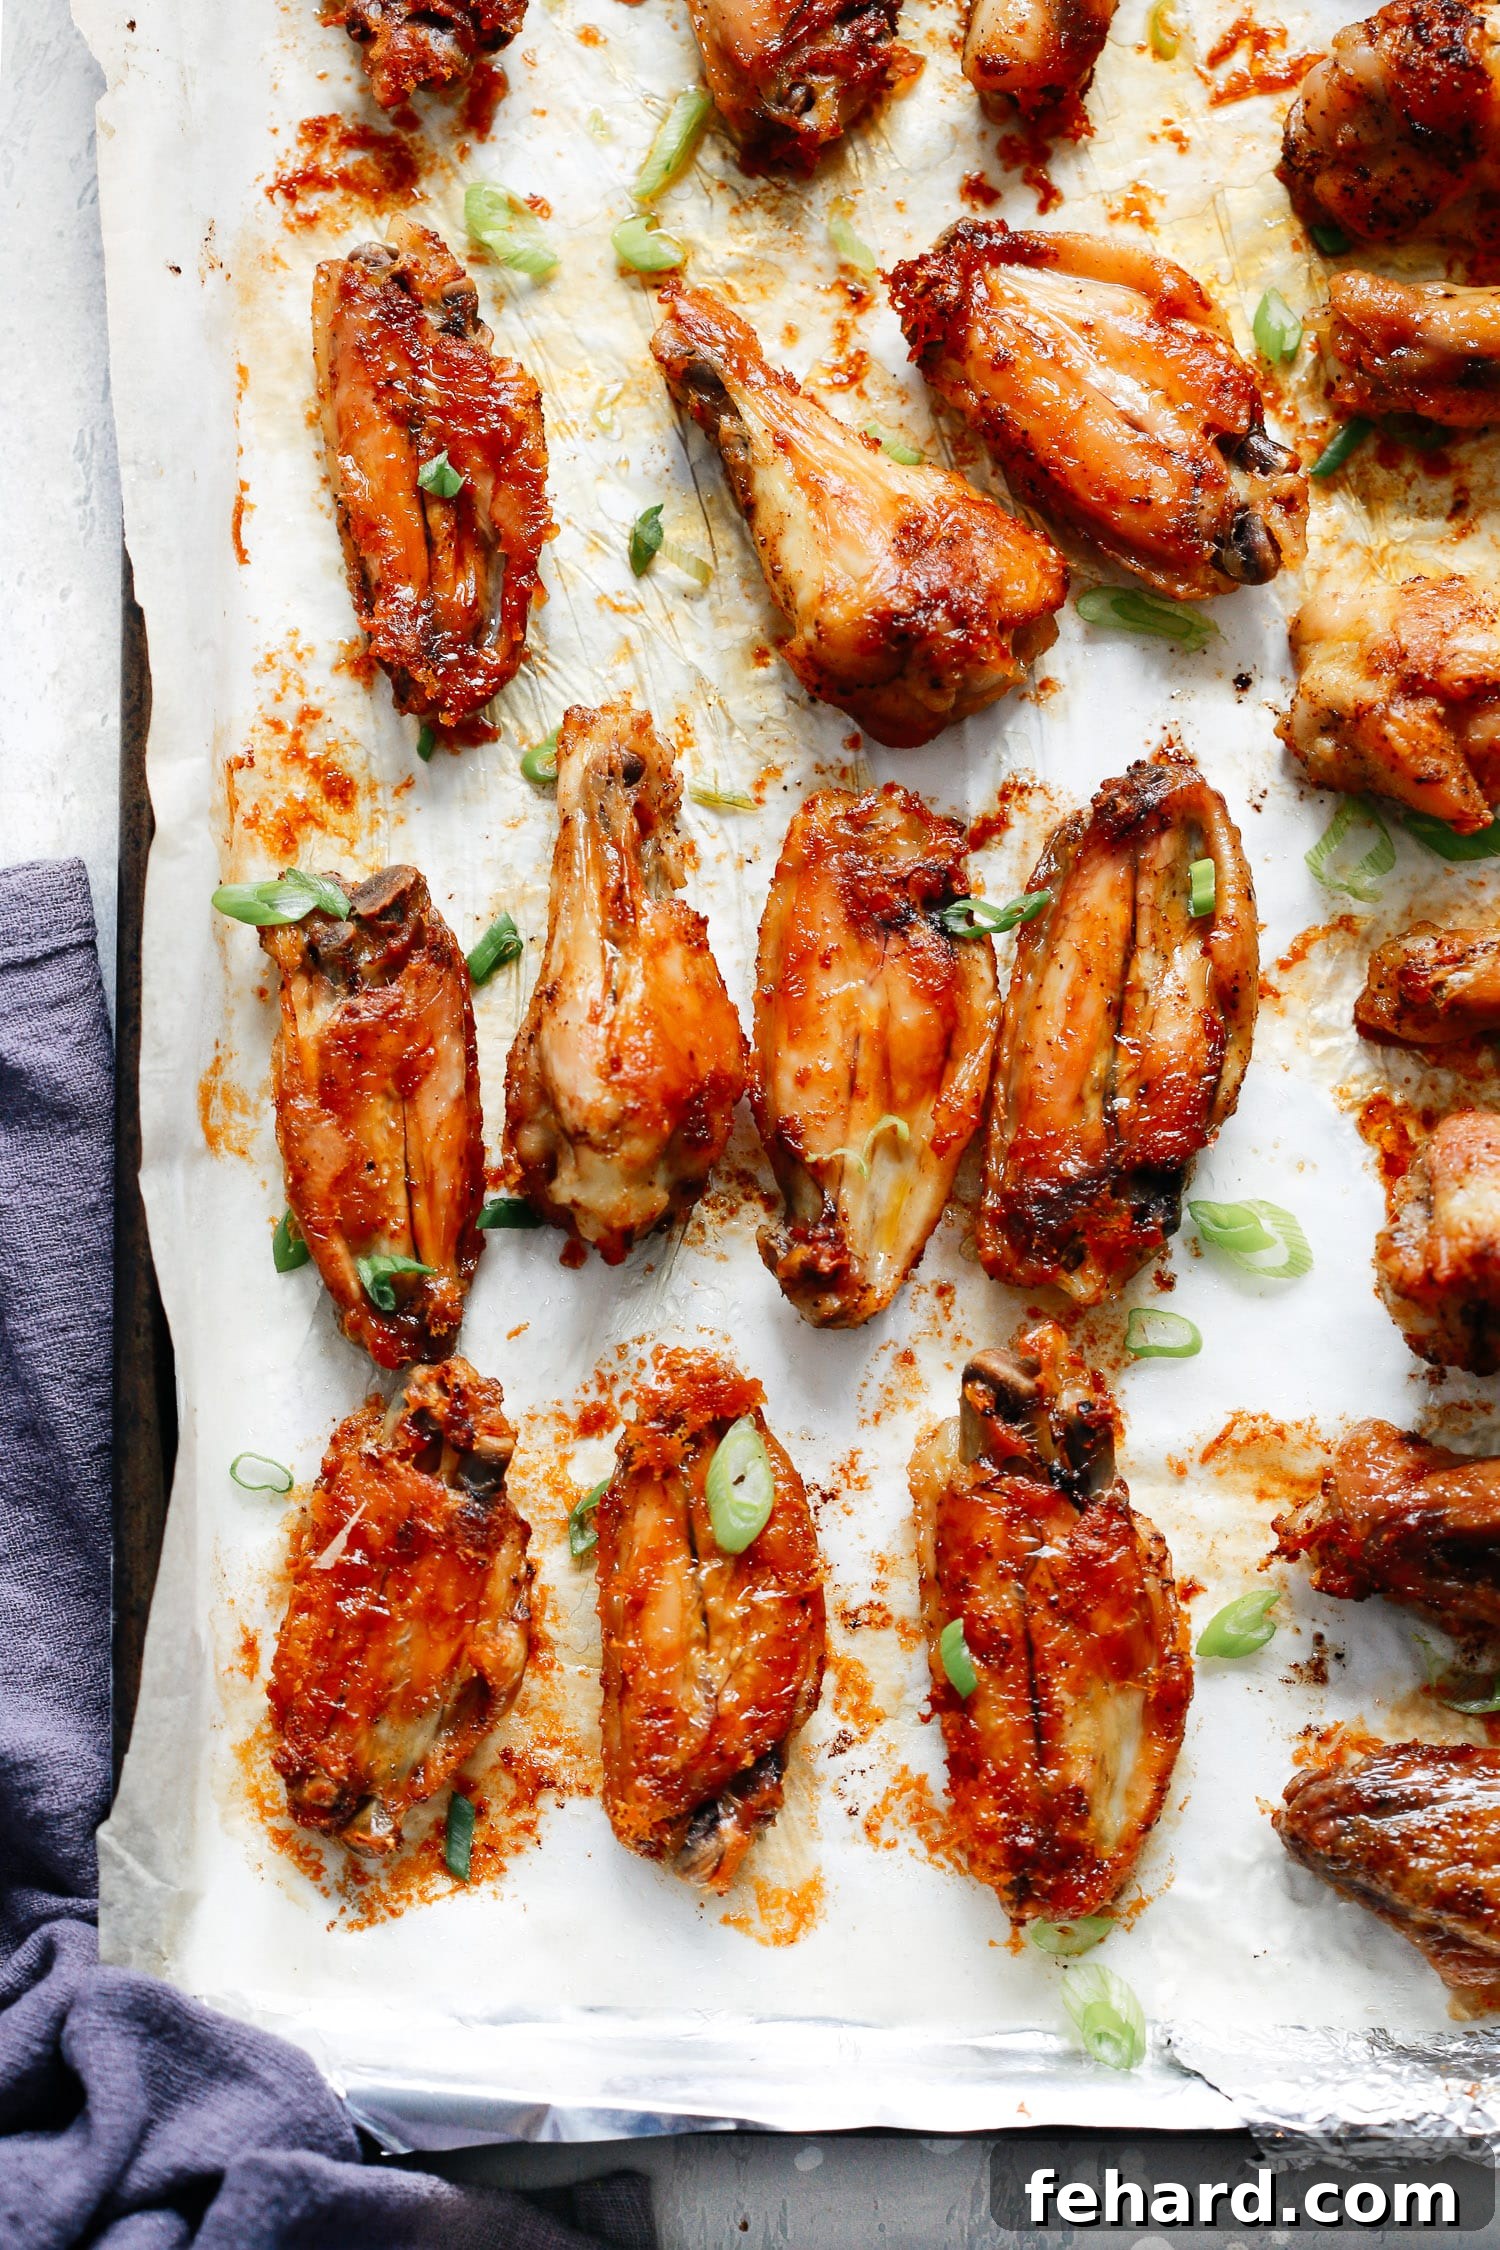
Why You’ll Fall in Love with This Baked Chicken Wings Recipe
This recipe isn’t just about cooking chicken wings; it’s about making your life easier and your taste buds happier. I’m thrilled to share this particular recipe because it’s consistently one of my go-to choices when I want something packed with flavor but incredibly simple to prepare. My family absolutely adores these wings, and they’re always the first to disappear from the table. Here are even more reasons why these baked chicken wings will become a staple in your kitchen:
-
Achieve Unbeatable Crispiness Without Frying
Prepare to be amazed! Despite being oven-baked, these chicken wings achieve an incredible, irresistible crispiness that rivals their fried counterparts. The secret lies in a few simple techniques we’ll cover, ensuring every bite is satisfyingly crunchy on the outside and wonderfully tender on the inside.
-
Minimal Ingredients, Maximum Flavor
You don’t need a pantry full of exotic spices to create culinary magic. This recipe calls for just four core ingredients: fresh chicken wings, a drizzle of olive oil, and a classic seasoning blend of salt, black pepper, and paprika. This simple combination allows the natural deliciousness of the chicken to shine through, creating a universally loved flavor profile.
-
A Family Favorite, Every Time
From the pickiest eaters to the most adventurous palates, these baked chicken wings are a guaranteed hit. Their savory flavor and perfect texture make them appealing to everyone, ensuring your family dinner or gathering is a culinary success without any fuss or complaints. Get ready for requests for “more wings!”
-
Effortless Cleanup is a Breeze
One of the biggest advantages of baking over frying is the significantly easier cleanup. By lining your baking sheet with aluminum foil and parchment paper, you create a barrier that catches any drips or rendered fat. Often, the baking sheet itself remains virtually pristine, making post-meal tidying up incredibly quick and simple.
-
Customizable Spice Levels for Every Preference
While this recipe offers a mild, family-friendly flavor, it’s incredibly versatile. If you’re a fan of a little heat, it’s easy to kick things up a notch. Simply add a dash of cayenne pepper, a pinch of chili powder, or your favorite hot sauce to the seasoning mix before baking. This flexibility ensures everyone can enjoy their wings just the way they like them.
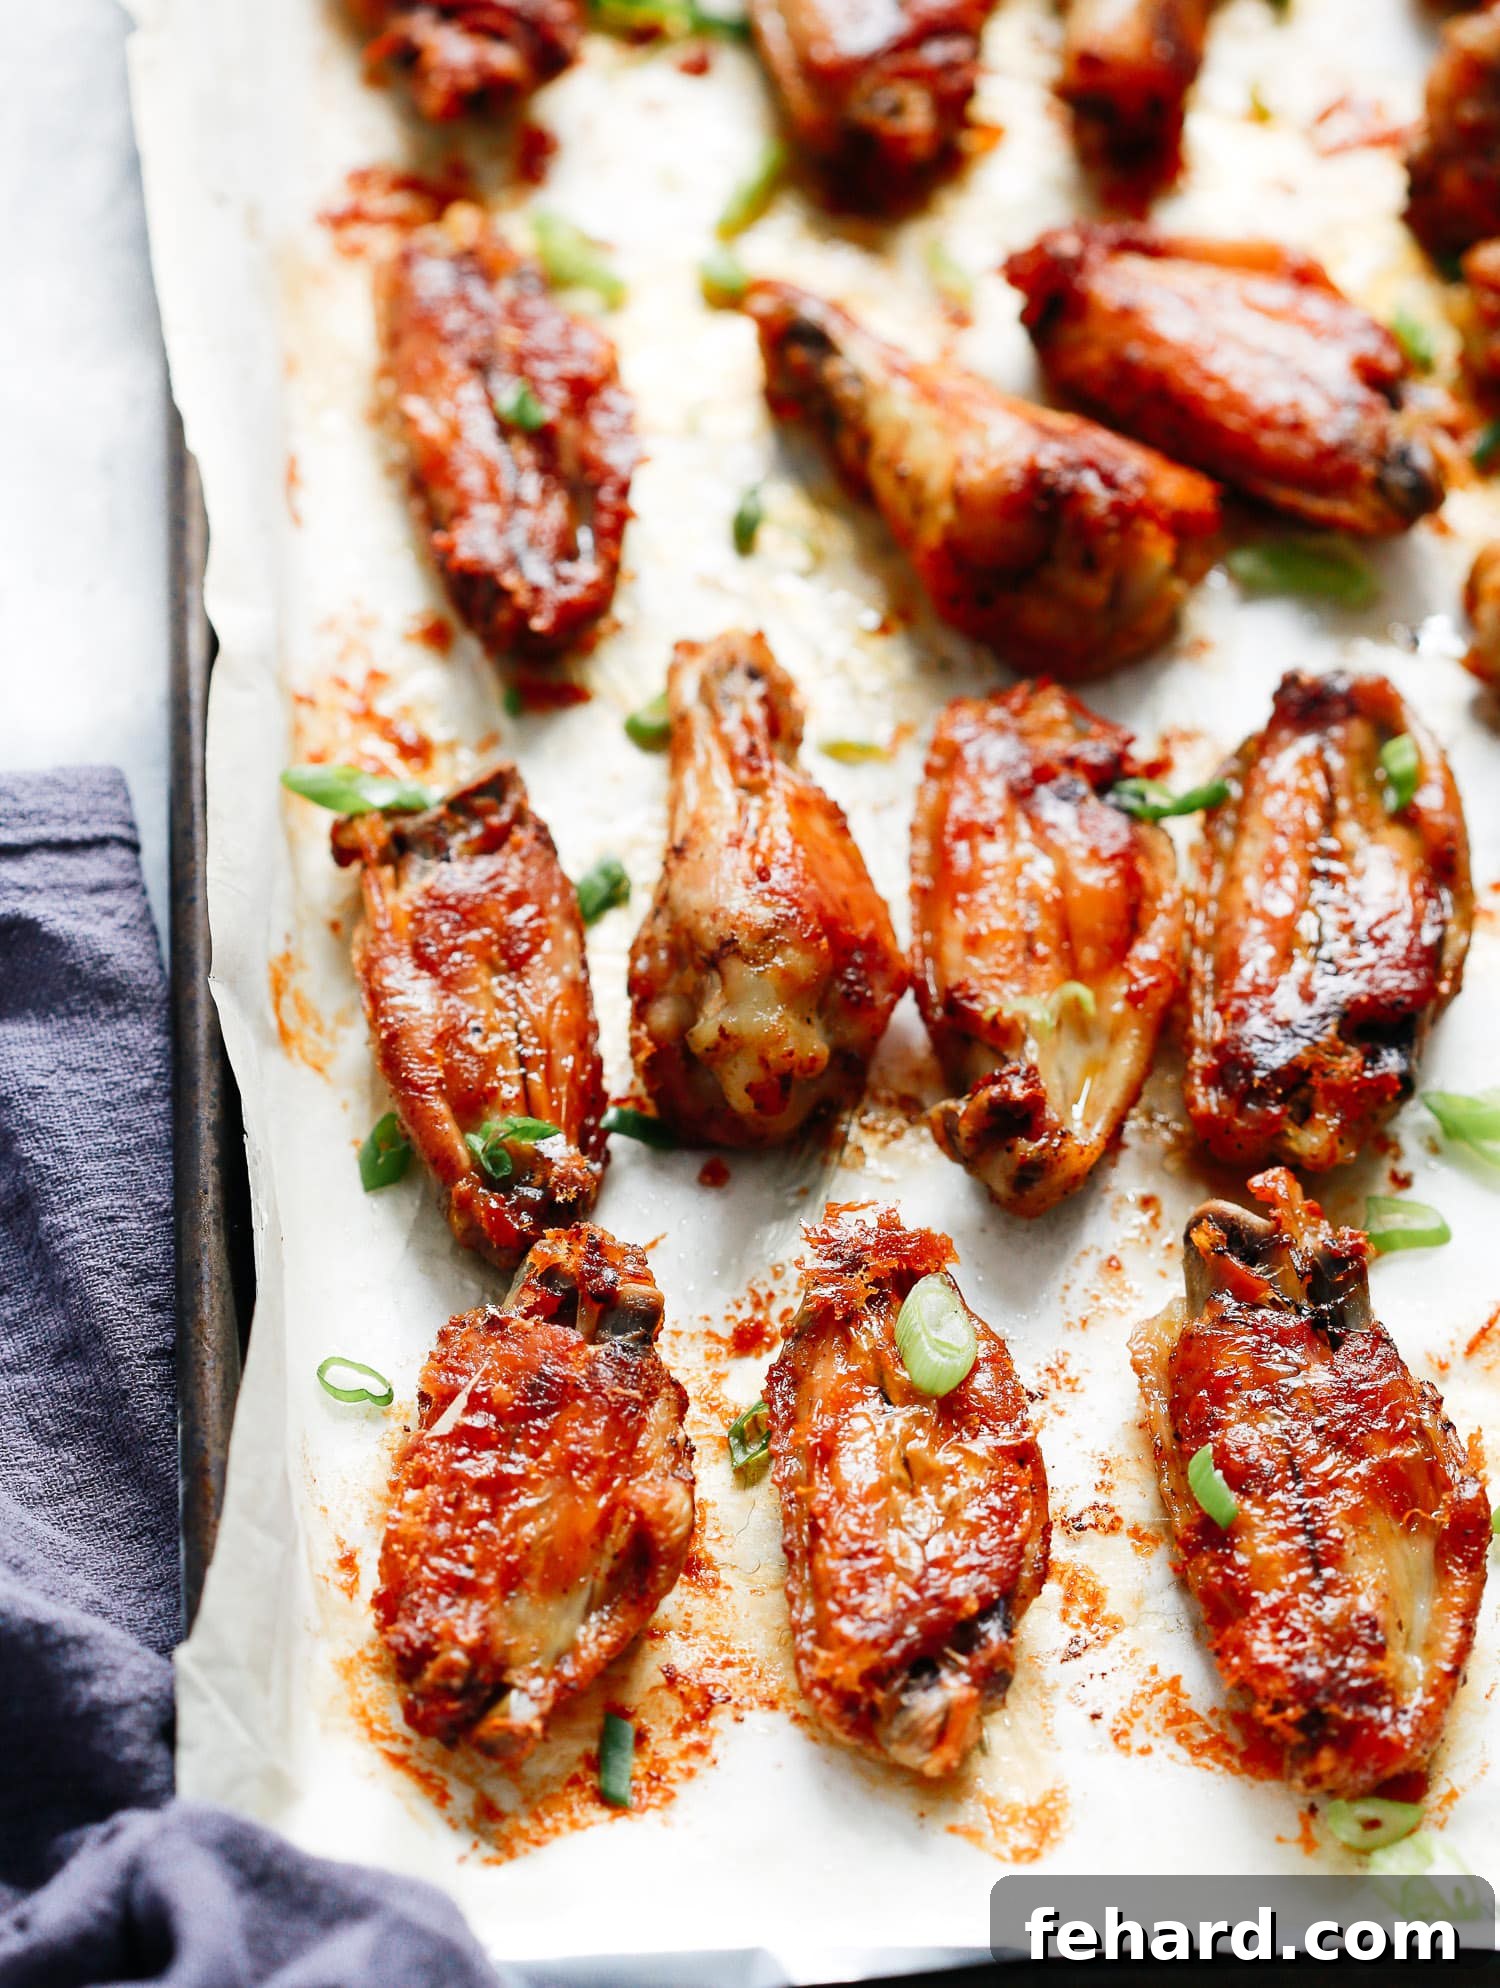
How to Make Perfectly Crispy Baked Chicken Wings
Creating unbelievably crispy and flavorful baked chicken wings is surprisingly straightforward. Follow these steps for success:
-
Preparation is Key: Oven and Baking Sheet Setup
Start by preheating your oven to a robust 425°F (220°C). This high temperature is crucial for achieving that desirable crisp skin. Next, prepare your baking sheet. I highly recommend lining it first with aluminum foil, then topping that with parchment paper. The foil provides an extra layer of protection for easy cleanup, while the parchment paper prevents sticking and helps promote even crisping without chemicals leaching into your food.
-
Seasoning for Success: Flavor Infusion
In a large mixing bowl, combine your thawed, patted-dry chicken wings with a generous drizzle of olive oil. The olive oil helps the seasonings adhere to the skin and contributes to a beautiful golden crust. Add your chosen spices—salt, freshly ground black pepper, and paprika are a fantastic starting point. Toss everything thoroughly until each wing is evenly coated. Don’t be shy; ensure every nook and cranny is covered!
-
The Baking Process for Optimal Crispiness
Arrange the seasoned wings in a single layer on your prepared baking sheet. Ensure there’s enough space between each wing for air to circulate; overcrowding can lead to steaming, which prevents crispiness. Bake for an initial 30 minutes. Then, carefully remove the baking sheet from the oven, flip each wing to ensure both sides brown evenly, and return to the oven for another 15 to 20 minutes, or until they reach a deep golden brown and are incredibly crispy. Remember, oven temperatures can vary, so keep an eye on them during the final baking stage.
-
Finishing Touches and Garnish
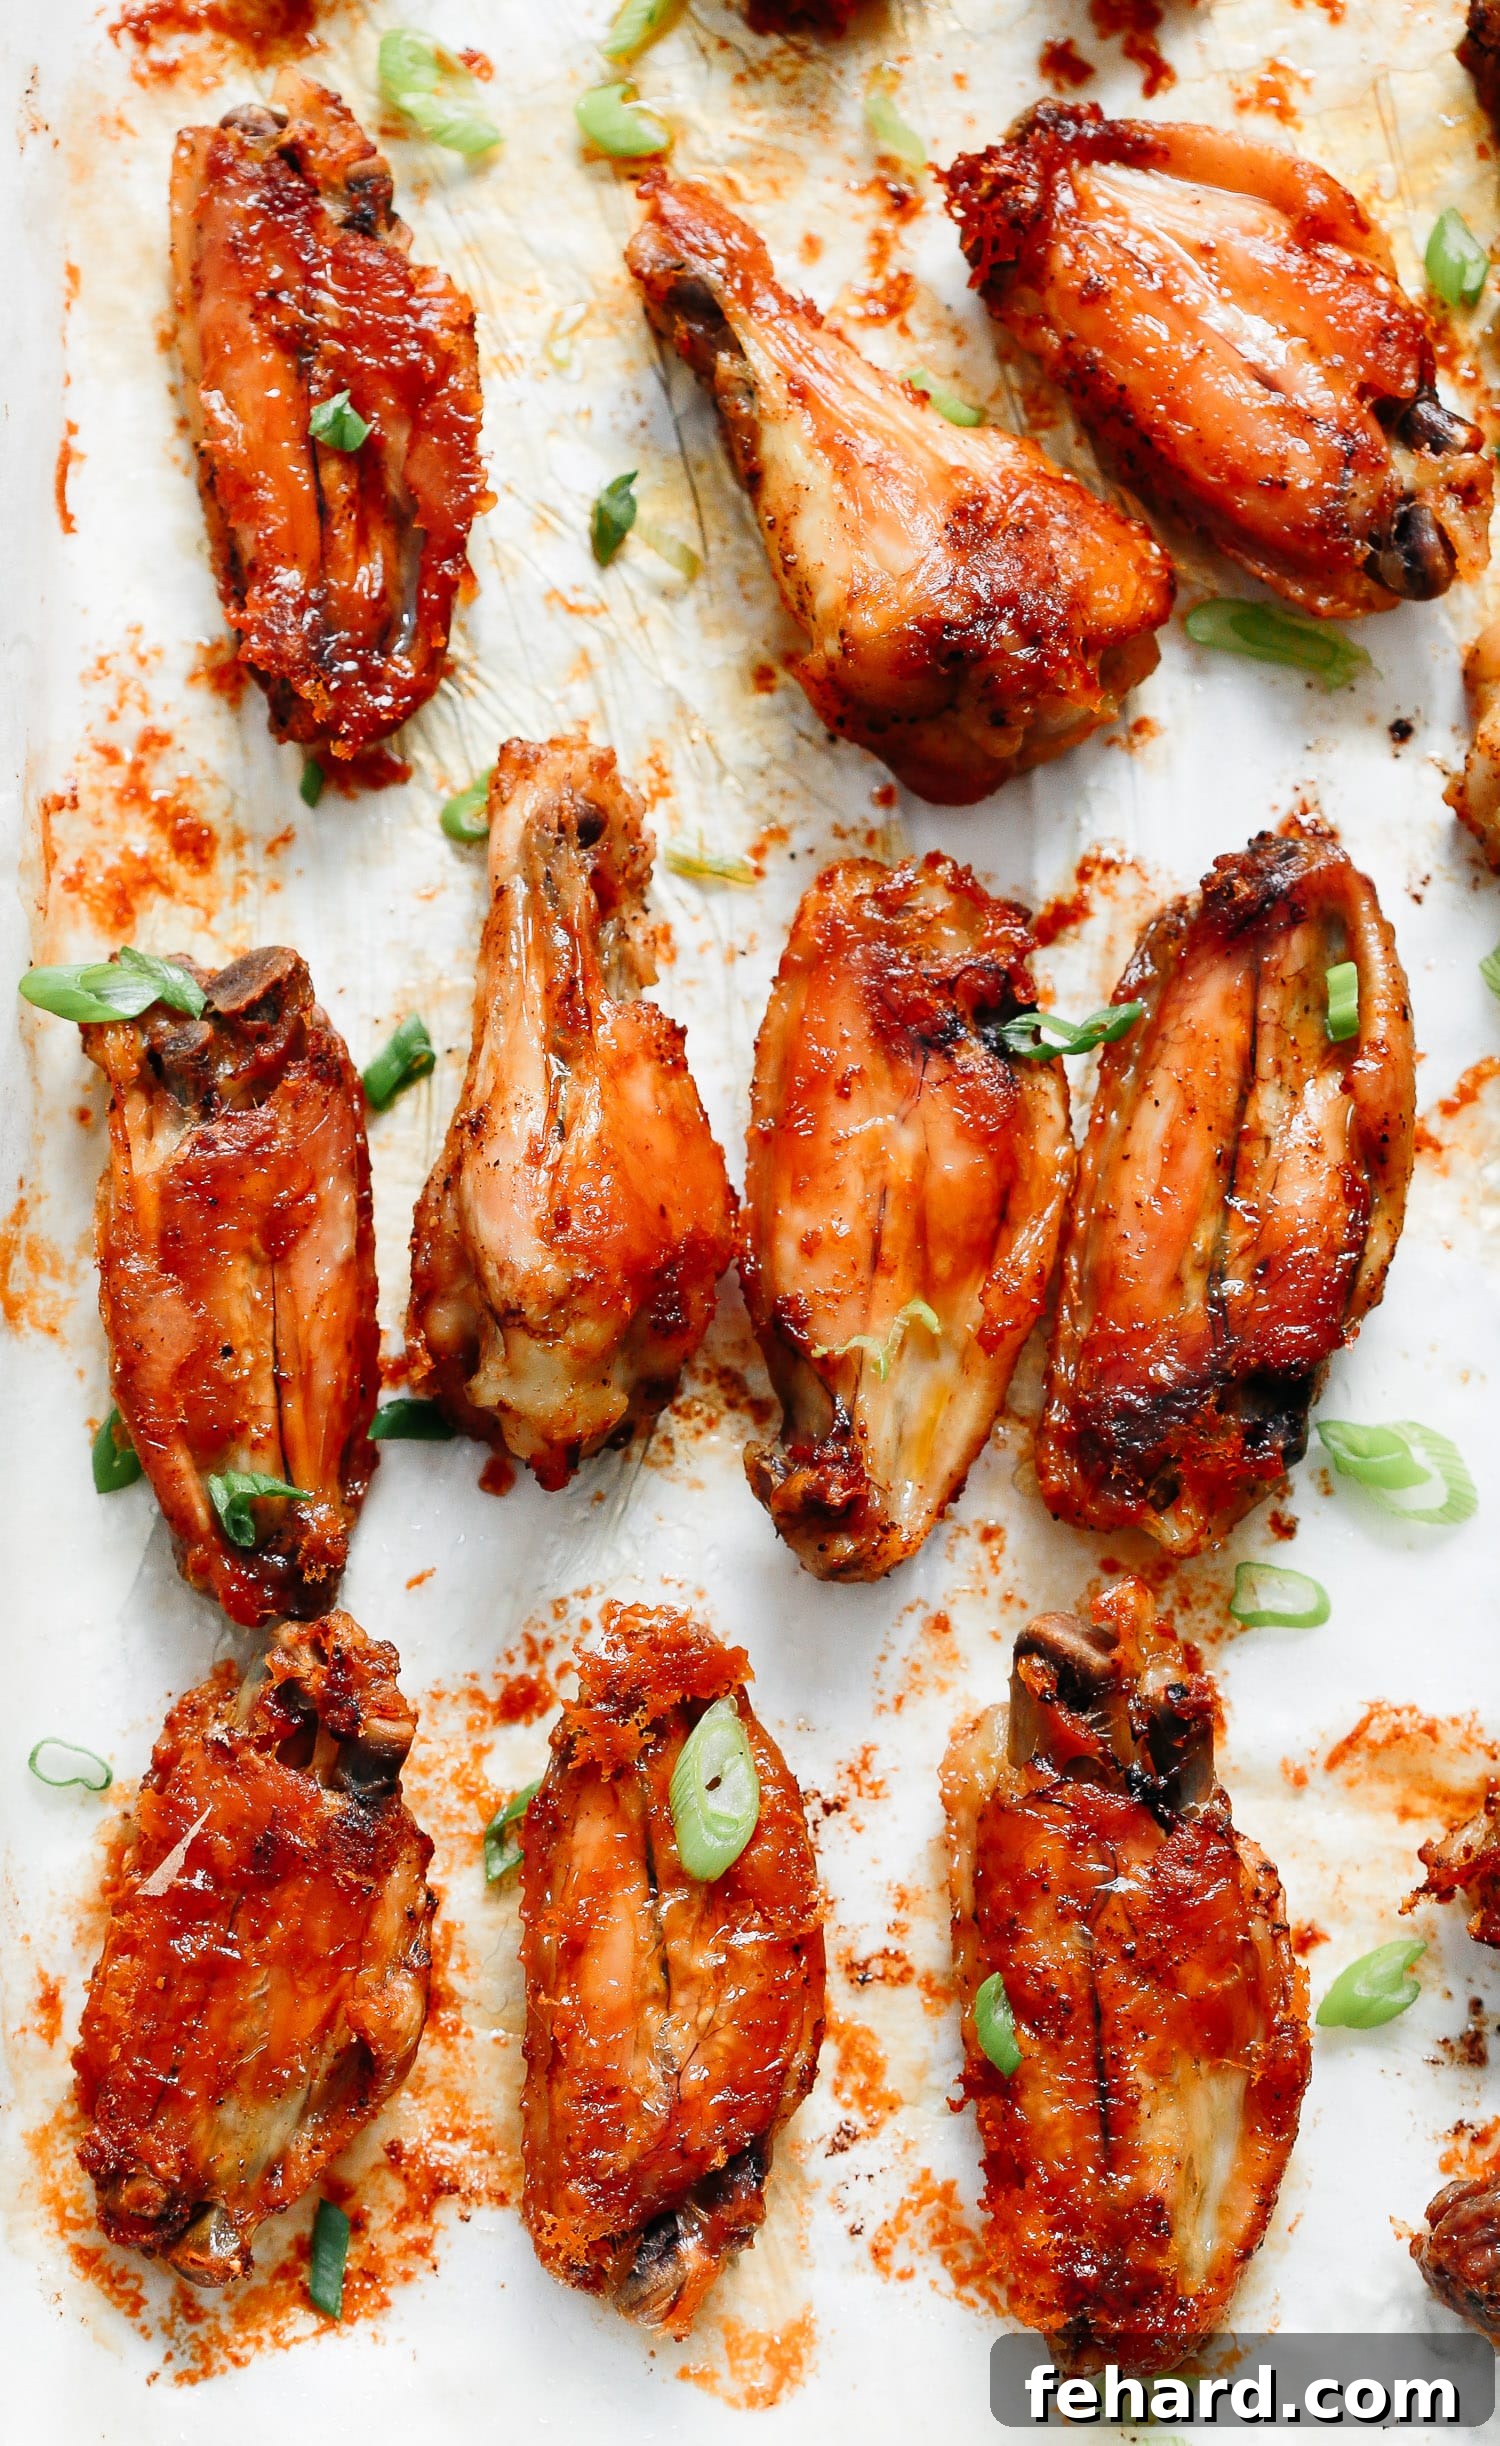
Once baked to perfection, remove the wings from the oven. For an extra pop of freshness and flavor, consider sprinkling with finely chopped green onions just before serving. A final taste test might reveal they need a tiny bit more salt or pepper, so adjust to your preference. Serve them hot and enjoy the satisfying crunch!
Frequently Asked Questions About Baked Chicken Wings
Here are answers to some common questions to help you master your baked chicken wings:
How Long to Bake Chicken Wings?
Generally, chicken wings require about 45 to 50 minutes of baking time at 425°F (220°C). I find that 50 minutes often yields the best results, ensuring the skin is wonderfully crispy and beautifully golden brown. The exact time can vary slightly depending on the size of your wings and the calibration of your oven, so always use visual cues—deep golden color and crispy skin—as your guide.
Can I Use Frozen Chicken Wings for This Recipe?
Absolutely! You can certainly use frozen chicken wings. However, for the best results, it is crucial to thaw them completely before baking. I recommend transferring them to the refrigerator overnight to allow for a slow, thorough thaw. Once thawed, and this is a critical step for crispiness, pat the wings thoroughly dry with paper towels. Removing excess moisture helps the olive oil and seasonings adhere better and prevents the wings from steaming in the oven, ensuring that crispy texture we all crave.
What Temperature is Best for Baking Chicken Wings?
A high temperature is key for crispy baked wings. I recommend baking at 425°F (220°C). This high heat helps to render the fat from the skin quickly, resulting in a beautifully crisp exterior without drying out the meat inside. If your oven tends to run hot or cold, you might adjust slightly, but 425°F is an excellent starting point for optimal crispiness.
Pro Tips for Extra Crispy Skin
Want to guarantee maximum crispiness? Beyond the high temperature and flipping, here are a few extra tips:
- **Ensure Dryness:** As mentioned, patting the wings very dry is paramount. Moisture is the enemy of crispiness.
- **Single Layer:** Always arrange wings in a single layer on the baking sheet with space between them. Overlapping wings will steam instead of crisp.
- **Consider Baking Powder:** While not in this specific recipe, a small amount (about 1 teaspoon per 2 lbs of wings) of aluminum-free baking powder mixed with your seasonings can dramatically increase crispiness by raising the skin’s pH and breaking down proteins.
- **Use a Wire Rack:** For even better air circulation, place the wings on a wire rack set inside your foil-lined baking sheet. This lifts the wings off the pan, allowing heat to circulate all around them.
Delectable Serving Suggestions for Your Baked Chicken Wings
These versatile baked chicken wings pair wonderfully with a variety of sides and dips, whether you’re serving them as a hearty dinner or a delightful appetizer.
Classic Appetizer Pairings
If you’re serving these wings during game day or as a party appetizer, consider these crowd-pleasing accompaniments:
- Creamy Dips: Blue cheese dip, ranch dipping sauce, and garlic mayo sauce are perennial favorites that perfectly complement the savory wings.
- Fresh Veggies: Celery sticks and carrot sticks offer a refreshing crunch and a cool contrast to the warm, spicy (if you make them spicy) wings.
- Ketchup: A simple classic that always hits the spot for many!
- Coleslaw: The creamy tang of coleslaw cuts through the richness of the wings beautifully.
Making it a Full Meal
Transform your baked chicken wings into a satisfying dinner with these delicious side dishes:
- Roasted Vegetables: A medley of roasted broccoli, bell peppers, or asparagus makes for a nutritious and flavorful side.
- Fresh Salads: A crisp green salad with a light vinaigrette provides a refreshing counterpoint.
- Rice or Quinoa: A simple side of steamed rice or fluffy quinoa helps make the meal more substantial.
- Macaroni and Cheese: For ultimate comfort food, serve alongside a creamy mac and cheese.
- Fries or Sweet Potato Fries: The classic wing pairing, whether homemade or oven-baked, is always a winner.
For quick and easy dinner solutions that pair wonderfully, also check out my Sheet Pan Chicken with Vegetables recipe!
Storage, Reheating, and Freezing Instructions
Baked chicken wings are fantastic for meal prep or enjoying leftovers. Here’s how to properly store and reheat them to maintain their deliciousness:
-
To Store Cooked Wings
Allow the cooked chicken wings to cool completely to room temperature. Transfer them to an airtight container and store in the refrigerator for up to 4 days. This ensures they remain fresh and safe to eat.
-
To Reheat for Best Results
For optimal crispiness, reheat leftover wings in the oven. Preheat your oven to 350°F (175°C) and place the wings on a baking sheet. Bake for about 10-15 minutes, or until heated through and the skin is re-crisped. You can also reheat them in a microwave, but they will likely lose some of their crisp texture.
-
To Freeze Cooked Wings
If you have a larger batch or want to prepare ahead, cooked chicken wings freeze exceptionally well. Once they have cooled completely, arrange them in a single layer on a baking sheet and freeze until solid (this prevents them from sticking together). Then, transfer the frozen wings to an airtight freezer-safe bag or container, removing as much air as possible. They can be stored in the freezer for up to 3 months. Thaw in the refrigerator overnight before reheating.
Baked Chicken Wings Recipe
These crispy baked chicken wings are incredibly easy to make, packed with flavor, and perfect for any occasion. Enjoy them as an appetizer or a main course!
Author: Olivia Ribas
Yields: 5 servings
Prep time: 5 minutes
Cook time: 45 minutes
Total time: 50 minutes
Ingredients
- 2 lb chicken wings
- 2 tbsp olive oil
- 1 tsp freshly ground black pepper
- 1 1/2 tsp sea salt
- 1 1/2 tsp paprika (add more or less as desired)
- 1 tbsp green onions, chopped for garnish
Instructions
- Preheat oven to 425°F (220°C). Line a large baking sheet with aluminum foil, and then top with parchment paper. This dual lining helps with easy cleanup and prevents sticking.
- In a large bowl, add the chicken wings, olive oil, black pepper, sea salt, and paprika. Toss everything very well until all the chicken wings are evenly coated with the oil and spices.
- Arrange the seasoned wings in a single layer on the prepared baking sheet, ensuring there is space between each wing for optimal air circulation and crisping.
- Bake for about 30 minutes. Remove the baking sheet from the oven, carefully flip each wing, and return to the oven to bake for an additional 15 to 20 minutes, or until they are golden brown and perfectly crispy. Baking time may vary slightly depending on your oven.
- Before serving, sprinkle with a little extra salt and pepper if desired, and garnish generously with chopped green onions for a fresh finish. Serve immediately and enjoy!
Recipe Notes
- Thawing: Always ensure frozen chicken wings are fully thawed before seasoning and baking for the best texture and even cooking.
- Pat Dry: Patting the wings very dry with paper towels is a crucial step to achieve maximum crispiness. Excess moisture will steam the wings instead of crisping the skin.
- Flip for Even Crispness: Don’t forget to flip the wings halfway through the baking process. This ensures both sides crisp up beautifully and cook evenly.
- Storage: Store leftover cooked chicken wings in an airtight container in the refrigerator for up to 4 days.
- Reheating: For best results, reheat wings in a preheated oven at 350°F (175°C) for 10-15 minutes until warmed through and crispy again.
- Freezing: Cooked chicken wings can be frozen for up to 3 months. Let them cool completely, then store in an airtight, freezer-safe bag or container. Thaw in the refrigerator before reheating.
Nutrition Information
(Approximation per serving, based on 5 servings)
- Serving: 1/5 of recipe
- Calories: 440kcal
- Protein: 34g
- Fat: 33g
- Cholesterol: 139mg
- Sodium: 132mg
- Potassium: 293mg
Nutrition information is automatically calculated and should only be used as an approximation. Individual results may vary.