
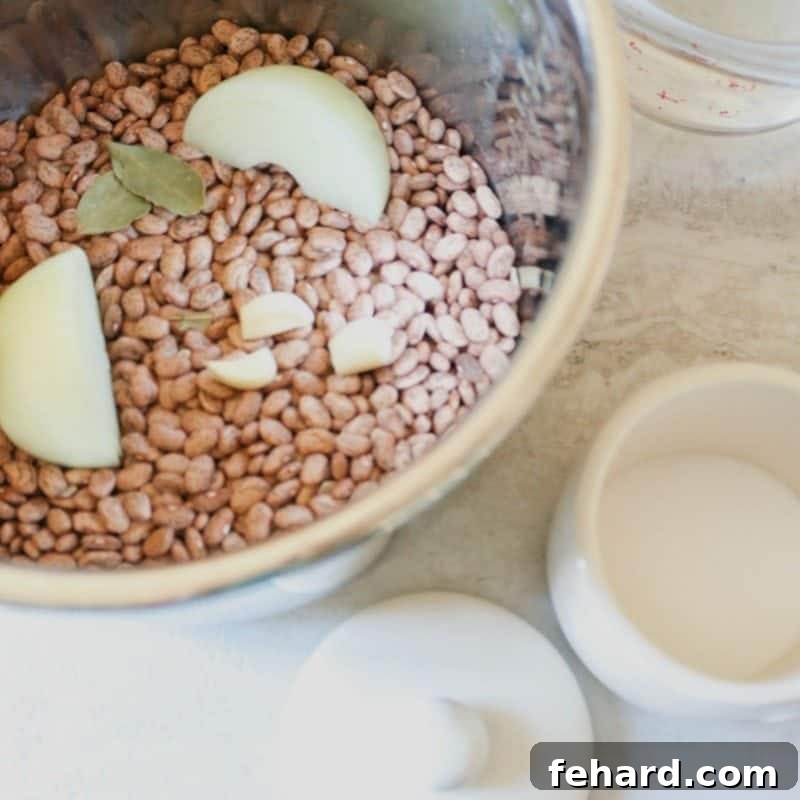
Instant Pot Beans: How to Cook Dried Beans in a Pressure Cooker with No Pre-Soaking Required. This is truly the EASIEST, FASTEST, and most reliable way to achieve perfectly cooked dried beans every time.
Do you own an Instant Pot yet? If not, you’re missing out on a kitchen game-changer! When I first heard the buzz around these magical pressure cooking pots, I was skeptical. However, as someone dedicated to exploring efficient and healthy cooking solutions, I felt it was my duty to put it to the test. And I can confidently say, the hype is real.
One of the most compelling reasons to fall head over heels for your pressure cooker is its unparalleled ability to transform dried beans into culinary masterpieces. The convenience, speed, and superior texture make Instant Pot Dried Beans an absolute game-changer for any home cook.
For those new to the Instant Pot world, or simply looking for more ways to utilize this versatile appliance, you’ll find a treasure trove of Easy Healthy Instant Pot Recipes that fit into a busy lifestyle. But for today, our focus is entirely on harnessing its power for perfectly cooked beans.
The Instant Pot is a revelation for individuals who juggle demanding schedules but still prioritize home-cooked meals. My personal love affair with the Instant Pot began the very first time I used it. I managed to cook a 5-ingredient pot roast from a frozen chuck roast in less than an hour! That’s right, frozen to fork-tender in under 60 minutes – simply incredible!
Since then, my latest obsession has been making dried beans in the Instant Pot. Beans are a staple in so many of my favorite dishes: hearty Black Bean Tacos, comforting Minestrone Soup, and creamy Tuscan White Bean Pasta. The ability to prepare dried beans quickly, without the tedious overnight pre-soaking process, feels like a culinary dream come true.
With just about 5 minutes of hands-on prep time, and less than an hour of cooking, I have a batch of perfectly cooked dried beans ready for immediate use. Not only is it incredibly fast, but pressure cooking consistently yields the most tender, creamy beans I have ever tasted. Their texture far surpasses that of most canned beans, offering a homemade quality that elevates any dish.
Instant Pot Beans: The No-Soak Method Explained
Let’s dive into the revolutionary method of cooking dried beans without any prior soaking. Yes, you read that correctly – you can cook dried beans directly from the bag in your Instant Pot, and the results are consistently amazing!
Traditionally, dried beans required a lengthy overnight soak to rehydrate them and reduce cooking time. While soaking still has its place for certain recipes or preferences, the Instant Pot effectively bypasses this step. The high-pressure environment forces liquid into the beans much faster than conventional cooking methods, rapidly softening them to perfection. This means less planning, less waiting, and more delicious, healthy meals on your table.
How To Make Instant Pot Beans: A Simple Guide
Achieving perfectly cooked beans in your Instant Pot is surprisingly straightforward. Follow these simple steps for tender, flavorful results every time:
- Rinse and Sort: Begin by thoroughly rinsing your dried beans under cold running water. While rinsing, spread them out and quickly inspect for any small stones or debris that might have snuck into the bag. This is a crucial step for food safety and enjoyment.
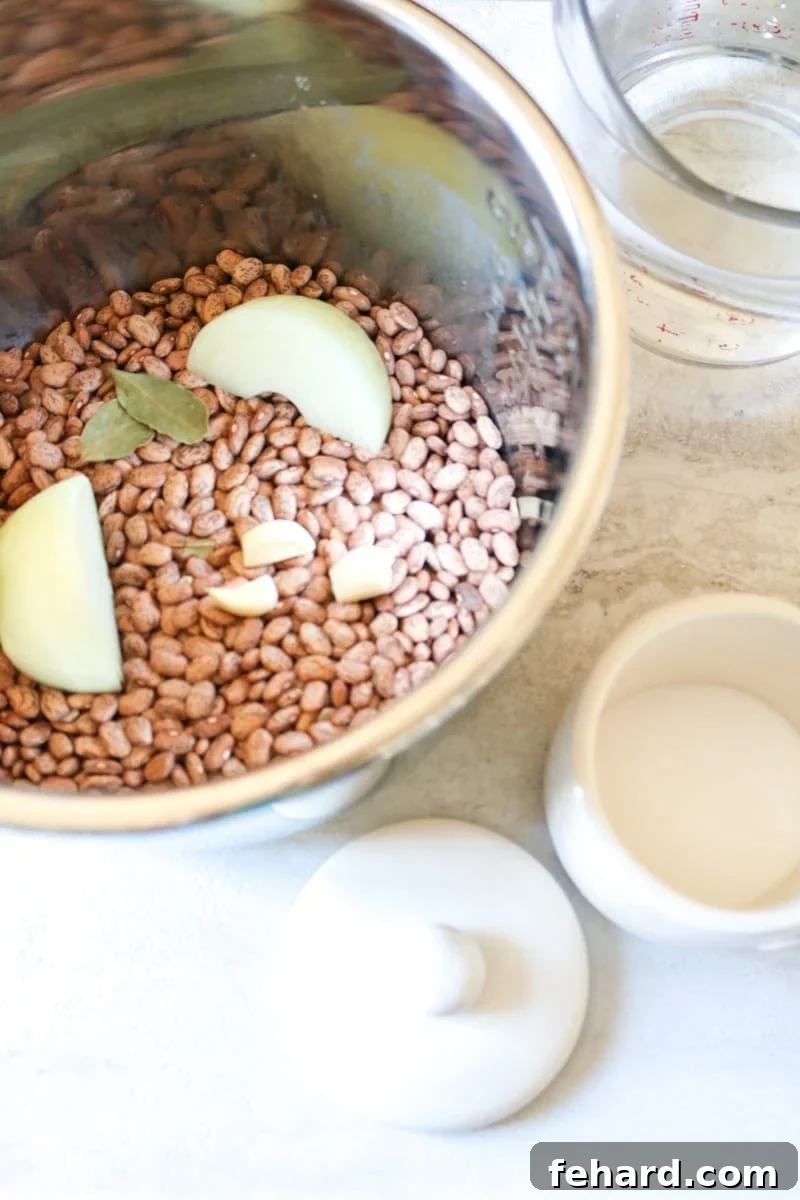
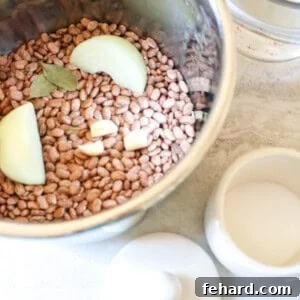
- Combine in Instant Pot: Place 1 pound of dried beans (which is approximately 2 cups) into the inner pot of your Instant Pot. Add 8 cups of fresh water. For optional flavor, you can also include half an onion and a bay leaf at this stage.
- Pressure Cook: Secure the lid on your Instant Pot and make sure the sealing valve is set to “Seal.” Cook on High Pressure for the specific time recommended for your bean type (see the cook time chart below).
- Natural Pressure Release: Once the cooking cycle is complete, allow the pressure to release naturally for at least 20 minutes. This “natural release” (NPR) is vital for beans, helping them retain their shape and preventing them from bursting. After 20 minutes, if any pressure remains, you can carefully perform a quick release (QR) by turning the steam release valve to the “Venting” position. Always use oven mitts or a towel to protect your hands from the hot steam.
- Seasoning: After the pressure has fully released, open the lid. Now is the perfect time to stir in a splash of apple cider vinegar and salt to taste. Adding salt *after* cooking is important, as adding it beforehand can sometimes prevent beans from softening properly. The vinegar not only brightens the flavor but also aids in digestion, potentially reducing gassiness.
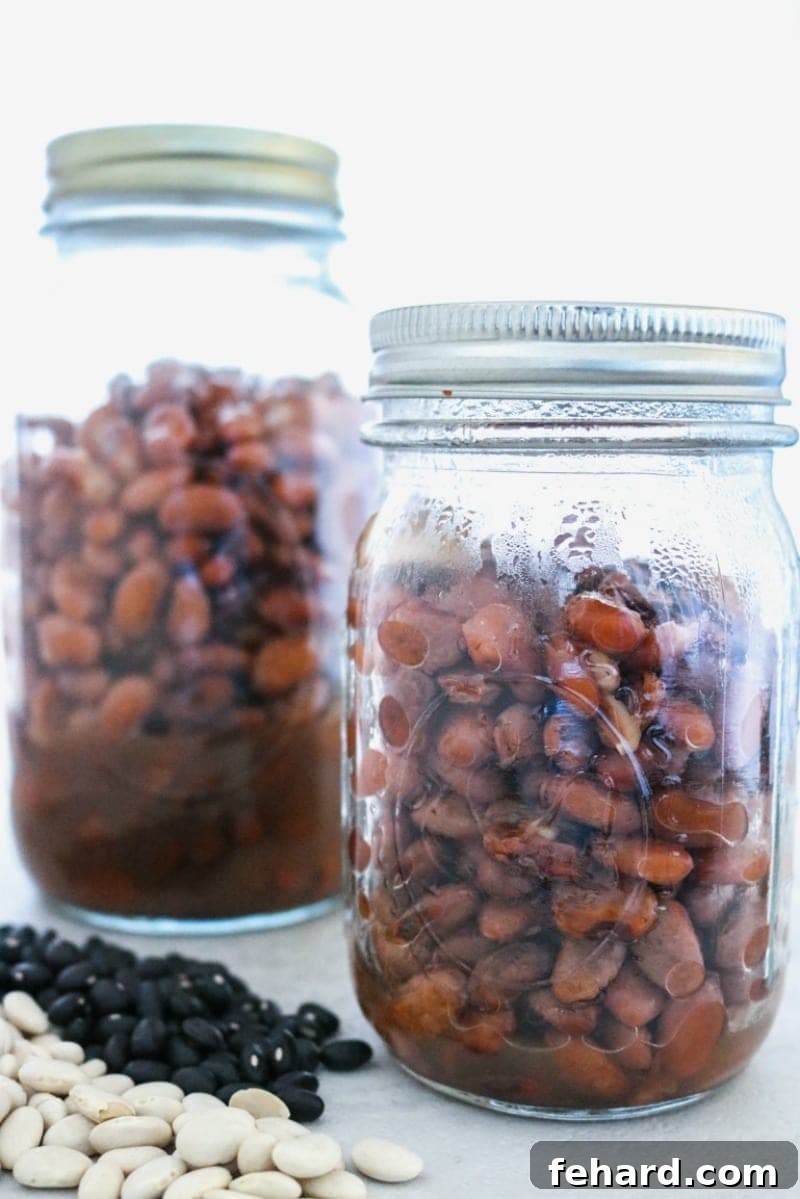
- Storage Tip: For optimal moisture and tenderness, I recommend storing your cooked beans in a bit of their cooking liquid. This mimics how canned beans are packaged and helps them stay fresh and delicious in the fridge. Simply drain before using in your recipes.
Instant Pot Bean Cook Time Chart (No Pre-Soaking)
The cooking time can vary slightly depending on the age and type of bean, but this chart provides reliable times for most common varieties without pre-soaking:
- Black Beans: 30 Minutes on High Pressure
- Chickpeas (Garbanzo Beans): 40 Minutes on High Pressure
- Kidney Beans: 35 Minutes on High Pressure
- Pinto Beans: 25 Minutes on High Pressure
- Navy Beans: 25 Minutes on High Pressure
- Great Northern Beans: 35 Minutes on High Pressure
- Butter Beans (Large Lima Beans): 40 Minutes on High Pressure
- Cannellini Beans: 35 Minutes on High Pressure
- Baby Lima Beans: 18 Minutes on High Pressure
How to Flavor Your Instant Pot Beans
While plain water will cook your beans, adding a few simple aromatics can significantly enhance their flavor profile, making them even more delicious and ready for any recipe. This step is entirely optional but highly encouraged for a superior culinary experience.
- Aromatics During Cooking: Along with your beans and water, consider adding half an onion (roughly chopped) and one or two bay leaves to the Instant Pot. These will infuse a subtle depth of flavor into the beans as they cook. You can also add a couple of peeled garlic cloves for an extra aromatic boost.
- When to Add Salt: It’s crucial to add salt (like kosher salt) *after* the beans have finished cooking. Adding salt before or during the pressure cooking process can sometimes inhibit the beans from softening properly, resulting in a tougher texture. Once cooked, stir in 1-2 teaspoons of kosher salt, or to your preference.
- Additional Flavor Boosts (Post-Cooking):
- Apple Cider Vinegar: As mentioned, a splash of apple cider vinegar (about ½ teaspoon per pound of beans) not only brightens the flavor but can also aid in digestion.
- Herbs and Spices: Once cooked, you can further season your beans with fresh or dried herbs like oregano, thyme, or cilantro. Spices like cumin, chili powder, or smoked paprika are excellent for a Tex-Mex or Middle Eastern flair.
- Broth Instead of Water: For an even richer flavor, you can substitute a portion of the water with vegetable or chicken broth. Adjust salt content accordingly.
Understanding Bean Yield: How Much Dried Beans to Cook?
It’s helpful to understand the transformation dried beans undergo during cooking to accurately plan your meals and avoid waste. Here’s a quick guide:
- Dried to Cooked Ratio: One pound of dried beans is generally equivalent to about 2 cups of measured dried beans. When cooked, these 2 cups of dried beans will triple in quantity, yielding approximately 6 cups of tender, cooked beans.
- Canned Bean Equivalency: Most recipes that call for canned beans refer to a standard 15-ounce can, which typically contains about 1 ½ to 2 cups of cooked beans. Therefore, this Instant Pot recipe for 1 pound of dried beans will produce roughly the equivalent of 3 standard 15-ounce cans of cooked beans. This makes it incredibly cost-effective and convenient for meal prepping!
Storing Leftover Cooked Beans
Cooking a larger batch of beans in your Instant Pot is a smart way to meal prep, ensuring you always have a healthy, versatile ingredient on hand. Proper storage is key to maintaining their freshness and quality.
- Refrigerator Storage: Store leftover cooked beans in an airtight container in the refrigerator for up to 5 days. To keep them moist and tender, it’s best to store them along with a bit of their cooking liquid, similar to how they’re found in cans. Simply drain any excess liquid before using them in your recipes.
- Freezer Storage: Cooked beans freeze beautifully, extending their shelf life significantly. Portion the cooked beans into 1-cup or 2-cup servings in freezer-safe bags or containers. You can also add a small amount of cooking liquid to each portion to help preserve texture. Label with the date and freeze for up to 3 months. When ready to use, simply thaw overnight in the refrigerator or gently reheat from frozen.
Expert Tips for Instant Pot Dried Beans Success
To ensure your Instant Pot beans turn out perfect every time, keep these valuable tips in mind:
- For Extra Soft Beans: If you prefer your beans exceptionally soft, almost melting in your mouth without any bite, simply add an additional 10 minutes to the high-pressure cooking time.
- If You Pre-Soak (Optional): While this guide emphasizes no pre-soaking, if you do choose to soak your beans overnight, reduce the cooking time by 10 minutes and decrease the water to 5 cups per pound of beans.
- Mind the Fill Line: Never fill the inner pot of your pressure cooker more than ½ full when cooking beans. Beans expand significantly during cooking, and overfilling can lead to issues with pressure buildup and safety.
- Natural Release is Best for Shape: For beans that maintain their shape beautifully, allowing a full natural pressure release (NPR) is ideal. However, if you’re in a hurry, you may perform a quick release (QR) after at least 10-15 minutes of natural release. Always use oven mitts or a kitchen towel and exercise caution, as the steam is very hot and can cause burns.
- Addressing Digestibility/Gassiness: If you find beans tend to cause digestive discomfort or gassiness, there are a few strategies:
- Pre-soak beans overnight, then drain and rinse thoroughly before cooking.
- Add ½ teaspoon of apple cider vinegar after cooking (as suggested in the main recipe).
- Rinse cooked beans under cold water before use, especially if not storing them in their liquid.
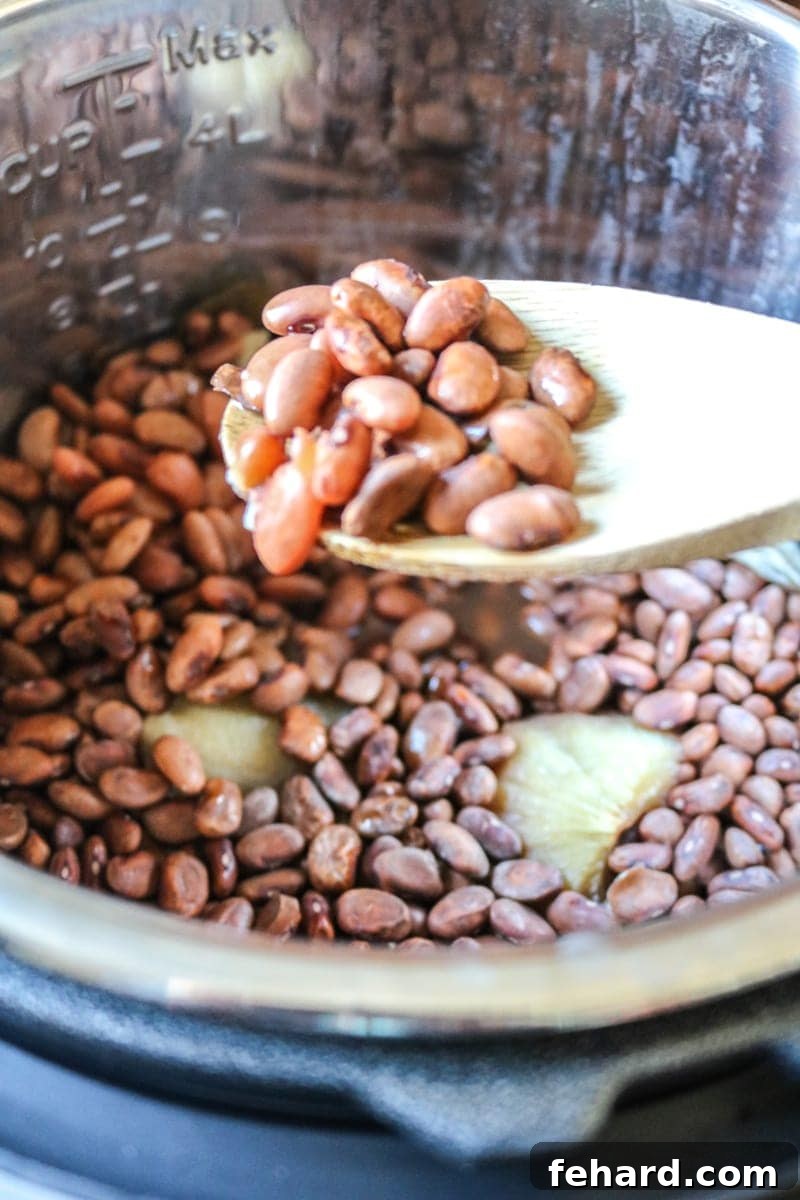
- Excess Liquid: It’s common to have some liquid left in the Instant Pot after the beans have cooked. This is perfectly normal. Simply drain off the desired amount of liquid before using your beans in recipes. Remember, storing them with a bit of liquid helps maintain moisture.
- Bean Age Matters: Older dried beans (those stored for over a year) may take significantly longer to cook and might never fully soften. Always check the expiration date on your bean packages and aim to use them within 6-12 months of purchase for the best results. Even recently purchased beans might have been in storage for a while.
- High Altitude Adjustments: If you are cooking at a higher altitude, remember that cooking times will need to be increased. Refer to reliable Instant Pot Altitude Conversions for precise adjustments.
Delicious Recipes to Use Your Freshly Cooked Beans
Once you have a batch of perfectly cooked Instant Pot beans, the culinary possibilities are endless! Here are some fantastic recipe ideas to inspire you:
- Healthy Black Bean Baked Tacos: A family favorite, perfect with tender black beans.
- Sweet Potato Black Bean Burritos: A hearty and flavorful vegetarian meal.
- Slow Cooker Minestrone Soup: Add your freshly cooked cannellini or kidney beans for a more wholesome touch.
- Vegetarian Lentil Chili: While it calls for lentils, you can easily incorporate black beans or kidney beans for added protein and texture.
- Vegetarian Butternut Squash Chili: Complement the sweetness of squash with robust pinto or black beans.
- Classic Bean Salad: Mix with chopped vegetables, a simple vinaigrette, and fresh herbs for a light and healthy side dish.
- Homemade Refried Beans: Mash pinto or black beans with a little cooking liquid, onion, and spices for a superior homemade version.
- Hummus: Use your tender chickpeas to make incredibly creamy and flavorful hummus from scratch.
Let’s Make Instant Pot Beans!
Instant Pot Dried Beans
Kristen Chidsey
24 (about 6 cups cooked beans)
2 mins
30 mins (variable by bean type)
20-40 mins
1 hr 12 mins (approximate)
Video Tutorial
Ingredients
- 1 pound dried beans, rinsed and sorted (equal to about 2 measuring cups dry)
- 8 cups water
- 1 bay leaf, optional (for flavor)
- 1 medium onion, sliced, optional (for flavor)
- 2 teaspoons kosher salt (added after cooking)
- ½ teaspoon apple cider vinegar, optional (for flavor and digestion)
Instructions
- Place the rinsed and sorted beans, water, optional onion, and bay leaf into the inner pot of your pressure cooker.
- Secure the lid on your Instant Pot and ensure the steam release valve is set to the “Sealing” position.
- Select the “Manual” or “Pressure Cook” setting and cook on High Pressure for the following times (times are for no pre-soaking):
- Black Beans: 30 Minutes
- Chickpeas: 40 Minutes
- Kidney Beans: 35 Minutes
- Pinto Beans: 25 Minutes
- Navy Beans: 25 Minutes
- Butter Beans (Large Lima Beans): 40 Minutes
- Great Northern Beans: 35 Minutes
- Cannellini Beans: 35 Minutes
- Large Lima Beans: 22 Minutes
- Baby Lima Beans: 18 Minutes
- Once the cooking time is complete, allow the pressure to naturally release for at least 20 minutes (or until the pressure indicator drops fully). This natural release helps the beans maintain their shape and tenderness. After 20 minutes, you may carefully perform a quick release of any remaining pressure.
- Once the pressure has fully released, open the lid. Stir in the kosher salt and apple cider vinegar (if using). For best moisture, store cooked beans in a bit of their cooking liquid; drain before serving or using in recipes.
Equipment
-
Electric Pressure Cooker (6 or 8 quart) (Recommended model for reliability)
Notes
***Bean Age: Old dried beans may take longer to cook and might never fully soften. It is best to use dried beans within 6-12 months of purchasing and always check the expiration date, as even recently purchased beans may have been in storage for a while.
Desired Softness: For incredibly soft beans without much structure left, add an additional 10 minutes to the cook time.
- For Pre-Soaked Beans: If you choose to pre-soak, decrease the cook time by 10 minutes and reduce the water to 5 cups per pound of beans.
- For Larger Batches: For every additional pound of dried beans, add 2 cups of water for pressure cooking.
- Navy Beans Specifics: Navy beans can sometimes become mushy if not pre-soaked. If you desire them to hold their shape (e.g., for baked beans), it’s best to soak them for 8-12 hours in cold water, drain, and then cook for 15 minutes on high pressure with natural pressure release.
- High Altitude Cooking: For cooking at higher altitudes, refer to Instant Pot Altitude Conversions for specific adjustments to cooking times.
Nutrition Information
Calories:
63kcal
Carbohydrates:
11g
Protein:
4g
Sodium:
200mg
Potassium:
256mg
Fiber:
2g
Vitamin C:
0.8mg
Calcium:
18mg
Iron:
1.3mg
Nutrition information is automatically calculated and should only be used as an approximation.
Tried this amazing recipe?
Mention @amindfullmom or tag #amindfullmom on social media! We’d love to see your creations.