
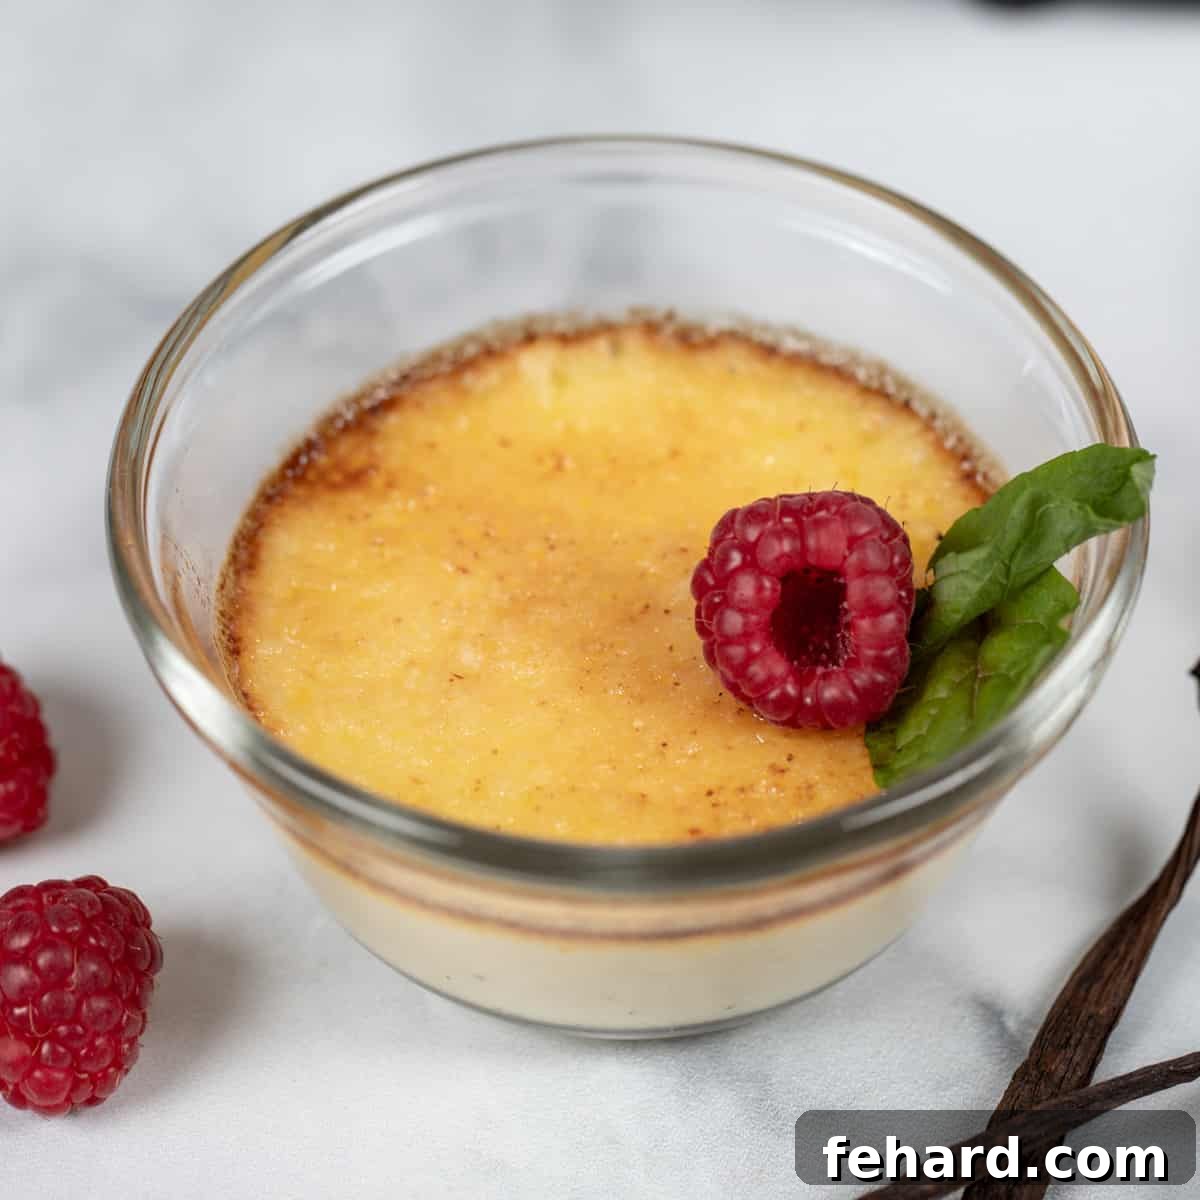
Instant Pot Creme Brulée: Master This Classic French Dessert with Unprecedented Ease
Imagine a dessert that’s rich, exquisitely creamy, and topped with a perfectly crisp, caramelized sugar crust—all achieved with minimal effort. This dream becomes a delicious reality with your Instant Pot. Forget the traditional complexities of a water bath in the oven; using a pressure cooker is truly the easiest and most foolproof way to prepare a restaurant-quality Creme Brulée right in your own kitchen.
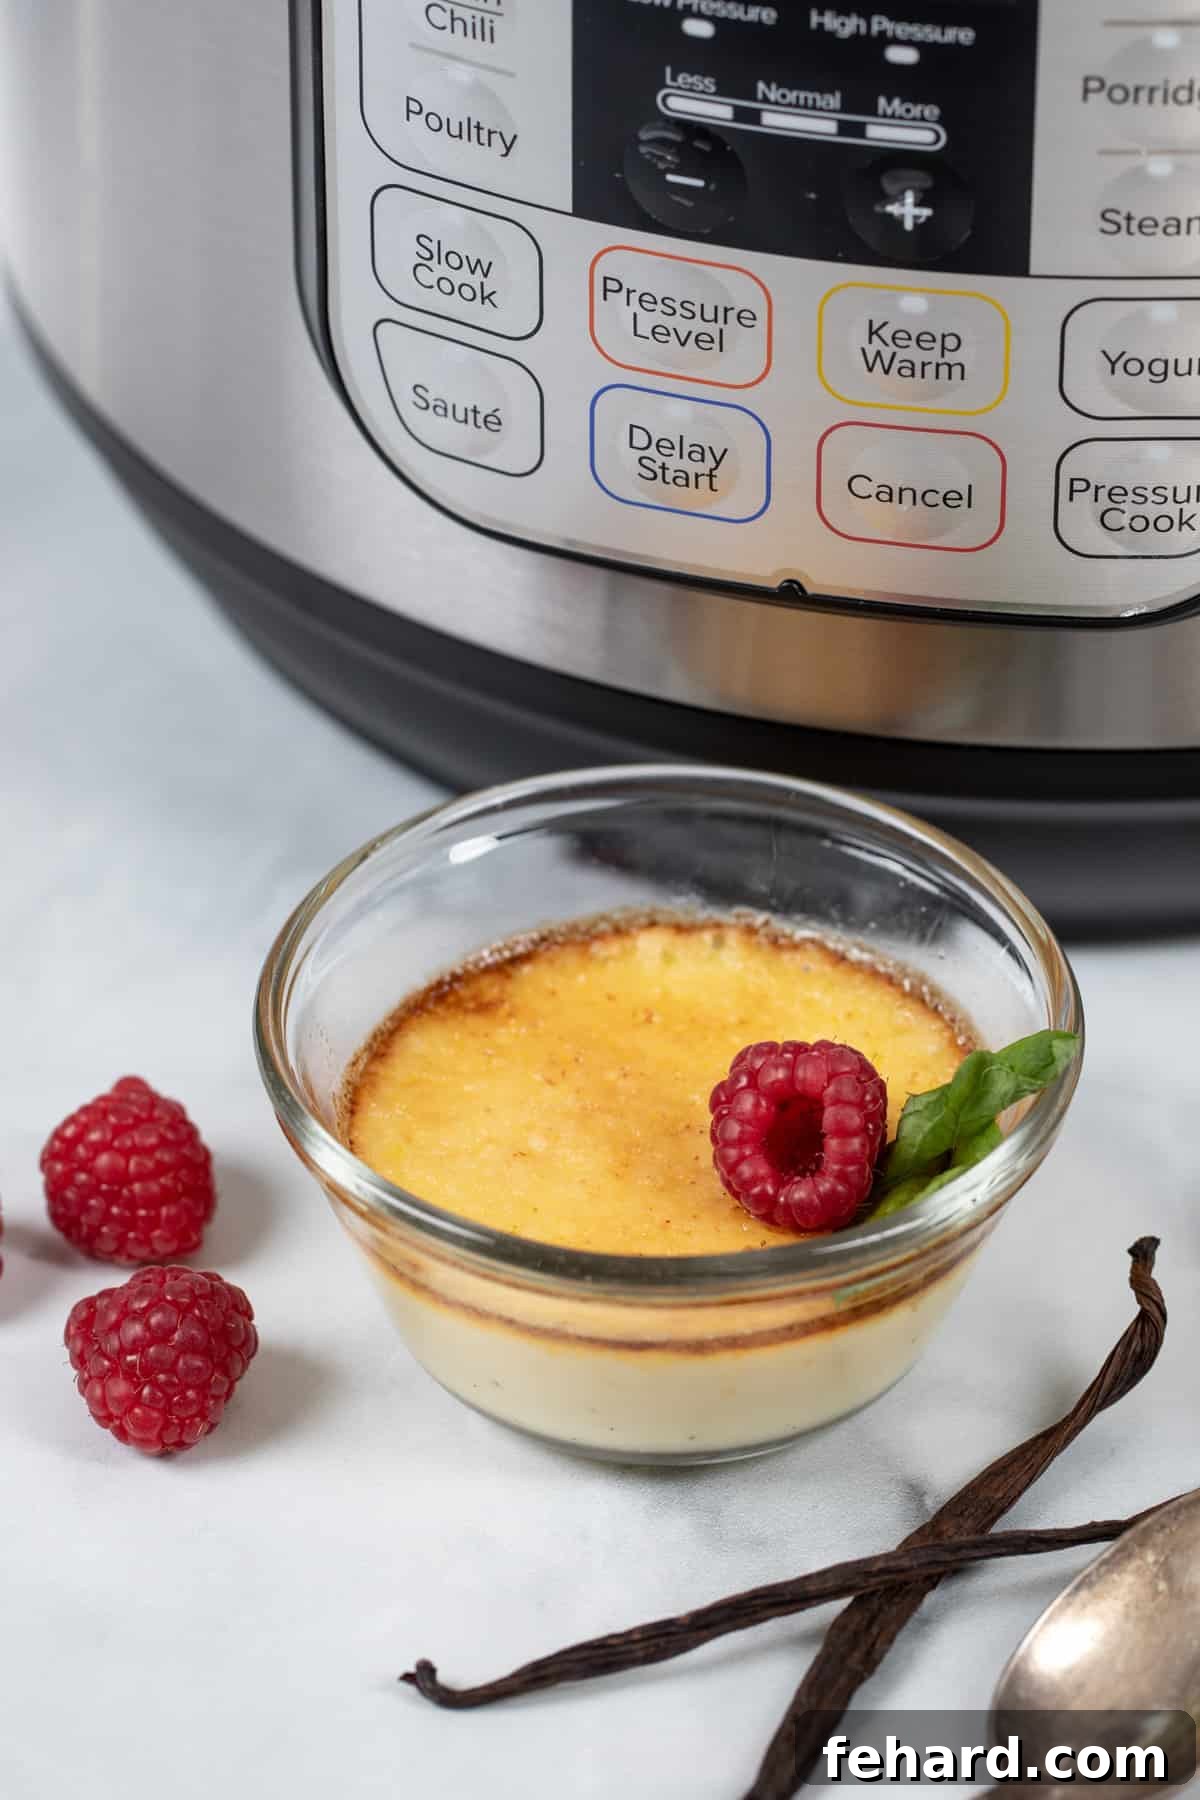
Unlocking the Secret to Perfect Creme Brulée in Your Instant Pot
Creme Brulée, an insanely delicious classic French dessert, literally translates to “burnt cream.” It typically features a simple yet indulgent vanilla custard, baked gently in a water bath, chilled until set, and then finished with a mesmerizing caramelized sugar crust. The contrasting textures of the cool, silky custard and the warm, brittle sugar topping are what make this dessert truly iconic.
While traditional methods can be daunting, the Instant Pot changes the game entirely. Much like our popular recipes for Instant Pot Cheesecake and Instant Pot Lava Cakes, Creme Brulée is a prime example of a dessert that is not only easier but arguably BETTER when prepared using a pressure cooker. The Instant Pot creates a perfectly controlled, moist cooking environment, mimicking a precise water bath without the fuss, ensuring a consistently smooth and luxurious custard without any cracks or rubbery texture.
Reasons to Fall in Love with Instant Pot Creme Brulée
- Effortless Preparation: This recipe simplifies the art of Creme Brulée. Even the dramatic final step of brûléeing the sugar topping, whether with a kitchen torch or under the broiler, is incredibly straightforward. You’ll spend less time worrying and more time enjoying the process.
- Amazing, Indulgent Texture: Prepare your taste buds for an unforgettable textural experience. Our Instant Pot Creme Brulée delivers both a satisfyingly crispy, burnt sugar topping and an incredibly rich, smooth, and creamy vanilla custard base. It’s almost like a luxurious Baked Lemon Pudding, but with a unique French flair that delights with every spoonful.
- Restaurant-Quality Results at Home: You no longer need to dine at an upscale restaurant or possess advanced culinary skills to enjoy a truly spectacular dessert. This easy recipe for Instant Pot Creme Brulée guarantees a “WOW” factor that will impress family and friends alike, elevating any meal into a special occasion.
- Consistent Perfection Every Time: The sealed environment of the Instant Pot ensures a gentle, even heat distribution, which is ideal for delicate custards. This method significantly reduces the risk of overcooked edges, cracked surfaces, or a grainy texture, which are common challenges when baking custards in a conventional oven.
- Time-Saving: While chilling time is essential for the custard to set, the active cooking time in the Instant Pot is remarkably short, making this elegant dessert accessible even on busy days.
Essential Ingredients and Tools for the Ultimate Instant Pot Creme Brulée
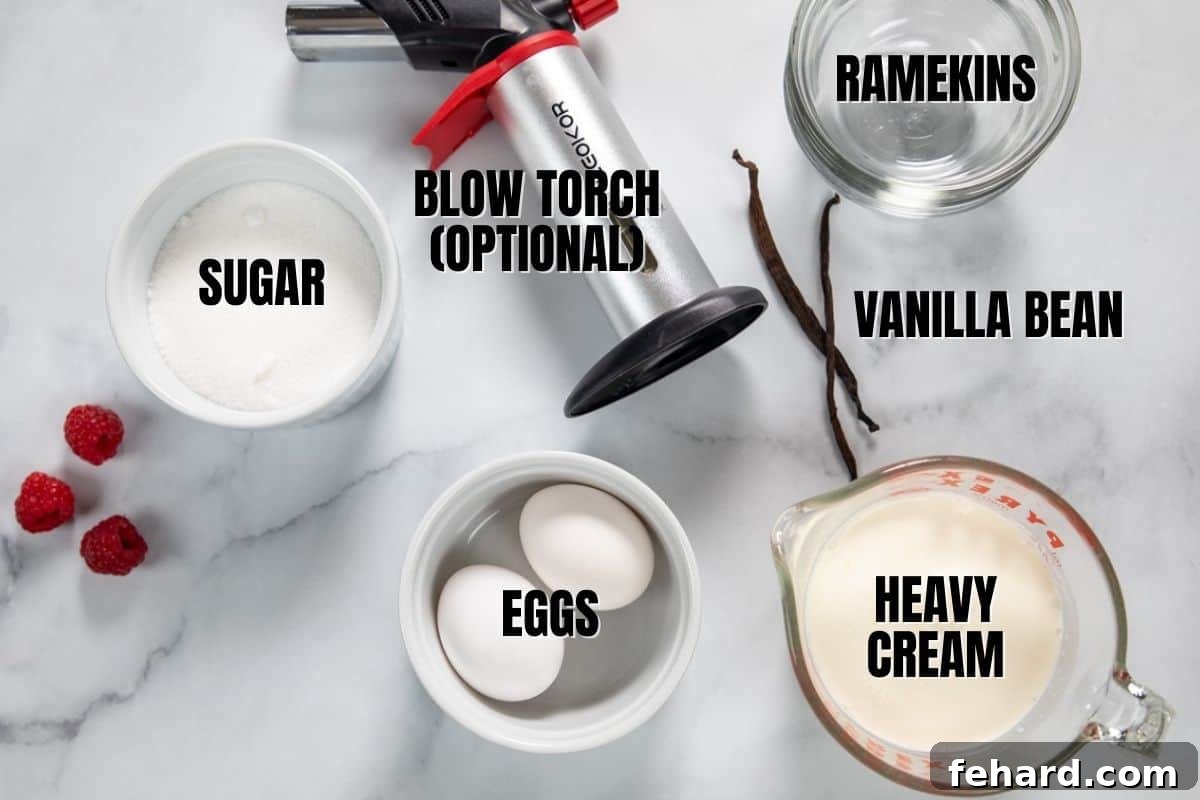
To ensure your Instant Pot Creme Brulée turns out perfectly, selecting the right ingredients and having the proper tools on hand is crucial. Here’s a detailed look at what you’ll need:
- Egg Yolks: These are the star of your custard, providing the rich flavor, deep yellow hue, and incredibly creamy texture. This recipe calls exclusively for egg yolks, leaving you with whites that can be repurposed. Don’t let them go to waste! Consider using them for delightful recipes such as a savory Mediterranean Frittata or a vibrant Asparagus Frittata.
- Heavy Whipping Cream: The quality of your cream directly impacts the lusciousness of your Creme Brulée. It is paramount to use pure heavy whipping cream, ideally one without carrageenan or other artificial stabilizers. Check the ingredient label; it should ideally just list “cream.” The higher fat content of heavy cream contributes to the desired velvety smooth consistency and rich mouthfeel.
- Vanilla Bean: Traditionally, Creme Brulée boasts the exquisite, complex flavor of a real vanilla bean. The tiny black specks from a scraped vanilla bean pod not only add intense aroma but also a visual signature to the custard. However, if a vanilla bean is unavailable or outside your budget, a high-quality pure vanilla extract can be used as a convenient and still delicious alternative.
- Sugar: You’ll need two types of sugar for distinct purposes. For the custard base, fine granulated sugar is ideal as it dissolves quickly and completely, ensuring a smooth texture. For the iconic caramelized topping, turbinado or Demerara sugar is highly recommended. These larger, coarser sugar crystals create a more pronounced and satisfyingly brittle crust when melted. If these aren’t on hand, regular granulated sugar will still work effectively for the topping, though the crust might be slightly thinner.
- Ramekins: For this recipe, you will need three 6-ounce heat-safe ramekins. These individual ceramic or tempered glass dishes are perfect for portion control and are designed to withstand both the pressure cooking process and the high heat of caramelization. Ensure they are explicitly labeled as oven-safe or broiler-safe.
- Kitchen Torch (Highly Recommended): While technically optional, a kitchen torch offers the most professional and controlled way to create the quintessential burnt sugar topping. It allows you to caramelize the sugar evenly and quickly, without significantly warming the custard below. This precision is difficult to replicate with other methods.
- Broiler (Alternative Tool): If you don’t own a kitchen torch, your oven’s broiler can serve as a viable alternative. However, extreme caution is necessary. The broiler works very quickly and intensely, so you must watch the ramekins continuously to prevent the sugar from burning, which can happen in mere seconds.
- Instant Pot (6 or 8 Quart): Your trusty electric pressure cooker is, of course, the central piece of equipment. A 6-quart or 8-quart model will comfortably accommodate the ramekins on the trivet, providing ample space for steam circulation and even cooking.
How to Make Instant Pot Creme Brulée: A Detailed Guide
The following tips and step-by-step instructions are designed to help you achieve perfect results. You’ll find precise ingredient quantities and a printable version of these detailed instructions in the recipe card at the bottom of this post.
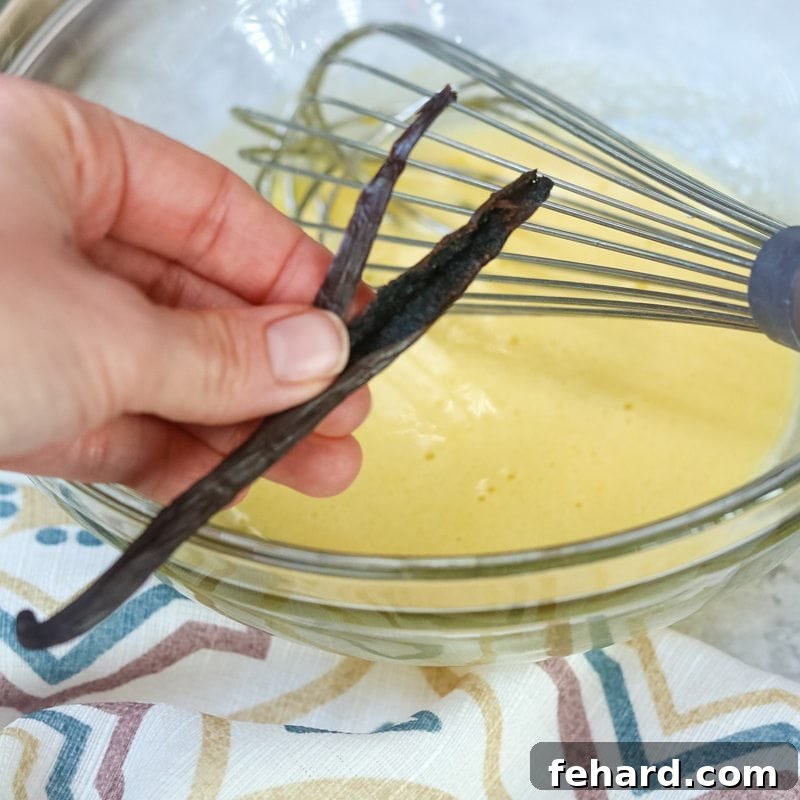
- 1. Whisk the Custard Base: Begin by preparing your custard mixture. In a large mixing bowl, combine the egg yolks, granulated sugar, and a pinch of sea salt. Whisk these ingredients together vigorously until they are thoroughly incorporated, the sugar starts to dissolve, and the mixture appears lighter in color and slightly thickened. If using a vanilla bean, slice it lengthwise with a sharp knife and use the back of the knife to scrape out the tiny, aromatic seeds directly into the bowl. Whisk them in to infuse the custard with deep vanilla flavor.
- 2. Gently Warm the Cream: Pour the heavy cream into a microwave-safe measuring cup or a small saucepan. Heat the cream in the microwave for approximately 45 seconds to 1 minute, or gently on the stovetop over medium-low heat, stirring occasionally. The goal is for the cream to be very warm to the touch but not boiling. A temperature between 150-185°F (65-85°C) is ideal. Warming the cream aids in dissolving the sugar and helps prevent the egg yolks from scrambling during the tempering process.
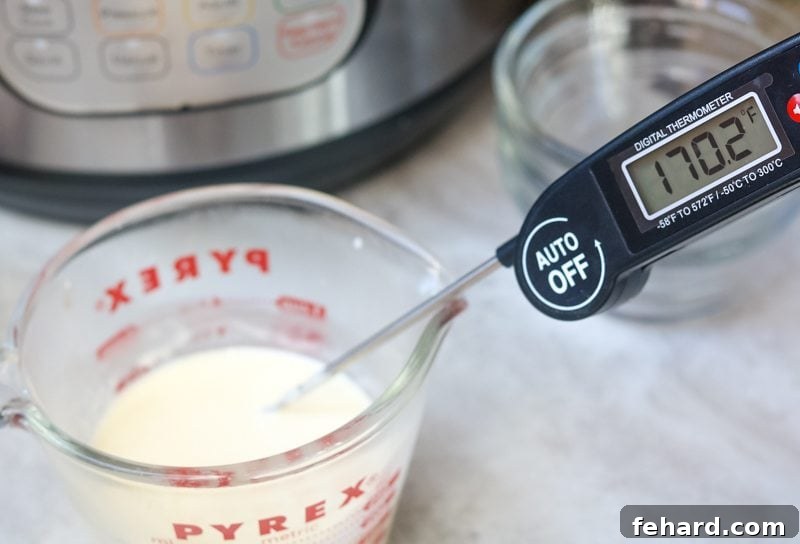
- 3. Temper the Egg Yolks (Crucial Step): This is arguably the most critical step to achieving a perfectly smooth custard. While continuously whisking the egg yolk mixture vigorously, slowly drizzle in just a tablespoon or two of the warm cream. Keep whisking without interruption. This gradual addition slowly brings the temperature of the egg yolks up, preventing them from cooking too quickly when the rest of the hot cream is added. A vital warning: DO NOT pour all the warm cream into the egg yolks at once, as this will shock the eggs and cause them to scramble, ruining your custard.
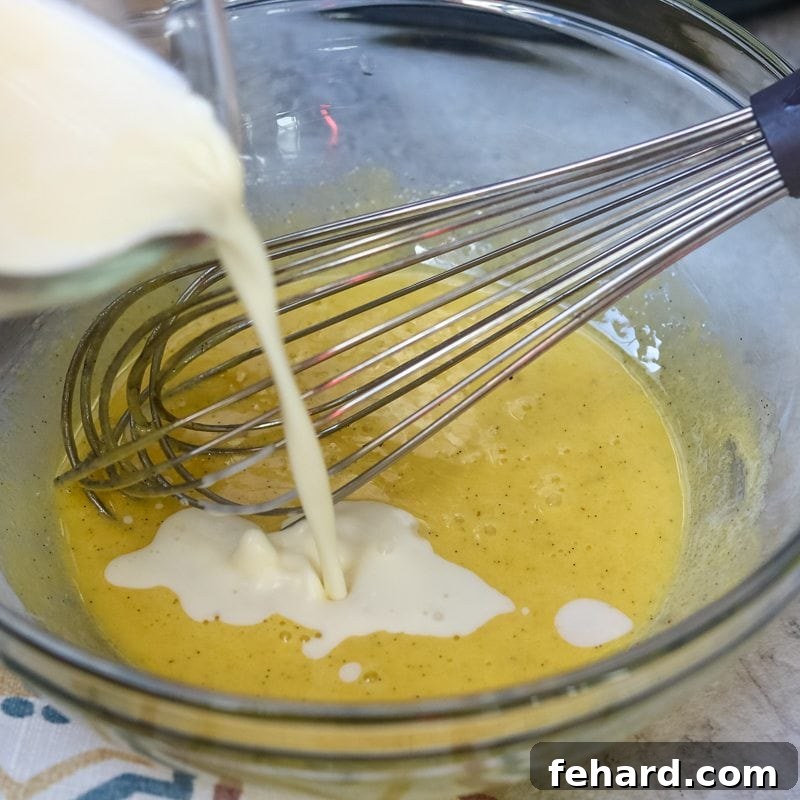
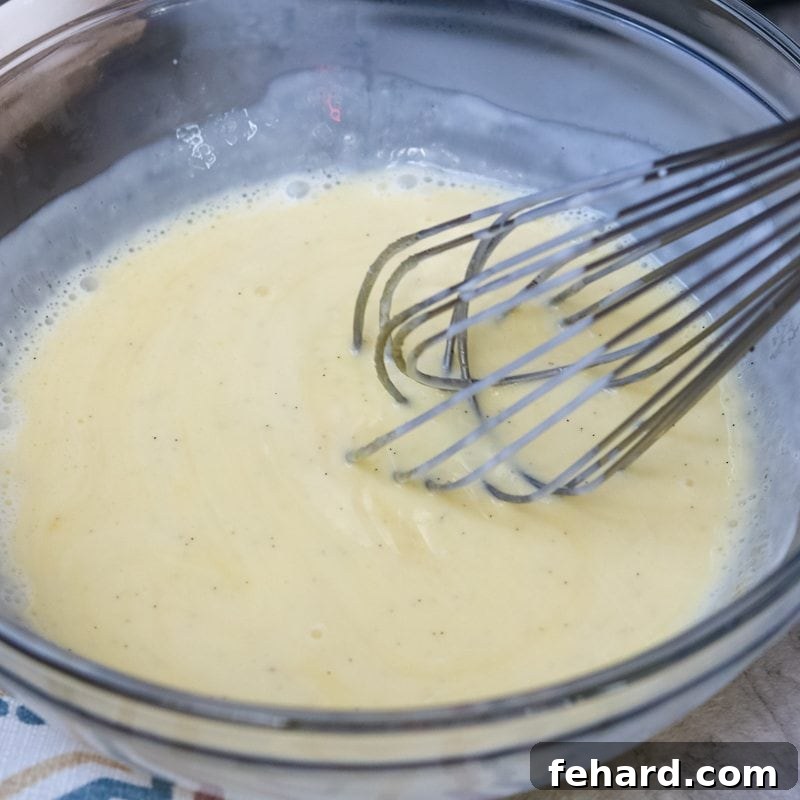
- 4. Combine Remaining Cream: Once your egg yolks have been successfully tempered with the initial warm cream, you can now add the remaining warm cream more confidently. Slowly pour the rest of the warm cream into the egg yolk mixture, continuing to stir constantly until all ingredients are fully incorporated. Ensure that all the sugar crystals have dissolved and the custard mixture is uniform and smooth.
- 5. Prepare Ramekins and Instant Pot: Carefully divide the custard mixture evenly among your three 6-ounce heat-safe ramekins. To prevent any condensation from dripping onto the custards during pressure cooking, which could affect their smooth surface, cover each ramekin tightly with aluminum foil. Place a trivet (or steamer rack) into the inner pot of your Instant Pot and pour 1.5 cups of cold water into the bottom. Carefully place the covered custard cups on top of the trivet. If you are doubling the recipe, you can gently stack the ramekins, ensuring they are stable.
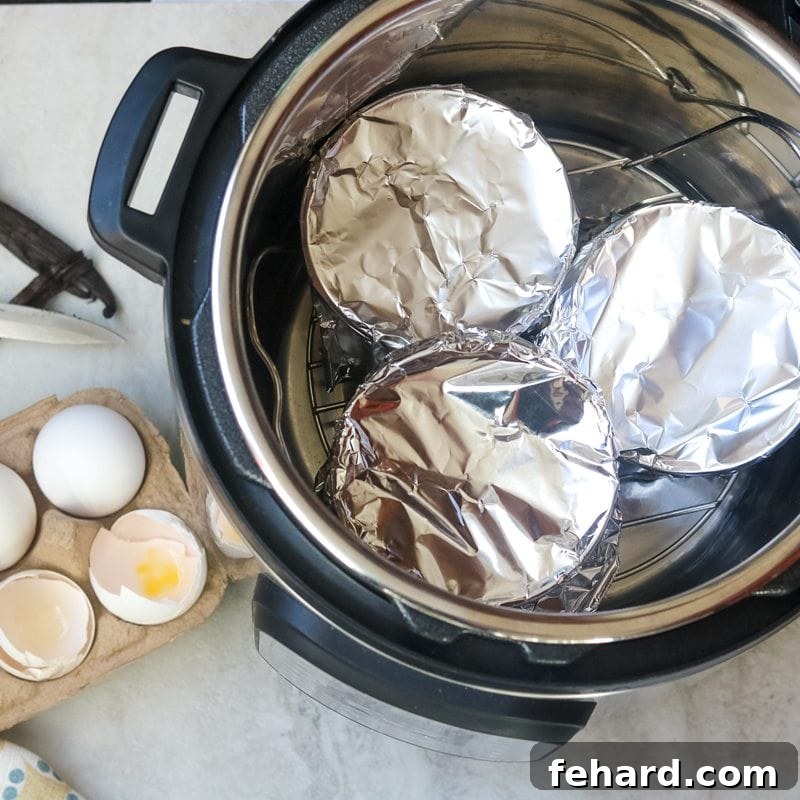
- 6. Pressure Cook to Perfection: Secure the lid on your Instant Pot, ensuring the venting knob is set to the “Sealing” position. Select the “Pressure Cook” (or “Manual”) setting and cook on High Pressure for precisely 7 minutes. Once the cooking time has elapsed, allow the pressure to release naturally for exactly 5 minutes. This controlled, gradual release of pressure is critical for ensuring the custard remains incredibly smooth and creamy, preventing any curdling or cracking. It is imperative that you DO NOT perform a quick release of pressure immediately after cooking. After 5 minutes, carefully move the venting knob from “Sealing” to “Venting” to quick release any remaining pressure. Always stand back to avoid contact with the hot steam.
- 7. Cool and Chill: Once the pressure has completely released, carefully open the Instant Pot lid. Using the trivet handles, gently remove the ramekins from the inner pot. Take off the foil covers and allow the custards to cool completely at room temperature for 30-60 minutes. This slow cooling process helps prevent thermal shock and potential cracking. Once cooled to room temperature, cover each ramekin tightly with fresh plastic wrap and transfer them to the refrigerator. Chill for a minimum of 4 hours, or ideally overnight, and up to 3 days. Thorough chilling is essential for the custard to fully set and for the flavors to mature beautifully.
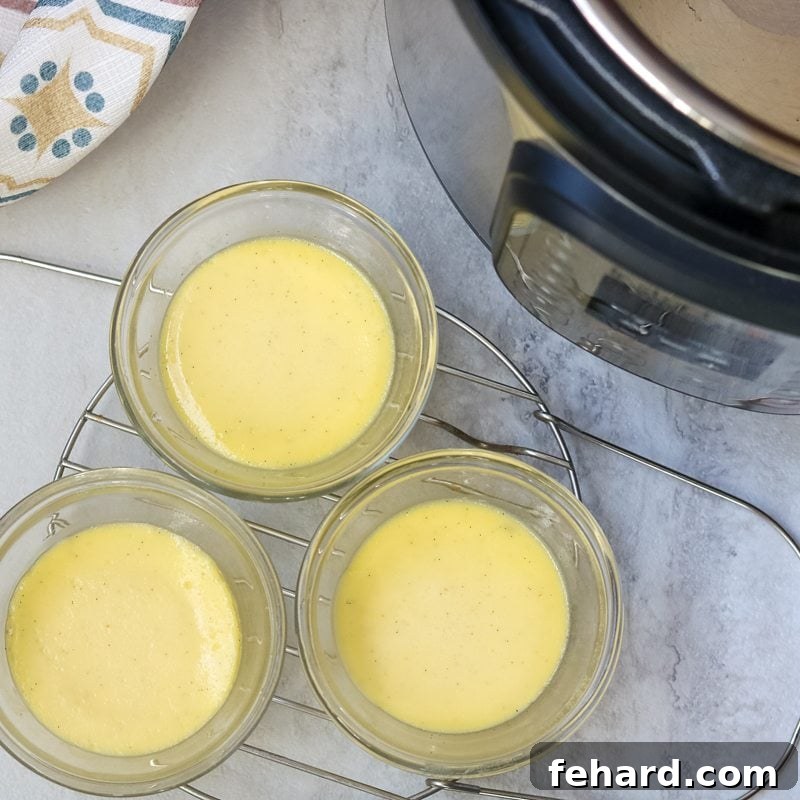
- 8. Prepare for Caramelization: Approximately 15-30 minutes before you intend to serve your Creme Brulée, remove the chilled ramekins from the refrigerator. Allow them to sit at room temperature during this time. This is a crucial step that helps prevent the glass ramekins from cracking or shattering when they are exposed to the intense, direct heat required for caramelizing the sugar. Do not skip this important safety precaution. Just before serving, sprinkle an even layer of sugar (about 1-2 teaspoons of turbinado or Demerara sugar, or 1 teaspoon of granulated sugar) over the entire surface of each custard cup.
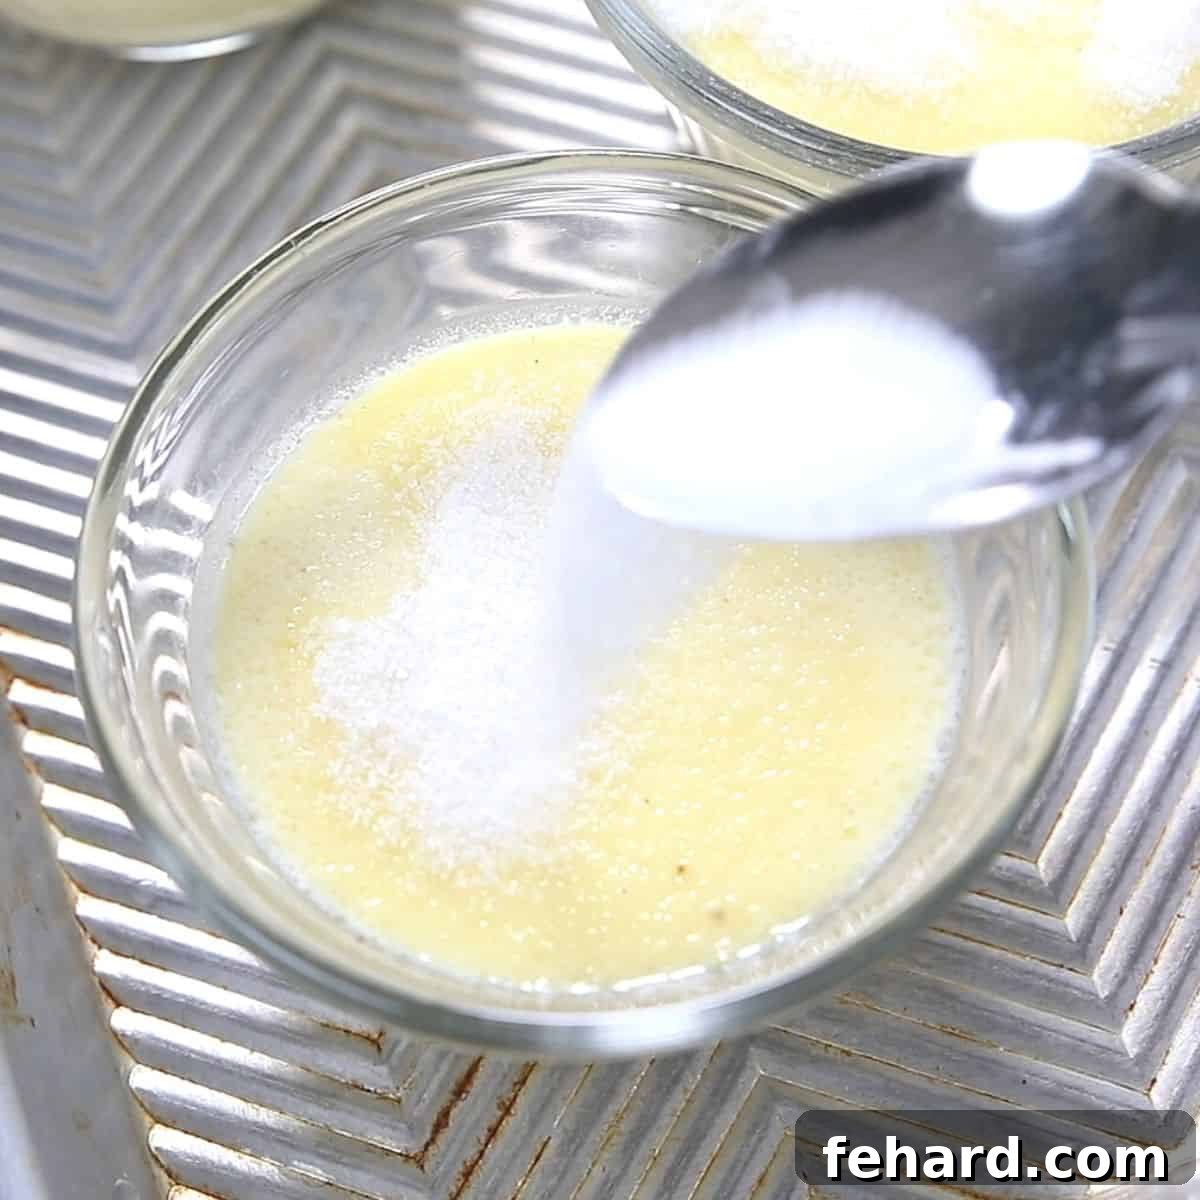
- 9. Brûlée the Sugar Topping (The Grand Finale!): Now for the exciting part – creating that iconic, brittle caramelized crust! You have two effective methods to choose from:
- Using a Kitchen Torch: This method offers the most control and is highly recommended. Hold the flame of your kitchen torch approximately 2 inches above the sugar-coated custard. Move the torch in a slow, continuous circular motion, ensuring the heat is applied evenly across the entire surface of the sugar. Watch carefully as the sugar melts, bubbles, and transforms into a beautiful, golden-amber caramelized topping. Continue until you achieve your desired color and a crisp, glassy finish.
- Using Your Oven’s Broiler: If you don’t have a kitchen torch, your oven’s broiler can be used as an alternative. Arrange your sugar-dusted ramekins on a sturdy baking sheet. Place the baking sheet under a preheated broiler (typically on the high setting) on a rack positioned a few inches below the heating element. This method requires extreme vigilance – watch them continuously and closely! The sugar will caramelize very rapidly, often within 3-4 minutes. Remove them immediately as soon as they reach a deep golden-brown color to prevent any burning.
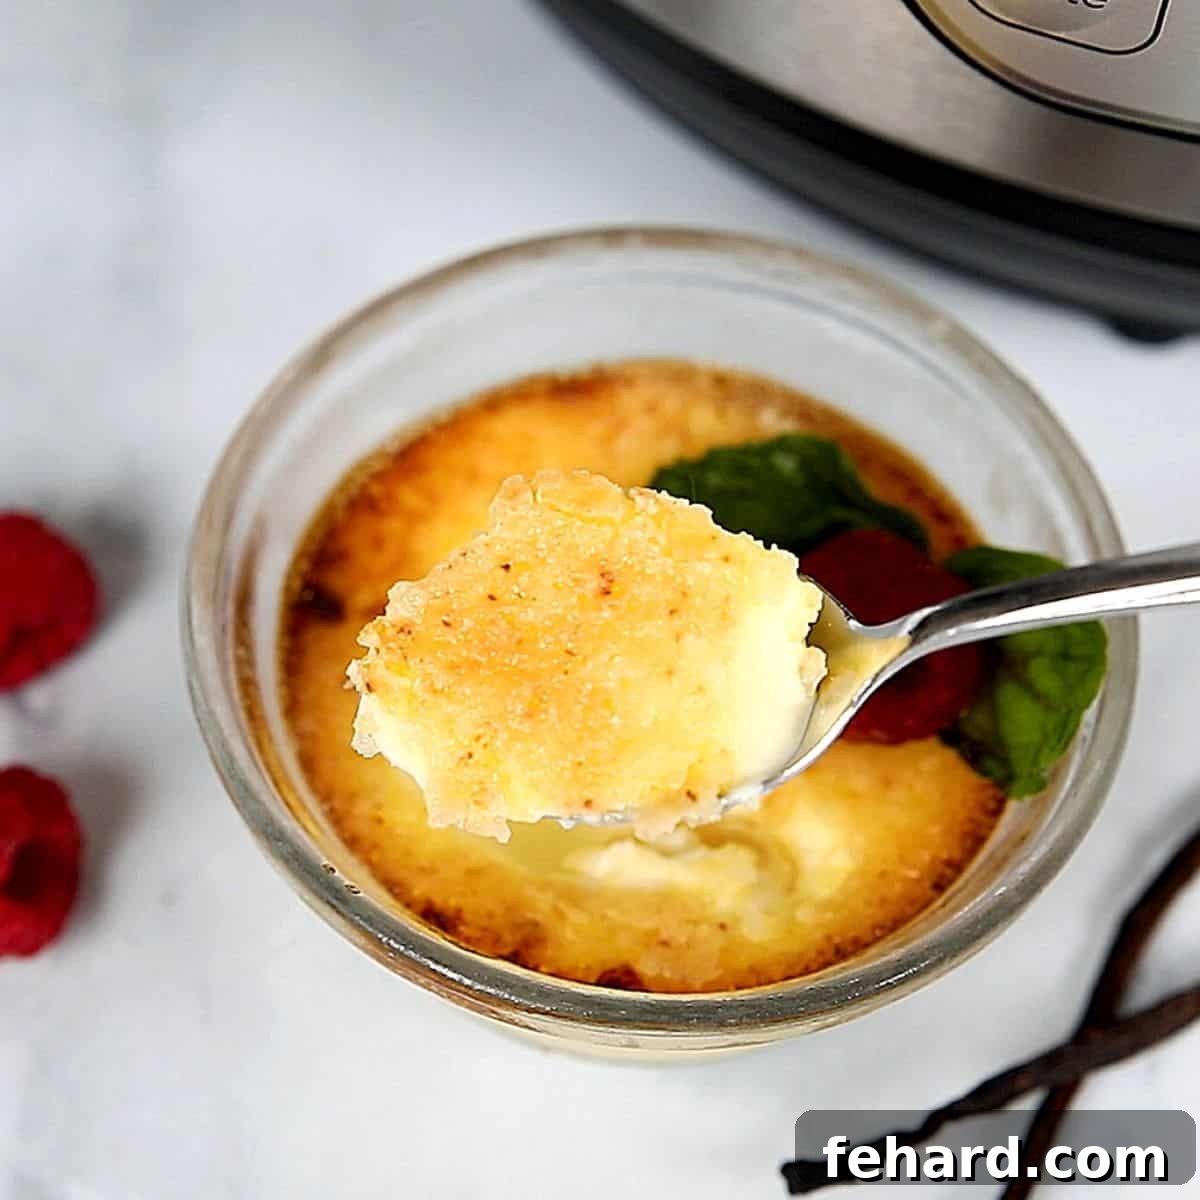
For the absolute best experience and textural contrast, serve your Instant Pot Creme Brulée immediately after caramelizing the sugar. The warmth of the freshly burnt sugar against the cold, creamy custard is simply divine. Garnish with fresh berries, a sprig of mint, or a dusting of cocoa powder for an extra touch of elegance.
Frequently Asked Questions About Instant Pot Creme Brulée
Yes, warming the heavy cream is a crucial step that we highly recommend for optimal results. It serves two significant purposes for your Creme Brulée: first, the warm cream helps to dissolve the granulated sugar much more efficiently, ensuring a perfectly smooth custard free from any gritty texture. Second, a warmer custard mixture will cook more evenly and consistently within the Instant Pot, which promotes a uniform set and reduces the likelihood of the custard curdling or separating.
If you open your Instant Pot and discover that your custard is still slightly liquid or jiggly in the very center, there’s no need to panic! This can occasionally happen due to minor variations in Instant Pot models or slight differences in ingredient temperatures. Simply replace the foil covers on your custard cups, carefully place them back into your Instant Pot, and cook for an additional 2 minutes on high pressure. Follow this with another 5 minutes of natural pressure release. This short extension is usually sufficient to achieve the perfect, firm-yet-creamy set.
Absolutely! This Instant Pot Creme Brulée recipe is very forgiving and can be easily doubled. To do so, simply double all the ingredient quantities listed in the recipe. When it comes to placing the ramekins in your Instant Pot, you can carefully stack them on top of each other on the trivet. A fantastic advantage of pressure cooking is that the cooking time will remain the same, regardless of whether you are preparing a single batch or a double batch, as the pressure inside the pot reaches a consistent level.
For Instant Pot Creme Brulée, it is essential to use heat-safe ramekins that can withstand both pressure and high temperatures. Ceramic or tempered glass 6-ounce ramekins are ideal. Always ensure your ramekins are explicitly labeled as “oven-safe” or “broiler-safe,” as this confirms their durability for the Instant Pot environment and the final caramelization step. The 6-ounce size is perfect for individual portions and fits conveniently within most 6-quart or 8-quart Instant Pot models.
Creme Brulée is an excellent dessert for making in advance, which makes it perfect for dinner parties or entertaining! The custards can be fully cooked, cooled to room temperature, and then chilled in the refrigerator for up to 3 days before you plan to serve them. The most crucial tip for make-ahead Creme Brulée is to only add the sugar topping and caramelize it just before serving. If you caramelize the sugar too early, it will absorb moisture from the custard and lose its signature crispness, becoming soft and sticky.
The delightful “crack” is a hallmark of a well-executed Creme Brulée! To achieve this, ensure your sugar topping is spread evenly across the surface of the custard and caramelized to a deep, even amber color without any burnt spots. Most importantly, serve the Creme Brulée immediately after you caramelize the sugar. The striking contrast between the warm, brittle sugar crust and the cold, creamy custard beneath is what creates that satisfying snap. Avoid refrigerating the dessert after it has been caramelized, as moisture in the fridge will quickly soften the beautiful crust.
More Irresistible Instant Pot Dessert Recipes to Try
If you’ve discovered the joy and simplicity of making gourmet desserts in your Instant Pot with this Creme Brulée recipe, you’ll be thrilled to explore these other fantastic pressure cooker dessert creations. They’re just as easy and equally delicious!
- Instant Pot Lava Cakes
- Instant Pot Chocolate Cheesecake
- Instant Pot Carrot Cake Cheesecake
- Instant Pot Cheesecake
- Instant Pot Pumpkin Cheesecake
Did you make this Instant Pot Creme Brulée recipe?
If you enjoyed preparing and savoring this elegant dessert, please consider leaving a comment and a 5-star review at the bottom of this post. Your valuable feedback not only helps us improve but also guides other home cooks in discovering wonderful new recipes! Thank you for your support!
Instant Pot Creme Brulée
Kristen Chidsey
3 servings
5 mins
7 mins
12 mins
Print Recipe

Video Tutorial
A helpful video tutorial demonstrating the preparation of this Instant Pot Creme Brulée recipe is available on the original blog post for visual guidance.
Ingredients
For the Creamy Custard
- 2 large egg yolks (use yolks from large eggs)
- ¼ fresh vanilla bean pod (scraped) or 1 teaspoon of pure vanilla extract
- ¼ cup granulated sugar
- pinch of sea salt
- 1 cup heavy whipping cream
For the Caramelized Sugar Topping
- 2 teaspoons turbinado or Demerara sugar, per custard cup (or 1 teaspoon granulated sugar per cup)
Instructions
-
1. Prepare Instant Pot: Place a trivet in the inner pot of your Instant Pot. Pour 1.5 cups of cold tap water into the bottom of the pressure cooker.
-
2. Whisk Custard: In a large mixing bowl, vigorously whisk together the egg yolks, vanilla (scraped vanilla bean or extract), ¼ cup granulated sugar, and salt until the mixture is well combined, light in color, and slightly thickened.
-
3. Warm Cream: In a heat-safe measuring cup, warm the heavy cream for 45 seconds to 1 minute in the microwave, or gently on the stovetop, until it’s very warm to the touch (155-180°F), but not boiling.
-
4. Temper Egg Yolks: While continuously whisking the egg yolk mixture, slowly drizzle in 1-2 tablespoons of the warm cream to temper the eggs. Gradually whisk in the remaining warm cream until the entire custard mixture is smooth and the sugar has completely dissolved.
-
5. Fill Ramekins: Divide the custard mixture evenly among three 6-ounce heat-safe ramekins. Cover each ramekin tightly with aluminum foil to prevent condensation.
-
6. Load and Seal Instant Pot: Place the covered ramekins onto the trivet inside the Instant Pot (stack if doubling the recipe). Secure the lid, ensuring the venting knob is sealed.
-
7. Pressure Cook: Cook on High Pressure for 7 minutes using the “Pressure Cook” or “Manual” button. Once cooked, allow a natural pressure release for 5 minutes. After 5 minutes, carefully quick release any remaining pressure by moving the venting knob from “Sealing” to “Venting.” Be mindful of hot steam.
-
8. Cool and Chill: Remove the lid and carefully lift the ramekins from the Instant Pot. Remove the foil and let the custards cool at room temperature for 30-60 minutes. Once cooled, cover with plastic wrap and refrigerate for at least 4 hours, or up to 3 days, until fully set and chilled.
-
9. Bring to Room Temperature: 15-30 minutes before serving, remove the chilled ramekins from the refrigerator. Allow them to come closer to room temperature to prevent the glass from cracking during caramelization.
-
10. Caramelize Topping & Serve: Just before serving, sprinkle each ramekin with 2 teaspoons of turbinado sugar (or 1 teaspoon granulated sugar). Use a kitchen torch to melt the sugar in a circular motion, creating a golden, brittle crust. Alternatively, place ramekins on a baking sheet under a preheated broiler, watching closely, until caramelized. Serve immediately.
Equipment
-
Electric Pressure Cooker (6 or 8 quart)
-
6-ounce Heat-Safe Ramekins
-
Kitchen Torch (Optional, but recommended)
-
Large Mixing Bowl
-
Whisk
Recipe Notes & Expert Tips for Success
Troubleshooting – Custard Not Fully Set: If, after opening your Instant Pot, you find that your custard is still slightly liquid in the center, do not fret! This can occasionally happen due to minor variations. Simply replace the foil on the custard cups, place them back into your Instant Pot, and cook for an additional 2 minutes on high pressure. Follow this with a 5-minute natural pressure release. This short extension is typically enough to achieve the perfect, firm yet creamy set.
Doubling the Recipe: Should you wish to double this recipe for a larger gathering or simply to enjoy more servings, you can easily do so by doubling all the ingredients. When placing the ramekins in your Instant Pot, you can carefully stack them on top of each other on the trivet. The beauty of pressure cooking is that the cooking time will remain consistent, regardless of whether you’re making a single batch or a double batch.
Water Temperature for Instant Pot: Always remember to use cold water in the bottom of your Instant Pot when cooking custards or other delicate items. Starting with cold water allows the Instant Pot to come up to pressure more gradually, which contributes to a more consistent and gentle cooking environment. This helps prevent overcooking or curdling of the delicate custard mixture.
Serving Suggestions: For an elegant and memorable presentation, consider garnishing your freshly caramelized Creme Brulée. A few fresh raspberries, blueberries, or a delicate sprig of mint provide a beautiful pop of color and a delightful, subtle tartness that perfectly complements the rich, sweet dessert.
Nutrition Facts (per serving)
Carbohydrates: 8g
Protein: 3g
Fat: 32g
Saturated Fat: 19g
Cholesterol: 238mg
Sodium: 35mg
Potassium: 72mg
Sugar: 6g
Vitamin A: 1340IU
Vitamin C: 0.5mg
Calcium: 67mg
Iron: 0.3mg
Nutrition information is automatically calculated, so should only be used as an approximation.
Tried this recipe?
Mention @amindfullmom or tag #amindfullmom!
This post was originally published in 2018 and has been comprehensively updated in 2021 to include new insights, enhanced instructions, and a video guide for a truly seamless cooking experience.