
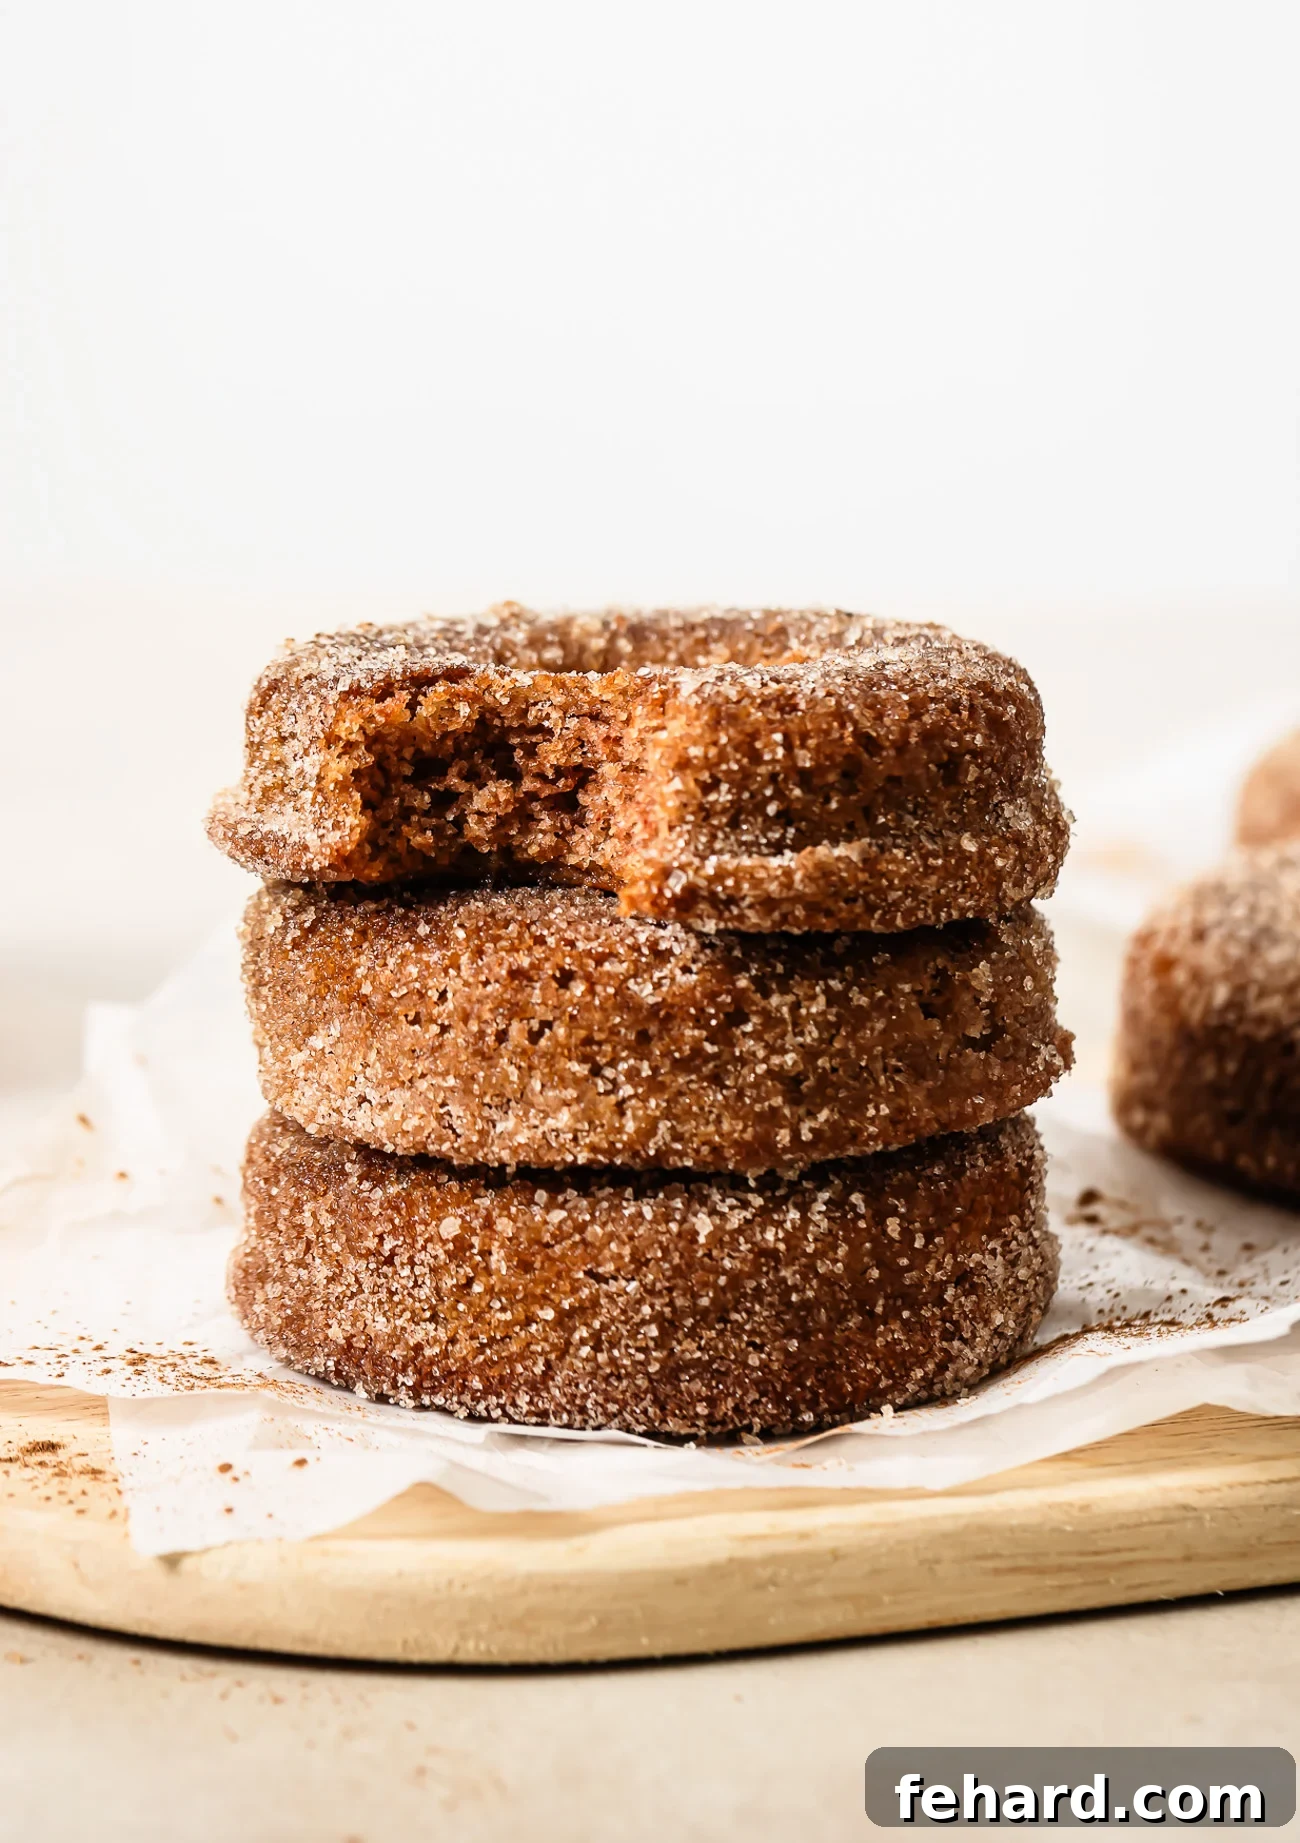
Baked Gluten-Free Apple Cider Donuts: A Cozy Fall Treat
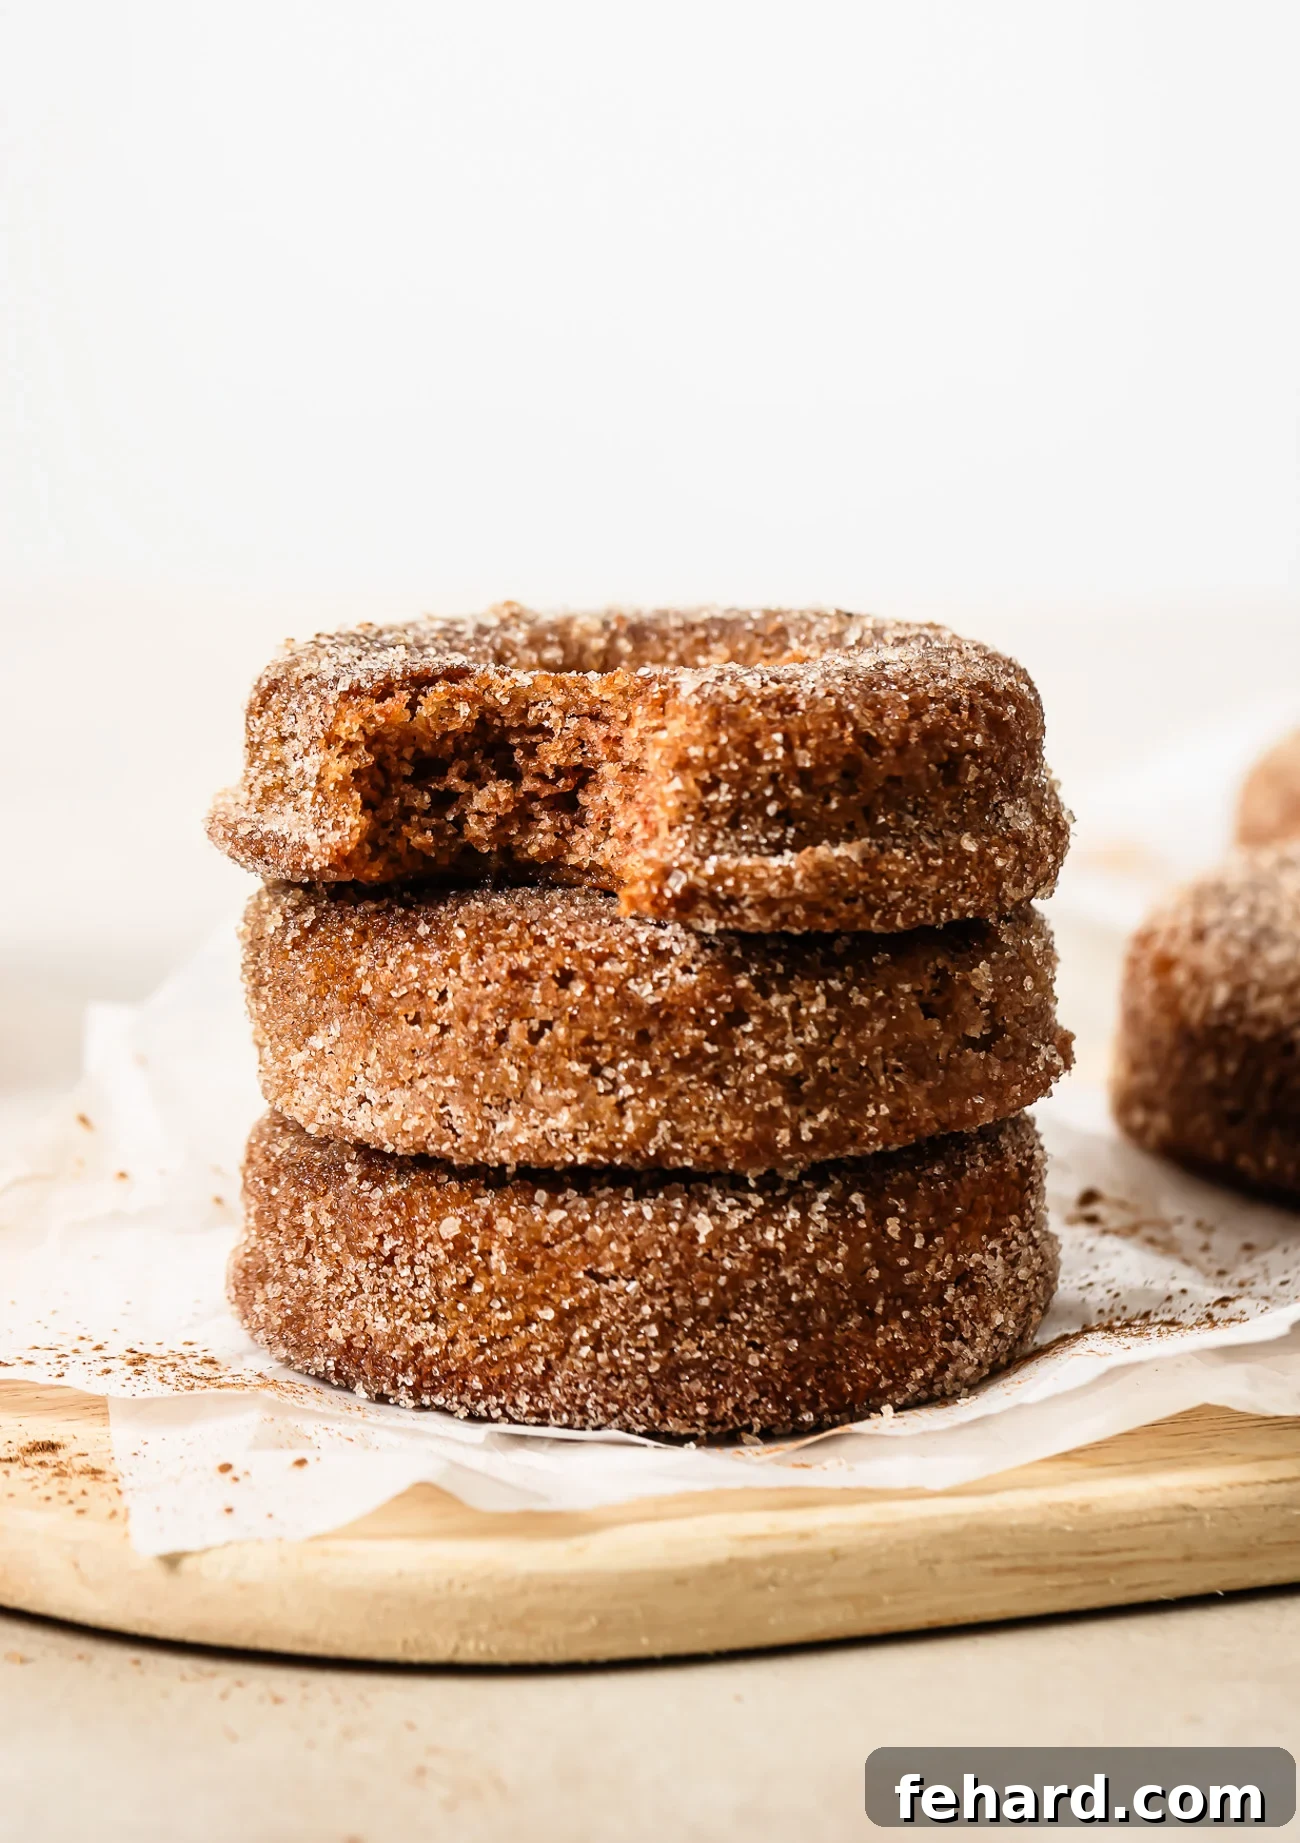
Embrace the Flavors of Fall with Homemade Donuts!
There’s something truly magical about the crisp air of autumn, the changing leaves, and the comforting aroma of fall spices. For many, this season brings cherished memories of apple orchards and freshly baked goods. One of my favorite fall traditions is indulging in a warm, perfectly spiced apple cider donut. Having moved from Brazil to Canada, the donut was a delightful discovery, a love-at-first-bite experience that instantly captured my heart.
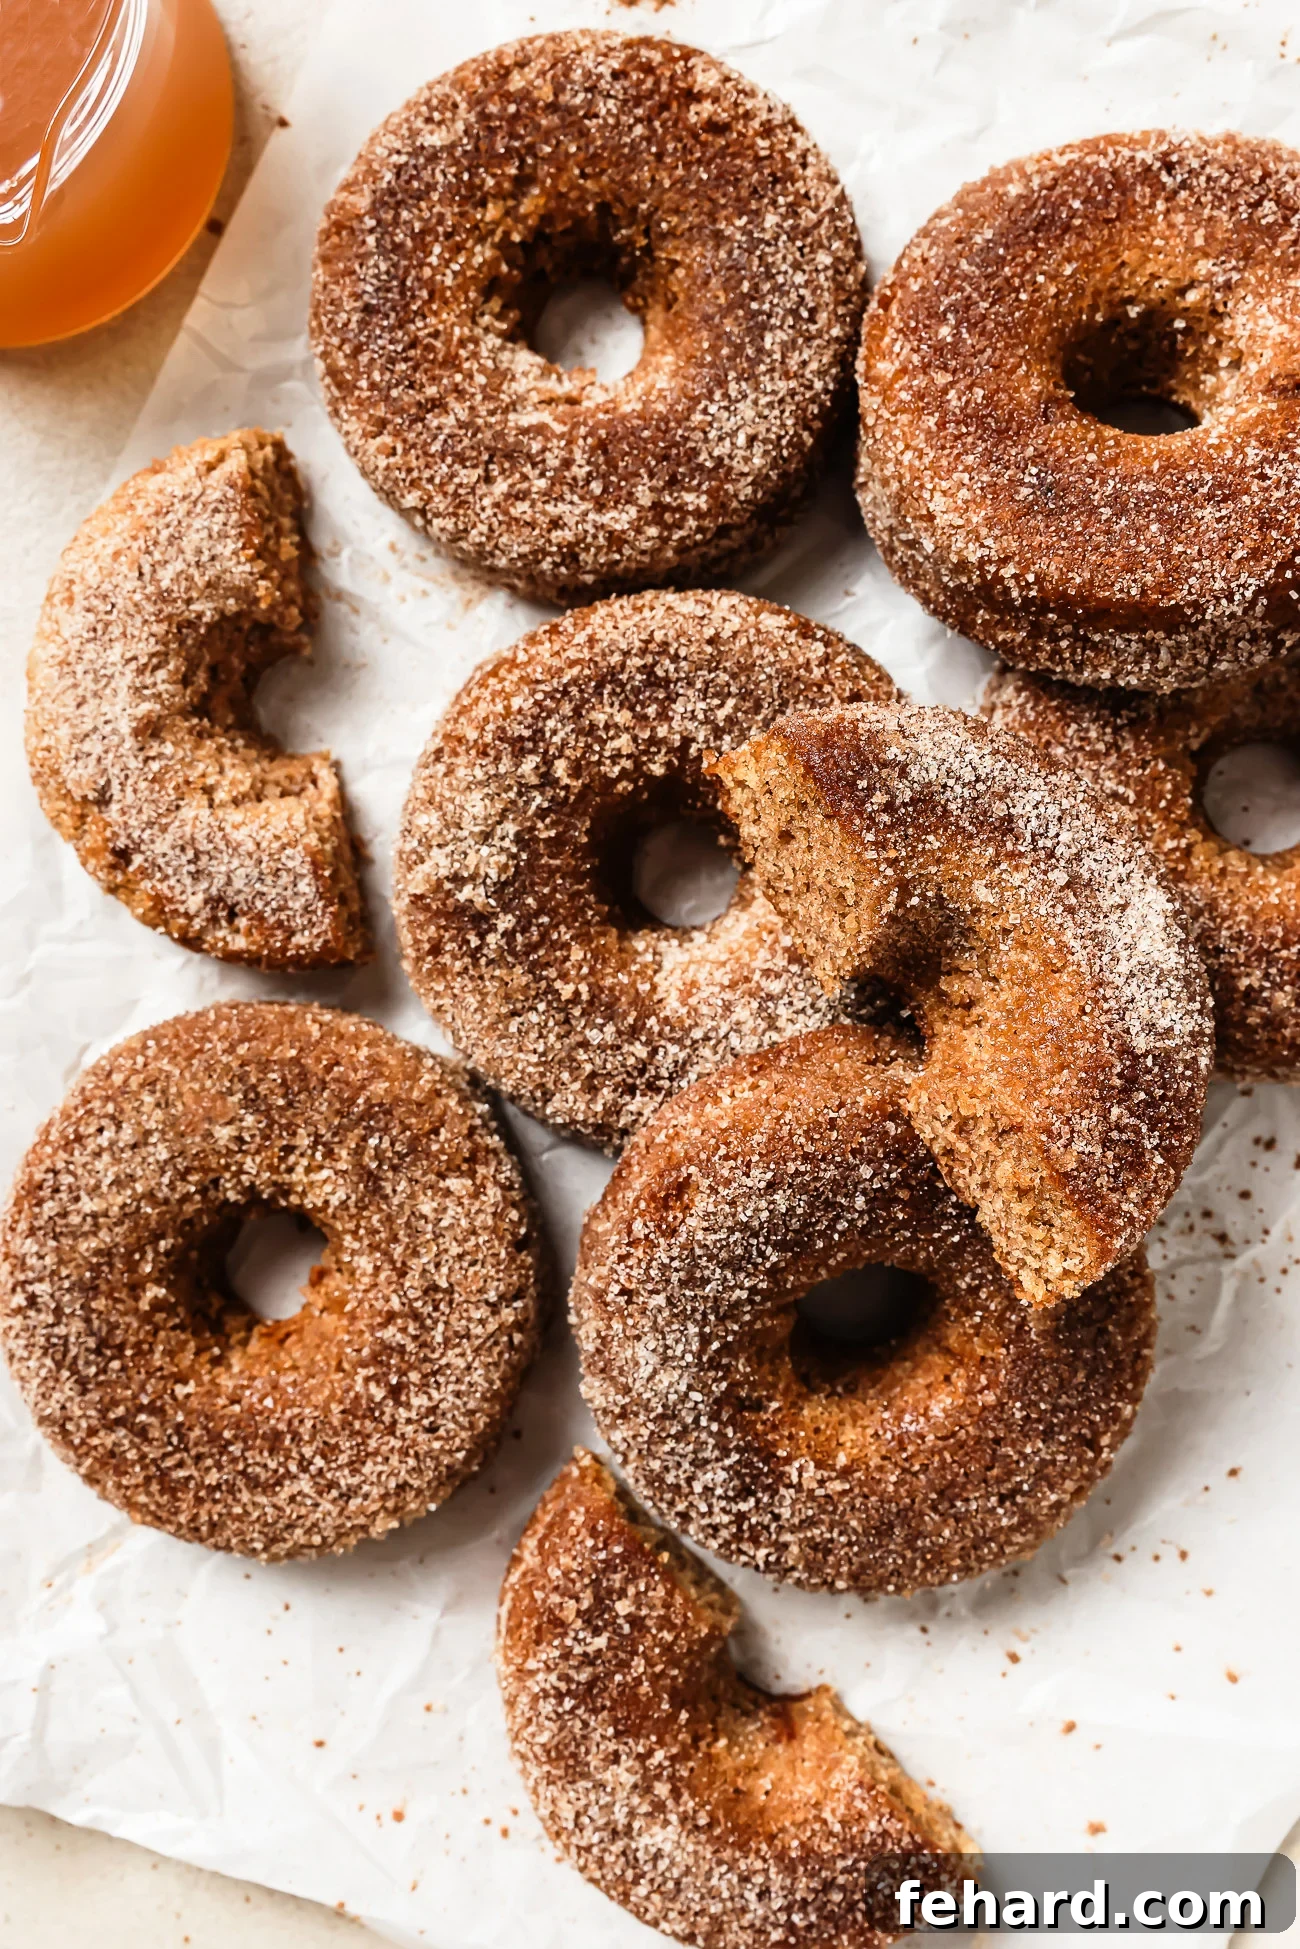
My journey to recreate that beloved classic led me to develop these irresistible Gluten-Free Apple Cider Donuts. They are incredibly soft, wonderfully tender, and absolutely bursting with that quintessential cozy fall flavor we all crave. What makes them stand out? The secret lies in intensely reducing the apple cider, which concentrates its natural sweetness and tartness, delivering an authentic, deep apple taste in every bite. With a generous stash of homemade apple cider in my fridge, these gluten-free delights became the perfect project. I whipped up a batch for Canadian Thanksgiving, and they were an instant hit, especially with the kids – and as any baker knows, a kid-approved recipe is a major win!
If you’re a fan of apple-infused desserts, whether it’s the comforting layers of Gluten-Free Apple Crisp, a wholesome bowl of Baked Oatmeal with Apple, or even the simple pleasure of Slow Cooker Applesauce on toast, then these baked apple cider donuts made with almond flour are guaranteed to become your new fall obsession. They’re not just good; they’re absolutely phenomenal!
The Appeal of Baked Gluten-Free Apple Cider Donuts
These aren’t just any donuts; they are a celebration of fall in a baked, gluten-free package. Traditional donuts are often deep-fried, which can be messy and heavy. Our baked version offers all the flavor and tender texture without the fuss and added fat of frying, making them a healthier indulgence. Crafted with a thoughtful blend of almond flour and tapioca flour, they cater to gluten-sensitive individuals without compromising on taste or texture. You get a moist, fluffy interior and that satisfying classic donut shop exterior thanks to the irresistible cinnamon-sugar coating. Perfect for breakfast, brunch, or an afternoon treat, they embody the warmth and comfort of the season.
Unlocking Authentic Fall Flavor: Key Ingredients & Why They Matter
Creating the perfect gluten-free apple cider donut relies on a few star ingredients, each playing a crucial role in achieving that rich flavor and delightful texture. Here’s a closer look at what you’ll need and the science behind their magic:
Intense Apple Cider Flavor: The Heart of Our Donuts
Apple Cider – This is truly the star of the show. Many apple cider donut recipes miss the mark by not intensifying the apple flavor enough. I’ve discovered that reducing 1 cup of apple cider down to about ⅓ cup is the absolute secret to packing these donuts with an incredibly rich, warm, and authentic apple essence. This reduction process concentrates the sugars and natural apple flavors, transforming it into a potent elixir that infuses every crumb. While I love using my own homemade fresh apple cider, high-quality store-bought apple cider (not apple juice!) works beautifully as well. Just be sure to avoid anything labeled “sparkling” or with added sugars if you want to control the sweetness.
The Perfect Gluten-Free Flour Blend: Soft, Moist, and Fluffy
Almond Flour & Tapioca Flour – After extensive testing with various gluten-free flour combinations, this specific duo emerged as the clear winner for the best texture. This blend ensures the donuts are wonderfully soft, moist, and tender, yet they hold together perfectly without being crumbly.
- The super-fine almond flour (preferably blanched) from brands like Bob’s Red Mill contributes a rich, subtly nutty flavor and keeps the donuts incredibly moist due to its higher fat content. It’s also packed with protein and fiber, making these a slightly more wholesome treat.
- The finely ground tapioca flour (also known as tapioca starch) is essential for adding a light, fluffy crumb and a subtle chewiness. It acts as a natural binder, providing elasticity and structure that gluten-free baked goods often lack.
Do I need to use xanthan gum? No! One of the great benefits of this particular flour blend is that you don’t need to add xanthan gum to these gluten-free donuts. The tapioca flour naturally provides excellent stretch and binding properties, giving you a perfect texture without the need for additional gums.
Warming Spices and Leavening Agents
Cinnamon & Baking Soda – No fall treat is complete without the warming embrace of cinnamon. Ground cinnamon delivers that quintessential cozy fall flavor, making these donuts irresistibly aromatic. I’ve experimented with adding other spices like nutmeg and allspice, but found that cinnamon alone keeps the flavor profile classic, clean, and allows the apple to truly shine. Baking soda is our crucial leavening agent, working with the acidic apple cider and other ingredients to create a chemical reaction that gives the donuts their light, airy rise and delicate crumb. Ensure your baking soda is fresh for optimal results.
Sweetness, Richness, and Moisture
Eggs, Sugar & Butter – This classic baking trio is fundamental for achieving the perfect balance of sweetness, richness, and moisture.
- Large Eggs (room temperature): Eggs bind the ingredients, add moisture, and contribute to the structure and richness of the donuts. Using room temperature eggs helps them incorporate more smoothly into the batter, leading to a more uniform texture.
- Granulated White Sugar: Provides essential sweetness and helps achieve that slightly crisp, golden edge when baked. If you prefer a deeper, more molasses-like flavor, you can certainly substitute part or all of the white sugar with brown sugar.
- Unsalted Butter (melted): Adds incredible richness and a tender crumb. Using unsalted butter allows you to control the overall salt content of the recipe. Ensure it’s melted and slightly cooled before incorporating into the wet ingredients.
Enhancing Flavors and Smoothness
Vanilla & Almond Milk – A touch of pure vanilla extract works wonders to enhance and round out the apple flavor, adding another layer of aromatic depth. A splash of almond milk ensures the batter reaches the perfect consistency, keeping it smooth and pourable. I’ve tested this recipe with both dairy milk and almond milk, and both work equally well, so feel free to use your preferred milk alternative.
The Irresistible Finishing Touch
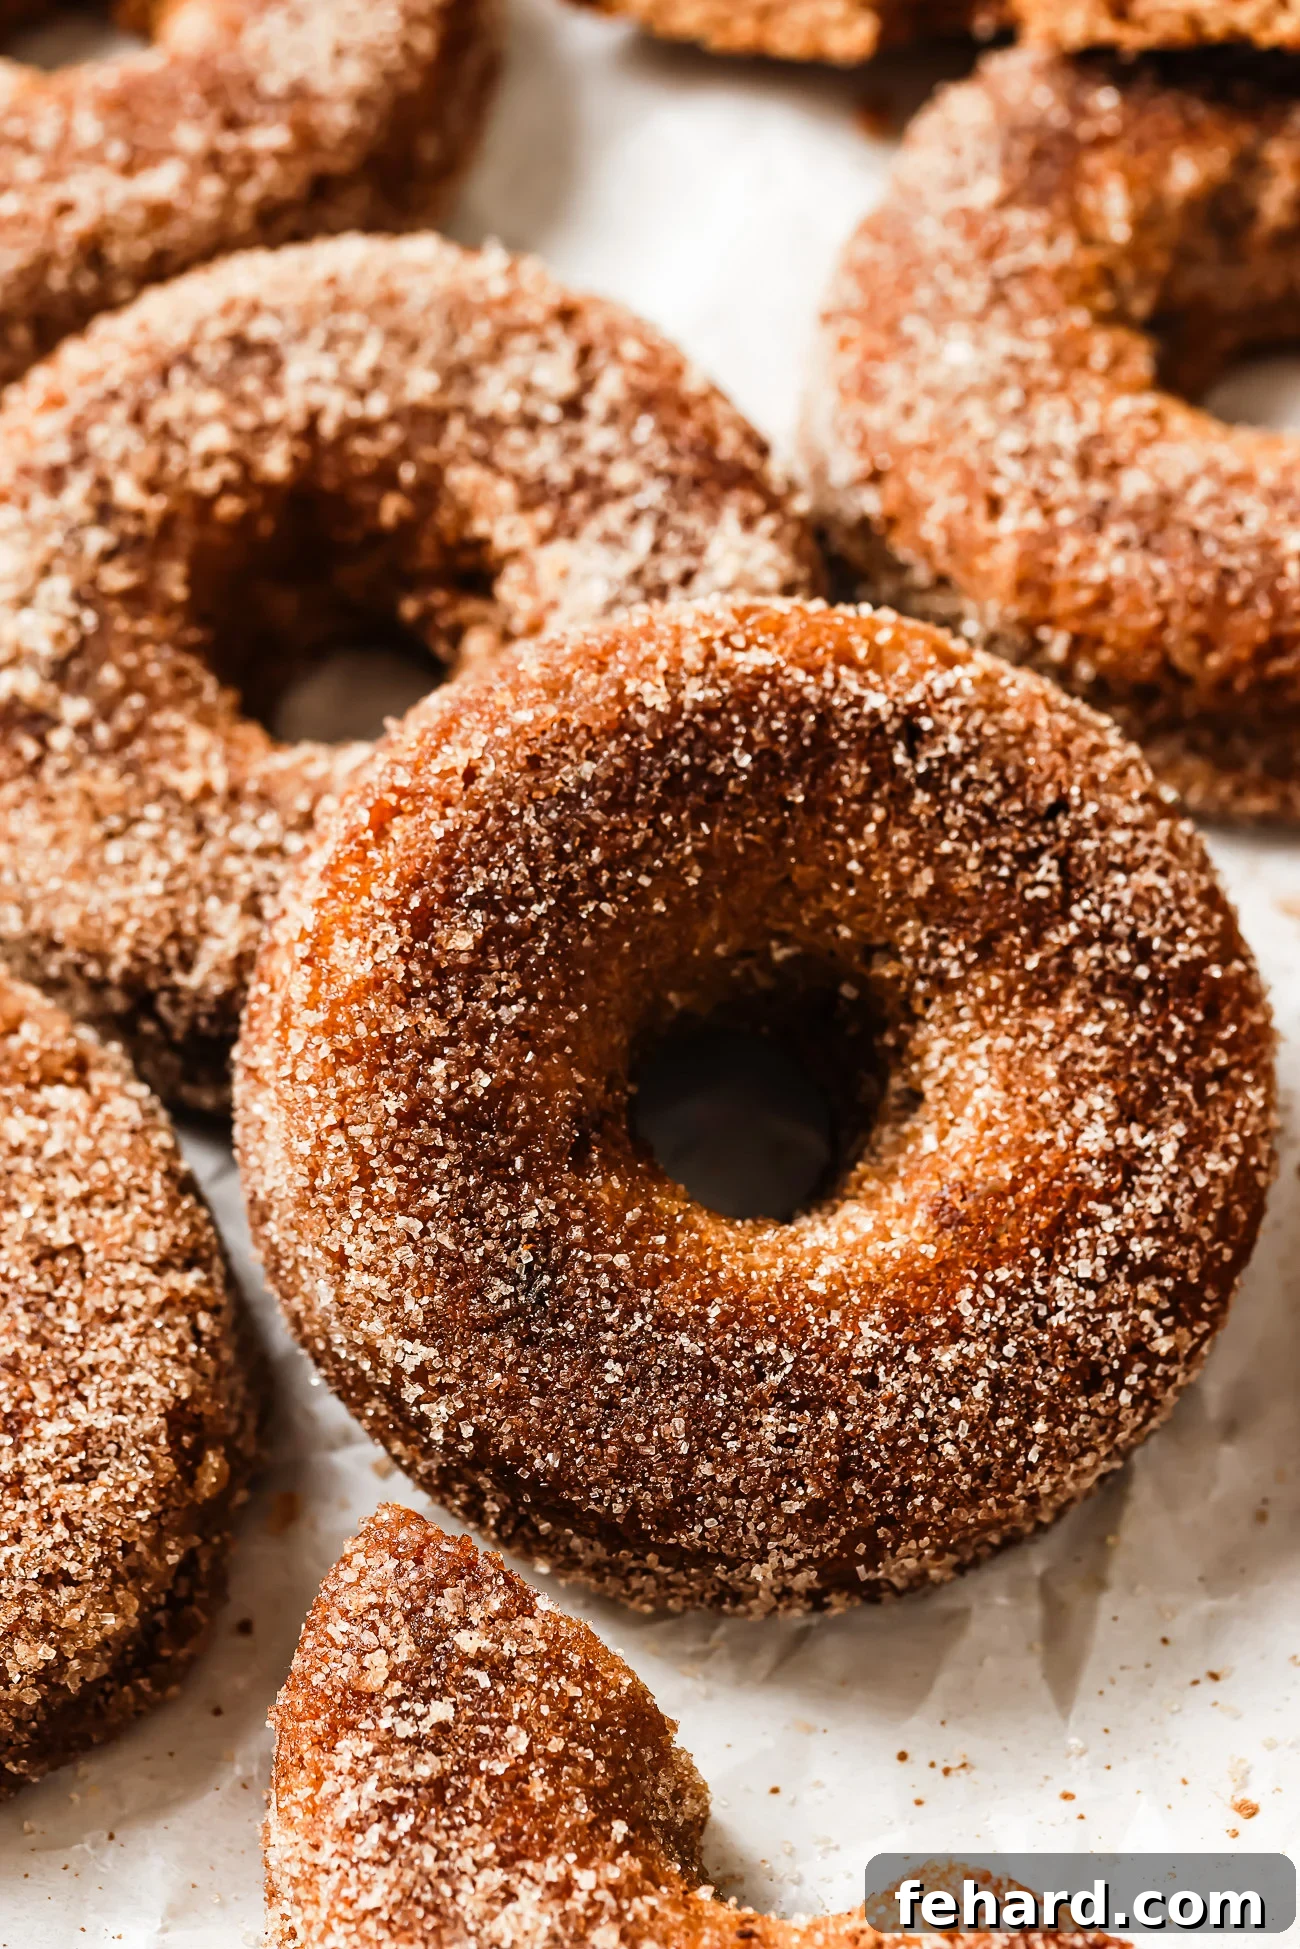
Cinnamon-Sugar Topping – While I’ve experimented with various coatings, nothing beats the classic cinnamon-sugar topping for that irresistible donut shop finish. Brushing the warm donuts with melted butter and then rolling them in a mixture of granulated sugar and cinnamon creates a delightful texture – crisp on the outside, soft and perfectly spiced inside. This coating is what truly elevates these homemade donuts to bakery-quality status.
All ingredients and their precise amounts are listed in the detailed recipe card at the bottom of this post.
How to Make Baked Gluten-Free Apple Cider Donuts: A Step-by-Step Guide
Making these delicious apple cider donuts is surprisingly simple, and since they’re baked, you don’t have to deal with the mess and fuss of deep-frying. Follow these steps for perfect results every time:
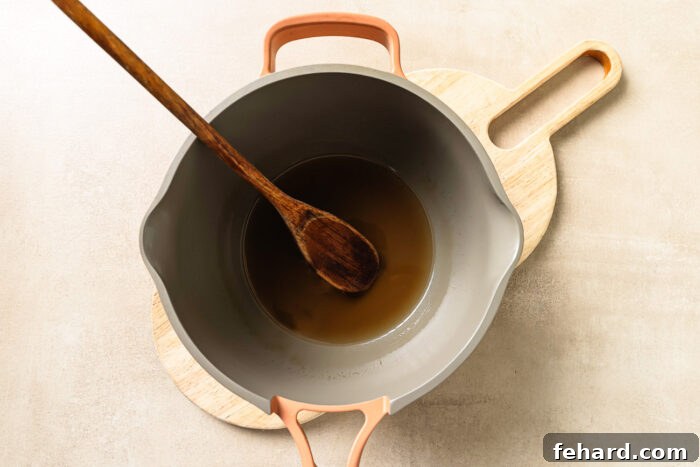
Step 1: Reduce the Apple Cider for Maximum Flavor
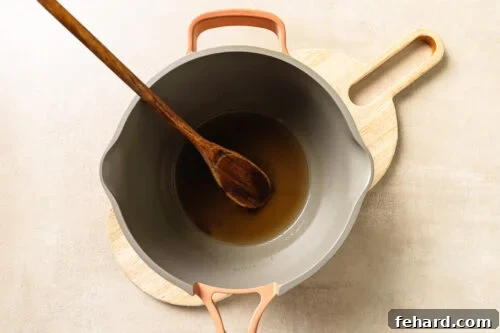
Pour 1 cup of apple cider into a small saucepan. Bring it to a boil, then immediately reduce the heat to a gentle simmer. Allow the cider to simmer, stirring occasionally, until it reduces to approximately ⅓ cup. This usually takes about 12 to 15 minutes. The goal is to intensify the apple flavor. Once reduced, remove it from the heat and let it cool slightly while you prepare the other ingredients. This step is crucial for that authentic, concentrated apple taste.
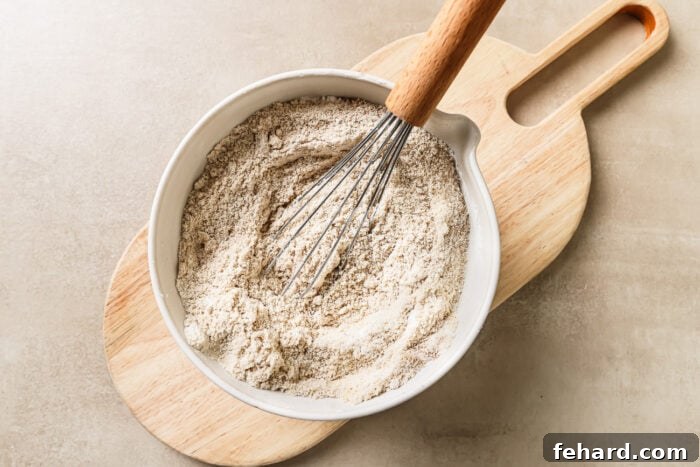
Step 2: Prepare Dry Ingredients and Preheat Oven
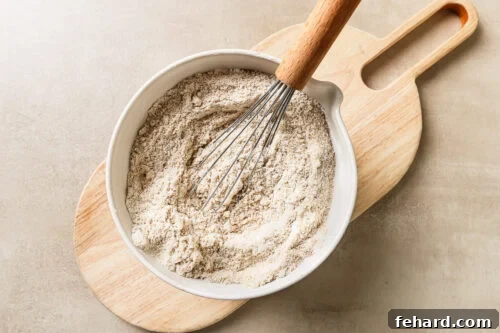
Preheat your oven to 350°F (175°C). Lightly grease a donut pan with cooking oil spray, ensuring all cavities are thoroughly coated to prevent sticking. In a large mixing bowl, whisk together the almond flour, tapioca flour, baking soda, ground cinnamon, and salt. Whisking ensures these dry ingredients are well combined and evenly distributed, which is key for a consistent donut texture.
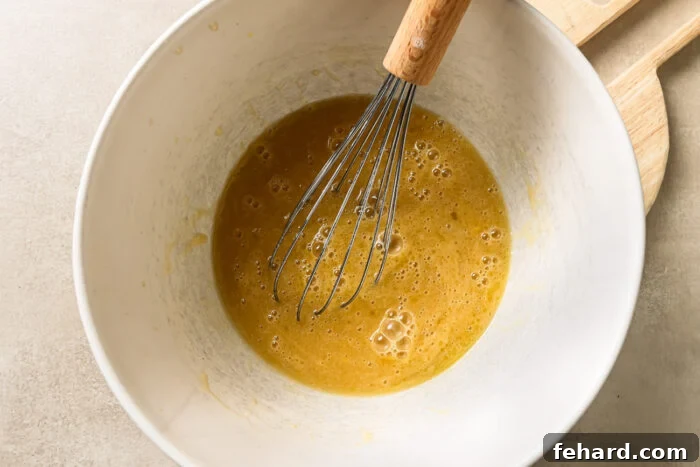
Step 3: Combine Wet Ingredients
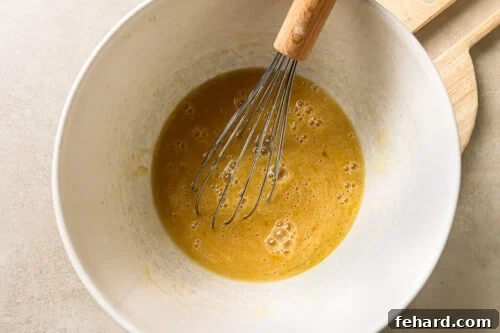
In a separate, medium-sized bowl, whisk together the wet ingredients: the room temperature eggs, white sugar, cooled melted butter, almond milk, pure vanilla extract, and the slightly cooled reduced apple cider. Whisk until the mixture is smooth and well combined. Ensure the melted butter isn’t too hot, as it could scramble the eggs.
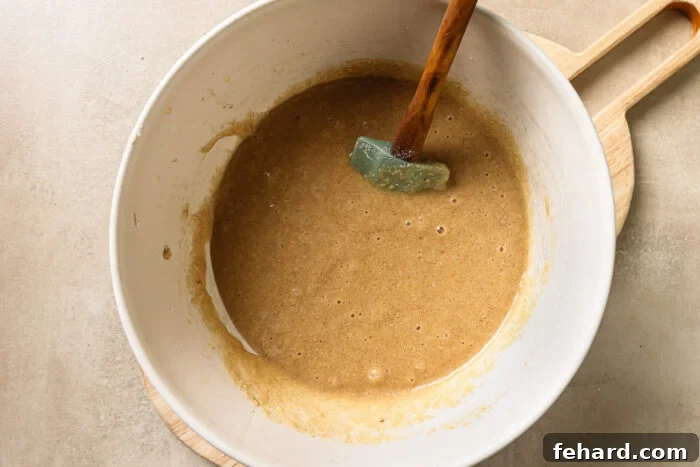
Step 4: Gently Combine Wet and Dry Ingredients
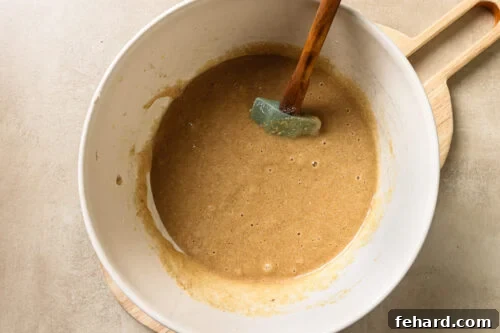
Pour the wet ingredients into the bowl with the dry ingredients. Stir them together using a spatula or wooden spoon until they are just combined. It’s important not to overmix the batter; overmixing can lead to a tougher texture in gluten-free baked goods. The batter will be thick, which is perfectly normal for these donuts.
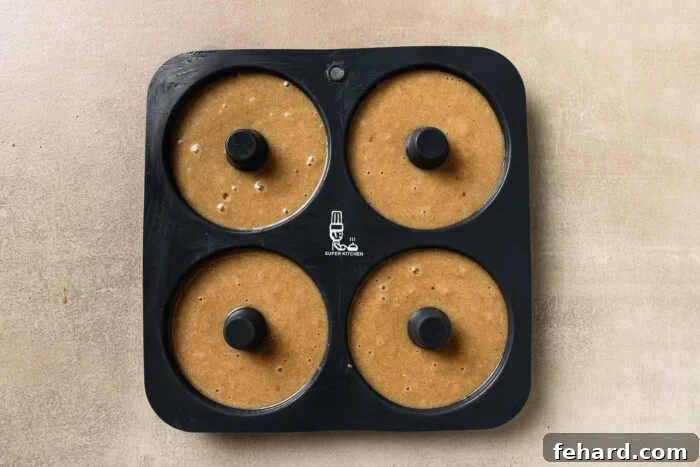
Step 5: Fill the Donut Pan and Bake
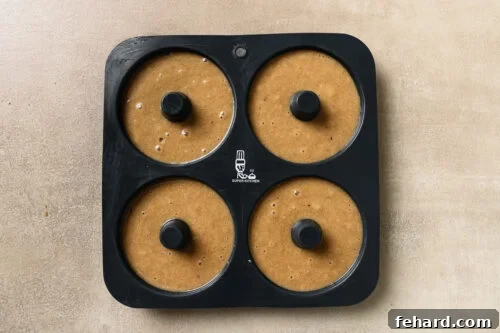
Spoon the thick donut batter into a piping bag (with or without a tip) or simply use two spoons. Pipe or spoon the batter evenly into the prepared donut pan cavities, filling each about ¾ full. This prevents them from overflowing while baking. Bake for 15-20 minutes, or until a toothpick inserted into the center of a donut comes out clean. Be careful not to overbake, as gluten-free goods can dry out quickly. Let the donuts cool in the pan for about 5 minutes, then gently transfer them to a wire rack to cool slightly more.
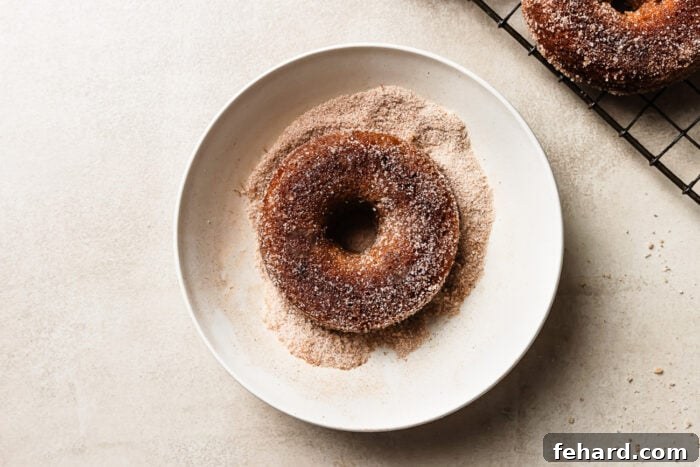
Step 6: Coat with Cinnamon-Sugar
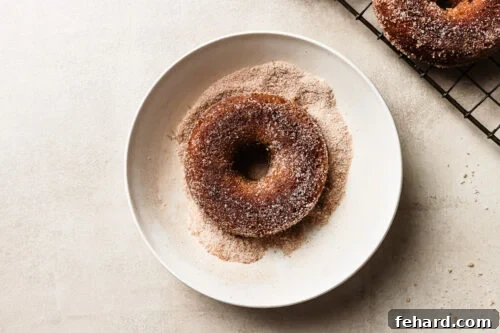
While the donuts are still warm, prepare your topping. In one shallow bowl, mix together the granulated sugar and ground cinnamon for the coating. In another small, shallow bowl, melt the remaining unsalted butter. Lightly brush each warm donut with melted butter, or quickly dip it, ensuring it’s not soaked. Then, immediately roll the buttered donut in the cinnamon-sugar mixture until it’s fully coated. The warmth of the donut helps the butter and sugar adhere perfectly. Serve immediately and enjoy the fresh, warm goodness!
No Donut Pan? No problem! Don’t let not owning a donut pan stop you from making these delicious treats! You can easily use a regular or mini muffin tin instead. Just fill the muffin cavities about ¾ full, and bake for a similar amount of time (mini muffins will bake faster). You’ll still get all that amazing apple cider spice flavor in a slightly different shape!
Olivia’s Expert Baking Tips for Perfect Gluten-Free Apple Cider Donuts
Achieving bakery-quality gluten-free donuts at home is entirely possible with a few key techniques. Here are my top tips to ensure your apple cider donuts turn out perfectly every time:
1. Don’t Skip Reducing the Apple Cider: It’s Non-Negotiable!
This is arguably the most critical step for intense apple flavor. Reducing the apple cider concentrates its natural sugars and robust apple notes, creating a powerful flavor base. Without this step, your donuts will have a much milder, less impactful apple taste. Simmer it gently until it’s thick and syrupy, reducing it by about two-thirds. Let it cool slightly before adding to the wet ingredients.
2. Use Finely Blanched Almond Flour for a Superior Texture
The type of almond flour truly makes a difference in gluten-free baking. Always opt for finely blanched almond flour. Coarse or unblanched almond flour can result in a grainy, dense, or heavy texture. Finely ground almond flour, where the skins have been removed (blanched) and then ground very finely, ensures a wonderfully soft, moist, and cake-like crumb that’s light and delicate.
3. Measure Your Flours Correctly: Precision is Key
Gluten-free baking is more sensitive to flour measurements than traditional baking. To avoid a dense, dry, or crumbly batter, always measure your almond and tapioca flour correctly. The best method is the “spoon and level” technique:
- Fluff up the flour in its container with a spoon.
- Gently spoon the flour into your measuring cup until it’s overflowing.
- Use the back of a straight knife or another flat edge to level off the excess flour, ensuring it’s flush with the top of the measuring cup.
- Do NOT scoop the flour directly with the measuring cup or pack it down, as this can add too much flour.
4. Don’t Overmix the Batter: Gentle Hands for Tender Donuts
Once you’ve added the dry ingredients to the wet, mix just until they are combined and no streaks of dry flour remain. Overmixing the batter, even a gluten-free one, can lead to a tougher, chewier donut by developing starches and affecting the delicate structure. A few lumps are perfectly fine!
5. Don’t Overbake: Guard Against Dryness
Gluten-free baked goods can dry out very quickly if overbaked. Start checking for doneness around 15-18 minutes. The donuts should be golden brown and spring back lightly when gently touched. Insert a toothpick into the center of a donut; if it comes out clean or with a few moist crumbs, they are done. Pull them from the oven immediately to maintain their moist, tender texture.
6. Dip Lightly in Melted Butter: The Perfect Adhesive for Coating
When applying the cinnamon-sugar coating, a light brush or quick dip in melted butter is all you need. You want just enough butter to help the sugar stick, not to soak the donut. Excessive butter can make the donuts soggy and greasy, which detracts from their delightful texture.
7. Alternate Coating Option: Powdered Sugar Magic
If you prefer a lighter, less textured coating, powdered sugar (also known as icing sugar or confectioners’ sugar) is a fantastic alternative. Simply let your baked donuts cool slightly, then place them in a large zip-top bag with 2-3 tablespoons of powdered sugar. Shake gently until the donuts are fully coated in a delicate, sweet dusting. This creates a beautifully soft and melt-in-your-mouth finish.
Why Choose Gluten-Free Apple Cider Donuts?
There are many reasons why opting for gluten-free donuts can be a fantastic choice, even if you don’t have celiac disease.
- Dietary Needs: For those with gluten sensitivities, celiac disease, or gluten allergies, these donuts offer a delicious and safe way to enjoy a classic treat without discomfort.
- Lighter Texture: The almond and tapioca flour blend often results in a surprisingly light and tender crumb, sometimes even more delicate than wheat-based donuts.
- Nutrient Benefits: Almond flour adds healthy fats, protein, and fiber, making these donuts a slightly more nutritious option compared to their refined wheat counterparts.
- Digestibility: Many people find gluten-free baked goods easier to digest, leading to less bloating or heaviness after enjoying a treat.
- Flavor Profile: The subtle nuttiness of almond flour perfectly complements the warm spices and rich apple flavor, creating a complex and satisfying taste experience.
Baked vs. Fried: The Healthier Choice
While traditional donuts are typically deep-fried, our recipe calls for baking, offering several advantages:
- Reduced Fat: Baking uses significantly less oil than frying, resulting in a lighter donut with fewer calories and less saturated fat.
- Easier Cleanup: No splattering hot oil to deal with, making the baking process much cleaner and safer for home cooks.
- Consistent Texture: Baking provides a more consistent, cake-like texture throughout the donut, ensuring it’s tender and moist.
- Simpler Process: No need for special frying equipment or managing oil temperatures. Just mix, pour, and bake!
Serving Suggestions for Your Fall Favorites
These Gluten-Free Apple Cider Donuts are delightful on their own, but pairing them with the right accompaniments can elevate the experience even further:
- Coffee or Tea: A classic pairing! Enjoy them with a hot cup of coffee, a comforting chai latte, or a spiced herbal tea for a perfect breakfast or afternoon snack.
- Warm Apple Cider: Double down on the apple goodness by serving them alongside a mug of warm, spiced apple cider (perhaps a bit of the reduced cider mixed with hot water for an extra kick!).
- Vanilla Ice Cream: For a decadent dessert, serve a warm donut with a scoop of vanilla bean ice cream. The contrast of warm and cold, soft and creamy, is simply divine.
- Yogurt Dip: A light Greek yogurt sweetened with a touch of maple syrup and cinnamon makes a lovely, tangy dip.
- Fall Brunches: They make a wonderful addition to any fall brunch spread, impressing guests with their homemade charm.
More Delightful Apple Recipes to Try
Cranberry Apple Quinoa Salad
10 mins
Gluten Free Apple Crisp
50 mins
Pork Chops with Apples and Onions
26 mins
Slow Cooker Applesauce Recipe
4 hrs 15 mins
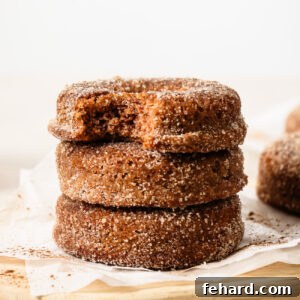
Gluten-Free Apple Cider Donuts – Baked with Almond Flour!
★
★
★
★
Olivia Ribas
12 donuts
10
18
28
Ingredients
For the donuts:
- 1 cup apple cider reduced to about ⅓ cup – see instructions
- 2 ¼ cups blanched almond flour
- ¾ cup tapioca flour
- 1 tsp baking soda
- 1 tsp ground cinnamon
- ¼ tsp salt
- 2 large eggs room temperature
- ¾ cup white sugar
- 2 tbsp unsalted butter melted
- 2 tbsp almond milk
- 1 tsp pure vanilla extract
- Cooking oil spray to grease donut pan
For the topping:
- 2 tbsp unsalted butter melted
- ½ cup white sugar
- 1 tsp ground cinnamon
Instructions
-
Pour 1 cup of apple cider into a small saucepan. Boil the mixture, then lower the heat. Let it simmer until it reduces to about ⅓ cup. Stir occasionally for 12 to 15 minutes. Let cool slightly.

-
Preheat oven to 350°F (175°C). Lightly grease a donut pan with cooking oil spray.
-
In a medium bowl, whisk together almond flour, tapioca flour, baking soda, cinnamon, and salt.
-
In a large bowl, whisk together the eggs, sugar, melted butter, almond milk, vanilla, and reduced apple cider until smooth.
-
Add dry ingredients to wet and stir until just combined (do not overmix). Batter will be thick.
-
Spoon or pipe batter evenly into donut pan cavities, filling each about ¾ full.
-
Bake for 18–20 minutes, or until a toothpick inserted in the center comes out clean. Cool in the pan for 5 minutes, then transfer to a wire rack.
-
In one bowl, mix sugar and cinnamon. Place melted butter in another small bowl. While still warm, brush or dip donuts lightly in melted butter, then roll in cinnamon sugar mixture. Enjoy!
Notes
How to Freeze: Let the donuts cool completely on a wire rack. Once cooled, arrange them in a single layer on a baking sheet and freeze until solid (this prevents them from sticking together). Transfer the frozen donuts to a freezer-safe bag or airtight container. Freeze for up to 2–3 months. To reheat, warm them in the oven or air fryer until heated through. If you froze them without the cinnamon-sugar coating, add it after reheating for the best fresh taste and texture.
Nutrition
Nutrition information is automatically calculated, so should only be used as an approximation.
Did You Make This?
Follow @primaverakitchen on Instagram, snap a photo, and tag it #primaverakitchen. We’d love to see your recreation.