
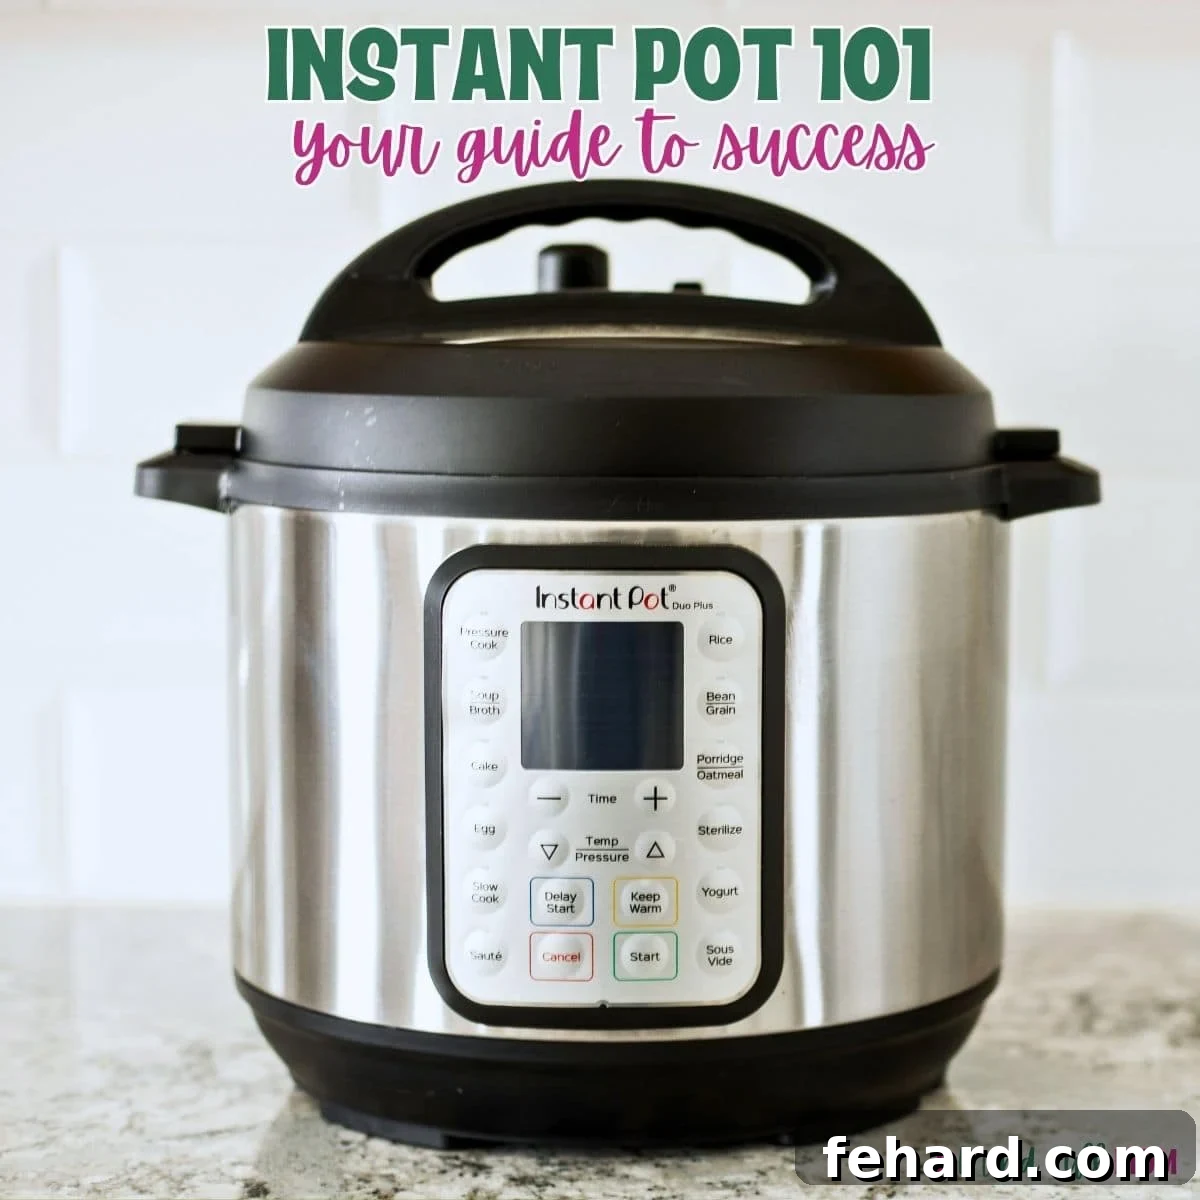
Welcome to the exciting world of Instant Pot cooking! If you’ve just unboxed your new Instant Pot and are feeling a mix of excitement and a little overwhelm, you’re in the right place. Many beginners find the instruction manual lacking, leaving them feeling more confused than confident. But don’t worry, this guide is designed to simplify everything, transforming you from a hesitant beginner into a confident Instant Pot chef!
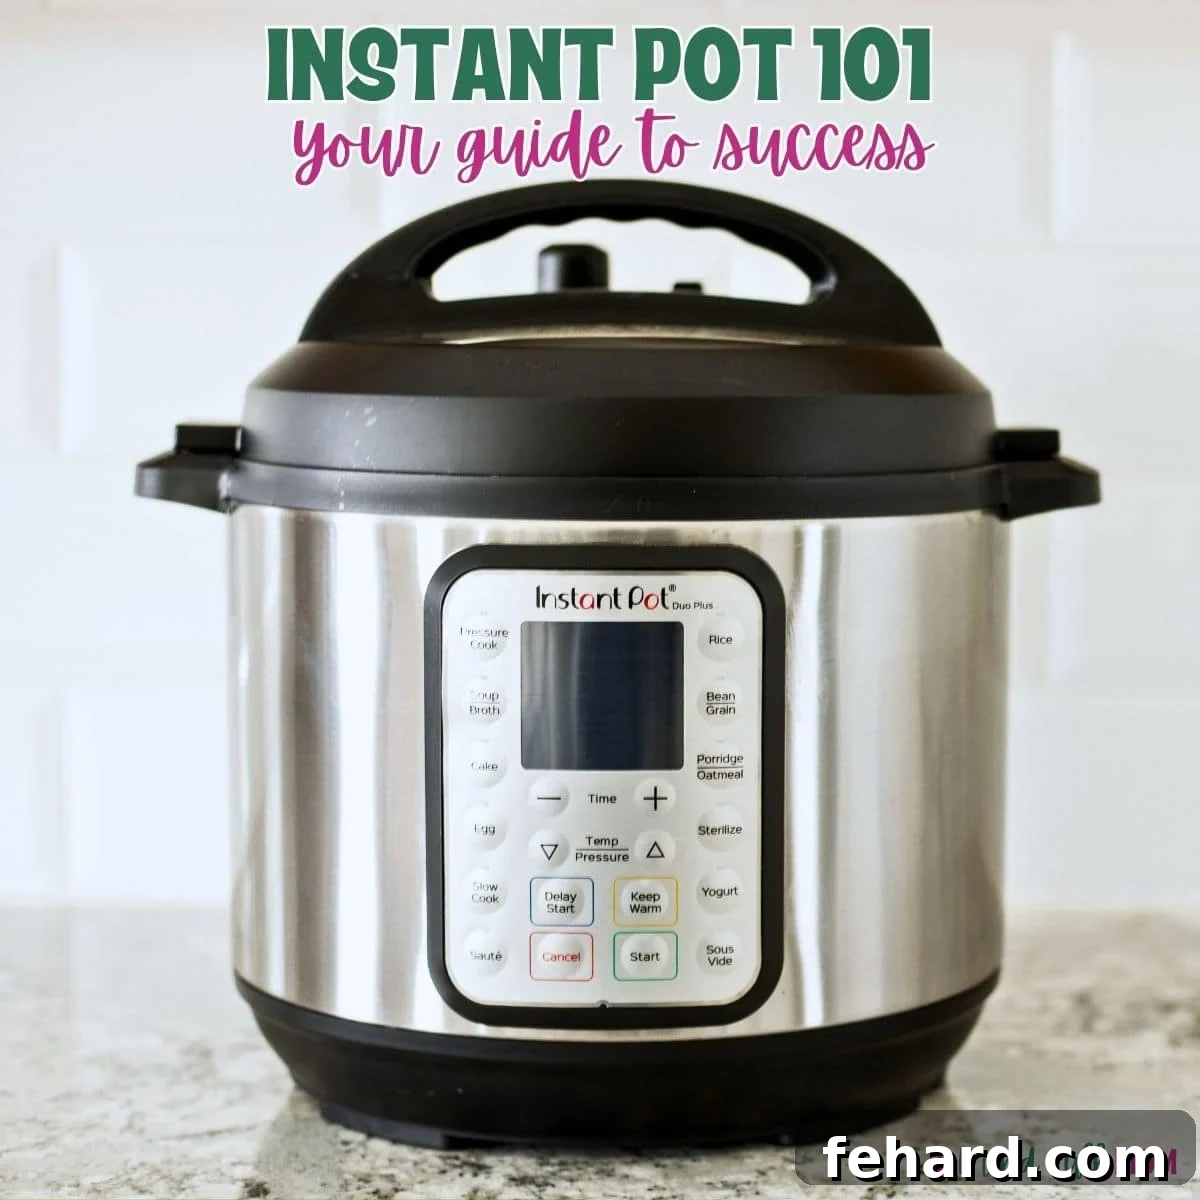
Instant Pot 101: Your Essential Beginner’s Guide

Over the years, I’ve had the pleasure of guiding countless individuals through their Instant Pot journey, helping them unlock the full potential of this incredible kitchen appliance. Now, I want to do the same for you! This comprehensive guide will demystify your Instant Pot, breaking down every essential aspect into easy-to-understand steps.
In this guide, you will learn:
- Instant Pot parts and their proper cleaning
- The essential Instant Pot functions and buttons
- A step-by-step water test to build your confidence
- The difference between Natural Pressure Release (NPR) and Quick Release (QR)
- Crucial safety tips to remember for worry-free cooking
- Keys to Instant Pot success for consistent delicious meals
- Practical troubleshooting for common Instant Pot issues
- My favorite, truly essential Instant Pot accessories
- Guidance on choosing the best Instant Pot model for your needs
Stay with me, and you’ll be well on your way to mastering the art of pressure cooking. Get ready to enjoy countless delicious, time-saving meals!
Happy Instant Pot Cooking! xo Kristen
Understanding Your Instant Pot: Parts and Cleaning
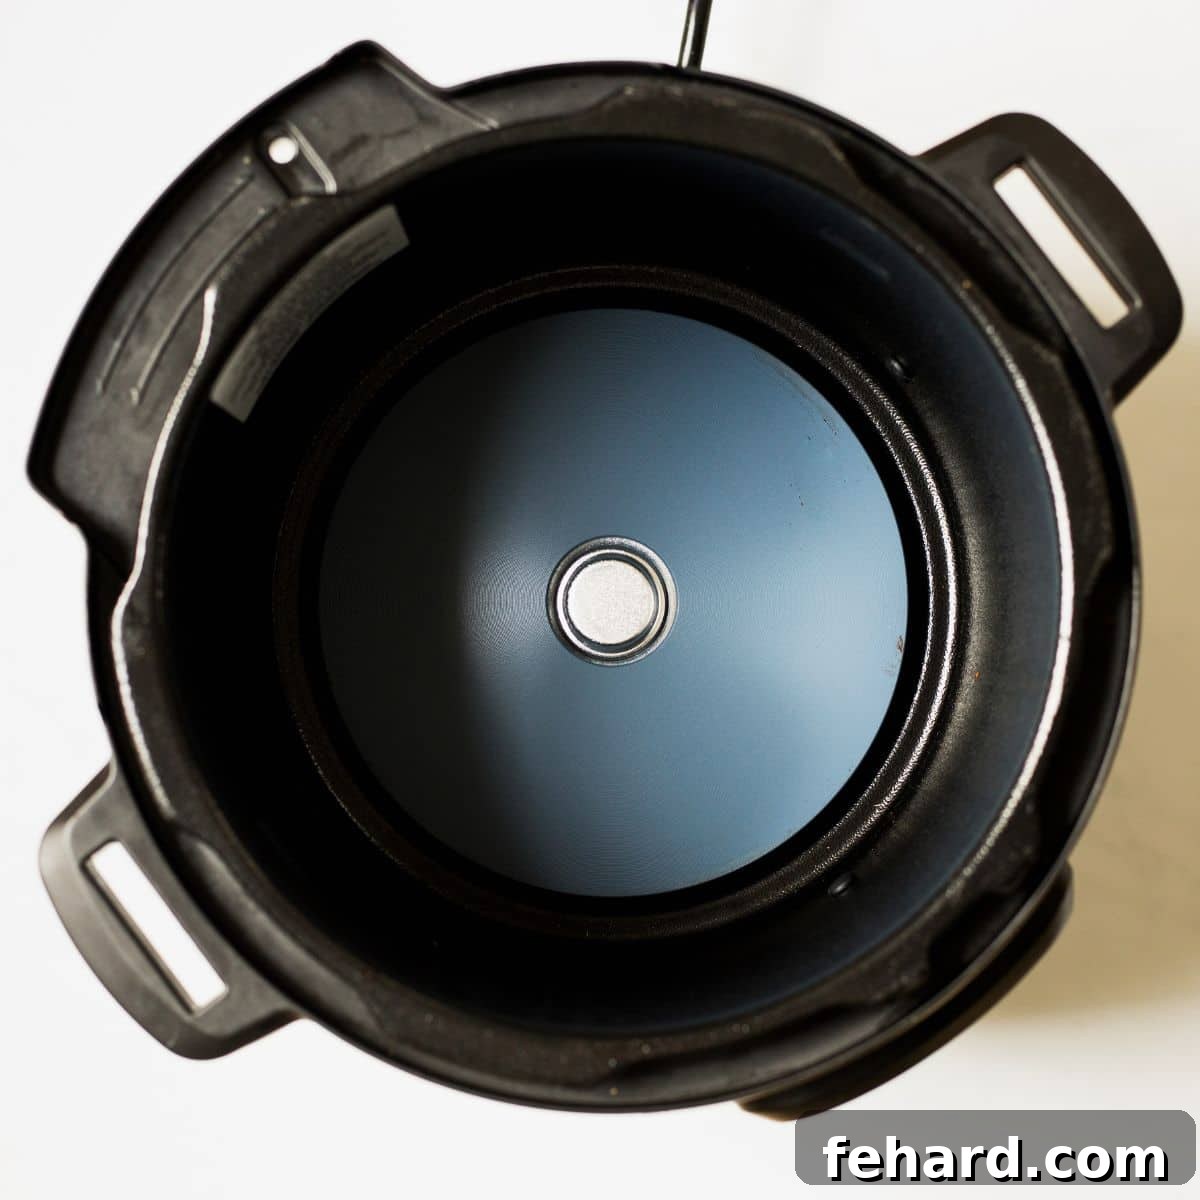
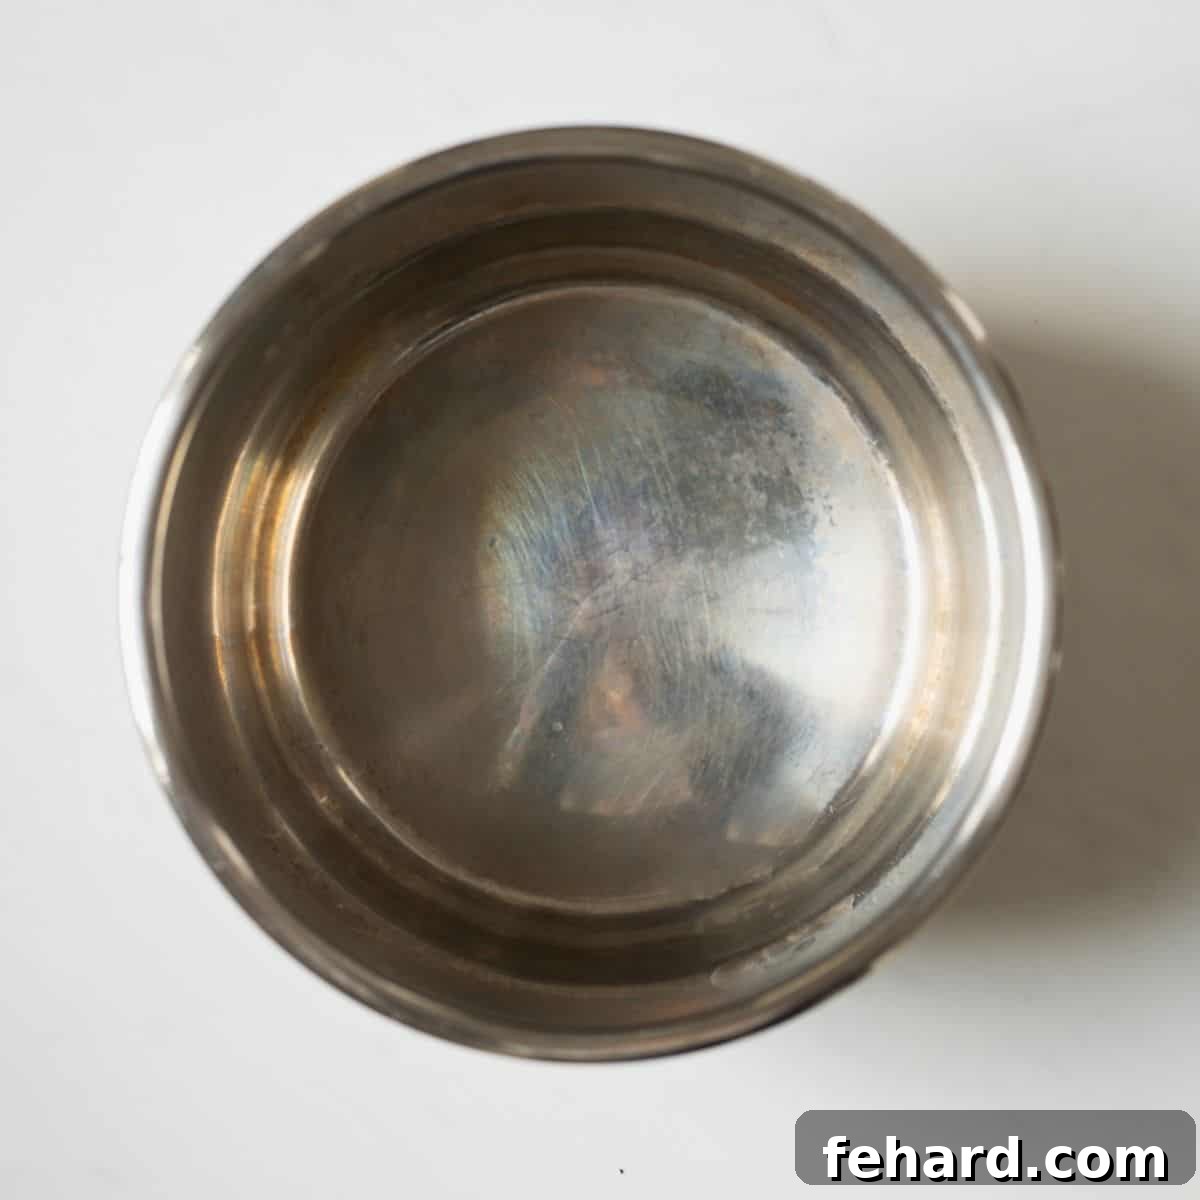
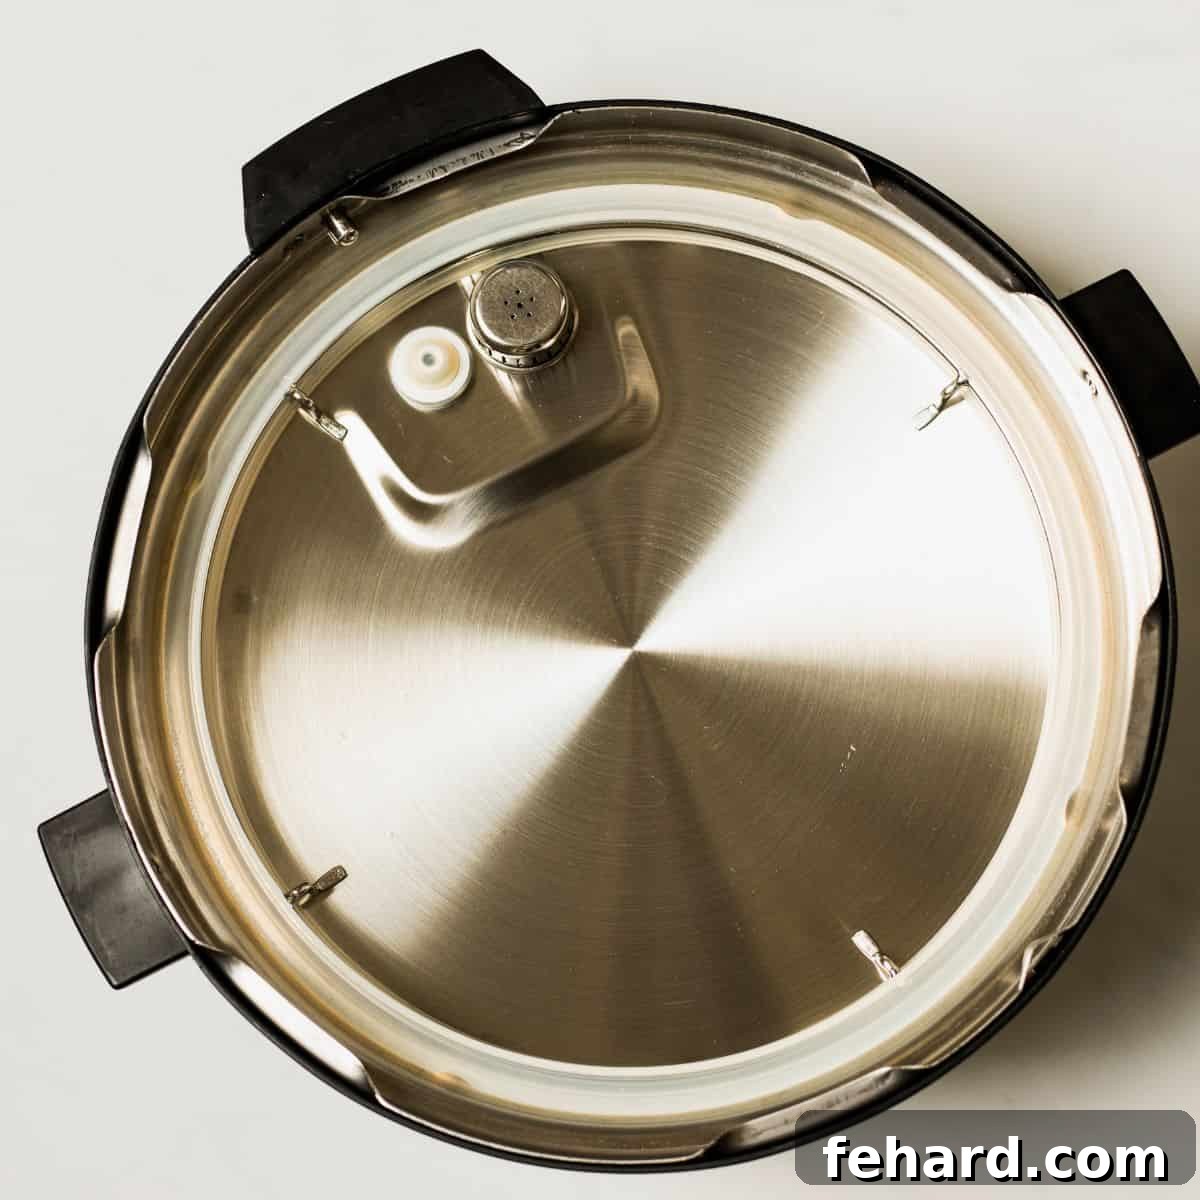
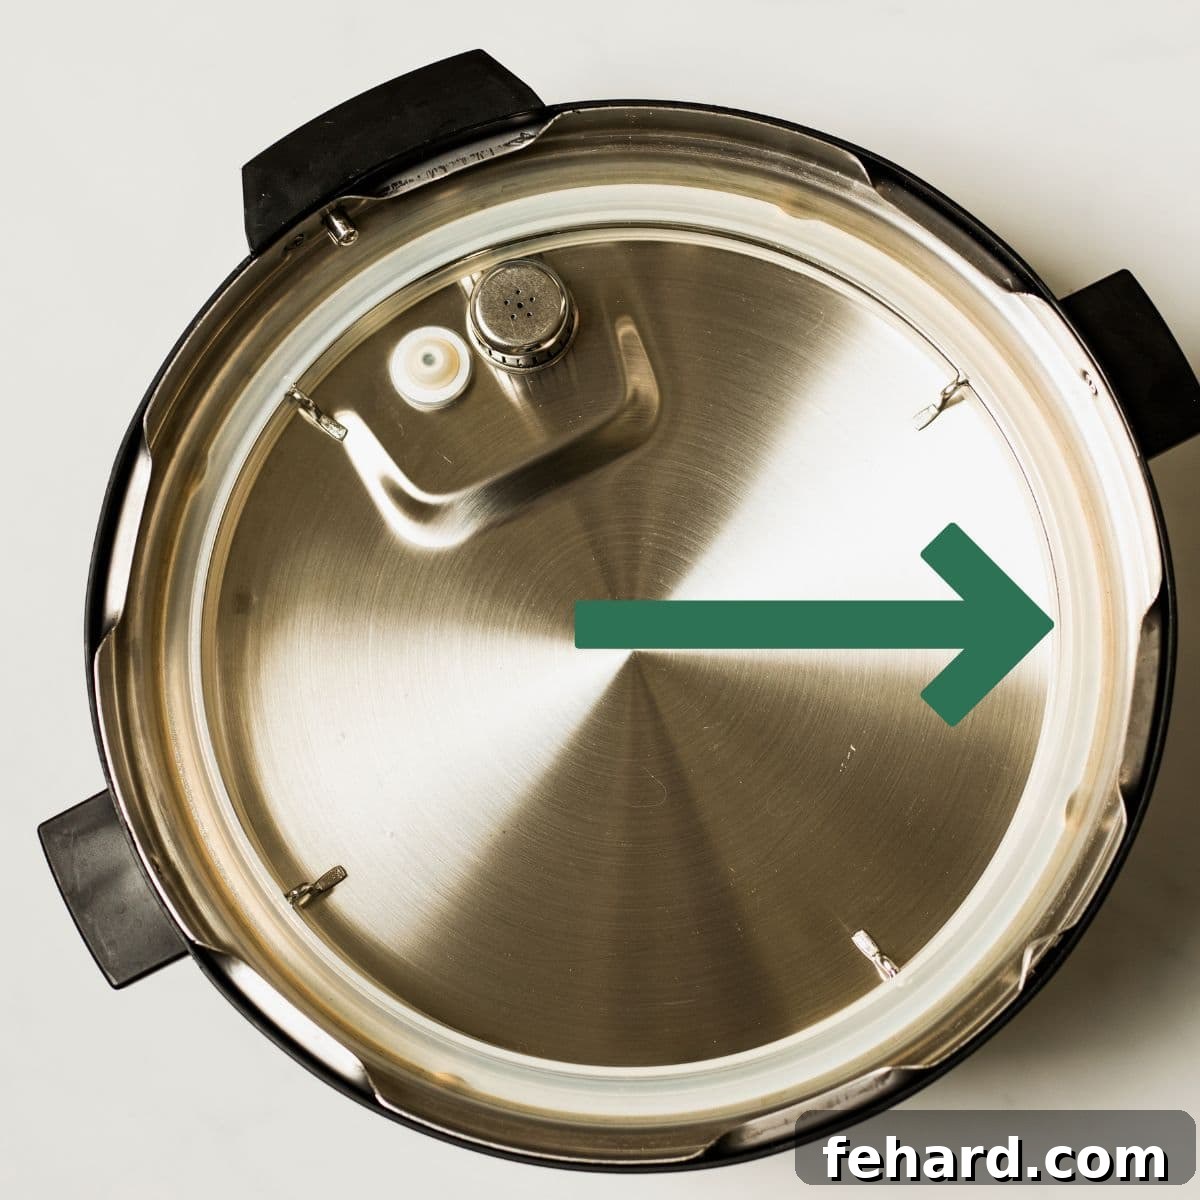
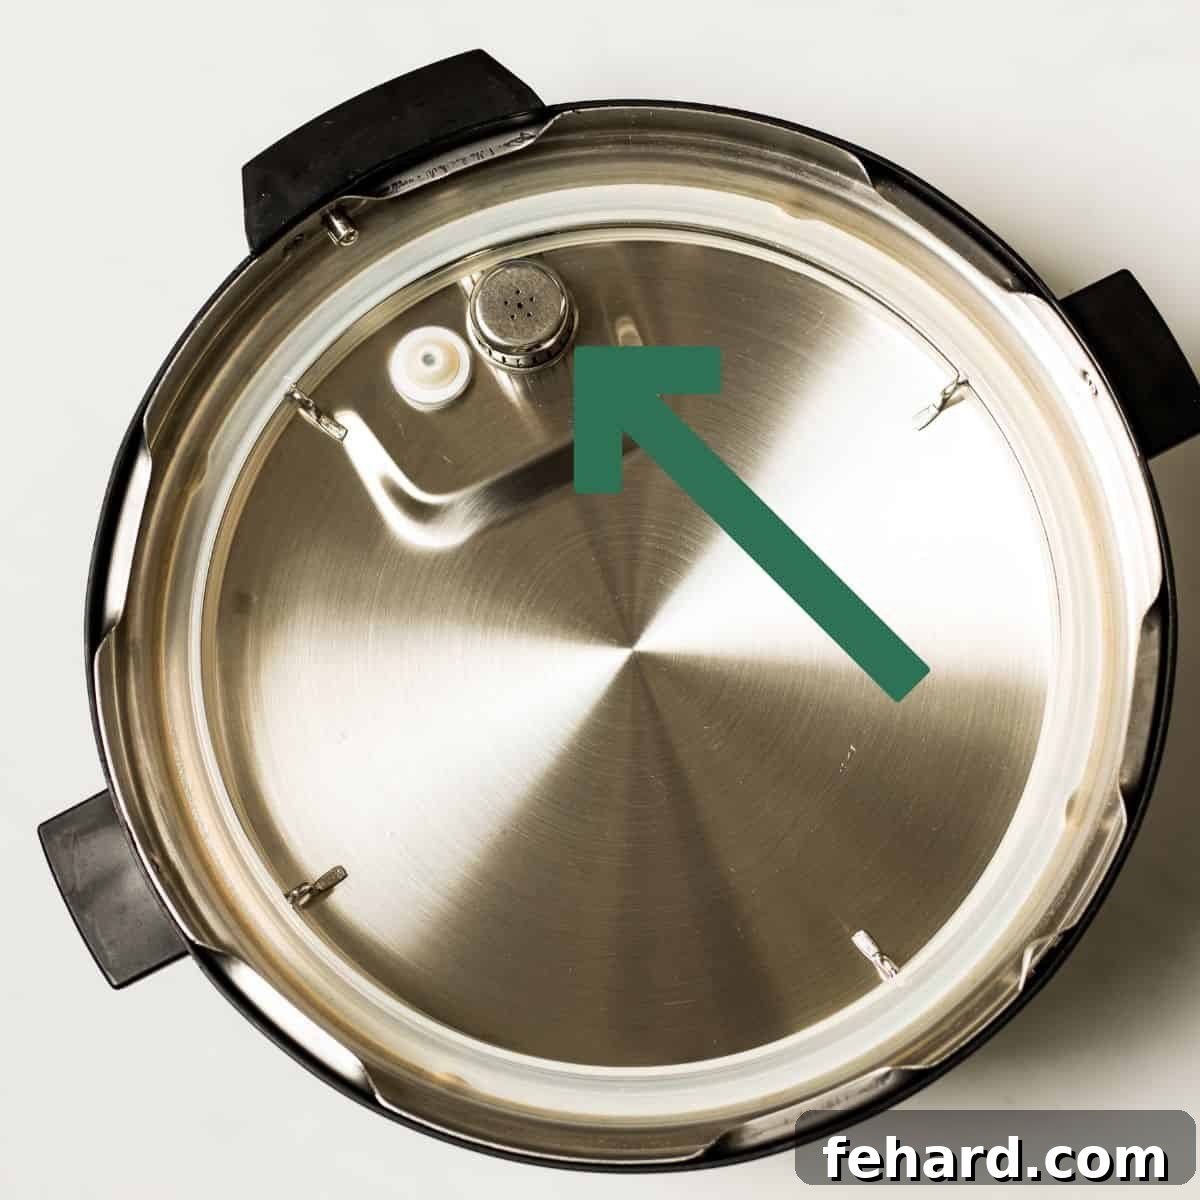
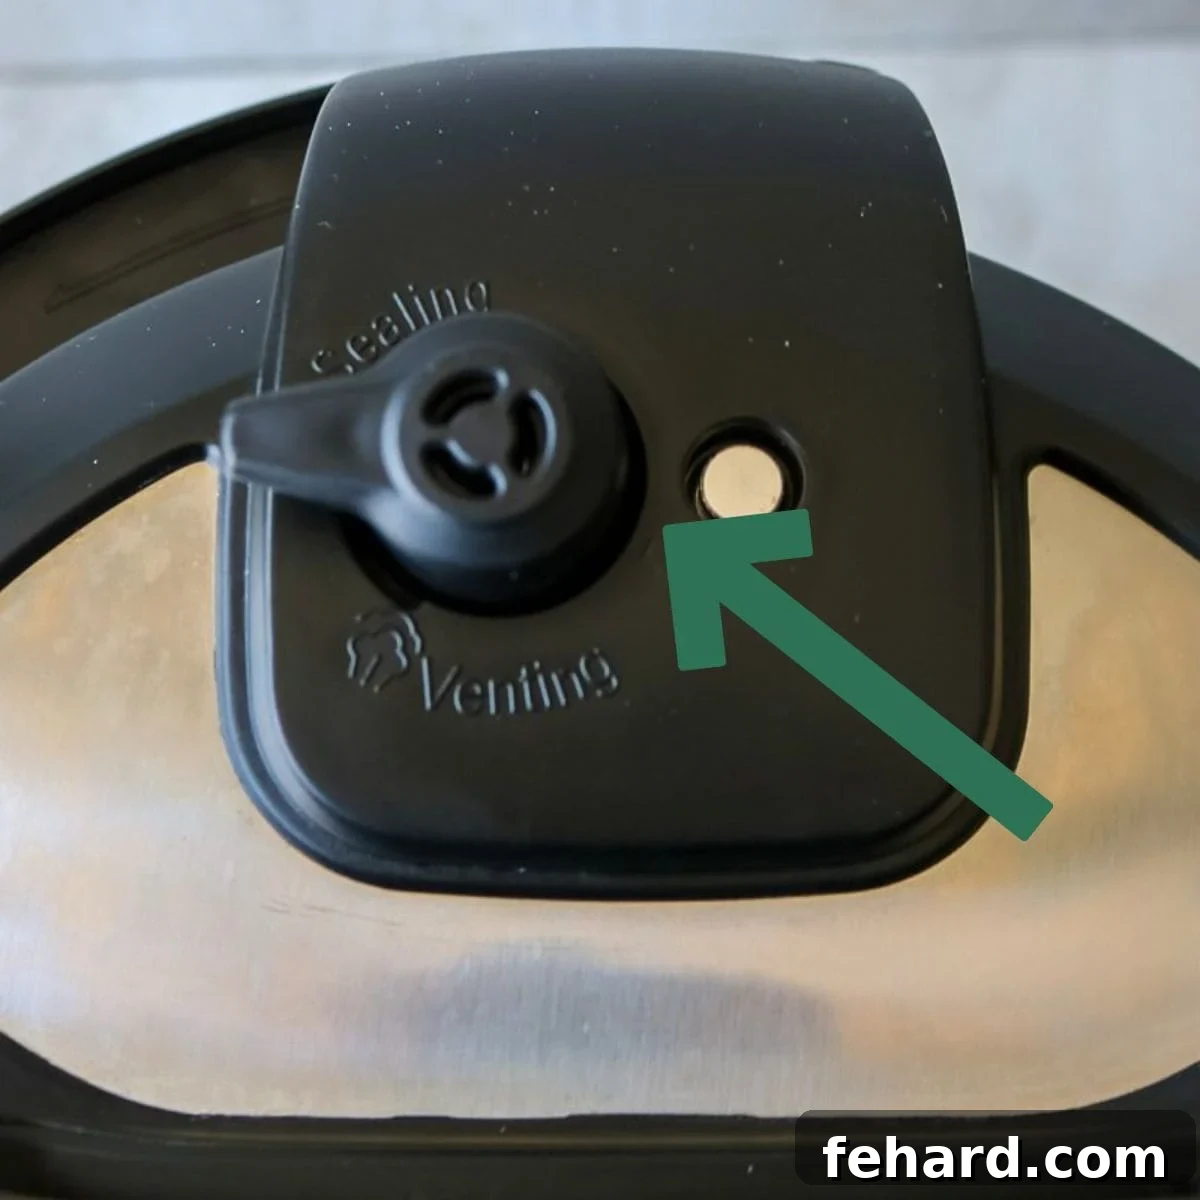
Before diving into cooking, let’s familiarize ourselves with the various components of your Instant Pot. Knowing each part’s name, function, and how to properly clean it is fundamental to safe and effective operation.
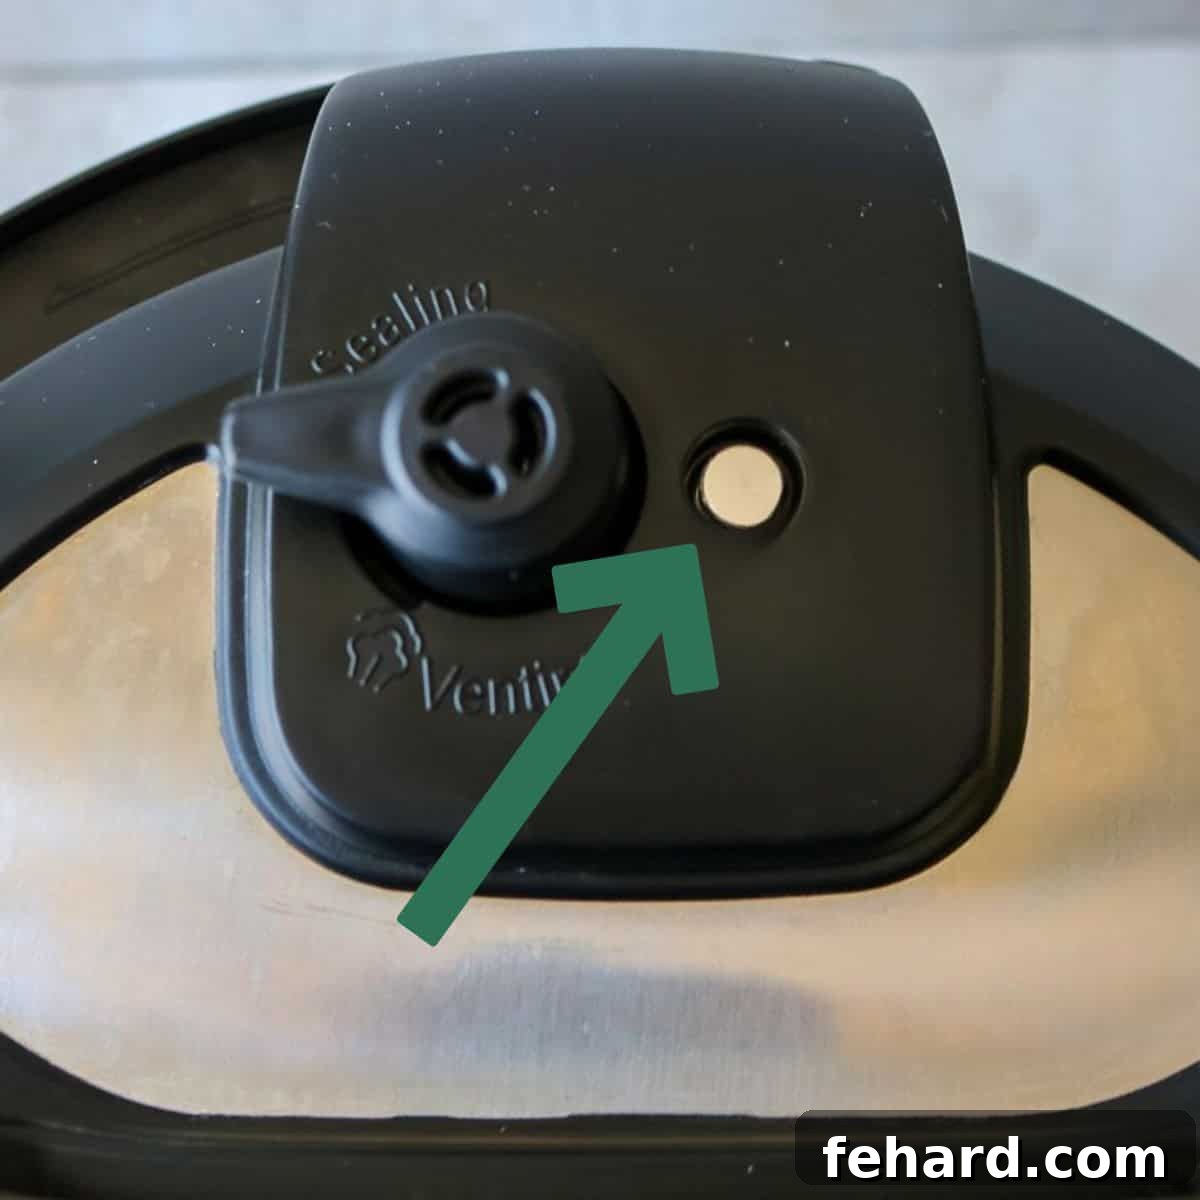
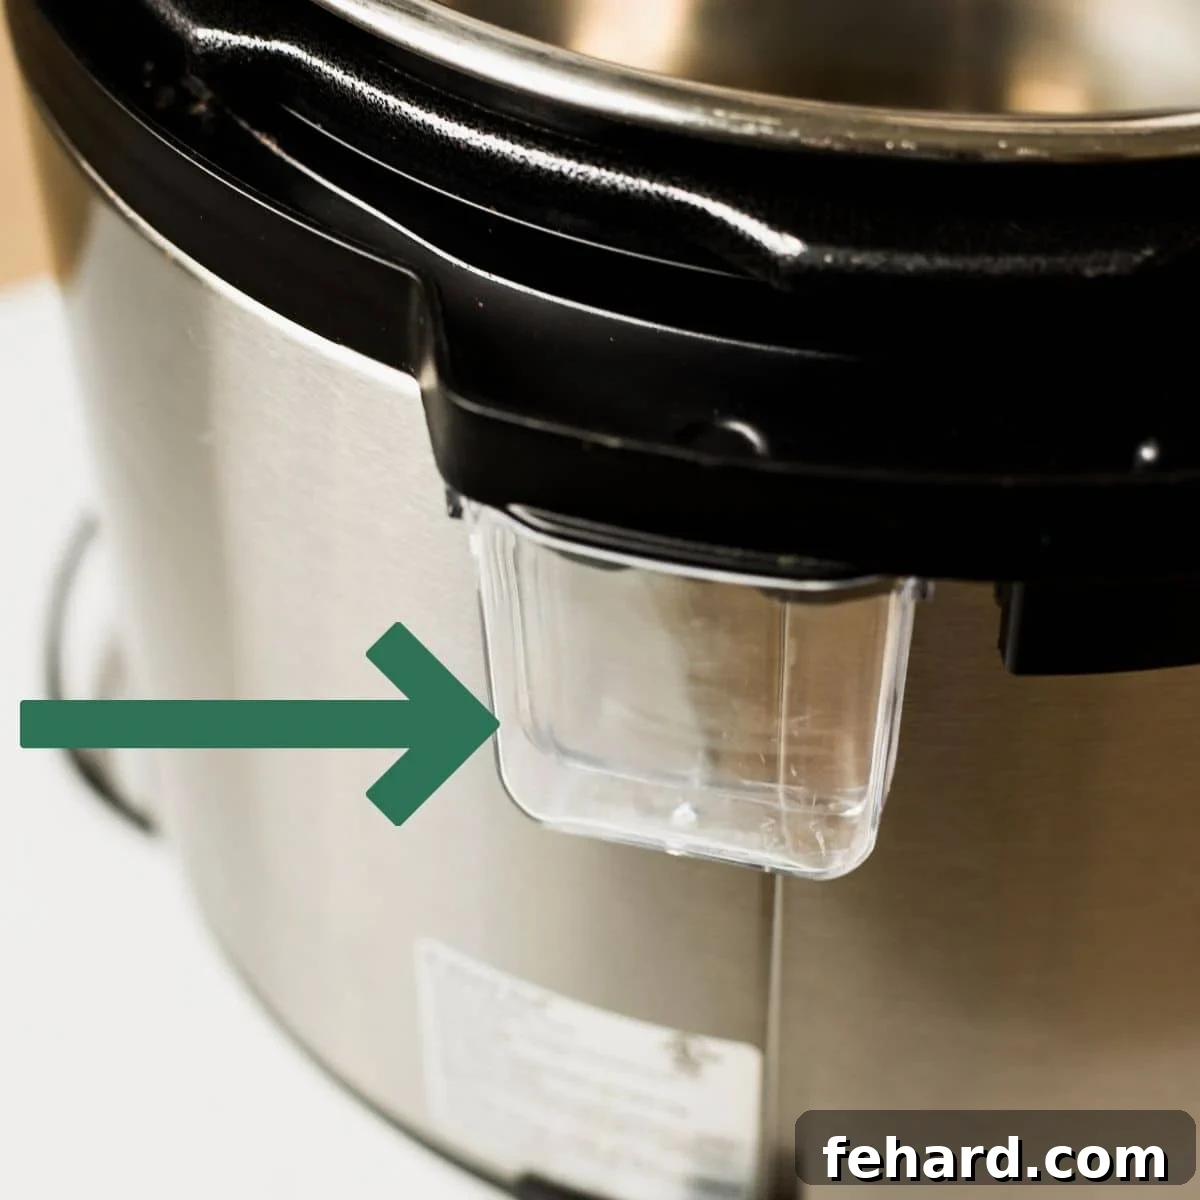
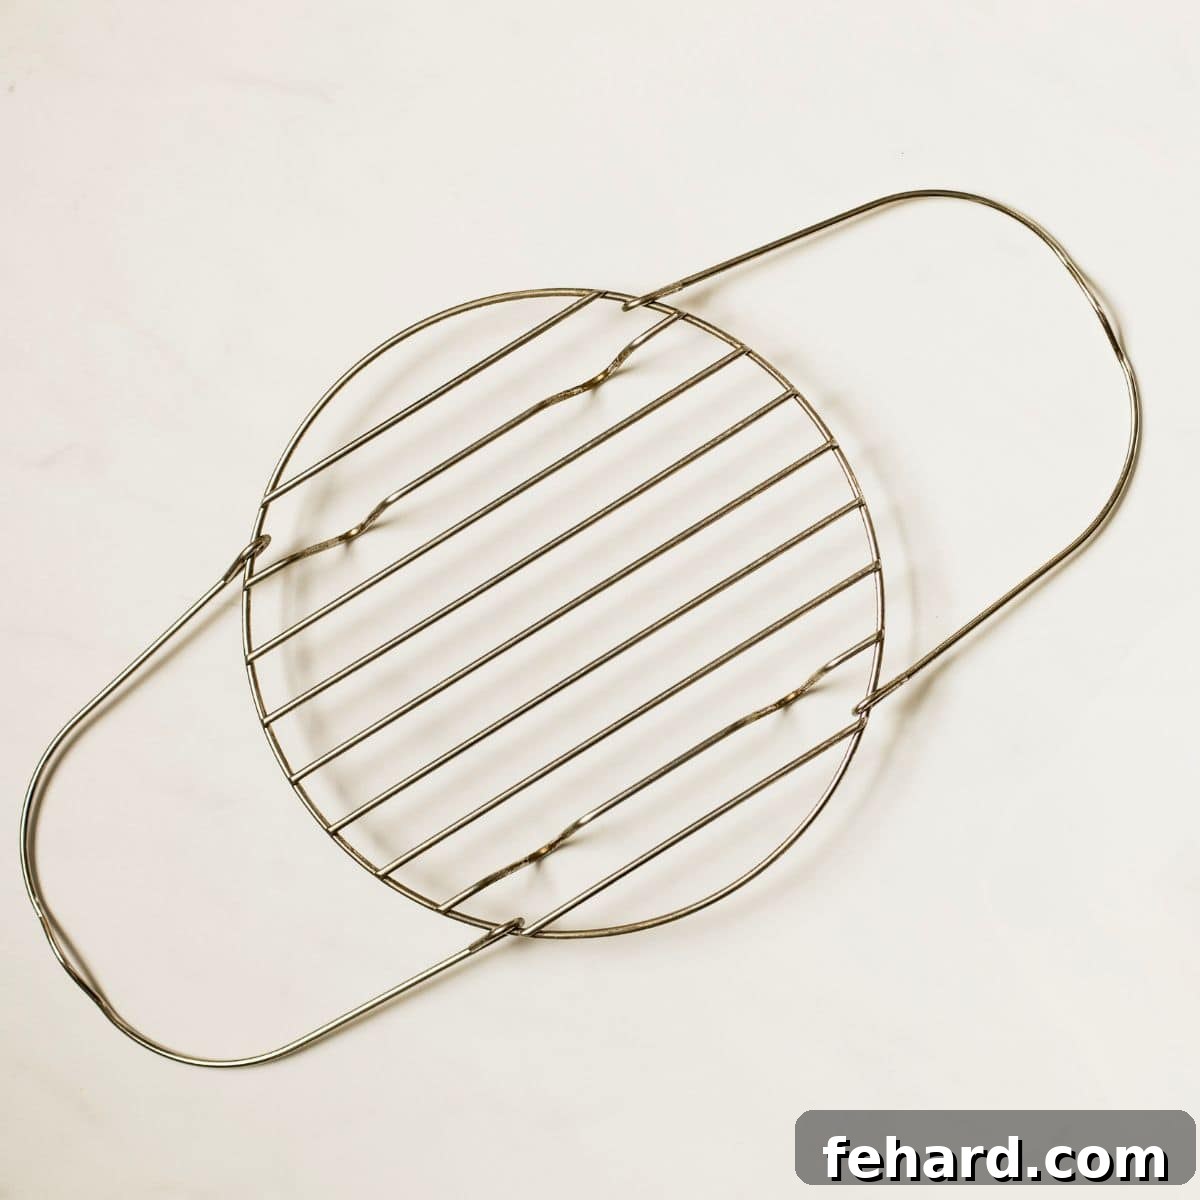
Mastering the Control Panel: Essential Functions
Your Instant Pot boasts many buttons, but for everyday cooking, you’ll only need a handful. Don’t be intimidated by the array of presets; most recipes primarily use the “Pressure Cook” function. Understanding these key buttons will streamline your cooking process.
- Pressure Cook / Manual: This is your primary button for most pressure cooking tasks. It allows you to manually set the cooking time at high or low pressure. Most recipes will instruct you to use this feature.
- Sauté: Perfect for browning meats or vegetables directly in the inner pot before pressure cooking, or for simmering sauces after. You can adjust the heat levels (Less, Normal, More) for different browning needs.
- Keep Warm: This function automatically activates after pressure cooking completes, keeping your food warm for up to 10 hours. It’s a convenient feature, but remember that food can continue to cook subtly during this phase.
- Slow Cook: Yes, your Instant Pot can double as a slow cooker! While it works, temperature settings can differ from a traditional slow cooker, so it’s wise to consult a guide on using your Instant Pot as a slow cooker for accurate results.
- Yogurt: This specialized function is fantastic for making homemade Instant Pot yogurt. It maintains the precise temperatures needed for fermentation.
- Adjust / Temp-Pressure: Use this button to cycle between high and low pressure when using the “Pressure Cook” mode. It also allows you to adjust temperature settings for functions like Sauté, Slow Cook, and Yogurt.
While your model may have specific preset buttons like “Rice,” “Soup,” or “Bean/Chili,” many experienced users find it more efficient to use the “Pressure Cook/Manual” button and set the time according to the recipe, rather than relying on presets which can sometimes be less precise.
Your First Instant Pot Experience: The Water Test
Think of the water test as your Instant Pot’s maiden voyage. It’s a crucial first step for new users, helping you understand how your appliance works without the pressure of cooking actual food. This simple exercise builds confidence and ensures your Instant Pot is functioning correctly.
- Set Up Your Instant Pot: Place the inner pot into the base unit. Ensure it’s properly seated and level. Then, plug in your Instant Pot.
- Add Water: Pour 3 cups of water into the stainless steel inner pot. This provides enough liquid to build pressure safely.
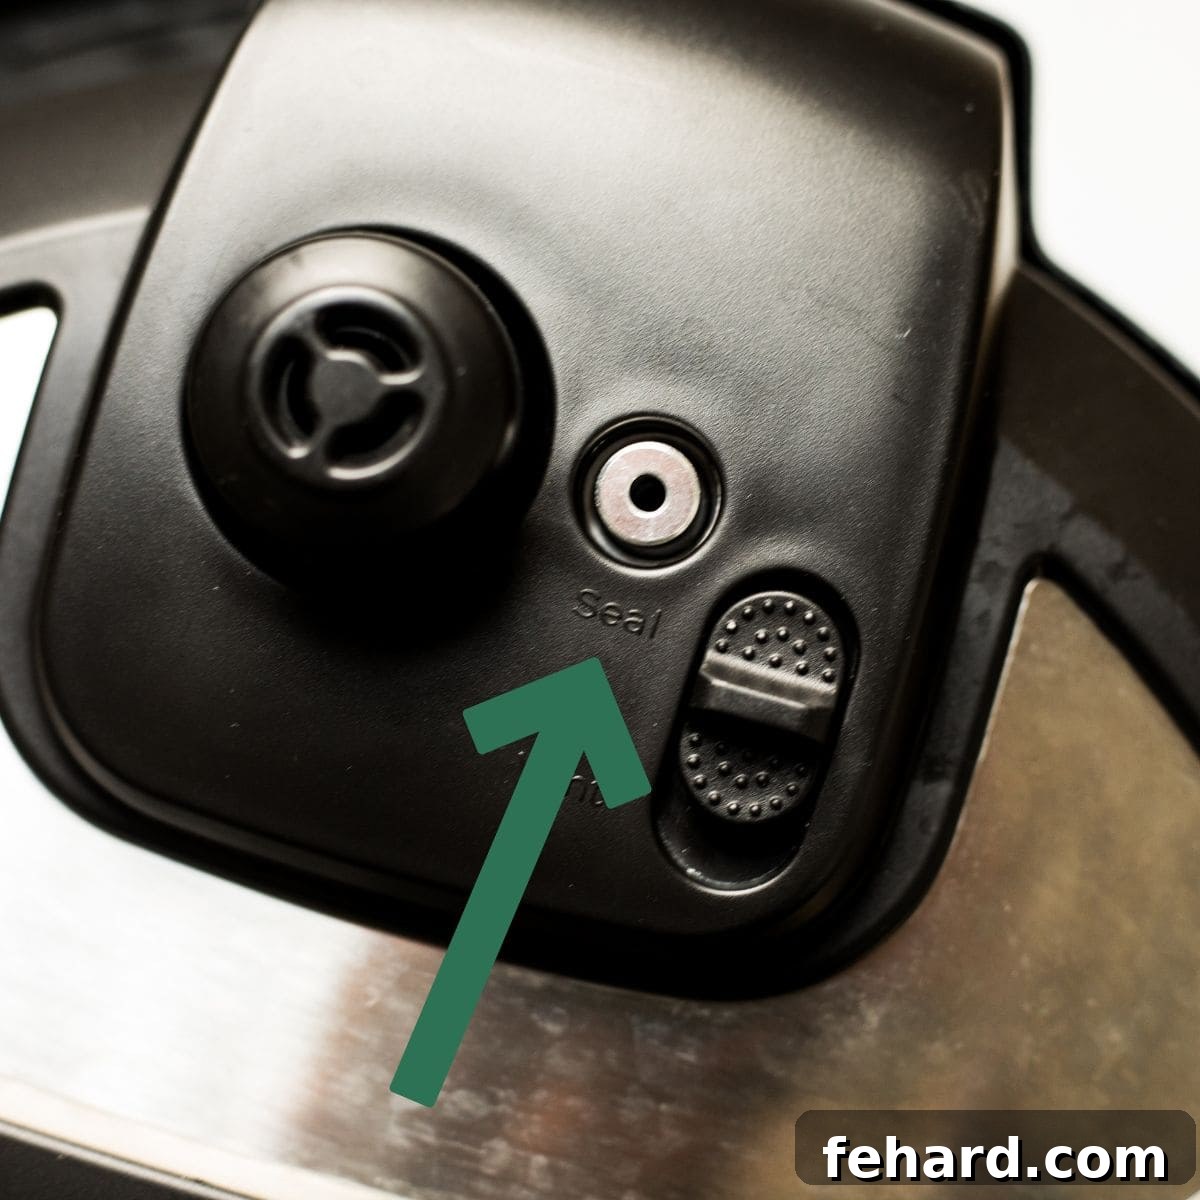
- Secure the Lid: Ensure the sealing ring is properly installed on the lid. Place the lid onto the Instant Pot, aligning the arrow on the lid with the arrow on the base. Twist the lid clockwise until it locks into place and you hear a chime. Now, turn the steam release handle (vent knob) to the “Sealing” position. It might feel a bit loose, which is normal.
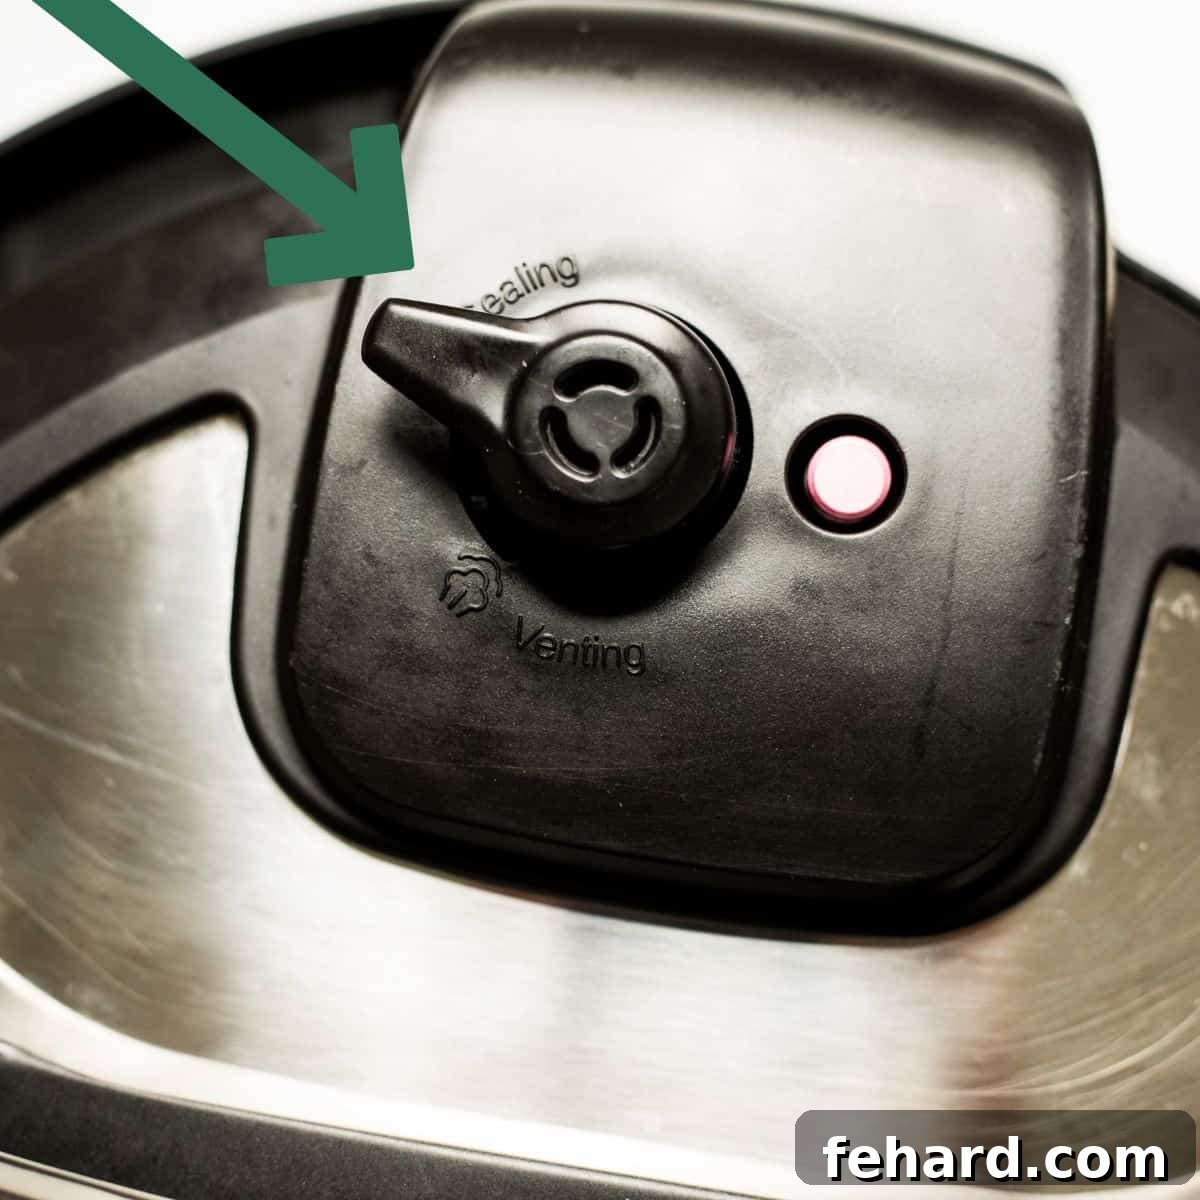
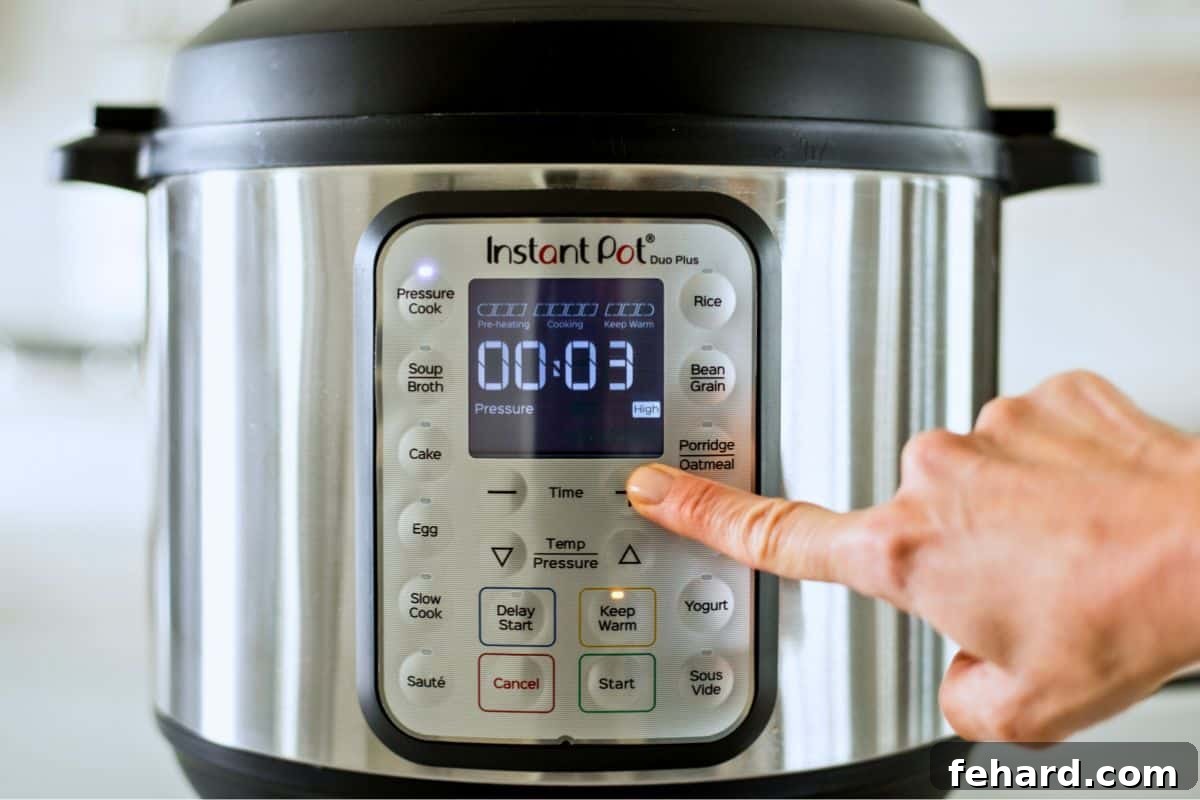
- Set the Cooking Time: Press the “Pressure Cook” (or “Manual” on older models) button. Ensure “HIGH” pressure is selected (this is usually the default). If not, press the “Pressure Level” button until “HIGH” is illuminated. Then, use the “+” or “-” buttons to set the cook time to “3” minutes. If your screen flashes the time, press “Start” (not all models require this, many will beep and begin automatically).
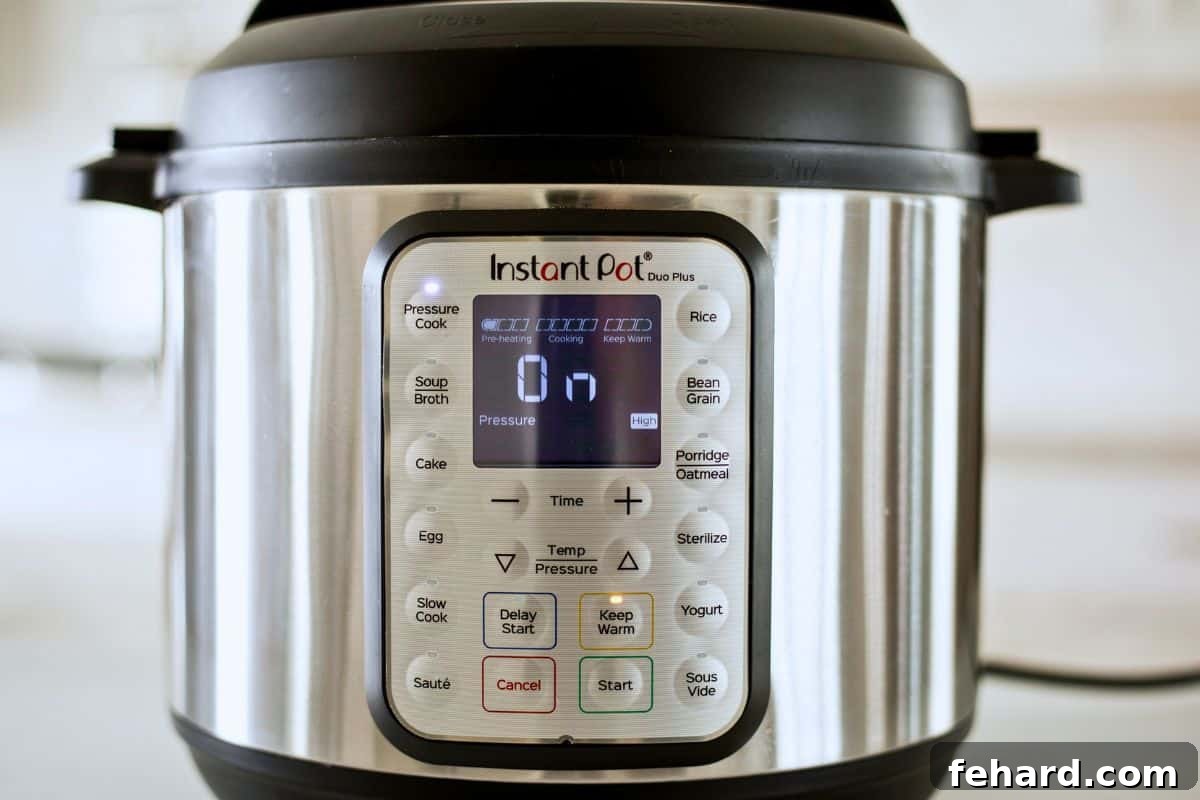
- What to Expect During Pressure Building: The Instant Pot display will show “On” while it heats up and builds pressure. During this phase, you might hear a gentle hissing sound as steam escapes from the float valve or steam release valve – this is normal as the pot expels excess air. Once optimal pressure is reached, the floating valve will rise, locking the lid securely, and the display will switch from “On” to your set cook time (e.g., “00:03”), which will then begin counting down. After the countdown finishes, the Instant Pot will typically beep and switch to “Keep Warm,” starting a new timer that counts up (L0:00).
Note from Kristen
It’s completely normal to hear some initial hissing as your Instant Pot builds pressure. This sound should stop once the lid is fully sealed and the float valve pops up. If the hissing persists excessively, double-check that your steam release handle is correctly set to the “Sealing” position.
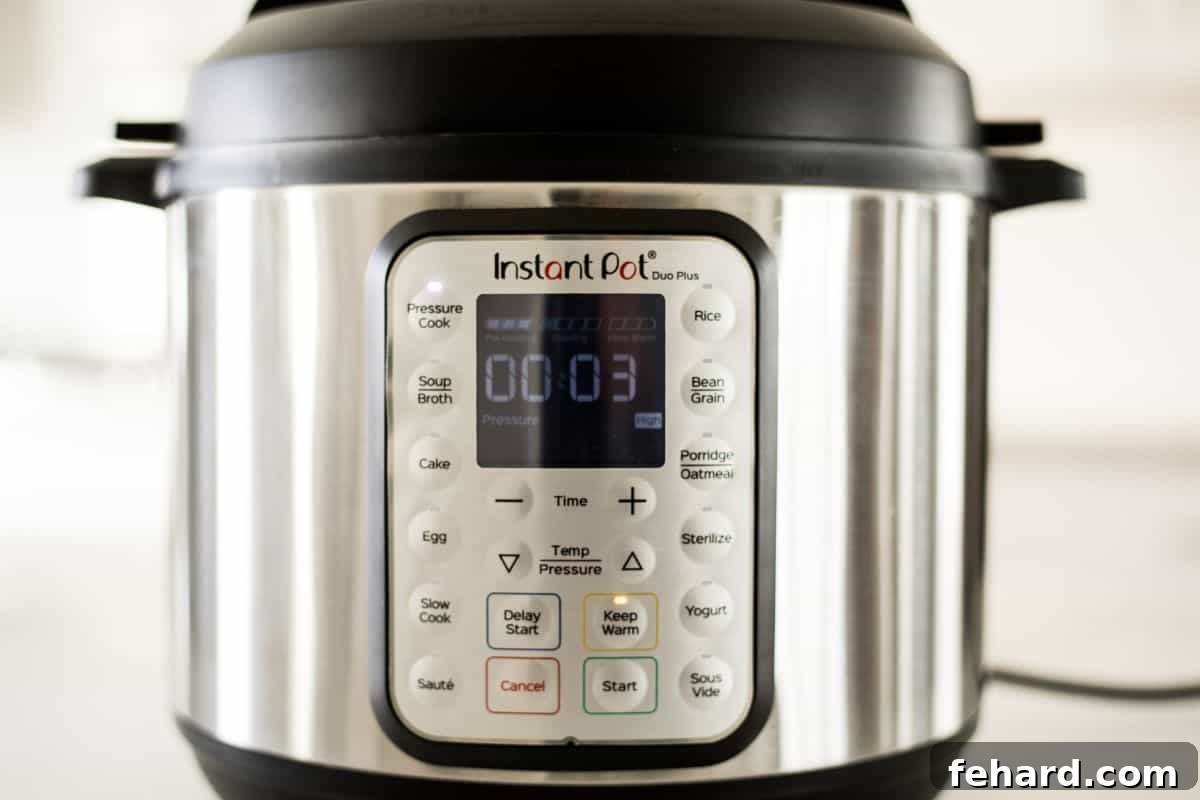
- Release Pressure: Once cooking is complete, you’ll need to release the pressure. This can be done naturally or quickly, depending on the recipe (more details on this below). Always stand clear of the steam release valve. After the pressure is fully released, the float valve will drop, and you can safely remove the lid.
- Turn Off and Clean: Press the “Cancel” button to turn off your Instant Pot. After it cools, disassemble the lid components (sealing ring, anti-block shield, steam release handle, floating valve and its seal), wash them thoroughly with warm, soapy water, and allow them to air dry completely before reassembling and storing your Instant Pot. The inner pot can go in the dishwasher.
Essential Instant Pot Safety Tips
While modern Instant Pots are designed with numerous safety features that make them significantly safer than traditional stovetop pressure cookers, it’s still crucial to adhere to a few important guidelines to ensure a safe cooking experience every time.
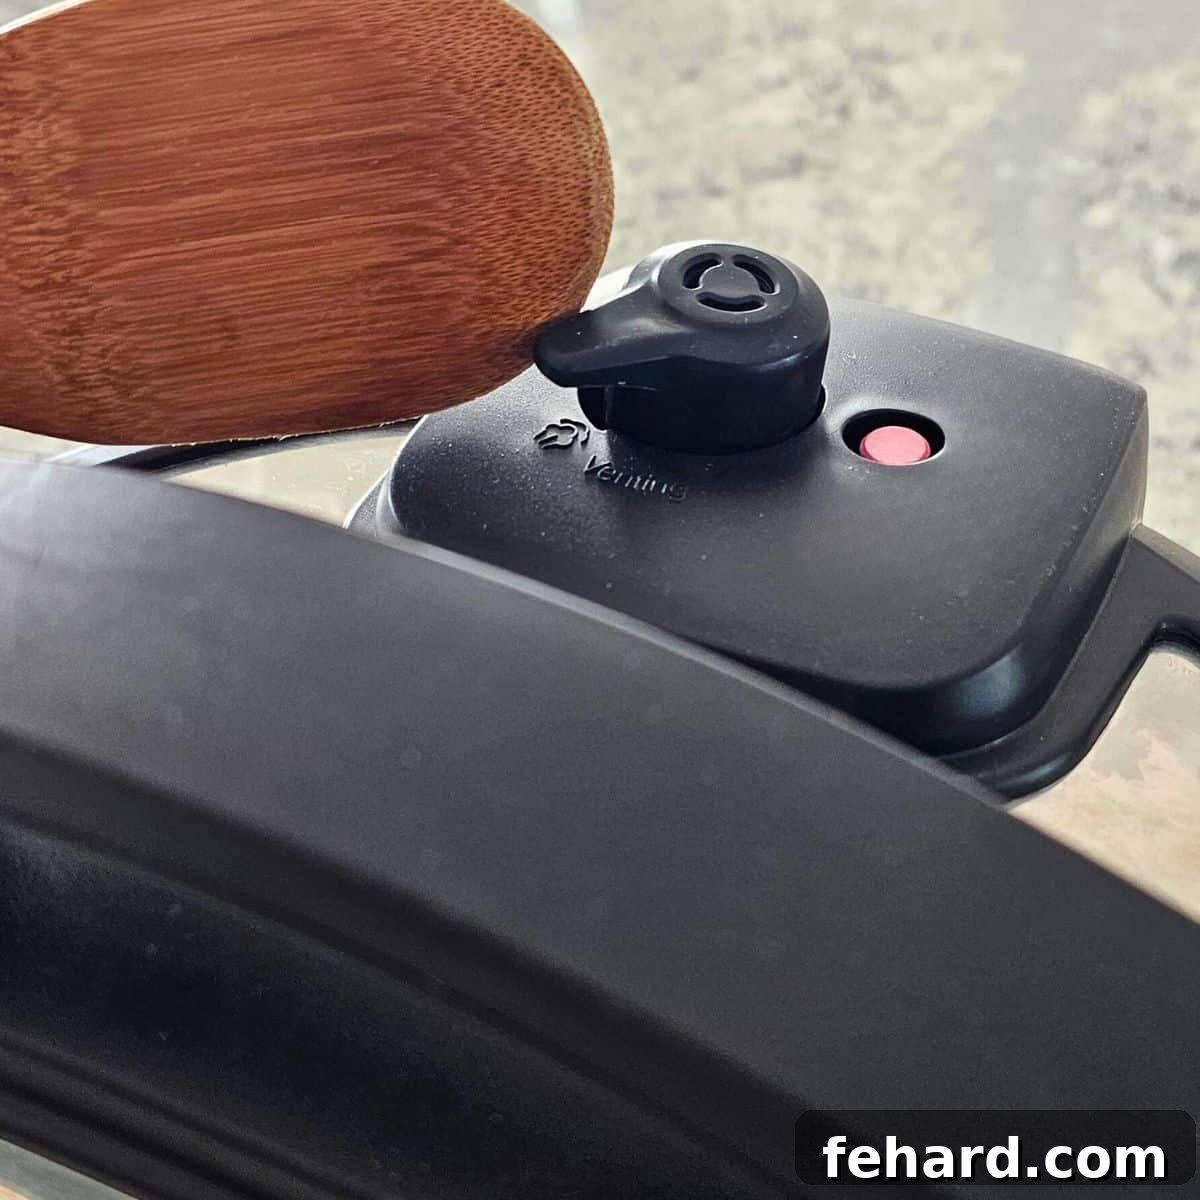
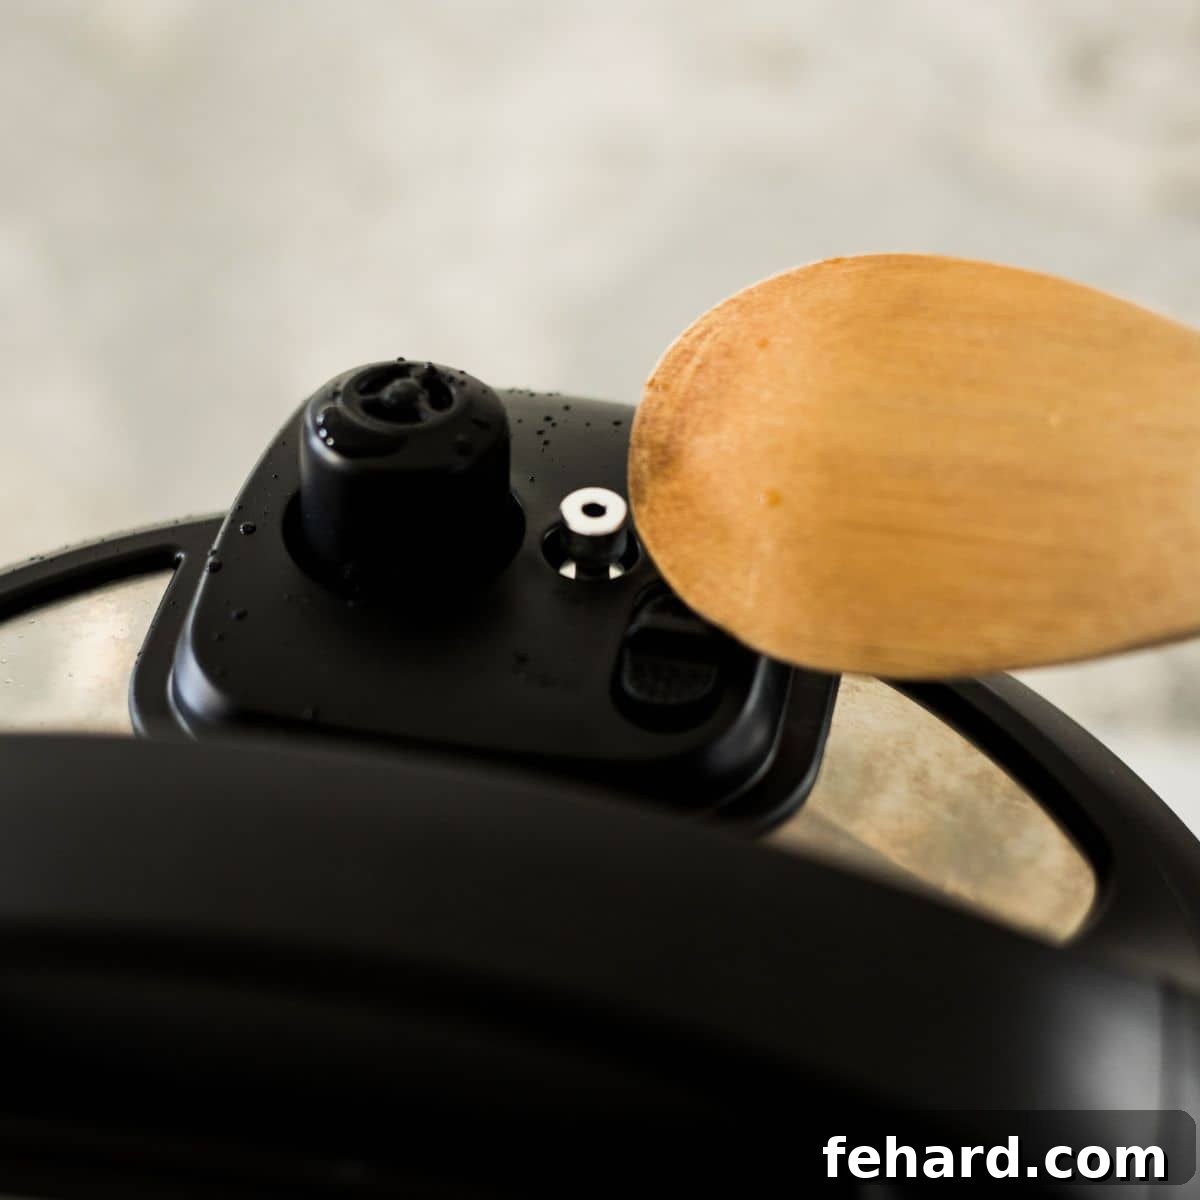
- Keep Your Face Clear of Steam: Always stand back and keep your hands, face, and body away from the steam release valve when performing a quick release. The steam is extremely hot and can cause burns. Use a wooden spoon handle or oven mitt to turn the valve.
- Never Force the Lid Open: The lid is designed to lock securely under pressure. If the floating valve is still up, it means there’s residual pressure inside. Do NOT attempt to force the lid open. Wait patiently for the float valve to drop completely before twisting the lid. This may take a minute or two even after a quick release.
- Ensure the Sealing Ring is Correctly Seated: Before each use, check that the silicone sealing ring is properly fitted and free from cracks or damage. A damaged or improperly seated ring can prevent the Instant Pot from sealing and building pressure.
- Never Immerse the Base: The Instant Pot base contains electrical components and should never be submerged in water. Clean it with a damp cloth only.
- Do Not Overfill: Always adhere to the “MAX PC” (maximum pressure cooking) line inside the inner pot, typically ⅔ full. For foods that expand (like rice, beans, or pasta), fill to no more than ½ full. Overfilling can lead to clogging of the steam release valve and unsafe pressure buildup.
- Use Sufficient Liquid: Pressure cooking requires liquid to generate steam. Always ensure your recipe calls for the minimum amount of thin liquid required by your Instant Pot model (e.g., 1 cup for a 6-quart model).
Understanding Pressure Release: Natural vs. Quick Release
One of the most important aspects of Instant Pot cooking is knowing how and when to release pressure. There are two primary methods, and choosing the right one is often crucial for the success of your recipe.
- Natural Pressure Release (NPR): This method involves simply leaving the Instant Pot alone after the cooking cycle completes. The pressure will gradually decrease on its own over time as the pot cools. The float valve will slowly drop, indicating that all pressure has dissipated. This method is ideal for foods that benefit from continued gentle cooking, like large cuts of meat (roasts, ribs), grains (rice, quinoa), and foamy foods (oatmeal, beans) which can clog the valve if pressure is released too quickly. It also prevents delicate foods from being torn apart by a sudden pressure drop. NPR can take anywhere from 10 to 40 minutes, depending on the volume of food and liquid inside.
- Quick Release (QR): For a quick release, you manually move the steam release handle from the “Sealing” to the “Venting” position immediately after the cooking cycle finishes. This rapidly expels steam and releases pressure. Remember to always stand back and use a wooden spoon or an oven mitt to avoid direct contact with the hot steam. Quick release is best for delicate foods that you don’t want to overcook, such as seafood, vegetables, and many egg dishes. It’s also used when you need to stop the cooking process quickly.
Keys to Instant Pot Success: Pro Tips for Perfect Results
Once you’re comfortable with the basics, these invaluable tips will help you consistently achieve fantastic results with your Instant Pot, ensuring every dish is a success.
- Liquid is Absolutely Essential: To generate the necessary steam for pressure to build, your Instant Pot always requires thin liquid (water, broth, juice, beer, etc.). Without sufficient liquid, your pot won’t come to pressure, and you risk a “Burn” notice. As a general guideline:
- ½ cup for 3-quart models
- 1 cup for 6-quart models
- 1½ cups for 8-quart models
- 2 cups for 10-quart models
- Use Cold or Room Temperature Liquid: While it might seem intuitive to use hot liquid to speed things up, starting with cold or room temperature liquid ensures more even cooking. Hot liquid can cause the Instant Pot to come to pressure too quickly, leading to undercooked food or inconsistent results.
- Never Overfill the Pot: Always keep the contents below the ⅔ “Max Fill” line on the inner pot. For starchy or expanding foods like rice, pasta, or beans, fill to no more than the ½ mark. Overfilling can block the steam release valve and create unsafe conditions.
- “Cook Time” Does Not Equal “Total Time”: It’s a common beginner mistake to confuse the recipe’s “cook time” with the overall time it takes to prepare the meal. You must factor in the time it takes for the Instant Pot to come to pressure (anywhere from 10 to 40 minutes) and the time needed for pressure release (5 to 40+ minutes, depending on the method and contents). Many of my Instant Pot recipes include the total estimated time for clarity.
- Always Deglaze After Sautéing: If you use the Sauté function to brown ingredients, always add a splash of liquid (water or broth) and scrape any browned bits off the bottom of the inner pot with a wooden spoon before sealing the lid for pressure cooking. This crucial step prevents the “Burn” or “OVRHT” error message.
- Layer Smartly to Prevent Burn Notices: When using ingredients like tomato paste, canned tomatoes, or thick sauces, add them on top of other ingredients without stirring them in. These thicker, often acidic, ingredients tend to stick to the bottom and can trigger a “Burn” warning.
- Altitude Adjustments Matter: If you live at a high altitude (above 2,000 feet), cooking times may need to be increased slightly. Consult a specific guide for Instant Pot High Altitude Cooking to make the appropriate conversions for your recipes.
- Consider Having Multiple Sealing Rings: Silicone sealing rings can absorb odors from strong-flavored foods (like chili or curry). To prevent your yogurt from tasting like last night’s chili, consider keeping separate sealing rings for savory and sweet dishes. They’re inexpensive and a worthwhile investment.
Troubleshooting Common Instant Pot Issues
Even seasoned Instant Pot users encounter minor hiccups occasionally. Don’t let common issues deter you. Most problems are easily resolved. While I have a very detailed guide for troubleshooting Instant Pot issues, here are two of the most frequent concerns and their solutions:
- Instant Pot Not Coming to Pressure?
- Check Steam Release Valve: Ensure the steam release handle is set firmly to the “Sealing” position.
- Inspect Sealing Ring: Remove the lid and check that the silicone sealing ring is properly seated, free from debris, and not stretched, torn, or damaged. A compromised ring is the most common culprit. Replace it if necessary.
- Verify Liquid: Double-check that you’ve added the minimum required amount of thin liquid for your Instant Pot size.
- Receiving a “Burn” or “OVRHT” Message?
- Insufficient Liquid: This is the most common cause. The Instant Pot detects scorching at the bottom of the inner pot, usually due to not enough thin liquid or liquid that’s too thick.
- Thick Sauces or Dairy: Thick ingredients like cream soups, tomato paste, or heavy cream can settle and burn at the bottom. Try adding these *after* pressure cooking, or layering them on top without stirring before pressure cooking.
- Action Plan: Immediately hit “Cancel,” allow the pressure to release (usually a quick release is fine if there’s liquid), open the lid, remove the food, clean the inner pot, and adjust your ingredients or liquid before attempting to cook again.
Instant Pot 101 Video Guide
If you’re a visual learner, sometimes seeing the steps in action can make all the difference. Watch the video below where I demonstrate how to use your Instant Pot, sharing my best tips for mastering electric pressure cooking.
Time to Start Pressure Cooking!
With a solid understanding of your Instant Pot’s components, functions, safety measures, and pro tips, you’re now truly ready to start your pressure cooking adventure! Whether you’re looking to try one of my tried-and-true Instant Pot recipes or venture into converting your favorite family recipes, you absolutely can do this!
To get you started, here are some of my most popular and beginner-friendly Instant Pot recipes:
- Instant Pot Hard-Boiled Eggs
- Instant Pot Baked Potatoes
- Instant Pot Pot Roast
- Instant Pot Chicken Breast
- Instant Pot Chicken Stock
- Instant Pot Oatmeal
- Instant Pot Egg Bites
- Instant Pot Spanish Rice
Instant Pot Models: Which One is Best for You?
If you’re still in the process of choosing an Instant Pot, let me help simplify your decision. The most common size, and the one for which most recipes are developed, is the 6-quart model. This size is versatile and perfect for most families of 2-5 people.
For larger families or those who frequently entertain, an 8-quart model provides ample capacity. Conversely, if you’re cooking for one or two, a compact 3-quart model might be the perfect fit for your kitchen.
Regarding specific models, my strong recommendation for beginners and seasoned cooks alike is the Instant Pot 7-in-1 Duo. In my extensive testing, I’ve found it to be incredibly reliable, straightforward to use, and it performs all essential functions flawlessly. It’s often one of the most budget-friendly options too, proving that you don’t need all the bells and whistles for exceptional pressure cooking.
Must-Have Instant Pot Accessories
You’ll often hear about a myriad of Instant Pot accessories, but honestly, you don’t need many to get started. I advocate for keeping things simple. Here are my top recommended accessories and why they might be useful, keeping in mind many are optional:
- 7-inch Springform Pan: Essential if you plan to make delicious Instant Pot Cheesecake or other delicate baked goods using the “pot-in-pot” method. If cheesecake isn’t on your radar, you might not need this initially.
- Clear Tempered Glass Lid: While not necessary for pressure cooking, a clear lid can be handy for using your Instant Pot as a slow cooker or for making yogurt, allowing you to peek in without interrupting the process. However, it’s definitely not a requirement.
- 7-inch Cake Pan: This accessory is great for versatile “pot-in-pot” cooking, allowing you to cook items like Instant Pot Oatmeal, Instant Pot Frittata, or even Instant Pot Lasagna without direct contact with the inner pot.
- Heat-Safe Bowl: Any oven-safe, heat-resistant bowl (like a Pyrex bowl or even a deeper ceramic ramekin) that fits inside your Instant Pot can work for pot-in-pot cooking. Often, a small cake pan can serve the same purpose, reducing the need for yet another specialized item.
- Silicone Egg Bite Mold: Specifically designed for making those popular Instant Pot egg bites. If these aren’t a recipe you plan to make, you can easily skip this accessory.
- Steamer Basket: While it makes steaming vegetables or making Instant Pot Chicken Stock incredibly convenient, the trivet that comes with your Instant Pot can often serve a similar function for many recipes.
I genuinely hope this comprehensive guide helps you fall in love with your Instant Pot! It’s a fantastic tool that can truly revolutionize your cooking. If you have any further questions or encounter new challenges along your journey, please don’t hesitate to drop a comment below. I’m always happy to help! xo, Kristen