
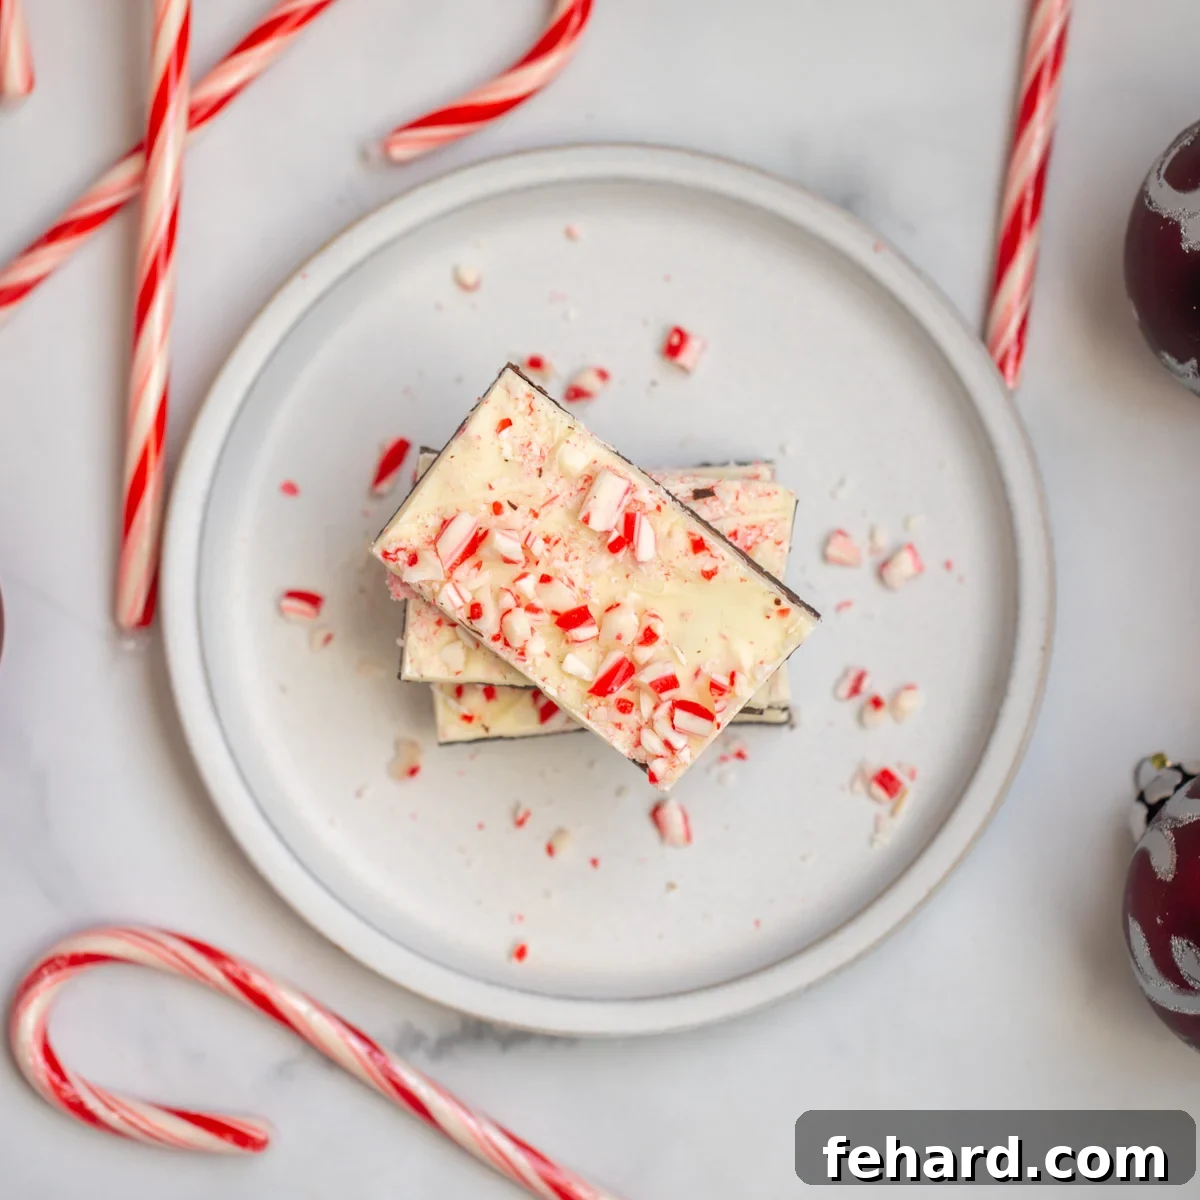
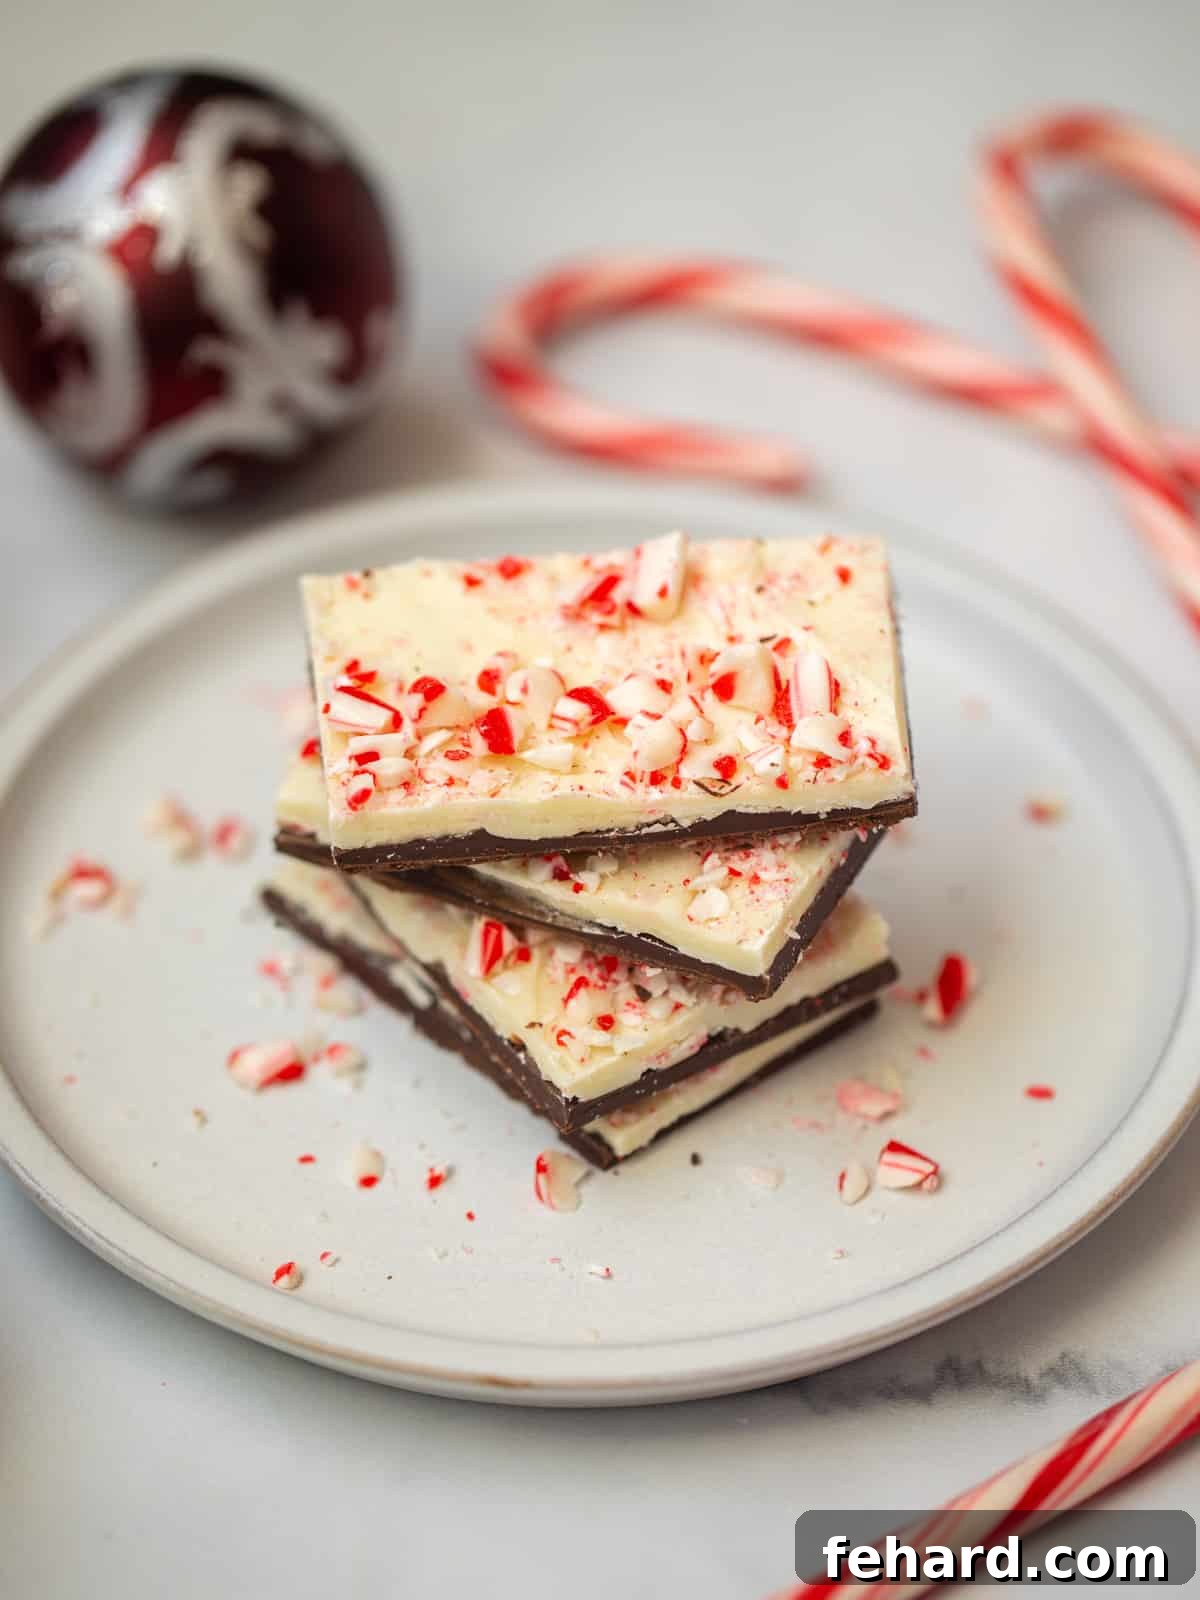
Embrace the festive spirit with a classic holiday confection that’s surprisingly simple to make at home: homemade peppermint bark. This delightful treat, with its distinctive layers of rich dark chocolate, creamy white chocolate, and vibrant crushed candy canes, rivals any gourmet store-bought version. Forget the stress of elaborate holiday baking; this recipe comes together with just four ingredients and minimal effort, delivering maximum festive cheer. Perfect for sharing as a thoughtful gift, adding to your holiday dessert spread, or simply enjoying a piece (or two!) yourself.
Peppermint bark is more than just a candy; it’s a quintessential taste of the holiday season. The cool, crisp mint perfectly complements the decadent chocolate, creating a symphony of flavors and textures that evoke cozy winter evenings and joyous celebrations. While many associate peppermint bark with expensive specialty shops, this copycat recipe proves that crafting it in your own kitchen is not only straightforward but also incredibly rewarding. You’ll be amazed at how quickly you can create a batch that’s superior in taste and freshness, all at a fraction of the cost.
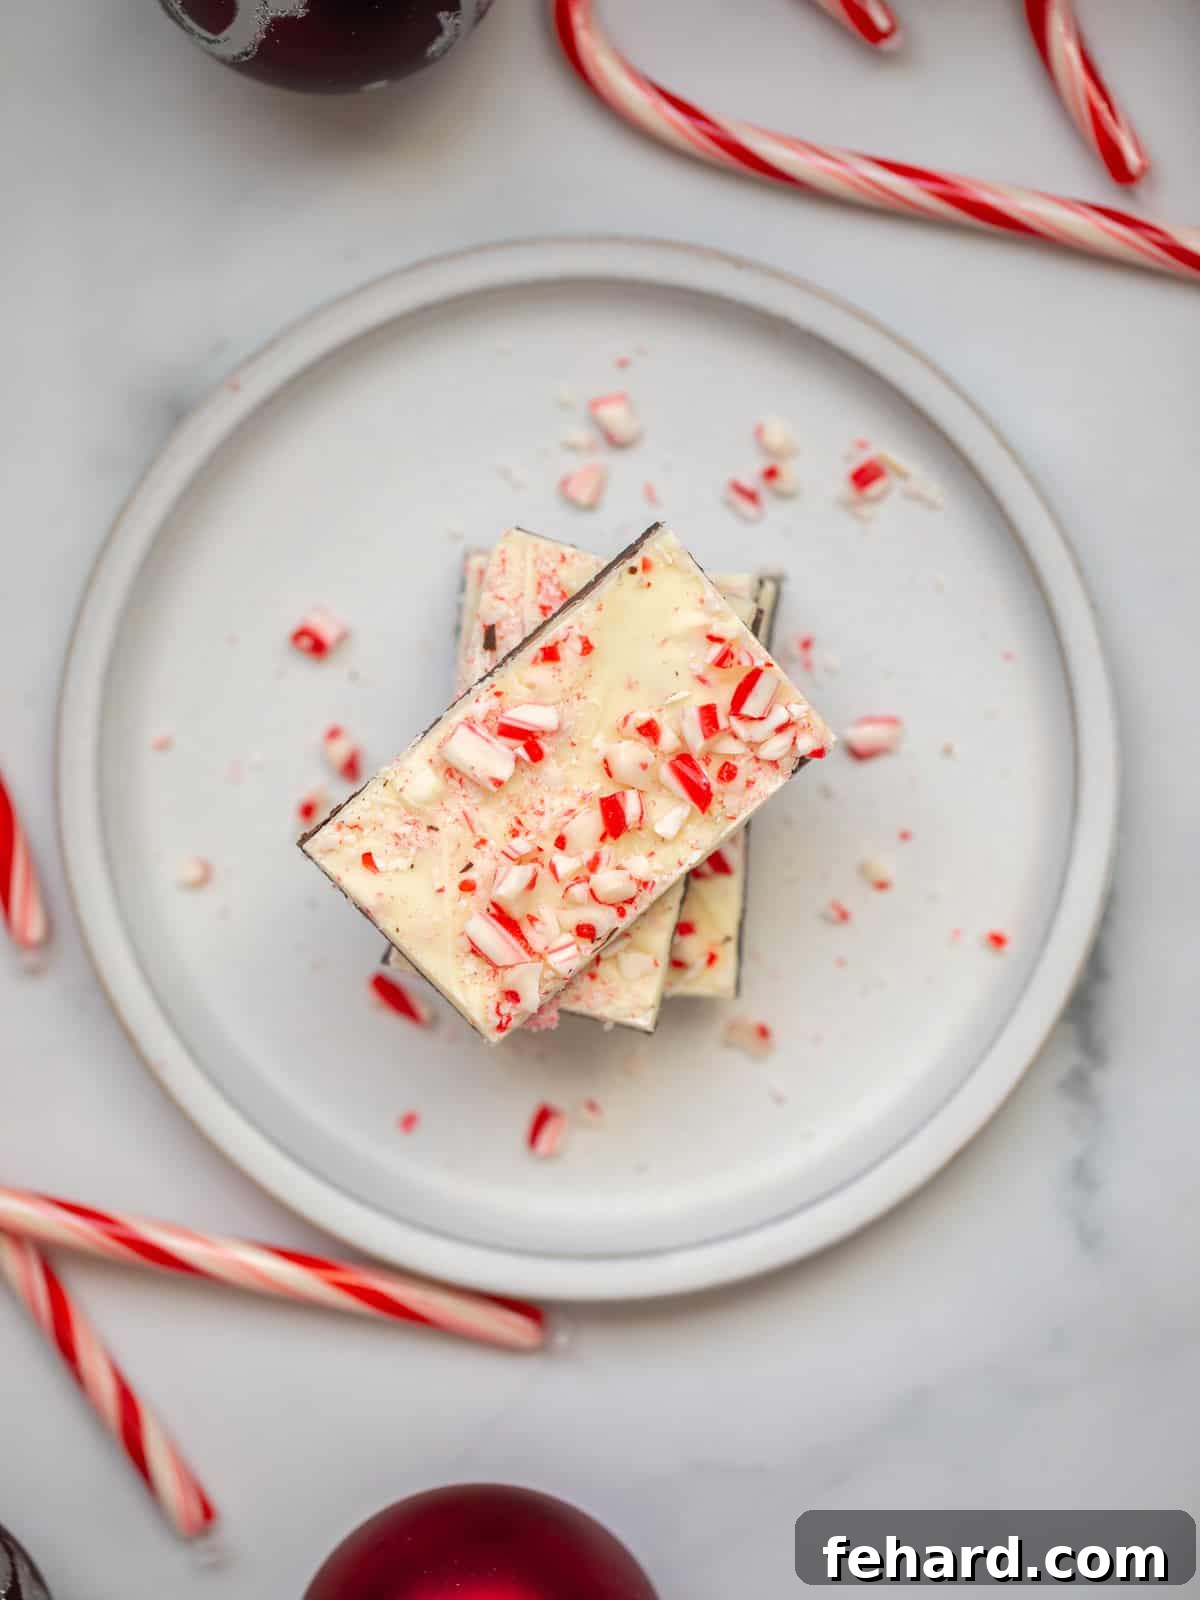
Keys to Crafting Perfect Homemade Peppermint Bark
While this recipe for peppermint bark is incredibly straightforward, a few key techniques and ingredient choices will ensure your layers set beautifully and taste exceptional. Just like other simple chocolate treats, you won’t need a candy thermometer or advanced tempering skills, but paying attention to these details will elevate your results from good to absolutely fantastic.
- Choose Real White Chocolate: This is arguably the most crucial tip. Many white chocolate “chips” or “melts” on the market are not true white chocolate, containing palm or vegetable oils instead of genuine cocoa butter. These imposters won’t melt, set, or bond with the dark chocolate in the same way, potentially leading to crumbly or separated layers. Look for high-quality white chocolate bars or chips that list cocoa butter as a primary ingredient, such as Guittard.
- Select Your Dark Chocolate Wisely: While semi-sweet chocolate works perfectly well, a darker chocolate (around 60-70% cocoa solids) offers a more sophisticated flavor profile and a wonderful contrast to the sweetness of the white chocolate and candy canes. This is a preference often mirrored in high-end peppermint bark, like the famous Williams Sonoma version, creating a balanced and rich taste experience.
- Use Peppermint Extract, Not Oil or Mint Extract: Peppermint extract provides a pure, potent peppermint flavor. Be mindful that a little goes a long way! Peppermint oil is much more concentrated and can easily overpower your bark, while general “mint extract” might contain spearmint, which has a different flavor profile than the traditional peppermint you’re aiming for.
- Always Line Your Baking Sheet with Parchment Paper: This simple step is a game-changer. Parchment paper (or a silicone baking mat) prevents the chocolate from sticking to the pan, making it incredibly easy to lift the hardened bark for cutting or breaking. It also ensures a mess-free cleanup, which is always a bonus during the busy holiday season.
- Crush Candy Canes to Varying Textures: Aim for a mix of finely crushed peppermint dust and slightly larger chunks. Very fine dust can sometimes melt into the warm white chocolate, losing some of its visual appeal and textural crunch. Larger pieces provide a delightful textural contrast and an attractive, authentic look on top of your bark.
How to Make Peppermint Bark at Home: A Simple Guide
Let’s emphasize again: creating this copycat peppermint bark is genuinely easy! Think of this section as your personal guide, ensuring you achieve perfect, professional-looking results every time. Follow these steps for a foolproof holiday treat.
Step One: Smart Preparation for a Smooth Process
Efficiency is key when working with chocolate. Make your bark-making process seamless by having all your tools and ingredients prepped before you even think about melting any chocolate. This prevents rushed moments and ensures your layers set beautifully.
- First, line a standard rimmed baking sheet (approximately 9×13 inches) with either parchment paper or a silicone baking mat. Ensure the paper extends slightly over the edges, creating “handles” that will make lifting the hardened bark effortless. Set this aside.
- Next, unwrap several candy canes or a handful of peppermint candies. Place them into a sturdy, freezer-safe plastic bag. Using the bottom of a heavy drinking cup, a meat mallet, or a rolling pin, gently but firmly crush the candies. Aim for a mix of fine crumbs and slightly larger pieces for the best texture and visual appeal. Measure out about ½ cup of these crushed peppermints. Remove 2 tablespoons of the crushed candy canes and set them aside in a small bowl; these will be incorporated into the white chocolate layer. The remaining crushed candy canes will be sprinkled on top as a garnish.
Step Two: Prepare the Rich Dark Chocolate Layer
To give your peppermint bark its classic layered appearance and robust chocolate foundation, we’ll begin with the dark chocolate layer. The goal here is smooth, evenly spread chocolate that sets firm enough to support the next layer.
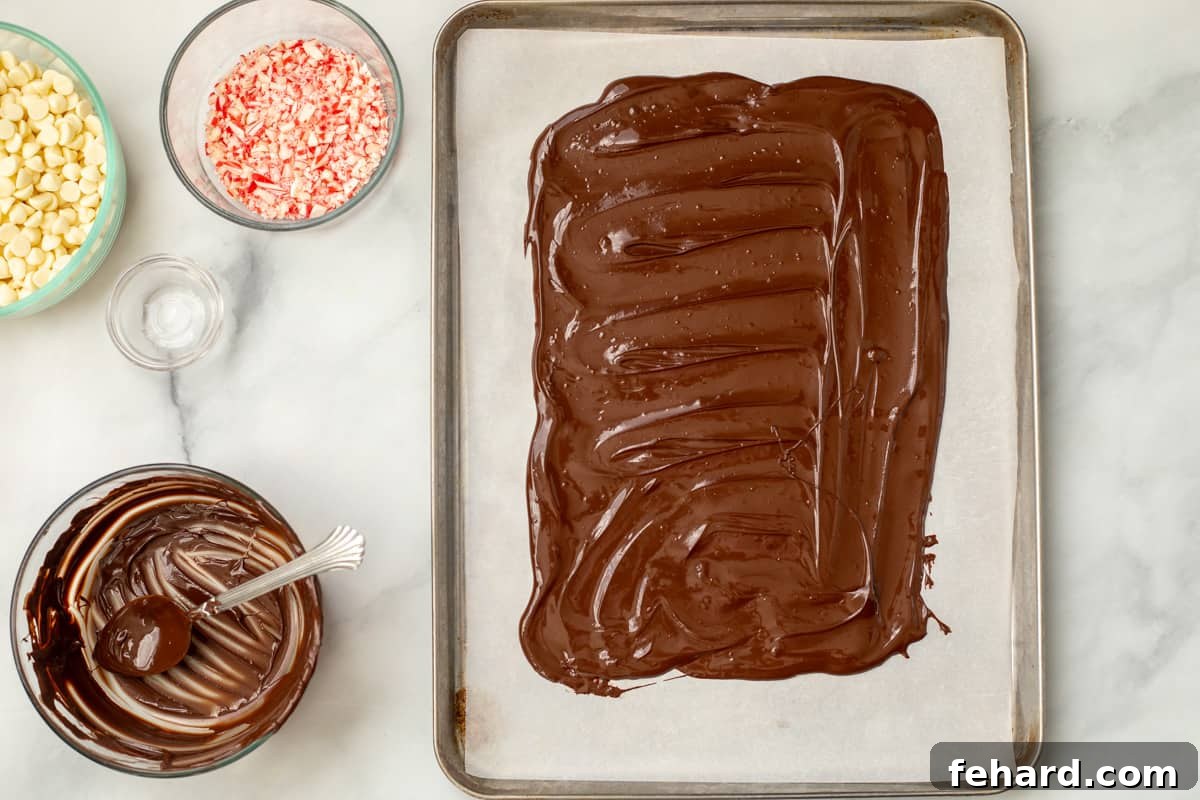
- Place your chopped dark chocolate (or semi-sweet chocolate chips) into a medium-sized, microwave-safe bowl. Microwave the chocolate in short bursts of 30 seconds, stirring thoroughly with a rubber spatula after each interval. Continue this process until the chocolate is completely melted and perfectly smooth. Be careful not to overheat the chocolate, as this can cause it to seize or burn.
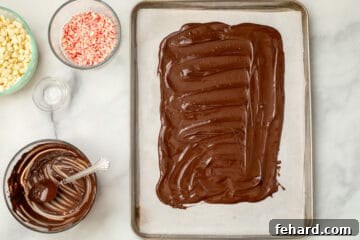
- Once melted, pour the silky dark chocolate over the prepared parchment-lined baking sheet. Use an offset spatula or the back of a spoon to gently spread the chocolate into a rectangular shape, aiming for an even thickness of about ¼-inch across the entire surface. Work relatively quickly but precisely to achieve a neat layer.
- Allow this dark chocolate layer to sit undisturbed at room temperature for about 10-15 minutes, or until it has hardened enough to be firm to the touch but still slightly pliable. This partial setting is crucial for the white chocolate layer to adhere without mixing.
👉🏻Want to use a double boiler to melt the chocolate? Fill the bottom of a large saucepan with about 3 inches of water and bring it to a gentle simmer over medium heat. Reduce the heat to low, then place a large heat-safe bowl (ensure it fits snugly over the pot without touching the water) on top. Add your dark chocolate to the bowl and stir occasionally until the chocolate has melted into a smooth consistency. This method provides more controlled, even melting.
Step Three: Prepare the Creamy White Chocolate & Peppermint Layer
Now for the iconic white chocolate layer infused with refreshing peppermint. To achieve that classic store-bought texture and flavor, we’ll mix some of the crushed candy canes directly into the melted white chocolate before spreading it over the dark chocolate layer.
- In a clean, medium heat-safe bowl, place your chopped white chocolate (remember, choose real white chocolate with cocoa butter!). Microwave in 30-second intervals, stirring thoroughly after each, until the white chocolate is completely melted and beautifully smooth. Just like with the dark chocolate, avoid overheating.
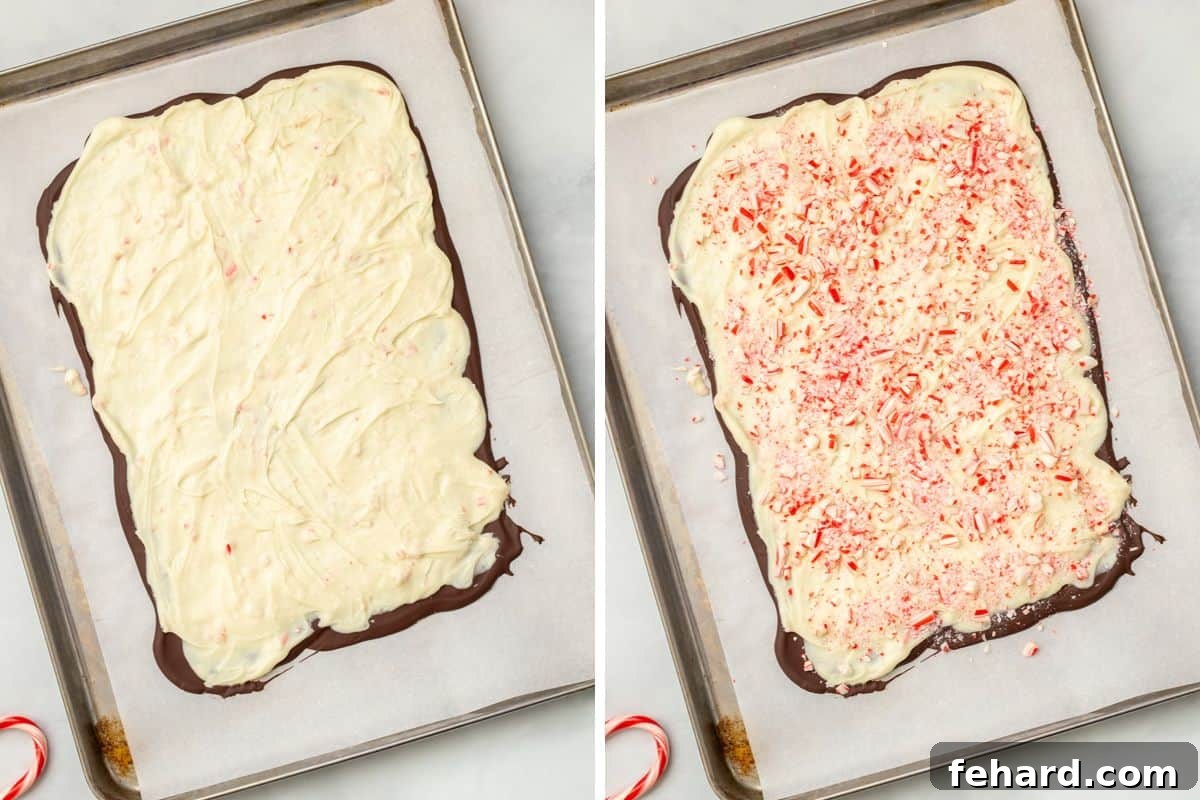
- Once the white chocolate is smooth, add the ½ teaspoon of peppermint extract and the 2 tablespoons of reserved crushed candy canes. Stir quickly and gently to combine these ingredients. Be mindful not to overmix, as you want to incorporate them without overworking the chocolate.
- Immediately pour this peppermint-infused white chocolate mixture over the partially set dark chocolate layer. Using a clean offset spatula or the back of a spoon, gently and evenly spread the white chocolate to completely cover the dark chocolate layer. Work with a light hand to avoid disturbing the layer beneath.
- Without delay, sprinkle the remaining crushed candy canes evenly over the wet white chocolate. For better adhesion, you can gently press the candy pieces into the chocolate with your fingertips. This ensures they stick firmly as the bark sets.
Step Four: Allow to Harden and Cut into Pieces
Patience is a virtue for the final step! Allowing the peppermint bark to fully harden is essential before breaking or cutting it into pieces. This ensures clean breaks and prevents smudging.
- Let the assembled bark sit at room temperature for at least an hour, or until it is completely firm and crisp. For faster results, you can pop the entire tray into the refrigerator for 30-45 minutes. The bark is ready when it doesn’t leave any residue on your fingers and snaps cleanly when bent.
- Once fully hardened, gently lift the parchment paper (with the bark still attached) from the baking sheet. You can then either break the bark into irregular, rustic pieces by hand, or for a more polished presentation, use a sharp, heavy knife to cut it into neat rectangles, squares, or festive shapes. If cutting, a chef’s knife works best, using a firm, decisive motion.
👉🏻Chilled Bark Tip: If you used the refrigerator to speed up the setting process, let the bark sit at room temperature for about 5 minutes before attempting to break or cut it. This slight warming helps prevent the chocolate from shattering unevenly when pressure is applied.
Recipe Modifications, Storage Tips & Serving Ideas
This homemade peppermint bark recipe is wonderfully versatile, allowing for creative twists and ensuring your delicious efforts last through the holidays. Here are some ideas and essential tips:
- Storage: To maintain optimal freshness and prevent melting, store your peppermint bark in an airtight container. Keep it in a cool, dark pantry for up to two weeks. If your home tends to be warm, or if you live in a humid climate, it’s best to store the bark in the refrigerator. Just be sure to bring it to room temperature for a few minutes before serving to fully appreciate its texture and flavor.
- No Peppermint Extract? No Problem! While peppermint extract enhances the minty kick, if you don’t have it on hand, simply omit it. The crushed candy canes will still impart a lovely, subtle minty flavor to the bark, making it a delicious treat nonetheless. It just won’t be quite as intensely pungent.
- Vary the Chocolate: Feel free to customize the chocolate layers to your preference. If you’re not a fan of white chocolate, or perhaps you’d rather skip the dark chocolate, simply use one variety. Double the amount of your chosen chocolate to create a single-layer bark that’s equally delicious and satisfying. You can also experiment with milk chocolate or even unique options like ruby chocolate for a different flavor profile and visual appeal.
- Think Beyond Gifting! While peppermint bark makes an exquisite homemade gift, don’t limit its potential. Crumble pieces over a mug of homemade hot chocolate for an instant upgrade, stir it into your peppermint mocha, or add it to your festive tray of Christmas Cookies. It’s also fantastic as a topping for vanilla ice cream or incorporated into other holiday desserts. The possibilities are endless!
- Additions for Extra Crunch & Flavor: Consider folding in finely chopped nuts (like pecans or almonds) into the chocolate layers, or sprinkling pretzels, sprinkles, or mini chocolate chips on top along with the candy canes for added texture and visual interest.
- Troubleshooting Bloom: If your chocolate develops a greyish, streaky appearance (known as “bloom”), it’s usually due to temperature fluctuations during setting or storage. While unsightly, it’s perfectly safe to eat and still delicious! To minimize bloom, ensure your chocolate melts smoothly without overheating and sets in a consistent temperature environment.
More Festive Holiday Recipes to Enjoy
If you loved making this easy peppermint bark, be sure to explore our other delightful holiday recipes that are perfect for sharing, gifting, or enjoying with family and friends:
- Reindeer Pretzels
- Crockpot Candy
- Snowball Cookies
- Christmas Fudge
- Santa Pancakes
- Dairy-Free Eggnog
- Candy Cane Cookies
5 from 4 votes
Homemade Peppermint Bark
Kristen Chidsey
16
10 mins
3 mins
45 mins
58 mins
Print Recipe

This easy 4-ingredient no-bake Peppermint Bark is flavored with peppermint extract and candy canes to deliver a holiday treat perfect for giving or enjoying yourself.
Ingredients
- 8 candy canes, about ½ cup crushed peppermint candies
- 12 oz semisweet or dark chocolate, chopped
- 16 oz real white chocolate, chopped (ensure it contains cocoa butter)
- ½ teaspoon pure peppermint extract
Units: US Customary
Instructions
- Line a large baking sheet (approx. 9″x13″) with parchment paper or a silicone mat, allowing extra paper on the sides for easy lifting.
- Unwrap 8 candy canes and place them in a heavy-duty sandwich bag. Crush them using a rolling pin or the bottom of a heavy cup until you have a mix of fine crumbs and small chunks (about ½ cup total). Remove 2 tablespoons of the crushed candy canes and set them aside for later.

- Place the 12 oz of semisweet or dark chocolate in a medium heat-safe bowl. Microwave in 30-second intervals, stirring thoroughly between each, until the chocolate is completely melted and smooth.
- Pour the melted dark chocolate onto the parchment paper. Using an offset spatula or the back of a spoon, spread it into a roughly 9″x 13″ rectangle of even ¼-inch thickness. Let this layer set at room temperature for 10-15 minutes, or place it in the refrigerator for 15-20 minutes until firm.
- Once the dark chocolate layer is set, place the 16 oz of white chocolate into a clean, medium heat-safe bowl. Microwave in 30-second intervals, stirring between each, until completely melted and smooth. Stir in the ½ teaspoon of peppermint extract and the reserved 2 tablespoons of crushed candy canes. Stir quickly to just combine.
- Pour the white chocolate mixture over the set dark chocolate layer. Use an offset spatula to gently spread it evenly to cover the entire dark chocolate surface. Immediately sprinkle the remaining crushed candy canes evenly over the wet white chocolate. Gently press the candy pieces into the chocolate with your hands to help them adhere.
- Allow the entire bark to fully harden at room temperature (about 1 hour) or in the refrigerator (30-45 minutes). It should be firm and snap cleanly when ready.
- Once fully hardened, lift the bark from the parchment paper. Break it into rustic pieces by hand, or use a sharp knife to cut it into neat rectangles or squares.





Equipment
-
Parchment Paper
-
Rimmed Baking Sheet
-
Microwave-Safe Bowls or Double Boiler Setup
-
Offset Spatula
-
Rolling Pin or Heavy Cup for Crushing
Notes
Storage: Store your homemade peppermint bark in an airtight container for up to 2 weeks. A cool, dark pantry is ideal. If your home is particularly warm or humid, refrigerate the bark to prevent it from softening, but allow it to come to room temperature for a few minutes before serving for the best texture.
White Chocolate Quality: The success of this recipe significantly relies on the type of white chocolate used. It is absolutely crucial to use white chocolate that lists cocoa butter as an ingredient. White chocolates made primarily with palm oil or other vegetable oils will not melt, bond, or set correctly with the dark chocolate layer, often resulting in a crumbly or separated final product.
Peppermint Extract vs. Oil: Always use pure peppermint extract, not peppermint oil or general mint extract. Peppermint oil is much more concentrated, so if you substitute it, use only a tiny drop. General mint extract may contain spearmint, which has a different flavor profile than traditional peppermint bark.
Chocolate Variety: This recipe is adaptable! If you have a strong preference for only dark chocolate or only white chocolate, simply double the amount of your preferred chocolate to create a delicious single-layer bark. You can also experiment with other chocolate types like milk chocolate for a milder flavor.
Double Boiler Method: If you prefer not to use a microwave, a double boiler is an excellent alternative for melting chocolate. To set one up, fill the bottom of a large pot with about 3 inches of water and bring it to a simmer over medium heat. Reduce the heat to low, then place a heatproof bowl on top of the pot (ensuring the bottom of the bowl does not touch the simmering water). Add your chopped chocolate and stir occasionally until it has melted completely and is smooth. Repeat this process with a clean bowl for the white chocolate layer.
Nutrition
Carbohydrates: 28g
Protein: 3g
Fat: 17g
Saturated Fat: 10g
Polyunsaturated Fat: 1g
Monounsaturated Fat: 5g
Trans Fat: 0.02g
Cholesterol: 7mg
Sodium: 28mg
Potassium: 202mg
Fiber: 2g
Sugar: 25g
Vitamin A: 19IU
Vitamin C: 0.1mg
Calcium: 70mg
Iron: 1mg
Nutrition information is automatically calculated, so should only be used as an approximation.
Tried this recipe?
Mention @amindfullmom or tag #amindfullmom!