
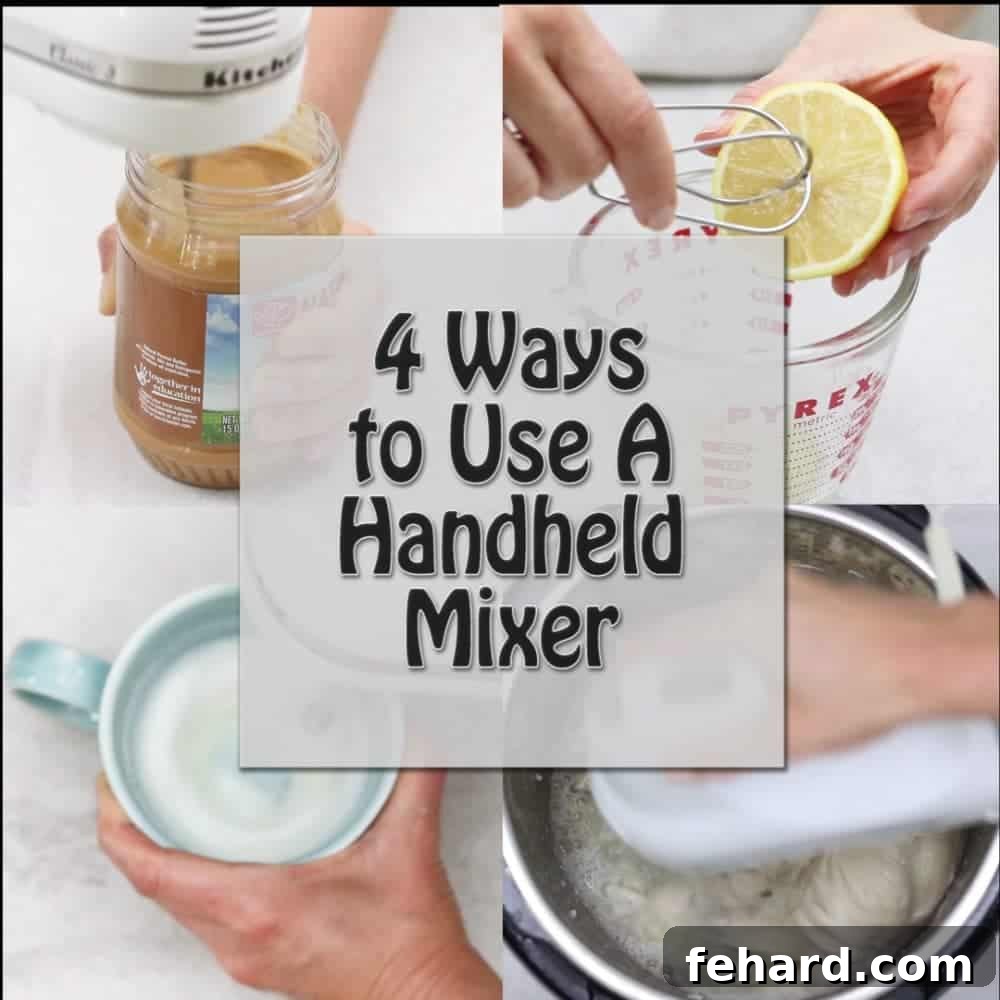
Think your handheld mixer is only good for whipping cream and cake batter? Think again! This versatile kitchen appliance holds a secret power to simplify numerous everyday tasks you never imagined. Get ready to transform your cooking routine and make life in the kitchen significantly easier with these four ingenious ways to utilize your handheld mixer!
Most home cooks associate their kitchen mixer with traditional baking tasks, like creating fluffy homemade whipped cream or effortlessly mixing dense cake batters. While it excels in these roles, limiting your mixer to just baking means missing out on a world of convenience. This unassuming gadget can, and absolutely should, be a go-to tool for a variety of daily cooking challenges, saving you time, effort, and even precious counter space.
Unlock Your Mixer’s Full Potential: 4 Creative Kitchen Hacks
While the humble handheld mixer boasts a surprising multitude of applications, today we’re diving deep into my four absolute favorite, game-changing uses. These aren’t just obscure tricks; they are practical, everyday solutions that will have you reaching for your mixer again and again, wondering how you ever managed without them!
- Effortlessly Froth Milk for Cafe-Quality Drinks
- Maximize Juice Extraction from Citrus Fruits
- Quickly Shred Cooked Meats for Meals and Meal Prep
- Perfectly Mix Stubborn Natural Nut Butters
Brew Barista-Style: Using a Mixer to Froth Milk
For many of us, the morning ritual of coffee isn’t just a habit; it’s an absolute necessity to kickstart the day. And while the idea of a daily Starbucks run is tempting, our budgets often have other plans. The good news? You don’t need an expensive espresso machine or a dedicated milk frother to enjoy luxurious, homemade lattes and cappuccinos. Your handheld mixer is the secret weapon for creating beautifully frothed milk right in your own kitchen with minimal effort and just two simple ingredients!
How to Froth Milk with a Handheld Mixer:
Transforming ordinary milk into a velvety foam is surprisingly easy. All you need is your favorite milk and your trusty mixer:
- Measure Your Milk: Pour about ⅓ cup to ½ cup of your preferred milk (dairy or non-dairy options like almond, oat, or soy milk all work well) directly into your coffee mug. The type of milk can influence the frothiness, with whole milk and oat milk often yielding the creamiest results.
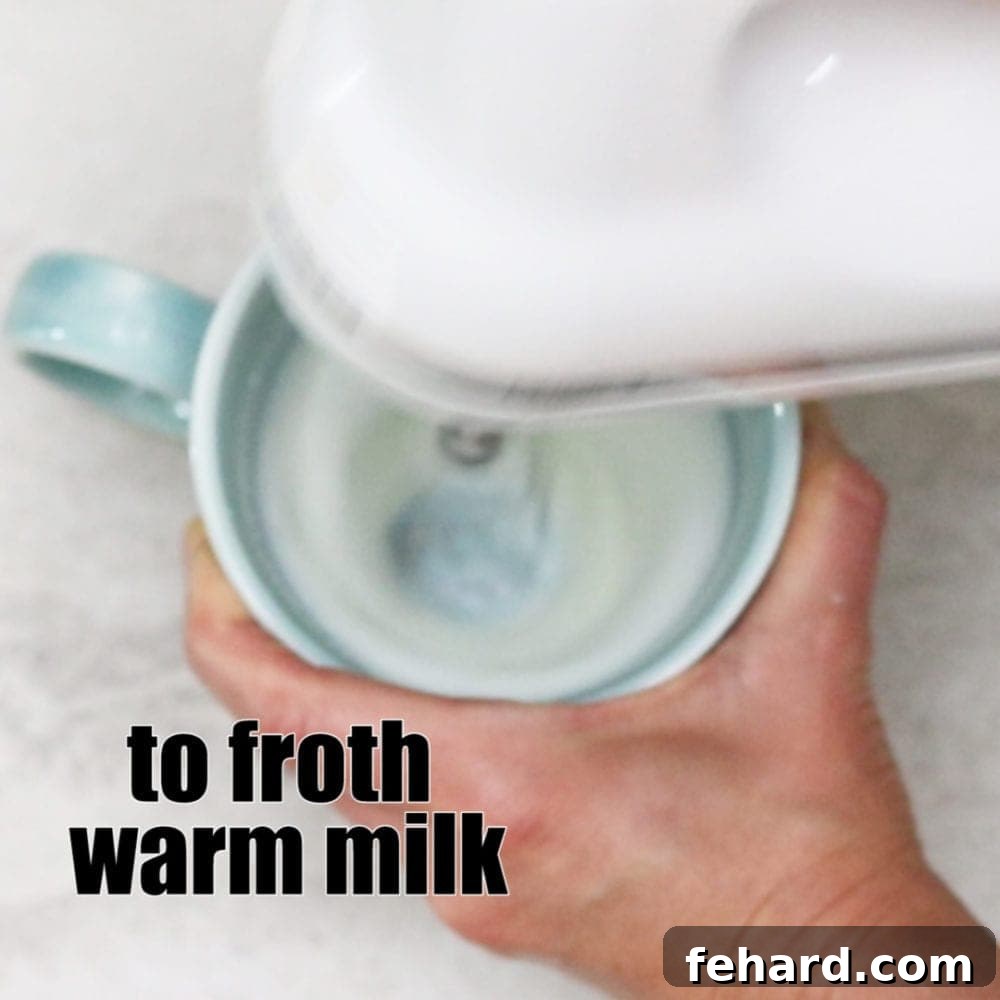
- Heat Gently: Place the mug in the microwave and heat for approximately 30-40 seconds. The goal is to warm the milk without boiling it, as overly hot milk doesn’t froth as effectively. It should be warm to the touch but not scalding.
- Attach and Whisk: Once heated, remove the mug. Secure just one beater onto your handheld mixer. Submerge the beater into the warm milk, ensuring it’s fully immersed but not touching the bottom. Turn the mixer to its highest setting and whisk for about 30 seconds. You’ll observe the milk rapidly increasing in volume and developing a rich, frothy texture.
- Combine and Enjoy: Carefully pour your freshly brewed coffee or espresso over the frothy milk. Watch as the foamy goodness creates a beautiful layer on top, just like your favorite cafe drink.
Elevate your creation further by adding a touch of your favorite syrups, a sprinkle of cinnamon, or even a dollop of Homemade Coconut Vanilla Coffee Creamer for an extra burst of flavor. This simple hack not only saves you money but also allows you to customize your coffee experience exactly how you like it, every single morning.
The Smart Squeeze: Use a Kitchen Mixer to Juice Citrus
My kitchen philosophy revolves around efficiency and minimalism. I’m a firm believer in avoiding unnecessary clutter and investing in multi-purpose tools rather than single-use gadgets. Perhaps it stems from having a compact kitchen in the past, or simply a disdain for wasting money on items that gather dust. This principle is especially true when it comes to juicing citrus.
I don’t own a bulky juicer taking up valuable cabinet space, nor do I bother with a dedicated lemon press. Instead, one of the most brilliant and underutilized functions of my handheld mixer comes to the rescue! Using a single beater from your mixer allows you to extract every last drop of juice from lemons, limes, oranges, and even small grapefruits, ensuring zero waste and maximum flavor every time.
Simple Steps for Mixer-Assisted Citrus Juicing:
This method is incredibly straightforward and remarkably effective:
- Prepare Your Citrus: Begin by slicing your chosen citrus fruit—lemon, lime, or orange—cleanly in half.
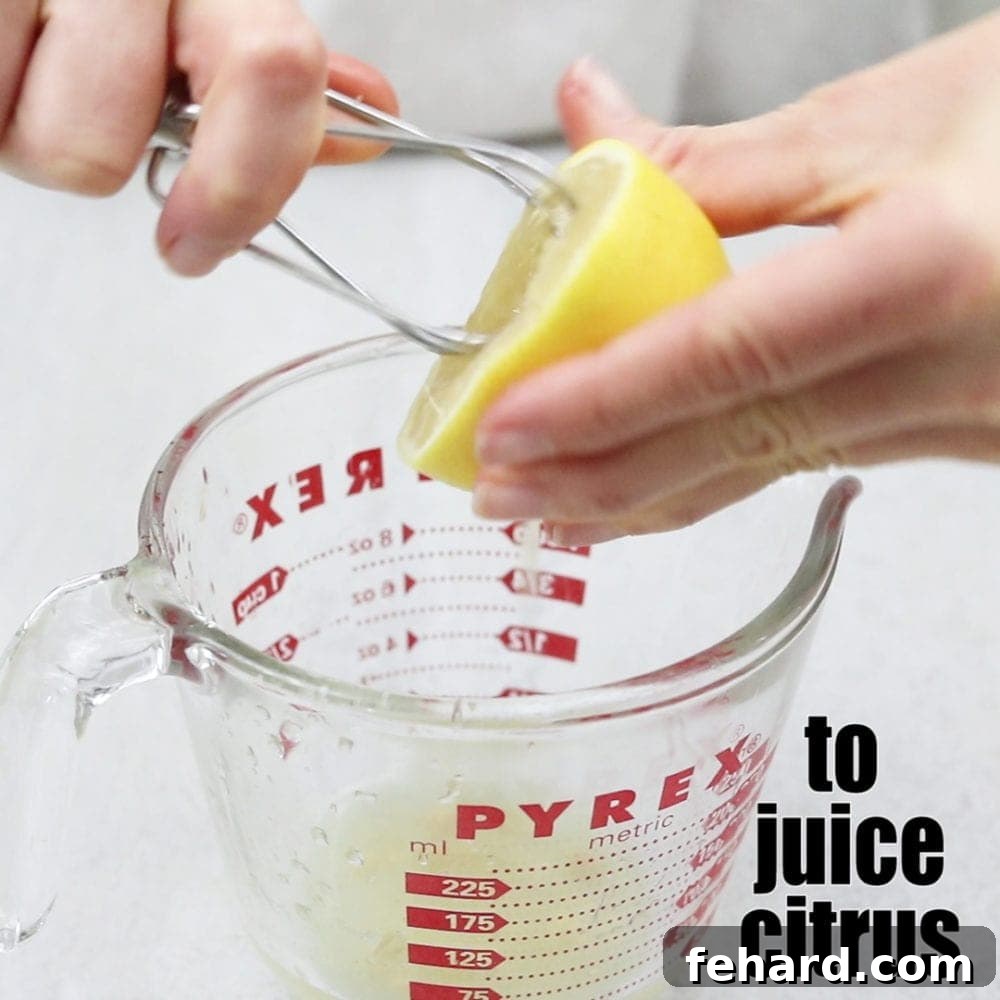
- Engage and Twist: Take one of your handheld mixer beaters. Firmly push the rounded end of the beater into the flesh of one fruit half. Over a bowl or measuring cup, twist the beater back and forth, pressing firmly to extract the juice. The ridges of the beater act like a reamer, efficiently breaking down the fruit pulp and releasing the liquid.
- Strain and Use: Once you’ve extracted all the juice, give it a quick strain to remove any seeds or large pulp pieces. Your fresh, pure citrus juice is now ready to enhance dressings, marinades, cocktails, or your favorite recipes.
∗ Pro-Tip for Juicing Citrus ∗
For an astonishing boost in juice yield, try this simple trick: Pop your whole citrus fruit into the microwave for 15-20 seconds. After warming, roll the fruit firmly on your countertop for a few moments. This process helps to soften the membranes inside the fruit, allowing it to release significantly more juice – often nearly double! Then, proceed to cut and juice as described above.
Effortless Shredding: Use a Kitchen Mixer to Shred Meat
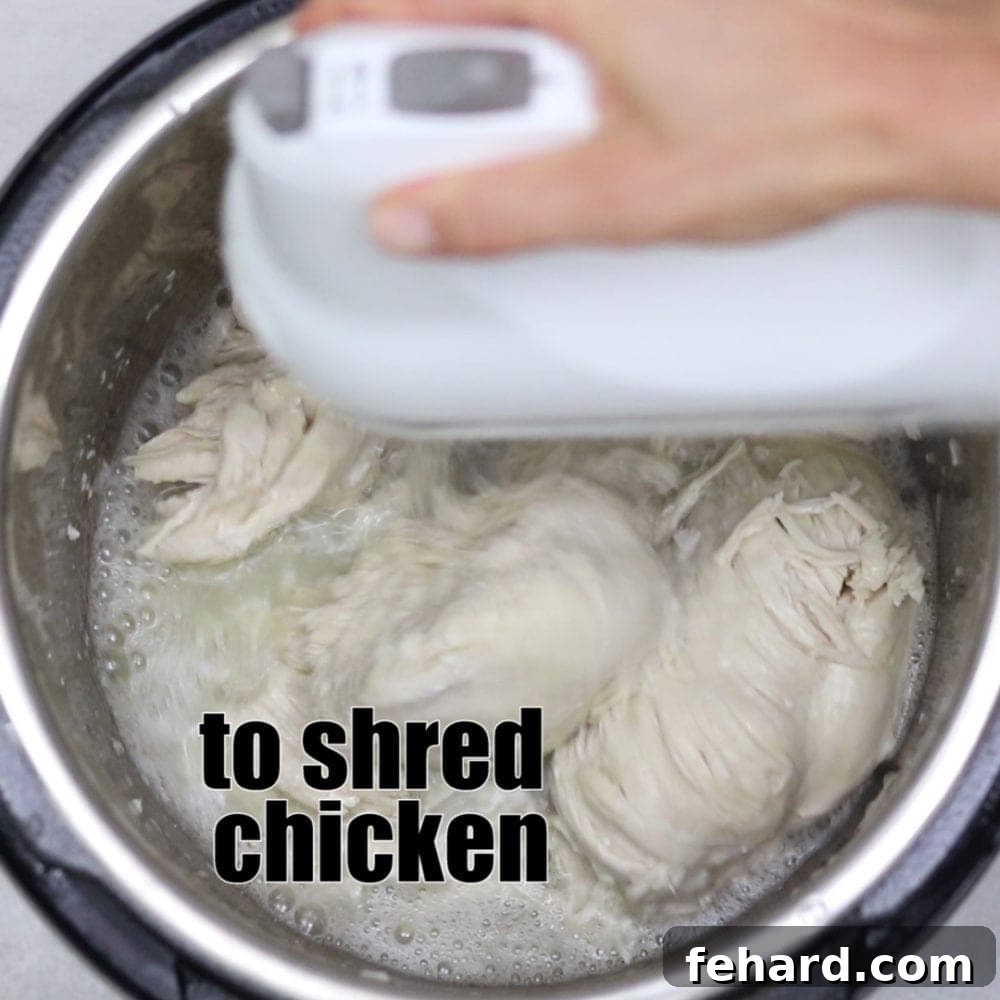
The days of struggling with two forks to tediously shred cooked meat are over! Whether you’re preparing a hearty batch of Crockpot Pulled Pork for sandwiches, tender Instant Pot French Dip Sandwiches, or shredding Instant Pot Chicken Breasts for versatile meal prep and comforting casseroles like Creamy Cheesy Chicken and Rice, a rich Chicken Parmesan Casserole, or a classic Poppyseed Chicken, your handheld mixer is the ultimate time-saver. This simple hack turns a laborious task into a quick, almost effortless one.
You can shred a significant amount of cooked meat in a mere matter of minutes, achieving perfect, consistent results every time with the help of your handheld mixer. It’s a game-changer for batch cooking and busy weeknights.
Quick Steps for Mixer Meat Shredding:
Follow these guidelines for perfectly shredded meat:
- Prepare Meat Chunks: While your cooked meat is still slightly warm (not hot, but not completely cold either, as warmth aids in shredding), cut it into large, manageable chunks.
- Place in Bowl: Transfer the chunks of cooked, boneless chicken, pork, or beef into a large mixing bowl. Ensure the bowl is deep enough to contain the meat as it shreds, preventing splatter.
- Add Liquid (Optional but Recommended): For extra tenderness and moisture, add a small amount of cooking liquid (broth, water, or the juices from cooking the meat) to the bowl. This helps keep the meat juicy and can make the shredding process smoother.
- Shred on Low Speed: Using your handheld mixer set to a low speed, begin to shred the meat. The beaters will effortlessly pull the meat apart into strands. Gradually increase the speed if needed, but low to medium is usually sufficient. Continue until the meat is shredded to your desired consistency.
∗ Important Safety Reminder ∗
It is absolutely critical to only use BONELESS cuts of meat when employing your mixer for shredding. The presence of bones can not only damage your mixer but, more importantly, create dangerous shards of bone that could contaminate your food, making it unsafe to eat. Always double-check that your meat is entirely boneless before starting.
No More Separation: To Stir Natural Nut Butters
I’m a devoted fan of natural nut butters – peanut, almond, cashew, you name it! My preference leans towards simplicity when it comes to ingredients: just nuts and salt, no added sugars or oils. However, this commitment to natural goodness often comes with a common challenge: the notorious oil separation that occurs in jars of Natural Peanut Butter and Natural Almond Butter.
This natural phenomenon causes a thick layer of oil to rise and sit on top of the denser nut solids. If you don’t thoroughly and evenly disperse that oil throughout the entire jar, you’re left with a frustrating situation: a runny, oily mess at the top, and a dry, hard, almost unusable block of nut butter at the bottom. Dried-up, unspreadable nut butter is far from appetizing and makes for a frustrating breakfast or snack experience. Despite my best efforts and minutes of vigorous hand-mixing with a knife or spoon, I could never achieve that perfectly creamy, well-integrated consistency. That’s when my handheld mixer entered my life, and honestly, it changed my nut butter game forever!
Achieve Perfect Consistency: How to Mix Natural Nut Butter with a Hand-Held Mixer
Say goodbye to the struggle and hello to perfectly creamy nut butter:
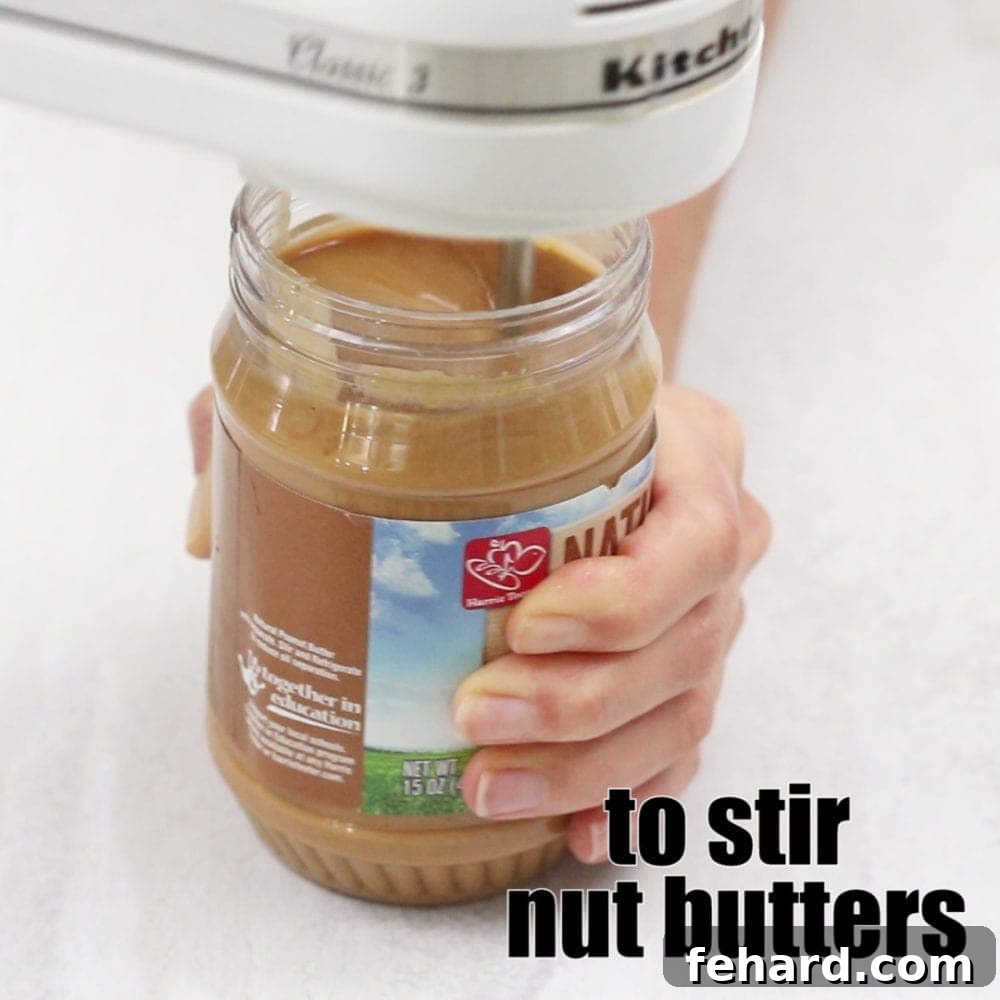
- Attach One Beater: Secure just one paddle or beater onto your handheld mixer and ensure it’s plugged in and ready.
- Open the Jar: Carefully open your jar of natural nut butter.
- Submerge the Beater: Gently lower the single paddle into the nut butter until it is fully submerged below the oil layer and into the denser solids.
- Mix Carefully: This step requires caution! With one hand, hold the jar VERY FIRMLY to keep it stable. With your other hand, firmly grip the mixer. Turn the mixer to its absolute lowest setting. Allow the mixer to slowly begin dispersing the oil into the nut butter. Once the initial resistance lessens and the oil starts to integrate, you can gradually increase the speed to medium. Continue mixing for 30-45 seconds, or until the nut butter is beautifully creamy and the oil is completely incorporated.
∗ Crucial Safety Warning ∗
This tip is a lifesaver, but proper execution is key for safety and to avoid a huge mess! Be absolutely sure to hold your jar TIGHTLY with one hand. And never, ever turn the mixer on before you have a firm grasp on both the jar and the mixer, and the beater is fully submerged into the nut butter. I made the mistake of turning it on too early just ONE time, and the result was nut butter splattering across my kitchen walls and all over me! It was a memorable (and messy) lesson. It has never happened again since I learned this vital precaution, and I use this trick at least once a week. Consider yourself warned, but also empowered!
Choosing Your Culinary Companion: Which Handheld Mixer is Best?
While many brands offer handheld mixers, investing in a reliable, durable model can make all the difference in utilizing these hacks effectively. A powerful motor and robust attachments ensure your mixer can handle tasks from delicate frothing to dense nut butter mixing without faltering.
Personally, I have owned my KitchenAid handheld mixer for over 20 years, and it continues to perform flawlessly with zero issues. Its consistent reliability is why I wholeheartedly recommend it. It’s a testament to quality and longevity in a kitchen appliance.
KitchenAid also offers a handheld mixer that comes with additional whisk and frothing attachments. While I imagine these are excellent accessories and provide even more specialized functionality, I haven’t personally found the need for all the extras, as the basic beaters have proven incredibly versatile for all the tasks outlined here.
Do you have another brilliant, creative way you use your handheld mixer that wasn’t mentioned here? We’d love to hear about it! Please share your innovative tips and tricks in the comments below and help us all make our kitchens even more efficient!