
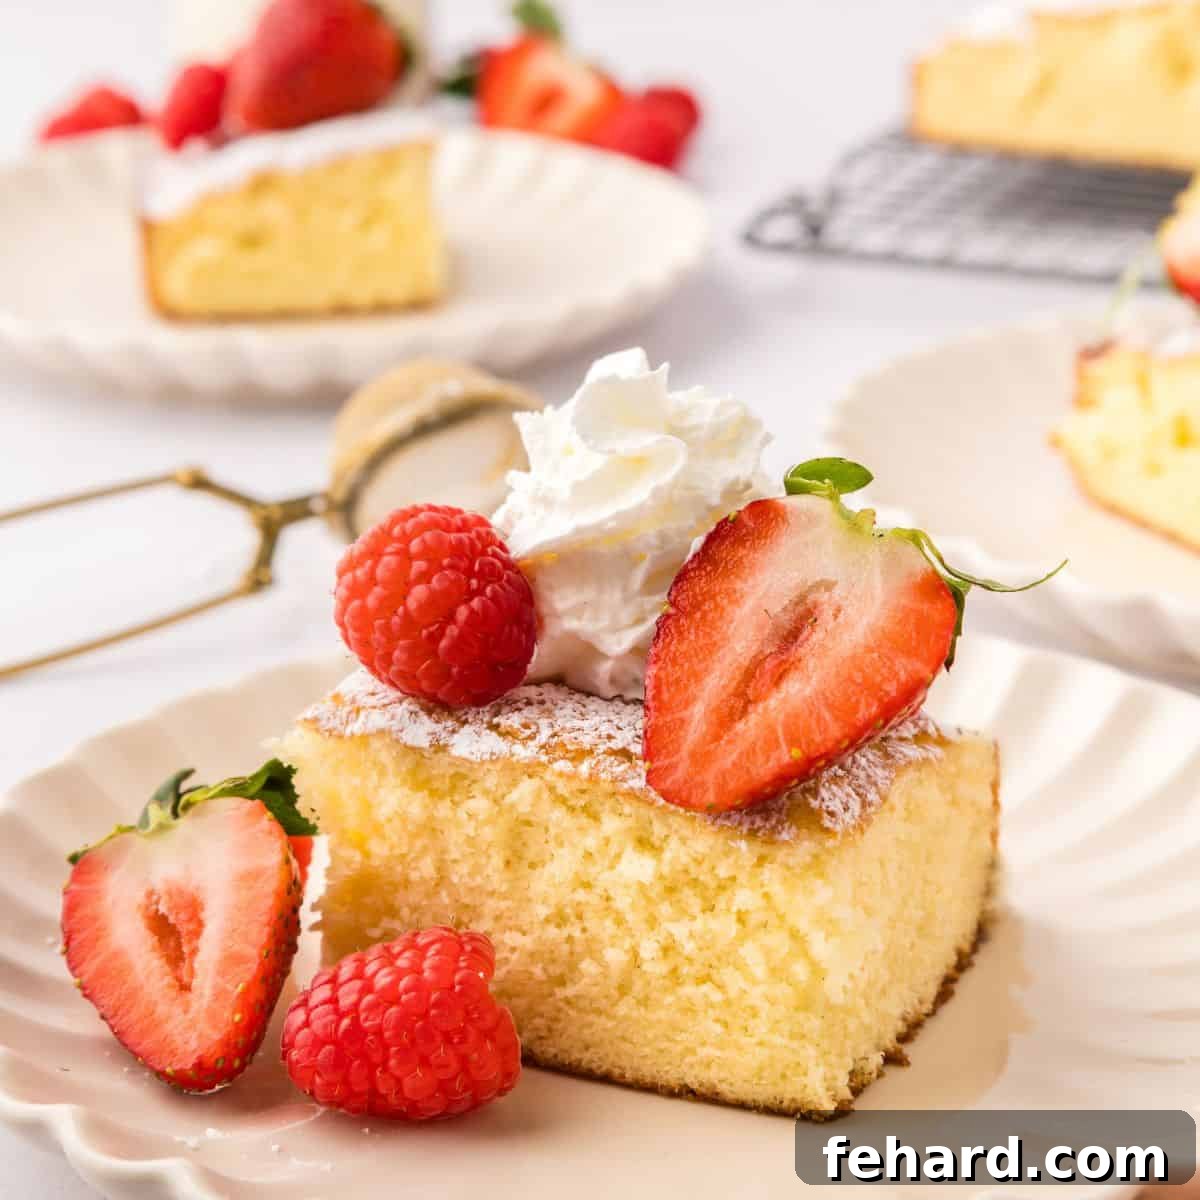
Hot Milk Cake is more than just a dessert; it’s a comforting slice of nostalgia. This classic, old-fashioned vanilla cake is renowned for its unique light, fluffy texture and rich, buttery flavor, achieved with the simple addition of warm milk. It’s an effortlessly elegant treat that comes together using common pantry staples, proving that sometimes the simplest recipes yield the most delightful results.
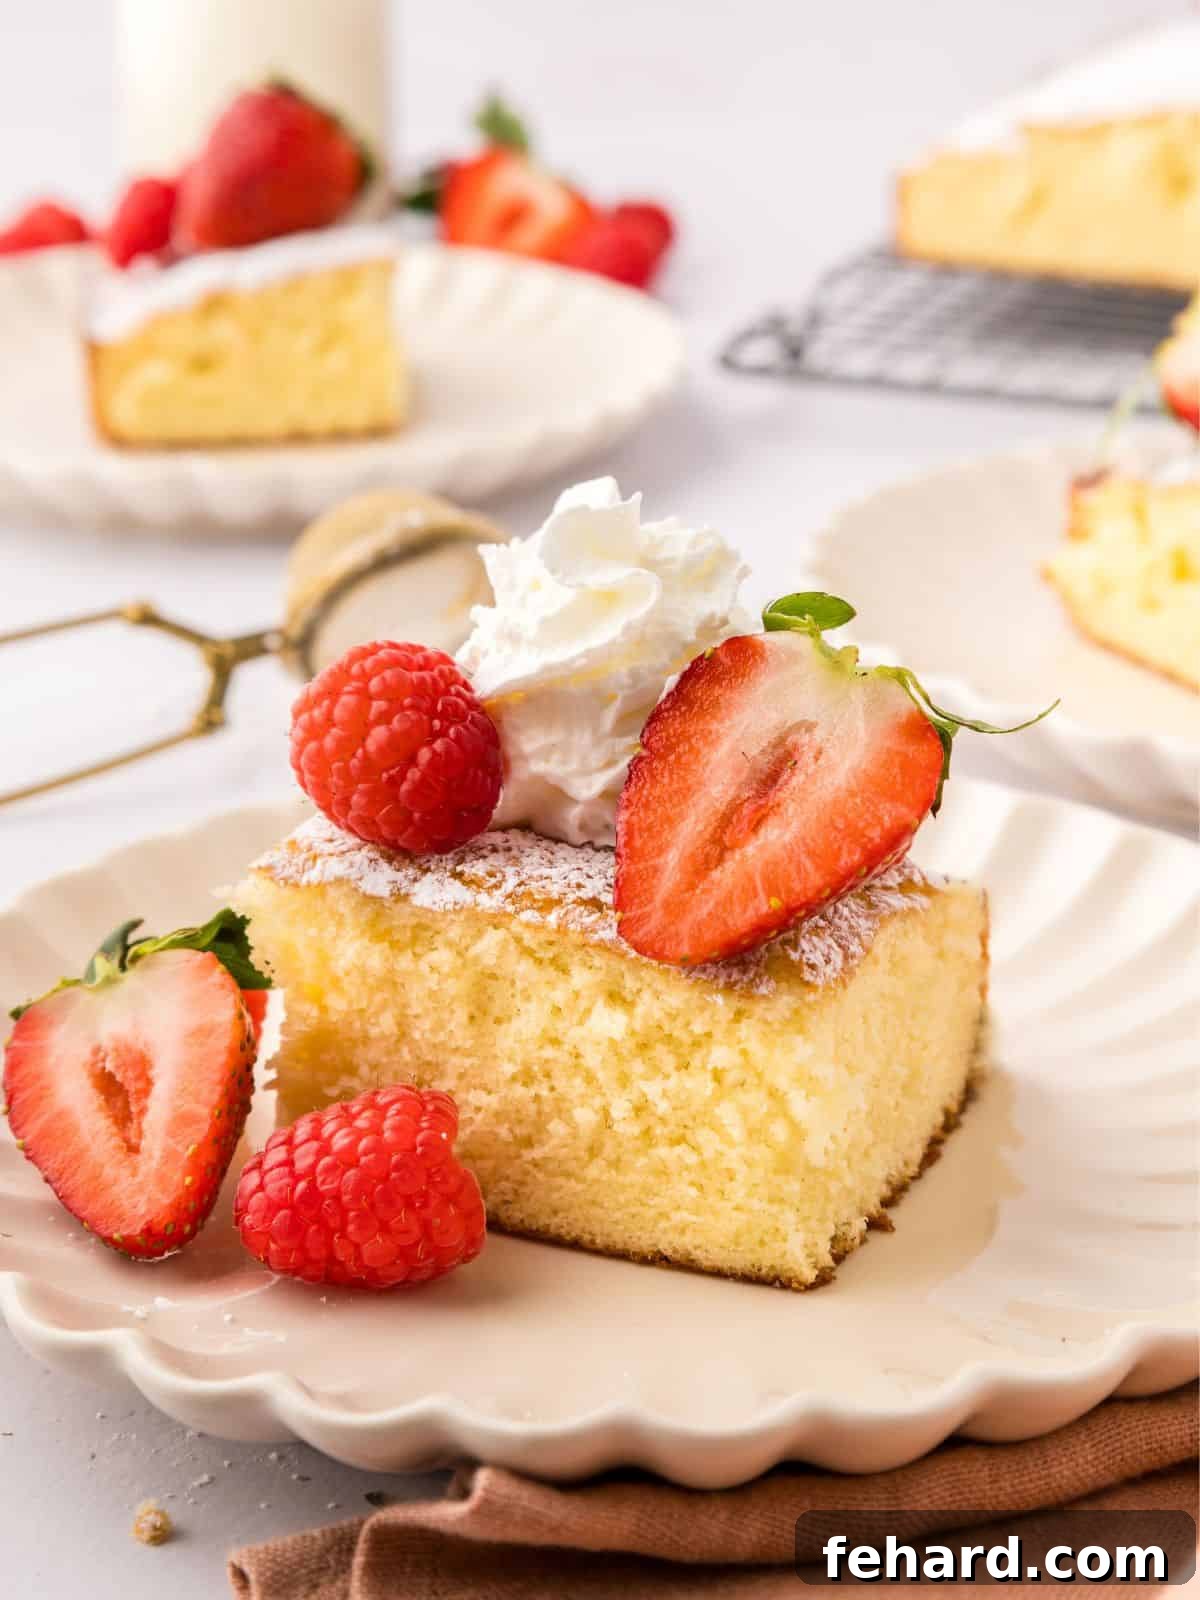
My Great-Grandma’s Beloved Hot Milk Cake: A Timeless Family Treasure

This cherished Hot Milk Cake recipe holds a deeply special place in my heart, a culinary legacy passed down through generations from my great-grandma. She truly was the heart and soul of baking in our family, a woman whose kitchen always emanated warmth and the enticing aroma of sweet treats. When I close my eyes and think of her, my mind immediately fills with vivid memories of delicate lace doilies, sparkling crystal figurines, and, of course, countless tins overflowing with an array of homemade baked goods.
Her philosophy revolved around the joy of sharing. There was never a moment when she didn’t have a delicious treat (or often ten!) ready and waiting to share with her family, her kind neighbors, and her dear friends. This particular Hot Milk Cake was a cornerstone of her repertoire, a testament to her belief that simple, honest ingredients, when combined with love and a touch of inherent baking magic, could create something truly extraordinary. It’s a cake that consistently delivers a moist, buttery, and perfectly sweet experience, without ever being cloyingly so. As my great-grandma would often joyfully declare, it’s perfect “just to celebrate another beautiful day on Earth!”
Beyond its delectable taste, this cake embodies a rich culinary tradition. It serves as a comforting reminder of a bygone era when baking was a fundamental and cherished part of home life—a profound way to express care, gather loved ones, and foster togetherness. The elegant simplicity of its preparation subtly conceals the remarkable depth of flavor and the wonderfully tender crumb that makes it so utterly irresistible. With every bite, I am transported back to her cozy kitchen, a place perpetually filled with cheerful laughter and the comforting, soul-nourishing aroma of pure vanilla. It’s more than just a recipe; it’s a living memory.
May your baking adventures be filled with as much joy and deliciousness as hers! xo Kristen
What Makes Hot Milk Cake a Timeless Classic?
In a culinary landscape brimming with complex, multi-layered desserts, the Hot Milk Cake distinguishes itself through its elegant simplicity and an unparalleled texture that captures the hearts of all who taste it. Unlike the dense crumb of a traditional pound cake or the often-heavy richness of butter cakes, Hot Milk Cake boasts a remarkably fine-grained, incredibly light, and almost ethereal sponge-like texture, all while maintaining a delightful moistness. This distinctive characteristic is primarily attributed to its signature ingredient and method: the careful incorporation of heated milk and butter into the batter.
The warm liquid works its magic in a truly fascinating way. Firstly, the heat assists in completely dissolving the granulated sugar, ensuring a smoother, more homogeneous batter. More critically, the warm milk and melted butter mixture gently gelatinizes some of the flour’s starches and slightly tempers the eggs within the batter, forming a stable emulsion. This unique process is fundamental to the cake’s signature fine crumb structure and its delicate, almost ethereal texture. The delightful outcome is a cake that genuinely “melts in your mouth,” offering a pure, comforting vanilla flavor that possesses universal appeal across all generations. It’s the quintessential cake that requires no heavy frosting or elaborate decorations to shine brightly—a simple dusting of powdered sugar is frequently all it takes to elevate it to absolute perfection.
Furthermore, the Hot Milk Cake’s versatility is truly unmatched. Whether it’s served as an effortless everyday treat alongside a freshly brewed cup of coffee, elegantly dressed up with vibrant fresh berries and a cloud of whipped cream for a special occasion, or even ingeniously transformed into a decadent and impressive trifle, the Hot Milk Cake consistently impresses. It stands as a powerful testament to the enduring power of basic, quality ingredients and a classic baking technique that continues to charm and delight home bakers and discerning dessert lovers alike. Its enduring popularity speaks volumes about its inherent goodness and adaptability.
Understanding the Magic: The Role of Hot Milk in Your Cake
The “hot milk” in Hot Milk Cake isn’t just a quirky name; it’s the secret ingredient that truly defines this cake’s unique character. This seemingly small detail plays a monumental role in achieving the cake’s distinctively fine, tender, and moist crumb. When milk and butter are warmed together and then slowly incorporated into the egg and sugar mixture, a fascinating chemical and physical transformation occurs within the batter.
Firstly, the warmth of the milk helps to fully dissolve the sugar, preventing any grainy texture and creating a smoother, more homogenous batter. Secondly, and most importantly, this hot liquid introduces heat to the batter. This gentle heat begins to gelatinize the starches in the flour and slightly sets (or pre-cooks) some of the egg proteins. This process forms a stable emulsion, creating a batter that is incredibly smooth and stable. The resulting cake benefits from a finer, more uniform cell structure, which translates to that signature velvety, almost melt-in-your-mouth texture that sets Hot Milk Cake apart from other vanilla cakes. It’s this precise interplay of heat and ingredients that contributes to the cake’s remarkable lightness and its delicate, yet robust, structure. Skipping this step would result in a cake that is far less tender and lacks its characteristic charm.
Essential Ingredients & Smart Substitutions
One of the most appealing aspects of Hot Milk Cake is its reliance on truly basic baking staples. You’ll likely discover that you have most, if not all, of these ingredients readily available in your pantry right now! This simplicity translates to less time spent grocery shopping and more precious moments enjoying your delicious homemade creation.
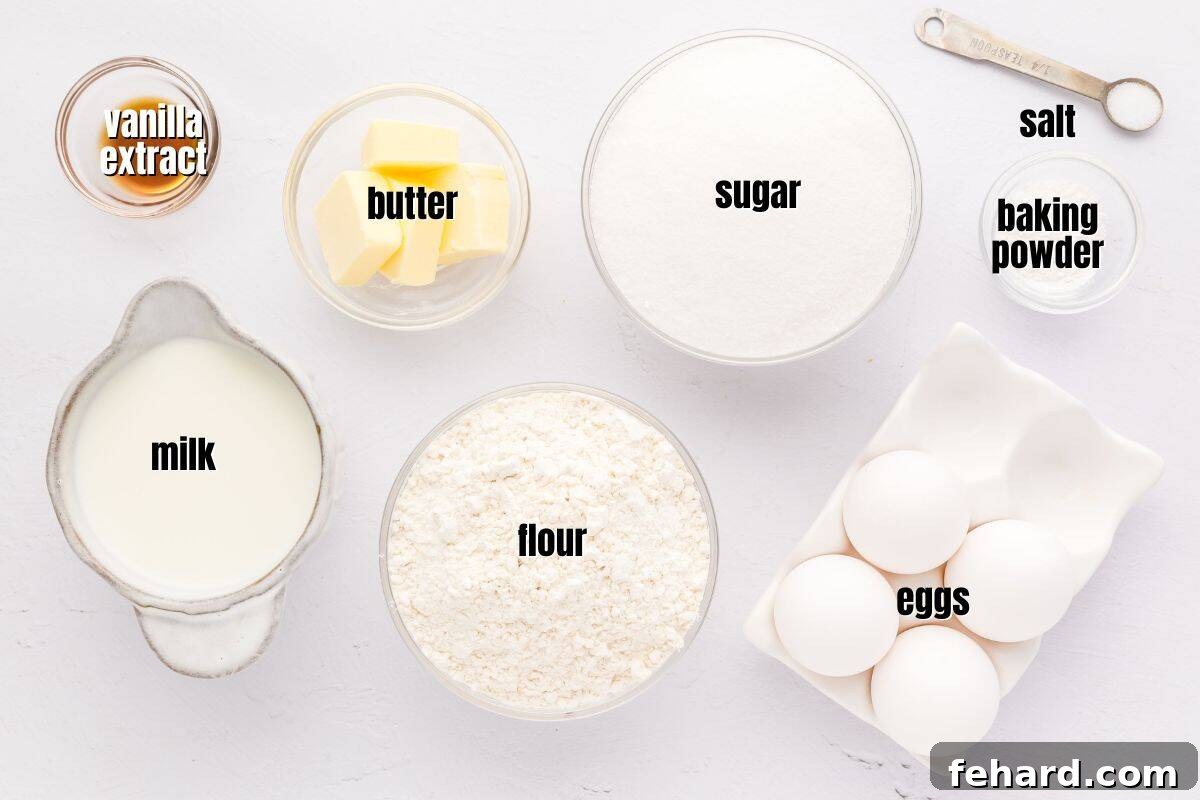
Here’s a closer look at each ingredient, detailing its crucial role in creating this delectable dessert:
- All-Purpose Flour: This forms the foundational structure of your cake. For an exceptionally light and tender crumb, it’s vital to measure your flour correctly (using the spoon-and-level method) and always sift it thoroughly with the baking powder and salt. This aeration prevents dense spots and ensures an even rise.
- Baking Powder: As the primary leavening agent, baking powder is responsible for giving the cake its beautiful lift and airy texture. Always check the expiration date to ensure it’s fresh and active, as this directly impacts your cake’s rise.
- Table Salt: A small but incredibly powerful ingredient! Salt doesn’t just add a touch of flavor; it expertly balances the sweetness of the cake and significantly enhances the overall depth of the vanilla and butter flavors, preventing the cake from tasting flat or overly sweet.
- Large Eggs (at Room Temperature): Eggs are multifaceted heroes in baking, contributing significantly to the cake’s structure, richness, and essential moisture. Utilizing room temperature eggs is an absolute must for achieving a light and spectacularly fluffy cake. They emulsify far more easily with sugar and butter, and crucially, they incorporate a much greater volume of air when beaten, which is vital for the cake’s signature texture.
- Granulated Sugar: This provides the delightful sweetness to the cake and also acts as a tenderizer for the crumb. Beating it vigorously with the eggs creates a stable, light, and airy base for your batter, contributing to the cake’s volume.
- Pure Vanilla Extract: The undisputed star flavor of this timeless cake. Investing in a good quality pure vanilla extract will dramatically enhance the cake’s aromatic profile and deliver the most authentic and delicious taste experience. Avoid imitation vanilla for the best results.
- Unsalted Butter: Butter is indispensable for adding rich flavor, profound moisture, and a tender mouthfeel to the cake. Using unsalted butter allows you precise control over the total salt content of your recipe. Remember to reserve a little extra butter for generously greasing your baking pan.
- Whole Milk: The very ingredient that lends this cake its distinctive name! Whole milk plays a critical role in developing the cake’s tender crumb and contributing to its rich flavor. Its higher fat content works harmoniously with the butter when heated, playing a significant part in creating that characteristic melt-in-your-mouth texture.
Adapting for Dietary Needs: Gluten-Free & Dairy-Free Options
My great-grandma firmly believed that everyone, without exception, should be able to enjoy a wonderful homemade treat, and I wholeheartedly echo that sentiment! If you or your loved ones have specific dietary restrictions, you can still relish this marvelous Hot Milk Cake with a few thoughtfully tailored modifications:
- Gluten-Free Hot Milk Cake: You can achieve a truly successful gluten-free version of this cake by confidently substituting the all-purpose flour with a high-quality 1:1 all-purpose gluten-free flour blend. When selecting your blend, look for products that are explicitly labeled “1:1” or “cup-for-cup” to ensure the correct consistency and texture without requiring any additional adjustments to the recipe.
- Dairy-Free Option: While the name “Hot Milk Cake” might imply an inherent need for dairy, a remarkably delicious dairy-free version is absolutely within reach. For the milk component, simply replace regular milk with an unflavored, unsweetened almond or soy milk. For the butter, opt for your favorite brand of non-dairy stick butter alternative. A crucial note: since many non-dairy butters tend to be pre-salted, it’s advisable to omit the additional salt from the cake batter to prevent the final product from becoming overly salty.
How to Make the Perfect Hot Milk Cake: A Detailed Step-by-Step Guide
Creating this beloved classic cake is a delightfully straightforward process, but by giving careful attention to a few key techniques, you will consistently achieve a truly perfect result every single time. Follow these detailed steps meticulously to ensure your Hot Milk Cake turns out incredibly light, wonderfully fluffy, and exquisitely moist.
The following comprehensive tips are specifically designed to guide you toward baking perfection. You will find all precise ingredient quantities and exhaustive instructions conveniently listed in the full recipe card located further down this page.
- Prepare Your Ingredients and Oven: Your baking journey begins by taking your eggs out of the refrigerator a generous 30-60 minutes before you intend to start baking. Room temperature eggs are absolutely crucial for achieving the desired volume and the cake’s delicate texture. Next, preheat your oven accurately to 350°F (175°C). Generously grease a 9×13-inch baking pan with butter, then lightly dust it with flour, tapping out any excess. This simple but vital step helps prevent sticking and ensures your beautiful cake releases effortlessly after baking.
- Sift Dry Ingredients for Ultimate Lightness: In a medium-sized mixing bowl, meticulously sift together the all-purpose flour, baking powder, and table salt. Sifting serves a dual purpose: it not only removes any potential lumps but, more importantly, it thoroughly aerates the flour. This aeration significantly contributes to the cake’s characteristic light and fluffy texture. After sifting, use a whisk to gently combine the mixture, ensuring all dry ingredients are evenly distributed.
- Achieve Gloriously Airy Eggs: In a large mixing bowl (or the bowl of a stand mixer fitted with the whisk attachment), beat the room temperature eggs on medium-high speed for a consistent 3-4 minutes. Your goal is a mixture that is thick, visibly pale yellow, and abundantly bubbly—almost foamy. This extended beating incorporates a substantial amount of air, which is the primary contributor to the cake’s elegant structure and impressive rise, resulting in its wonderfully sponge-like quality.
- Gradually Incorporate Sugar and Vanilla for Flavor: With your mixer still running on medium-high speed, gradually, almost like a gentle rain, add the granulated sugar to the beaten eggs. Continue beating for another 3-4 minutes until the mixture transforms into an even lighter color and becomes incredibly voluminous and fluffy. Finally, gently mix in the pure vanilla extract until it is just combined. Exercise caution at this stage and avoid overmixing once the vanilla has been added, to preserve the air incorporated.
- Gently Fold in Dry Ingredients to Maintain Air: Reduce the mixer speed to its lowest setting, or, if using a stand mixer, remove the bowl from the stand and switch to a wooden spoon or a flexible spatula. Gradually add the meticulously sifted flour mixture to the luscious wet ingredients. Mix only until the dry ingredients are just fully moistened and no visible streaks of flour remain. The paramount rule here is to use an extremely gentle hand and steadfastly avoid overmixing. Overmixing can aggressively develop the gluten in the flour, which inevitably leads to a dense, tough, and less desirable cake texture.
- Warm the Milk and Butter: The Signature Step: In a small saucepan, combine the unsalted butter and whole milk. Place this mixture over low to medium heat, stirring gently and occasionally, until the butter has completely melted and the milk is visibly steaming, with tiny, delicate bubbles just beginning to form around the edges of the pan. It should be hot to the touch, but never allowed to reach a rolling boil. This precisely warmed mixture is the fundamental “secret sauce” responsible for the cake’s uniquely tender and fine crumb.
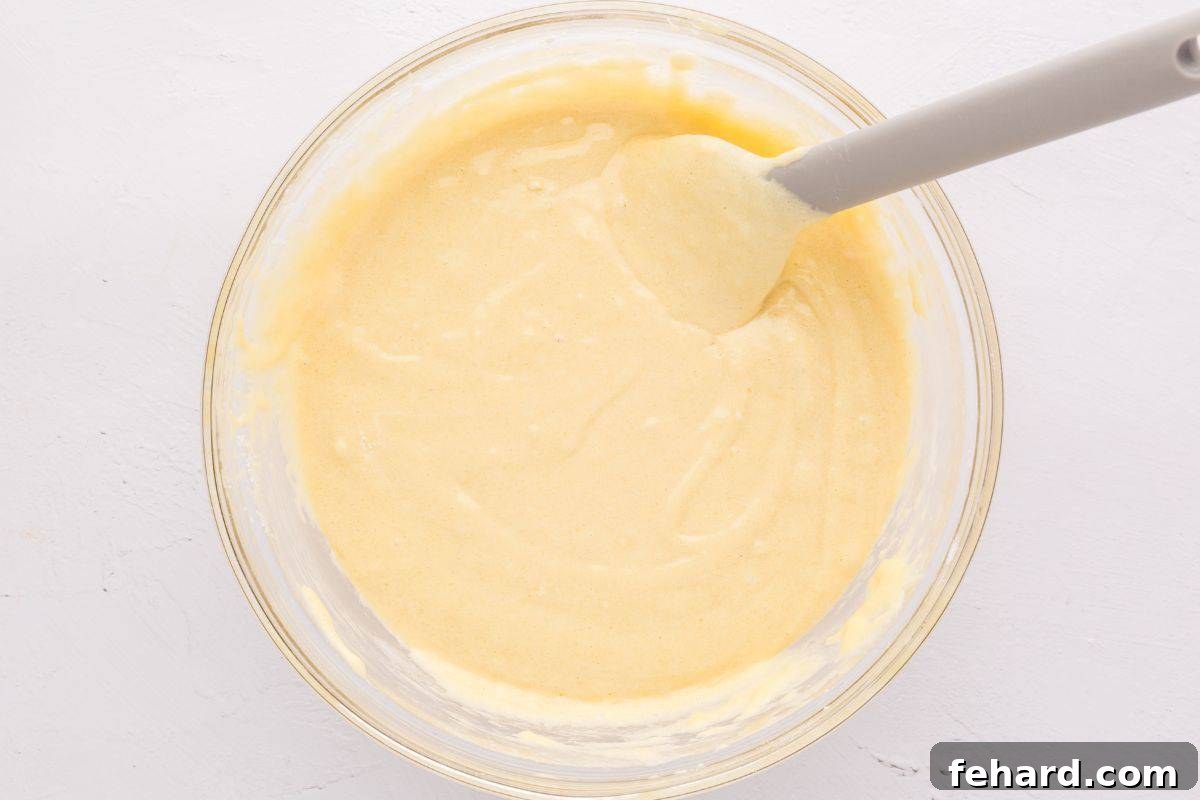
- Slowly Introduce the Hot Milk Mixture (Emulsification): This is an absolutely critical step that demands your full attention! While continuously whisking the cake batter with enthusiasm, or with your stand mixer operating on its very lowest speed, slowly and steadily drizzle the warm milk and butter mixture into the batter. This deliberate, gradual addition is essential to prevent the hot liquid from “cooking” or scrambling the eggs in the batter. It also ensures the entire mixture emulsifies smoothly and thoroughly, resulting in a homogeneous, incredibly silky, and stable batter. Mix only until just fully combined.
- Bake to Golden Perfection: Carefully pour the perfectly prepared cake batter evenly into your buttered and floured 9×13-inch cake pan, distributing it from corner to corner. Gently transfer the pan to your preheated oven and bake for approximately 30-35 minutes. The cake is perfectly done when its top is beautifully golden brown, springs back lightly and resiliently when gently touched in the center, and a wooden skewer or toothpick inserted into the very center of the cake emerges clean, or with just a few moist, delicate crumbs attached. Crucially, avoid the temptation to open the oven door too early, especially during the first 20 minutes of baking, as this can cause the cake to prematurely sink.
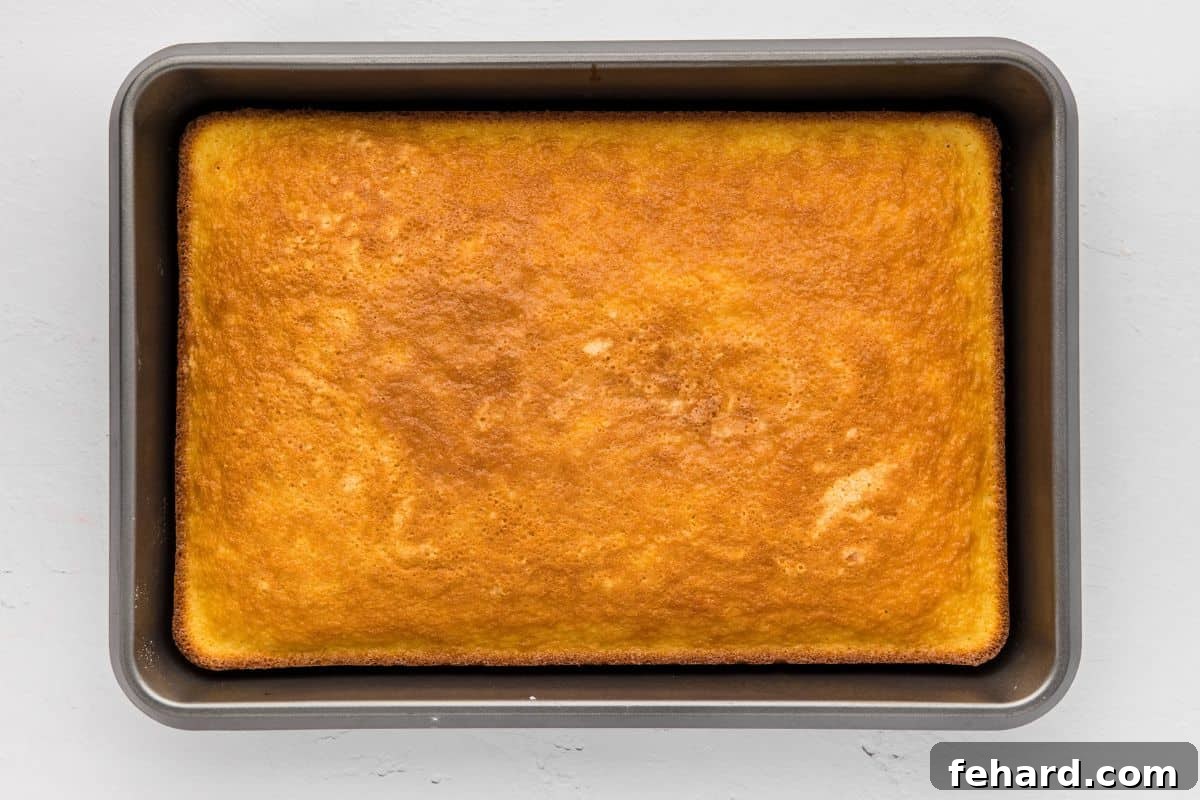
- Cool Completely Before Serving: Once baked and removed from the oven, allow the cake to cool gracefully in its baking pan on a wire rack for a crucial 10-15 minutes. This vital initial cooling period allows the cake’s delicate structure to fully set and firm up, preventing it from crumbling or tearing when you eventually invert it. After this initial cooling, carefully invert the cake directly onto the wire rack to cool completely. Allowing the cake to reach full room temperature is absolutely essential for achieving the best texture and for any toppings, such as powdered sugar, to adhere properly without melting.
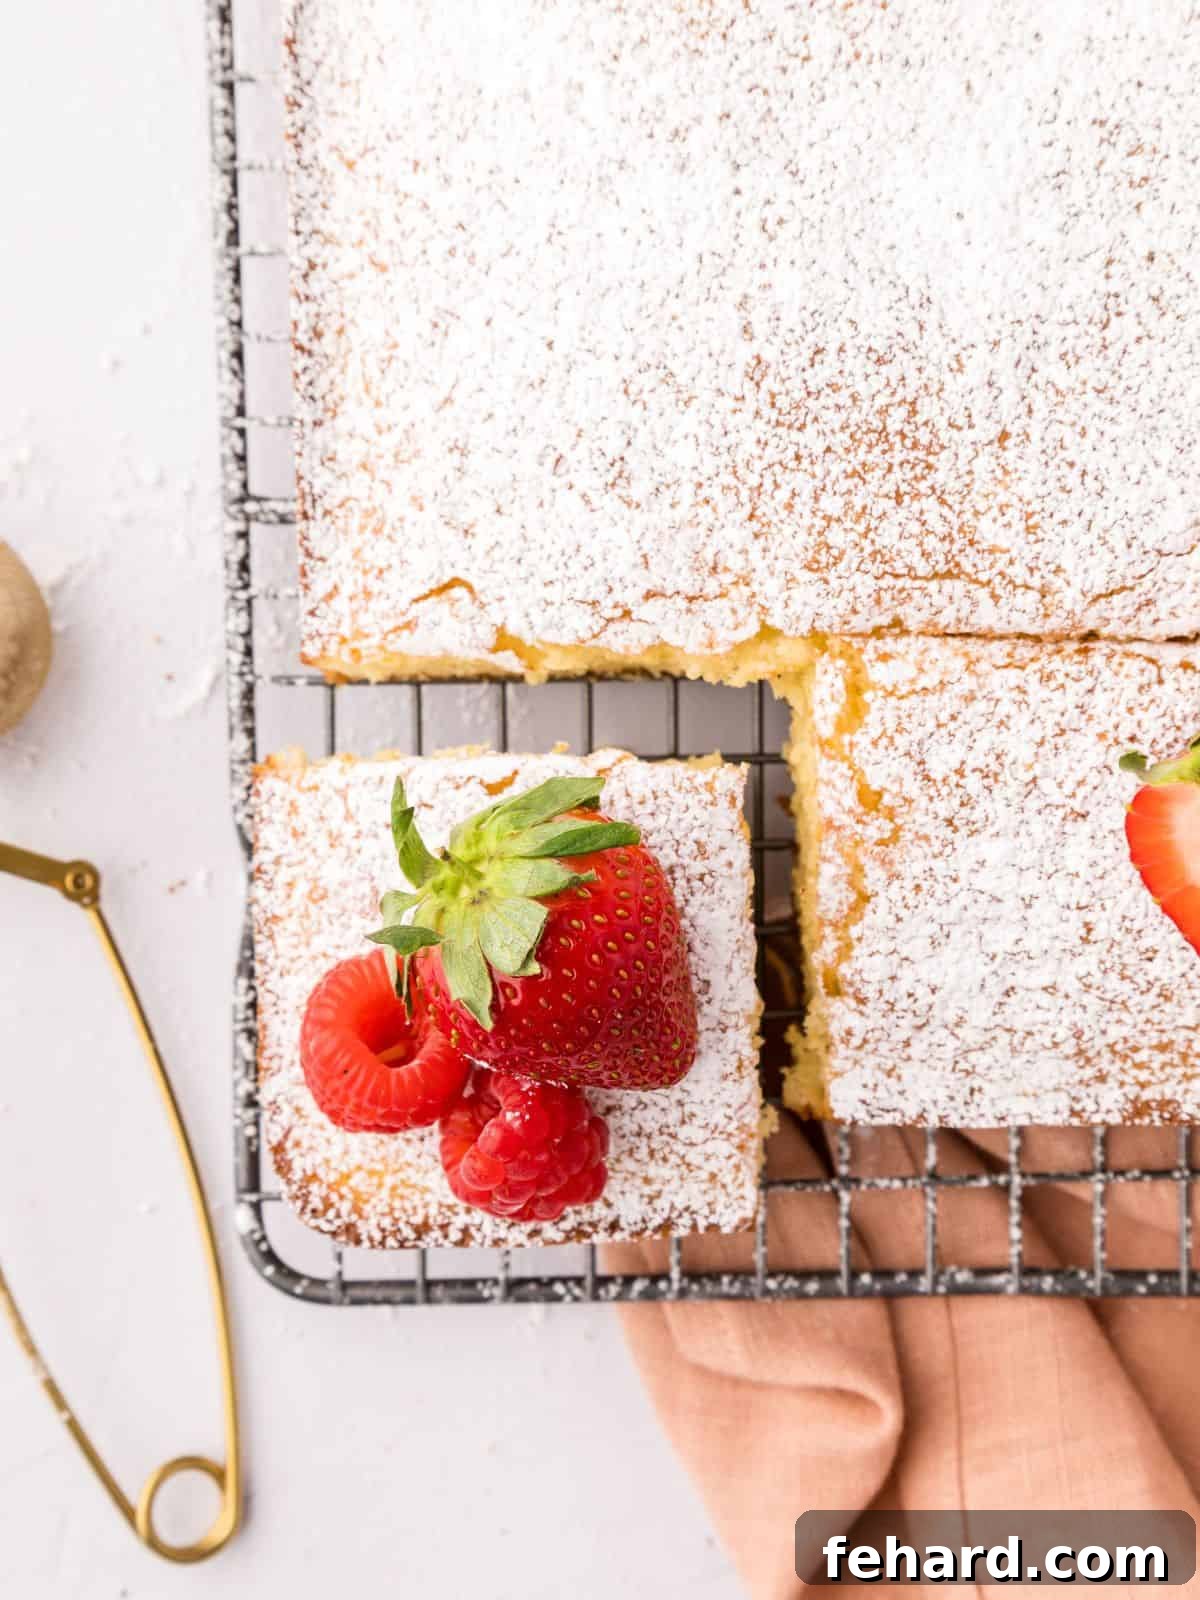
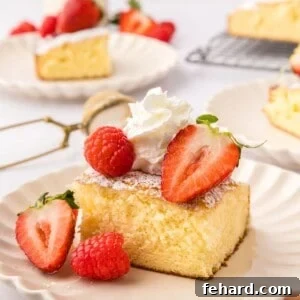
- Dust and Serve with Elegance: Once the cake has thoroughly cooled, generously dust the entire top surface with powdered sugar using a fine-mesh sieve. This simple yet elegant finish is a hallmark of classic Hot Milk Cake and instantly adds both a touch of sweetness and visual sophistication. Serve slices plain, allowing the pure vanilla and buttery flavors to shine, or elevate them with a delightful dollop of fresh whipped cream and a vibrant medley of seasonal berries for an irresistible presentation.
Kristen’s Key Tips for Hot Milk Cake Perfection
While this Hot Milk Cake recipe is wonderfully straightforward and forgiving, these insider pointers will help you achieve truly outstanding results every single time, guaranteeing your cake is as exquisitely light, wonderfully fluffy, and perfectly moist as my great-grandma’s was.
- Room Temperature Eggs are a Non-Negotiable Must: This crucial detail cannot be overstressed! Eggs that are at room temperature emulsify far better with sugar and fat ingredients, and, crucially, they whip up to a much greater volume, incorporating significantly more air into your batter. This extra incorporated air is absolutely vital for the cake’s signature light, fine, and tender crumb. Make sure to plan ahead and take your eggs out of the refrigerator a good 30-60 minutes before you even begin preparing your baking ingredients.
- Milk Fat Content Matters (But Don’t Overthink It): While using whole milk will undoubtedly yield the richest, most luxurious batter and a slightly more tender crumb due to its higher fat content, this recipe is remarkably adaptable and forgiving. You can confidently use any fat percentage of milk you happen to have on hand, from 2% to even skim milk, and still achieve a delicious cake. In fact, for those with dietary needs, unsweetened, unflavored non-dairy milk alternatives also perform beautifully for a dairy-free version.
- The “Hot Milk” is Your Cake’s Secret Weapon: Please, do not be tempted to skip the step of warming the milk and butter! This fundamental step is absolutely foundational to the cake’s unique, fine-grained, and distinctively sponge-like texture. The warm liquid gently “cooks” or tempers the flour and eggs as it’s gradually incorporated into the batter, thereby creating a more stable emulsion. This process results in a remarkably delicate and tender crumb that genuinely melts in your mouth, setting it apart from other cakes.
- Embrace Simplicity, or Unleash Your Creativity: Traditionally, Hot Milk Cake is served with nothing more elaborate than a delicate dusting of powdered sugar. Its inherent rich, buttery flavor and exquisitely tender texture are often perfect and complete on their own. However, feel entirely free to get creative and personalize it! Consider serving it with a generous dollop of freshly whipped cream and a vibrant medley of seasonal fresh berries for an elegant and refreshing touch. For a more indulgent experience, a decadent drizzle of homemade hot fudge sauce or warm caramel sauce makes for an unforgettable treat.
- Transform It into a Stunning Trifle: For an undeniably impressive dessert that remains surprisingly simple to assemble, consider layering cooled cubed Hot Milk Cake with luscious, creamy vanilla pudding, abundant whipped cream, and bursts of vibrant fresh berries in a large, elegant glass bowl. It’s an absolute crowd-pleaser—beautiful to behold and even more delightful to taste!
- Perfect for Any Size Gathering (Half Batch Option): This flexible recipe is easily adjustable to suit your needs. If you find yourself not serving a large crowd or simply prefer a smaller, more manageable cake, you can easily cut all the ingredient quantities precisely in half. Bake this half-sized batter in an 8×8-inch cake pan that has been thoroughly greased and floured, remembering to reduce the baking time by approximately 5-10 minutes (start checking for doneness around the 25-30 minute mark).
- Never Overmix: After you’ve added the flour to the wet ingredients, remember to mix only until the dry components are just barely combined and no streaks of flour are visible. Overmixing actively develops the gluten in the flour, which inevitably leads to a cake that is tough and dry, rather than the desired light, airy, and tender crumb you’re striving for.
- Cooling is Absolutely Key for Optimal Texture: While the warm aroma might tempt you to slice into the cake immediately after it comes out of the oven, allowing it to cool completely on a wire rack is an essential step. This crucial cooling period allows the cake’s delicate structure to fully set and solidify, which in turn results in a cleaner, more precise slice and a significantly better overall texture. Patience truly is a virtue in this final step.
Storage Instructions and Make-Ahead Tips
One of the many delightful benefits of this classic Hot Milk Cake is its remarkable ability to store well, making it an excellent option for preparing desserts in advance or savoring delicious leftovers for several days!
- At Room Temperature: Store any leftover, thoroughly cooled cake by covering it tightly with plastic wrap or placing it in an airtight container. It will maintain its wonderfully soft and moist texture at room temperature for up to 3 days.
- Refrigerate: For a slightly extended storage period, you can keep the well-covered cake in the refrigerator for up to 5 days. This method is particularly advantageous if your kitchen tends to be warm, or if your cake features delicate toppings that necessitate chilling to maintain their freshness.
- Freeze for Longer Enjoyment: Hot Milk Cake freezes exceptionally well, making it perfect for future cravings! Once the cake has completely cooled to room temperature, wrap it very tightly in two layers of plastic wrap, followed by an additional layer of heavy-duty aluminum foil. Alternatively, place individually wrapped slices or the entire cake in a freezer-safe bag or container. It can be confidently frozen for up to 2 months. To savor, simply thaw the cake overnight in the refrigerator, then allow it to come to room temperature before serving for the absolute best texture and flavor experience.
By following these effective storage methods, you can always have a delightful slice of classic Hot Milk Cake ready to enjoy whenever the mood strikes!
Frequently Asked Questions About Hot Milk Cake
- Is Hot Milk Cake considered a type of sponge cake?
- Yes, Hot Milk Cake is very often categorized as a type of sponge cake due to its notably light, airy, and delicate crumb structure. The specific method of vigorously beating eggs until they are thick and foamy, combined with the unique incorporation of the hot milk mixture, creates a texture that is remarkably similar to traditional sponge cakes, but often with an added richness and a more pronounced buttery flavor profile.
- Can I experiment with different flavorings for my Hot Milk Cake?
- Absolutely! While pure vanilla is the quintessential and beloved classic flavoring for this cake, you are more than welcome to experiment and introduce other delightful flavorings. Consider adding a teaspoon of almond extract for a subtle, nutty twist, a tablespoon of fresh lemon or orange zest for a bright, vibrant citrusy note, or even just a delicate hint of ground nutmeg or cinnamon for a warm, comforting spiced variation. Any of these additions can be incorporated alongside the vanilla extract to enhance the cake’s profile.
- Why did my Hot Milk Cake turn out dense or heavy?
- A Hot Milk Cake that lacks its characteristic lightness and turns out dense can typically be attributed to one or a combination of a few common factors:
- Cold Eggs: If your eggs were not brought to full room temperature, they would not have been able to whip up to their maximum volume, resulting in less essential air being incorporated into the batter.
- Overmixing: Excessively mixing the batter, particularly after the flour has been added, will over-develop the gluten proteins in the flour. This leads directly to a cake that is tough, chewy, and dense. Always mix only until the ingredients are just combined.
- Old or Inactive Baking Powder: Ensure that your baking powder is fresh and active. Expired or stale leavening agents simply will not provide the necessary lift and aeration required for a light cake.
- Is sifting the flour truly necessary for Hot Milk Cake?
- While it’s possible to bake the cake without sifting the flour, it is very highly recommended for Hot Milk Cake. Sifting plays a crucial role: it aerates the flour, effectively prevents any lumps from forming, and contributes significantly to the cake’s characteristic fine, light, and wonderfully fluffy texture. It’s a small, extra step in the preparation that yields a noticeably superior result in the final cake’s texture and overall quality.
- What is the best way to serve Hot Milk Cake for guests?
- Traditionally, Hot Milk Cake is most elegantly served simply dusted with a generous layer of powdered sugar. However, its versatility allows for many delightful presentations! For a classic touch, serve individual slices with a medley of fresh berries and a cloud of freshly whipped cream. For an indulgent treat, a scoop of premium vanilla ice cream or a warm drizzle of rich chocolate or caramel sauce pairs beautifully. It also serves as an excellent, sturdy, and flavorful base for elaborate trifles or can even be transformed into a simple yet charming layer cake with a light buttercream frosting.
More Delightful Homemade Dessert Recipes You’ll Love
- Easy Fudgy Brownies
- Mini Cheesecakes
- Homemade Peanut Butter Cups
- Tapioca Pudding
- Lemon Cheesecake Bars
- Microwave Fudge
Did you bake this delightful cake?
If you enjoyed this classic Hot Milk Cake recipe, please consider leaving a comment and a 5-star review at the bottom of this post. Your feedback is greatly appreciated and helps other bakers!
Hot Milk Cake Recipe
A truly easy and classic old-fashioned vanilla cake that’s light, fluffy, and incredibly moist thanks to its unique secret ingredient: warm milk. This timeless dessert is perfect for any family celebration or a simple, comforting treat!
Recipe Details
- Yields: 12 servings
- Prep time: 10 minutes
- Cook time: 35 minutes
- Cooling time: 20 minutes
- Total time: 1 hour 5 minutes
- Author: Kristen Chidsey
Ingredients
- 2 cups all-purpose flour
- 2 teaspoons baking powder
- ¼ teaspoon table salt
- 4 large eggs, at room temperature
- 2 cups granulated sugar
- 1 teaspoon pure vanilla extract
- 4 tablespoons unsalted butter, plus more for greasing the pan
- 1 cup whole milk
- Powdered sugar, whipped cream, and fresh berries, for serving (optional garnishes)
Instructions
- Bring eggs to room temperature: Take the large eggs out of the refrigerator 30-60 minutes before you begin baking to ensure they are at full room temperature.
- Preheat oven and prepare pan: Preheat your oven to 350℉ (175℃). Generously grease a 9×13-inch cake pan with butter and lightly flour it, tapping out any excess. Set the prepared pan aside.
- Sift dry ingredients: Over a medium mixing bowl, meticulously sift together the 2 cups all-purpose flour, 2 teaspoons baking powder, and ¼ teaspoon table salt. Whisk briefly to ensure all dry ingredients are evenly combined.
- Beat eggs until light: In a large mixing bowl (or the bowl of a stand mixer), beat the room temperature eggs on medium-high speed for 3-4 minutes, until the mixture is thick, pale yellow, and very bubbly.
- Add sugar and vanilla: Gradually add the 2 cups granulated sugar to the beaten eggs, continuing to beat on medium-high speed for another 3-4 minutes until the mixture is light and fluffy. Stir in the 1 teaspoon pure vanilla extract until just combined.
- Gently combine wet and dry: Add the sifted dry ingredients to the wet egg mixture. Using a wooden spoon or a spatula, gently mix until the dry ingredients are just moistened and no streaks of flour remain. Be careful not to overmix.
- Heat milk and butter: In a small saucepan, combine the 4 tablespoons unsalted butter and 1 cup whole milk. Heat over low to medium heat, stirring often, until the butter has fully melted and the milk is hot (steaming, but not boiling). Remove the pan from the heat.
- Incorporate hot milk mixture: While continuously whisking the cake batter, or with the mixer running on its lowest speed, slowly drizzle the hot milk and butter mixture into the batter. Mix until the hot liquid is fully combined into the batter.
- Bake the cake: Pour the prepared batter evenly into your greased and floured 9×13-inch cake pan. Bake for 30-35 minutes, or until the top is golden brown and a wooden skewer or toothpick inserted into the center of the cake comes out clean.
- Cool and serve: Allow the cake to cool in the pan for 10-15 minutes on a wire rack. Then, carefully invert it onto the wire rack to cool completely. Once fully cooled, generously dust the top with powdered sugar. Serve plain, or with a dollop of whipped cream and fresh berries.
Equipment
- 9×13 inch baking pan
- Stand mixer or hand mixer
- Medium and large mixing bowls
- Small saucepan
- Fine-mesh sieve
- Wire cooling rack
Notes
- Storage: Store any leftover cooled cake covered tightly at room temperature for up to 3 days. Alternatively, refrigerate in an airtight container for up to 5 days. For longer storage, wrap the completely cooled cake tightly in two layers of plastic wrap followed by a layer of foil, and freeze for up to 2 months. Thaw overnight in the refrigerator before serving.
- Milk Type: While whole milk is recommended for the richest flavor and texture, any fat percentage of milk (e.g., 2%, skim) will work successfully in this recipe.
- Half Recipe: If you wish to make a smaller cake, simply halve all the ingredients. Bake this reduced batter in a generously greased and floured 8×8-inch cake pan for approximately 25-30 minutes at 350°F (175°C).
- Gluten-Free Option: To make this cake gluten-free, substitute the all-purpose flour with a 1:1 gluten-free all-purpose flour blend.
- Dairy-Free Option: For a dairy-free version, use unflavored, unsweetened almond or soy milk in place of dairy milk. Substitute the unsalted butter with your preferred brand of non-dairy stick butter. If your non-dairy butter is salted, consider omitting the additional ¼ teaspoon of salt from the cake batter.
Nutrition Information (per serving)
(Calculated for 12 servings; approximate values)
- Calories: 272 kcal
- Carbohydrates: 51g
- Protein: 5g
- Fat: 6g
- Saturated Fat: 3g
- Polyunsaturated Fat: 1g
- Monounsaturated Fat: 2g
- Trans Fat: 0.2g
- Cholesterol: 67mg
- Sodium: 79mg
- Potassium: 143mg
- Fiber: 1g
- Sugar: 34g
- Vitamin A: 229 IU
- Calcium: 67mg
- Iron: 1mg
Nutrition information is automatically calculated and should be used as an approximation only.
This post was originally shared in 2023 and updated in 2025.