
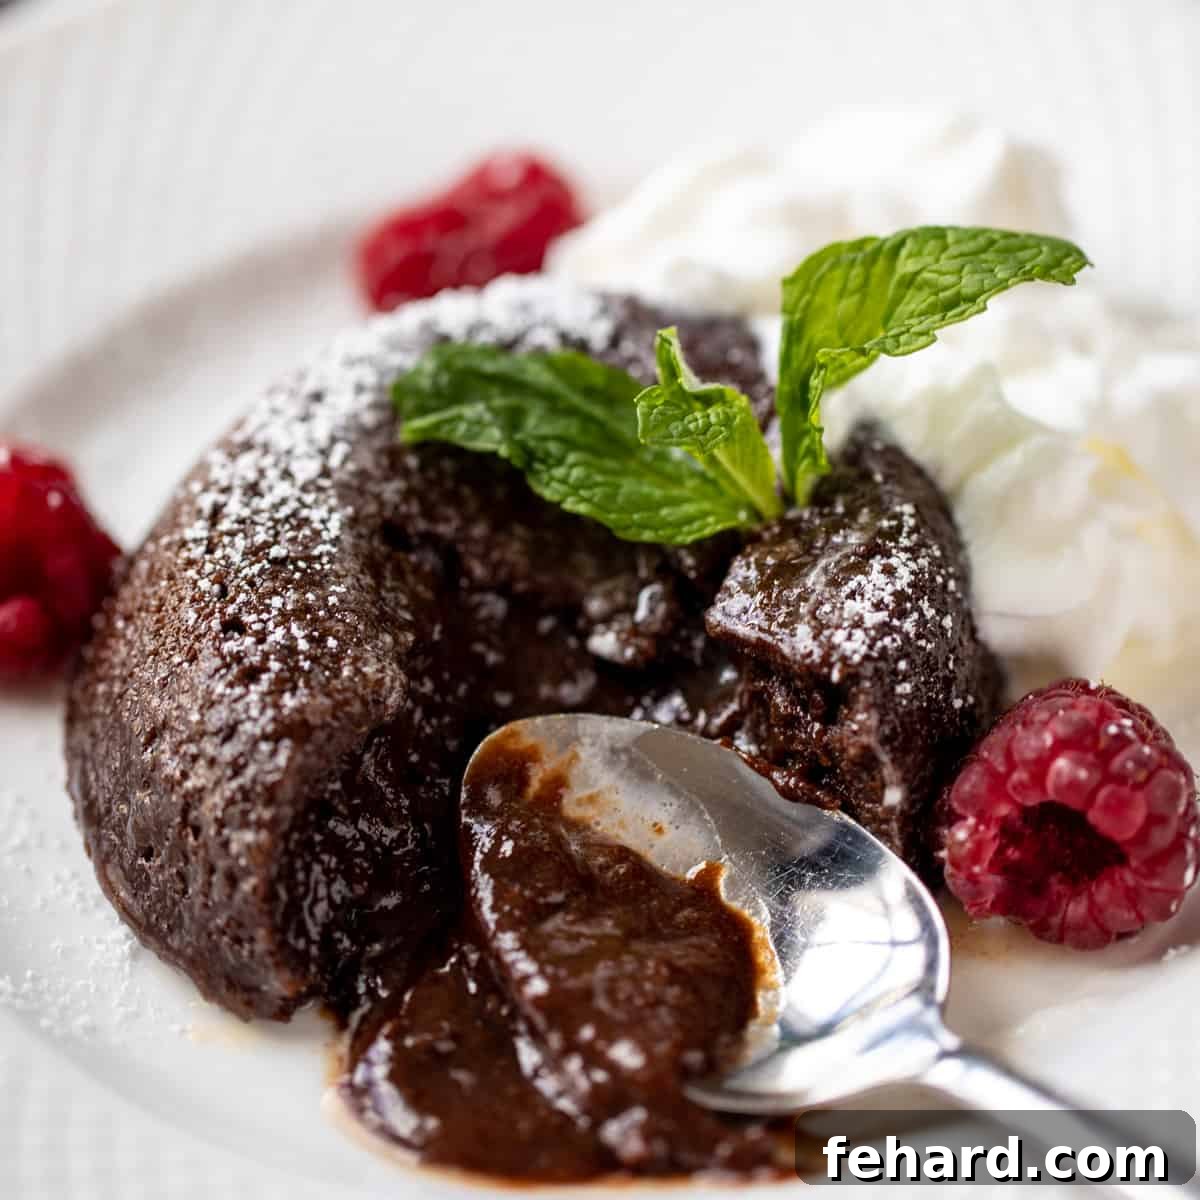
Indulge in the ultimate chocolate experience with these exquisite Instant Pot Lava Cakes. Warm, sensationally gooey, and overflowing with rich, molten chocolate, these cakes are not only swoon-worthy but also surprisingly simple to create, making them an accessible luxury for any home chef.
There’s nothing quite like the blissful moment a spoon breaks through a delicate chocolate cake crust to reveal a warm, liquid center of pure cocoa bliss. Our Instant Pot Molten Lava Cakes are designed to satisfy your deepest chocolate cravings with unparalleled ease. Elevate this already divine dessert by topping it with a cloud of homemade whipped cream and a generous drizzle of rich chocolate syrup. Prepare to dive into a slice of pure heaven, crafted right in your electric pressure cooker.
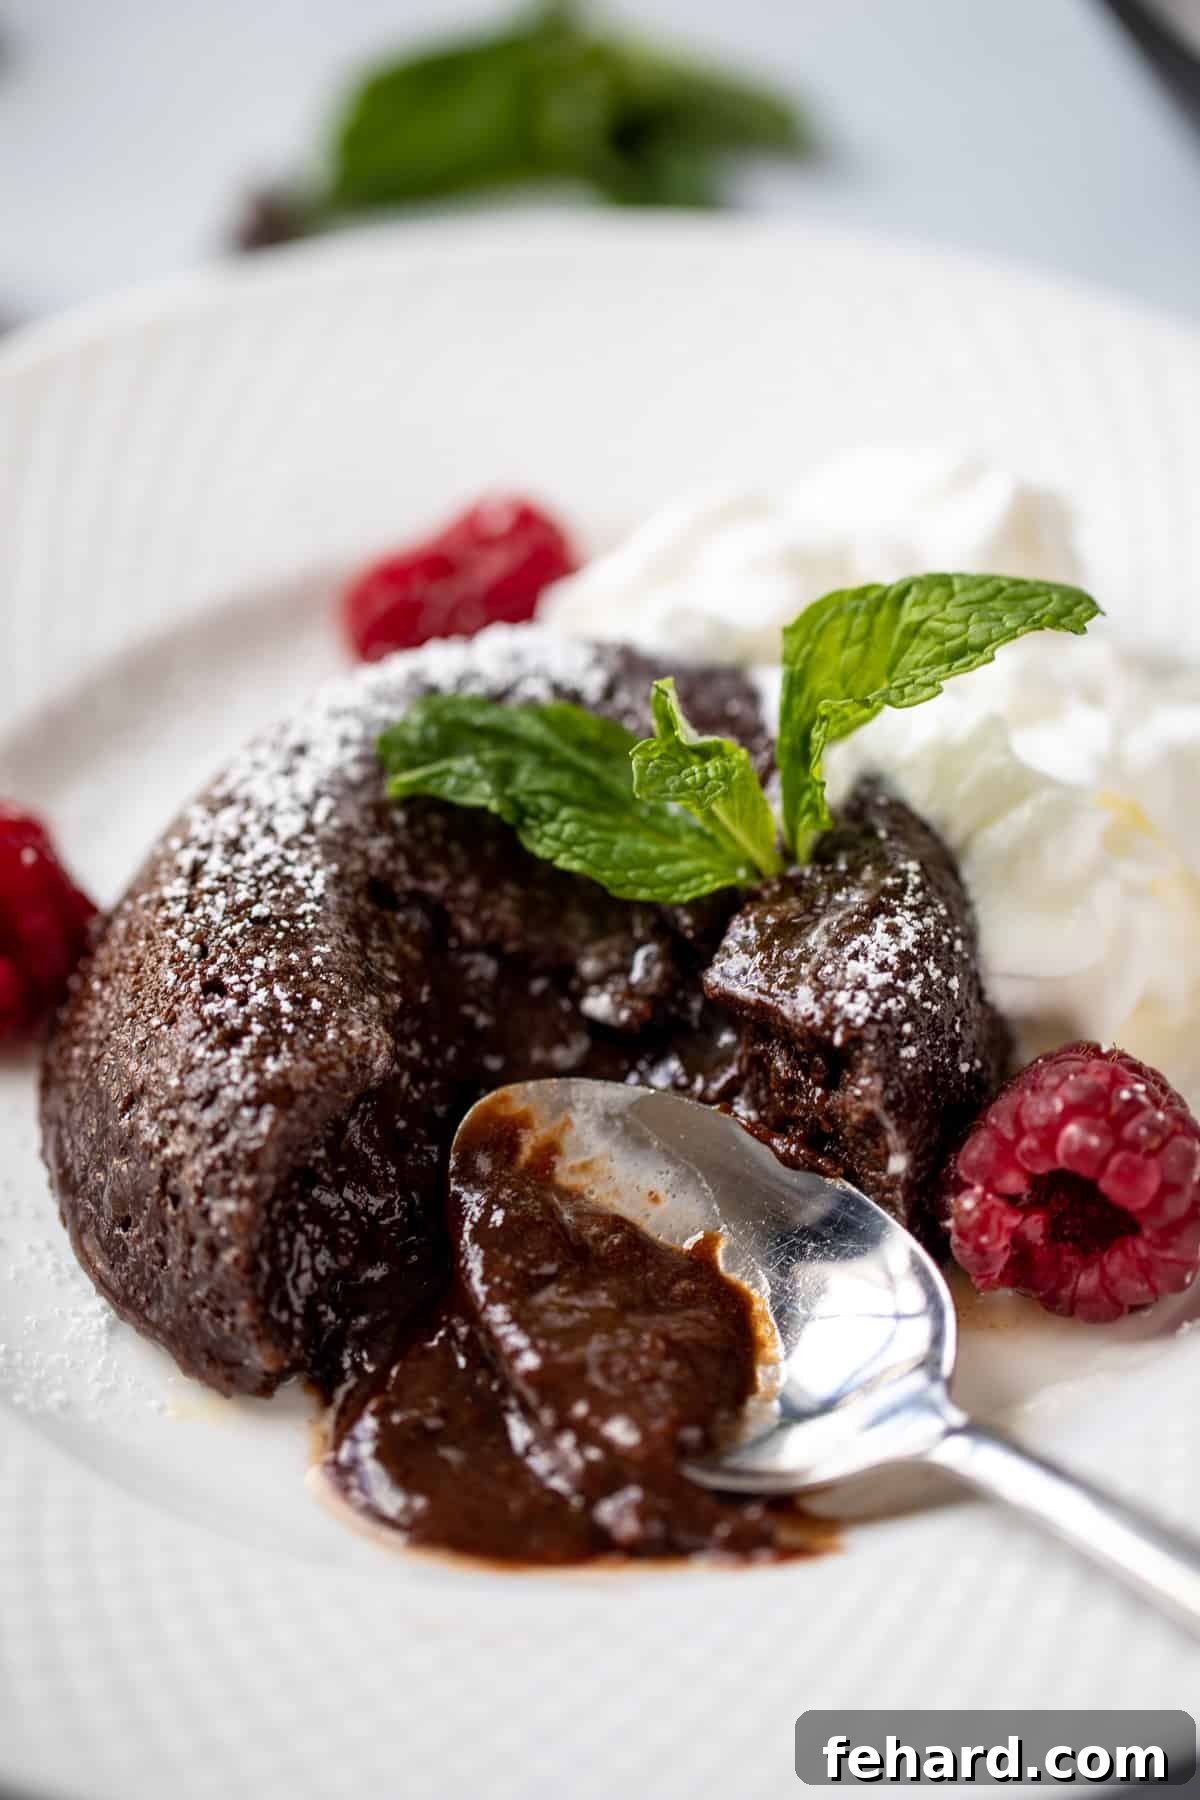
While I often caution against baking certain items in the Instant Pot, and traditional cakes typically fall into that category, molten lava cakes, much like cheesecake, are notable exceptions to this general rule. The unique cooking environment of an electric pressure cooker is, in fact, ideal for these particular desserts.
Both classic cheesecakes and decadent molten chocolate cakes achieve their best texture when baked in a water bath, or bain-marie. The Instant Pot masterfully replicates this moist, controlled environment, ensuring remarkably even cooking. This results in flawlessly creamy Instant Pot Cheesecakes and, more importantly for today, these absolutely perfect Instant Pot Chocolate Lava Cakes. The moist heat gently cooks the exterior of the cake, forming a tender, delicate crumb, while leaving the core tantalizingly gooey, reminiscent of warm brownie batter. When you cut into it, that luscious, warm chocolate center elegantly oozes out, just like lava. It’s an intensely rich, deeply chocolatey, and utterly decadent experience—every bit as luxurious as homemade fudge!
Indeed, these Instant Pot Chocolate Lava Cakes stand out as one of my all-time favorite indulgences. The best part? They are remarkably straightforward to prepare, making them a dangerously easy treat to whip up whenever a chocolate craving strikes. Let’s delve into how you can achieve this molten magic in your kitchen.
Why the Instant Pot is the Secret to Perfect Lava Cakes
You might be wondering why an Instant Pot, typically associated with savory stews and speedy meals, is the ideal tool for a delicate dessert like lava cake. The answer lies in its unique ability to create a steamy, consistent cooking environment, mimicking a traditional water bath without the fuss. This gentle, indirect heat is crucial for achieving that signature molten center. Unlike a conventional oven, which can dry out the edges of a lava cake quickly, the pressure cooker maintains a high-humidity environment, ensuring the outer cake remains moist and tender while the core stays perfectly liquid. This precision in cooking means fewer dry cakes and more consistently irresistible results. Plus, the quick cooking time of just 5 minutes under pressure makes this an incredibly efficient way to enjoy a gourmet dessert on short notice.
Essential Ingredients and Equipment for Instant Pot Lava Cakes
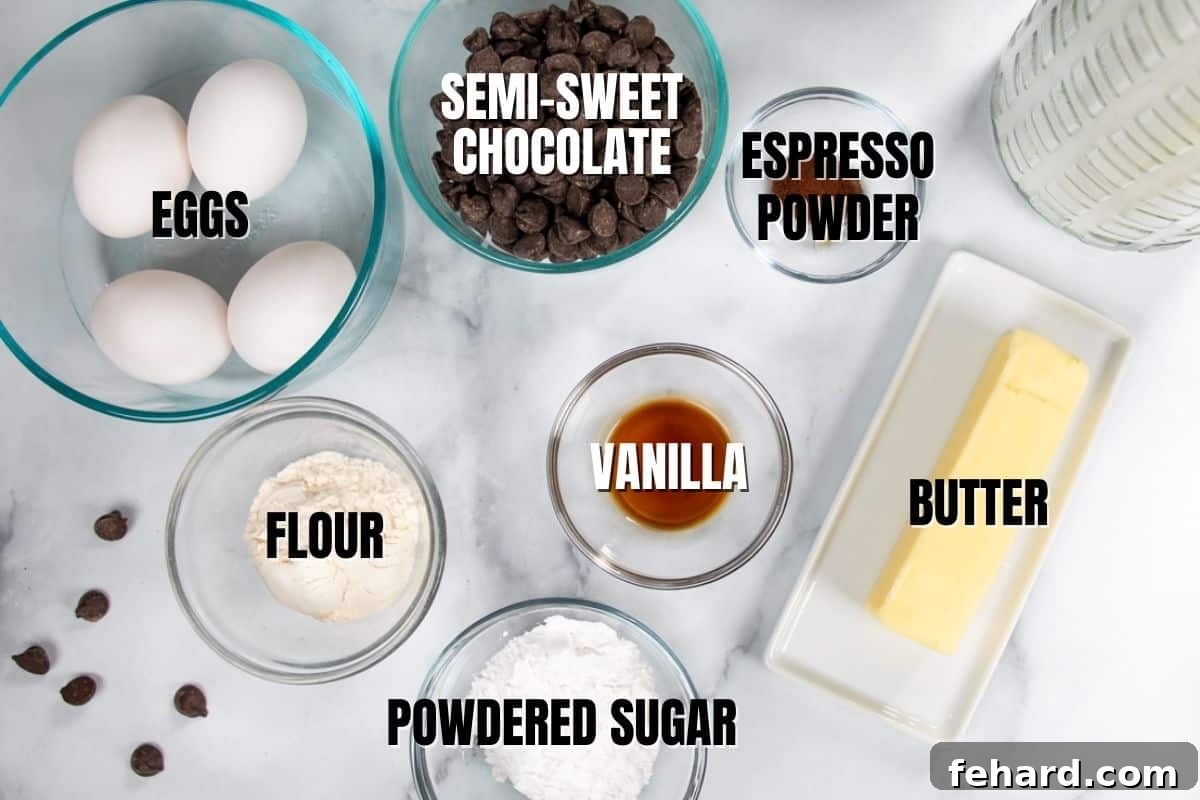
- High-Quality Chocolate: The star of your lava cake! Opt for good quality semi-sweet chocolate. Whether you use baking chocolate bars or chips, ensure it’s a chocolate you enjoy eating on its own, as its flavor will shine through. If using a large bar, chop it into small, uniform pieces for even melting. Dark chocolate (70% cocoa) can also be used for a more intense flavor, but adjust sweetness if needed.
- Unsalted Butter: Always use unsalted butter in baking to control the overall salt content in your recipe. It adds richness and helps create that luxurious texture.
- Powdered Sugar (Confectioner’s Sugar): This fine sugar dissolves effortlessly into the batter, ensuring a smooth, lump-free consistency. Granulated sugar, with its coarser texture, might not dissolve completely, leading to a grainy result.
- Espresso Powder (Optional, but Recommended): A secret weapon for enhancing chocolate! Espresso powder doesn’t impart a coffee flavor to your dessert; instead, it deepens and intensifies the natural chocolate notes, making the lava cakes taste even richer and more complex. Don’t skip it if you want that extra “oomph.”
- All-Purpose Flour: Just a small amount of flour provides the structure needed for the cake to hold its shape while allowing the center to remain molten. For a gluten-free option, a 1:1 gluten-free flour blend works beautifully.
- Eggs and Egg Yolks: A combination of whole eggs and extra egg yolks contributes to the cake’s richness, moisture, and delicate structure, as well as the signature gooey center.
- Vanilla Extract & Pinch of Salt: These humble additions are crucial for balancing and enhancing the deep chocolate flavors.
Essential Equipment:
- 6-Ounce Ramekins: You will need four 6-ounce oven-safe ramekins. These are the perfect size for individual servings and ensure consistent cooking.
- Electric Pressure Cooker (Instant Pot): A 6-quart or 8-quart model will work.
- Metal Rack/Trivet: Most Instant Pots come with one. This elevates the ramekins above the water.
- Mixing Bowls, Whisk, Spatula: Standard kitchen tools.
How to Make Decadent Lava Cakes in the Instant Pot: Step-by-Step
Step One: Prepare Your Ramekins and Instant Pot for Success
- Begin by pouring 1.5 cups of cold water into the inner pot of your Instant Pot. This amount of water is critical for creating the ideal steamy environment for your cakes. Then, place a metal rack or trivet inside the inner pot; this keeps the ramekins elevated and out of direct contact with the water.
- Next, prepare your four 6-ounce ramekins. Spray each generously with cooking spray, ensuring all inner surfaces are coated. Following this, sprinkle a tablespoon of granulated sugar into each ramekin. Swirl the sugar around to coat the bottom and sides thoroughly, then invert and tap out any excess sugar. This sugary coating not only adds a subtle crunch but also prevents sticking, making it incredibly easy to unmold your perfectly baked lava cakes.
Step Two: Master the Melt – Chocolate and Butter Perfection
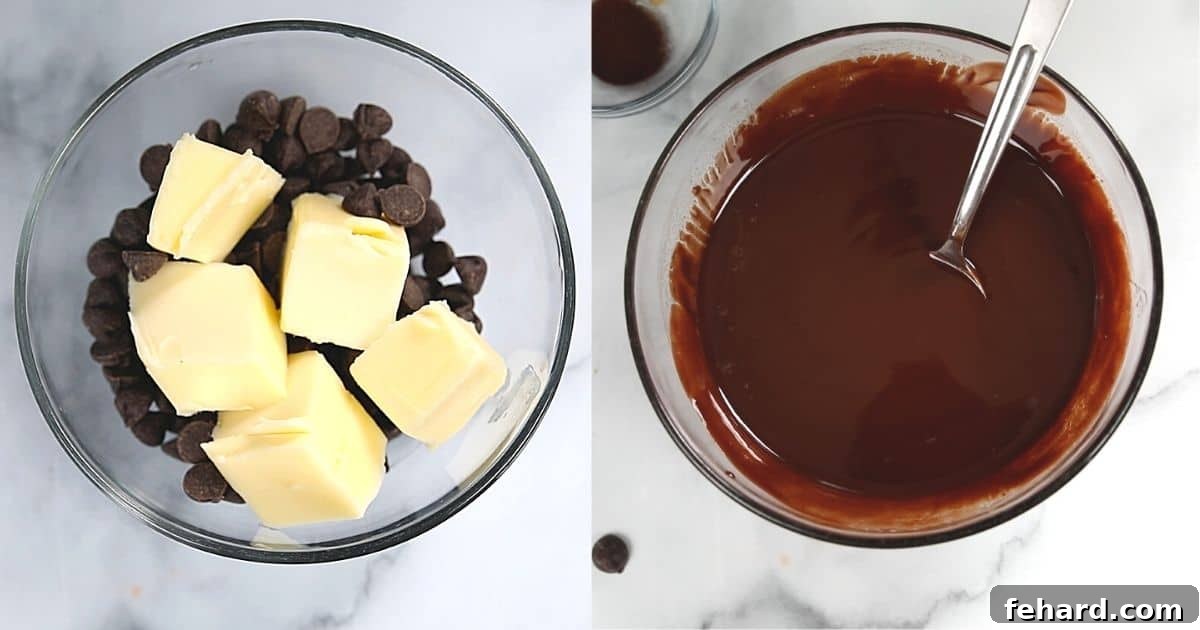
- Combine your chopped semi-sweet chocolate and unsalted butter in a large, heat-safe mixing bowl. Microwave on high for 45 seconds. After this initial heating, stir the mixture vigorously until the chocolate and butter are smooth and fully melted. If any lumps remain, return to the microwave in short 15-second intervals, stirring after each, until you achieve a perfectly silky consistency. Avoid overheating, as this can seize the chocolate.
- Once melted, stir in the optional (but highly recommended) espresso powder. This addition subtly enhances the chocolate flavor without adding a coffee taste.
- Set the melted chocolate mixture aside to cool slightly while you prepare the remaining batter. It should be warm but not hot when added to the eggs to prevent scrambling.
Step Three: Crafting the Velvety Batter
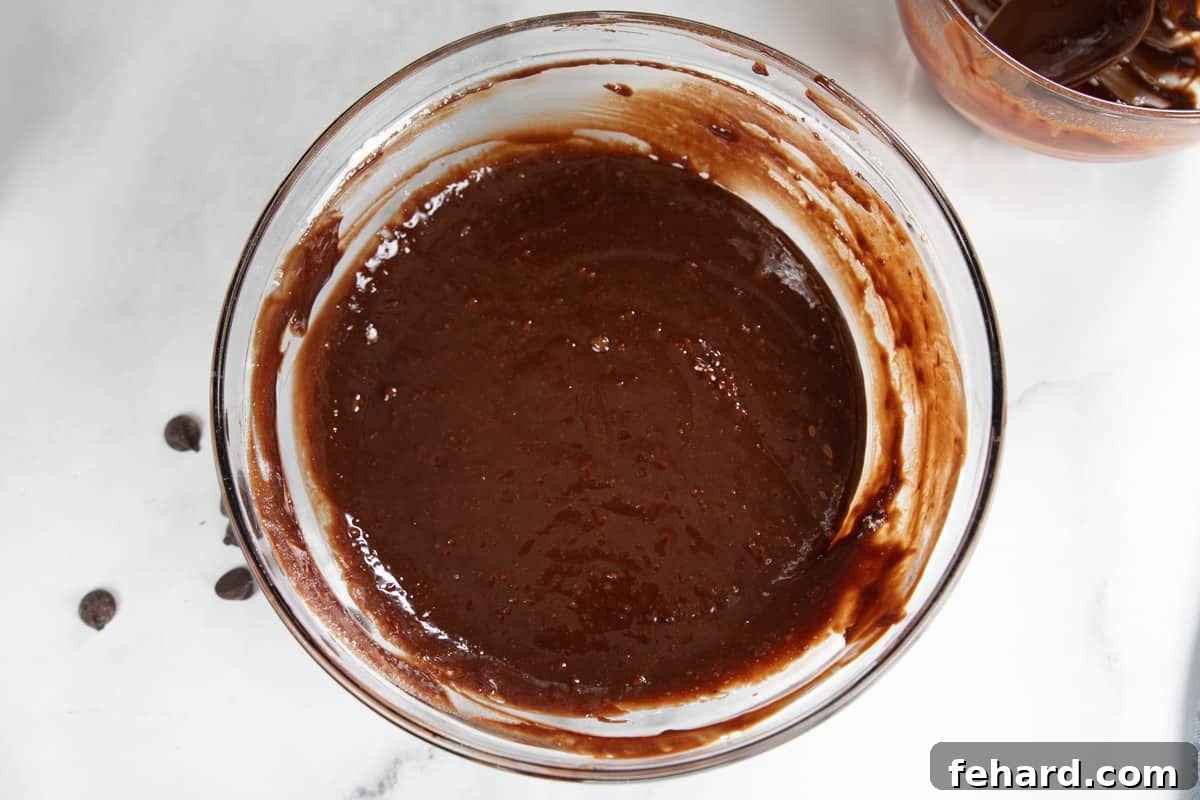
- In a separate large mixing bowl, whisk together the two whole eggs, two additional egg yolks, powdered sugar, a pinch of salt, and vanilla extract. Continue whisking until the mixture is light yellow, well combined, and the powdered sugar is fully dissolved, leaving no grainy texture.
- Now, it’s time to incorporate the cooled chocolate. This step requires a gentle hand: slowly pour the melted chocolate mixture into the egg mixture while continuously whisking. This gradual addition and constant whisking are crucial to temper the eggs, preventing them from cooking prematurely and ensuring a smooth, emulsified batter.
- Finally, using a spatula, gently fold the all-purpose flour into the chocolate-egg mixture. Mix just until the flour is fully incorporated and no dry streaks remain. Overmixing can develop the gluten in the flour, leading to a tougher cake, so stop as soon as it’s combined.
Step Four: Divide and Cover for Perfect Steam Cooking
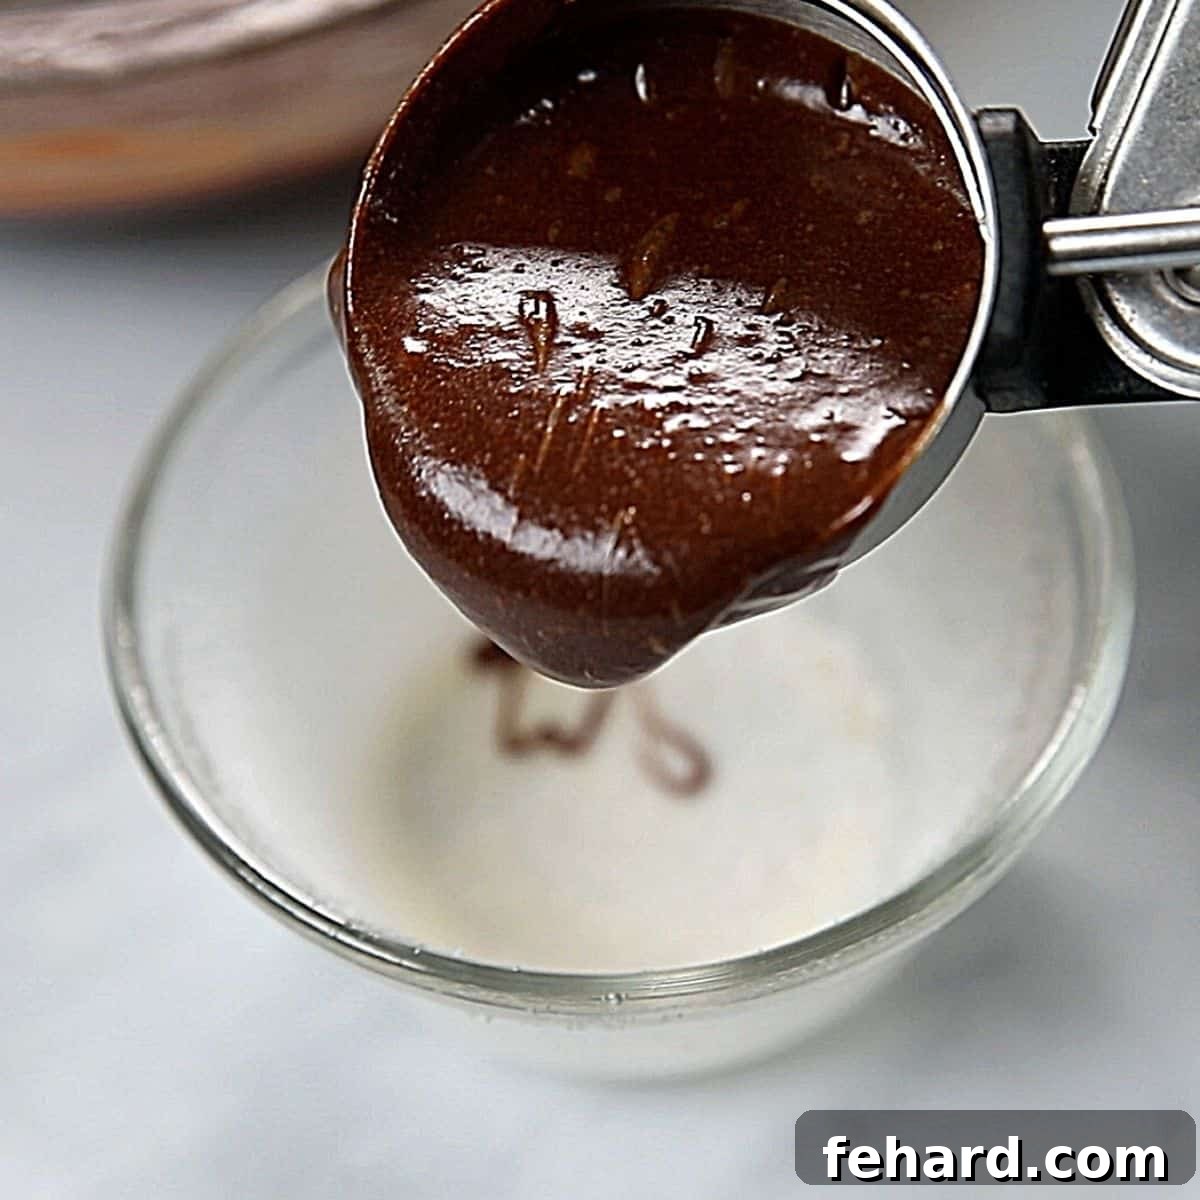
- Evenly divide the prepared lava cake batter among the four sugared ramekins. An ice cream scoop is an excellent tool for this, allowing for easy, mess-free, and consistent portions.
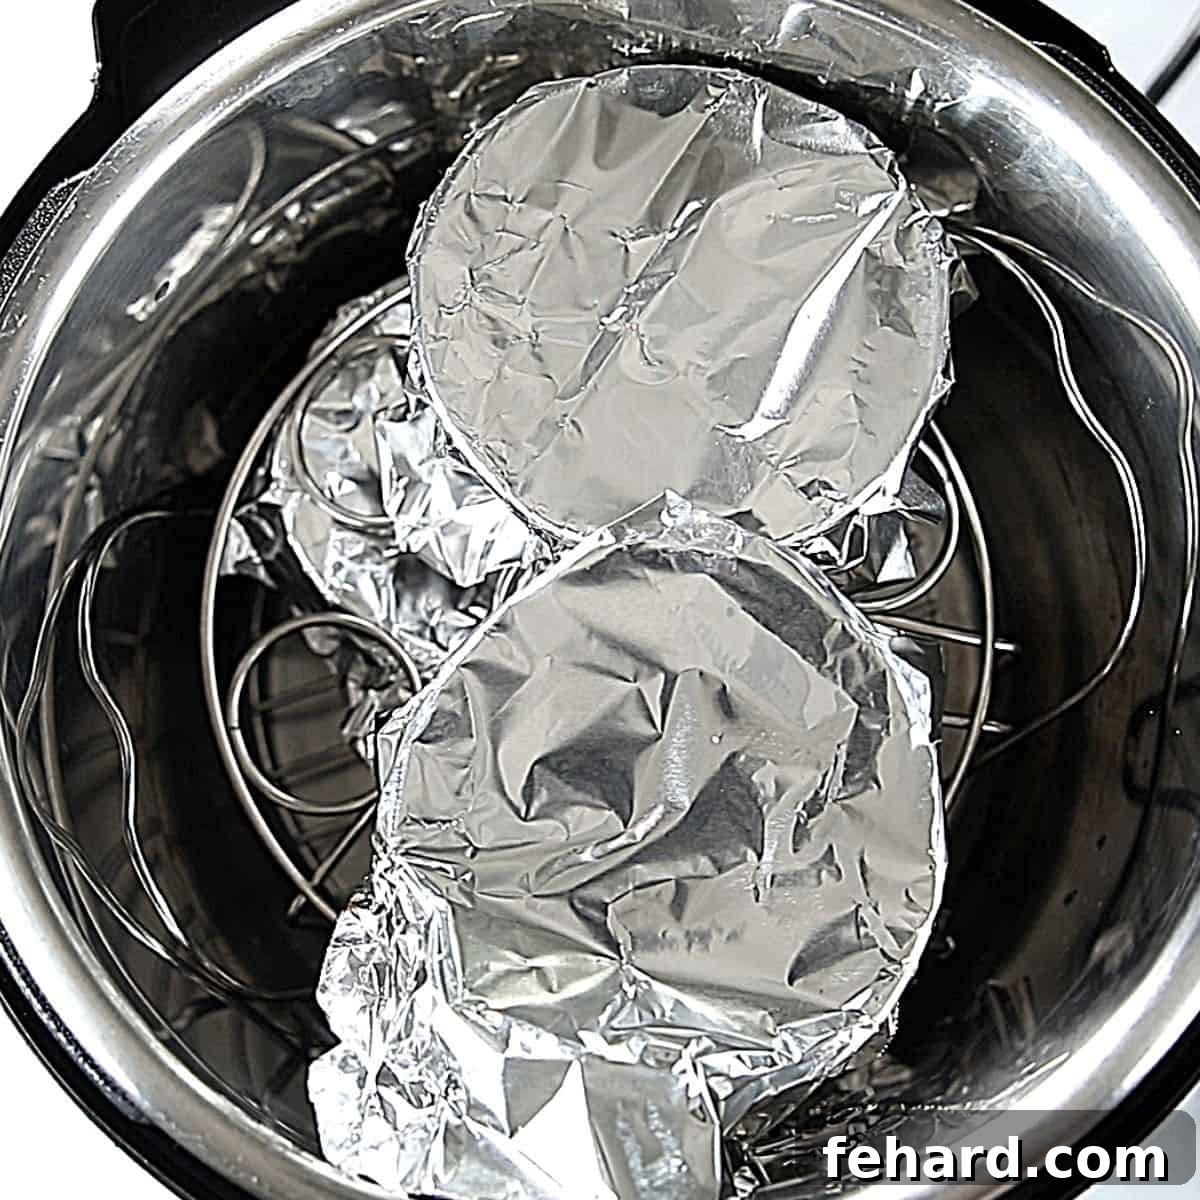
- Crucially, cover each ramekin tightly with aluminum foil. This step is vital to prevent condensation from dripping onto your cakes during pressure cooking, which could alter their delicate texture and appearance. Ensure the foil forms a secure seal around the rim of each ramekin.
Step Five: The Pressure Cook Magic and Precise Release
- Carefully place 2-3 covered ramekins onto the trivet inside the Instant Pot. If your Instant Pot includes a second stackable rack, place it on top of the first layer of ramekins, then arrange the remaining ramekins on the second rack. If you don’t have a second rack, you can carefully stack the ramekins directly on top of each other, ensuring they are stable.
- Secure the lid of your Instant Pot and set the venting knob to the “Sealing” position. Select the “Pressure Cook” or “Manual” setting and set the cooking time for 5 minutes on high pressure.
- Once the 5-minute cooking cycle is complete, do NOT immediately release the pressure. Instead, allow the pressure to release naturally for exactly 5 minutes. This natural release period is critical; it allows the cakes to finish cooking gently and set properly, ensuring the ideal consistency for both the cake and the molten center.
- After precisely 5 minutes of natural release, carefully perform a quick release of any remaining pressure. Use a long-handled utensil (like a wooden spoon) to safely switch the venting knob from “Sealing” to “Venting,” allowing the steam to escape. Stand back to avoid burns from the hot steam.
Step Six: The Grand Reveal – Serve and Savor!
- Carefully remove the ramekins from the Instant Pot using oven mitts or tongs. Place them on a wire rack and let them rest for 2-3 minutes. This brief resting period allows the cakes to firm up slightly, making them easier to unmold.
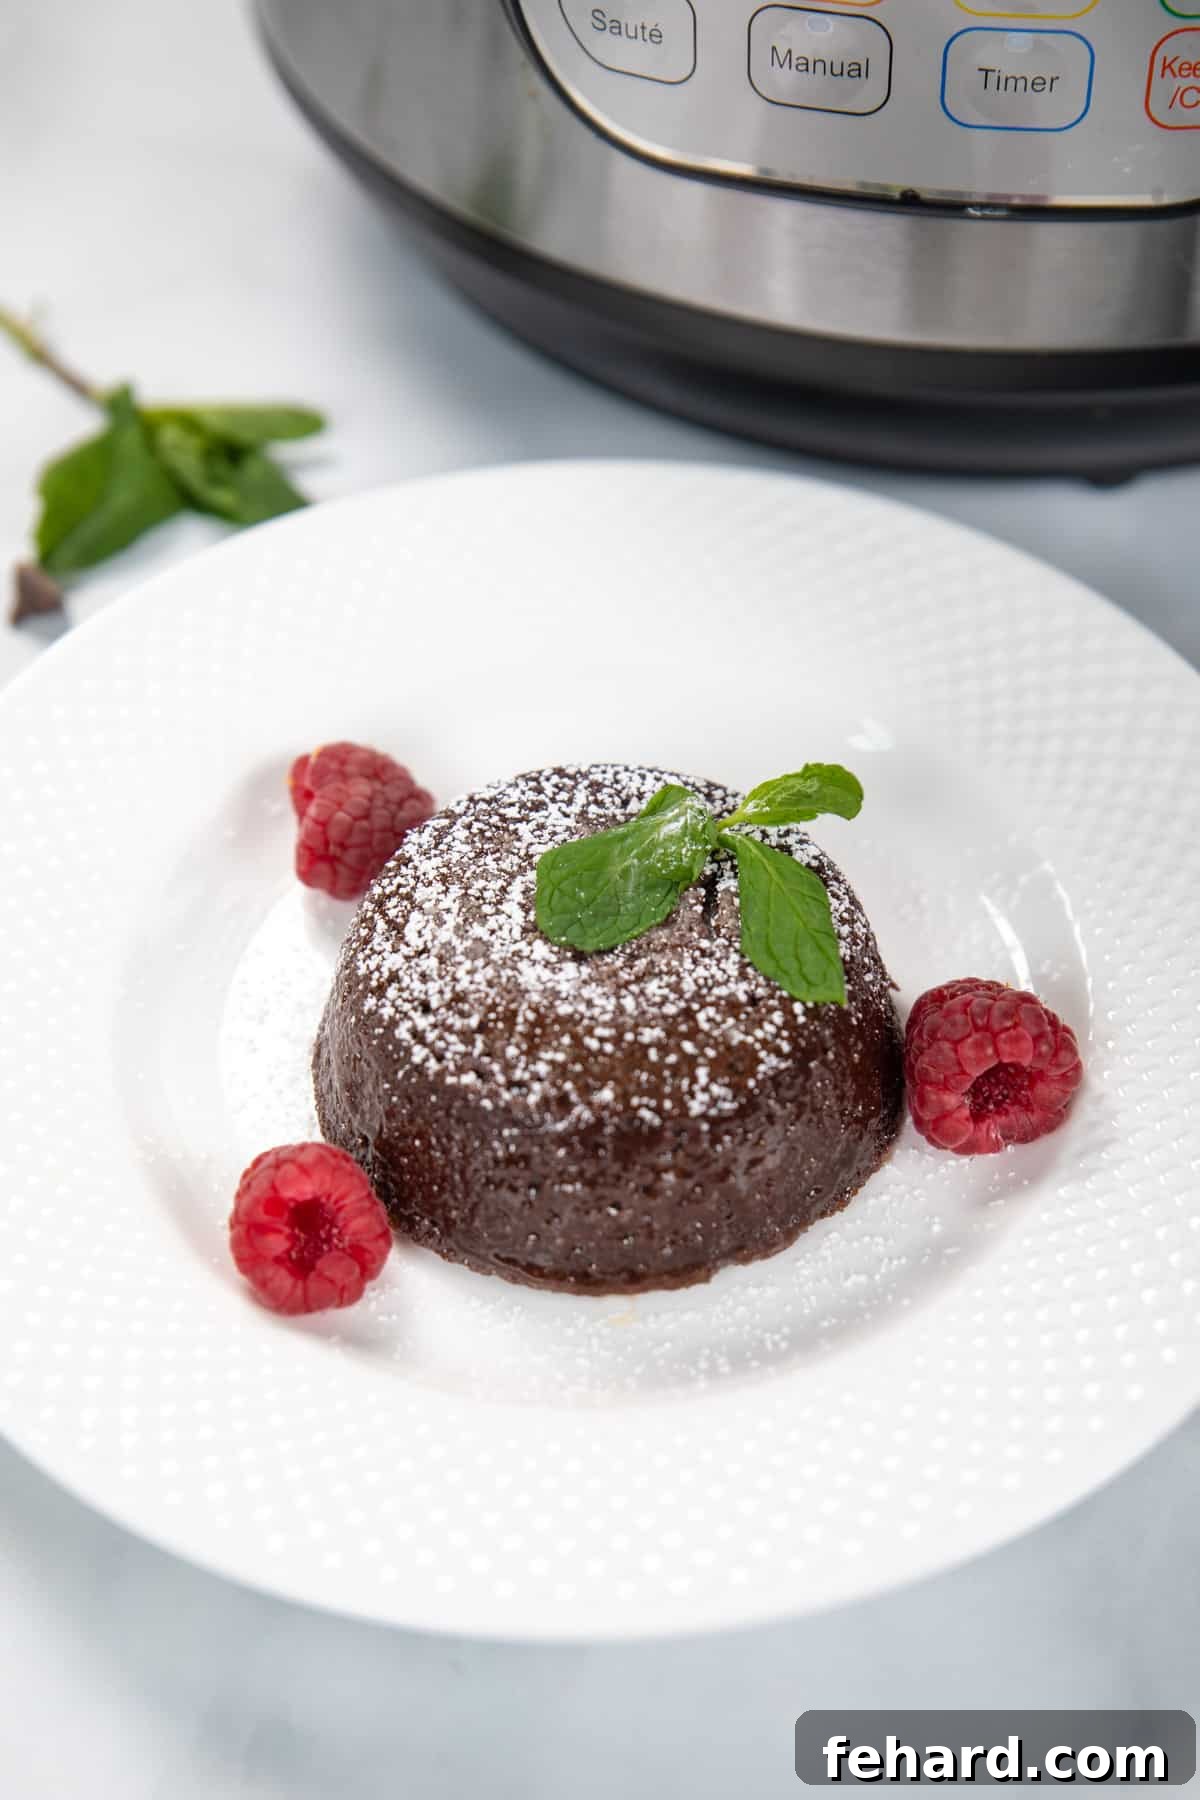
- Gently remove the foil from each ramekin. To unmold, run a thin knife or spatula around the inner edge of each ramekin to loosen the cake. Place a serving plate upside down over the ramekin, then carefully invert them together. The cake should slide out cleanly.
- For the ultimate presentation and flavor, dust your molten lava cakes with a light sprinkle of powdered sugar. Crown them with a scoop of creamy vanilla ice cream, a dollop of fluffy whipped cream, or even some fresh berries. Serve immediately while the center is perfectly warm and gooey!
FAQs about Instant Pot Lava Cakes: Troubleshooting and Tips
I’ve extensively tested this recipe in both 6-quart and 8-quart Instant Pot models with great success. However, like ovens, individual pressure cookers can vary slightly in their cooking performance. If, after removing the foil, your lava cakes appear too jiggly in the center or the sides don’t look set, don’t worry! Simply recover them tightly with foil and place them back into the Instant Pot. Cook for an additional 1 minute on high pressure, followed by a 2-minute natural pressure release. There’s no need to change or add more water to the pot. This minor adjustment usually resolves any consistency issues.
Absolutely! The batter for these delicious molten lava cakes can be prepared up to two days ahead of time. Simply mix the batter, cover the bowl tightly with plastic wrap, and refrigerate. When you’re ready to cook, allow the batter to come to room temperature for about 30 minutes before scooping it into your greased ramekins and proceeding with the pressure cooking steps. This makes entertaining a breeze!
While molten lava cakes are undeniably at their best when served immediately after cooking, leftovers can be stored. Once baked and fully cooled, place them in an airtight container and refrigerate for up to 3 days. To enjoy them again, simply reheat individual cakes in the microwave for 1-2 minutes, or until the chocolate center becomes warm and gooey once more. You can also freeze unmolded, cooled cakes for up to 3 months; just wrap them tightly in plastic wrap and then foil. Thaw in the refrigerator overnight and reheat as directed.
Yes, easily! For a delicious gluten-free lava cake, simply swap out the all-purpose flour for an equal amount (1:1 ratio) of your favorite gluten-free flour blend. The result will be just as moist and delicious.
High-altitude cooking often requires adjustments for pressure cooking. If you live at a high altitude, I recommend consulting a reliable High Altitude Instant Pot Guide to ensure your lava cakes turn out perfectly. You may need to slightly increase the cooking time.
Indeed! This recipe is versatile. If you prefer to use an oven, simply preheat it to 425°F (220°C). Place the covered ramekins on a baking sheet and bake for 12-14 minutes, or until the edges of the cakes appear set and the center is still slightly jiggly, indicating that gooey molten core. This recipe yields equally fantastic results in a traditional oven.
More Irresistible Instant Pot Dessert Recipes
If you loved the ease and deliciousness of these Instant Pot Lava Cakes, you’re in for a treat! The Instant Pot is a surprisingly versatile tool for creating a range of decadent desserts. Explore some of our other favorite pressure cooker sweet treats:
- Instant Pot Creme Brulee: Achieve perfectly silky, creamy crème brûlée with that iconic crisp sugar crust.
- Instant Pot Chocolate Cheesecake: A rich, dense, and incredibly smooth chocolate cheesecake, effortlessly made.
- Instant Pot Carrot Cake Cheesecake: The best of both worlds – classic carrot cake flavors infused into a creamy cheesecake.
- Instant Pot Pumpkin Cheesecake: A seasonal delight, perfectly spiced and incredibly smooth.
- Classic Instant Pot Cheesecake: The foundational recipe for perfectly creamy, crack-free cheesecake every time.
We hope you revel in every spoonful of these decadent Molten Lava Cakes. If you enjoyed this recipe, please consider leaving a comment and rating below to share your experience! Your feedback helps us continue to create delicious content.
Instant Pot Lava Cakes
Print Recipe
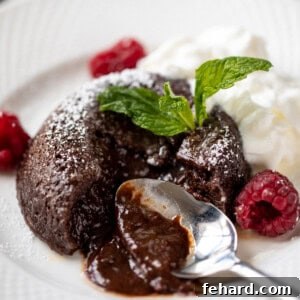
Warm, gooey, and oozing with chocolate, these Instant Pot Lava Cakes are swoon-worthy and incredibly easy to make thanks to the Instant Pot.
Ingredients
- Cooking spray, for coating ramekins
- Granulated sugar, for coating ramekins
- 6 ounces semi-sweet chocolate, chopped
- ½ cup unsalted butter
- ½ teaspoon espresso powder, optional
- 2 large eggs
- 2 large egg yolks
- ½ cup powdered sugar
- Pinch of salt
- 1 teaspoon vanilla extract
- 2 tablespoons all-purpose flour
Instructions
- Spray four 6-ounce heat-safe ramekins with cooking spray and then sprinkle with granulated sugar. Shake the sugar around the ramekin to coat all the sides and then shake out excess sugar.
- Pour 1.5 cups of cold tap water into the inner pot of the Instant Pot and place in a trivet or rack.
- Chop 6 ounces semi-sweet chocolate into morsel-sized pieces. Slice ½ cup unsalted butter into several slices and then combine the chocolate and butter in a medium heat-safe bowl. Microwave for 45 seconds and then stir well. Microwave in additional 15-second intervals as needed to fully melt the chocolate. Once melted, stir in the ½ teaspoon espresso powder and set aside to cool slightly.
- In a large mixing bowl, mix together the 2 large eggs, 2 large egg yolks, ½ cup powdered sugar, pinch of salt, and 1 teaspoon vanilla extract until well combined and the sugar has dissolved into the egg mixture.
- Slowly whisk in the melted chocolate to the egg mixture until combined. Fold in 2 tablespoons flour until just incorporated into the batter.
- Evenly divide the batter between the four ramekins, using an ice cream scoop for easy, even transfer. Cover each ramekin tightly with foil.
- Place the ramekins on the trivet, stacking carefully on top of each other to fit. You can use a separate rack to place on top of the first layer of ramekins if you have it. If not, just carefully stack the second layer on top of the first layer.
- Using the manual or pressure cook button, set to cook for 5 minutes on high pressure.
- Once cook time has elapsed, let the pressure release naturally for exactly 5 minutes. Then do a quick release of any remaining pressure by carefully hitting the vent knob from sealed to venting using a long wooden spoon.
- Carefully remove the ramekins from the inner pot and let sit for 2-5 minutes before serving.
- To serve the lava cakes, run a knife around the edges of the ramekin and then invert onto a plate. Dust with powdered sugar and top with ice cream or whipped cream and serve immediately.
Equipment
- Electric Pressure Cooker (6 or 8 quart)
- 6-ounce custard cups (ramekins)
Notes
Chocolate: Use high-quality semi-sweet chocolate for the best flavor. If using a large chocolate bar, chop up the chocolate into small pieces.
Espresso Powder: This is optional! The espresso powder helps to intensify the overall chocolate flavor, it does not add a coffee flavor to the dessert itself.
Preparing in Advance: You can prepare the batter up to 2 days in advance. Cover tightly and refrigerate for up to 2 days. Allow the batter to come to room temperature before scooping into greased ramekins and pressure cooking.
Storage: While Molten Lava Cakes are best served immediately, leftover cakes can be stored in the refrigerator for up to 3 days after they have been baked and cooled. Reheat for 1-2 minutes in the microwave before enjoying. You can also freeze unmolded cooled cakes for up to 3 months.
Timing: This recipe is optimized for 6-ounce ramekins and COLD tap water. Using lukewarm or warm water, or a different size ramekin, may alter the desired outcome. If you typically find you need to add time to pressure cooker recipes, try cooking for 6 minutes on high pressure.
Gluten-Free Modifications: Swap out the all-purpose flour for a 1:1 gluten-free flour blend.
What if the lava cake is not cooked through? If when you peel back the foil your lava cakes do not look solid on the sides or do have a jiggly set in the center, recover with foil and place back in the inner pot. Cook for an additional 1 minute on high pressure with a 2-minute natural pressure release. There is no need to change out the water in the bottom of the inner pot.
High-Altitude Adjustment: If you live at a high altitude, be sure to adjust the recipe accordingly, using a reliable High Altitude Instant Pot Guide.
Baking Directions: You can use this same recipe and bake the ramekins in a 425 Fahrenheit degree oven for 12-14 minutes until the sides appear solid.
Nutrition
Carbohydrates: 45g
Protein: 7g
Fat: 43g
Saturated Fat: 25g
Trans Fat: 1g
Cholesterol: 246mg
Sodium: 50mg
Potassium: 188mg
Fiber: 3g
Sugar: 37g
Vitamin A: 967 IU
Calcium: 43mg
Iron: 2mg
Nutrition information is automatically calculated, so should only be used as an approximation.