
Say goodbye to frustrating, hard-to-peel eggs and hello to effortless perfection with your Instant Pot! Making Instant Pot Hard Boiled Eggs is a game-changer for anyone who loves the versatility of eggs but dislikes the struggle of peeling them. This method isn’t just quick and easy; it consistently delivers flawlessly cooked eggs with shells that practically slide right off, making it the only way you’ll want to hard boil eggs from now on.
Whether you’re a seasoned Instant Pot user or new to pressure cooking, this guide will walk you through creating perfect hard-boiled eggs for snacks, salads, and meal prep. Plus, we’ll dive into the secrets behind why Instant Pot eggs are so easy to peel and share plenty of tips and creative uses for your perfectly cooked batch.
Why Choose the Instant Pot for Hard Boiled Eggs?
You might be wondering why you should ditch your traditional stovetop method for the Instant Pot when cooking hard-boiled eggs. The reasons are compelling, especially for busy individuals and meal preppers:
- Unmatched Consistency: The Instant Pot maintains a consistent temperature and pressure, eliminating guesswork and ensuring your eggs are cooked perfectly every single time, without the dreaded green ring around the yolk.
- Effortless Peeling: This is arguably the biggest selling point. The pressure cooking process makes eggs incredibly easy to peel, regardless of their freshness. No more battling tiny shell fragments!
- Hands-Off Cooking: Once you set the timer, you’re free to attend to other tasks. There’s no need to constantly monitor boiling water or worry about pots boiling over.
- Frees Up Stovetop Space: If you’re preparing a large meal with multiple components, using your Instant Pot for eggs keeps your stovetop burners available for other dishes.
- Time-Saving: While it takes some time for the Instant Pot to come to pressure, the active cooking time is very short, and the convenience makes the overall process feel much faster.
Beyond basic hard-boiled eggs, explore more delicious egg recipes like my Easy Egg Salad Recipe, a satisfying Egg Roll in a Bowl, or convenient Breakfast Egg Muffins. And if you don’t have an Instant Pot yet, you can still learn How to Make Hard Boiled Eggs on your stove with a step-by-step guide.
The Magic Behind Easy-to-Peel Instant Pot Hard Boiled Eggs
The struggle of peeling hard-boiled eggs is a common kitchen frustration. Many traditional methods suggest using older eggs, adding baking soda, or plunging them into ice water immediately – all aimed at loosening that stubborn membrane from the egg white. The Instant Pot, however, offers a simpler, more reliable solution.
The secret lies in the pressure cooking environment. As pressure builds inside the Instant Pot, it creates a significant pressure difference between the interior of the egg (specifically, the small air pocket usually found at the rounded end) and the space between the egg white and its shell membrane. This high-pressure steam helps to subtly push the egg white away from the inner membrane, making the separation process incredibly smooth.
This effect is similar to how older eggs naturally become easier to peel due to the increasing size of their air pocket over time. The Instant Pot essentially “ages” your eggs instantly in terms of peel-ability, allowing you to use even farm-fresh eggs without fear of frustrating peels. This consistent separation is why Instant Pot hard-boiled eggs are renowned for their effortless peeling, every single time.
Essential Equipment for Instant Pot Hard Boiled Eggs
- Instant Pot: Any model or size will generally work, but a 6-quart model is commonly used for standard batches.
- Steaming Rack or Trivet: Most Instant Pots come with a trivet. This is crucial for elevating the eggs above the water, allowing them to steam evenly and preventing direct contact with the hot bottom of the pot, which can cause cracking.
- Tongs or Slotted Spoon: For safely transferring hot eggs to the ice bath.
- Large Bowl for Ice Bath: Essential for quickly chilling the eggs to stop the cooking process.
How to Make Perfect Instant Pot Hard Boiled Eggs: A Step-by-Step Guide
Achieving perfectly cooked and effortlessly peelable hard-boiled eggs in your Instant Pot is incredibly simple. Follow these steps for consistent results:
Ingredients
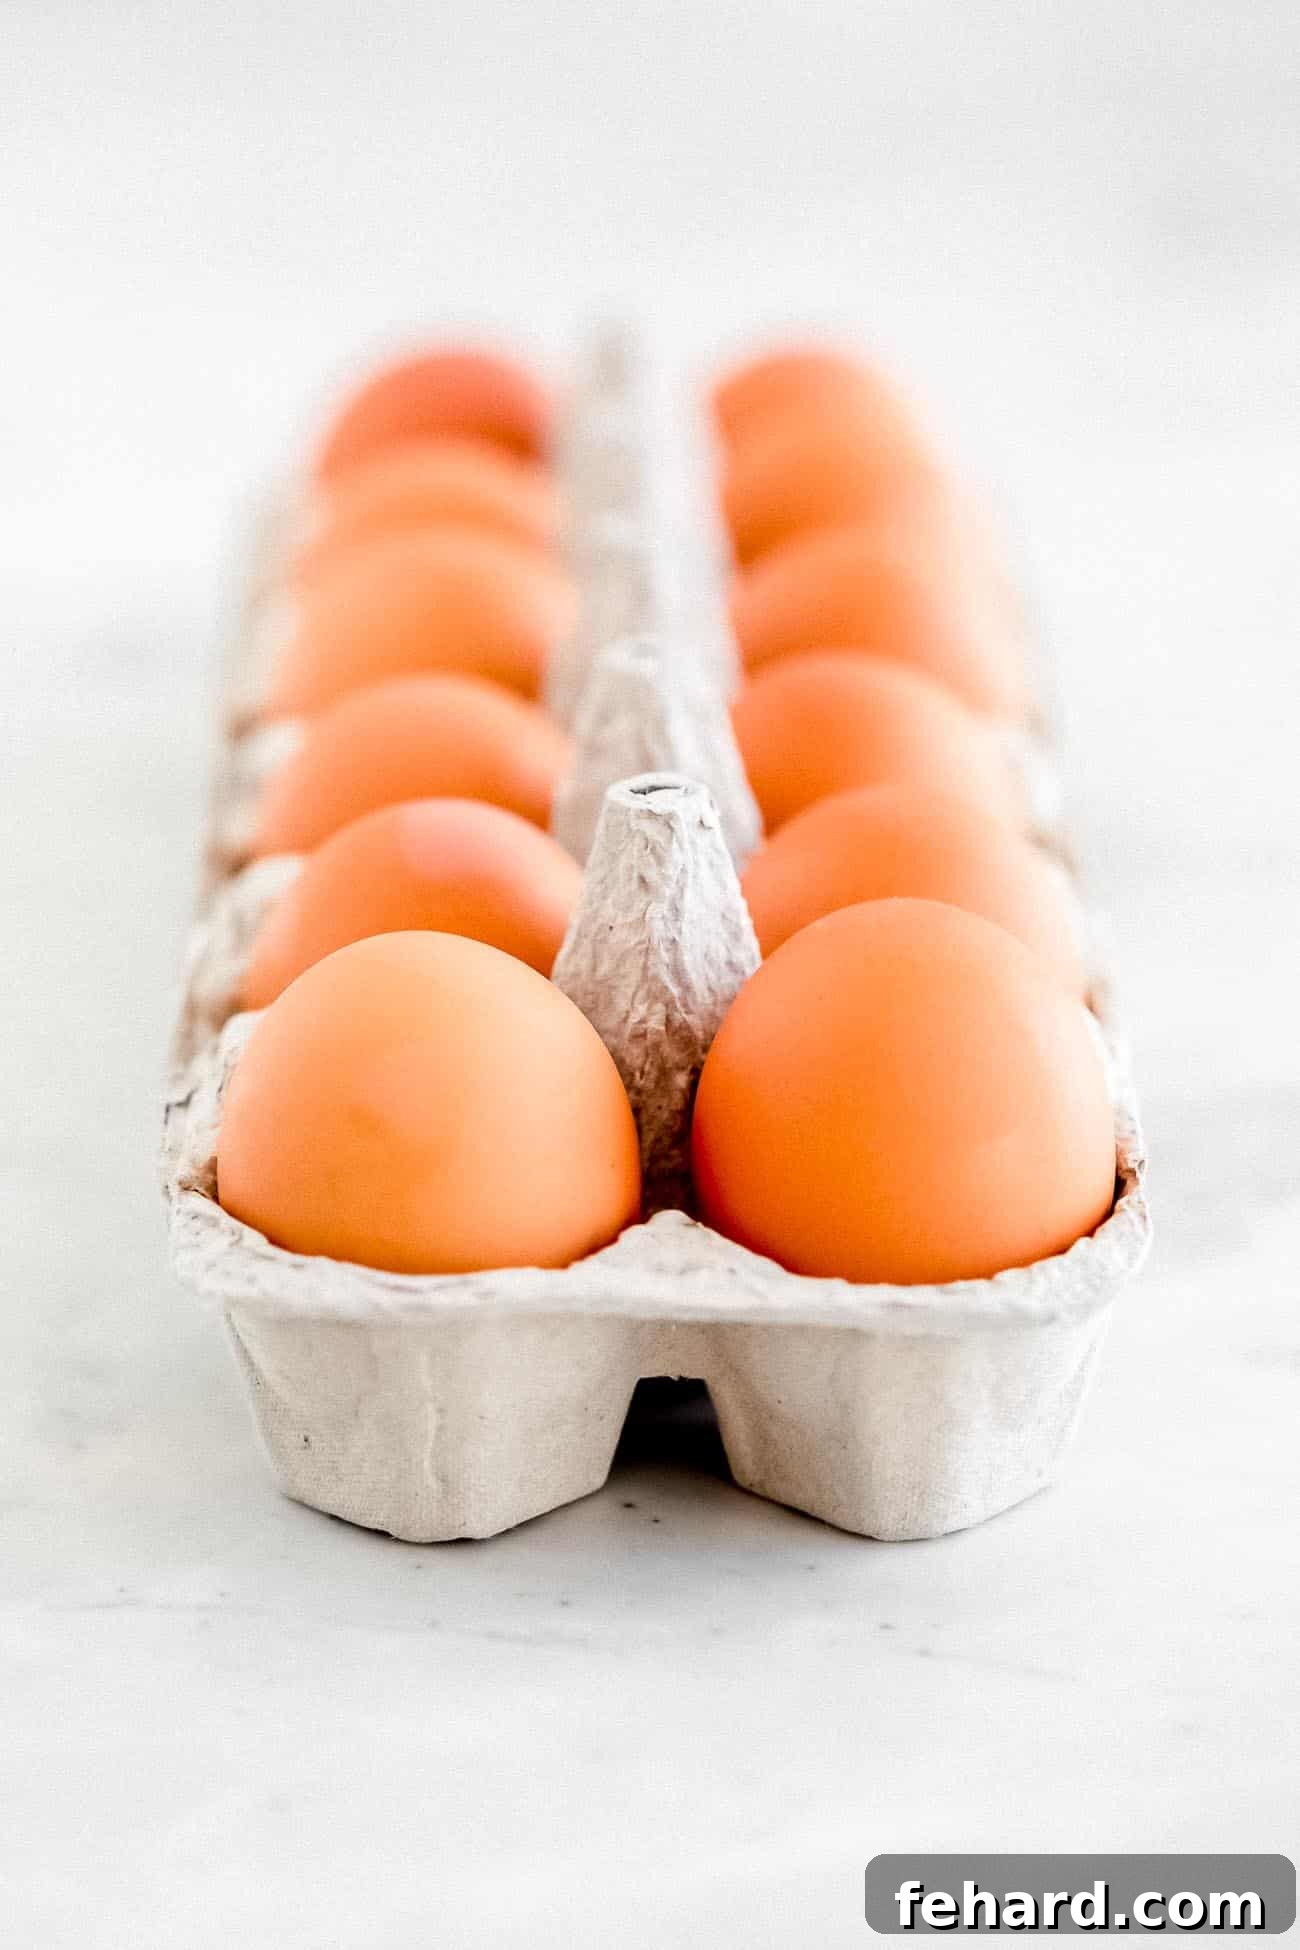
- Eggs: Use large eggs for this recipe. While I often opt for free-range eggs for various reasons, the beauty of the Instant Pot method is that egg freshness doesn’t significantly impact peel-ability. Feel free to use whatever eggs you have on hand, from fresh farm eggs to standard supermarket varieties. The Instant Pot truly works magic on all of them!
- Water: You’ll need just 1 cup of water for the Instant Pot to generate enough steam and come to pressure.
Instructions
-
Set Up Your Instant Pot
Place the steaming rack or trivet at the bottom of your 6-quart Instant Pot. This rack is vital as it keeps the eggs elevated above the water, preventing them from rolling around, knocking into each other, and potentially cracking as the water boils and the pot comes to pressure. Pour 1 cup of cold water into the Instant Pot. Ensure the water level is just below the steamer basket, so the eggs will steam rather than boil directly in the water.

Setting up the Instant Pot with the steaming rack and water. -
Add the Eggs
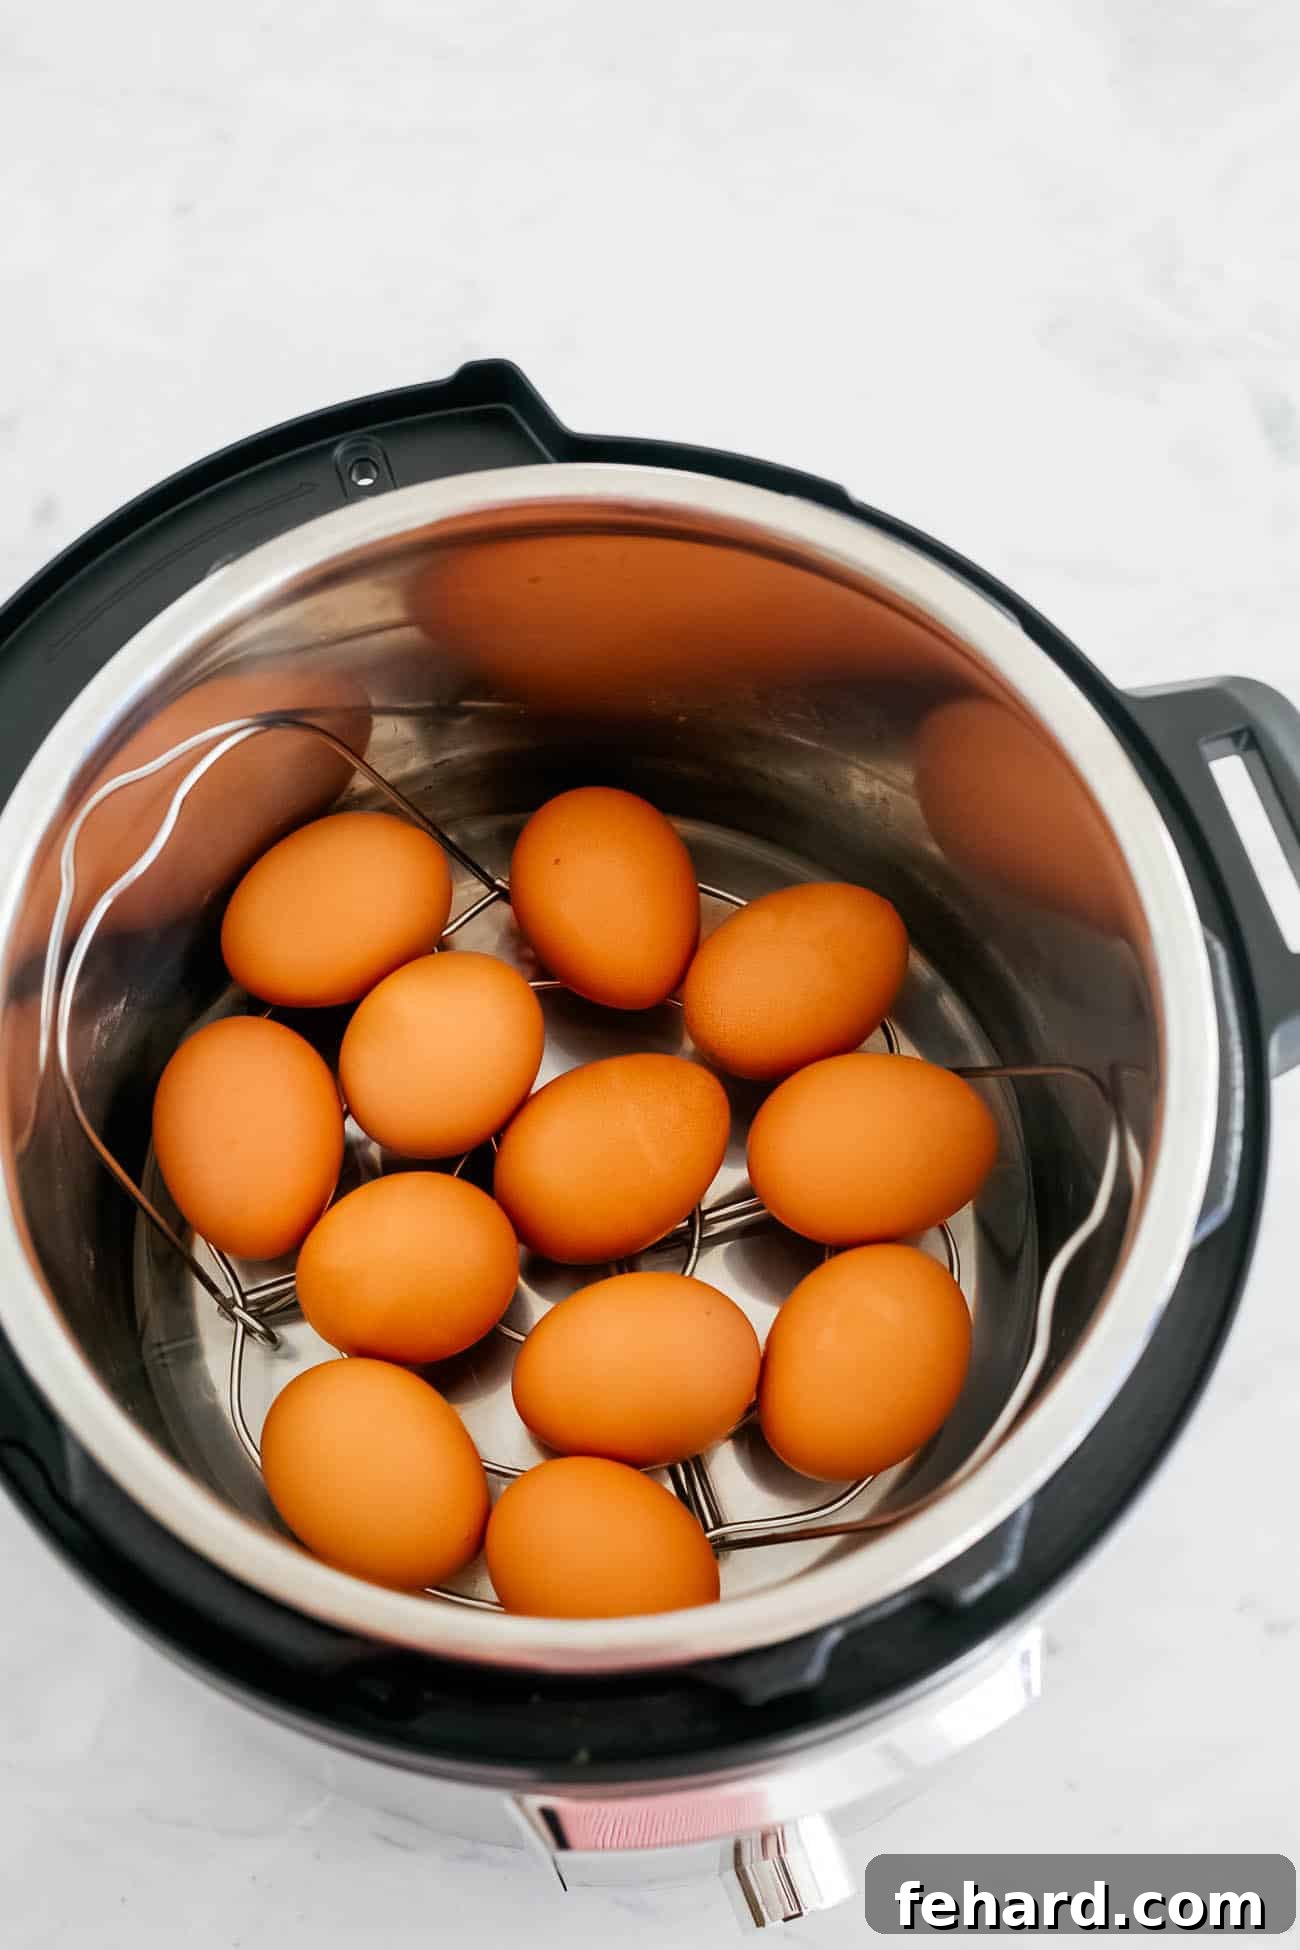
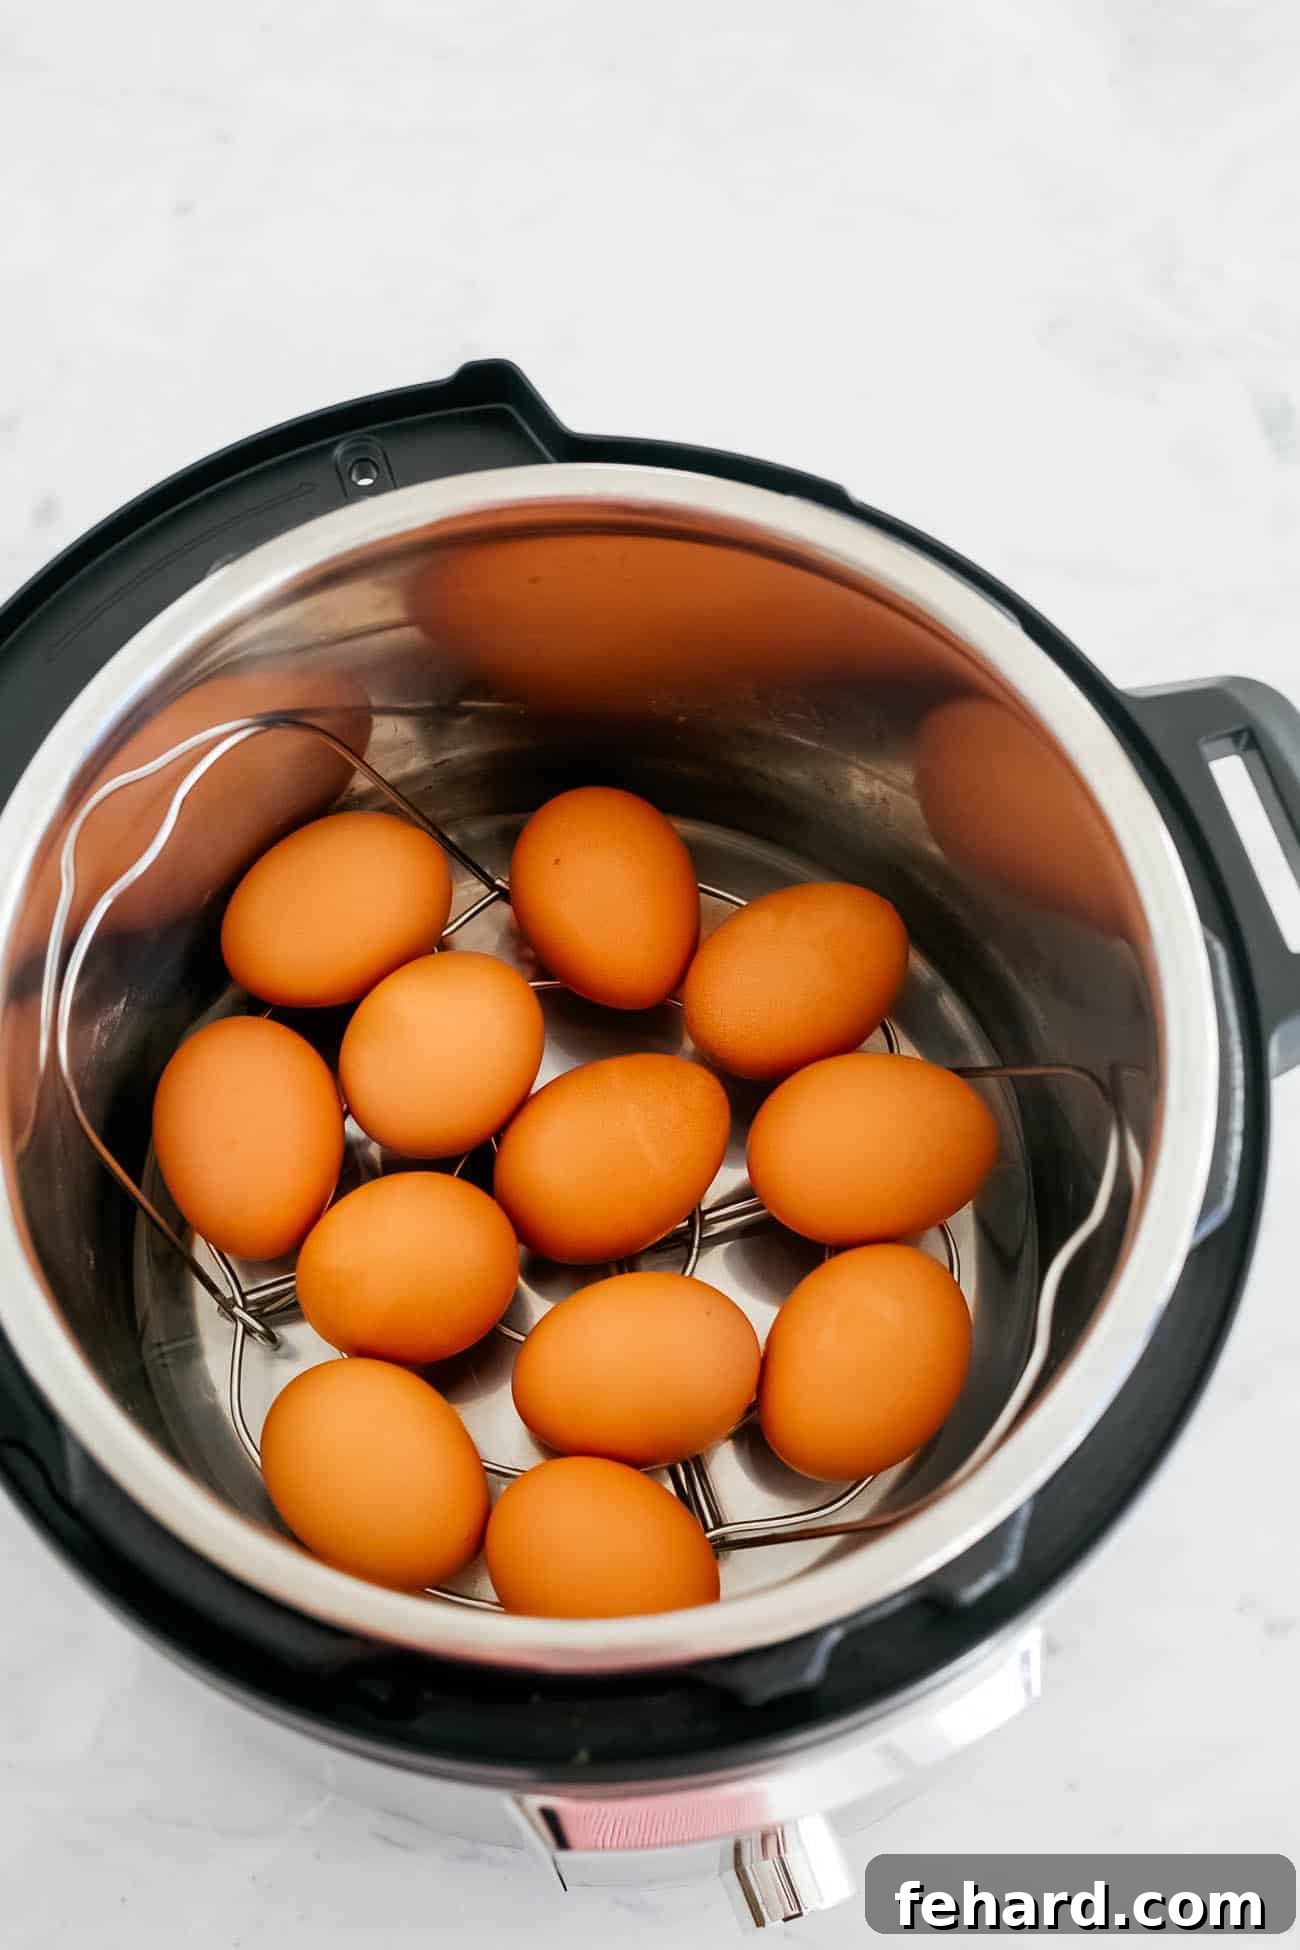
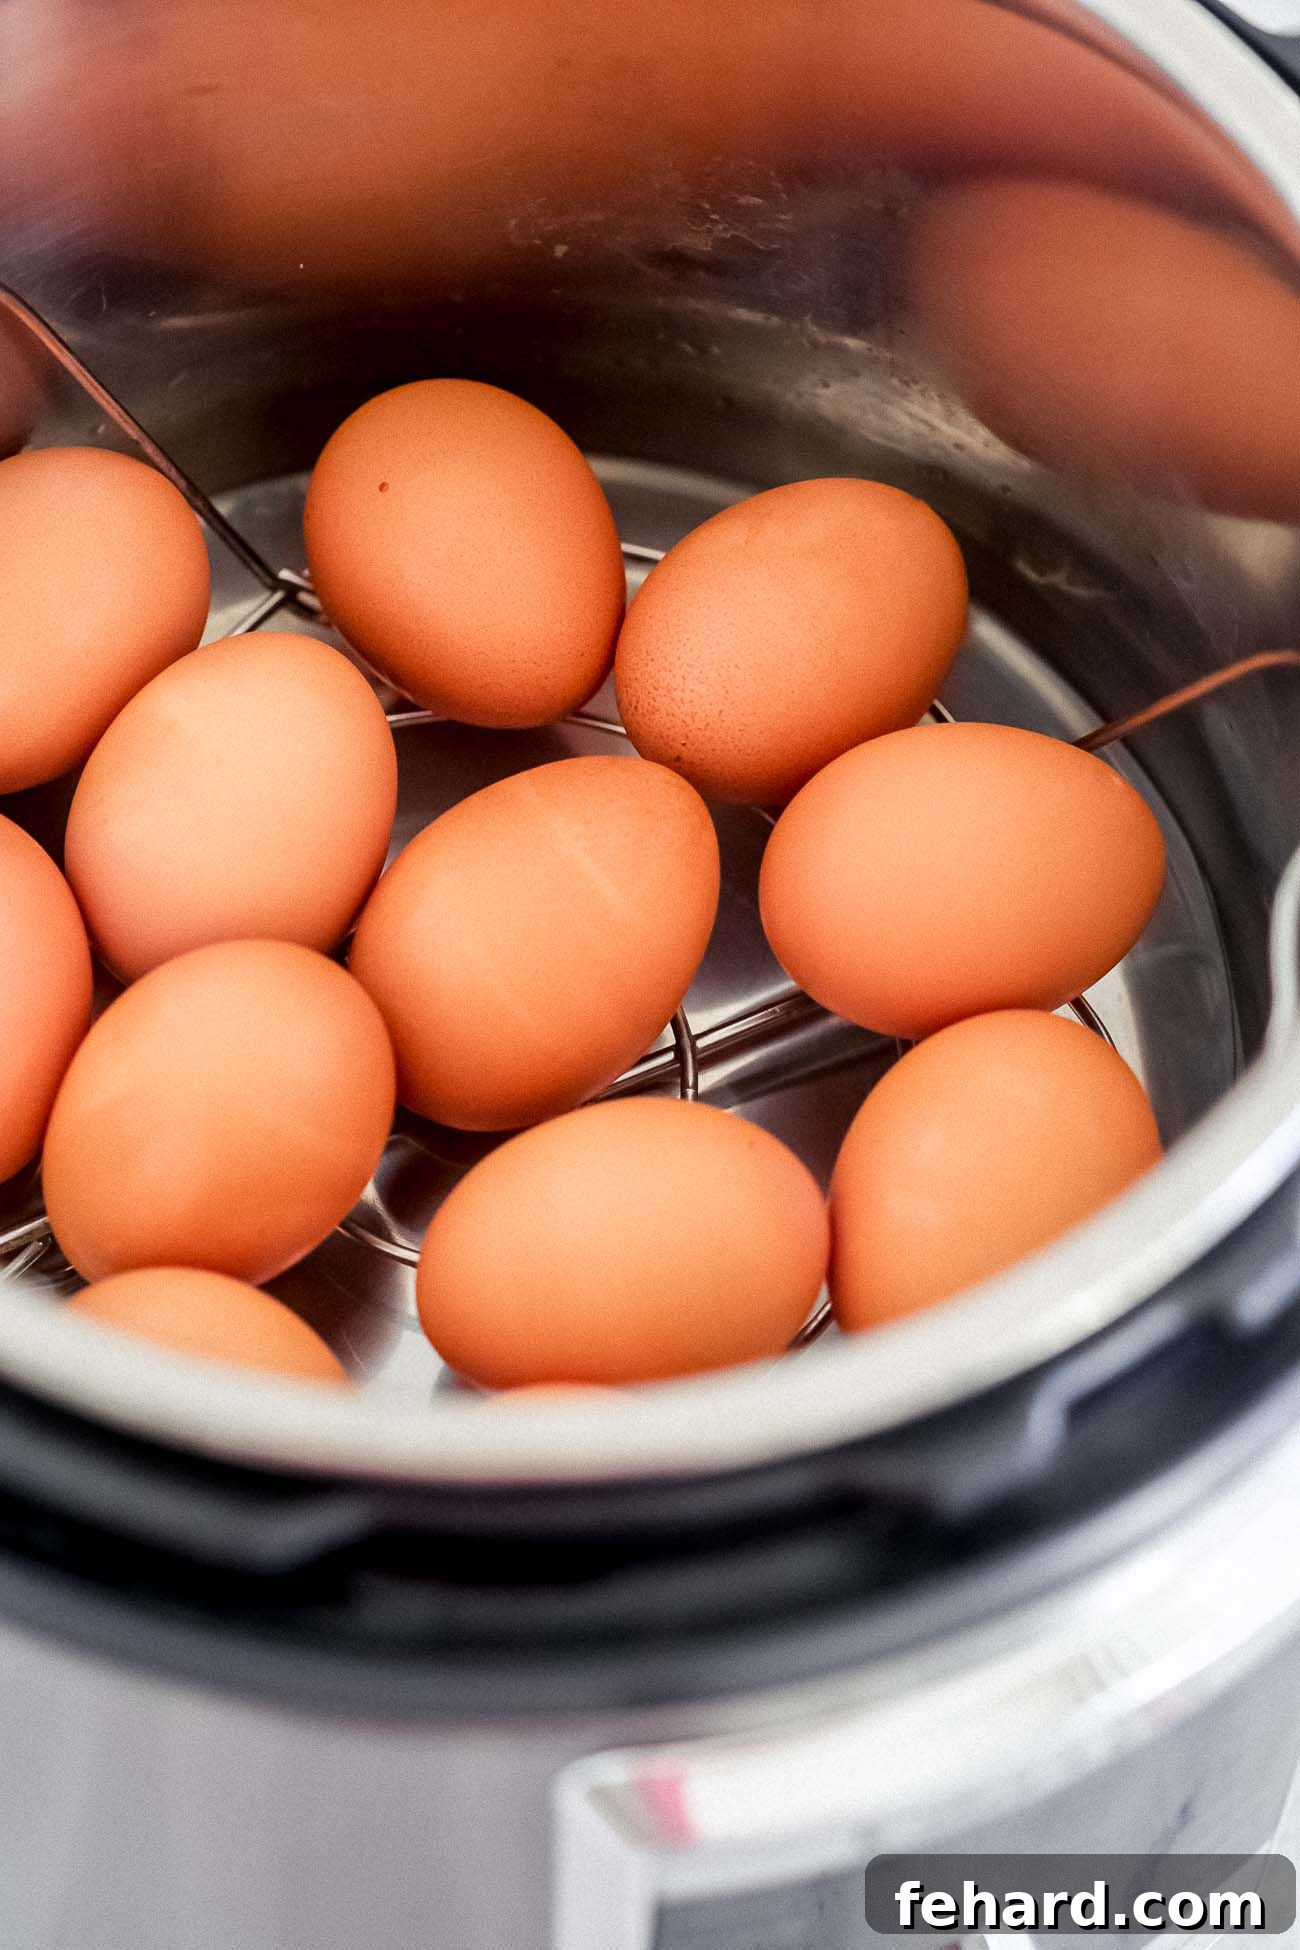
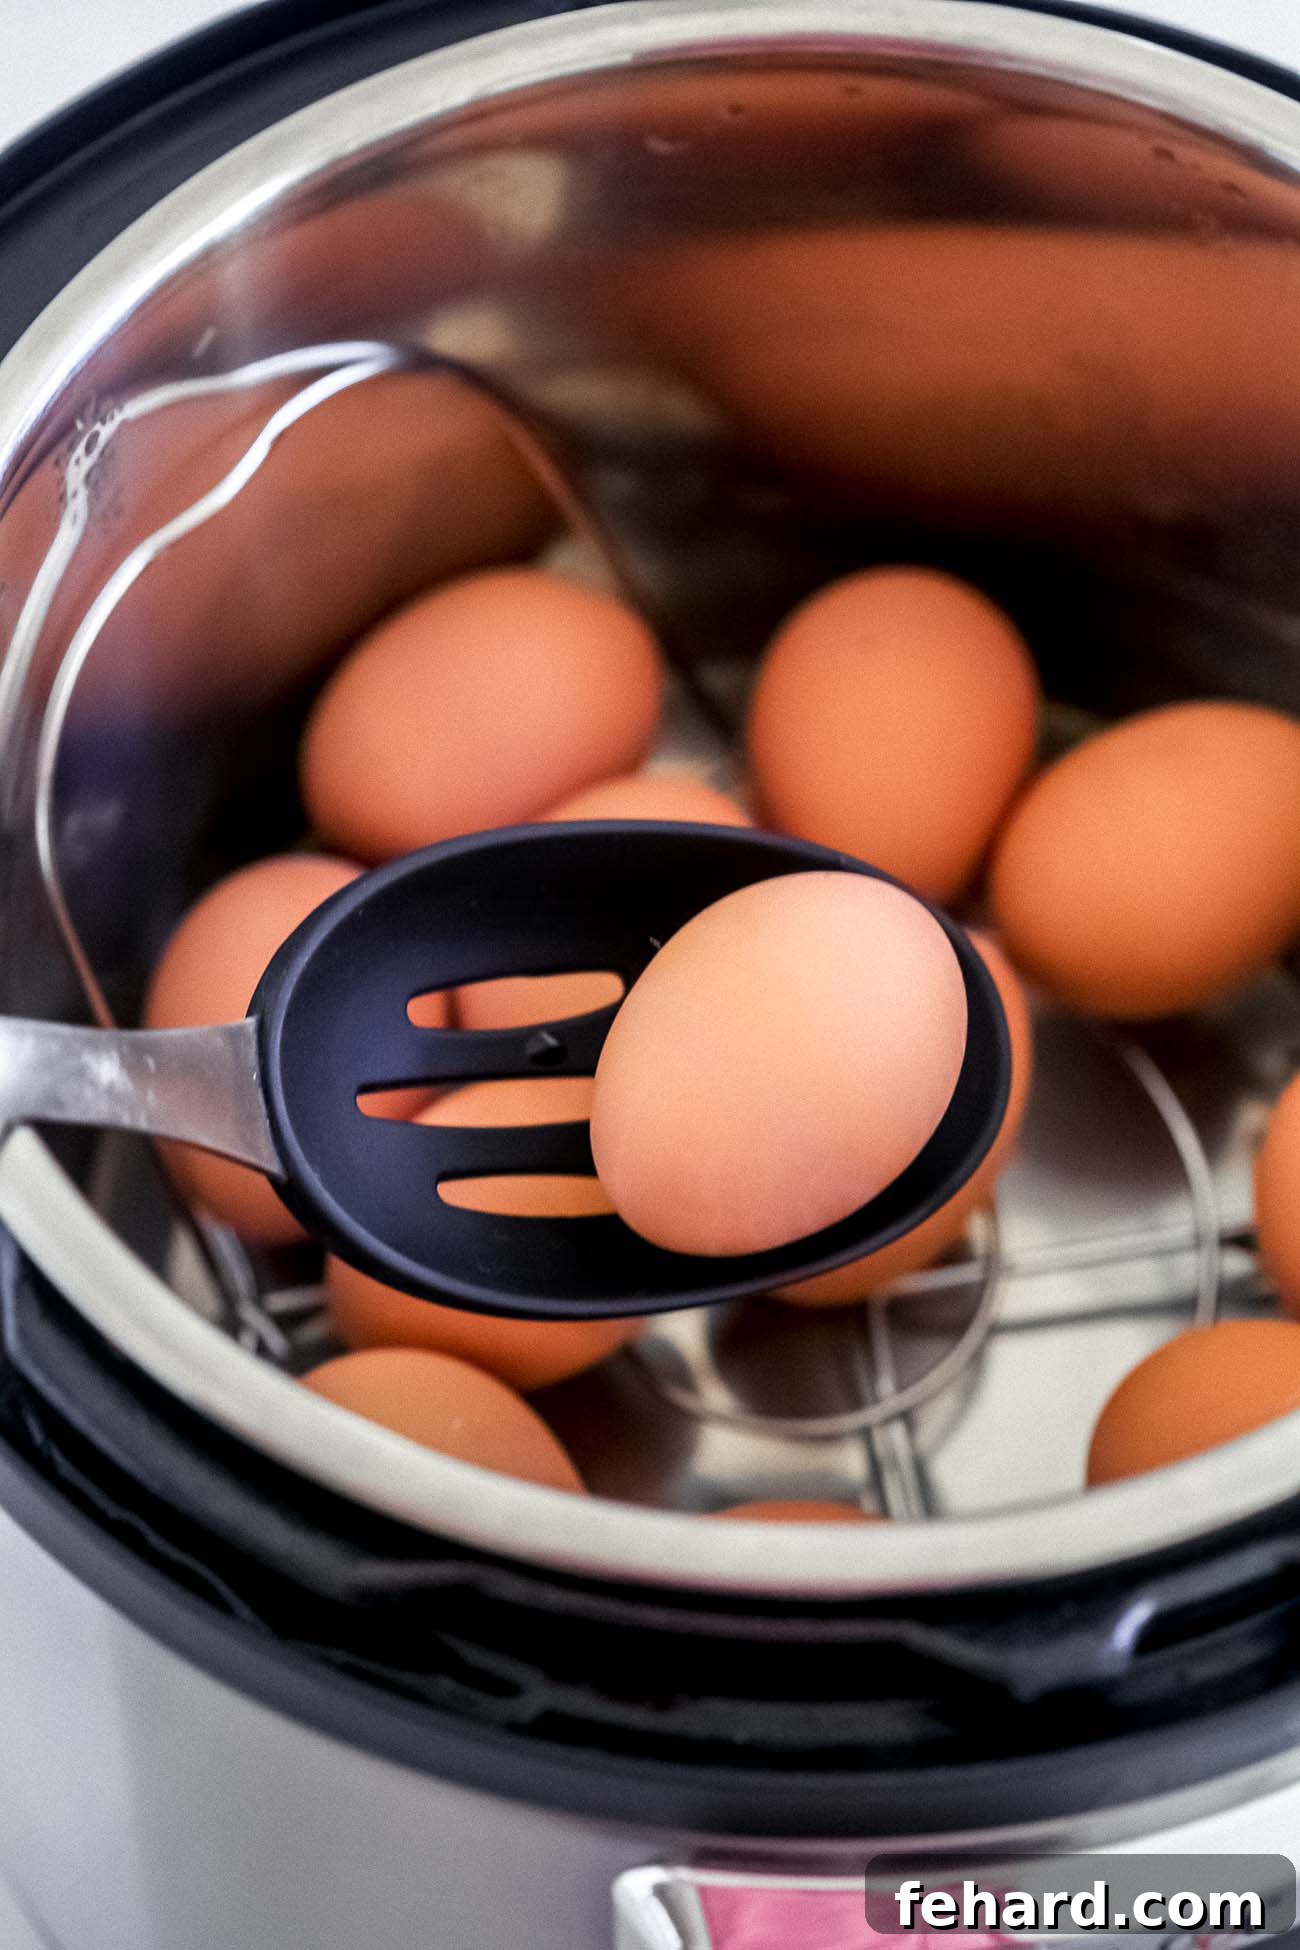
Carefully arrange the eggs on the rack in a single, even layer. While it’s perfectly fine to stack eggs if you’re cooking a large batch, try to keep them as stable as possible. Close the Instant Pot lid and ensure the pressure release valve is set to the “Sealing” position.
Eggs placed gently on the rack for even cooking. -
Pressure Cook the Eggs
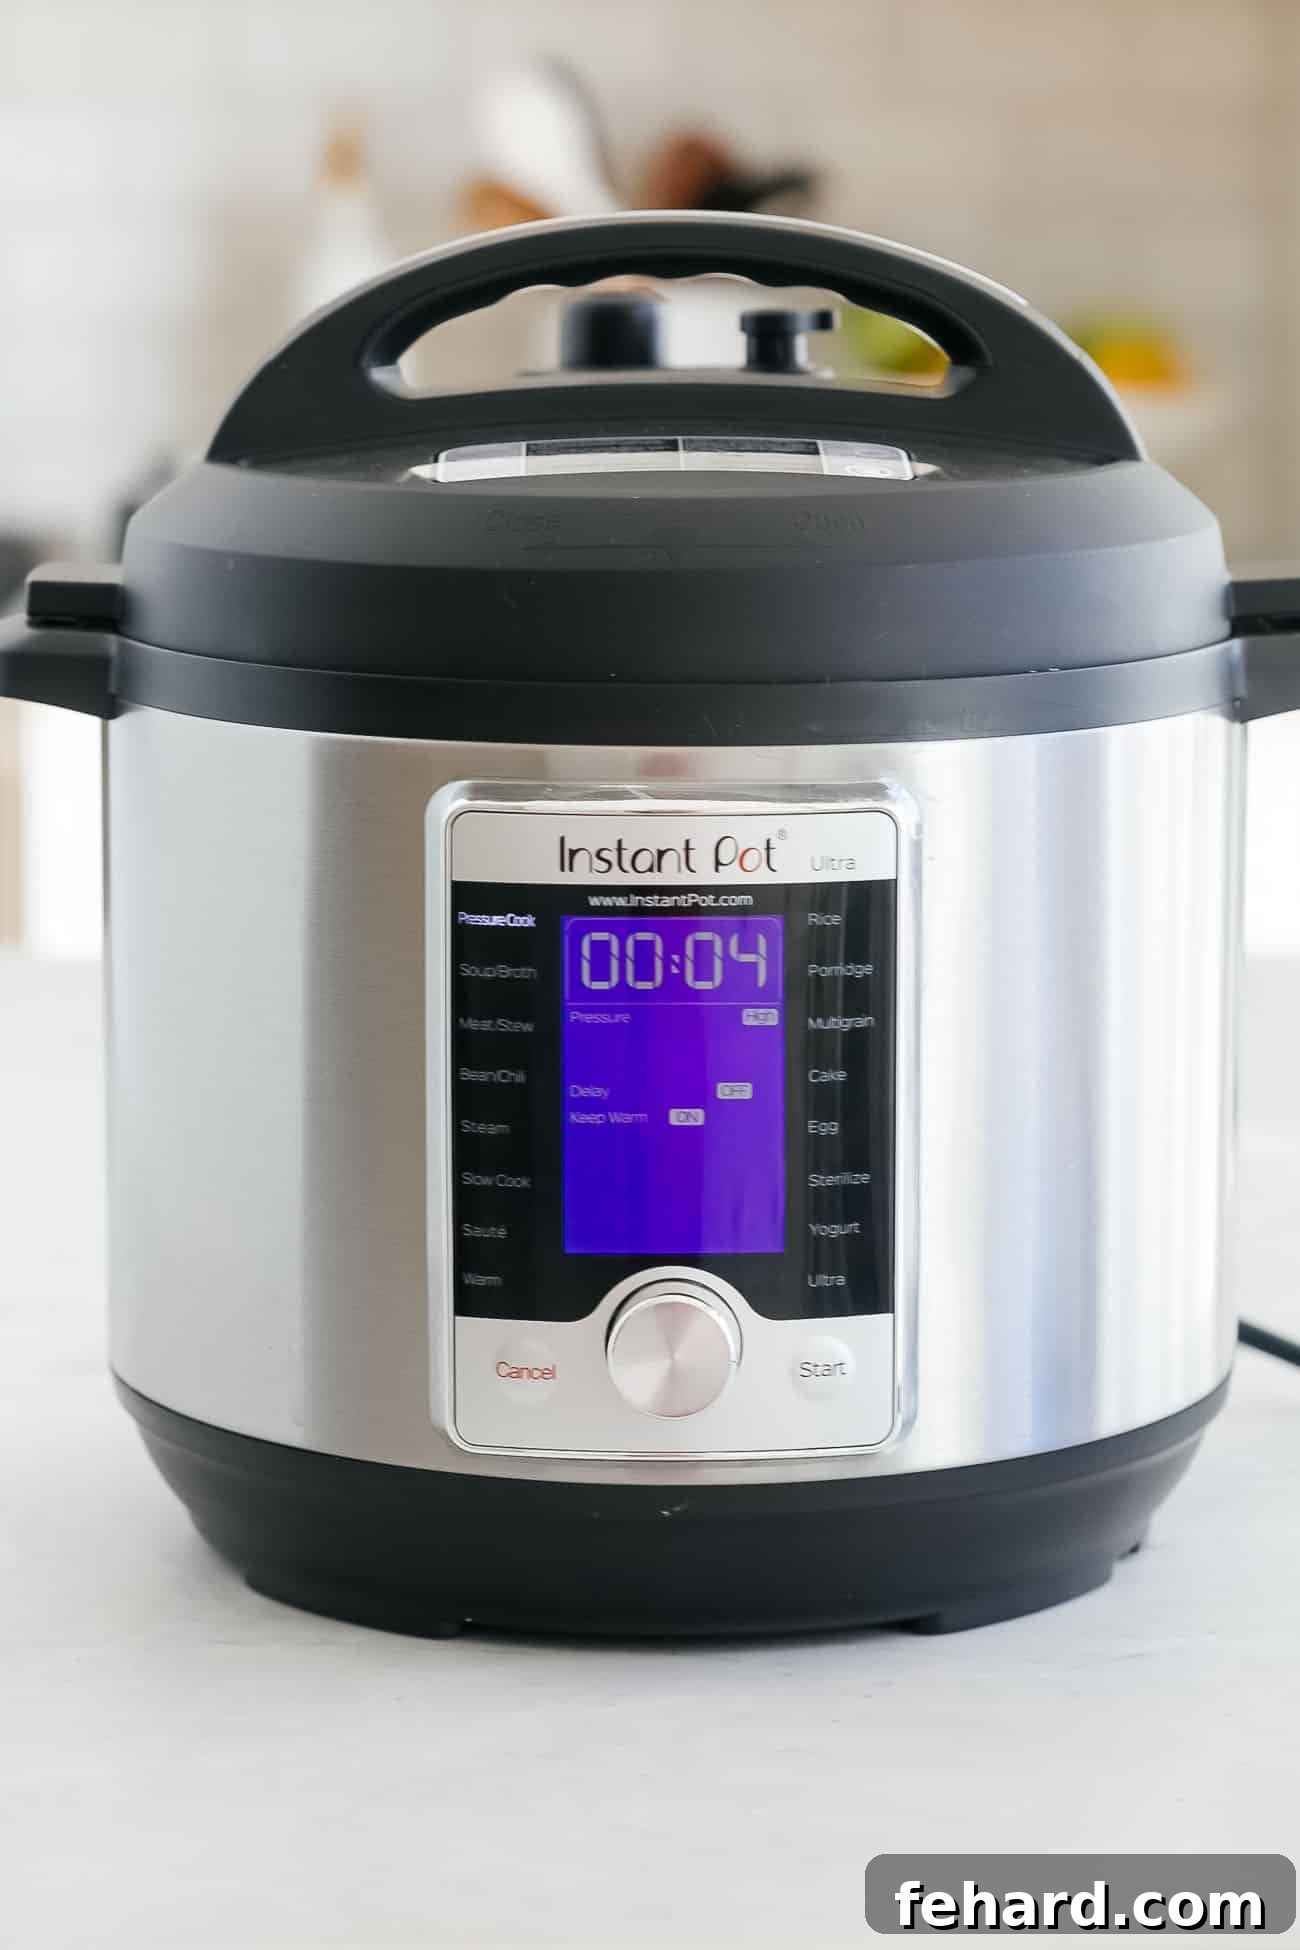
Set the Instant Pot to High Pressure for 4 minutes. The cooking time will only begin counting once the Instant Pot reaches full pressure, which typically takes about 10-15 minutes, depending on the model and the starting temperature of your water and eggs. This 4-minute cooking time yields perfectly firm yolks without being overcooked.
The Instant Pot set to pressure cook. -
Release Pressure and Ice Bath
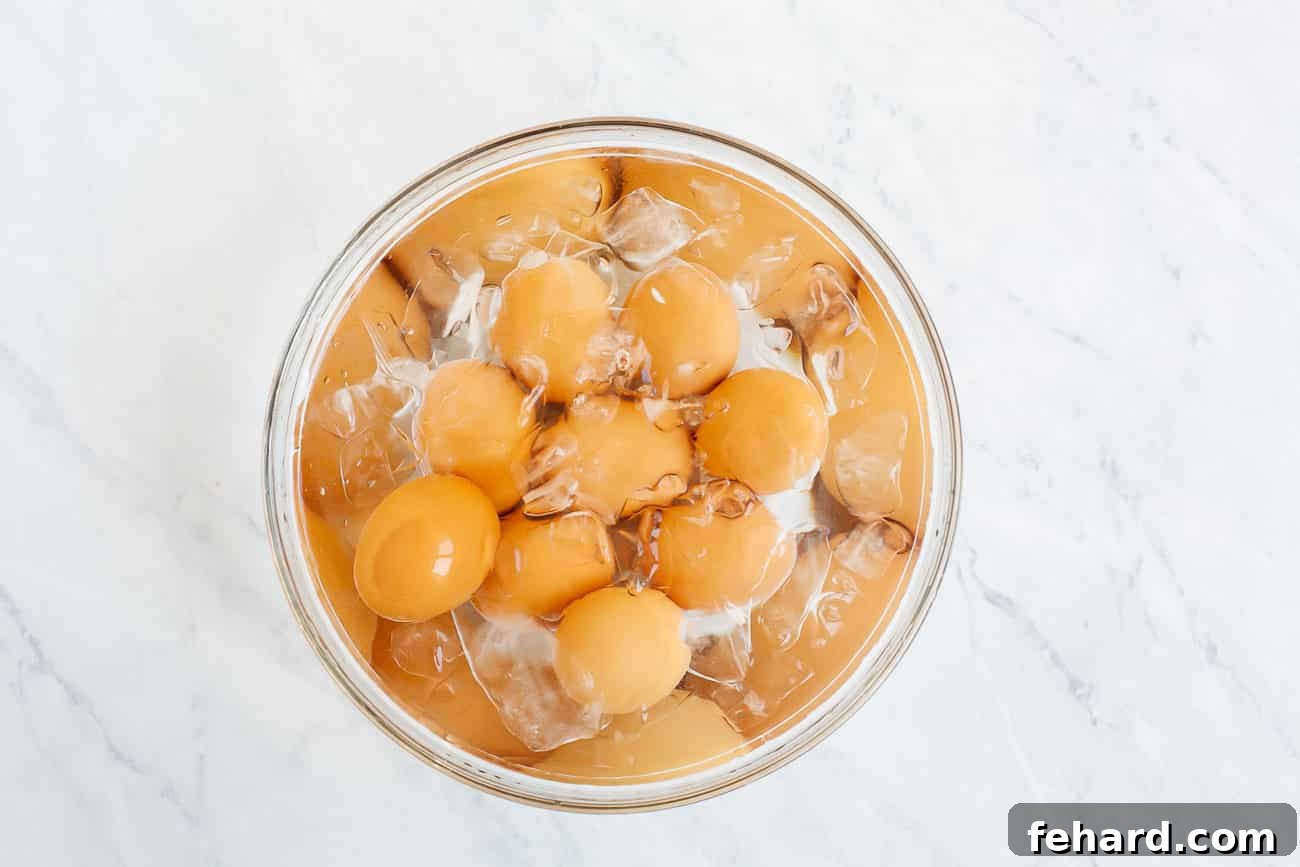
Once the 4-minute cooking cycle is complete, allow the pressure to naturally release for 3 minutes. This crucial step helps prevent the eggs from overcooking and contributes to their tender texture. After 3 minutes, switch the pressure valve to the “Venting” position to perform a quick release of any remaining steam. Once the float valve drops, you can safely open the lid. Immediately transfer the cooked eggs to a large bowl filled with ice-cold water. Let the eggs cool down in this ice bath for at least 5 minutes. The ice bath stops the cooking process immediately, ensuring perfect texture and aiding in the easy peeling process.
Transferring eggs to an ice bath. The essential ice bath to halt cooking and prepare for peeling. -
Peel and Enjoy
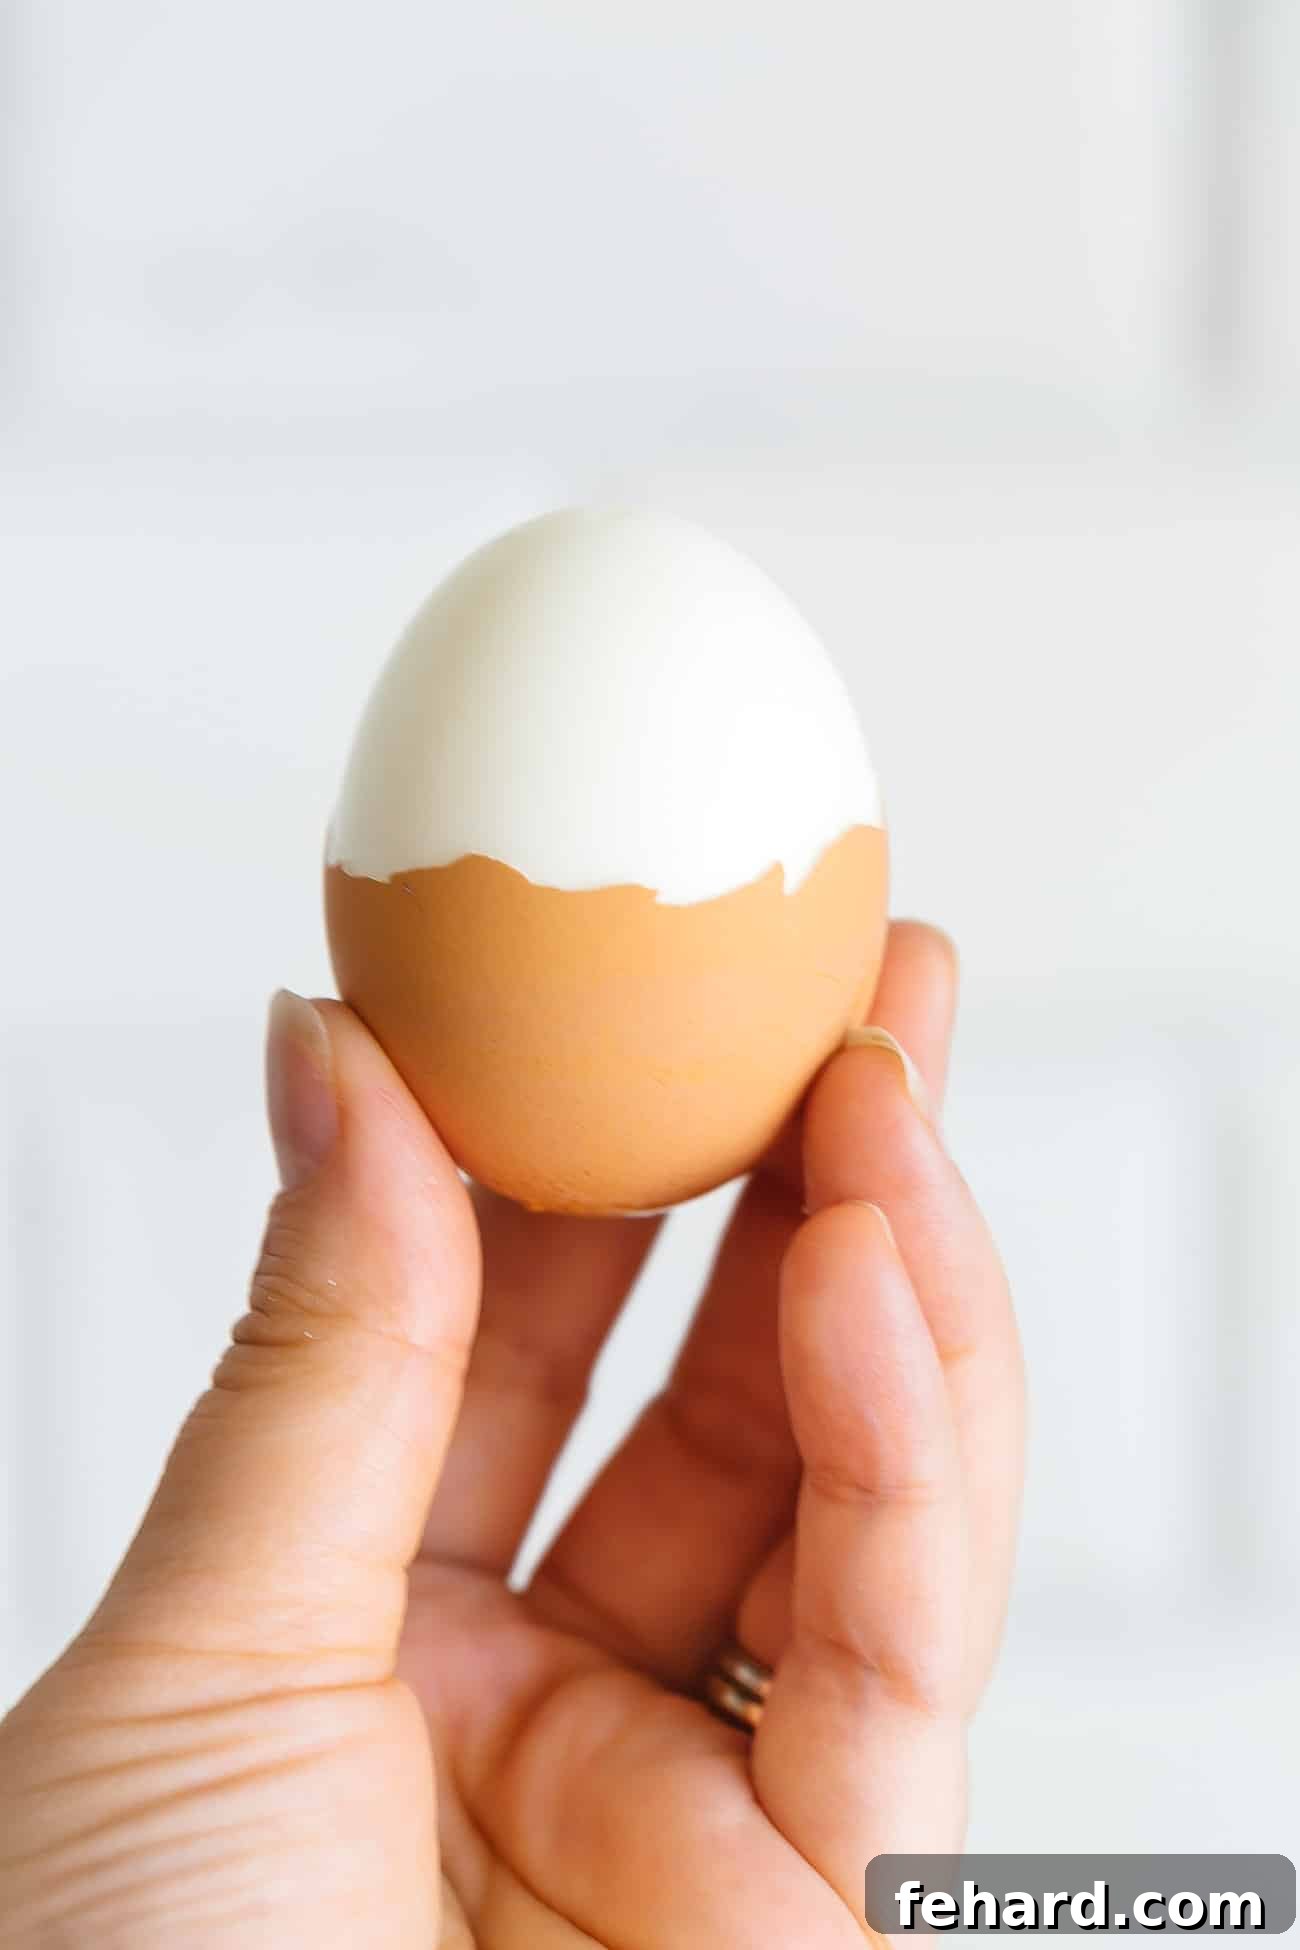
Once the eggs have cooled in the ice bath, they are ready to be peeled and enjoyed! Gently tap the eggs on the counter to crack the shell, then peel them under running water or directly in the ice bath for the easiest removal. Discard the shells. Eat immediately, or store them in a glass container in the fridge for up to 1 week.
A perfectly peeled hard-boiled egg.
Tips for Easily Peeling Your Hard-Boiled Eggs
While the Instant Pot significantly simplifies the peeling process, a few additional tricks can make it even easier:
- Tap and Roll: Gently tap the wider end of the egg on a hard surface (like your kitchen counter) to crack the shell. Then, roll the egg between your palm and the counter with slight pressure to create a network of fine cracks all over the shell. This helps the membrane separate from the egg white.
- Peel Under Water: The absolute easiest way to peel Instant Pot hard-boiled eggs is under a gentle stream of running water in your sink or directly in the bowl of ice water. The water helps to get under the membrane, allowing the shell to slip off cleanly in larger pieces.
- Start at the Wider End: The air pocket is typically located at the wider end of the egg. Starting your peel here can make it easier to get under the membrane and remove larger sections of the shell.
- Use a Spoon: For particularly stubborn spots, you can gently slide a small spoon between the peeled shell and the egg white to help lift it away.
Customizing Your Instant Pot Hard Boiled Eggs: Yolk Preferences
The 4-minute high-pressure setting with a 3-minute natural release is ideal for a classic, firm hard-boiled yolk. However, you can adjust the cooking time for different textures:
- Soft-Boiled Eggs (Jammy Yolks): For a softer, slightly jammy yolk, try reducing the high-pressure cook time to 2-3 minutes, followed by a quick release (QR) immediately.
- Medium-Boiled Eggs: For a yolk that’s tender but set, try 3 minutes high-pressure, followed by a 3-minute natural release (NR), then a quick release.
- Extra Firm Yolks: If you prefer a very firm, crumbly yolk (great for grating into salads), stick with the 4 minutes high-pressure but extend the natural release to 5 minutes before quick releasing.
Remember that the time it takes for your Instant Pot to come to pressure can vary, which also affects the final cook. Experiment with your specific model to find your perfect timing!
Meal Prepping with Instant Pot Hard Boiled Eggs
Hard-boiled eggs are a meal prep superstar! Their versatility and portability make them an excellent addition to almost any weekly plan. They can last for up to a week in the fridge, providing a convenient source of protein for various meals and snacks.
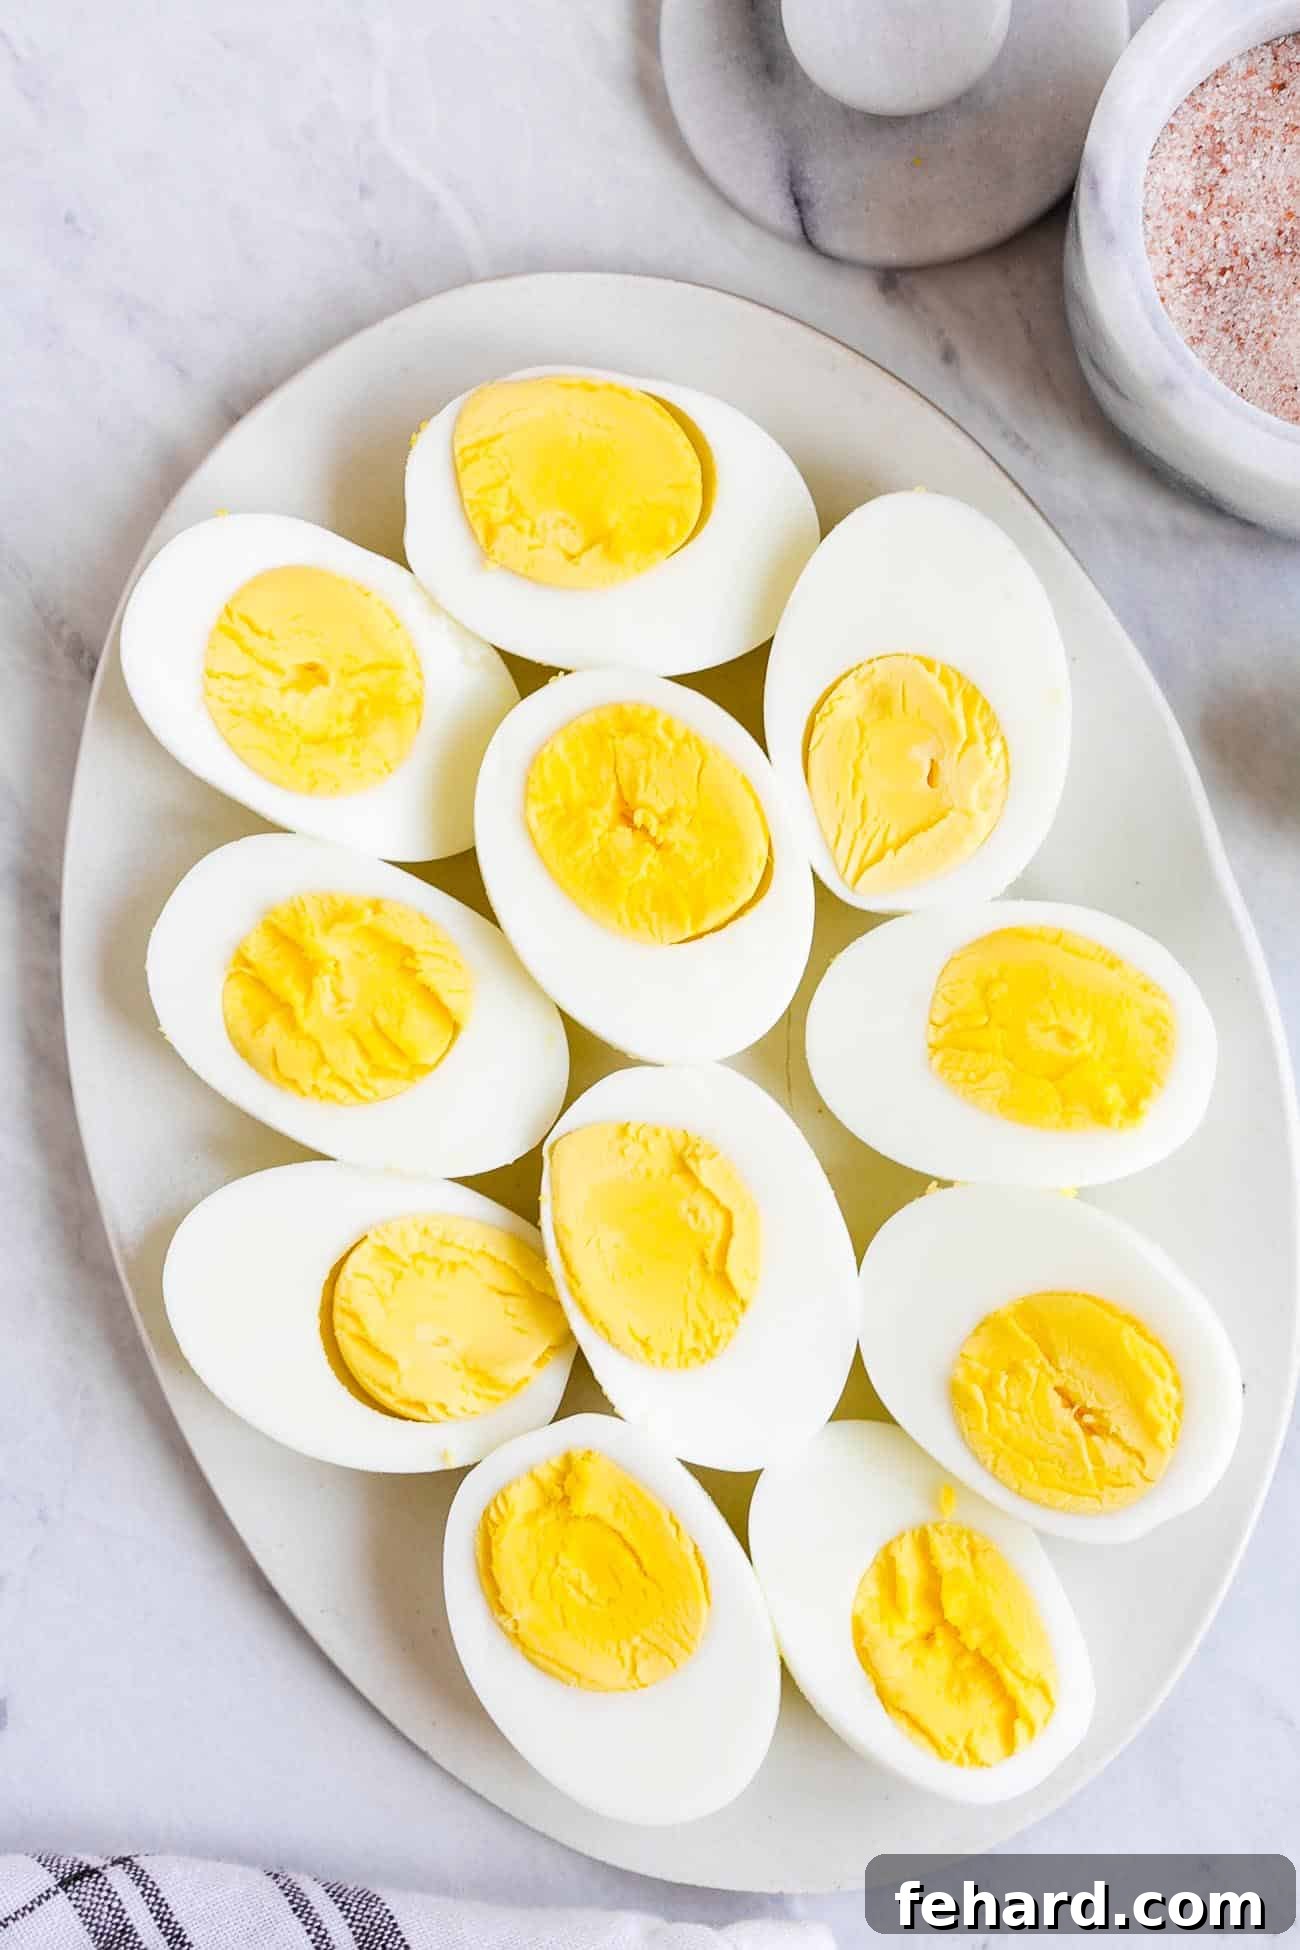
Creative Ways to Use Your Hard-Boiled Eggs:
- Quick Snacks: Simply grab one for a protein boost on the go.
- Salads: Chop them into chopped salads, mix them into a classic Cobb salad, or add them to meal prep bowls with roasted veggies for added substance. They also pair wonderfully with a kale salad with crispy sweet potato.
- Breakfast: A cracked-open hard-boiled egg is a fantastic addition to toast, avocado, or a simple breakfast platter.
- Spreads and Fillings: Transform them into creamy egg salad for sandwiches or lettuce wraps, or try a vibrant avocado egg salad.
- Party Appetizers: Elevate them into classic deviled eggs for potlucks and gatherings.
- Ramen Topping: Halved hard-boiled eggs are a traditional and delicious addition to a bowl of ramen.
Storage Best Practices
Store your cooked hard-boiled eggs in an airtight container in the refrigerator. You can store them peeled or unpeeled, though many find unpeeled eggs stay fresh for slightly longer. I recommend storing them whole rather than sliced or halved, as cutting them exposes more surface area to air, which can reduce their shelf life. They will remain fresh for up to 1 week.
Do not recommend freezing hard-boiled eggs. The whites tend to become tough, rubbery, and watery when frozen and thawed, significantly affecting their texture and appeal. Given how quick and easy it is to make a fresh batch of Instant Pot hard-boiled eggs, freezing is simply not necessary.
Frequently Asked Questions (FAQs)
Q: Can I cook a large batch of eggs at once in the Instant Pot?
A: Yes! The Instant Pot is fantastic for cooking multiple eggs simultaneously. You can stack them in multiple layers on the trivet or steamer basket. The cooking time typically remains the same as long as you use the recommended amount of water.
Q: Do I need a special trivet or can I just place the eggs directly in the pot?
A: It’s highly recommended to use a steaming rack or trivet. This elevates the eggs, preventing them from resting directly on the bottom of the pot, which can cause cracking due to direct heat. It also allows for more even steaming.
Q: My eggs still have a greenish ring around the yolk. What went wrong?
A: A greenish-gray ring around the yolk is a sign of overcooking. This happens when the sulfur in the egg white reacts with the iron in the yolk, often due to high heat or prolonged cooking. To avoid this, ensure you stick to the recommended 4-minute high-pressure cooking time and transfer them immediately to an ice bath after the 3-minute natural release.
Q: How can I tell if an egg is hard-boiled without cracking it?
A: A simple spin test can tell you. Place the egg on a flat surface and spin it. A hard-boiled egg will spin smoothly and quickly, while a raw or soft-boiled egg will wobble and spin slowly due to its liquid interior.
Instant Pot Hard Boiled Eggs
Perfectly cooked and easy to peel, you’ll love making Instant Pot Hard Boiled Eggs. It is so quick and easy to use the pressure cooker to make your eggs that you’ll want to make them in the Instant Pot every time!
Author: Olivia Ribas
Servings: 12 eggs
Prep Time: 5 minutes
Resting Time: 5 minutes
Cook Time: 8 minutes (4 min pressure + 3 min natural release + 1 min quick release)
Total Time: 18 minutes (includes pressure building time)
Ingredients
- 12 large eggs
- 1 cup water
Instructions
- Place the steaming rack in the bottom of your 6-quart Instant Pot. Pour 1 cup of cold water into the Instant Pot, ensuring it’s just below the steamer basket.
- Arrange the eggs on the rack in an even layer. Close the Instant Pot lid and set the valve to “sealing.”
- Set the Instant Pot to High Pressure for 4 minutes. Cooking time begins once the Instant Pot reaches full pressure (this takes approximately 10-15 minutes).
- After the 4-minute cooking cycle, allow a natural pressure release for 3 minutes. Then, switch the pressure valve to the venting position to quick release any remaining steam. Once the float valve drops, open the lid. Immediately transfer the eggs to a bowl filled with ice-cold water and let them cool for about 5 minutes.
- Peel the eggs and discard the shells. Enjoy immediately or store them in an airtight glass container in the fridge for up to 1 week.
Notes
- For even easier peeling, though less critical with the Instant Pot, using slightly older eggs (a week or so past purchase) can sometimes help.
- You can stack eggs in the Instant Pot if cooking a large batch; the cooking time generally remains the same.
- Using a trivet or steaming rack is crucial to keep eggs in place and prevent cracking.
- Storage: Store cooked, peeled or unpeeled eggs in an airtight container in the fridge for up to a week.
- Freezing: Freezing hard-boiled eggs is not recommended as the whites become rubbery and watery upon thawing.
Nutrition Information
Nutrition information is an approximation and will vary based on ingredients used.
- Serving: 1/12th of recipe (1 egg)
- Calories: 70 kcal
- Carbohydrates: 1g
- Protein: 6g
- Fat: 5g
- Cholesterol: 185mg
- Sodium: 70mg
- Potassium: 70mg
Did You Make This?
Follow @primaverakitchen on Instagram, snap a photo, and tag it #primaverakitchen. We’d love to see your delicious creation!