
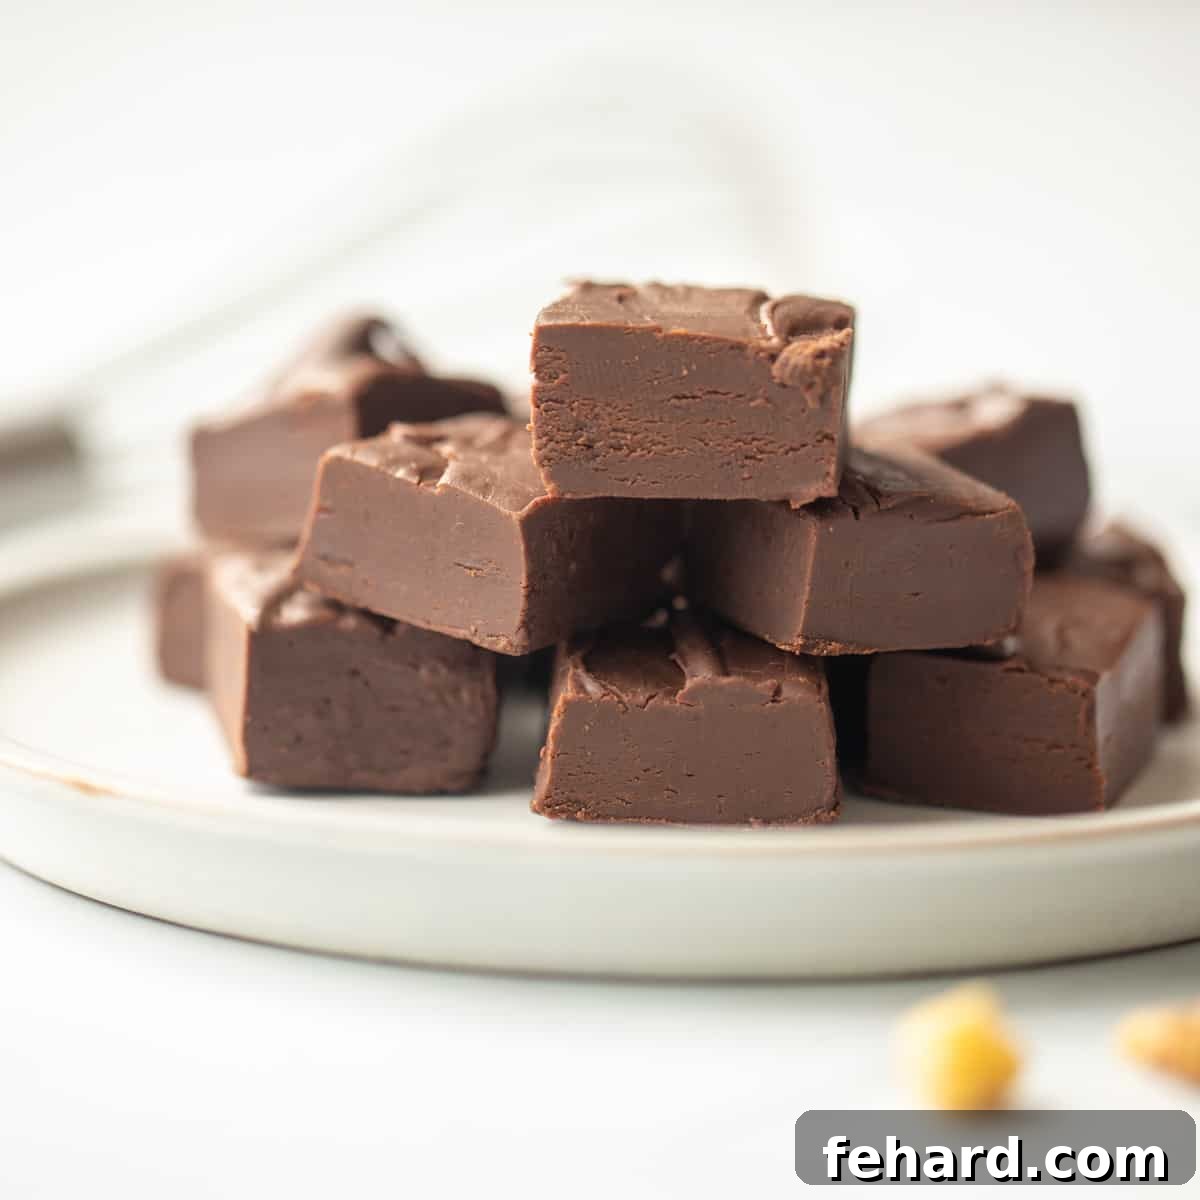
The Easiest Microwave Fudge Recipe: Rich, Creamy & Ready in Minutes
Craving a rich, creamy chocolate treat but short on time? This incredibly easy microwave fudge recipe is your answer!
It ticks all the boxes: just four simple ingredients, minimal prep time, and absolutely no need for a fussy candy thermometer.
Every batch turns out intensely rich, irresistibly creamy, and perfectly sweet, making it an ideal dessert for
satisfying a strong chocolate craving or crafting a heartfelt homemade gift for someone special. Get ready to
discover the simplest way to make decadent fudge right in your own kitchen!
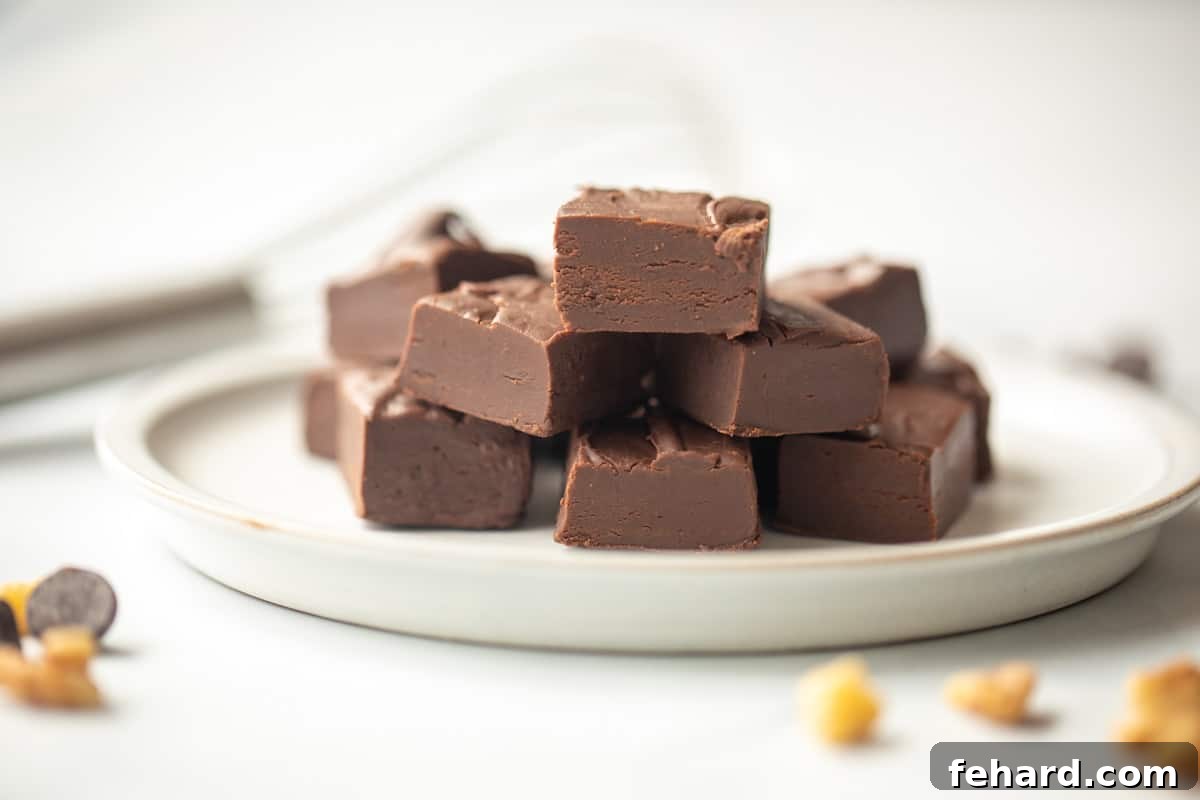
Why Choose Microwave Fudge? The Ultimate Shortcut to Decadence
When it comes to homemade treats, fudge often carries a reputation for being complicated and time-consuming,
requiring precise temperature control and constant stirring. But what if there was a method that bypassed all that
hassle without compromising on flavor or texture? Enter microwave fudge – a game-changer for anyone who loves
chocolate but prefers efficiency in the kitchen.
This microwave method eliminates the need for a candy thermometer, a common stumbling block for many home bakers.
You won’t be standing over a hot stove, meticulously monitoring temperatures or stirring for what feels like an
eternity. Instead, the microwave handles the melting process quickly and efficiently, using residual heat to
bring the ingredients together into a smooth, luxurious mixture. It’s an almost foolproof technique that
delivers consistent results every time, ensuring your fudge is perfectly set, never grainy, and always
melt-in-your-mouth creamy.
Beyond its simplicity, microwave fudge offers incredible versatility. It’s a fantastic base for endless flavor
combinations and additions, allowing you to customize each batch to your heart’s content. Whether you’re
whipping up a quick dessert for an unexpected guest, preparing holiday gifts, or simply indulging a sweet craving,
this recipe makes homemade fudge accessible and enjoyable for everyone. Forget the stress and embrace the ease
of this delightful, rich, and wonderfully quick chocolate creation.
Kristen’s Keys for Perfect Microwave Fudge
To achieve homemade fudge that boasts an intensely rich flavor, a beautifully creamy texture, and just the
right amount of sweetness, paying attention to these expert tips is crucial. These small details make a
big difference in the final product, ensuring your fudge is nothing short of exceptional.
- Embrace Full-Fat Sweetened Condensed Milk: This ingredient is the secret to fudge’s
silky, melt-in-your-mouth mouthfeel. The higher fat content prevents a grainy texture often associated
with low-fat or fat-free alternatives, ensuring your fudge is luxuriously smooth. Do not substitute this with evaporated milk. - Opt for Quality Semi-Sweet Chocolate Chips: The choice of chocolate profoundly
impacts the fudge’s flavor profile. Semi-sweet chocolate chips strike the perfect balance – not
overly sweet, yet not too bitter. They contribute to that classic, deep chocolatey taste that good
fudge is known for. High-quality chips melt more smoothly and contribute to a superior texture. - Line Your Pan with Parchment Paper and Leave an Overhang: This simple step is a true
game-changer for easy removal and clean slicing. The parchment acts as a sling, allowing you to
effortlessly lift the chilled fudge from the pan. The overhang provides a clean grip, preventing your
knife from getting messy and ensuring each cut is precise. - Prioritize an Overnight Chill for Best Results: While you might be tempted to cut
into your fudge sooner, patience truly pays off here. Chilling the fudge overnight allows it to firm
up completely, making for cleaner, sharper slices. More importantly, this extended cooling period
gives the flavors ample time to meld and deepen, resulting in a richer, more profound chocolatey
experience. - Slice into Modest 1-Inch Cubes: Fudge is incredibly dense, rich, and sweet, meaning
a little goes a long way. Small, bite-sized portions are perfect for savoring without being
overwhelming. This also makes them ideal for sharing or packaging as elegant gifts.
How to Make Homemade Fudge in the Microwave: A Step-by-Step Guide
Making homemade fudge in the microwave is astonishingly simple. This detailed, step-by-step section is crafted to
guide you through each stage, ensuring your fudge turns out perfectly rich, creamy, and delightful every single time.
Step One: Prepare Your Baking Pan
Before you begin mixing your ingredients, it’s essential to prepare your baking dish. For an 8×8 inch pan,
line it thoroughly with parchment paper. Make sure to leave a slight overhang on all sides – this creates
“handles” that will make lifting the set fudge out of the pan incredibly easy, preventing any sticking or
mess. A well-lined pan ensures a smooth transition from chilling to slicing.
Step Two: Combine Ingredients and Microwave
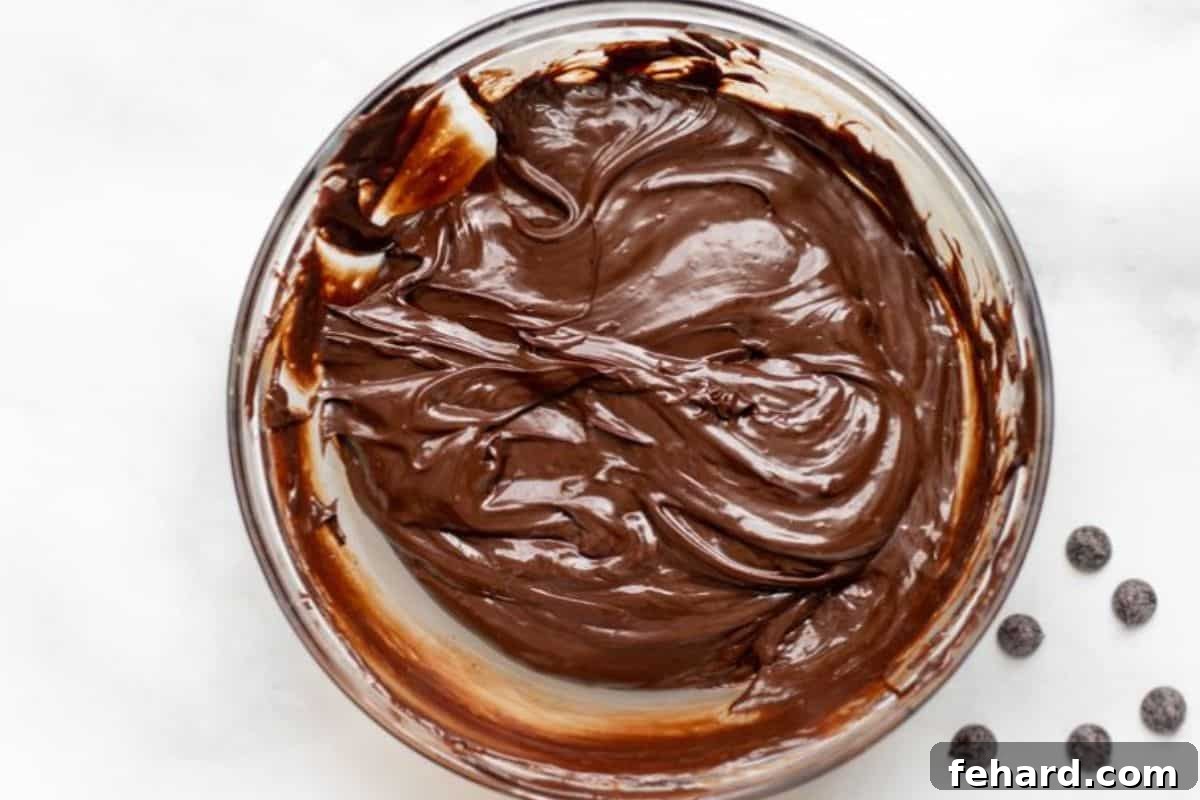
In a large, microwave-safe bowl, combine your core ingredients: one 14-ounce can of full-fat sweetened
condensed milk, two tablespoons of unsalted butter (cut into smaller pieces for faster melting), and two
cups of semi-sweet chocolate chips. Place the bowl in the microwave and heat in short 30-second intervals.
After each interval, remove the bowl and stir the mixture thoroughly. You’ll notice the chocolate chips
beginning to soften and melt. Continue this process, stirring diligently after each heating burst. The
residual heat from the melted ingredients will continue to melt any remaining chocolate chips as you stir,
resulting in a wonderfully smooth and glossy mixture. Be careful not to overheat the chocolate, as this can
cause it to seize.
Important Tip: Add Vanilla Last! Once the chocolate is completely melted and the mixture is
smooth, quickly stir in one teaspoon of vanilla extract. Adding vanilla at this stage, after the
microwaving is complete, is crucial. The intense heat of the microwave can diminish or even destroy the
delicate flavor of vanilla, so incorporating it at the end preserves its rich, prominent aroma and taste.
Step Three: Pour, Chill, and Set
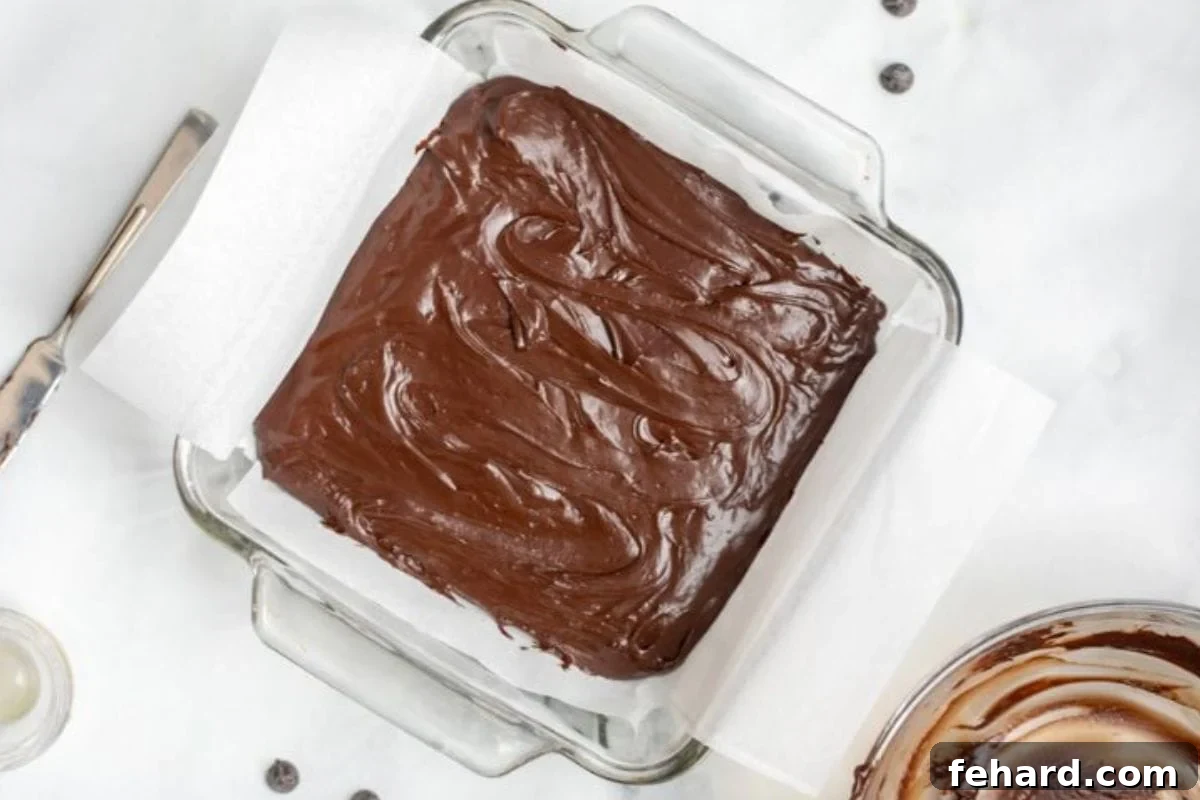
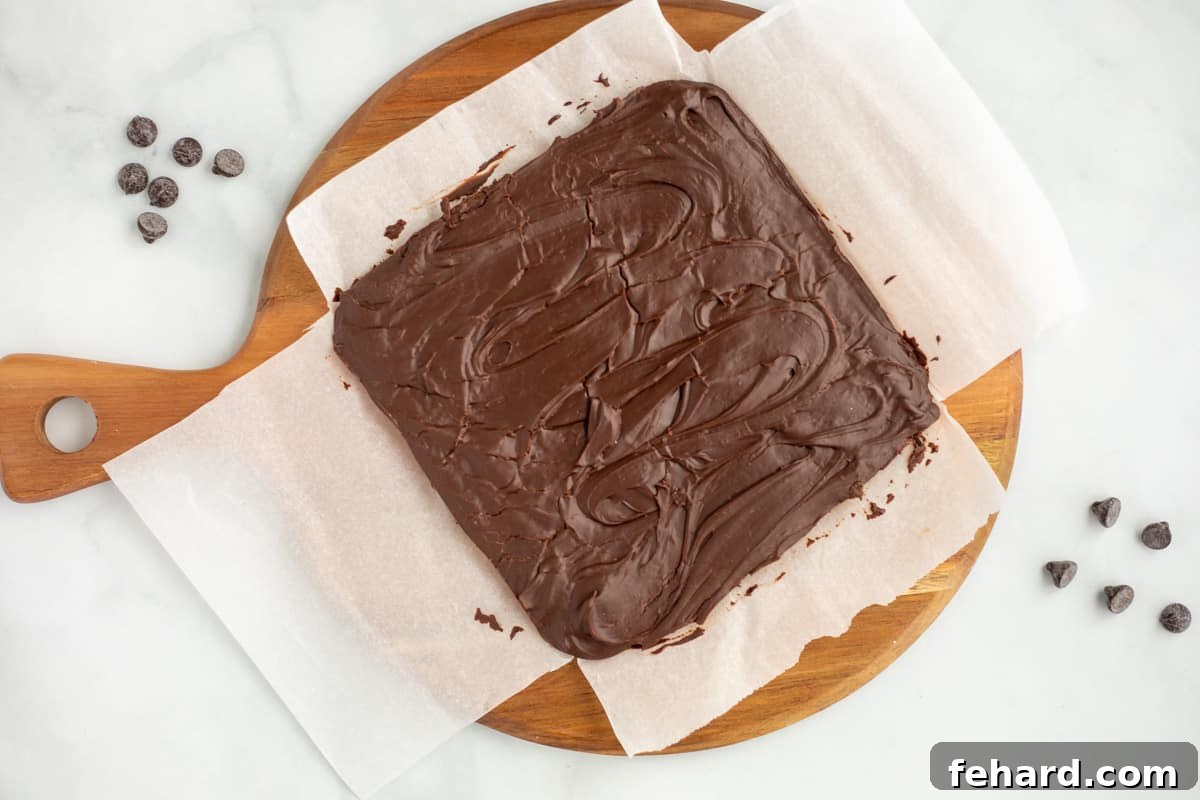
Carefully pour the warm, smooth fudge mixture into your prepared baking dish, lined with parchment paper.
Use an offset spatula or the back of a spoon to spread the mixture evenly into the pan, ensuring it’s
levelled from edge to edge. Once smooth, cover the baking dish lightly with plastic wrap. This prevents
any condensation from forming on the surface and keeps the fudge fresh. Transfer the covered dish to the
refrigerator and allow it to chill thoroughly. While the fudge will begin to set in 2-3 hours, for the
absolute best results in terms of firmness, clean slicing, and flavor development, I highly recommend
refrigerating it overnight. This patience will be rewarded with perfectly set, intensely flavored fudge.
Step Four: Slice, Serve, or Store
Once your fudge is completely chilled and firm (ideally after an overnight rest), it’s time to prepare it
for enjoyment. Use the parchment paper overhang as handles to gently lift the entire block of fudge out
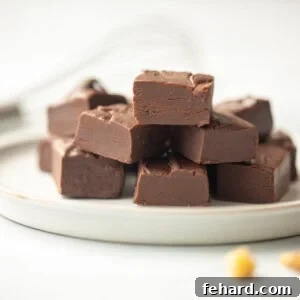
of the baking dish and place it onto a clean cutting board. Using a sharp knife, slice the fudge into
small, manageable 1-inch squares. These bite-sized pieces are perfect for portion control, as fudge is
wonderfully rich and sweet. Serve immediately to eager guests, or prepare for storage to savor later.
To store, place the fudge pieces in an airtight container. They will keep beautifully in the refrigerator
for up to two weeks, though they rarely last that long! For longer storage, you can freeze fudge for up to
3 months. Thaw in the refrigerator or at room temperature before serving.
Ingredient Deep Dive: The Magic of the Four
This microwave fudge recipe’s brilliance lies in its simplicity, utilizing just four core ingredients that
work in harmony to create a rich, creamy, and undeniably delicious treat. Understanding the role each
ingredient plays can help you appreciate the magic and ensure your fudge is always a success.
- Sweetened Condensed Milk (Full-Fat): This is the cornerstone of microwave fudge. It
provides both the sweetness and the creamy, thick consistency. Unlike evaporated milk, sweetened
condensed milk is already cooked down and contains a high sugar content, which is crucial for fudge
texture. The full-fat version is essential for that luxurious, non-grainy mouthfeel. - Semi-Sweet Chocolate Chips: The star flavor! Semi-sweet chips offer a balanced
chocolate experience that isn’t overly sugary, complementing the sweetness of the condensed milk
perfectly. Using good quality chocolate chips will result in a smoother melt and a richer flavor.
You can experiment with milk chocolate for a sweeter fudge, or dark chocolate for a more intense
chocolate hit, adjusting sweetness accordingly. - Unsalted Butter: Butter adds richness, depth of flavor, and contributes to the
smoothness and glossiness of the fudge. It also helps with the setting process, ensuring the fudge
firms up beautifully. Unsalted butter gives you control over the overall saltiness of the fudge. - Vanilla Extract: A crucial flavor enhancer, vanilla extract rounds out the chocolate
flavor, adding a warm, aromatic depth that prevents the fudge from tasting flat. As Kristen’s tip
suggests, adding it at the very end preserves its delicate notes, as high heat can dissipate its aroma.
These four simple ingredients, when combined and treated with care, transform into an extraordinary
confection that tastes far more complex than its humble origins suggest.
Fudge Variations: Unleash Your Creativity!
The beauty of this easy microwave fudge recipe is how wonderfully versatile it is. Once you master the
basic technique, a world of flavor variations opens up. Here are some delightful ideas to inspire your
next batch:
- Classic Nutty Fudge: For an added crunch and earthy flavor, fold in ½ cup of
chopped roasted pistachios, peanuts, pecans, or walnuts after you’ve stirred in the vanilla extract.
The nuts provide a lovely textural contrast to the smooth fudge. - Rocky Road Revival: Transform your fudge into a classic Rocky Road delight! After
adding the vanilla extract, stir in 1 cup of mini marshmallows and ½ cup of chopped nuts (peanuts,
walnuts, or almonds are excellent choices). The marshmallows create a soft, chewy element, while the
nuts add a satisfying crunch. - Elegant White Chocolate Fudge: Swap the semi-sweet chips for 2 cups of high-quality
white chocolate (look for cocoa butter listed as an ingredient for the best results). White chocolate
is sweeter, so to balance it and add texture, stir in ⅓ cup of chopped pistachios and a handful of
dried cranberries. The tartness of the cranberries beautifully cuts through the sweetness of the white
chocolate, and the green and red add visual appeal. - Marbled Masterpiece Fudge: Get artistic with a marbled effect. Take inspiration
from my Christmas Fudge recipe! Prepare two separate batches of fudge: one with white chocolate and
one with semi-sweet chocolate. While both are still warm and pourable, alternate spoonfuls into your
prepared pan or gently swirl them together with a knife or skewer for a stunning marbled pattern. - Peppermint Swirl Fudge: Perfect for the holidays! After adding the vanilla extract,
stir in ½ teaspoon of peppermint extract and then gently fold in ¼ cup of crushed peppermint candies
or candy canes. - Espresso Kick Fudge: For coffee lovers, dissolve 1-2 teaspoons of instant espresso
powder into the warm sweetened condensed milk before adding the chocolate chips. This will deepen the
chocolate flavor and add a subtle coffee kick.
Frequently Asked Questions About Microwave Fudge
- Can I use low-fat sweetened condensed milk?
- It is highly recommended to use full-fat sweetened condensed milk. Low-fat versions can lead to a grainy texture
because they lack the fat content necessary for the smooth, creamy consistency of traditional fudge.
Stick to the full-fat for the best results! - My fudge didn’t set. What went wrong?
- Several factors could cause this. Ensure you’re using full-fat sweetened condensed milk and good quality
chocolate chips. Also, make sure you’ve chilled it for long enough; an overnight chill is usually best for
optimal firmness. Overheating the chocolate can sometimes affect its ability to set properly, so stick to
short microwave intervals and thorough stirring. - Can I double the recipe?
- Yes, absolutely! To double the recipe, simply double all the ingredients. You will need a larger baking
pan, typically a 9×13 inch pan, to accommodate the increased volume. Ensure you use a larger microwave-safe
bowl as well, and you might need slightly more microwave time, still using short intervals and stirring. - How should I store microwave fudge?
- Store fudge in an airtight container in the refrigerator for up to 2 weeks. For longer storage, you can
freeze fudge wrapped tightly in plastic wrap and then placed in an airtight container or freezer bag for
up to 3 months. Thaw in the refrigerator or at room temperature before serving. - Can I use other types of chocolate besides semi-sweet?
- Yes, you can experiment! Milk chocolate will result in a sweeter fudge, while dark chocolate will yield a
more intense, less sweet flavor. If using dark chocolate (especially very dark, 70% cocoa or higher),
you might consider adding an extra tablespoon of sweetened condensed milk or a touch more butter to maintain
creamy texture and balance bitterness. For white chocolate, refer to the “White Chocolate Fudge” variation
for specific tips.
More Easy Chocolate Treats to Satisfy Your Cravings
If you loved this simple fudge recipe, you’ll surely enjoy exploring other easy chocolate delights. These
recipes are perfect for quick desserts, thoughtful gifts, or simply indulging your sweet tooth!
- Homemade Hot Chocolate
- Buckeye Candy
- Saltine Cracker Toffee
- Peppermint Bark
- Homemade Peanut Butter Cups
- Marbled Chocolate Bark
- Homemade Fudgesicles
Easy Microwave Fudge Recipe
By: Kristen Chidsey
Servings: 36 (1-inch cubes)
Prep Time: 5 mins | Cook Time: 2 mins | Chill Time: 2 hrs (or overnight for best results) | Total Time: 2 hrs 7 mins
Made in the microwave with just 4 simple ingredients, this easy fudge recipe consistently turns out
incredibly rich, smooth, and creamy – a perfect chocolate indulgence every time.
Ingredients
- 1 (14oz can) full-fat sweetened condensed milk
- 2 tablespoons unsalted butter
- 2 cups semi-sweet chocolate chips
- 1 teaspoon vanilla extract
Instructions
- Line an 8×8 inch baking pan with parchment paper, ensuring there is a slight overhang on all sides to create “handles.”
- In a large microwave-safe bowl, combine the sweetened condensed milk, unsalted butter (cut into smaller pieces), and semi-sweet chocolate chips.
- Microwave the mixture in 30-second intervals. After each interval, remove the bowl and stir thoroughly. Continue microwaving and stirring until the chocolate chips are fully melted and the mixture is smooth and glossy. This usually takes about 2-3 minutes total.
- Once the chocolate is completely melted, quickly stir in the vanilla extract.
- Pour the fudge mixture into the prepared pan and use an offset spatula or the back of a spoon to spread it out evenly.
- Cover the pan lightly with a lid or plastic wrap and refrigerate until the fudge is set. This typically takes 2-3 hours, but for optimal flavor and firmness, chilling overnight is highly recommended.
- Once set, use the parchment paper overhang to lift the fudge block out of the pan. Place it on a cutting board and slice it into 1-inch pieces using a sharp knife.
- Store the finished fudge in an airtight container in the refrigerator for up to 2 weeks.
Equipment
- Parchment Paper
- 8×8 baking pan
- Large Microwave-Safe Bowl
- Offset Spatula or Knife
Recipe Notes
Sweetened Condensed Milk: For the best creamy texture, always use full-fat sweetened
condensed milk. Low-fat or fat-free versions can result in a grainy or less desirable consistency.
Doubling the Recipe: To make a larger batch, simply double all the ingredients. Use a
9×13 inch baking pan for the doubled amount. Microwave time might increase slightly, so continue with
30-second intervals and stir frequently.
Additions: Feel free to customize your fudge! You can stir in up to ½ cup of chopped
pecans, walnuts, or other nuts, and/or 1 cup of mini marshmallows into the chocolate mixture when you
add the vanilla extract. Be creative with your favorite mix-ins!
Nutrition
Calories: 64 kcal
Carbohydrates: 5 g
Protein: 1 g
Fat: 4 g
Saturated Fat: 3 g
Polyunsaturated Fat: 0.1 g
Monounsaturated Fat: 1 g
Trans Fat: 0.03 g
Cholesterol: 2 mg
Sodium: 1 mg
Potassium: 57 mg
Fiber: 1 g
Sugar: 4 g
Vitamin A: 25 IU
Vitamin C: 0.001 mg
Calcium: 6 mg
Iron: 1 mg
Nutrition information is automatically calculated and should be used as an approximation.
Tried this recipe?
Mention @amindfullmom or tag #amindfullmom!