
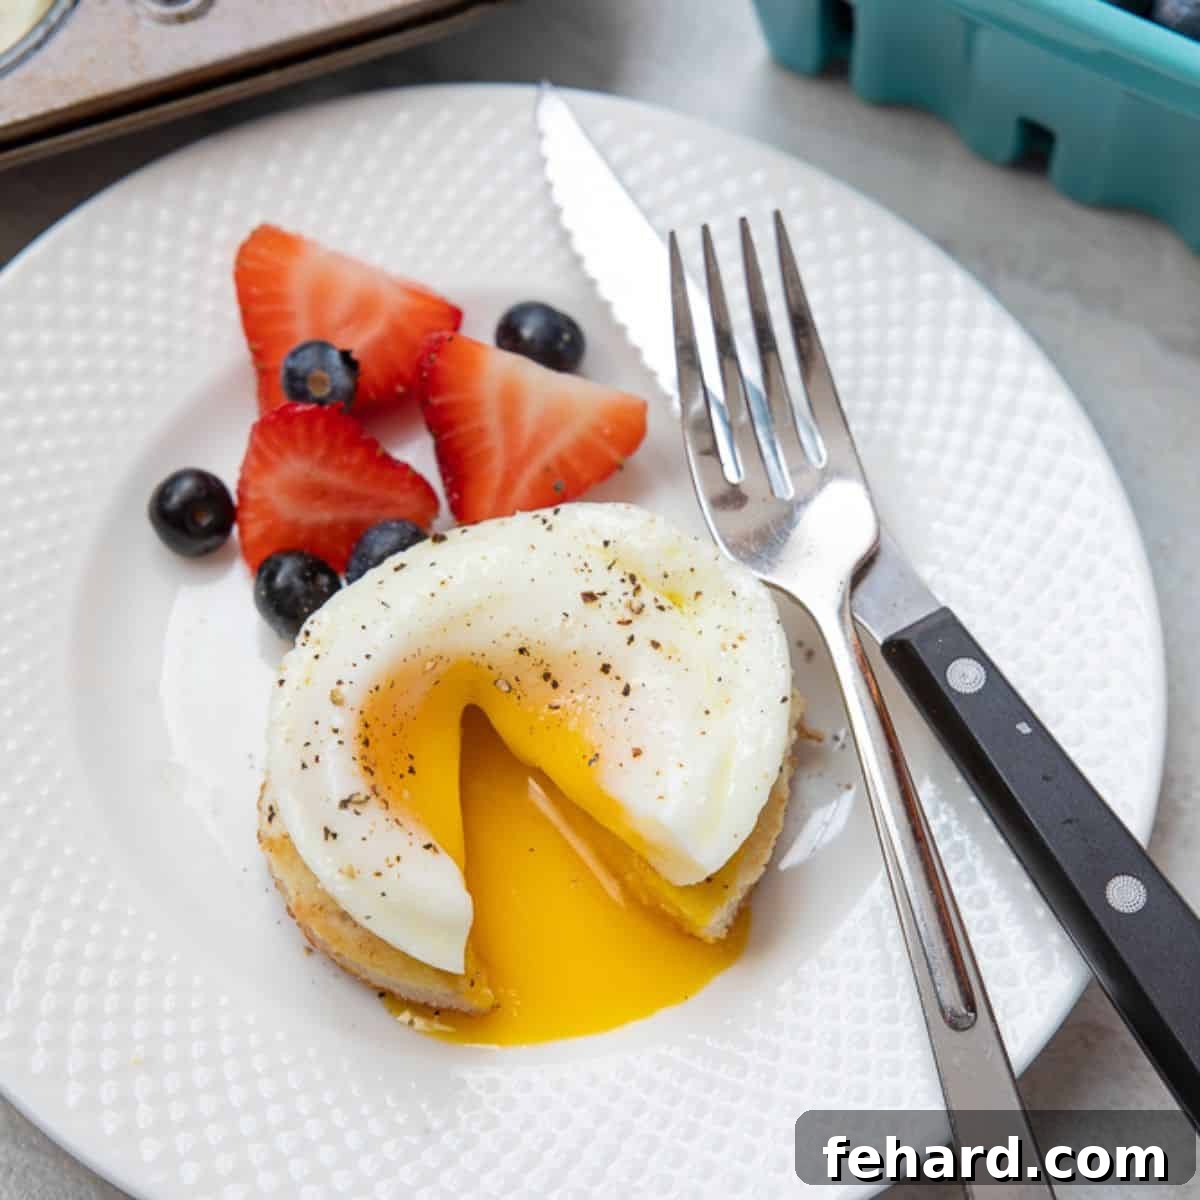
If the mere thought of achieving that perfectly set white and gloriously runny yolk through traditional stove-top poaching has ever made you hesitate, prepare to have your culinary world transformed! This revolutionary and utterly foolproof recipe for oven poached eggs eliminates all intimidation. By harnessing the power of a simple muffin tin and meticulously tested timing, poaching eggs in the oven consistently delivers immaculate results with unparalleled ease. Whether you’re a novice cook or a seasoned chef, this method promises perfect poached eggs without the fuss, every single time.
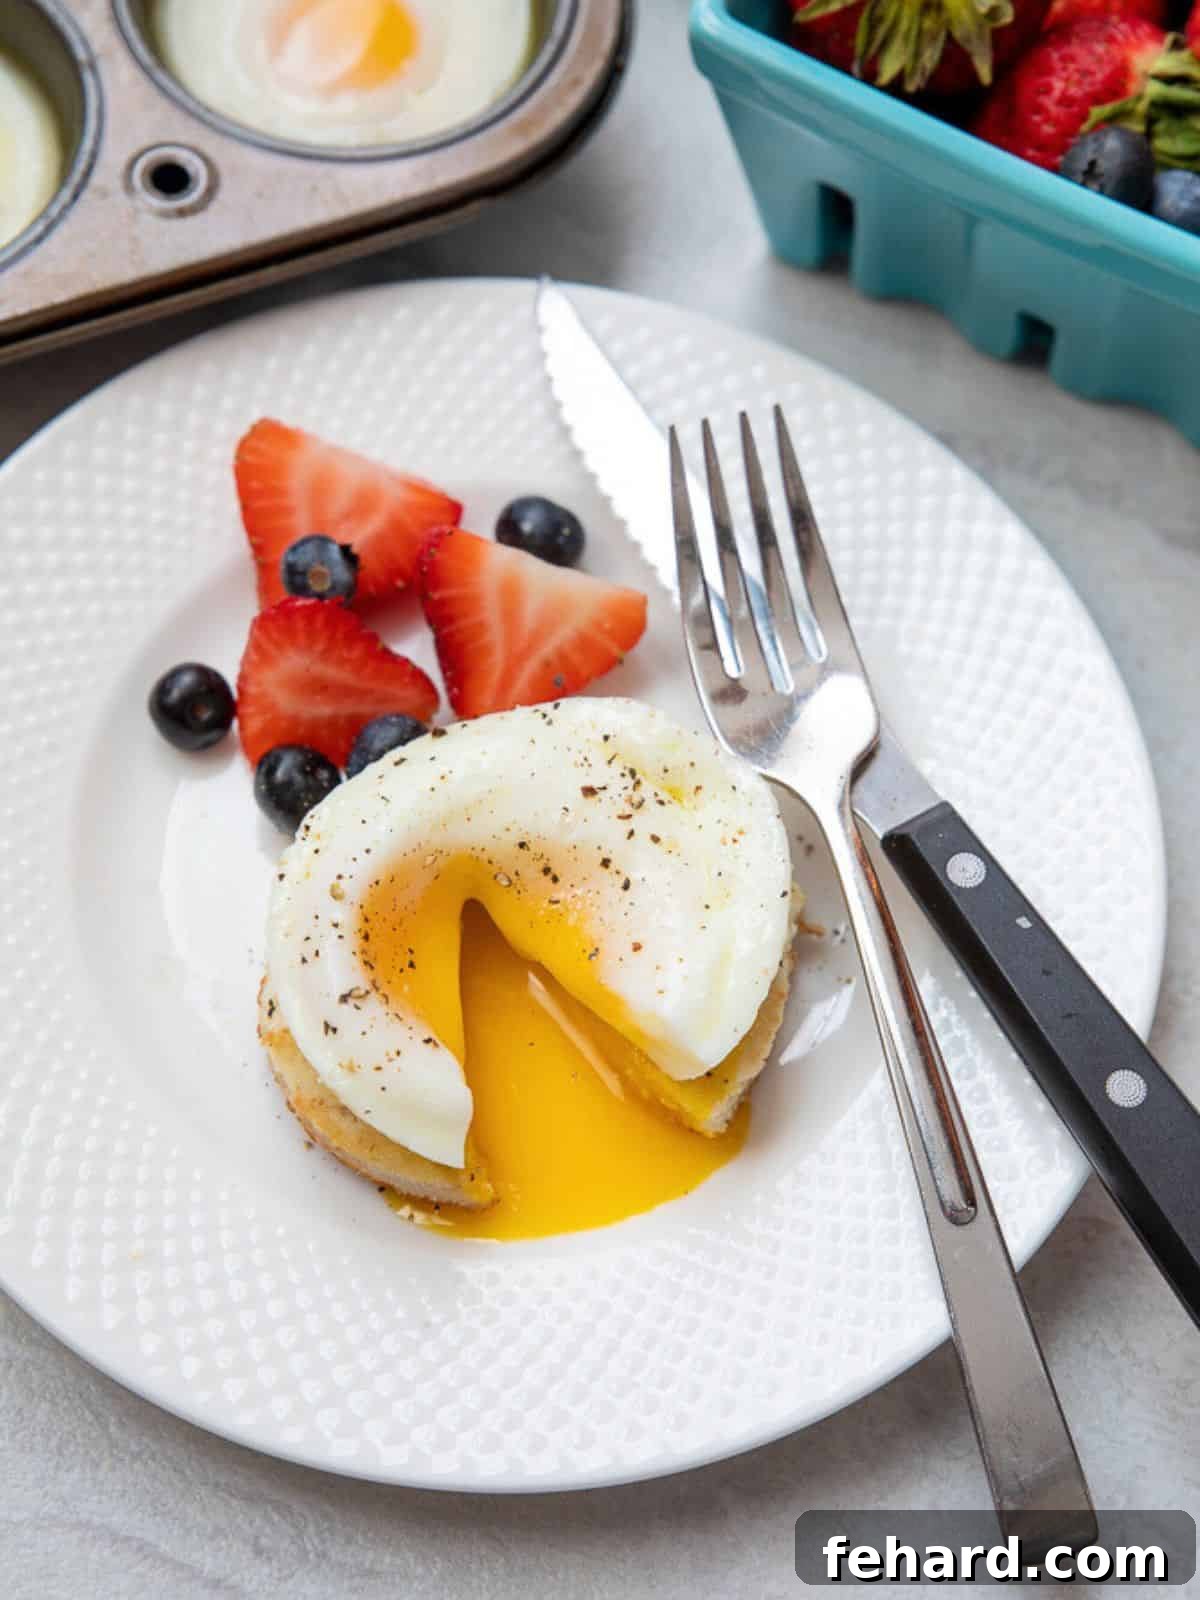
Why Poach Eggs in the Oven? The Secret to Effortless Perfection

While the allure of poached eggs is undeniable, the traditional method often comes with its fair share of challenges. Crafting them on the stove can be a remarkably finicky process. It requires precise water temperature control, often demanding a delicate swirl to create a vortex, and a gentle lowering of each individual egg. This intricate dance can easily lead to scattered whites, broken yolks, or overcooked results – turning a simple breakfast into a frustrating culinary event.
But what if you could achieve the same elegant results without the constant vigilance and meticulous technique? That’s precisely where using the oven changes everything! This revolutionary approach transforms egg poaching into a virtually hands-off process. No swirling, no specific water temperature, no fuss. The oven method reliably delivers beautifully poached eggs with a perfectly set, tender white encasing a sumptuously runny, golden yolk.
Beyond its simplicity, this ingenious method for making oven poached eggs offers incredible versatility. It works seamlessly whether you’re preparing a quick breakfast for one or catering a lavish brunch for a crowd. Imagine effortlessly producing a dozen perfect poached eggs simultaneously, making it ideal for entertaining guests without being tethered to the stove. It frees you up to enjoy your company and your meal, knowing that delicious, perfectly cooked eggs are just minutes away.
This hands-off technique ensures consistent quality and allows you to reclaim your mornings (or brunch preparations) with confidence. Say goodbye to kitchen stress and hello to delightful, picture-perfect poached eggs every time!
Happy Cooking! xo Kristen
How To Poach Eggs in the Oven: A Simple Step-by-Step Guide
Mastering oven poached eggs is exceptionally easy. While the full, concise recipe is provided in the recipe card below, this detailed step-by-step walkthrough is designed to ensure your absolute success, offering pro tips at each stage.
- Prepare Your Muffin Tin. Begin by lightly greasing each cup of a standard 12-cup muffin tin. You can use butter, cooking spray, or a thin layer of oil. This crucial step prevents the eggs from sticking, ensuring a clean and easy release once cooked. Alternatively, silicone muffin liners can be used for even simpler cleanup. After greasing, add precisely one tablespoon of water to the bottom of each muffin cup. This applies regardless of how many eggs you plan to poach. If you’re only making a few, still add water to the empty cups to prevent the pan from scorching in the oven. For best results, use warm water; this helps regulate the temperature and encourages more even steaming.
The Water is Non-Negotiable!
Adding water to each muffin cup is absolutely essential for the success of this method. This water transforms into steam during baking, creating a gentle, moist cooking environment that perfectly poaches the eggs. The steam allows the whites to set delicately while keeping the yolks wonderfully runny. Moreover, including water in all cups, even those without eggs, acts as a heat sink, protecting your muffin tin from potential scorching at high temperatures and ensuring even heat distribution across the pan.
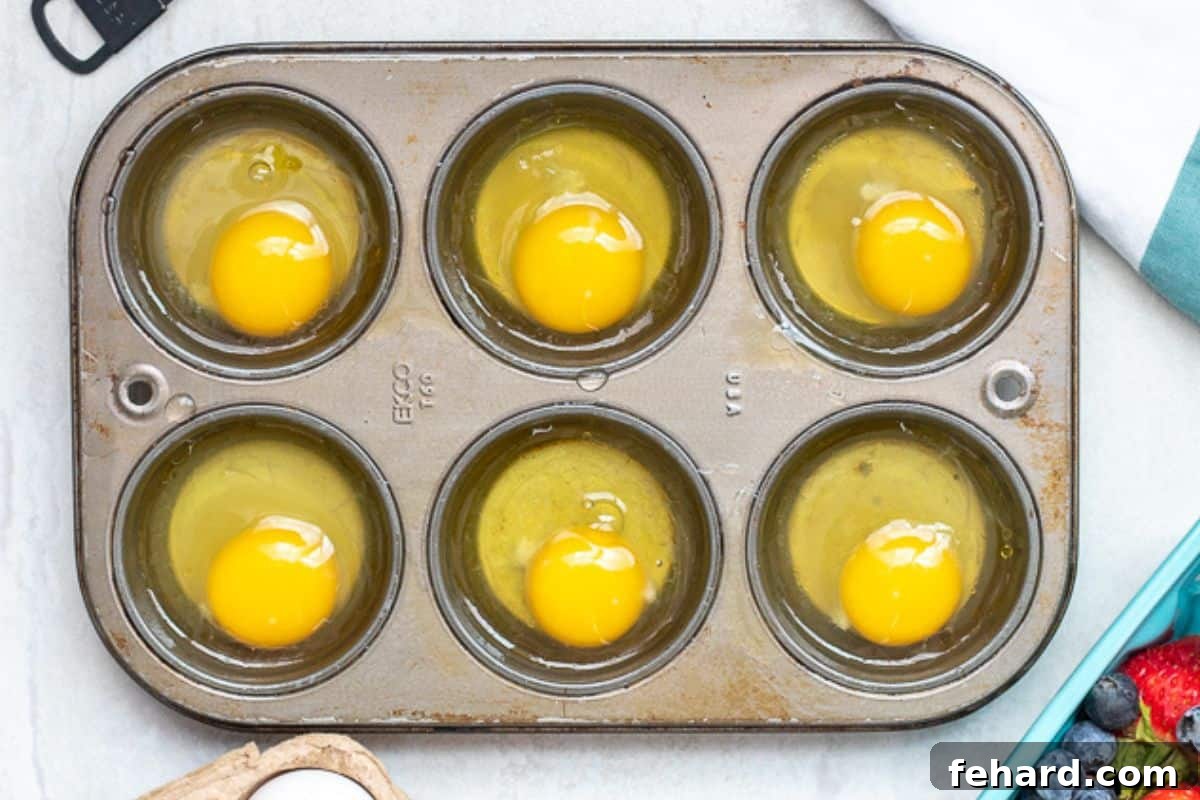
- Gently Add Your Eggs. Carefully crack one large egg into each prepared muffin cup. The goal is to keep the yolk intact and centered within the white. You can prepare as many or as few eggs as you desire, remembering that this method scales beautifully. For optimal results, fresh eggs are recommended as their whites tend to hold together better. While optional, you can lightly season your eggs with a pinch of salt and freshly ground black pepper at this stage, or wait until after they are poached and ready to serve.
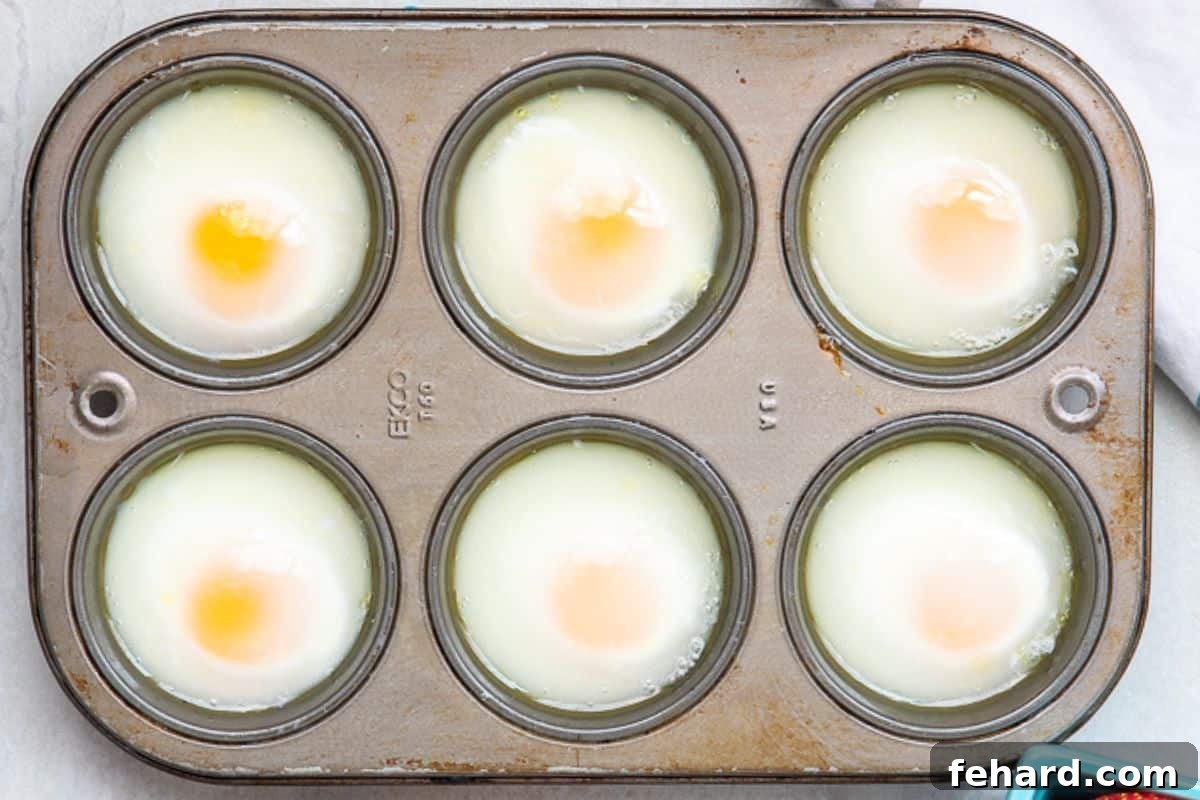
- Bake to Your Desired Doneness. Transfer the muffin tin to a preheated oven (set to 350°F or 175°C) and bake for 11 to 13 minutes. It’s important to remember that baking times can vary slightly based on your specific oven’s calibration and, more importantly, your personal preference for yolk consistency.
- At 11 minutes: You’ll achieve a very runny, custardy yolk, with egg whites that are just perfectly set and tender. This is ideal for those who love a liquid gold center.
- At 13 minutes: The yolk will still be beautifully runny in the center, but will begin to firm up slightly around the edges. The egg whites will be completely set through, offering a slightly more structured poached egg.
Consider testing one egg from the batch at the minimum time to gauge doneness and adjust as needed for subsequent batches.
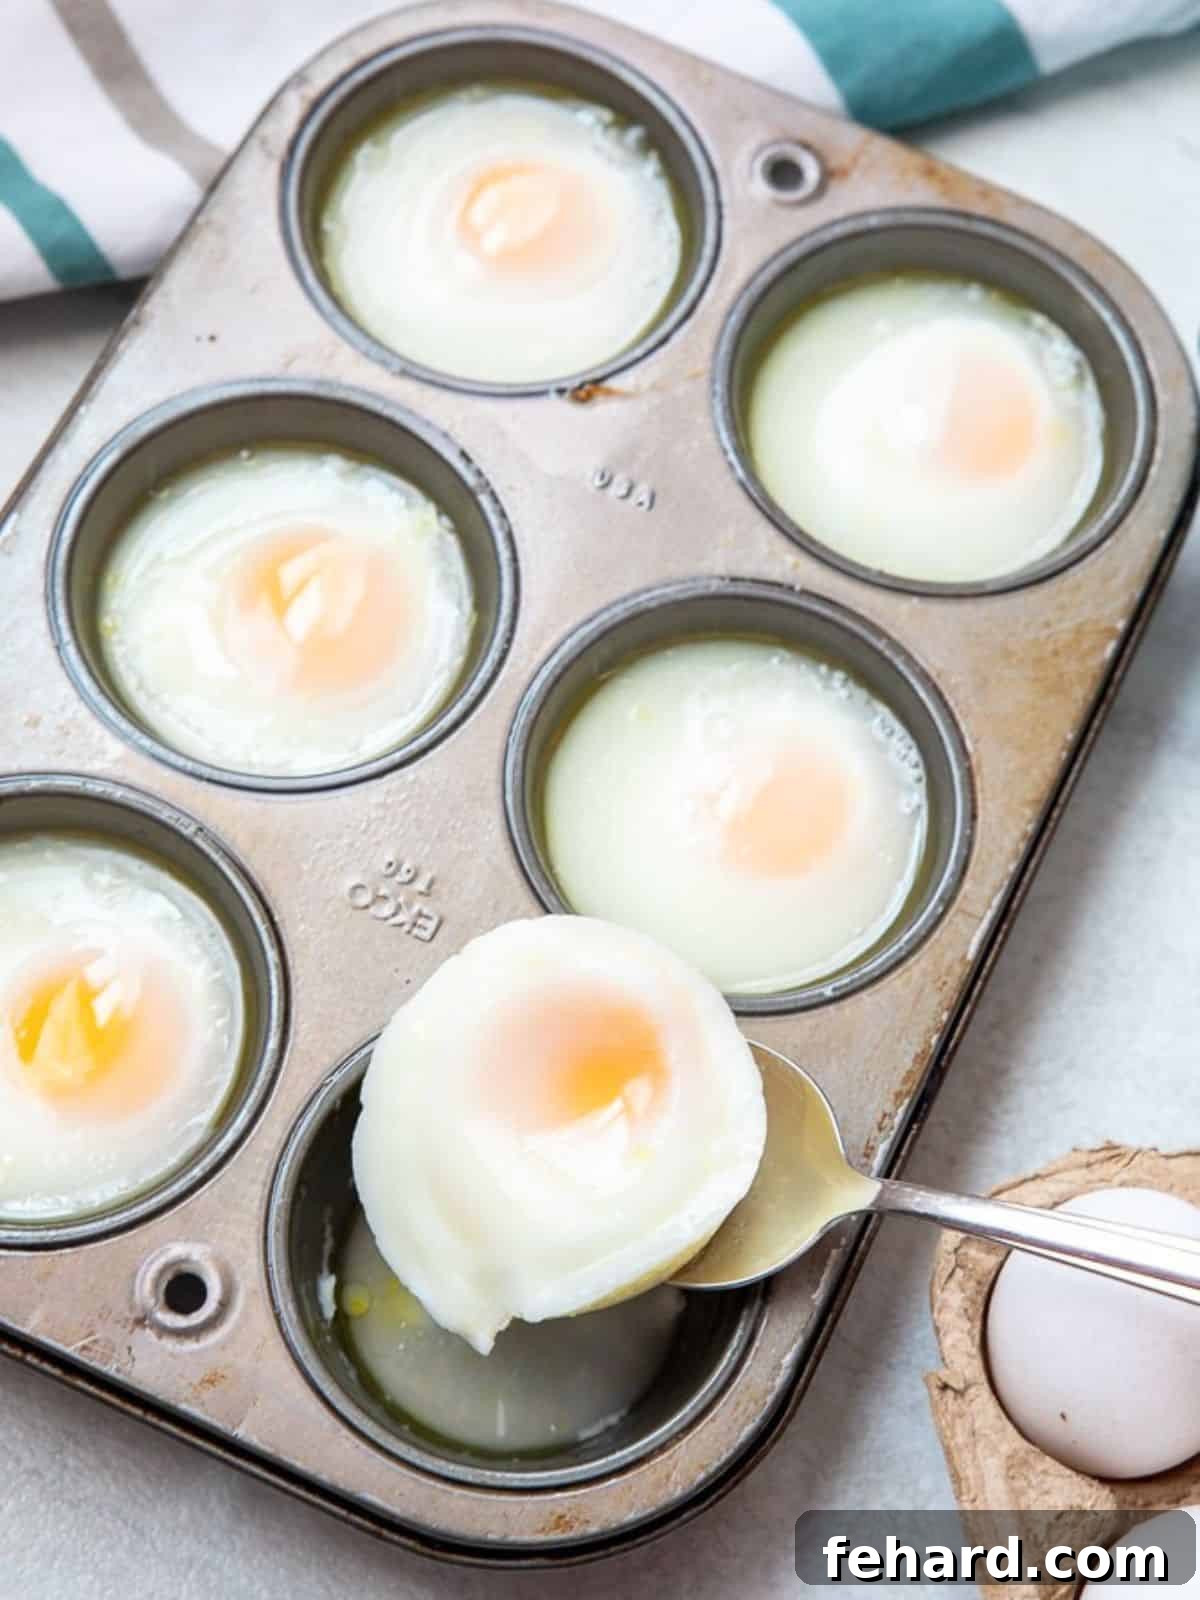
- Carefully Remove and Serve. Once baked to your liking, remove the muffin tin from the oven. Using a spoon – preferably a slotted spoon for ease, but a regular spoon angled slightly will work – gently scoop each poached egg out of its cup. As you lift, allow any excess water to drain off the egg before transferring it to your plate or serving dish. Serve these delightful oven-poached eggs immediately to enjoy their optimal texture and warmth.
Prompt Serving is Key!
It is absolutely crucial to remove the poached eggs from the hot muffin tin as soon as they are finished baking. If you allow the eggs to sit in the residual heat of the metal tin, they will continue to cook. This additional cooking time can quickly turn that perfect runny yolk into a firm one, undermining the very essence of a great poached egg. For the best experience, transfer them to a plate or a warm serving dish without delay.
Expert Tips for Foolproof Oven Poaching
Achieving consistently perfect oven poached eggs is simple, but a few expert tips can elevate your results and ensure success every time:
- Understand Your Oven’s Personality: Every oven is unique, and its actual temperature can differ from what the dial indicates. Therefore, your oven may require a minute or two longer or less for cooking eggs. Always start with the minimum suggested cooking time (e.g., 11 minutes). Gently remove one egg from the muffin tin to test its whites and yolks. If they aren’t set to your liking, return the tray to the oven and cook for an additional 1-2 minutes. Make a note of your ideal cooking time for future batches to guarantee consistent perfection.
- Don’t Be Misled by Rising Water: As the eggs poach in the muffin tin, the water in the cups will rise around them. This can sometimes make the eggs appear unset or still very liquid. DO NOT be fooled by this visual cue! The only reliable way to assess doneness is to gently spoon out an egg and check its consistency. Trust the process and the timing, rather than just the surface appearance.
- Embrace the Appearance: Oven poached eggs will have the same delightful consistency and taste as their traditional counterparts, but they may not look exactly identical. They tend to be a bit flatter and more uniformly shaped than eggs poached in swirling water. Rest assured, this slight difference in appearance does not compromise their exquisite taste or texture.
- Freshness Matters: For the best oven-poached eggs, use the freshest eggs available. Fresher eggs have thicker whites that hold their shape better, resulting in a neater, more compact poached egg with less “feathering.” Older eggs tend to have thinner whites that spread more.
- Room Temperature Eggs: If possible, let your eggs come to room temperature for about 15-30 minutes before cracking them into the muffin tin. Room temperature eggs cook more evenly and gently, which can contribute to a more tender white and perfectly runny yolk.
- Only Prepare What You Intend to Eat Immediately: While this method makes it incredibly easy to prepare 1 or 12 poached eggs, poached eggs are truly best enjoyed fresh off the heat. Their delicate texture and runny yolk are at their peak when served immediately. Leftover poached eggs tend to lose their ideal consistency upon reheating, so it’s best to only cook the amount you need for a given meal.
- Silicone Liners for Ultimate Cleanup: For the absolute easiest cleanup, consider using silicone muffin liners instead of greasing the tin. The eggs will pop right out, leaving virtually no residue.
Creative Ways to Serve Your Perfect Oven Poached Eggs
Oven poached eggs are incredibly versatile, offering a simple yet elegant way to elevate and add rich, velvety goodness to countless meals. From a classic Eggs Benedict to a healthy low-carb breakfast, the possibilities are endless. Here are some inspiring serving suggestions to get you started:
- The Ultimate Eggs Benedict Alternative: Skip the fuss of traditional poaching and use your oven-poached eggs for a quick, delicious Eggs Benedict. Pair with toasted English muffins, Canadian bacon (or ham), and a generous drizzle of hollandaise sauce.
- As a Luxurious Ramen Topping: A perfectly poached egg is the ideal rich, creamy finish to a comforting bowl of ramen. The warm, runny yolk beautifully melds with the savory broth, adding depth and a silken texture that truly transforms the dish.
- Gourmet Toast Topper Extravaganza: Elevate any piece of toast into a satisfying meal. Whether it’s classic avocado toast, a warm toasted English muffin, a fluffy buttermilk biscuit, or even a unique sweet potato biscuit, a poached egg adds a layer of richness and a delightful textural contrast. The combination of crisp bread and creamy yolk is always a winning experience.
- Elegant Over Asparagus: For a light yet satisfying dish that’s both elegant and healthy, top roasted or air-fried asparagus with a warm poached egg. The runny yolk acts as a natural, luxurious sauce. It’s also an amazing addition to an asparagus salad for an extra boost of flavor and protein.
- Enhancing Rice or Grain Bowls: Add a poached egg to your favorite rice or grain bowls for an instant upgrade. The rich yolk creates a velvety, natural sauce that coats every ingredient, transforming a simple bowl into a gourmet experience. It’s particularly fantastic over rice pilaf or creamy Instant Pot risotto.
- A Carbonara-Style Twist to Pasta: Introduce a poached egg to a bowl of warm pasta, such as pesto pasta, pasta and peas, or even simple pasta dressed with olive oil and garlic. The runny yolk emulsifies with the pasta water to create a rich, creamy sauce reminiscent of pasta carbonara, without the heavy cream.
- The Decadent Breakfast Sandwich: Elevate your morning routine by using a poached egg in a breakfast sandwich. Create your own Egg McMuffin using a perfectly poached egg for a decadent spin on this classic. Remember, these are best enjoyed immediately to savor the runny yolk.
- On a Fresh Salad: Replace a hard-boiled egg with a soft, runny poached egg on almost any salad for a more luxurious experience. It’s fantastic on a warm spinach salad, adding a rich dressing when broken. It also pairs beautifully with a Caesar salad, a light lemon quinoa salad, or a hearty farro salad, contributing a creamy, satisfying element.
- Over Potatoes or Roasted Vegetables: Turn simple side dishes into a complete meal by topping them with a poached egg. A golden yolk cascading over Potatoes O’Brien, savory roasted red potatoes, tender sautéed spinach, or any leftover roasted vegetables is an effortless way to create a wholesome, comforting, and incredibly flavorful dish.
Did you make this incredible recipe?
If you thoroughly enjoyed preparing and tasting these perfect oven poached eggs, we would be thrilled if you could share your experience! Please leave a comment with a 5-star review at the bottom of the post. Your feedback helps other home cooks discover and enjoy this foolproof method. Thank you!
★★★★★
Oven Poached Eggs
Kristen Chidsey
6
2 minutes
11-13 minutes
13-15 minutes
Rate

Ingredients
-
6 large eggs (preferably fresh and at room temperature) -
6 tablespoons warm water (1 tablespoon per muffin cup) -
Cooking spray, butter, or oil for greasing (or silicone muffin liners) -
Salt and freshly ground black pepper (optional, to taste)
Instructions
-
Preheat & Prepare: Preheat your oven to 350°F (175°C). For ultimate ease of cleanup, generously grease each cup of a standard 12-cup muffin tin with cooking spray, butter, or oil, or line them with silicone muffin liners. Next, add exactly 1 tablespoon of warm water to the bottom of each muffin cup. This step is critical even if you are not using all cups for eggs, as the water prevents the empty sections of the pan from scorching and contributes to the overall steam environment.
-
Add Eggs & Season: Gently crack one large egg into each prepared muffin cup, ensuring the yolk remains intact and centered. Exercise care to avoid breaking the yolks. You can poach as many eggs as you need, from a single serving to a full dozen. Lightly season the eggs with salt and freshly ground black pepper if desired at this stage, or add seasoning after they’re cooked.
-
Bake to Perfection: Carefully transfer the muffin tin to the preheated oven. Bake for approximately 11-13 minutes, depending on your preferred yolk consistency and oven calibration. For a very runny yolk with just-set whites, bake for 11 minutes. For a runny yolk with slightly firmer edges and completely set whites, bake for 13 minutes. As ovens vary, consider testing one egg at 11 minutes and adjusting the time as needed.
-
Remove & Drain: Once baked, promptly remove the muffin tin from the oven. Using a spoon (a slotted spoon works best), gently scoop out each poached egg at an angle, allowing any accumulated water to drain off the egg before transferring it to your serving plate.
-
Serve Immediately: For the ultimate culinary experience, serve your perfectly oven-poached eggs immediately. This preserves their ideal temperature and ensures that the runny yolk remains in its most desirable, liquid state. Enjoy!
Equipment
-
12-cup muffin tin
-
Measuring spoons
-
Slotted spoon (for easy removal)
Notes
A Note on Water and Appearance: During the poaching process, the water in the muffin cups will naturally rise around the eggs. This can sometimes create the illusion that the eggs are still completely liquid and unset. Please, do not be misled by this visual effect! The best way to determine if your eggs are properly poached is to gently remove and inspect one egg as described in the instructions. The steam created by the water is essential for the method, but the water itself will not drain until the egg is lifted.
Storage and Yield Information: This oven poaching method is designed for optimal freshness and enjoyment. Poached eggs are undeniably at their best when served immediately after cooking. While you can prepare anywhere from one to twelve eggs using this technique, leftovers generally do not store or reheat well without compromising their delicate texture and runny yolk. For the most satisfying experience, it is advisable to prepare only the quantity you intend to consume right away.
Nutrition
Carbohydrates: 1g
Protein: 6g
Fat: 4g
Saturated Fat: 1g
Cholesterol: 164mg
Sodium: 63mg
Potassium: 61mg
Sugar: 1g
Vitamin A: 240IU
Calcium: 25mg
Iron: 0.8mg
Nutrition information is automatically calculated and should only be used as an approximation. Individual results may vary based on exact ingredients and preparation methods.
Tried this recipe?
Mention @amindfullmom or tag #amindfullmom!
This post was originally published in 2019 and extensively updated in 2025 to provide the most comprehensive and foolproof guide to oven poached eggs.