
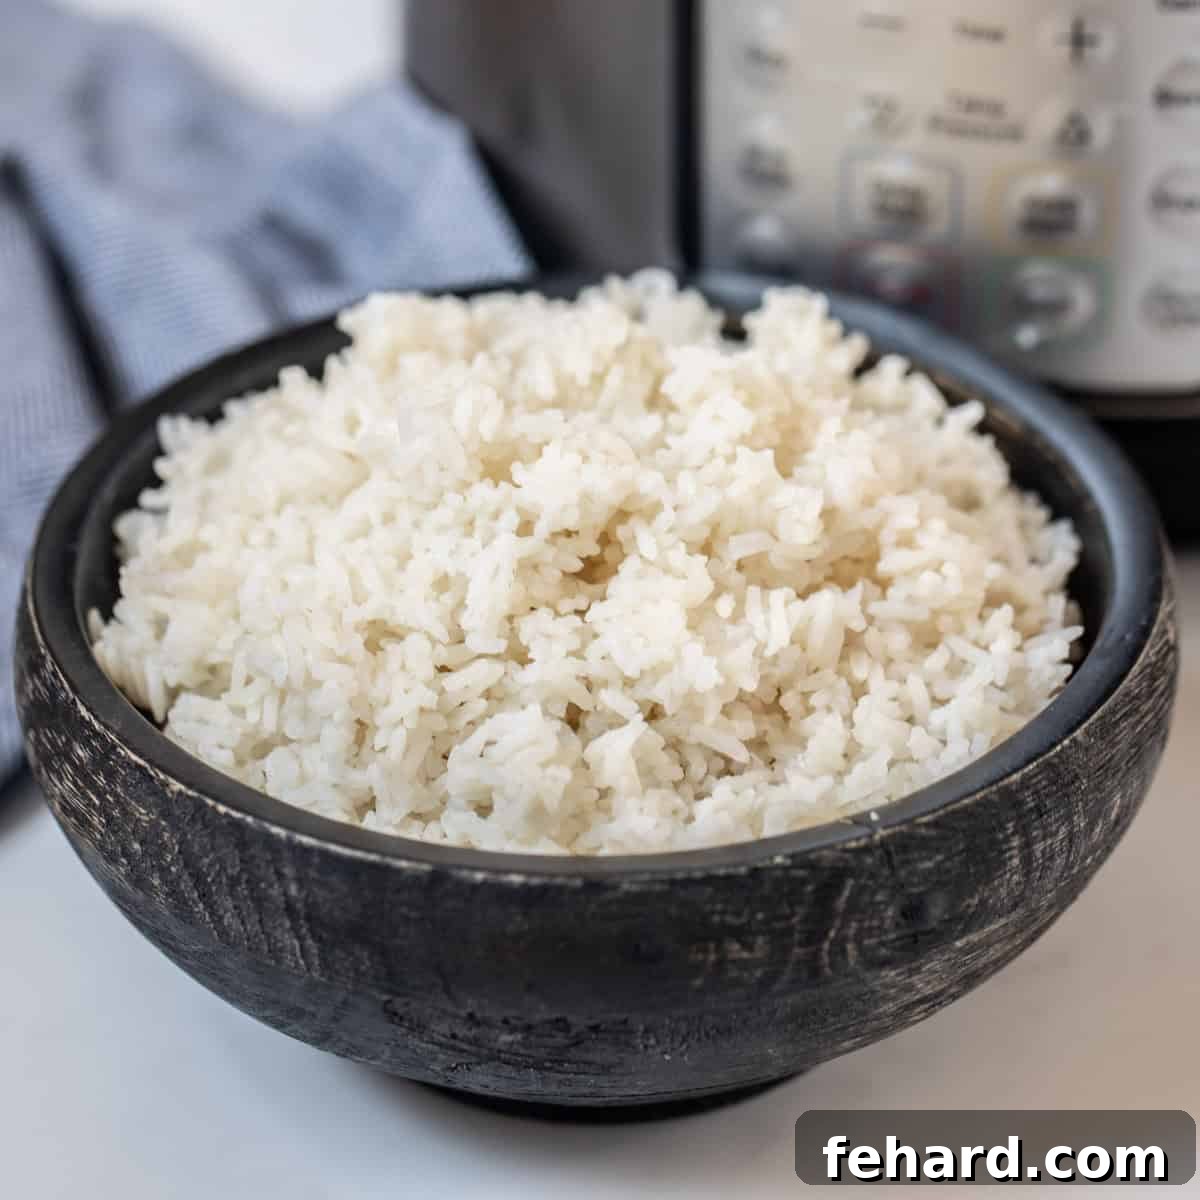
Are you tired of unevenly cooked, mushy, or crunchy rice? If you’re seeking a consistently foolproof method for perfectly cooked rice, look no further than your Instant Pot! This recipe for Instant Pot White Rice is designed to deliver beautifully fluffy, tender grains with minimal effort, making it an essential staple for any home cook. Say goodbye to guesswork and hello to consistently stellar rice.
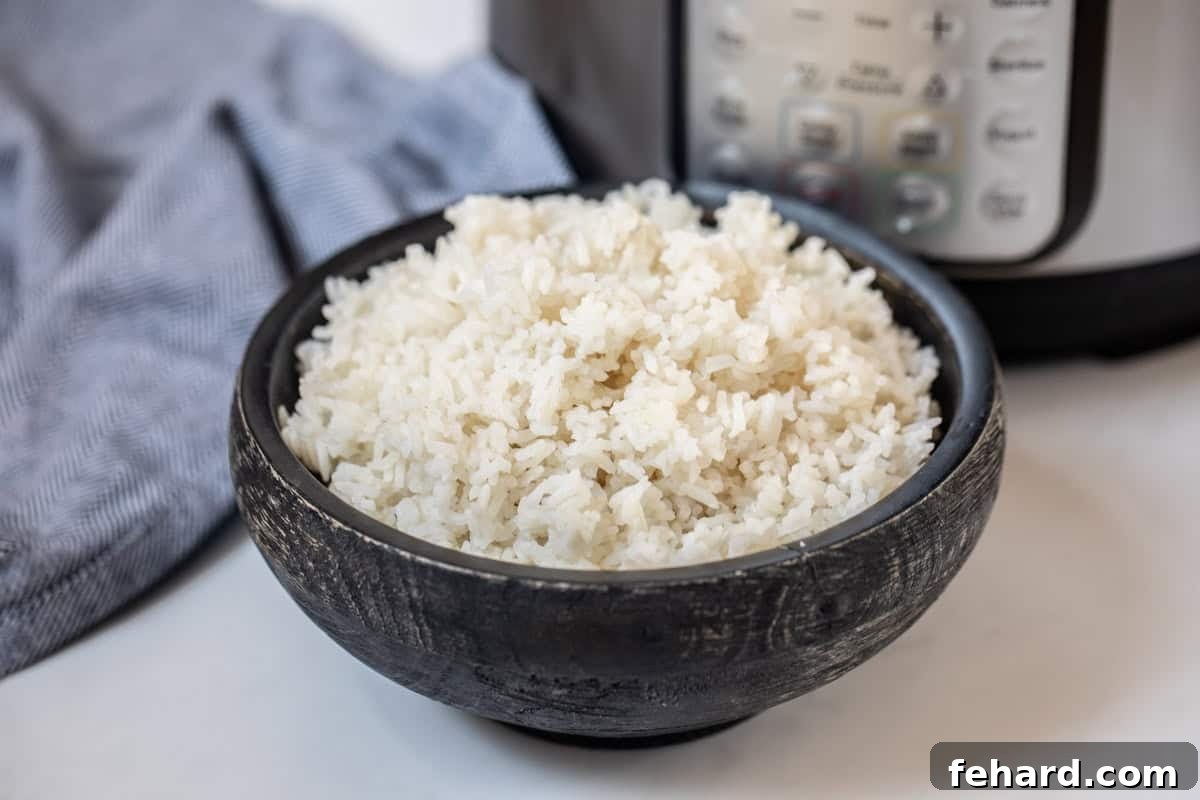
Mastering Instant Pot White Rice: The Ultimate Guide to Fluffy Perfection
The Instant Pot has revolutionized home cooking, and making rice is no exception. This guide will walk you through achieving ideal results for fluffy white rice that’s never sticky, undercooked, or bland. Follow these simple steps and expert tips to transform your weeknight meals.
Why Cook Rice in the Instant Pot?
While traditional stovetop methods work, the Instant Pot offers unparalleled consistency and convenience. It eliminates the need for constant monitoring, providing a hands-off approach that guarantees perfectly cooked grains every time. The sealed environment ensures even cooking and prevents liquid from evaporating, resulting in a superior texture that rivals even dedicated rice cookers. It’s the ultimate kitchen hack for busy families and seasoned chefs alike.
Kristen’s Keys for Perfect Instant Pot White Rice
A few essential details make a world of difference when cooking white rice in your Instant Pot, ensuring it turns out soft, chewy, and separate – just like professional results. Adhering to these principles will prevent common pitfalls and elevate your rice game.
- Select the Right Rice: This recipe is specifically designed for long-grain white rice varieties. This includes popular types like Jasmine rice, Basmati rice, Carolina Gold, enriched white rice, and more. Each offers a slightly different aroma and texture, but the cooking method remains consistent. If you have brown rice, the cooking times and liquid ratios differ significantly; be sure to check my dedicated recipe for Instant Pot Brown Rice.
- Maintain a Precise 1:1 Rice to Liquid Ratio: This is crucial for Instant Pot rice. Because the Instant Pot is a sealed pressure cooker, very little moisture escapes during cooking. Unlike stovetop methods that require more water to compensate for evaporation, a 1:1 ratio prevents your rice from becoming mushy or waterlogged. Using equal parts rice and liquid ensures each grain is perfectly plump and distinct.
- Avoid the “Rice” Function: While your Instant Pot may have a designated “Rice” button, it’s generally best to avoid it for optimal results. The pre-programmed heat level and cooking time for the “Rice” function can vary between Instant Pot models and often doesn’t produce the best texture for all types of white rice. For consistent, reliable results, manually set the time and pressure yourself using the “Pressure Cook” or “Manual” button.
- Embrace Natural Pressure Release (NPR): Patience is key here. Allowing the pressure to release naturally for at least 10-15 minutes is vital. This crucial step allows the rice to fully absorb any remaining liquid, continue to steam gently, and develop its final fluffy texture. Releasing pressure too early can result in undercooked, hard rice or, worse, a starchy spray erupting from the vent, making a mess on your counter.
- Never Overfill the Inner Pot: When cooking starchy foods like rice, it’s essential not to fill the Instant Pot’s inner pot more than halfway. Overfilling can lead to issues with pressure building correctly, and the starchy foam can clog the pressure release valve, creating a safety hazard and an undesirable mess.
How to Make White Rice in the Instant Pot
This comprehensive section will guide you through the process of making perfect Instant Pot rice, whether you are just learning to use your Instant Pot or are a seasoned pressure cooking enthusiast. Each step is designed for clarity and success.
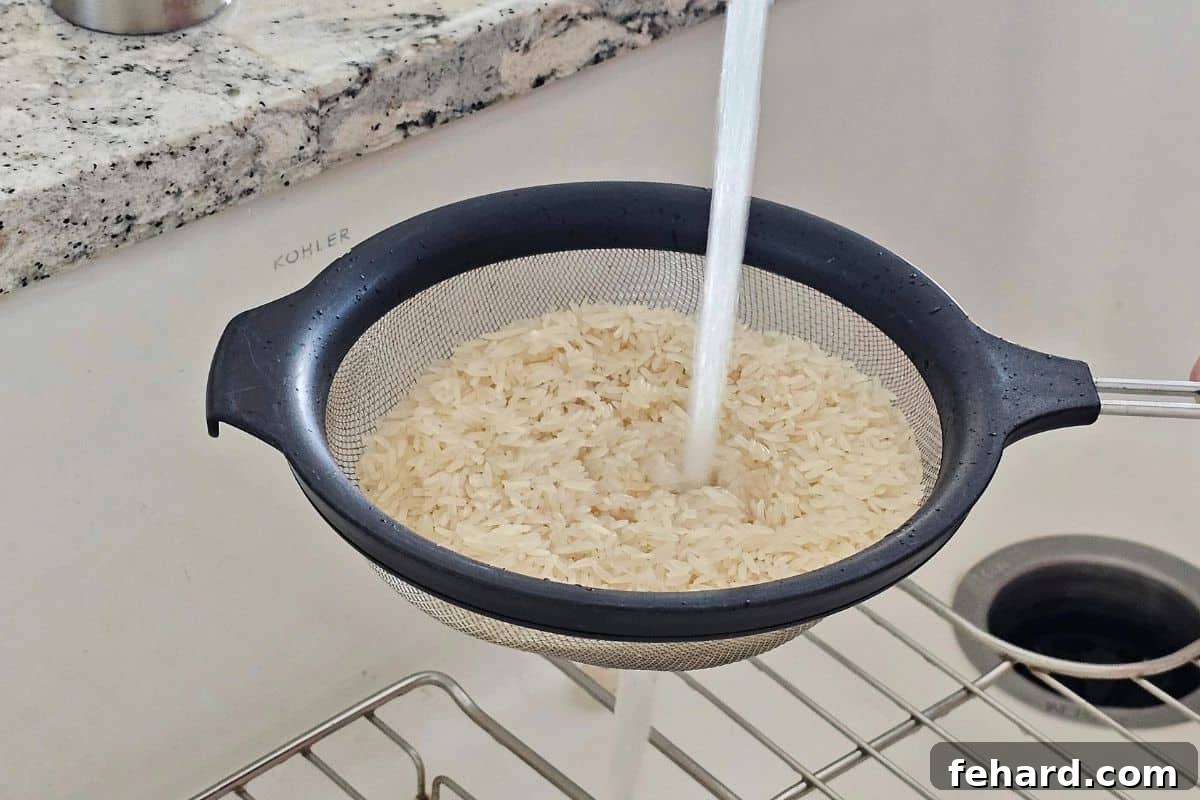
Step One: Rinse the Rice Thoroughly
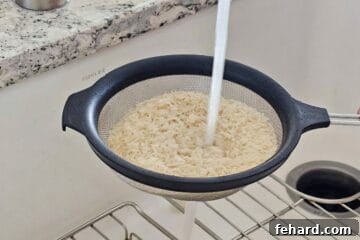
Begin by measuring out your desired amount of long-grain white rice. Place the rice into a fine-mesh strainer. Rinse it thoroughly under cold, running water for 1-2 minutes, or until the water draining from the bottom of the strainer starts to run clear. This process removes excess surface starch from the grains.
Why this step is important: 👉🏻Don’t skip the rinse! A quick, thorough rinse is fundamental for achieving distinct, non-sticky, and fluffy grains. Removing the excess starch prevents the rice from clumping together and becoming gummy during cooking, ensuring each grain is separate and tender.
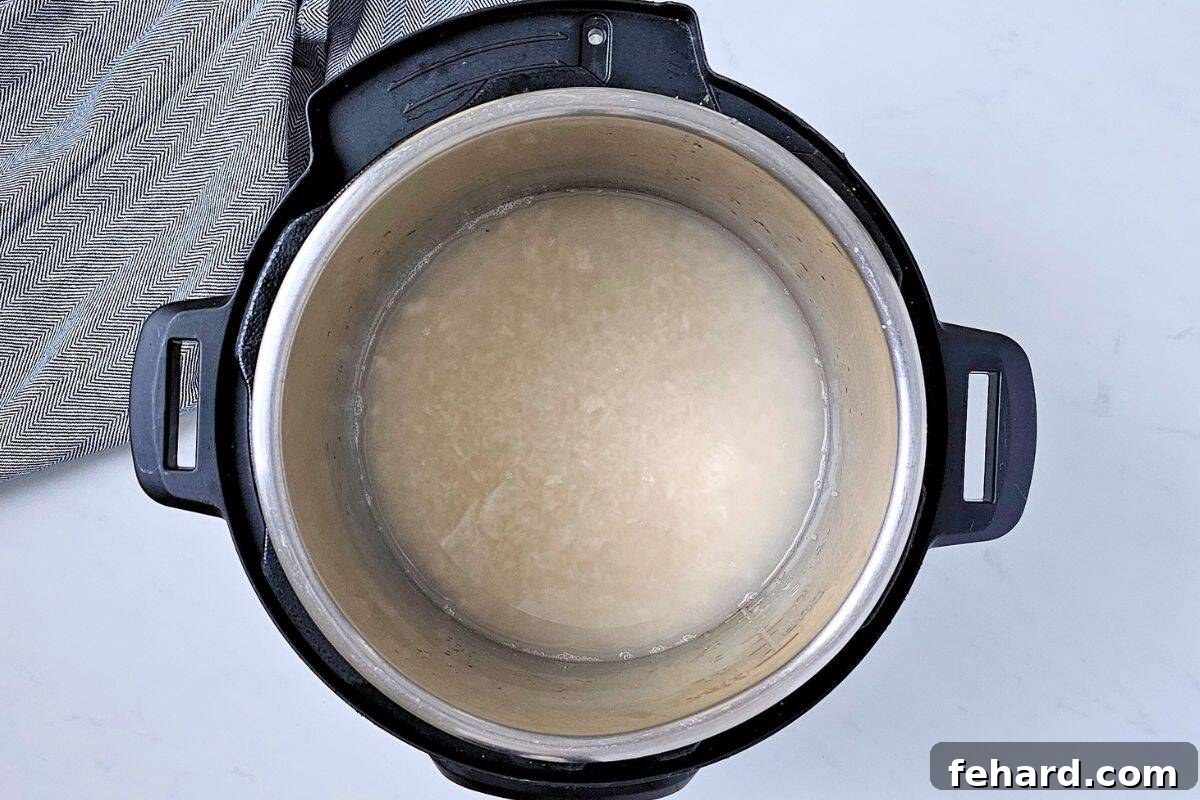
Step Two: Add Rice and Liquid to the Inner Pot
Transfer the rinsed rice to the inner pot of your Instant Pot. Add an equal amount of water or broth. If desired, incorporate a pinch of salt to enhance the flavor. Gently use a spoon or spatula to push the rice down into the liquid, ensuring that all the grains are fully submerged. This helps in uniform cooking.
Key ratio reminder: 👉🏻Remember to use a 1:1 ratio of rice to liquid. For example, if you use 2 cups of rice, you will need exactly 2 cups of liquid. This precise measurement is essential for the Instant Pot’s sealed cooking environment.
Step Three: Pressure Cook to Perfection
Secure the lid on your Instant Pot, making sure the sealing ring is properly in place and the venting knob is set to the “Sealing” position. Press the “Pressure Cook” or “Manual” button (depending on your model) and set the cook time to 3 minutes on High Pressure. This short cook time under high pressure is precisely what transforms the grains.
Important note: 👉🏻Do not use the “Rice” function! As mentioned earlier, utilizing the “Manual” or “Pressure Cook” setting provides consistent heat and pressure across all Instant Pot models, leading to more reliable and better results than the potentially variable “Rice” button.
Step Four: Allow Natural Pressure Release
Once the 3-minute cooking time is complete, resist the urge to immediately open the lid! Do NOT do anything; just leave the Instant Pot undisturbed. Allow the pressure to release naturally for at least 15 minutes. The Instant Pot will often switch to its “Keep Warm” function during this time, which is perfectly fine and part of the process. After 15 minutes, you can carefully turn the venting knob to “Venting” for a quick release of any remaining pressure, if needed, before opening the lid.
The importance of patience: Releasing pressure too early (quick release) will not only lead to crunchy, undercooked rice but can also cause a significant amount of starchy liquid to spray out of the vent, creating an unnecessary mess. The natural release phase is crucial for the rice grains to finish absorbing the liquid and steam, resulting in that coveted fluffy texture.
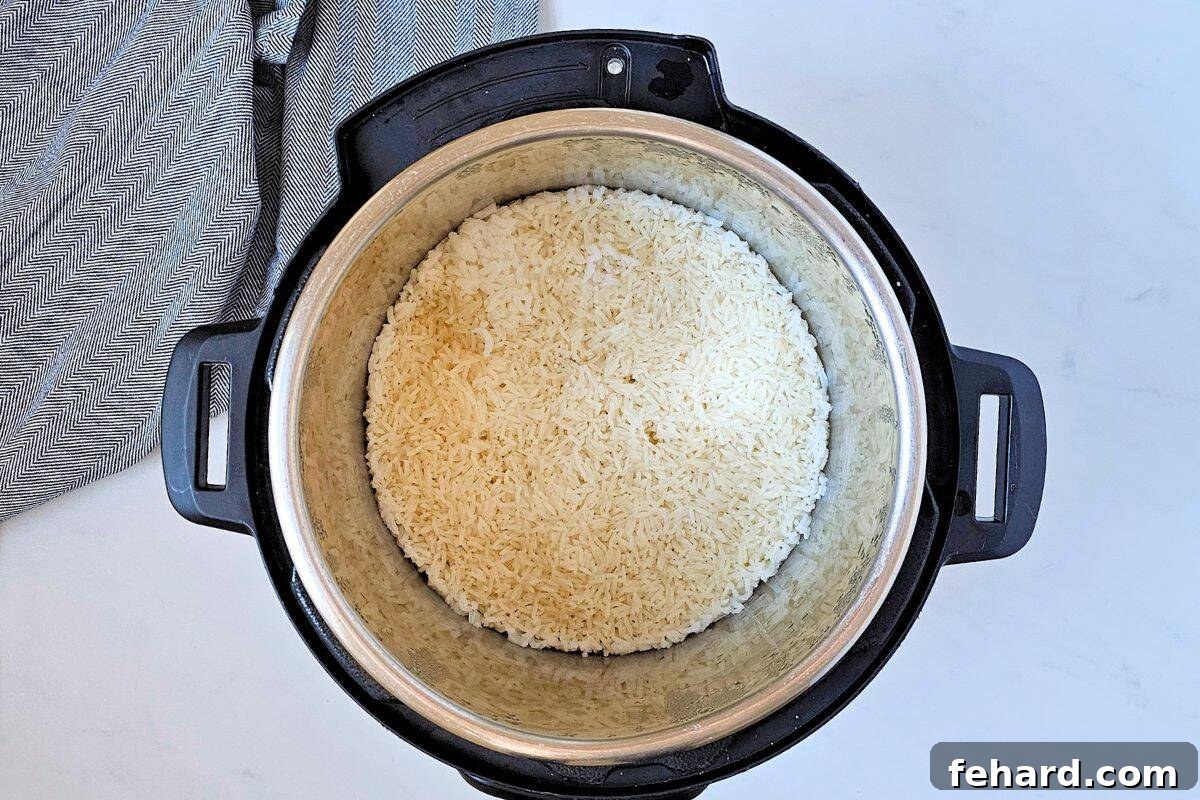
Step Five: Fluff and Serve Your Perfect Rice
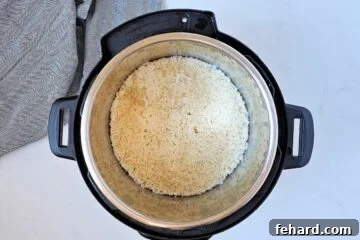
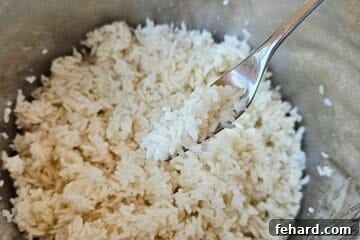
Once the pressure has fully released and it’s safe to open the lid, gently remove it. Use a fork, rather than a spoon, to fluff the rice. A fork helps to gently separate the individual grains, keeping them fluffy and tender without mashing them or making them dense. Stirring with a spoon can compact the rice, losing its desirable airy texture. Your perfect Instant Pot white rice is now ready to serve!
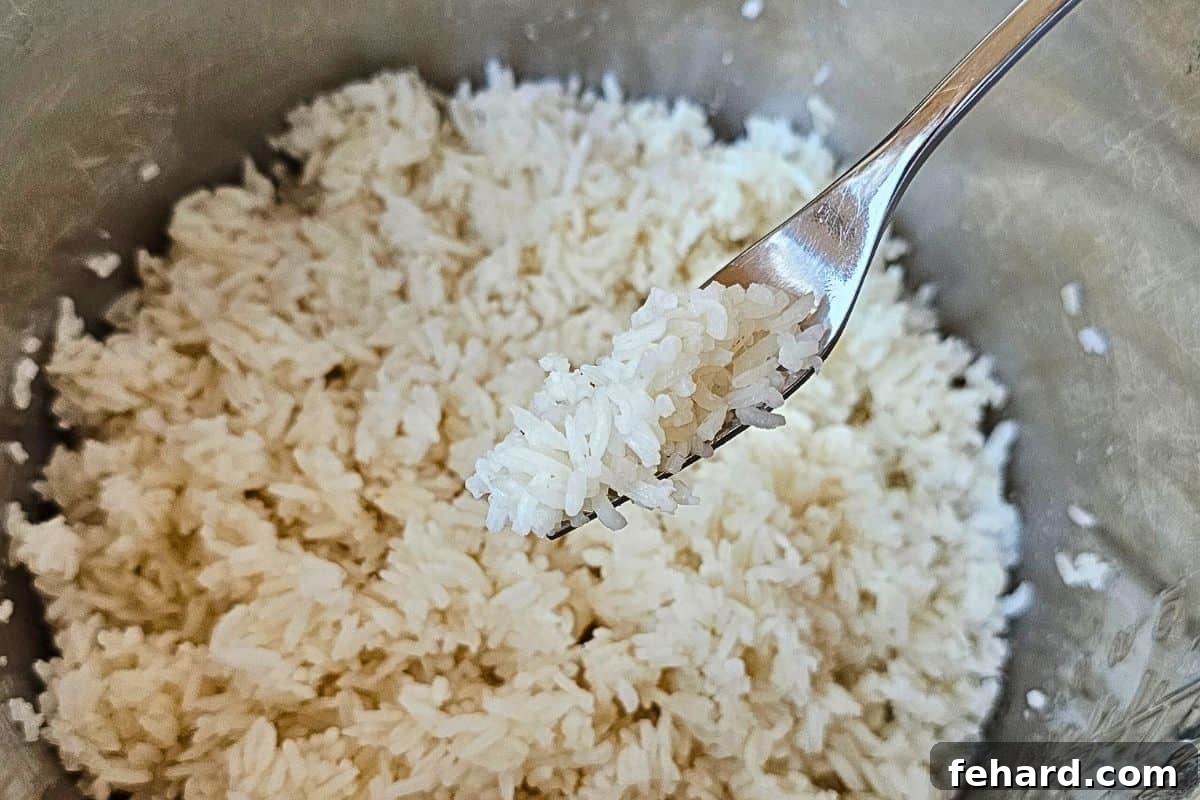
Troubleshooting Common Instant Pot Rice Issues
Even with the most foolproof methods, sometimes things go awry. Here’s how to address common Instant Pot white rice problems:
- Mushy Rice: If your rice is too soft or mushy, it likely had too much liquid or the natural pressure release was too long. Ensure you stick strictly to the 1:1 rice to liquid ratio and don’t extend the natural release beyond 15-20 minutes. Rinsing thoroughly also helps prevent excess starch that can contribute to mushiness.
- Crunchy or Undercooked Rice: This is typically a sign of not enough liquid, quick releasing too early, or sometimes not allowing the pot to come to full pressure. Double-check your liquid measurement. Always allow for the full natural pressure release time. If you consistently get crunchy rice, your Instant Pot might need minor calibration or a slightly longer natural release time.
- Sticky Rice: While some stickiness is natural for white rice, excessive stickiness often means the rice wasn’t rinsed enough to remove surface starches. Make sure the water runs clear when rinsing.
Customizing Your Instant Pot White Rice
While plain white rice is a delicious foundation, feel free to customize it to match your meal:
- Flavorful Liquids: Instead of water, use chicken, vegetable, or beef broth for added depth of flavor.
- Aromatics: Sauté finely diced garlic, onion, or ginger in the Instant Pot on the “Sauté” function before adding the rice and liquid.
- Herbs and Spices: Stir in fresh chopped herbs like cilantro or parsley after cooking. For a more aromatic profile, add a bay leaf, a pinch of turmeric, or a star anise pod with the liquid before cooking.
- Fat: A pat of butter or a drizzle of olive oil added with the liquid can enhance flavor and help prevent sticking.
Serving Suggestions
Instant Pot white rice is incredibly versatile and can be used in countless ways. From a simple, comforting side dish to the base for elaborate stir-fries and casseroles, this reliable white rice recipe will quickly become a cherished staple in your kitchen. Below are some of our favorite ways to utilize this perfect rice:
- To Complement Main Dishes: Serve this fluffy rice as the ideal base for a wide array of protein-rich meals. It pairs wonderfully with chicken asparagus stir fry, savory Hunan chicken, classic chicken and broccoli, or aromatic stir-fried chicken and bok choy. Its neutral flavor highlights the main course beautifully.
- Utilize Leftovers Creatively: Cold, leftover white rice is perfect for transforming into other delicious dishes. Use it to quickly make homemade fried rice in minutes, offering a quick and satisfying meal that’s better than takeout.
- For Hearty Rice Bowls: Create vibrant and fulfilling rice bowls by topping your freshly cooked or leftover rice with hearty ingredients. Excellent choices include tender Instant Pot Barbacoa, flavorful taco meat, or succulent chicken shawarma. Add your favorite vegetables, sauces, and garnishes for a customized and nutritious meal.
Notes on Storage and Reheating
Proper storage is essential to maintain the quality and safety of your cooked rice. Rice should be cooled before being transferred to a storage container, but it also shouldn’t be left at room temperature for extended periods. To cool quickly, I recommend spreading the cooked white rice out on a shallow dish (like a baking sheet) for 5-10 minutes. Once cooled, transfer it to an airtight container and follow these instructions:
- Refrigerate: Store cooked white rice in an airtight container in the refrigerator for up to 4 days. Prompt cooling and proper storage are key to preventing bacterial growth.
- Freeze: For longer storage, freeze cooked rice in a freezer-safe container or freezer bags for up to 3 months. To thaw, simply transfer it to the refrigerator overnight.
- Reheat: To reheat, add a splash of water or broth (about 1-2 teaspoons per cup of rice) to the rice. Cover the container with a damp paper towel or a lid (if microwave-safe). Microwave in 1-minute intervals, stirring between each interval, until the rice is thoroughly warmed through and fluffy again. You can also reheat on the stovetop with a little liquid, covered, over low heat.
Frequently Asked Questions About Instant Pot White Rice
Here are answers to some common questions about cooking white rice in your Instant Pot:
- Can I use different types of long-grain white rice with this recipe? Yes, this recipe is versatile enough for most long-grain white rice varieties, including jasmine, basmati, and American long-grain white rice. The 1:1 ratio and 3-minute cook time remain consistent.
- What if I want to cook a larger or smaller batch? You can easily double this recipe (up to 4 cups of rice and 4 cups of liquid) if using a 6 or 8-quart Instant Pot. For smaller quantities, you can halve the recipe using a 3 or 6-quart model. Always remember the crucial rule: never fill your inner pot more than halfway, especially with starchy foods like rice.
- Why is the cook time only 3 minutes? It seems so short! The 3-minute high-pressure cook time is efficient because the Instant Pot operates under high pressure, which significantly reduces cooking time. More importantly, the subsequent 10-15 minutes of natural pressure release (NPR) is a vital part of the cooking process, allowing the rice to steam gently and fully absorb the liquid. The total active cooking and resting time is actually closer to 20-25 minutes.
- Do I need to add oil or butter? While not strictly necessary, adding a small amount of oil or butter (about ½ to 1 tablespoon per 2 cups of rice) can help prevent sticking and add a subtle flavor. It’s an optional step based on personal preference.
- Can I prepare the rice ahead of time for meal prep? Absolutely! Instant Pot white rice is excellent for meal prep. Cook a larger batch, cool it properly, and store it in airtight containers in the refrigerator for up to 4 days, or freeze for longer.
More Instant Pot Rice Variations to Explore
Once you’ve mastered this essential white rice recipe, expand your Instant Pot culinary repertoire with these other delicious rice-based dishes:
- Instant Pot Chicken and Rice
- Instant Pot Rice Pilaf
- Instant Pot Spanish Rice
- Instant Pot Brown Rice
- Instant Pot Cilantro Lime Rice
- Instant Pot Red Beans and Rice
- Instant Pot Risotto
Instant Pot White Rice Recipe
Kristen Chidsey
6 servings
3 minutes
3 minutes
20 minutes
26 minutes
Ingredients
- 2 cups long-grain white rice
- 2 cups liquid, water or broth
- ½ teaspoon kosher salt, optional
Instructions
-
Measure out 2 cups long-grain white rice and place it into a fine mesh colander. Rinse under cold water for 1-2 minutes until the water runs clear. Alternatively, place the rice inside a large bowl, cover with water, strain the water from the rice using a fine mesh strainer, and repeat 2-3 times until the water runs clear.

-
Add the rinsed rice to the inner pot, along with 2 cups liquid and ½ teaspoon kosher salt. Use a spoon or spatula to gently push the rice down into the liquid, so that it is fully submerged in the liquid.
-
Place the lid on the instant pot and be sure the venting knob is sealed. Set the cooking time by hitting manual or pressure cook and use the +/- buttons to set the cooking time to 3 minutes on High Pressure.
-
Once the cooking time has elapsed, allow the pressure to release naturally for at least 10-15 minutes. It is okay to leave the pressure cooker on the keep warm function.
-
After the pressure has been released remove the lid from the pressure cooker. Fluff the rice with a fork to separate the grains without breaking them apart. Serve as desired.

Equipment
-
Electric Pressure Cooker (6 or 8 quart)
-
Fine Mesh Strainer
-
Fork
Notes
To reheat refrigerated or defrosted rice, place the rice in a heat-safe container. Sprinkle rice with 1-2 teaspoons of water. Reheat in the microwave, in 30-second intervals, stirring between each interval, until the rice is hot.
Adjusting the amount of rice: You can double this recipe using a 6 or 8-quart recipe. And can cut the recipe in half if using an 3 or 6-quart. Just keep in mind never to fill the inner pot more than halfway.
Nutrition
Carbohydrates: 49g
Protein: 4g
Fat: 0.4g
Saturated Fat: 0.1g
Polyunsaturated Fat: 0.1g
Monounsaturated Fat: 0.1g
Sodium: 201mg
Potassium: 71mg
Fiber: 1g
Sugar: 0.1g
Calcium: 20mg
Iron: 0.5mg
Nutrition information is automatically calculated, so should only be used as an approximation.