
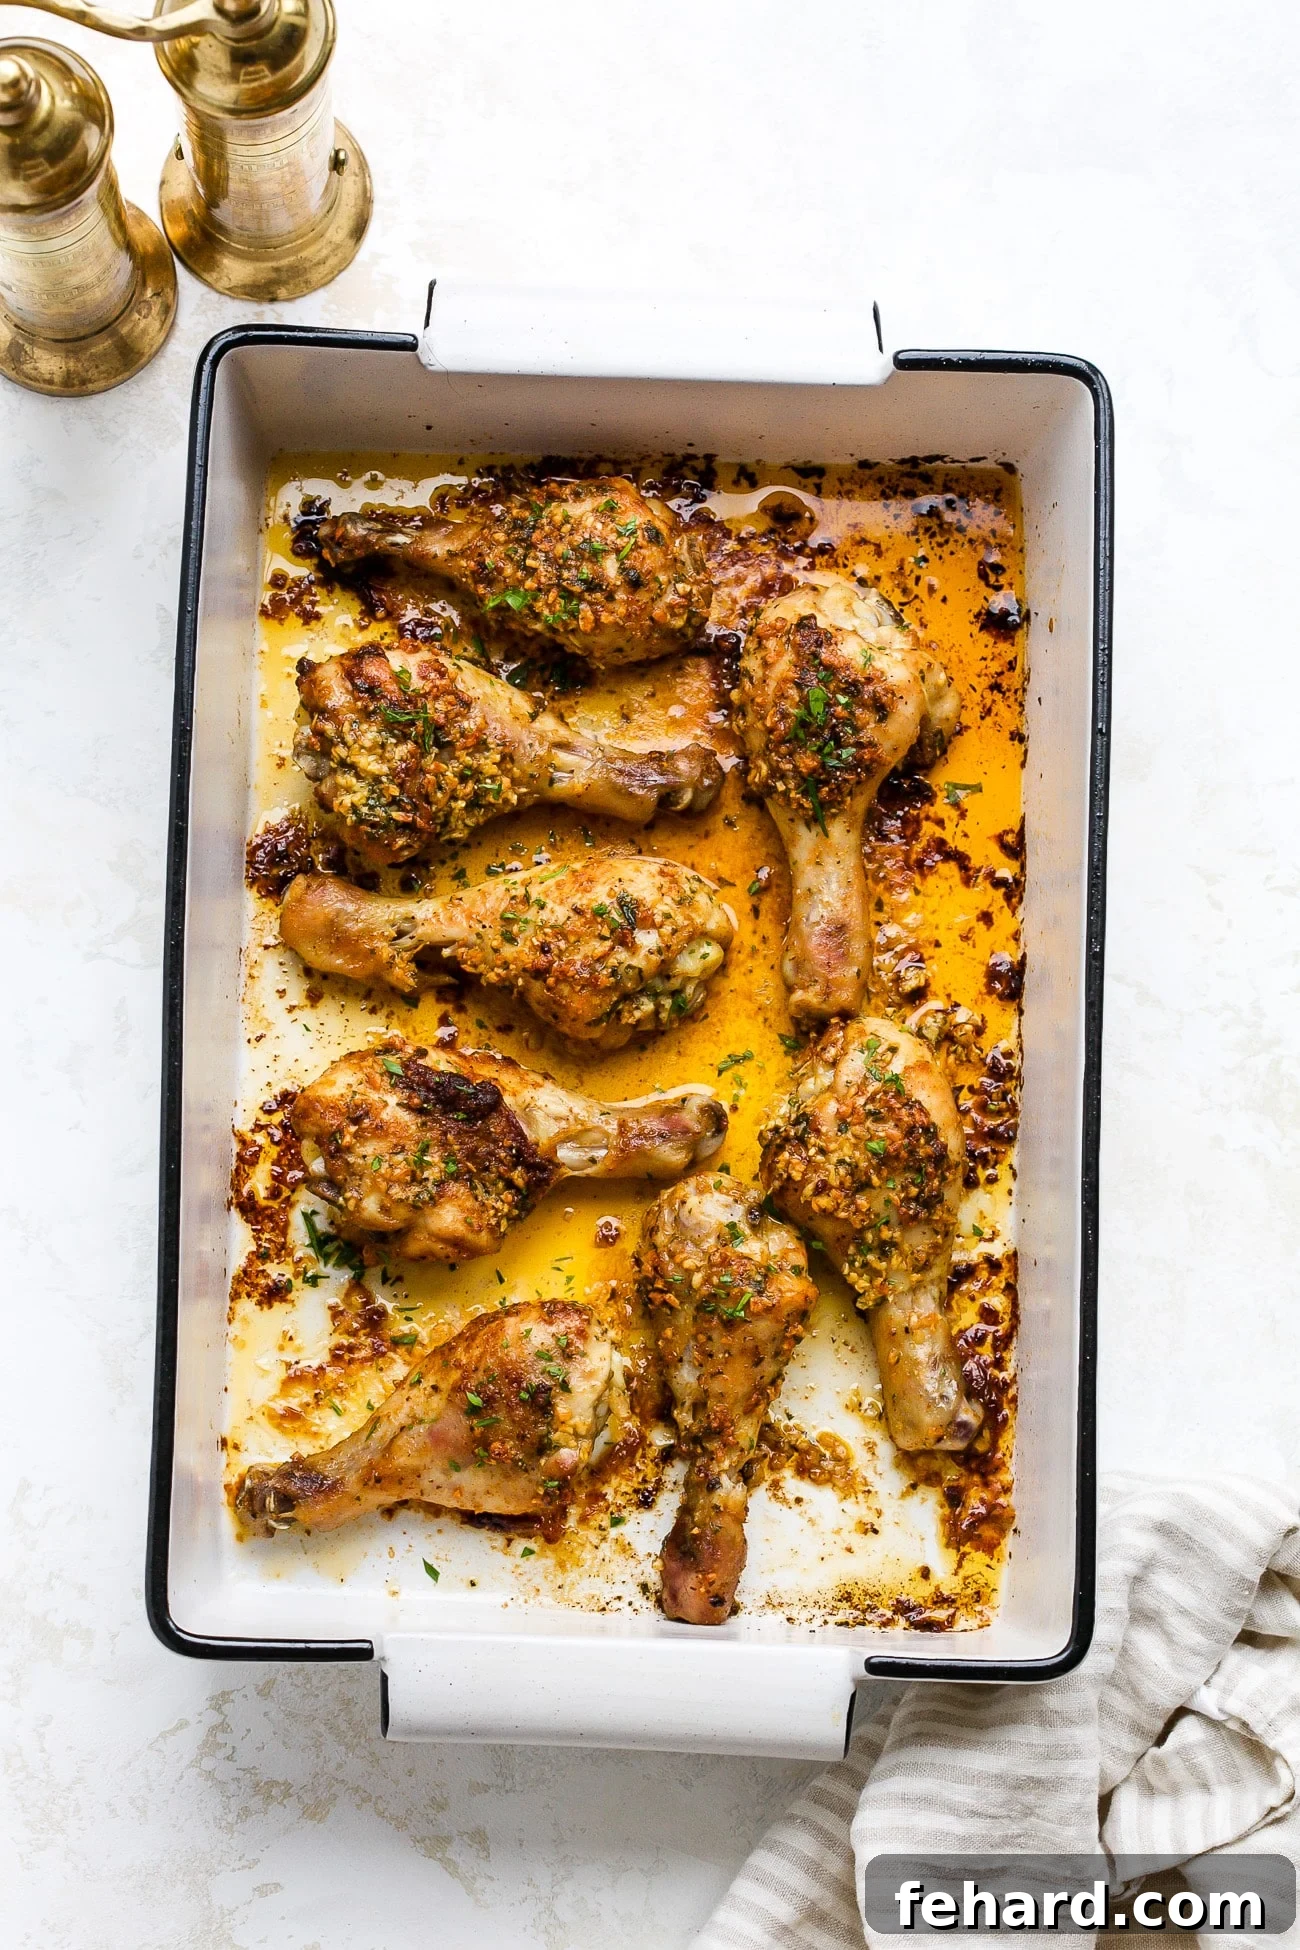
Unlock the secret to incredibly flavorful and effortlessly delicious weeknight dinners with these garlic butter baked chicken drumsticks. Each drumstick is seasoned to perfection, roasted until the skin is beautifully golden and crispy, while the meat beneath remains unbelievably juicy and fantastically tender. This recipe is not just a meal; it’s a culinary experience that brings comfort and joy to any family table. So simple to prepare, yet yielding restaurant-quality results, it’s guaranteed to become a family favorite.
If you’re constantly on the hunt for more mouthwatering chicken drumstick recipes that are both easy and satisfying, you’re in the right place. Beyond this incredible baked version, don’t miss out on trying our equally delicious grilled chicken drumsticks for a smoky twist or our vibrant roasted lemon chicken drumsticks for a zesty kick.
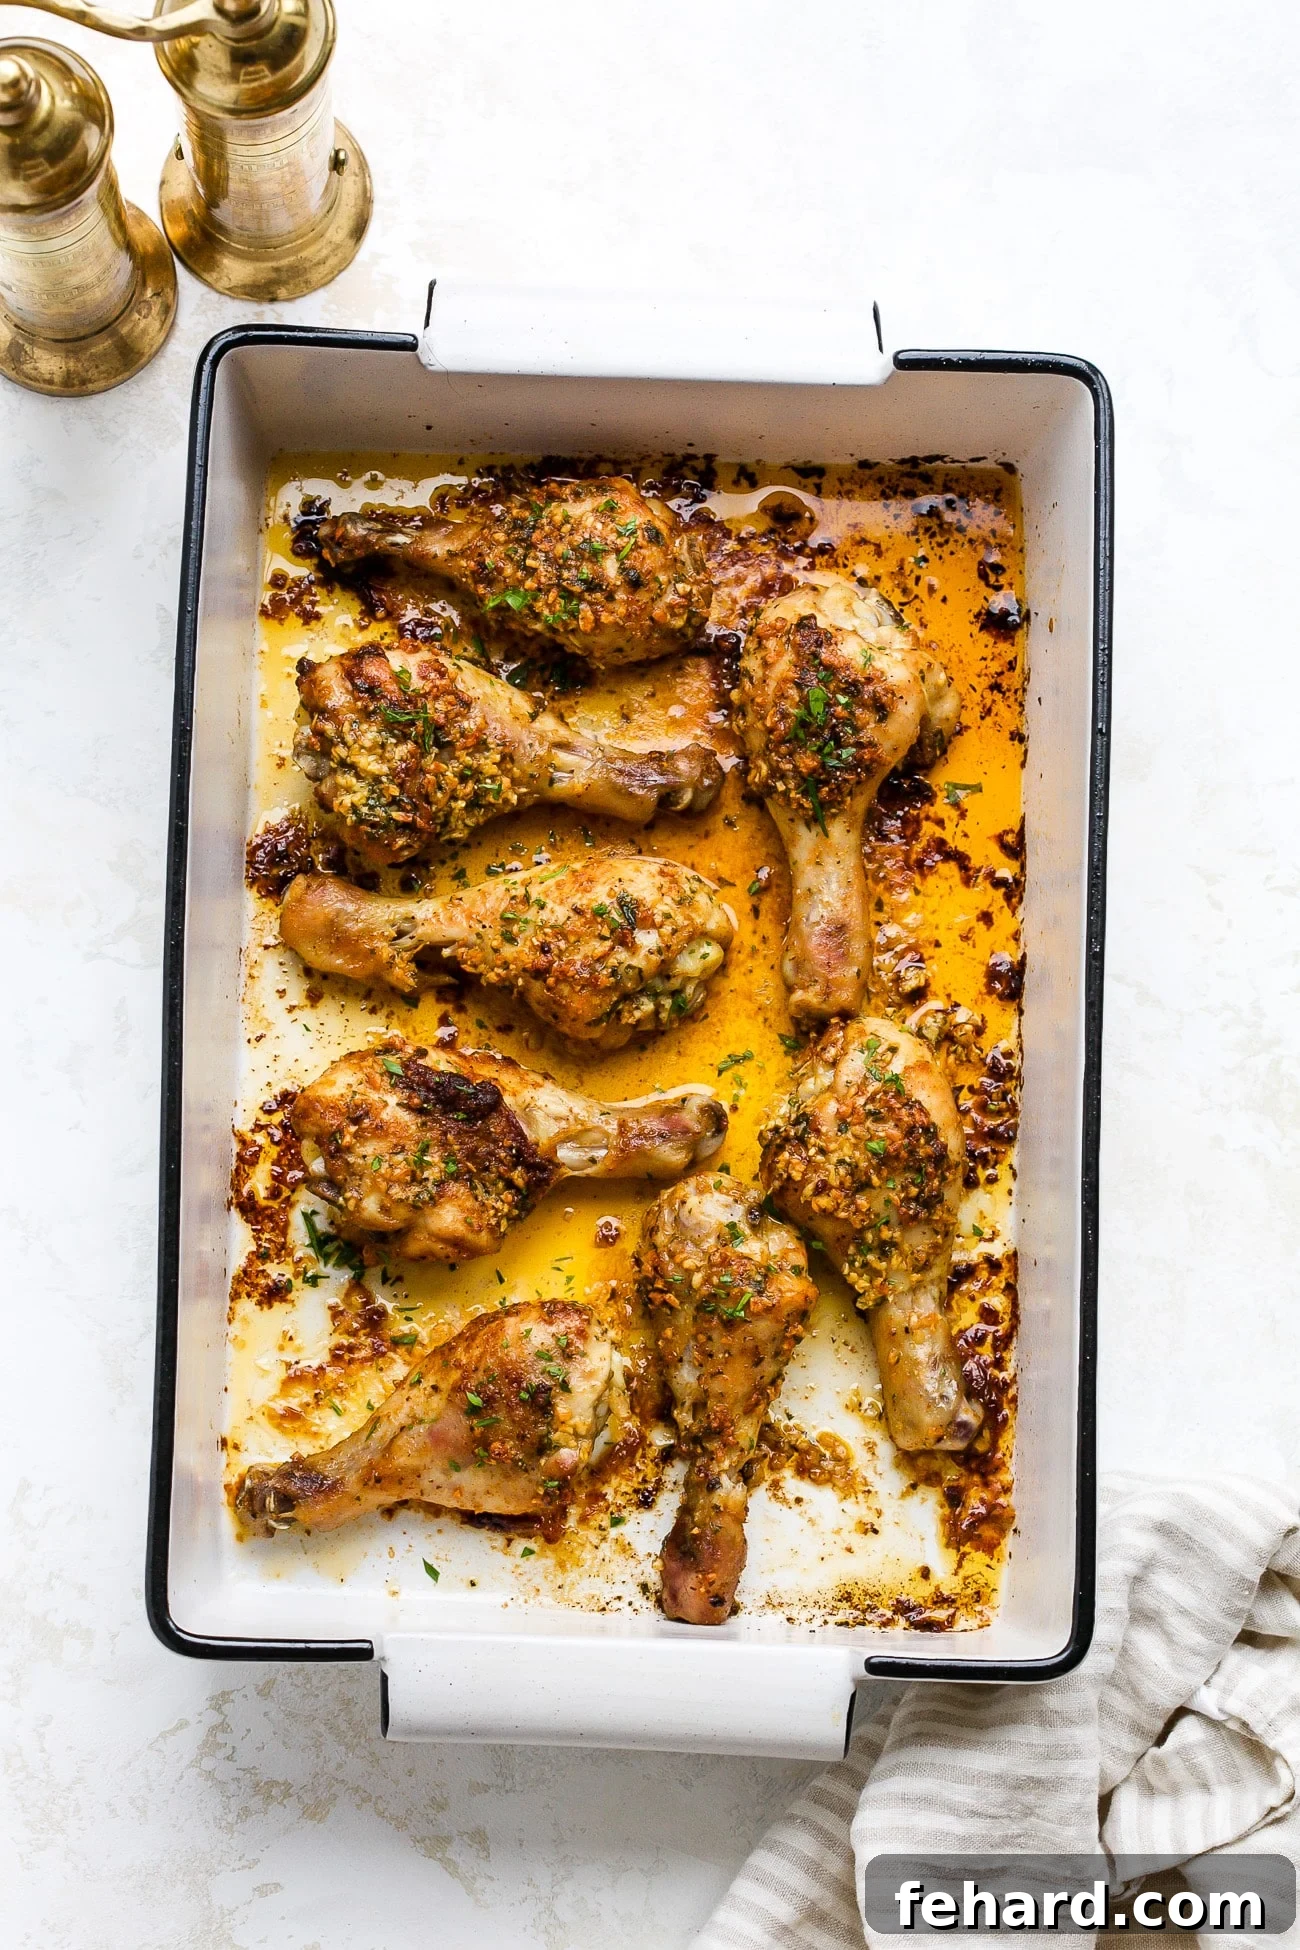
Why You’ll Love This Easy Baked Chicken Recipe
There’s a reason why baked chicken drumsticks are a timeless classic, and this garlic butter version elevates them to new heights. You’ll adore this recipe for its sheer simplicity and profound flavor. It requires minimal effort and basic ingredients, making it ideal for busy weeknights when you want a homemade meal without the fuss. The rich, savory garlic butter infuses every bite, creating a dish that’s both comforting and gourmet. Moreover, its versatility shines when it comes to pairing with sides. Whether you have a fridge full of fresh produce or simply need to whip up something quick, this recipe adapts beautifully, helping you minimize food waste and maximize deliciousness. It’s a crowd-pleaser that satisfies even the pickiest eaters, ensuring everyone leaves the table happy.
Key Recipe Ingredients for Ultimate Flavor
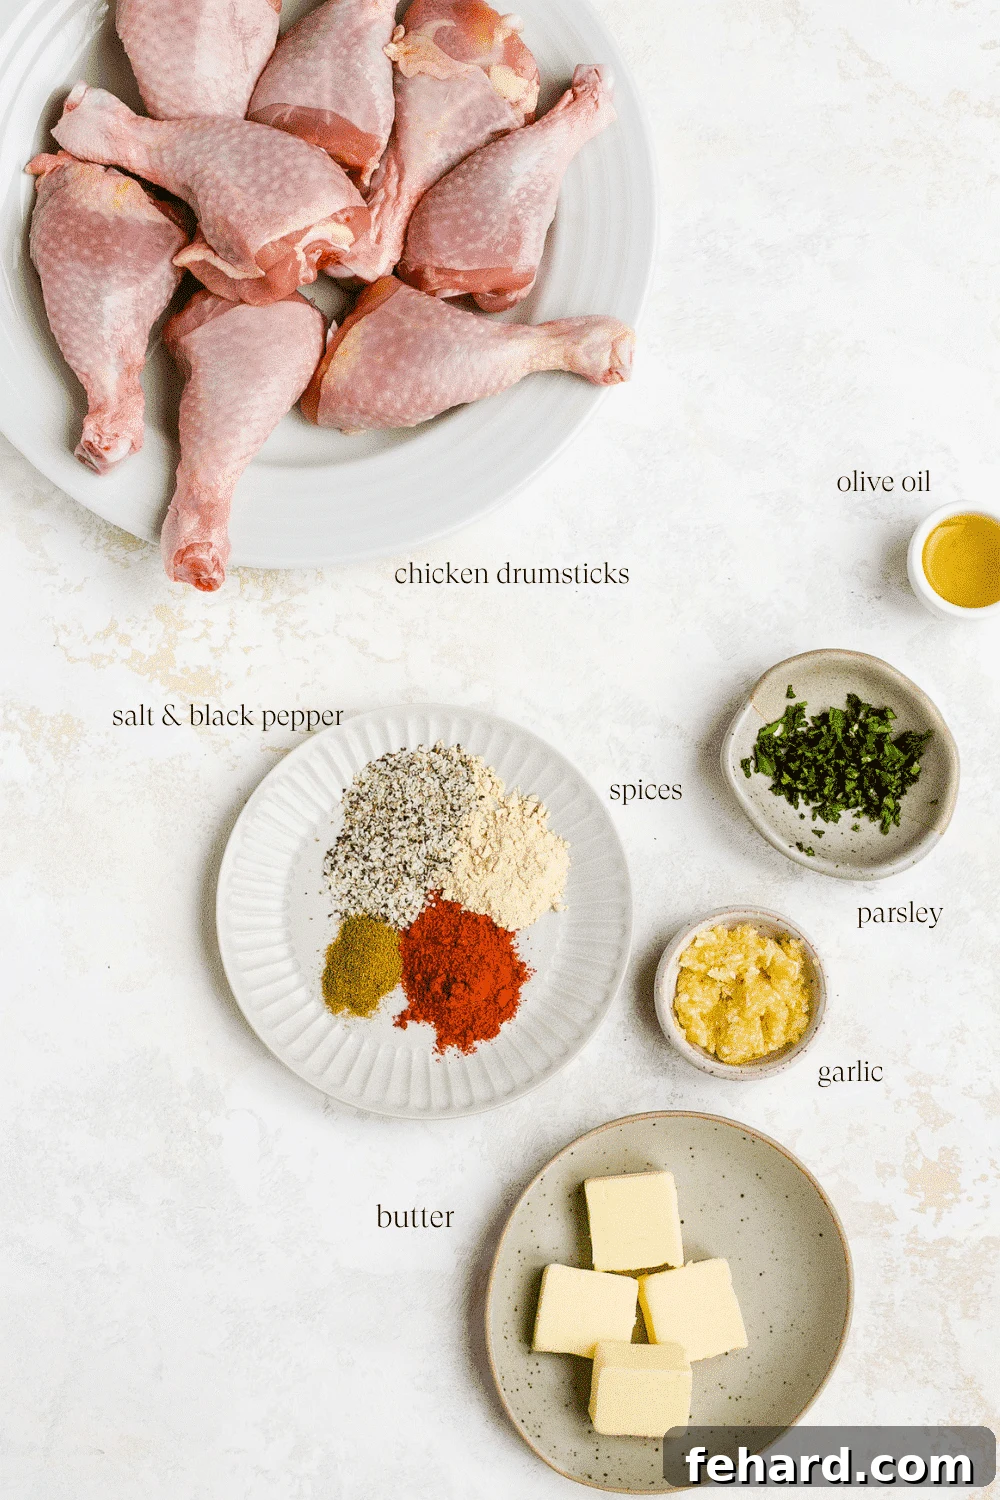
Crafting perfect garlic butter baked chicken drumsticks begins with selecting the right ingredients and understanding how each contributes to the final masterpiece. Here’s a closer look at the stars of this show:
Chicken Drumsticks
For this recipe, we highly recommend using skin-on and bone-in chicken drumsticks. The bone helps to distribute heat evenly, ensuring the meat cooks through without drying out, while the skin crisps up beautifully, adding an irresistible texture and flavor. If drumsticks aren’t available or you prefer other cuts, this recipe is incredibly adaptable. You can easily substitute with chicken thighs for equally juicy results, chicken breasts (though you might need to adjust baking time to prevent drying), or even chicken wings for a fantastic appetizer. Just remember that boneless, skinless cuts will cook faster, so keep a close eye on the internal temperature.
Olive Oil and Butter – The Flavor Duo
Our secret to moist and flavorful chicken with a gorgeous golden crust lies in using a harmonious blend of olive oil and butter. The butter is crucial for imparting a rich, decadent flavor and contributing to that desirable golden-brown finish. However, butter alone can sometimes burn at higher oven temperatures. This is where olive oil steps in. With its higher smoke point, olive oil acts as a protective shield, preventing the butter from scorching and ensuring a beautifully caramelized, not burnt, exterior. This dynamic duo creates the perfect environment for juicy, tender drumsticks that are bursting with flavor.
Seasonings – Your Flavor Canvas
The beauty of this recipe’s seasoning blend is its balance and flexibility. We typically use a robust mix of smoked paprika, onion powder, cumin, salt, and black pepper. Smoked paprika adds a wonderful depth and subtle smokiness, onion powder provides an aromatic base, and cumin introduces an earthy warmth. Of course, salt and black pepper are essential for enhancing all these flavors. But don’t hesitate to make this recipe your own! Feel free to experiment with other seasonings that tickle your fancy, such as a touch of garlic powder for an extra garlicky punch, or a pinch of cayenne pepper if you love a bit of spicy heat. Italian seasoning, dried oregano, or a hint of dried rosemary can also add delightful nuances.
Fresh Garlic and Parsley
While often overlooked, fresh ingredients make a significant difference. Minced garlic is the star of our butter sauce, providing that pungent, aromatic foundation. Using fresh garlic, rather than powdered, adds a vibrant, authentic flavor. Similarly, fresh chopped parsley brightens the entire dish with its herbaceous, slightly peppery notes, adding both flavor and a beautiful pop of color as a garnish.
Step-by-Step Instructions to Make Baked Chicken Drumsticks:
Creating these perfect garlic butter baked chicken drumsticks is surprisingly straightforward. Follow these simple steps for a truly memorable meal:
- Prepare Your Oven and Baking Dish: Begin by preheating your oven to a robust 400°F (204°C). This high temperature is key to achieving that desirable crispy skin. While the oven heats, prepare your baking vessel. Line a large baking dish or a sturdy sheet pan with parchment paper for easy cleanup, or simply grease it lightly with olive oil to prevent sticking.
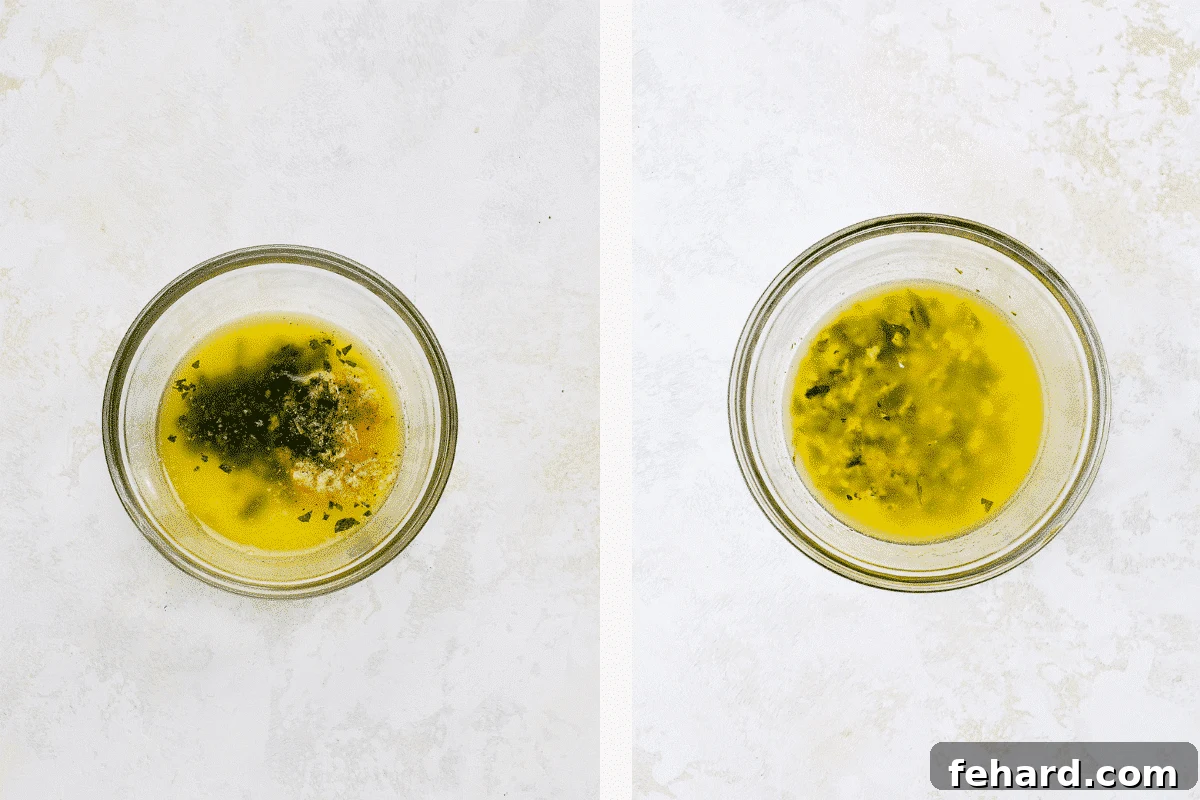
- Craft the Garlic Butter Mixture: In a small, microwave-safe bowl, melt the butter. Once melted, stir in the minced garlic and fresh chopped parsley. Mix until all ingredients are well combined, creating a fragrant, golden sauce. Set this aside for a moment.
- Blend Your Dry Seasonings: In another small bowl or a jar, combine all your dry spices: smoked paprika, onion powder, cumin, salt, and black pepper. Stir them thoroughly to ensure an even distribution of flavors.
- Prepare the Chicken: Crucially, pat the chicken drumsticks thoroughly dry with paper towels. This step is vital for achieving crispy skin, as excess moisture will steam the chicken instead of allowing it to brown and crisp up.
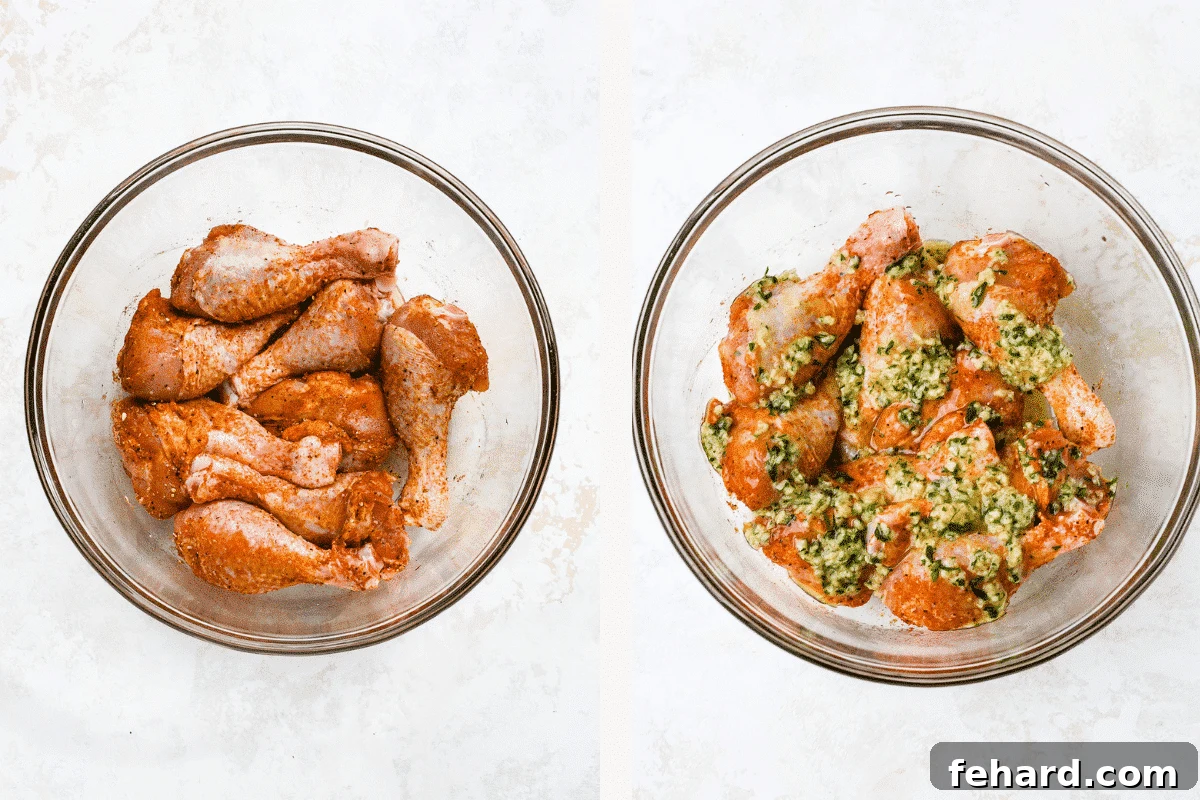
- Season the Drumsticks: Place the dried drumsticks in a large mixing bowl. Sprinkle the prepared spice blend generously over the chicken, making sure to coat each piece evenly. You can use your hands to rub the spices into the chicken for optimal coverage.
- Add the Garlic Butter: Now, pour the fragrant garlic butter mixture over the seasoned chicken drumsticks in the bowl. Toss everything together, ensuring every drumstick is thoroughly coated in the buttery goodness. This ensures maximum flavor and moisture retention.
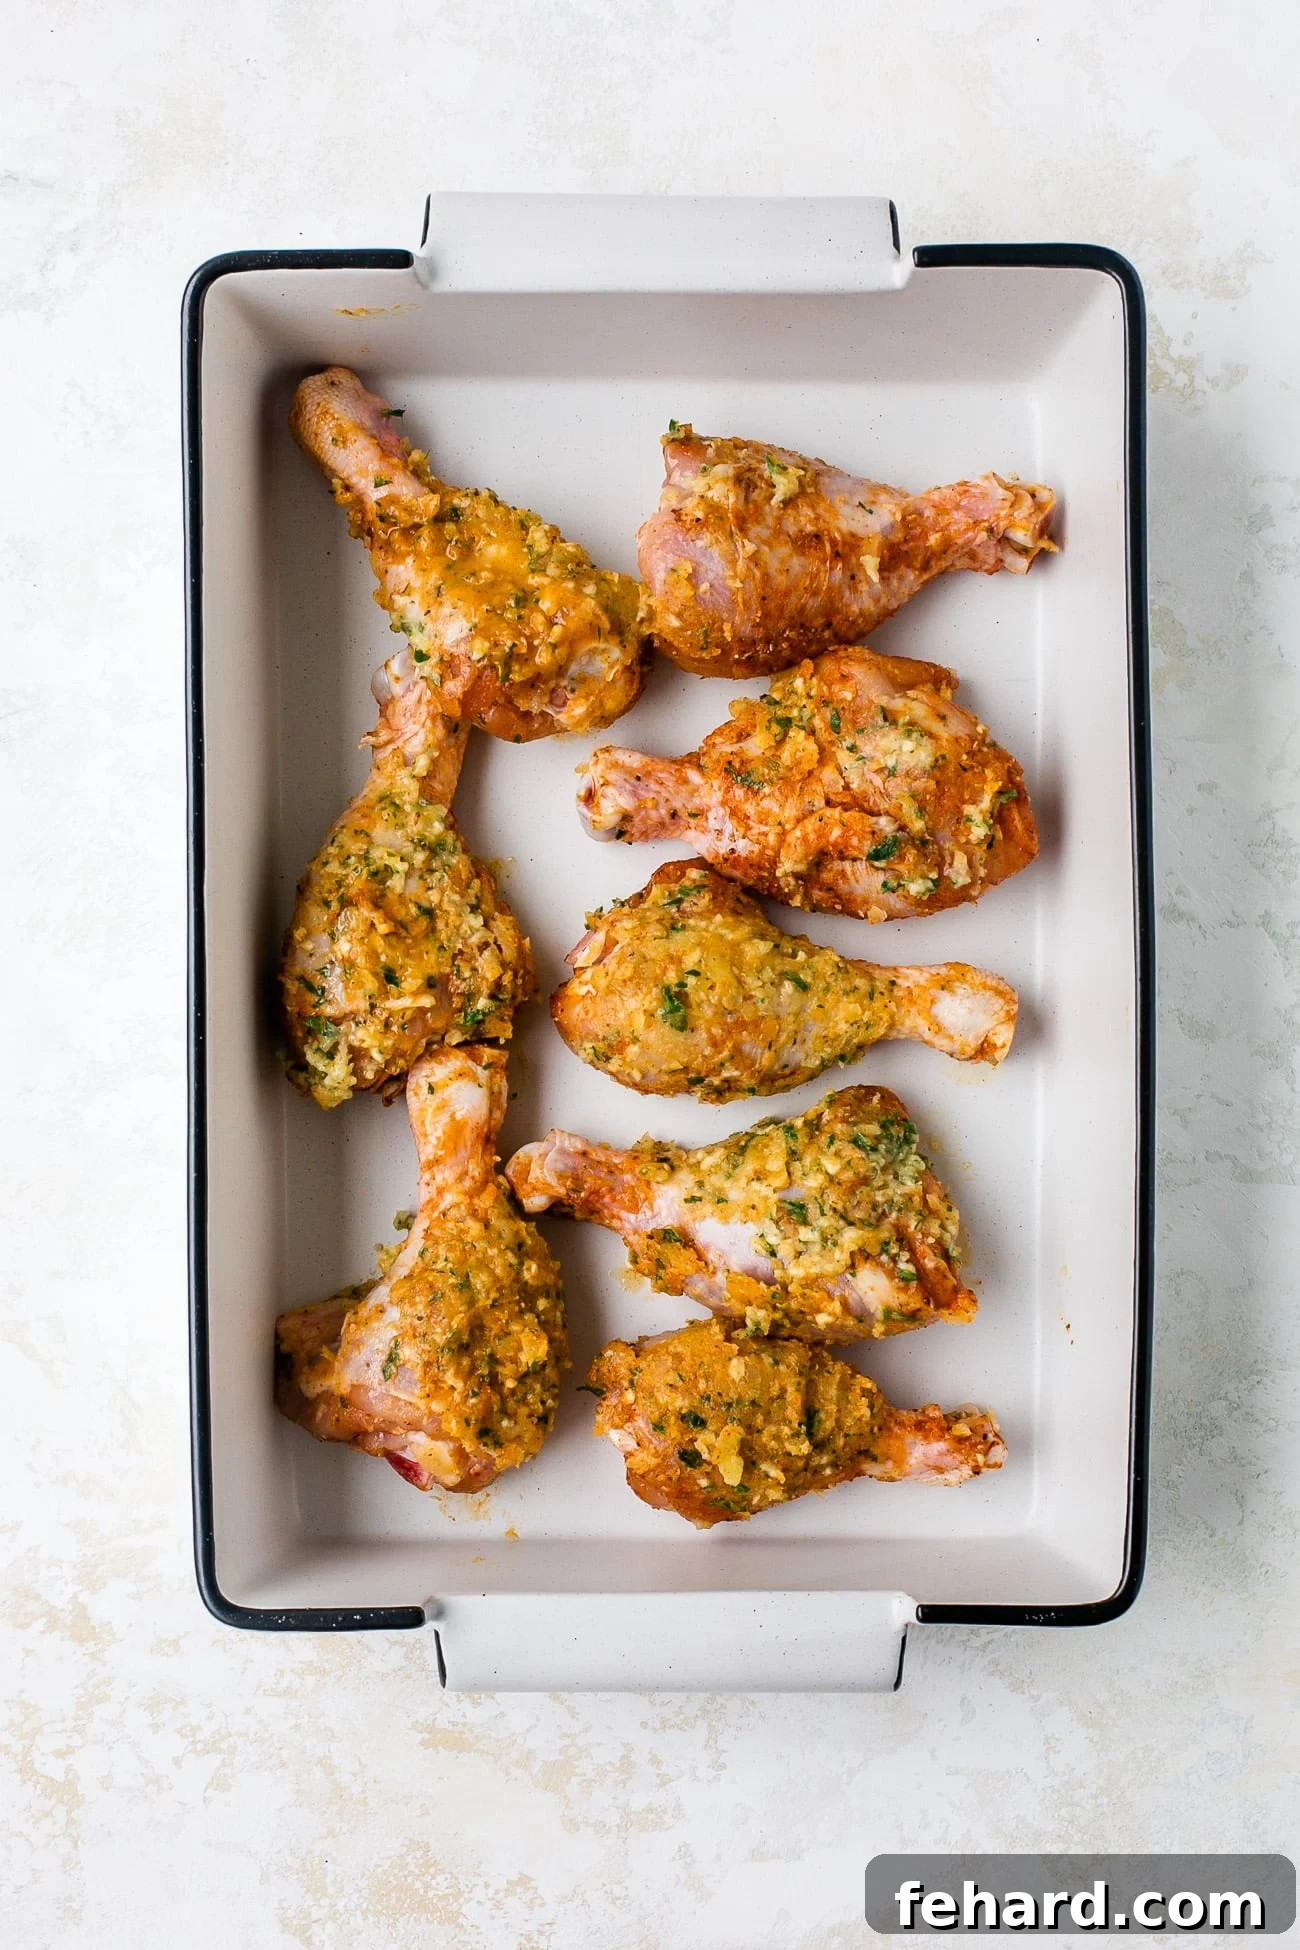
- Arrange for Baking: Arrange the coated drumsticks in a single layer in your prepared baking dish. Make sure not to overcrowd the pan; leave a little space between each drumstick to allow hot air to circulate. This promotes even cooking and crispy skin. Overcrowding can lead to steaming, which prevents browning.
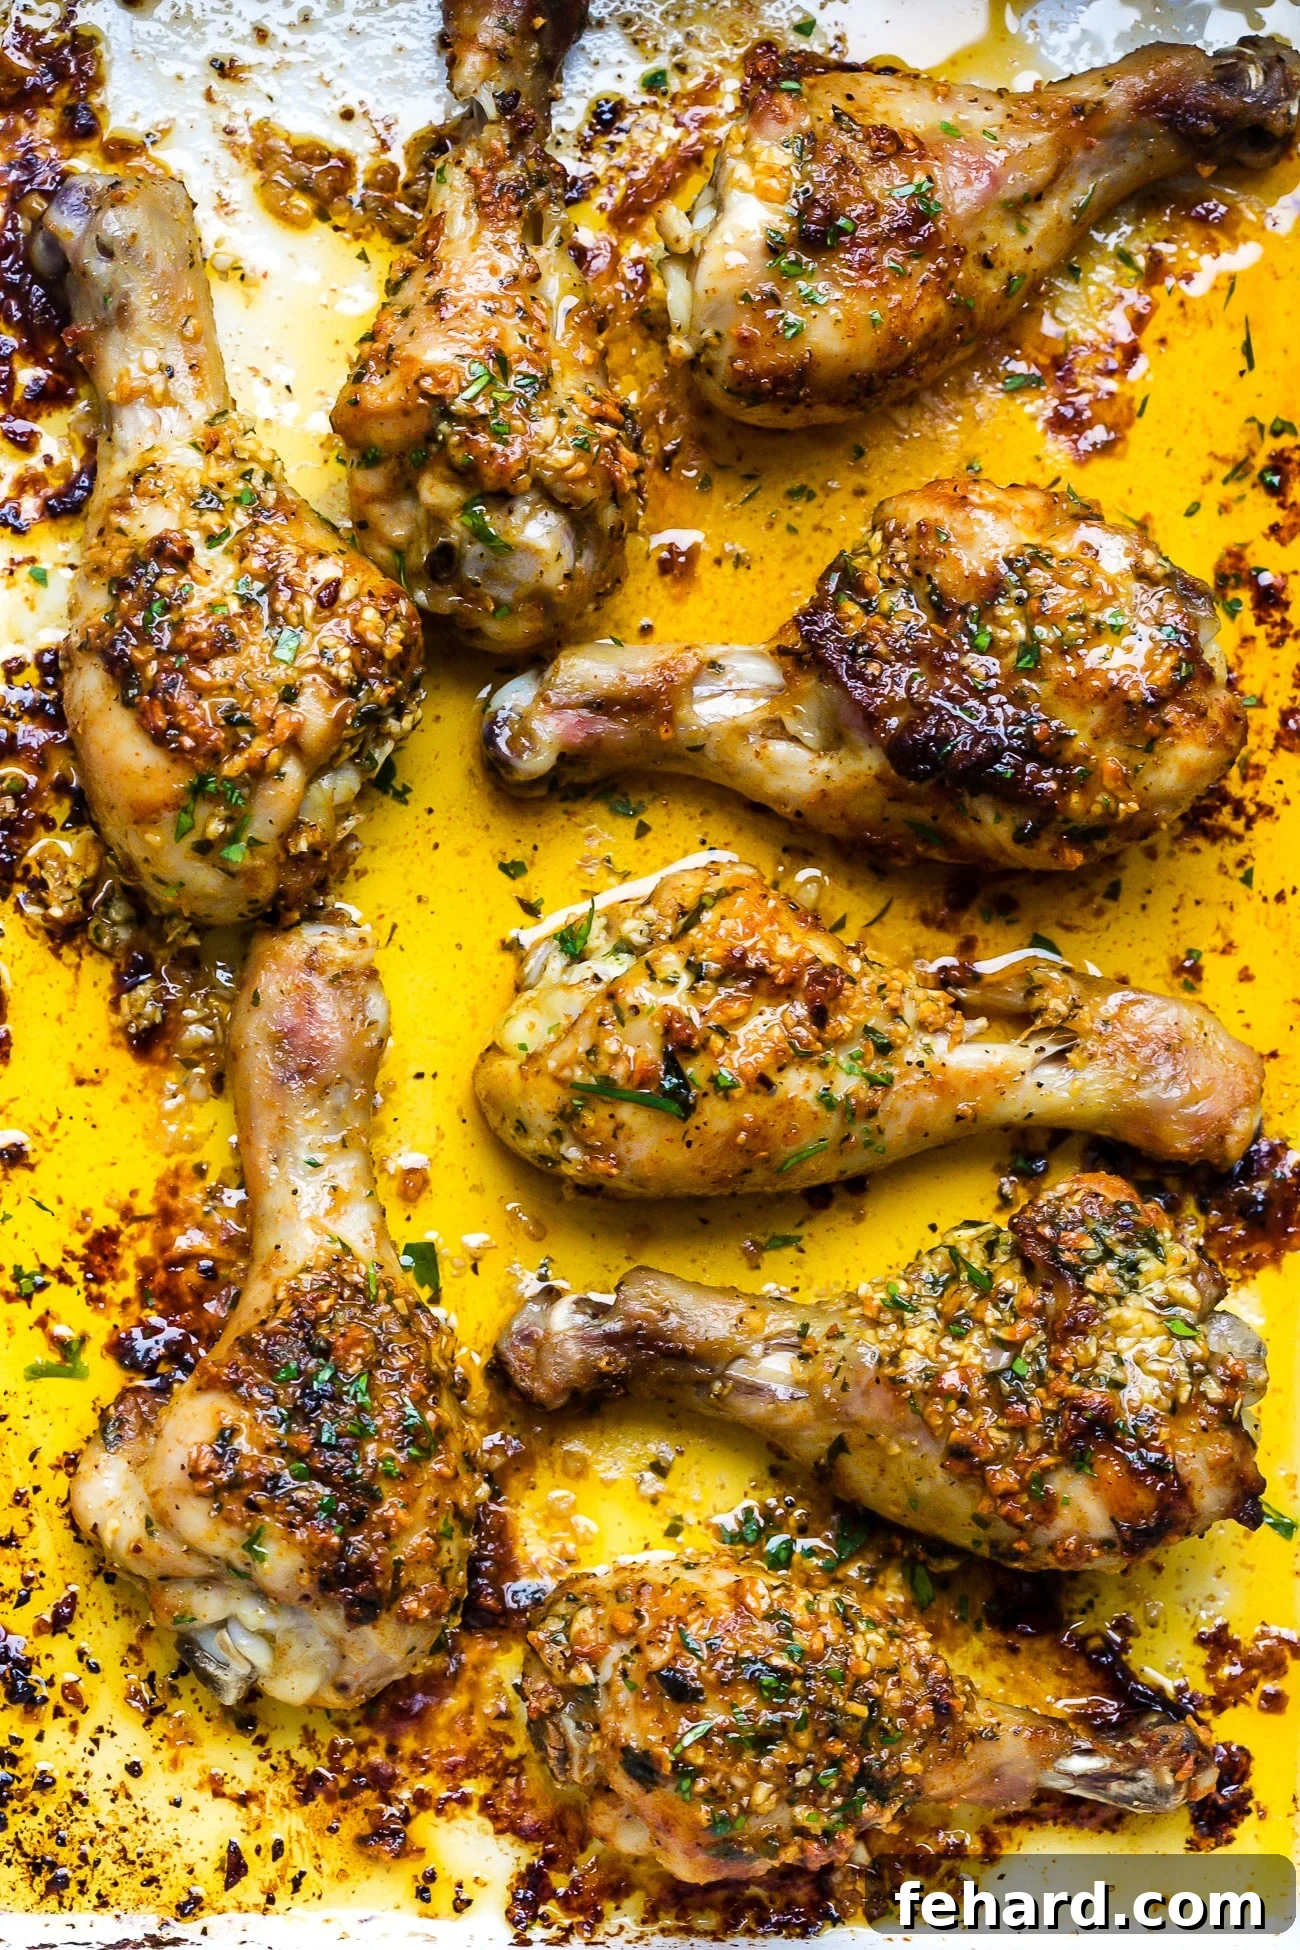
- Bake to Perfection: Transfer the baking dish to your preheated oven. Bake for approximately 35 to 40 minutes, or until the chicken drumsticks are beautifully golden-brown, crispy, and fully cooked. The most reliable way to check for doneness is to use an instant-read meat thermometer. The internal temperature of the thickest part of the chicken (without touching the bone) should reach 165°F (74°C).
- Crispy Skin Secret: You do not need to cover your chicken drumsticks while they bake. Leaving them uncovered is actually the key to achieving that wonderfully crispy, crackling skin that everyone loves. The direct heat allows the skin to dry out and become perfectly crisp.
- Rest Before Serving: Once baked, remove the drumsticks from the oven and let them rest in the baking dish for about 5-10 minutes. This resting period allows the juices to redistribute throughout the meat, resulting in exceptionally tender and moist chicken.
Tip: An instant-read thermometer is an invaluable tool for perfectly cooked chicken. Ever since I started using one, I’ve never overcooked chicken again—it’s truly worth the small investment! It takes all the guesswork out of cooking and helps ensure your chicken stays perfectly juicy and safe to eat every single time.
Expert Tips for Perfectly Juicy & Crispy Baked Drumsticks
Achieving restaurant-quality baked chicken drumsticks at home is simple with a few key techniques:
- Always Pat Dry Your Chicken: This is arguably the most critical step for crispy skin. Moisture on the chicken’s surface turns to steam in the oven, preventing browning. A dry surface allows the skin to crisp up beautifully.
- Don’t Overcrowd the Pan: Give your drumsticks space! Arranging them in a single layer with a little room around each piece ensures that hot air circulates freely. This promotes even cooking and allows the skin to get truly crispy. If your pan is too full, use two baking sheets.
- Invest in an Instant-Read Thermometer: Say goodbye to dry, overcooked chicken forever! A meat thermometer is the most accurate way to ensure your chicken is cooked to a safe internal temperature of 165°F (74°C) without going overboard. Insert it into the thickest part of the meat, avoiding the bone.
- Let Them Rest: Once the drumsticks come out of the oven, resist the urge to dive in immediately. A short resting period of 5-10 minutes allows the juices to redistribute throughout the meat, resulting in a significantly juicier and more tender bite.
- High Heat is Your Friend: Baking at 400°F (204°C) provides the necessary high heat to render the fat in the skin and achieve that irresistible crispy texture while ensuring the interior cooks efficiently.
Variations & Flavor Twists
While the classic garlic butter is superb, these baked drumsticks are a fantastic canvas for various flavor explorations:
- Spicy Kick: For those who love heat, add a pinch of red pepper flakes to your seasoning blend or drizzle with a bit of hot sauce before baking.
- Herbaceous Delight: Incorporate fresh or dried rosemary, thyme, or oregano into the garlic butter for an earthy, aromatic profile.
- Zesty Citrus: Add the zest of one lemon to the garlic butter for a bright, tangy flavor that beautifully complements the chicken. A squeeze of fresh lemon juice after baking can also brighten the dish.
- Sweet & Savory: A touch of honey or brown sugar in the seasoning blend can create a lovely caramelized glaze on the skin, adding a hint of sweetness.
- Roasted Veggies One-Pan Meal: For an easy complete meal, toss chopped root vegetables like potatoes, carrots, or onions with a little olive oil and the same seasoning blend, then arrange them around the chicken on the baking sheet. They’ll roast alongside the drumsticks, absorbing all those delicious flavors.
What To Serve With This Recipe
The beauty of these garlic butter baked chicken drumsticks is their incredible versatility, allowing them to pair perfectly with a wide array of side dishes. Here are some fantastic ideas to complete your meal:
Try a fresh, vibrant salad as a side dish! A light and crisp salad provides a wonderful contrast to the rich chicken. Whip up this simple, fresh arugula salad with a balsamic vinaigrette, or opt for a creamy and tangy coleslaw to go with your easy baked chicken drumsticks. For a heartier option, consider making a refreshing Greek quinoa salad, packed with Mediterranean flavors and nutrients. A simple garden salad with your favorite dressing is always a good choice too!
Veggies, anyone? Roasted or sautéed vegetables are always a welcome addition. I particularly love to serve these drumsticks with tender-crisp roasted cauliflower, which develops a delightful sweetness when roasted. Sautéed garlic butter mushrooms make for an earthy and savory accompaniment, perfectly soaking up the chicken’s juices. And for a classic comfort food pairing, creamy mashed potatoes are always a hit, especially if you drizzle some of the pan drippings over them. Don’t forget simple steamed green beans or roasted asparagus for a healthy touch.
Bust out your air fryer for some crispy sides: If you’re looking for quick and perfectly crispy accompaniments, your air fryer is your best friend. Make some incredibly crispy potato wedges, wonderfully tender air fryer green beans, or sweet and savory baked sweet potato fries. The air fryer delivers that satisfying crunch with less oil, making it an excellent pairing for baked chicken.
Storage and Reheating Tips
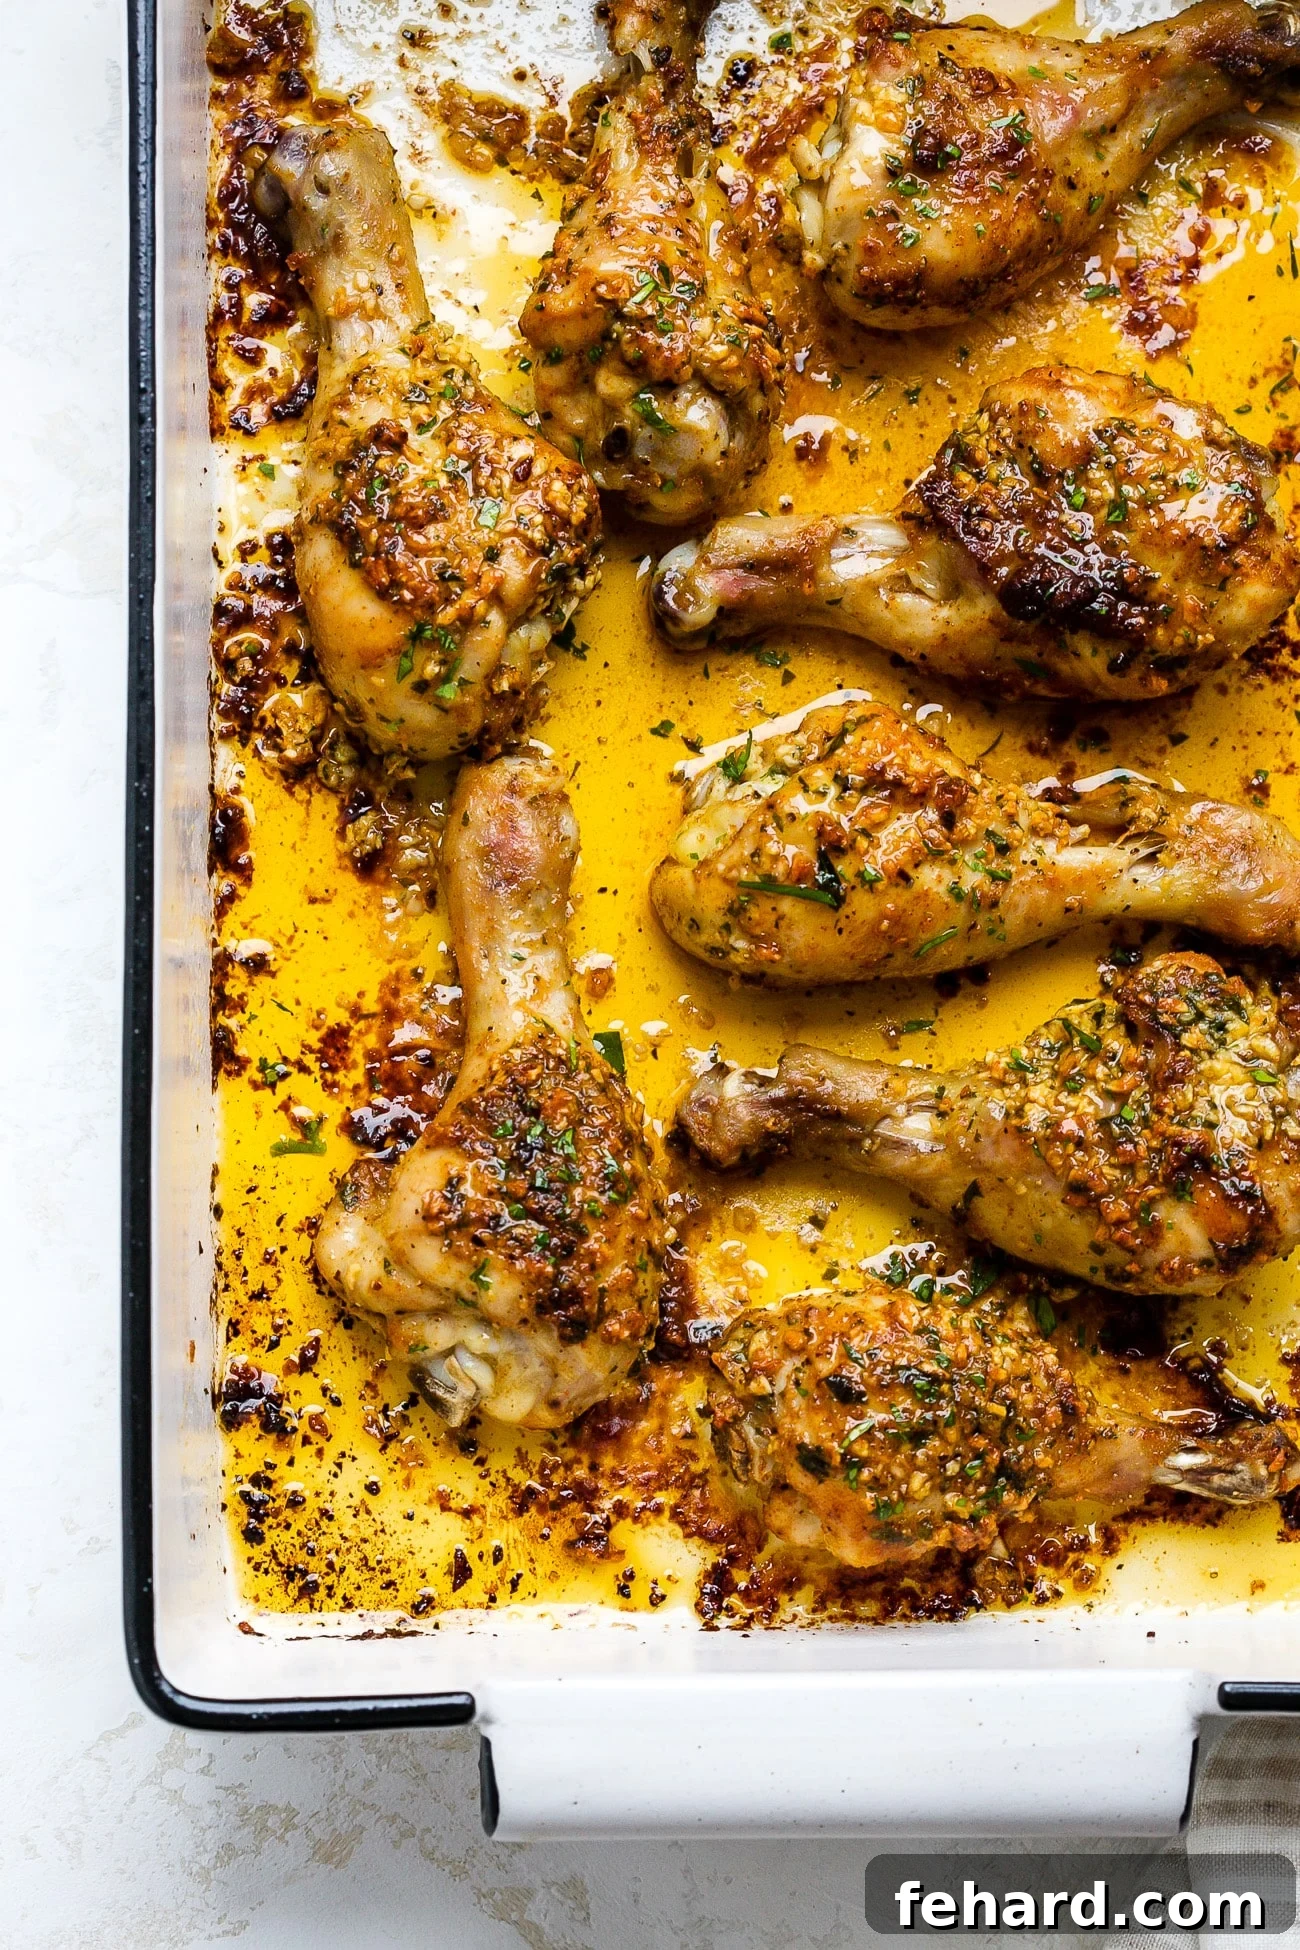
- To Store: Allow any leftover garlic butter baked chicken drumsticks to cool completely to room temperature. Transfer them to an airtight container and store them in the refrigerator for up to 3-4 days. For longer storage, you can freeze the cooked drumsticks for up to 4 months. Ensure they are fully cooled before freezing to prevent ice crystals.
- To Reheat: If reheating from frozen, thaw the drumsticks overnight in the refrigerator. For best results and to regain some crispiness, reheat them in the oven at 350°F (175°C) for about 15-20 minutes, or until warmed through. You can also shred the meat for use in soups, salads, casseroles, or tacos! Avoid reheating in the microwave if you want to preserve the crispy skin, as it tends to make the chicken rubbery.
Frequently Asked Questions (FAQs)
Got questions about making the best garlic butter baked chicken drumsticks? We’ve got answers!
- Can I use frozen chicken drumsticks? Yes, but you must thaw them completely in the refrigerator before seasoning and baking. Pat them extra dry to ensure crispy skin. Baking frozen chicken directly will result in uneven cooking and a longer baking time.
- Do I need to marinate the chicken? This recipe doesn’t require marinating, as the garlic butter and spice blend provide ample flavor. However, for an even deeper flavor, you could coat the drumsticks and let them sit in the refrigerator for 30 minutes to an hour, or even overnight, before baking.
- How do I know if the chicken is cooked through? The best way is to use an instant-read meat thermometer. Insert it into the thickest part of the drumstick, avoiding the bone. The chicken is safely cooked when it reaches an internal temperature of 165°F (74°C). The juices should also run clear when pierced.
- Can I make this recipe ahead of time? You can prepare the garlic butter mixture and the spice blend in advance. You can also coat the chicken with the seasonings and garlic butter a few hours before baking and keep it refrigerated. For best results, bake just before serving.
- Why aren’t my drumsticks crispy? The most common reasons are not patting the chicken dry enough, overcrowding the baking pan, or baking at too low a temperature. Ensure you follow these tips for maximum crispiness!
For more delicious and easy chicken leg recipes, don’t forget to explore our other fantastic options: from smoky grilled chicken drumsticks perfect for summer evenings to savory roasted lemon chicken drumsticks that add a bright twist to your meal.
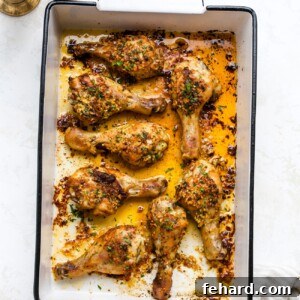
Garlic Butter Baked Chicken Drumsticks Recipe
Olivia Ribas
6 people
10 minutes
35 minutes
45 minutes
Ingredients
For the Chicken Drumsticks
- 1 tablespoon olive oil
- 1 teaspoon paprika
- 1 teaspoon onion powder
- ¼ teaspoon cumin
- Salt and pepper to taste
- 8 chicken drumsticks skin-in and bone-in
For the Garlic Butter
- 4 tablespoons unsalted butter melted
- 1 ½ tablespoon minced garlic
- 1 tablespoon parsley chopped
Instructions
-
Preheat your oven to 400°F. Line a baking sheet with parchment paper or lightly grease it with olive oil.
-
In a small bowl, mix together the melted butter, minced garlic and chopped parsley. Stir well and set to the side.
-
In a separate small bowl, combine the paprika, onion powder, cumin, salt, and pepper. Mix well and set aside.
-
Pat the chicken drumsticks dry with a paper towel. Place the chicken in a large glass bowl and sprinkle the spice blend over the drumsticks, making sure to coat them evenly.
-
Spread the garlic butter mixture over each chicken drumstick, ensuring they are thoroughly coated. Place the seasoned drumsticks on the prepared baking sheet, spacing them apart.
-
Place the baking sheet with the drumsticks in the preheated oven. Bake for about 35-40 minutes or until the chicken is cooked through, with an internal temperature of 165°F (74°C).
-
Once cooked, remove the drumsticks from the oven and let them rest for a few minutes.
-
Serve it hot, garnished with some additional fresh parsley if desired.
Notes
- To Store: Place cooled leftovers in an airtight container and keep in the fridge for up to 3-4 days or freeze up to 4 months.
- To Reheat: Thaw in the refrigerator overnight (if reheating from frozen). Reheat in the oven at 350°F until warmed through or shred meat for use in soup and casseroles!
Nutrition
Nutrition information is automatically calculated, so should only be used as an approximation.