
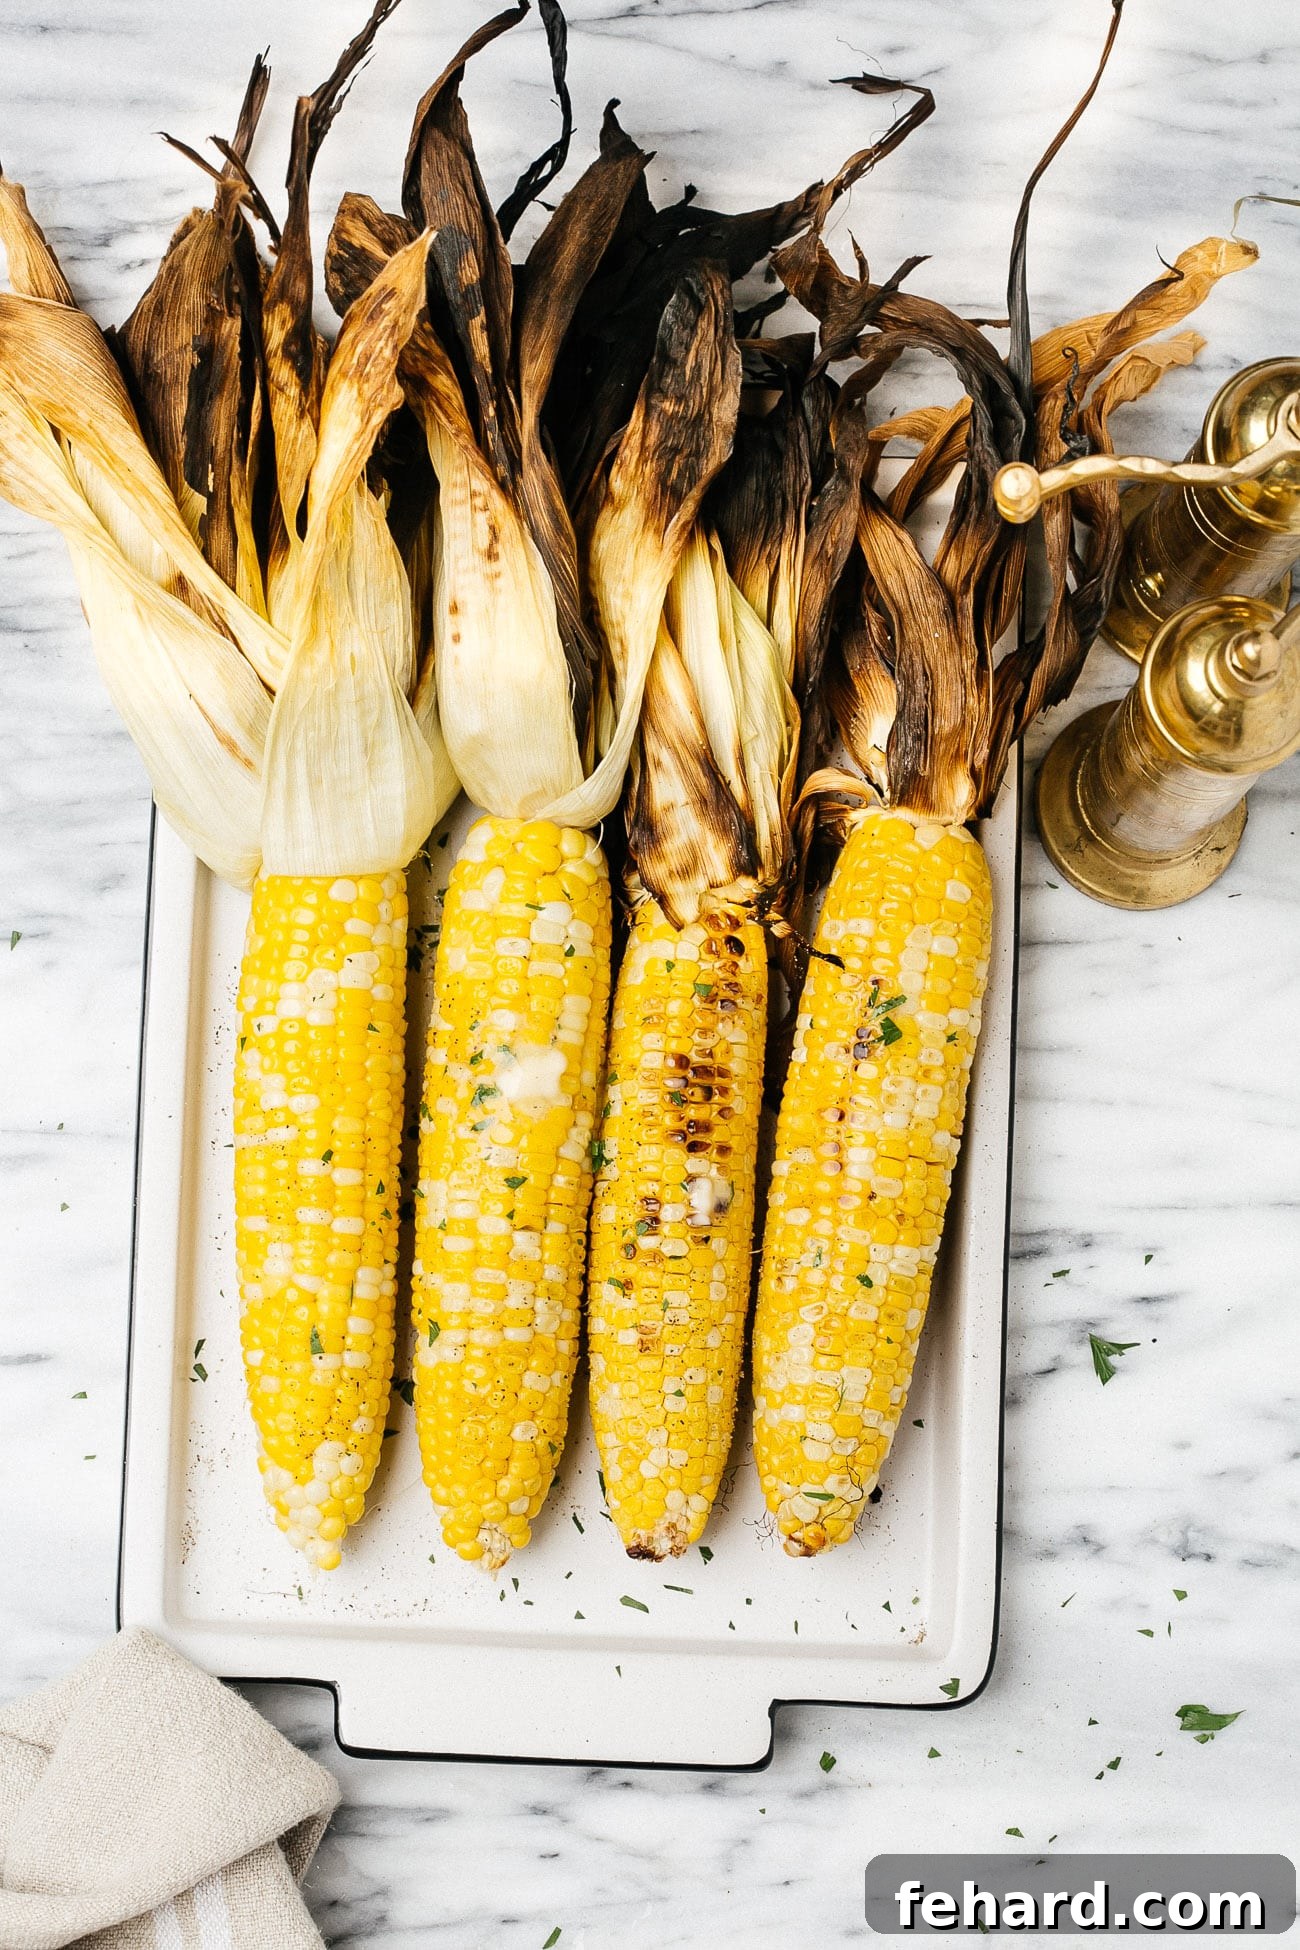
The Ultimate Guide to Perfectly Grilled Corn on the Cob (Two Irresistible Ways)
Nothing embodies the spirit of summer quite like the sweet, smoky aroma of corn on the cob sizzling on the grill. This comprehensive guide will show you how to prepare the most succulent, flavorful grilled corn using two foolproof methods: with the husk on for a steamy, tender result, or husked for a delightful char that adds an extra layer of flavor. Whether you’re a seasoned grill master or a novice, mastering grilled corn is a rite of passage for any summer gathering. Get ready to elevate your BBQ experience with this essential side dish that promises rave reviews and requests for seconds every time!
Grilled corn on the cob is a quintessential summer staple, a simple pleasure that brings immense joy. It’s the perfect accompaniment to virtually any backyard barbecue or picnic. Crisp and juicy, sweet and savory, it’s an incredibly easy dish to prepare, often ready in 30 minutes or less. During peak season, fresh corn is not only abundant but also incredibly affordable, making it a go-to side for any occasion. Once you master these techniques, you’ll find yourself craving this golden goodness all summer long.
More Delicious Corn & Summer Recipes to Explore
If you find yourself with an abundance of fresh corn, or if you’re looking for other fantastic dishes to complement your grilled corn, consider trying these delightful recipes:
- Corn Shrimp Salad Recipe
- Cajun Shrimp Skewers with Corn Salad
- Sheet Pan Shrimp Boil Recipe
And for those cooler evenings or just a different flavor profile, don’t miss out on this comforting Instant Pot Taco Soup Recipe!
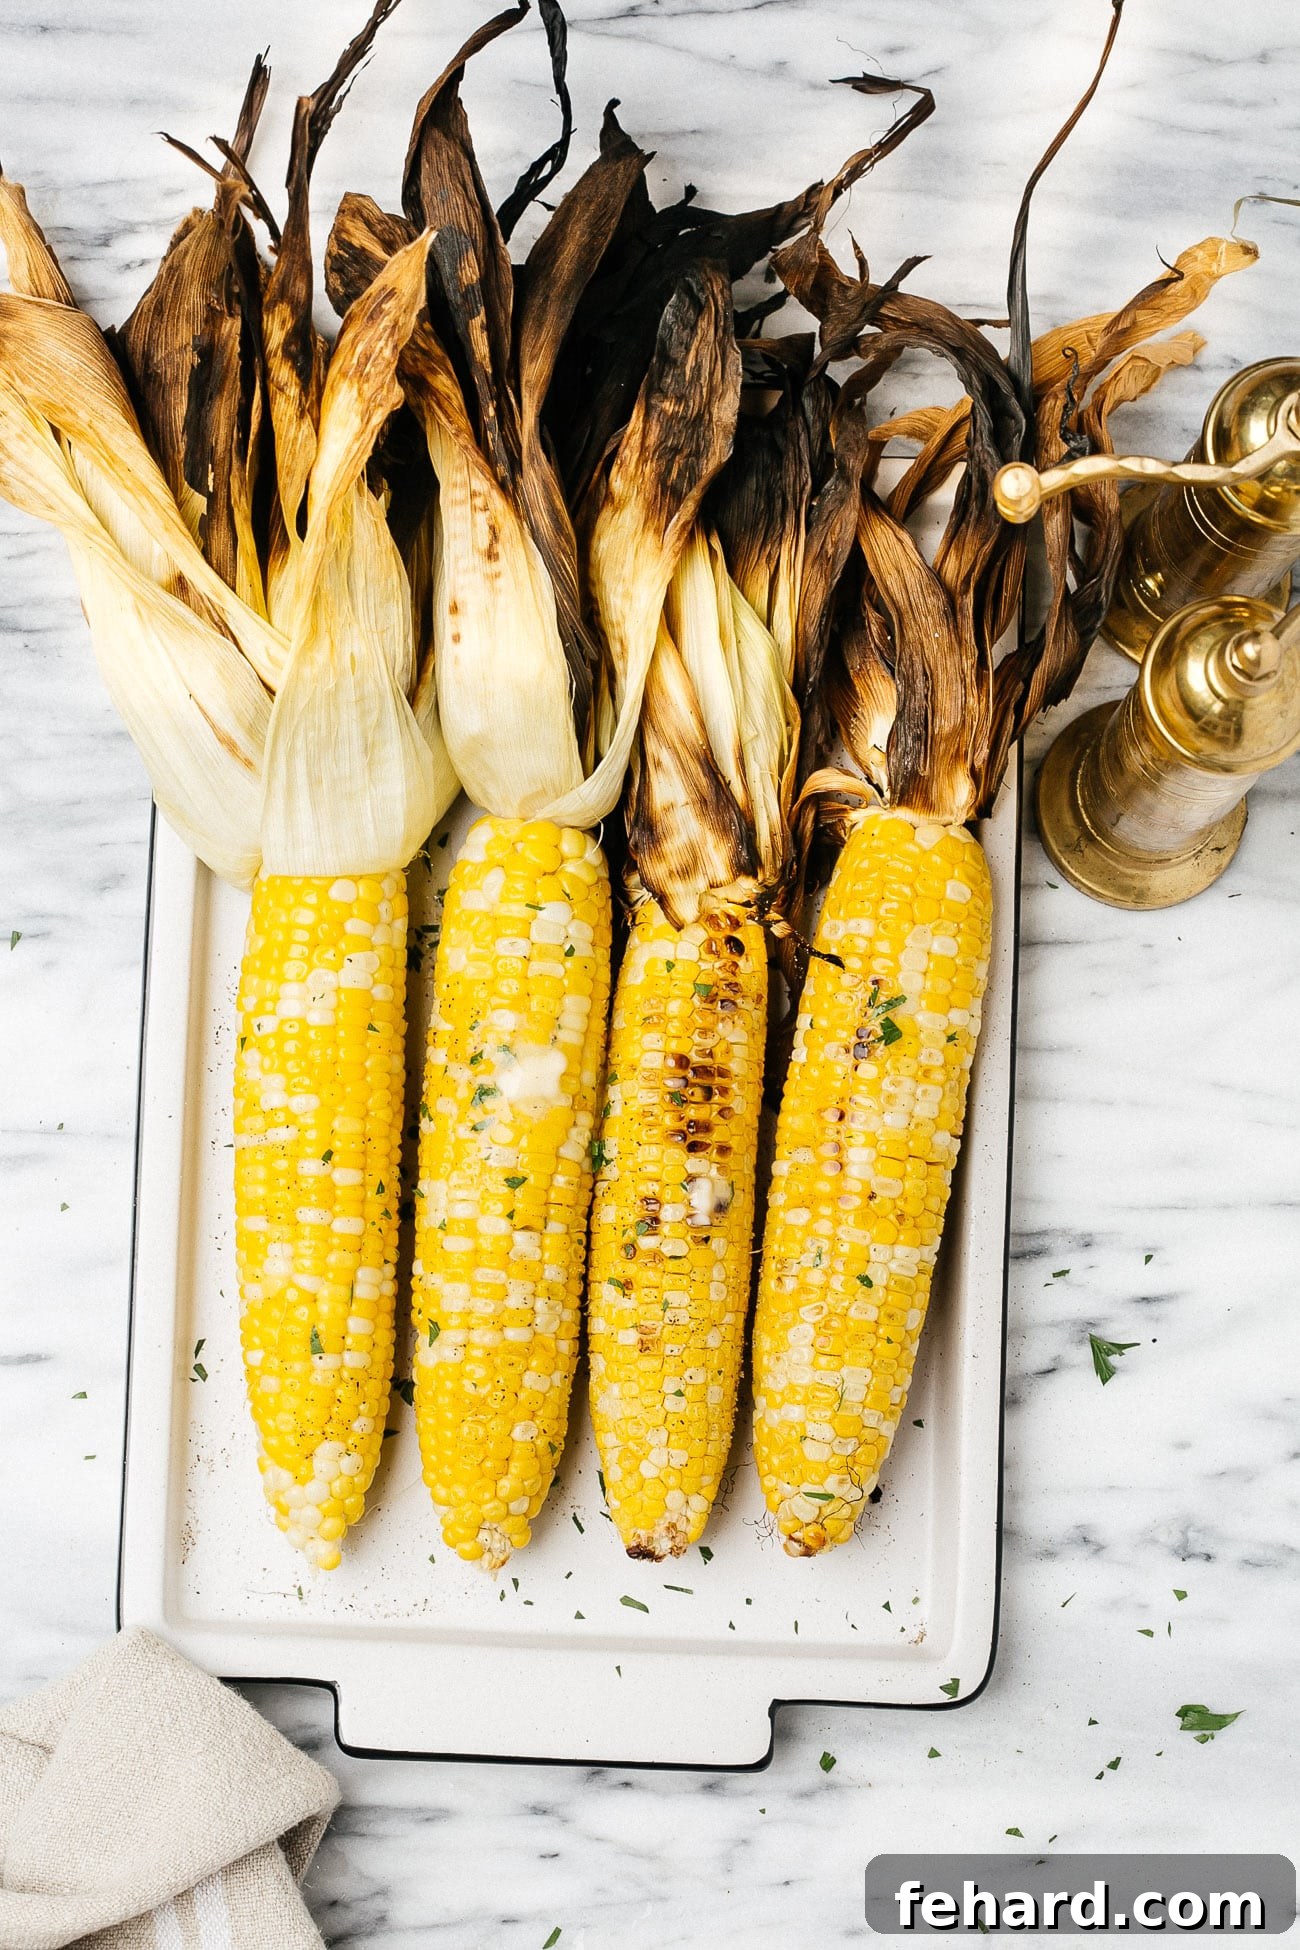
Choosing the Best Corn for Grilling
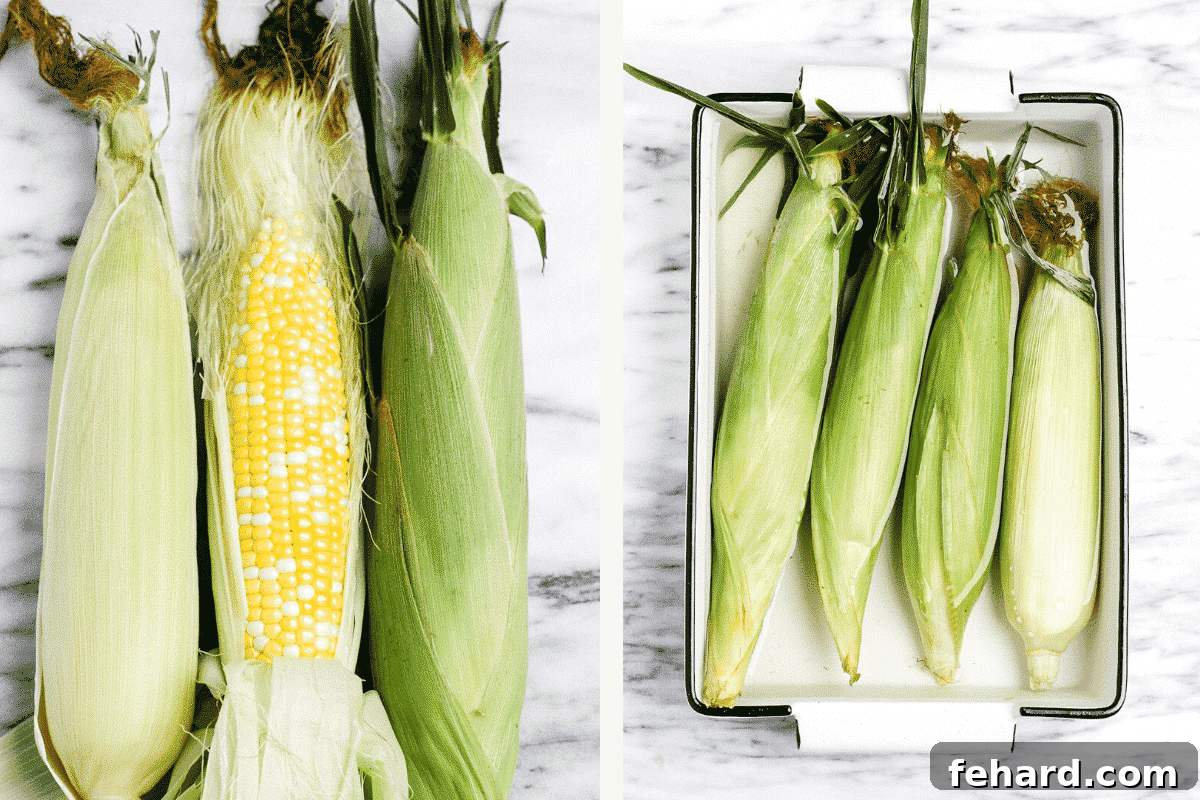
The secret to exceptional grilled corn starts with selecting the freshest ears. Corn is at its peak season from late spring through early fall, typically May to September. When you’re at the farmer’s market or grocery store, keep these expert tips in mind to ensure you’re picking the sweetest, most tender corn:
- **Inspect the Husk:** Look for husks that are tightly wrapped, vibrant green, and moist. Avoid any corn with dry, yellowing, or browning husks, as this indicates older corn.
- **Check the Tassels:** The silk, or tassels, at the top of the ear should be golden brown and slightly sticky or moist to the touch. Black or excessively dry tassels are a sign that the corn is past its prime.
- **Feel the Kernels:** Gently feel the ear through the husk. You want to feel plump, firm kernels all the way to the tip. Gaps or soft spots suggest underdeveloped or dried-out kernels.
- **Avoid Damaged Ears:** Steer clear of any ears with visible holes or damage, as these can be signs of insects.
Fresh corn is naturally sweet and tender, and it needs very little to shine. Grilling simply enhances its inherent flavors, creating a caramelized exterior and a juicy interior that is hard to resist.
Essential Ingredients for Perfectly Grilled Corn
While the star of the show is undeniably the fresh corn, a few simple additions can elevate its flavor profile and transform it into an unforgettable side dish. Here’s what you’ll need:
- Fresh Corn: As highlighted above, quality is key. Opt for fresh ears of corn with the husk intact if possible, as the husk helps protect the kernels and maintain freshness.
- Unsalted Butter: Butter is crucial for adding richness and helping seasonings adhere. Using unsalted butter gives you full control over the salt content, especially if you plan to add other salty toppings like Parmesan cheese later. You can melt it beforehand for easier brushing or use softened pats.
- Salt and Black Pepper: These fundamental seasonings enhance the natural sweetness of the corn. A good quality sea salt and freshly ground black pepper make a noticeable difference.
- Fresh Parsley: Finely chopped fresh parsley adds a burst of vibrant color and a fresh, herbaceous note that complements the corn beautifully. If parsley isn’t available, fresh cilantro or basil are excellent alternatives.
Preparing Your Grill for Success
Proper grill preparation is essential for preventing sticking and ensuring even cooking. A well-prepared grill will guarantee beautiful, perfectly cooked corn every time.
- Clean the Grates: Before you start, ensure your grill grates are clean. Use a sturdy steel grill brush to remove any leftover food particles. This step is critical to prevent your corn from sticking and to avoid transferring unwanted flavors.
- Oil the Grates: Once clean, lightly oil the grates. Dip a wad of paper towel into a high-smoke-point cooking oil (like vegetable, canola, or grapeseed oil) and, using tongs, carefully wipe down the hot grates. This creates a non-stick surface.
- Preheat the Grill: Turn all burners to medium-high heat. Close the grill lid and allow it to preheat until it reaches a temperature of around 400-450°F (200-230°C). Preheating ensures that the grill is hot enough to cook the corn efficiently and achieve those desirable grill marks. While a gas grill offers consistent heat, a charcoal grill can also be used, providing an even smokier flavor. Just make sure the coals are evenly distributed and hot.
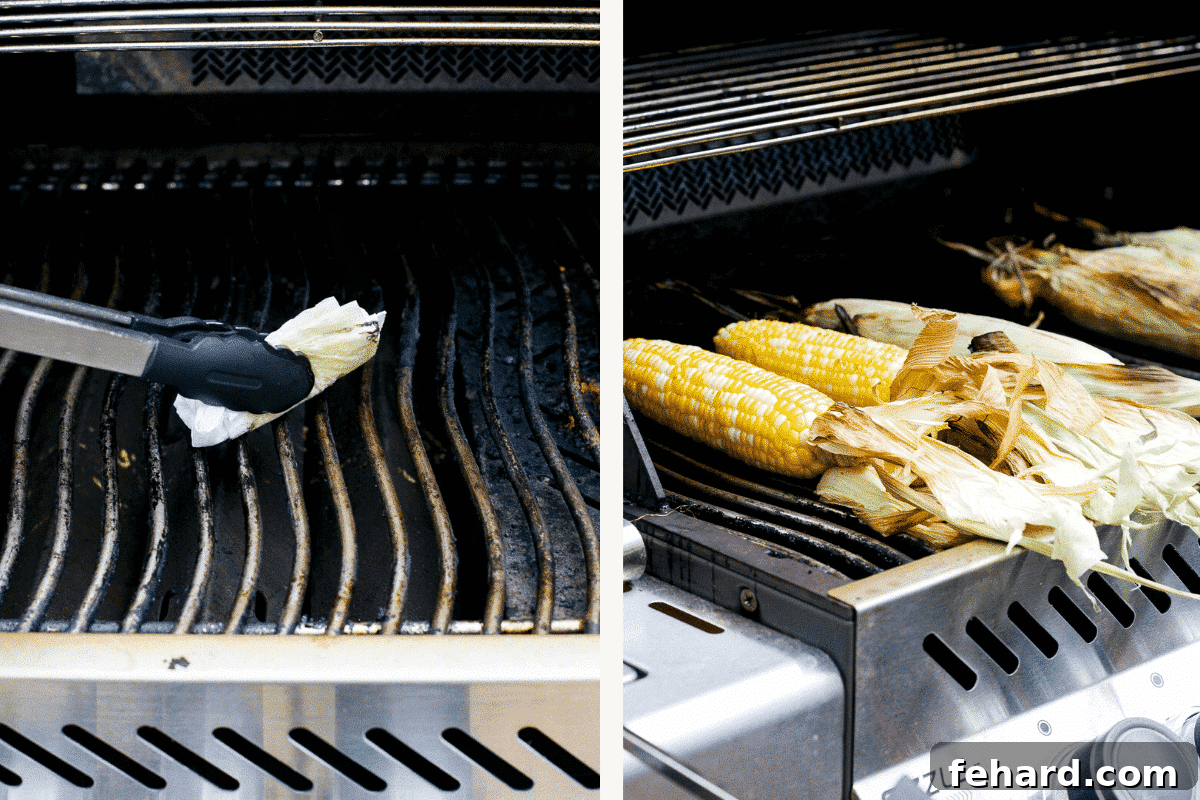
Method 1: Grilling Corn in the Husk (Steamed Perfection)
Grilling corn with the husk on is a fantastic method that results in wonderfully tender, steamy kernels. The husk acts as a natural protective layer, infusing the corn with moisture and a subtle smoky flavor without direct exposure to the flame. This method is often preferred for its ease and the consistently juicy outcome.
- **Soak the Corn:** Place the ears of corn (with husks still on) in a large pot, bucket, or container. Submerge them completely in water and let them soak for about 15-20 minutes. Soaking prevents the husks from catching fire on the grill and helps create a steaming effect that cooks the corn perfectly.
- **Prepare for Grilling:** Remove the corn from the water and gently shake off any excess water from the husks. There’s no need to pat them completely dry.
- **Grill Over Direct Heat:** Place the soaked corn directly on the preheated grill grates. Grill for 20-25 minutes, turning the corn every 5 minutes to ensure even cooking and light charring on all sides of the husk. The husks may blacken and char, which is normal and contributes to the smoky flavor.
- **Cool and Serve:** Carefully remove the corn from the grill. Let it cool for just 1-2 minutes—it will be very hot! Then, carefully peel back the husks. You can use a kitchen towel or gloves for protection. Discard the silks, which should come off easily with the husk.
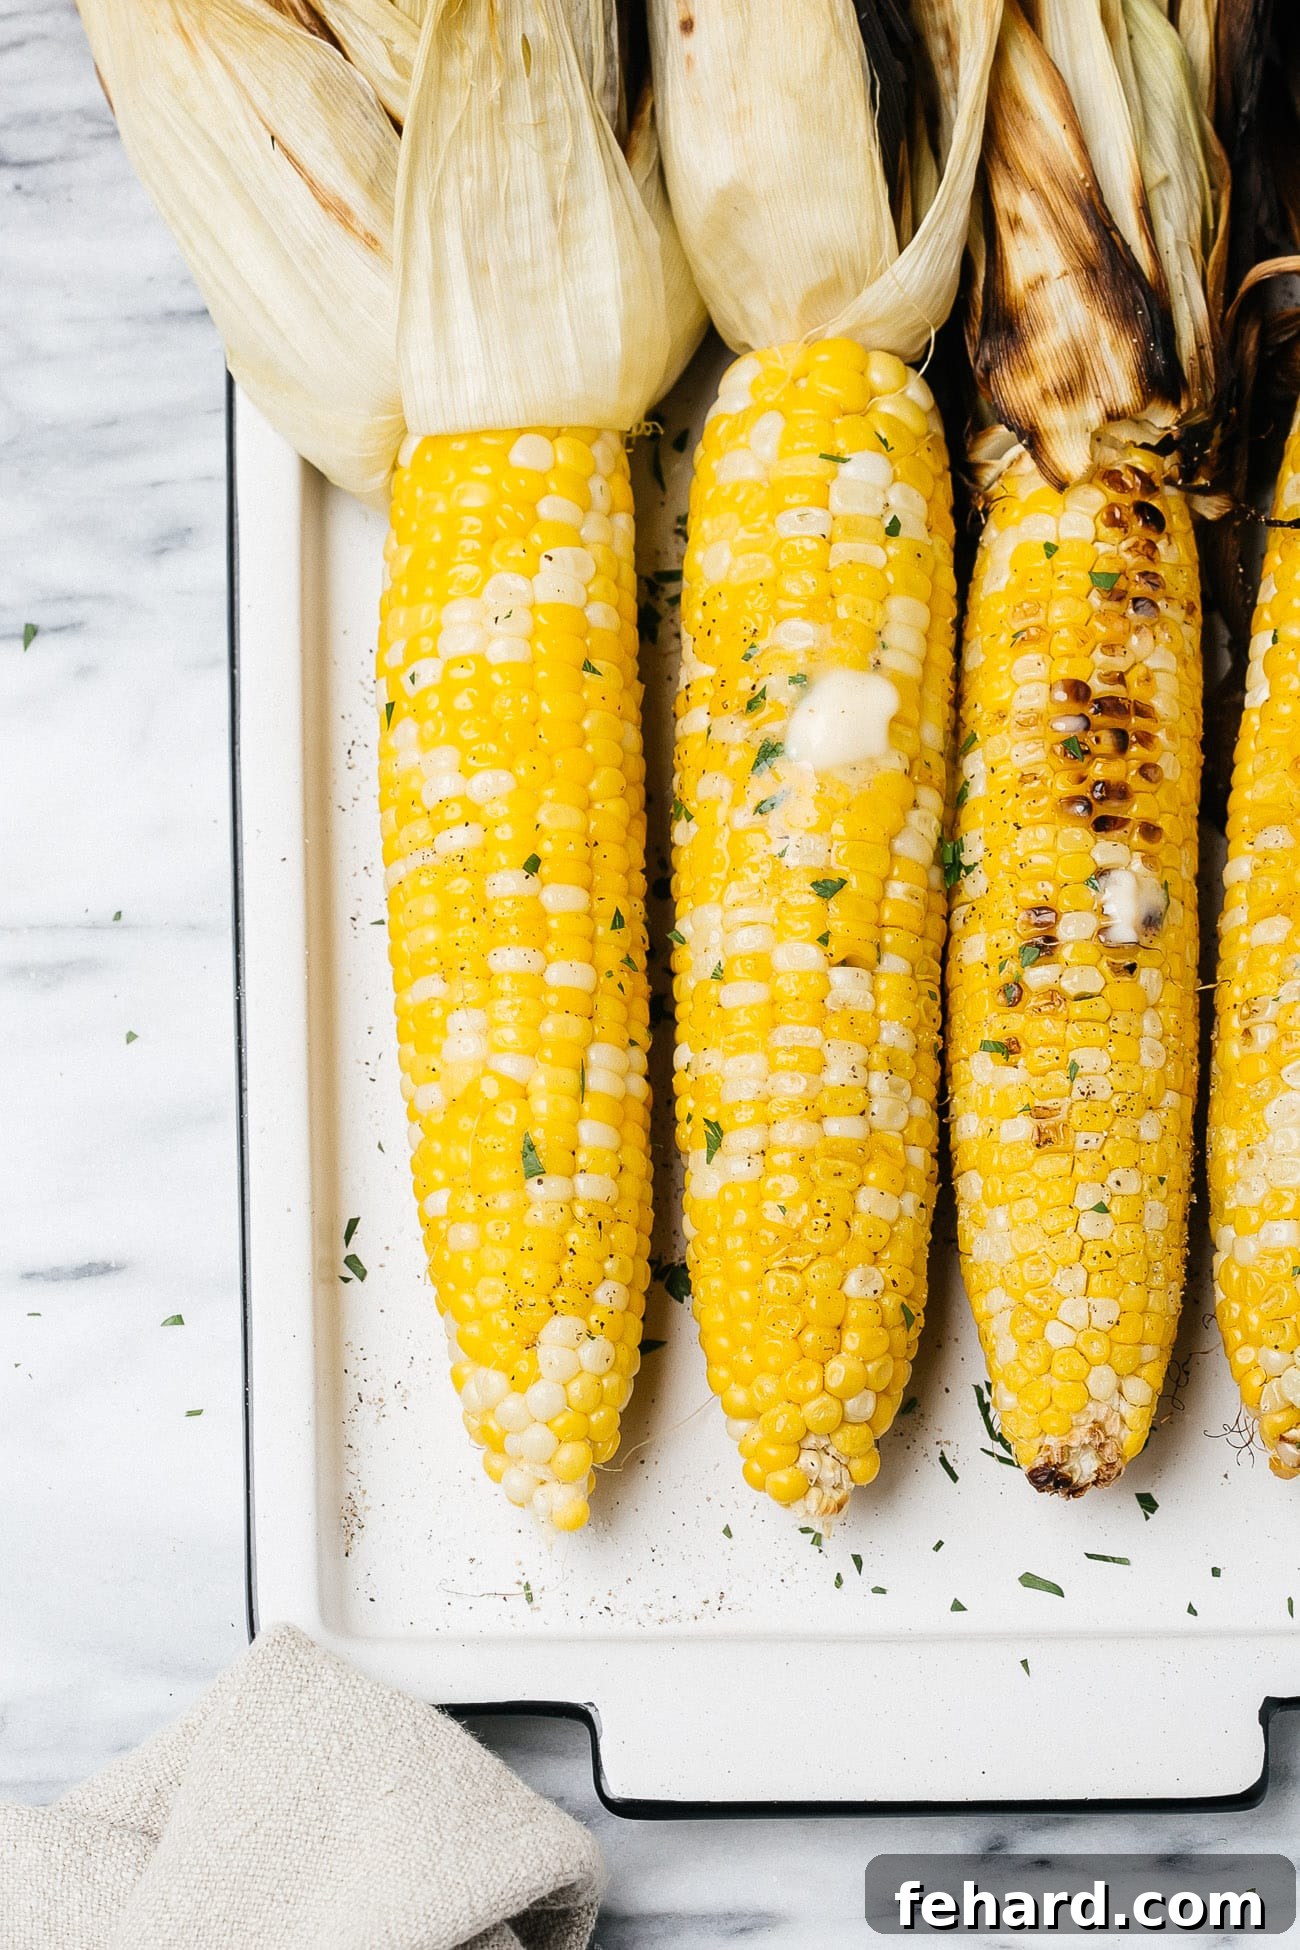
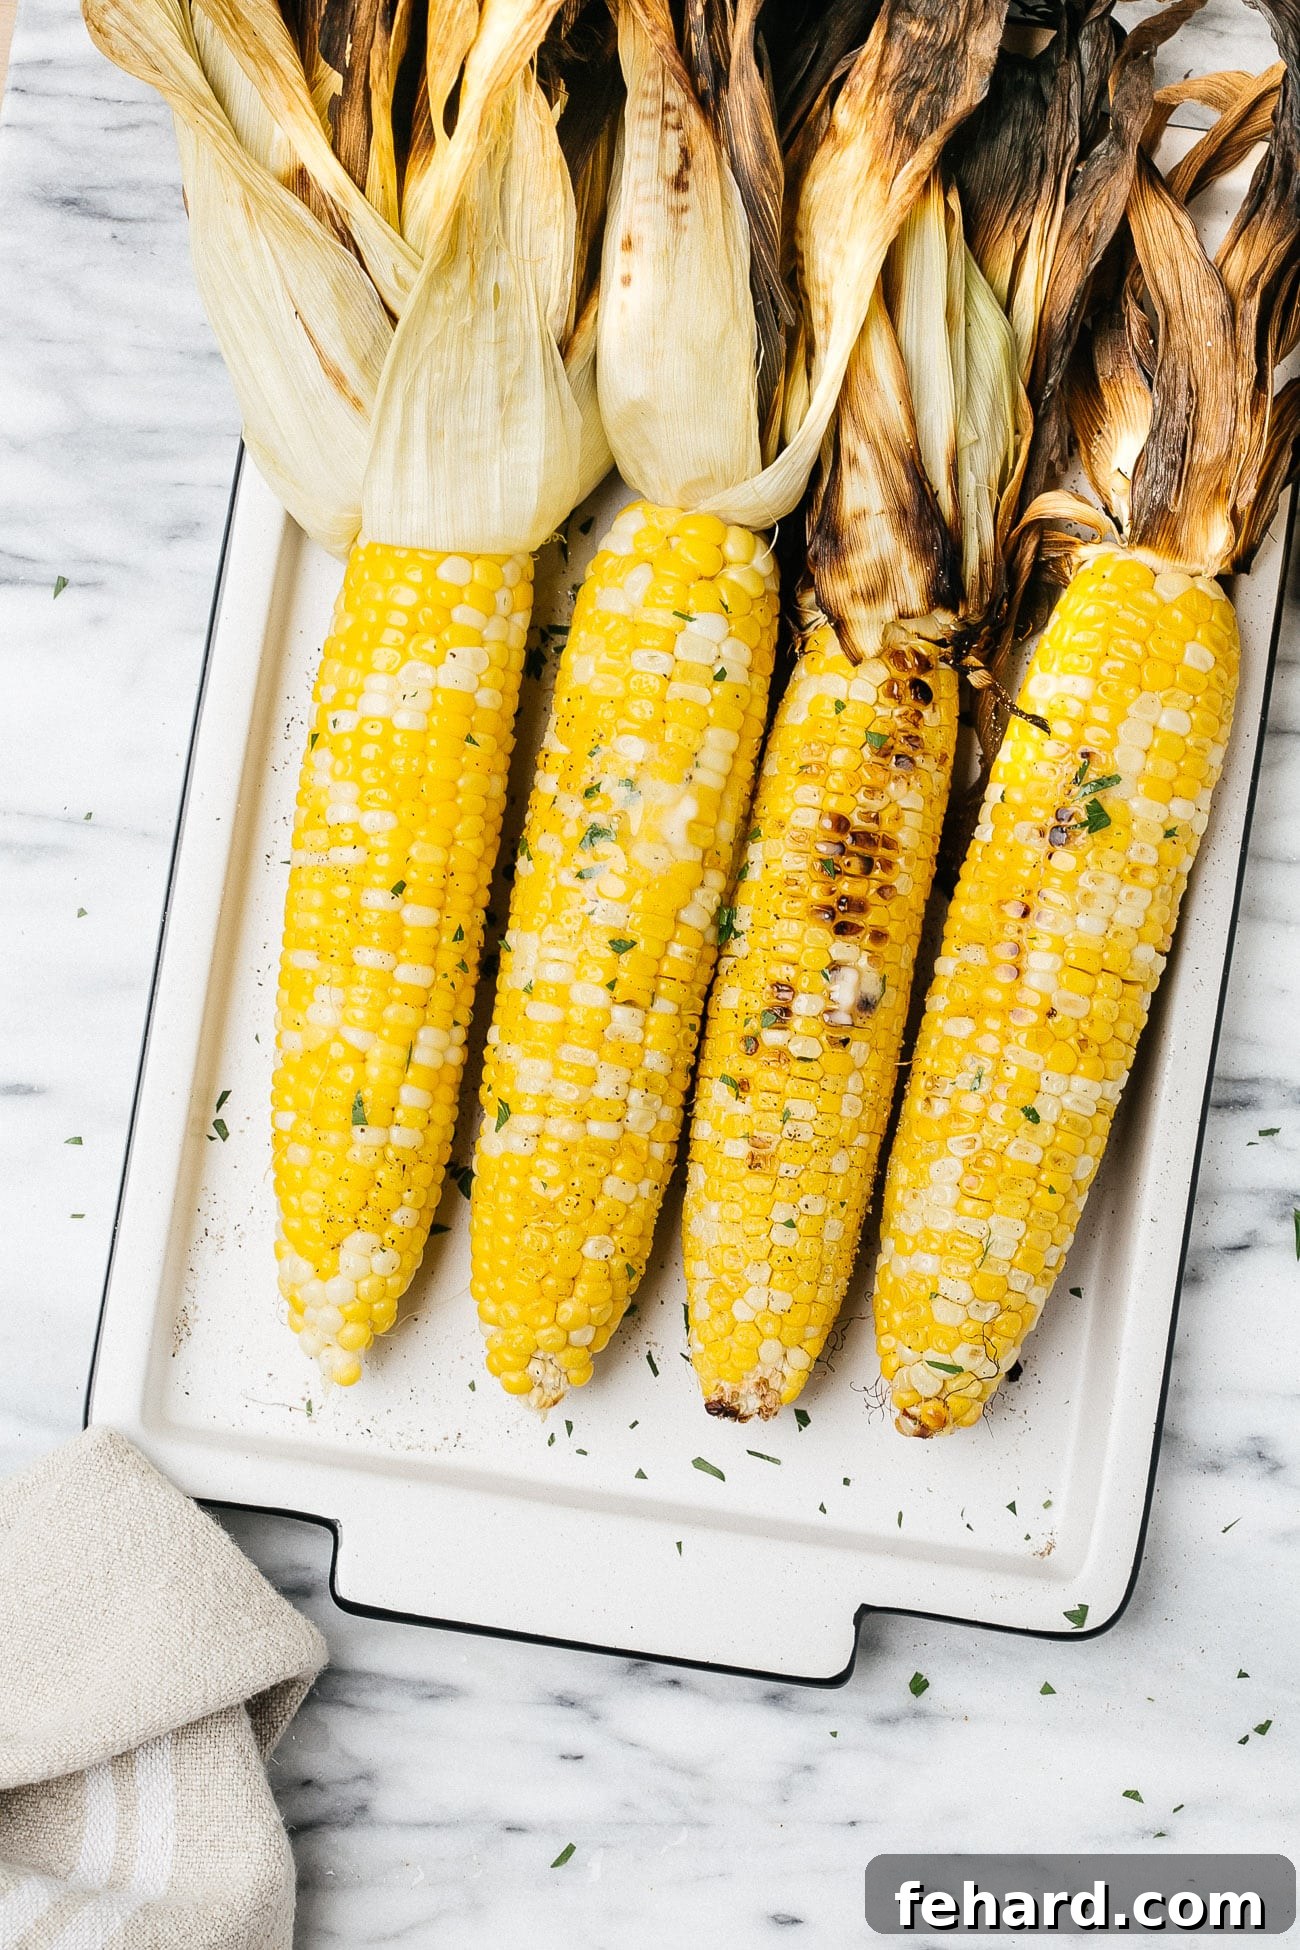
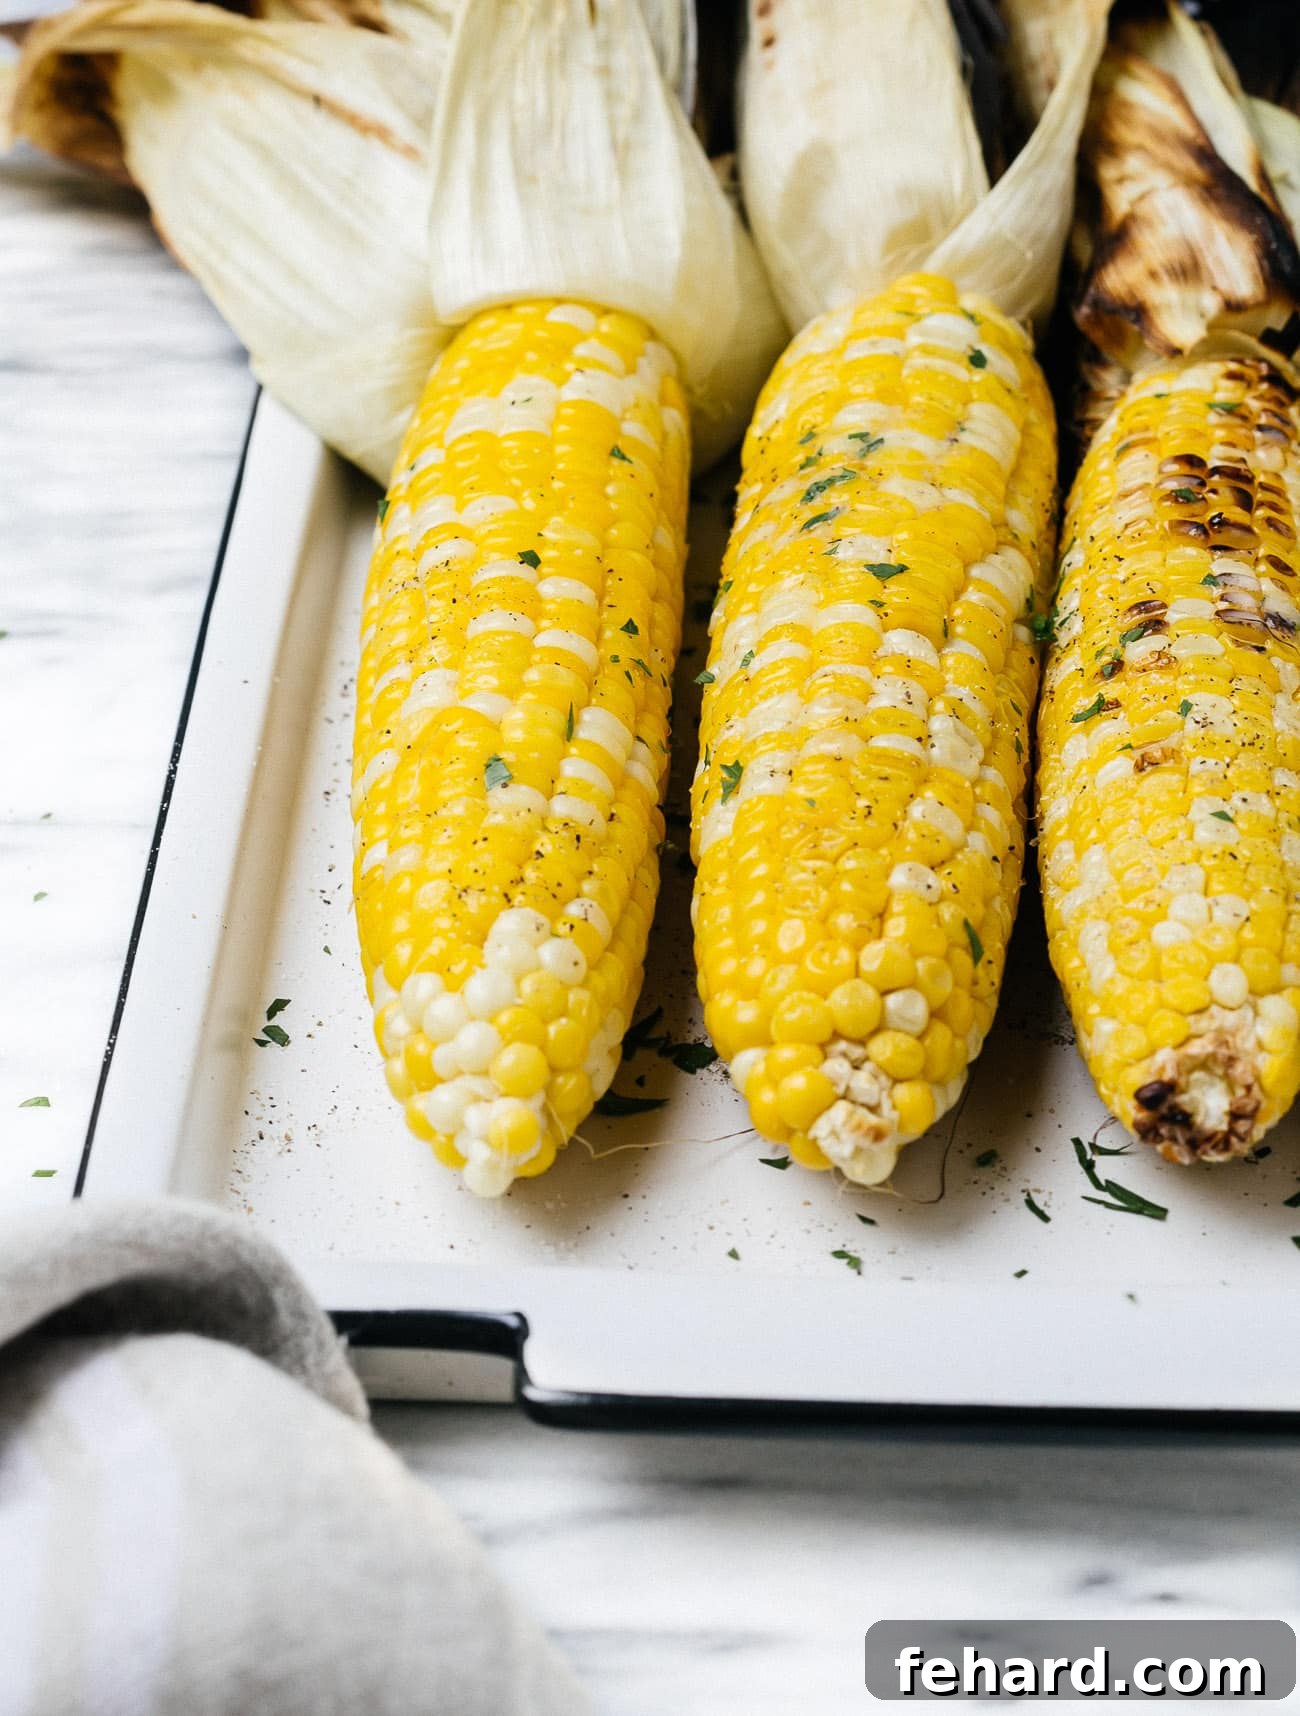
- **Season and Enjoy:** Once husked, immediately brush the warm corn generously with melted butter. Season with salt and black pepper to taste. A sprinkle of fresh parsley adds a pop of color and freshness.
Method 2: Grilling Corn Without the Husk (Charred Deliciousness)
For those who love a slightly charred, intensely sweet, and smoky flavor, grilling corn without the husk is the way to go. This method allows the kernels to caramelize directly on the grates, creating a beautiful texture and deeper flavor. It’s quicker and offers a more direct grilling experience.
- **Prepare the Corn:** Start by removing all the husks and silks from each ear of corn. The easiest way to do this is to peel back the husks, grab the silks firmly, and pull them off. You can use a damp paper towel to wipe away any stubborn silks.
- **Grill Directly:** Place the completely husked and de-silked corn directly onto the preheated grill grates.
- **Cook to Perfection:** Grill for 15-20 minutes, turning every few minutes (about 3-4 minutes per side). You’re looking for bright yellow kernels with appetizing grill marks and a slight char. The corn should be tender-crisp.
- **Remove and Season:** Once cooked to your liking, remove the corn from the grill and place it on a serving plate. Immediately add a few pats of butter over the hot kernels, allowing it to melt and coat them.
- **Final Touches:** Sprinkle generously with salt, freshly ground black pepper, and a vibrant scattering of chopped fresh parsley before serving.
Expert Tips for the Best Grilled Corn on the Cob
Achieving perfectly grilled corn is simple, but a few insider tips can make all the difference, ensuring tender, flavorful results every time.
- **Turn Frequently:** Regardless of the method you choose, turn the corn on the grill often. This ensures even cooking on all sides and prevents any one section from burning.
- **Don’t Overcook:** Keep a close eye on the cooking time. Overcooked corn can become chewy and lose its satisfying crisp-tender texture. The goal is bright yellow kernels and a slight caramelization, not dry or tough corn.
- **Melted Butter Magic:** If your butter solidifies, simply pop it back into the microwave for a few seconds to re-melt. Warm, melted butter coats the corn more effectively, helping the seasonings adhere evenly.
- **Herb Substitutions:** No parsley? No problem! Feel free to swap it with other fresh herbs like cilantro, chives, or a delicate sprinkle of basil for a different aromatic twist.
- **Experiment with Heat:** While medium-high is generally recommended, don’t be afraid to experiment with slightly lower heat for a longer cook time if you prefer less char, or a quick burst of high heat for maximum charring on husked corn.
- **Uniformity Matters:** Try to choose ears of corn that are roughly similar in size. This ensures they cook at a consistent rate, preventing some from being undercooked while others are overdone.
Can I Leave the Husks On While Grilling?
Absolutely! Leaving the husks on is a popular and effective method, as detailed above. Soaking the corn in water beforehand is a crucial step if you choose this technique. The moisture from the soaking not only prevents the husks from catching fire on the hot grill but also creates a steaming effect inside the husk. This steam helps cook the corn gently and evenly, resulting in wonderfully tender and juicy kernels with a subtle, earthy flavor imparted by the charred husk.
Elevating Your Grilled Corn: Flavor Variations & Toppings
While classic butter, salt, and pepper are always a hit, don’t hesitate to get creative with your grilled corn. After brushing the corn with butter, an assortment of seasonings and toppings can transform it into a gourmet side dish. Here are some of my favorite flavor combinations to inspire your next barbecue:
- **Spicy Kick:** Sprinkle with Cajun seasoning, chipotle chili powder, or Tajín seasoning (a Mexican chili-lime seasoning) for a zesty, spicy, and tangy flavor. A squeeze of fresh lime juice amplifies these flavors.
- **Cheesy Goodness:** Grate fresh Parmesan cheese over the warm corn for a salty, umami boost. For a Mexican street corn (Elote) inspired twist, use crumbled Cotija cheese, a squeeze of lime, and a dash of chili powder.
- **Herb Butter Variations:** Infuse your butter with garlic, rosemary, thyme, or smoked paprika before brushing it on the corn. Simply melt butter with minced garlic and your chosen herbs for an elevated experience.
- **Smoky Sweet:** A pinch of smoked paprika or sweet paprika can add a beautiful color and a deeper, smoky flavor that complements the grilled notes perfectly.
- **Garlic Lover’s Dream:** Rub the hot corn with a cut garlic clove or sprinkle generously with garlic powder for an aromatic twist.
Don’t be afraid to experiment! Your personal go-to seasonings and flavor combinations are waiting to be discovered. Share your favorites with friends and family!
How to Serve Grilled Corn
Grilled corn is incredibly versatile and pairs well with a wide variety of main courses and other summer sides. Here are some ideas for serving:
- **Classic BBQ:** Serve alongside grilled chicken, steaks, ribs, or burgers for a traditional backyard feast.
- **Fresh Salads:** Cut the kernels off the cob and add them to fresh green salads, pasta salads, or grain bowls for a pop of sweetness and texture.
- **Taco Night:** Use grilled corn kernels as a topping for fish tacos, chicken tacos, or vegetarian quesadillas.
- **Chili and Stews:** While typically a summer dish, grilled corn kernels can add depth to winter chilis and stews.
- **Simple Side:** Often, all you need is a pat of butter and a sprinkle of salt and pepper to enjoy this delicious vegetable on its own.
Storage and Reheating Tips for Grilled Corn
Have leftovers? No problem! Grilled corn can be stored and reheated for continued enjoyment.
- **To Store:** Allow the grilled corn to cool completely. Wrap individual ears tightly in plastic wrap or aluminum foil, or store them in an airtight container in the refrigerator for up to 4 days.
- **To Reheat:** You can gently reheat grilled corn in the microwave for a minute or two until warmed through. Alternatively, enjoy it chilled, cut the kernels off the cob and add them to salads.
- **To Freeze:** For longer storage, you can freeze grilled corn. Remove the kernels from the cob using a sharp knife. Lay them in a single layer on a baking sheet and freeze until solid. Then, transfer the frozen kernels to a freezer-safe bag, removing as much air as possible. Label and freeze for up to 3 months. Whole ears can also be frozen, wrapped tightly in plastic wrap and then foil, but removing the kernels is often more space-efficient.
More Summer Recipes
Cajun Grilled Chicken
45 mins
Grilled Shrimp Recipe
11 mins
Grilled Chicken Chimichurri Recipe
37 mins
Easy Grilled Fish Tacos Recipe
25 mins
Grilled Corn Recipe (Two Ways)
This Grilled Corn Recipe is juicy, tender, super flavorful and easy to make. Enjoy this favorite summer side dish!
Author: Olivia Ribas
Servings: 4 people
Prep Time: 10 minutes
Cook Time: 20 minutes
Total Time: 30 minutes
Ingredients
- 4 ears fresh corn
- 2 tbsp butter
- Salt and black pepper to taste
- 1 tsp freshly chopped parsley
Instructions
Prepare the Grill
- If you need to clean the grates, use a steel grill brush to do so. Dip a wad of paper towel into cooking oil and then wipe the grates. This step is important to prevent the corn from sticking to the grates. Turn all burners on medium-high, cover, and heat the grill until it reaches 450 degrees F.
Grilling Corn in the Husk
- Place the corn in a large pot or bucket or container and cover the corn with water. Let the corn soak in water for about 15-20 minutes. Remove the corn from the water and shake the water off of the corn husk.
- Place the corn over direct heat for 20-25 minutes. Don’t forget to turn the corn every five minutes for even cooking.
- Remove the corn from the grill. Let it cool down for 2 minutes. Carefully remove the husk.
- Spread butter on the corn and season with salt and pepper.
Grilling Corn without the Husk
- Remove all the husks and silks from the corn thoroughly.
- Place corns on the preheated grill and cook them for 15-20 minutes or until they are bright yellow and slightly charred.
- Remove the corns from the grill and place them on a plate.
- Spread butter over corn, season with salt and pepper, and sprinkle some chopped parsley before serving.
Notes
- The nutrition information is an approximation for 1 corn on the cob and 1/5 teaspoon of butter.
- If you do not have parsley, you can use cilantro or basil for a similar fresh herb flavor.
- To store: Store leftover grilled corn wrapped tightly in the fridge for up to 4 days.
- To reheat: You can gently microwave the corn or enjoy it chilled in salads or salsas.
- To freeze: For longer preservation, remove kernels from the cob, tightly wrap in plastic, and transfer to a freezer-safe bag. Freeze for up to 3 months.
Nutrition
Serving: 1/4, Calories: 130kcal, Carbohydrates: 16g, Protein: 2g, Fat: 6g, Cholesterol: 15mg, Sodium: 619mg, Potassium: 5mg, Fiber: 1g, Sugar: 4g
Nutrition information is automatically calculated and should only be used as an approximation.