
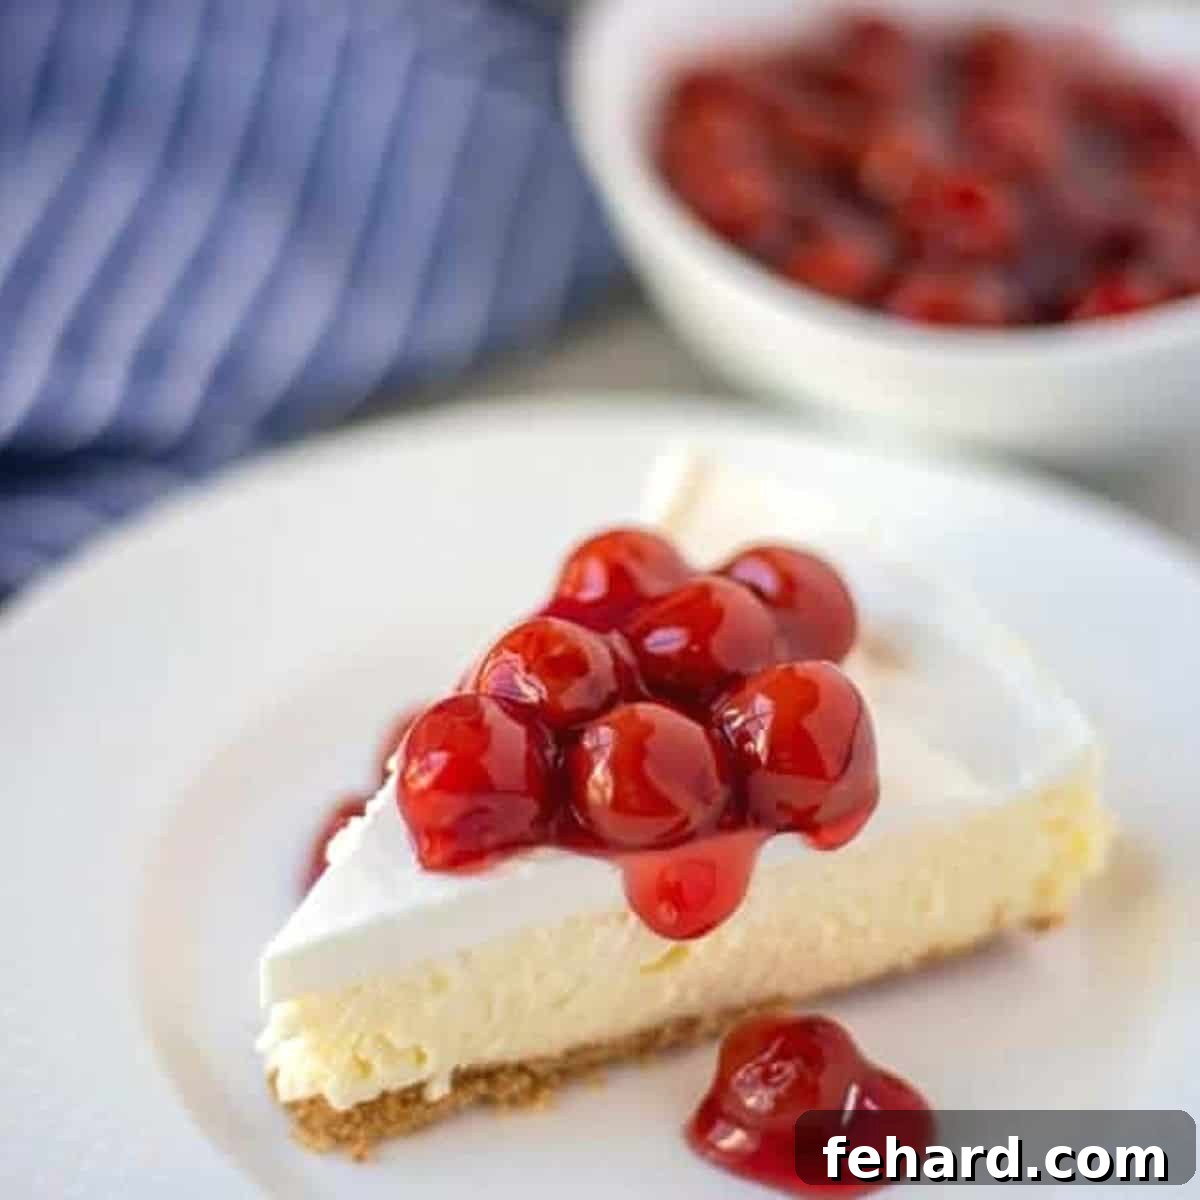
Experience the sublime delight of the ultimate classic cheesecake recipe, meticulously crafted with a buttery graham cracker crust, an impeccably light and airy cream cheese filling, and finished with a signature tangy sour cream topping. This timeless dessert is guaranteed to impress.
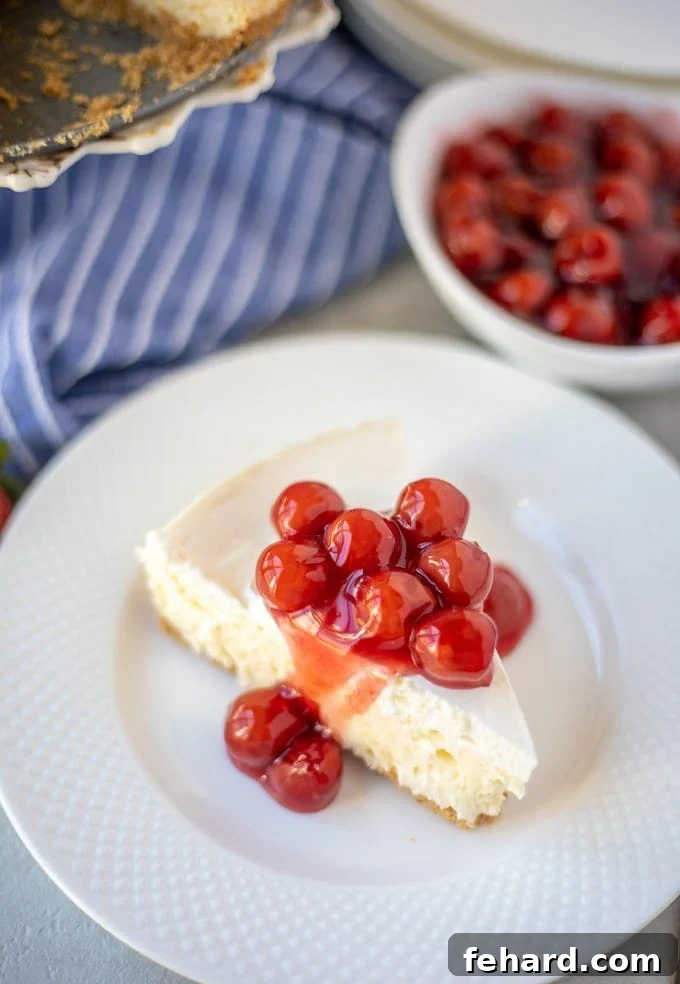
My Nana’s Famous Cheesecake Recipe: A Century-Old Family Tradition
While I cherish a variety of homemade desserts, from decadent Brownies and comforting Banana Pudding to a delightful Cherry Crumb Pie, cheesecake holds a truly special place in my heart. My culinary journey through cheesecakes is extensive, embracing modern twists like Instant Pot Cheesecake, charming Mini Cheesecakes, and refreshing Lemon Cheesecake Bars. However, the quintessential cheesecake recipe, the one that truly defines perfection for me, comes from my beloved Nana. This cherished family recipe has been passed down through generations for over a century, and its enduring appeal is testament to its flawless execution and exquisite flavor profile.
There are countless reasons why this particular cheesecake stands out and has remained a family favorite for so long. It’s more than just a dessert; it’s a piece of history, a tradition, and a celebration of simple, yet profound, culinary artistry.
- Uniquely Light and Airy Texture. Unlike the dense, rich consistency often associated with classic New York-style cheesecakes, this homemade version boasts a delightfully light, creamy, and fluffy texture. It achieves an ethereal, cloud-like quality reminiscent of no-bake cheesecakes, yet it is traditionally baked and made without any whipped topping. Its delicate consistency makes every bite an absolute dream.
- A Signature Tangy Sour Cream Topping. What truly elevates this cheesecake to an extraordinary level is its distinctive finish: a subtly sweetened sour cream topping. This luscious layer provides a delightful tang that beautifully complements and balances the inherent sweetness of the cheesecake filling, creating a harmonious symphony of flavors on your palate.
- Consistently Stunning Results. While baking a cheesecake requires a little more time and attention compared to simpler desserts, the effort invested is undeniably worth it. This recipe consistently yields visually stunning and incredibly delicious results, making it a showstopper guaranteed to impress your guests and family alike.
- The Ideal Make-Ahead Dessert. Planning for an event or simply prefer to prepare desserts in advance? This cheesecake is your perfect solution. For optimal flavor and texture, it requires a minimum of 12 hours of chilling time, allowing the cheesecake to fully set and the complex flavors to meld beautifully. This makes it an excellent choice for a stress-free make-ahead dessert.
Happy Baking! xo Kristen
Recipe Overview and Key Sections
- Detailed Cheesecake Recipe Card
- Essential Ingredients & Equipment Tips
- Step-By-Step Baking Guide
- Creative Serving Ideas
- Storage & Freezing Instructions
Essential Ingredients & Equipment for Cheesecake Success
Crafting the perfect cheesecake begins with selecting the right ingredients and utilizing appropriate equipment. Here’s a closer look at what you’ll need and why each element is crucial for achieving that signature light and creamy texture.
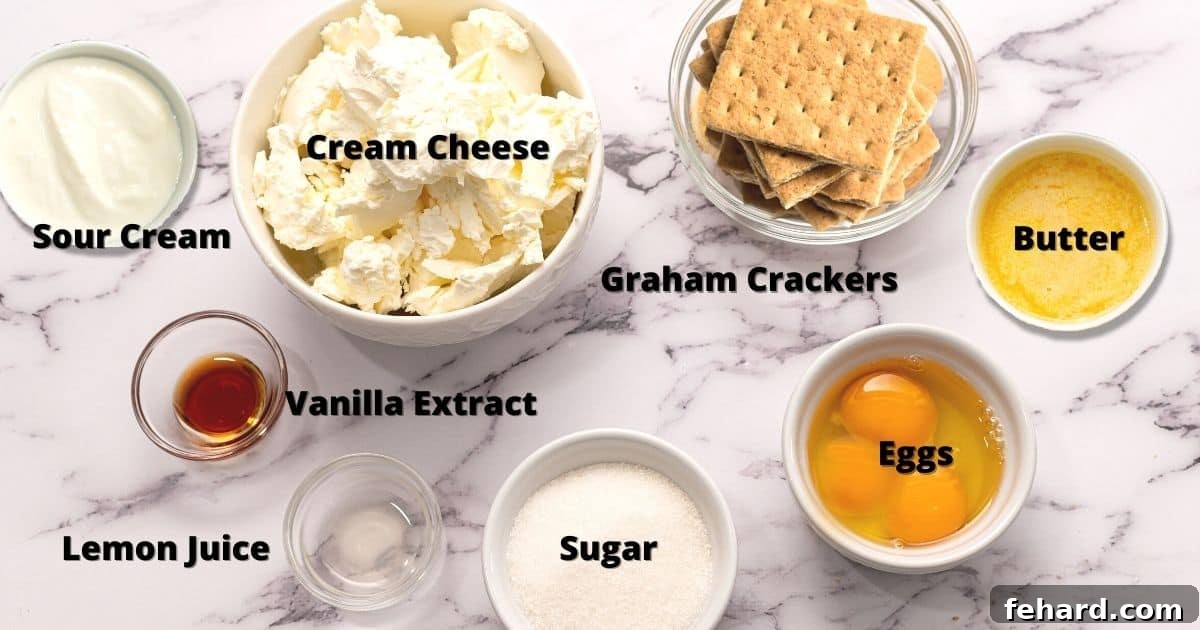
- Springform Pan: A 9-inch springform pan is truly indispensable for cheesecake making. While a standard 9-inch cake pan can technically hold the batter, gracefully removing and slicing a cheesecake from it is nearly impossible without compromising its beautiful presentation. The removable sides of a springform pan ensure easy release and perfectly intact slices every time.
- Cream Cheese: The heart of any cheesecake. For the richest and creamiest results, always opt for full-fat cream cheese. Avoid fat-free varieties, as they can alter the texture and flavor significantly. Neufchatel or ⅓ less fat cream cheese can be used in a pinch, but the classic full-fat option truly yields the best outcome. Crucially, ensure your cream cheese is at room temperature before mixing. This allows it to blend smoothly and uniformly into the batter, preventing lumps and ensuring a silky-smooth filling.
- Sour Cream: This might seem like an unusual addition, but sour cream is a game-changer for the topping. Its delicate tang provides a brilliant counterpoint to the cheesecake’s sweetness, adding a sophisticated depth of flavor. Just like with cream cheese, use full-fat sour cream for the best texture and taste in your topping.
- Eggs: This recipe utilizes eggs in a unique way to achieve its signature lightness. Instead of simply beating whole eggs into the batter, we separate them. The egg yolks are incorporated into the cream cheese mixture for richness, while stiffly beaten egg whites are gently folded in. This technique introduces air, making the cheesecake exceptionally light and fluffy, distinguishing it from denser versions.
- Sugar: Granulated sugar is used consistently throughout the recipe – in the graham cracker crust, the creamy filling, and the tangy sour cream topping. It provides the essential sweetness and contributes to the overall structure and texture.
- Lemon Juice: Do not underestimate the power of fresh lemon juice in this recipe! Although it’s a small amount, the acidity from the lemon juice plays a vital role in brightening the flavors and cutting through the richness of the cream cheese. It perfectly balances the sweetness, adding a subtle zest that enhances the entire dessert.
- For the Crust: This recipe calls for a traditional graham cracker crust, a simple yet perfect base made with crushed graham crackers, melted butter, and sugar. While graham crackers are classic, feel free to experiment with other crunchy bases. Chocolate graham crackers offer a richer flavor, vanilla wafers provide a delicate sweetness, and gingersnaps can add a delightful spicy warmth.
How To Make the Best Homemade Cheesecake: A Step-By-Step Guide
Creating this exquisite homemade cheesecake is a rewarding process. Follow these detailed steps to achieve perfect, crack-free results and an irresistibly creamy texture. You will find precise ingredient quantities and comprehensive instructions in the recipe card at the bottom of this post.
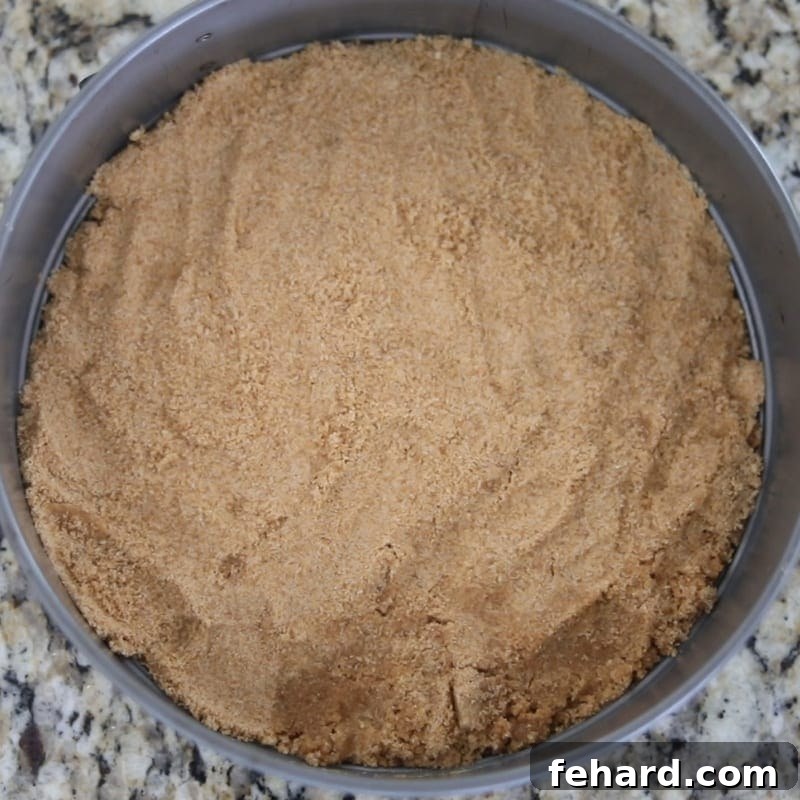
- Prepare the Graham Cracker Crust. Begin by preheating your oven to 300°F (150°C). For the easiest and most uniform crumbs, I highly recommend using a food processor. Simply process whole graham crackers with sugar and melted butter until the mixture resembles moist sand. Once processed, firmly press this mixture into the bottom of a 9-inch springform pan, ensuring an even layer. Pre-bake the crust for 10 minutes. This crucial step helps to set and harden the crust, preventing it from becoming soggy once the cheesecake batter is added.
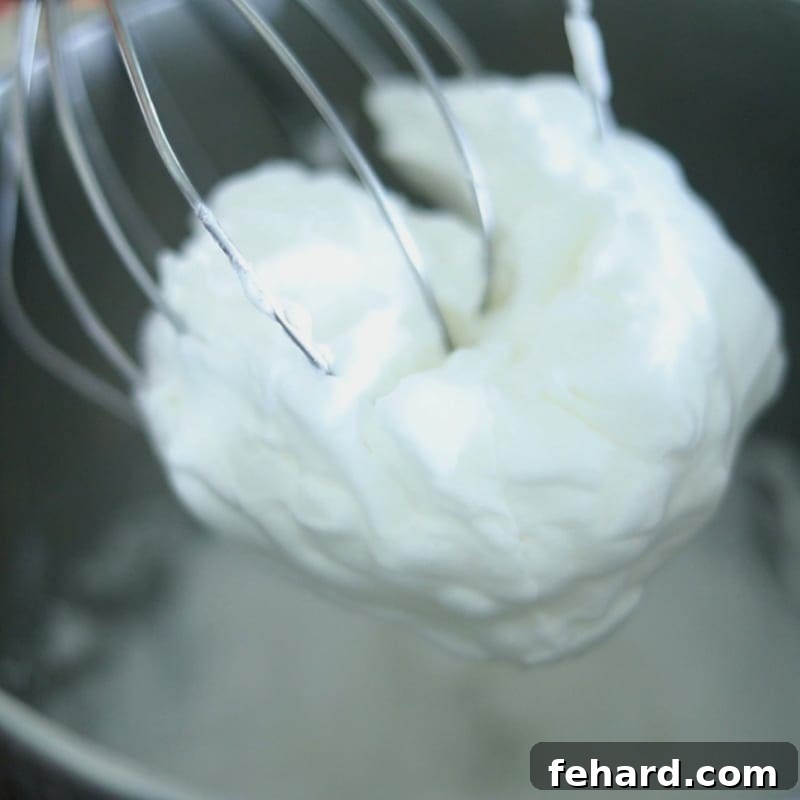
- Whip the Egg Whites. A key secret to this cheesecake’s signature light and fluffy texture lies in the preparation of the egg whites. Using a stand mixer or a handheld mixer, whip the separated egg whites until they form stiff peaks. You’ll know they’re ready when they hold their shape firmly and stand upright when the beaters are lifted. Set these aside carefully; they will be gently folded into the batter later.
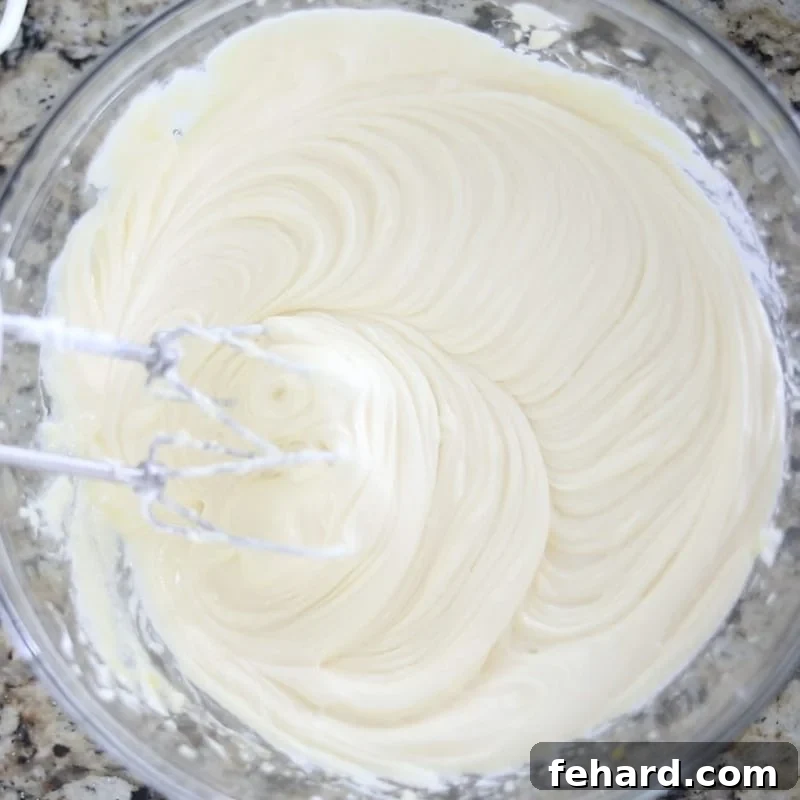
- Prepare the Cream Cheese Batter. In a separate large mixing bowl, the technique for combining the cream cheese batter is crucial for achieving a smooth, lump-free filling. Start by combining one package of room-temperature cream cheese with one egg yolk and ¼ cup of granulated sugar. Beat with a handheld mixer until the mixture is beautifully creamy. Repeat this process twice more, adding the remaining cream cheese packages, egg yolks, and sugar in thirds, beating until each addition is perfectly smooth and fully incorporated. This gradual addition ensures an impeccably creamy and uniform batter. Finally, add the vanilla extract and lemon juice, mixing just until combined. Then, gently fold in the whipped egg whites, being careful not to overmix or deflate them, preserving the airiness they contribute.
- Bake the Cheesecake with a Water Bath. The secret to baking a cheesecake without cracks on its surface is to bake it low and slow in a moist environment. To achieve this, place a shallow baking dish with hot water on the oven rack positioned below the cheesecake. The steam generated from this water bath will create a humid environment, which helps the cheesecake bake gently and evenly, preventing it from drying out and cracking, and keeping it wonderfully light and fluffy. Pour the prepared cream cheese mixture into the pre-baked graham cracker crust. Gently tap the pan on the counter a few times to release any trapped air bubbles. Place the cheesecake on the center rack, above the water bath, and bake for 45 minutes.
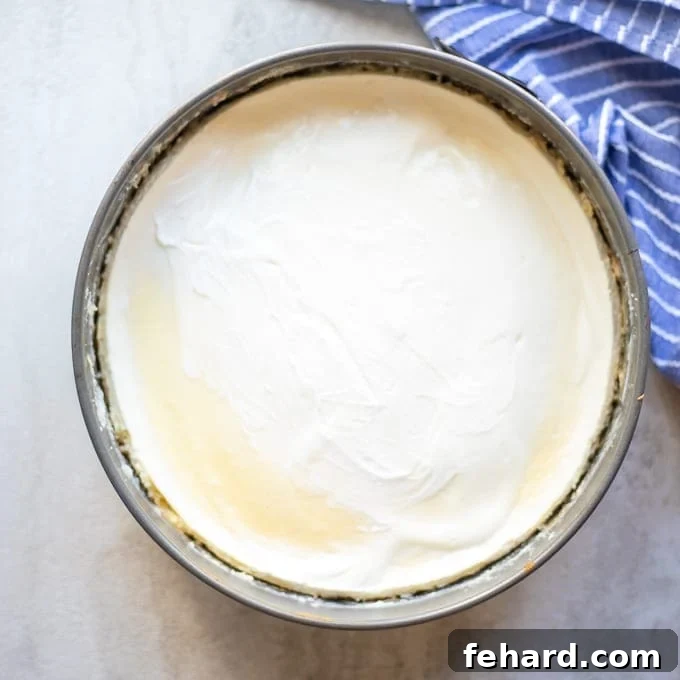
- Prepare and Add the Sour Cream Topping. While the cheesecake is baking, prepare the delightful sour cream topping. In a small mixing bowl, combine the sour cream, granulated sugar, and vanilla extract until smooth. After the initial 45 minutes of baking, carefully remove the cheesecake from the oven. Gently and evenly spread the sour cream mixture over the partially baked cheesecake. Return the cheesecake to the oven and bake for an additional 10 minutes, or until the edges of the cheesecake appear well-set, and the center still has a slight, delicate wobble when gently shaken.
- Chill the Cheesecake for Optimal Flavor. Patience is key for the perfect cheesecake! After baking, allow the cheesecake to cool in its springform pan on a wire rack at room temperature for about 30 minutes. Once slightly cooled, use a butter knife to carefully loosen the cheesecake’s sides from the pan. This prevents cracks during chilling. To store, drape a clean kitchen towel lightly over the sides of the springform pan, then cover the entire pan with plastic wrap. The towel helps absorb any condensation, preventing it from making the top of your cheesecake wet. Refrigerate the cheesecake for a minimum of 12 hours. This extended chilling period is vital for the cheesecake to fully set, firm up, and for all its exquisite flavors to meld and deepen, resulting in an incomparably delicious dessert.
Serving Suggestions: Elevate Your Cheesecake Experience
To truly unlock the full spectrum of flavors, I highly recommend removing your chilled cheesecake from the refrigerator and allowing it to come to room temperature for 20-30 minutes before serving. This brief resting period allows the textures to soften slightly and the intricate flavors to become more pronounced, offering a truly optimal tasting experience.
This classic cheesecake is absolutely divine when served plain, allowing its inherent creamy richness and tangy topping to shine. However, it also serves as a fantastic canvas for a myriad of delicious additions. Consider topping your slice with vibrant fruit pie filling, an assortment of fresh berries, a drizzle of homemade chocolate syrup, warm hot fudge sauce, luscious caramel sauce, and/or a generous dollop of freshly made whipped cream. Seasonal fruits like sliced strawberries, blueberries, raspberries, or even peaches in summer can add a burst of freshness and color. For a holiday twist, cranberry sauce or candied pecans can be delightful. Don’t be afraid to get creative and customize your cheesecake to suit any occasion or preference!
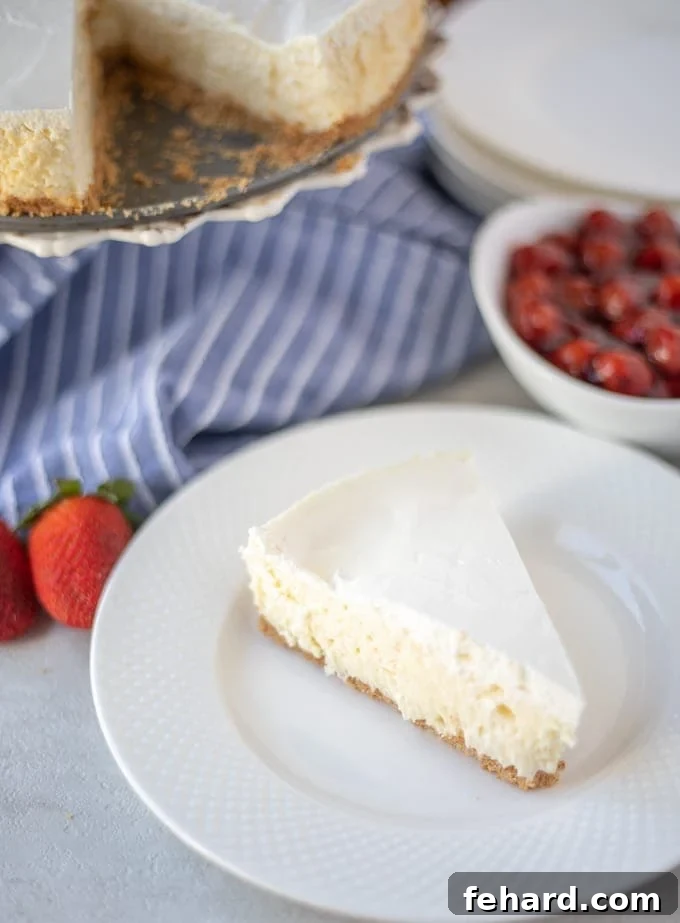
How to Store Cheesecake: Keeping it Fresh and Delicious
Proper storage is essential to maintain the freshness, texture, and flavor of your cheesecake. Here are my best tips for both refrigeration and freezing:
- Refrigerate: There’s a clever trick to storing cheesecake in the refrigerator to prevent unsightly condensation from forming on its beautiful surface. To store, first gently drape a clean kitchen towel lightly over the sides of the springform pan. Then, cover the pan securely with plastic wrap over the kitchen towel. The towel acts as a barrier, absorbing any moisture that might otherwise accumulate on the cheesecake. Stored this way, your homemade cheesecake will remain perfectly fresh and delicious in the refrigerator for up to 4-5 days.
- Freeze: For longer preservation, cheesecake freezes remarkably well! I recommend slicing the cheesecake into individual portions first. Wrap each slice tightly in plastic wrap, ensuring no air exposure, and then place the wrapped slices into a freezer-safe airtight bag or container. This method prevents freezer burn and makes it convenient to thaw only what you need. Freeze for up to 3 months. To enjoy a frozen slice, simply transfer it to the refrigerator and allow it to thaw for 6-12 hours, or overnight, before serving.
The Enduring History of Cheesecake: A Timeless Indulgence
Cheesecake, a dessert beloved across cultures and centuries, boasts a fascinatingly rich history that traces back much further than you might imagine. Its origins are often linked to ancient Greece, where historians believe a form of cheesecake was served at the first Olympic Games in 776 BC. This early version, made with cheese, honey, and wheat, was a source of energy for athletes. As the Roman Empire expanded, they adopted and adapted the recipe, eventually spreading it across Europe. Different regions began incorporating local ingredients and techniques, leading to the diverse array of cheesecakes we know today.
It was during the 18th century that cheesecake transitioned from a yeast-leavened pastry to the cream cheese-based dessert we recognize now, especially with the widespread availability of cream cheese. The iconic New York-style cheesecake, known for its dense, rich, and creamy texture, emerged in the late 19th and early 20th centuries. My Nana’s recipe, with its lighter, airier consistency, represents another beloved branch of this long and storied culinary tree, showcasing how this classic dessert continues to evolve while retaining its comforting familiarity and celebratory appeal. It’s a dessert that truly transcends time, bringing joy with every spoonful.
Common Cheesecake Mistakes and How to Avoid Them
Even for experienced bakers, cheesecake can sometimes present challenges. Here are some common pitfalls and how to steer clear of them:
- Cracked Surface: The most common complaint! Cracks are typically caused by sudden temperature changes or overbaking. Our recipe addresses this with a gentle, low-temperature bake, a crucial water bath for moisture, and a slow cooling process. Resist the urge to open the oven door too frequently during baking.
- Lumpy Batter: This is almost always due to cold cream cheese. Ensure your cream cheese (and eggs!) are at true room temperature. Beating ingredients in stages, as instructed, also helps achieve a perfectly smooth batter.
- Soggy Crust: An unbaked or under-baked crust can become soggy. Our recipe calls for a pre-bake of the graham cracker crust, which creates a barrier and helps it hold its crisp texture against the moist filling.
- Overmixing: While you want a smooth batter, overmixing, especially after adding eggs or folding in egg whites, can incorporate too much air, leading to a cracked top or a less dense texture than desired. Mix until just combined.
- Under-chilling: Patience is paramount! Cutting into a cheesecake too early, before it has fully set, will result in a soft, messy slice. The extended chill time allows the proteins to firm up and the flavors to fully develop.
More Favorite Dessert Recipes to Explore
If you loved this classic cheesecake, you might also enjoy these other delightful dessert recipes from my kitchen:
- Blackberry Crisp
- Banana Cake
- Raspberry Cheesecake Bars
- Peach Cobbler
- Hot Milk Cake
- Homemade Peanut Butter Cups
- Instant Pot Lava Cakes
If you tried this Homemade Cheesecake recipe, I would love for you to leave a review and comment below! Your feedback helps me improve and share even more delicious recipes.
The Best Classic Cheesecake Recipe
Ingredients
Cheesecake Graham Cracker Crust
- 1½ cups graham cracker crumbs, approximately 1 sleeve of whole graham crackers
- 3 tablespoons unsalted butter, melted
- 2 tablespoons sugar
Cheesecake Filling
- 3 large eggs, separated
- 3 (8-ounce) packages of cream cheese, at room temperature
- ¾ cup granulated sugar, divided
- 1 tablespoon vanilla extract
- 1 teaspoon lemon juice, optional, but encouraged for balance
Sour Cream Topping
- 1 cup sour cream
- 1 tablespoon granulated sugar
- ½ teaspoon vanilla extract
Instructions
-
Preheat your oven to 300℉ (150℃). Position one oven rack in the center of the oven and another rack directly below it.
-
To prepare the graham cracker crust, use a food processor fitted with an s-blade to process 1 sleeve of graham crackers until they form 1½ cups of fine crumbs. Add 2 tablespoons of sugar and pulse to combine evenly. With the food processor running, gradually add 3 tablespoons of melted unsalted butter through the lid. Continue to process until the graham cracker mixture resembles wet sand.
-
Firmly press the graham cracker mixture into the bottom of a 9-inch springform pan, creating an even layer. Bake the crust for 10 minutes on the center oven rack.
-
While the crust is baking, separate 3 large eggs. Using a stand mixer or handheld mixer, whip the egg whites until stiff peaks have formed. You will know they are ready when the egg whites hold their shape firmly on the beaters. Set these aside carefully.
-
In a separate large mixing bowl, begin preparing the cheesecake batter. Combine one 8-ounce package of room-temperature cream cheese, one egg yolk, and ¼ cup of granulated sugar. Beat with a handheld mixer until the mixture is creamy and smooth. Then, add the second package of cream cheese, another egg yolk, and ¼ cup of sugar, beating until smooth. Repeat this process for the final package of cream cheese, the last egg yolk, and the remaining ¼ cup of sugar, beating until the batter is completely creamy and uniform.
-
Stir in 1 tablespoon of vanilla extract and 1 teaspoon of lemon juice (if using) into the cream cheese mixture, mixing until just combined.
-
Gently fold the whipped egg whites into the cream cheese mixture using a spatula. Be careful not to overmix or deflate the egg whites, as their airiness is key to the cheesecake’s light texture.
-
Pour the creamy cheesecake mixture into the prepared and pre-baked crust in the springform pan. Gently tap the pan on the counter a few times to release any air bubbles.
-
To create a moist baking environment, place a shallow baking dish on the rack positioned below the center of the oven. Carefully pour hot water into this dish until it is about halfway full. Place the cheesecake on the center rack, directly above the water bath, and bake for 45 minutes.
-
While the cheesecake bakes, prepare the sour cream topping. In a small mixing bowl, combine 1 cup of sour cream, 1 tablespoon of granulated sugar, and ½ teaspoon of vanilla extract. Mix until smooth.
-
After the initial 45 minutes of baking, carefully remove the cheesecake from the oven. Gently and evenly spread the prepared sour cream mixture over the partially baked cheesecake. Return the cheesecake to the oven and bake for an additional 10 minutes. The cheesecake is done when the edges are set and the center still has a slight wobble.
-
Remove the cheesecake from the oven and allow it to cool in the springform pan on a wire rack at room temperature for 30 minutes. After 30 minutes, use a thin butter knife to gently loosen the sides of the cheesecake from the pan. Cover the pan with a clean kitchen towel (to absorb condensation) and then tightly with plastic wrap. Refrigerate the cheesecake for at least 12 hours before serving. This crucial chilling period ensures it fully sets and flavors meld perfectly.
-
For the best flavor and texture, remove the cheesecake from the refrigerator and let it sit at room temperature for 20-30 minutes before slicing and enjoying.
Equipment
-
9-inch springform pan
-
Food Processor (optional, but recommended for crust)
-
Handheld or Stand Mixer
-
Large Mixing Bowls
-
Shallow Baking Dish (for water bath)
Notes for Success
Crust Alternatives: While a traditional graham cracker crust is called for, feel free to get creative! Chocolate graham crackers, vanilla wafers, or even gingersnaps can make excellent substitutes, offering different flavor profiles.
Optimal Serving Temperature: Cheesecake flavors are most vibrant when served after resting at room temperature for 15-30 minutes post-refrigeration. This allows the creamy texture and nuanced flavors to truly shine.
Storage Best Practices: For refrigeration, place a kitchen towel over the springform pan before covering with plastic wrap to absorb condensation, keeping the top dry. Store for up to 5 days. For longer storage, freeze individual slices, wrapped tightly, for up to 3 months. Thaw in the refrigerator overnight.
Nutrition Information
Nutrition information is automatically calculated and should be used as an approximation.