
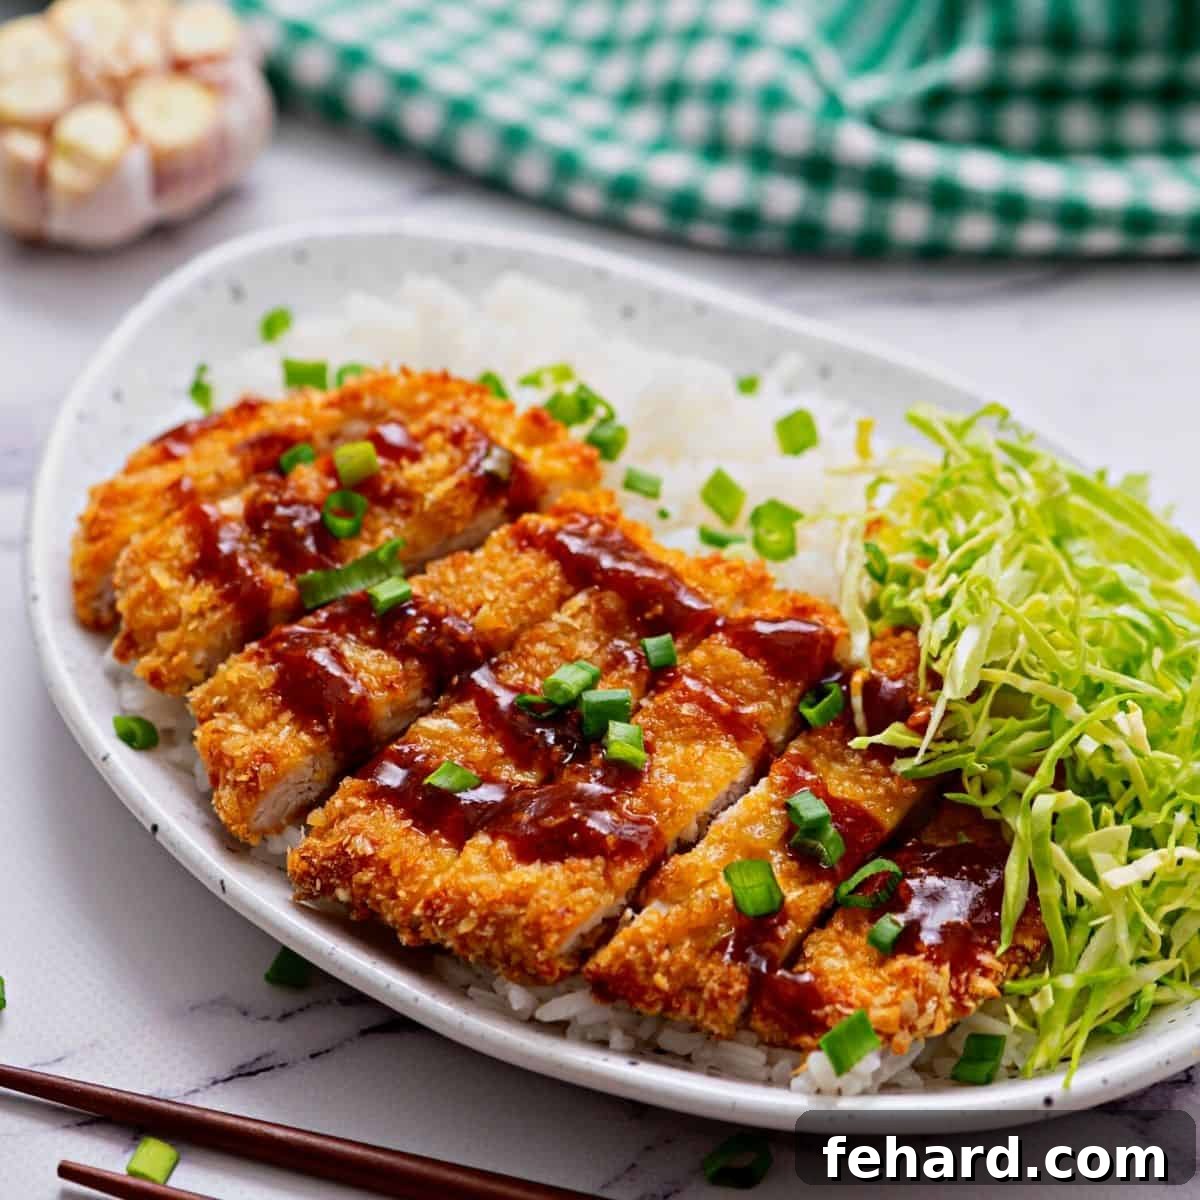
Welcome to the ultimate guide for **Baked Chicken Katsu**, a recipe that promises exceptionally crispy and juicy chicken katsu without the need for deep-frying or excess grease. This delightful dish features tender chicken cutlets, meticulously coated in golden panko breadcrumbs and baked to perfection, then served alongside a rich, sweet, and tangy homemade Tonkatsu Sauce. Prepare yourself for a flavorful experience boasting incredible texture and a satisfying crunch with every bite, making it an ideal choice for a healthy yet indulgent meal.
If you’re a fan of crispy baked chicken, you’ll also adore our recipes for Classic Shake and Bake Chicken, Perfectly Baked Chicken Tenders, and Easy Baked Chicken Parmesan.
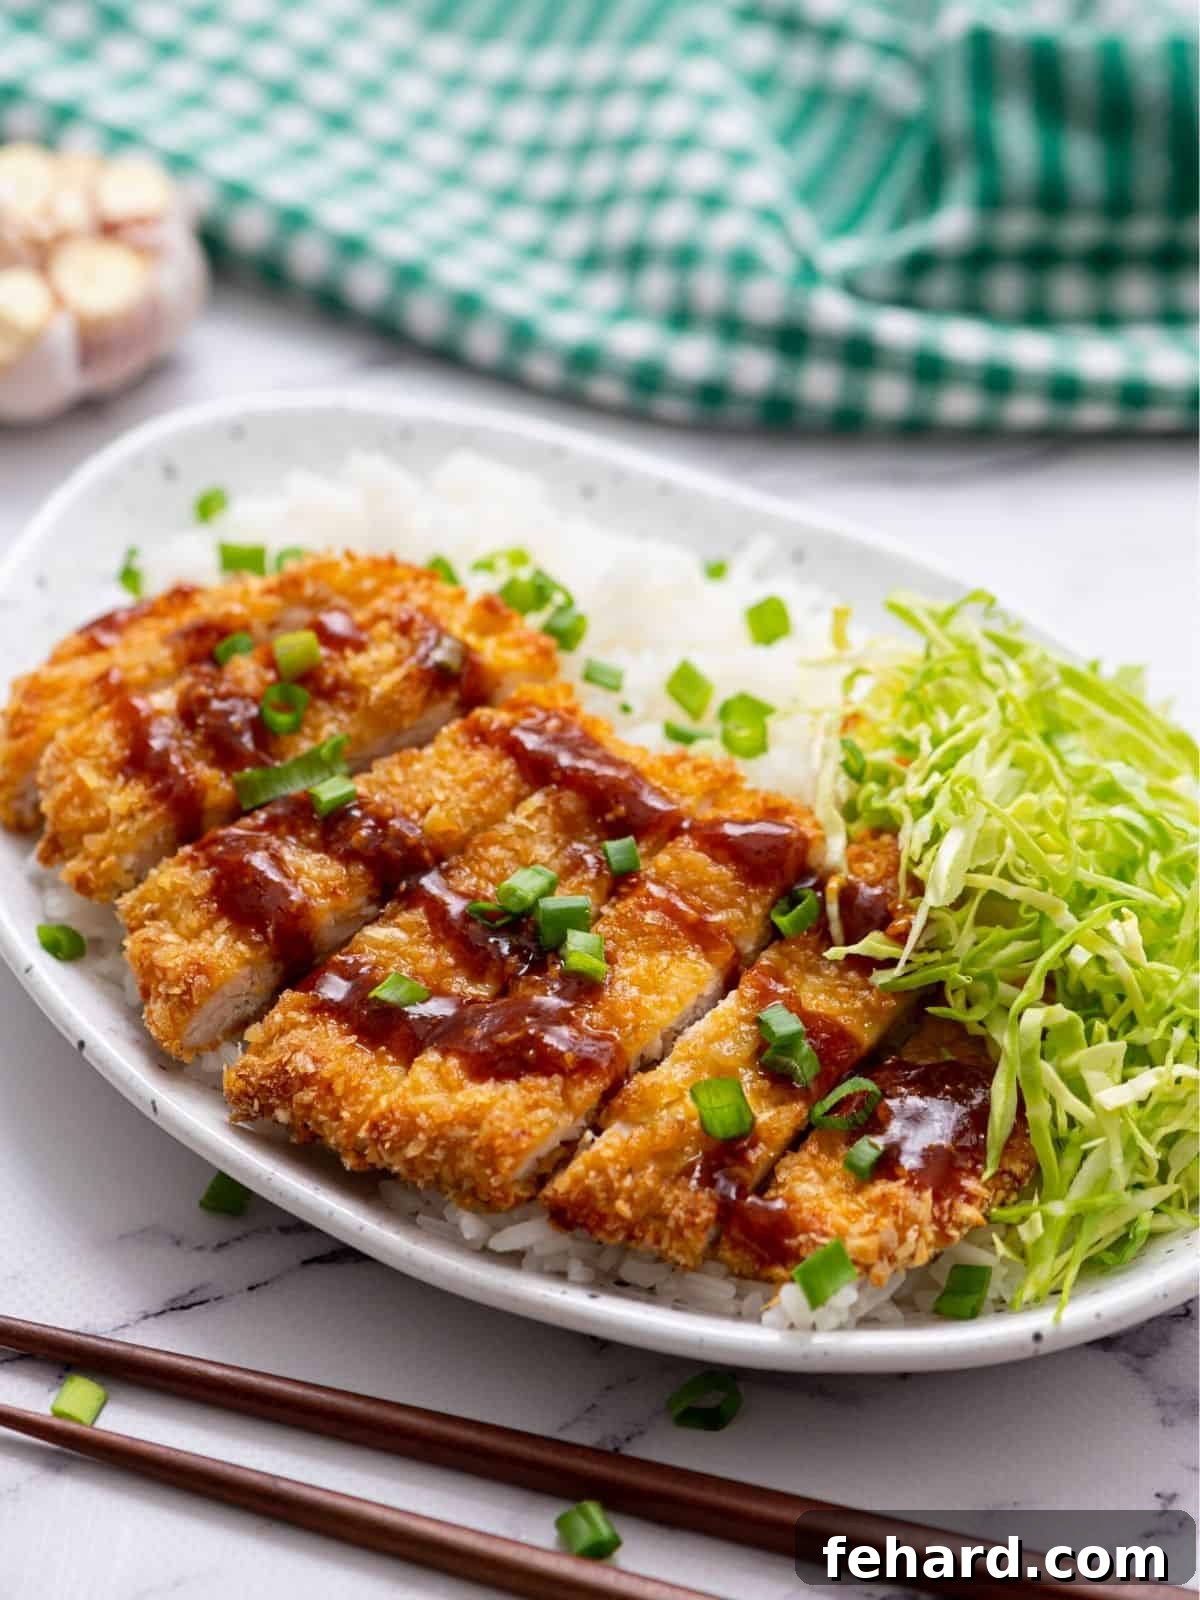
While **Chicken Katsu** is undeniably a classic Japanese culinary staple, my personal journey to falling in love with this deliciously crispy chicken dish actually began far from Japan, amidst the vibrant culinary scene of Hawaii. Hawaiian cuisine is a remarkable melting pot, heavily influenced by diverse cultures, and it’s no surprise that Chicken Katsu has become a beloved local favorite. From the moment you take that first bite, it’s easy to understand its universal appeal!
Traditionally, Chicken Katsu features thin chicken cutlets enveloped in a thick, airy panko crust, deep-fried until gloriously golden brown, and then served with a distinctive sweet and tangy Tonkatsu sauce. It’s often likened to a more sophisticated, grown-up version of chicken nuggets, but with a depth of flavor and texture that truly sets it apart. The contrast between the succulent chicken, the incredibly crunchy coating, and the vibrant sauce creates a harmonious and unforgettable dish.
Although Chicken Katsu might not be a common sight in every hometown, the good news is that this **Baked Chicken Katsu recipe** makes it incredibly accessible and easy for anyone to prepare right in their own kitchen. By opting for a baked version, we significantly reduce the amount of oil, making it a much healthier alternative without compromising on the authentic, beloved flavors and that signature crispiness. This ingenious method allows you to enjoy all the rich taste and satisfying crunch of traditional Katsu, but with fewer calories and less mess. It’s a win-win for your taste buds and your health!
Important Tips for Flawless Baked Chicken Katsu
Achieving the perfect **Baked Chicken Katsu** requires attention to a few key details. These tips are designed to guide you through the process, ensuring your dish is as crispy, juicy, and flavorful as possible.
- Maximize Savings with Boneless, Skinless Chicken Breasts: While pre-sliced chicken cutlets offer convenience, they typically come at a higher price point. To economize without sacrificing quality, start with whole boneless, skinless chicken breasts. Simply slice each breast in half lengthwise or crosswise to create thinner, uniform cutlets. This small step can lead to significant savings, making homemade Chicken Katsu even more budget-friendly.
- Panko Breadcrumbs Are Non-Negotiable for Authentic Texture: If you aim to truly replicate the iconic light and incredibly crispy texture of authentic Chicken Katsu, there is absolutely no substitute for **panko breadcrumbs**. Unlike conventional breadcrumbs, panko flakes are larger, airier, and absorb less oil, resulting in a superior crunch that traditional breadcrumbs simply cannot achieve. This is a foundational element for that signature Katsu crisp.
- A Japanese-Inspired Dish Made with Everyday Pantry Staples: Don’t let the “Japanese dish” label intimidate you. Both Chicken Katsu and its essential companion, Tonkatsu sauce, are crafted from ingredients readily available at any standard grocery store. This ensures that you can easily recreate this exotic-tasting meal with familiar and accessible items from your pantry.
- Do Not Skip the Tonkatsu Sauce: The homemade **Tonkatsu sauce** is more than just a condiment; it’s an integral part of the Chicken Katsu experience. Its unique balance of sweet and tangy flavors, coupled with subtle savory notes, elevates the entire dish, creating a distinctive taste profile that truly makes Katsu shine. Prepare it fresh; its depth of flavor is unparalleled.
- Versatile Serving Options: Traditionally or as a Unique Sandwich: Chicken Katsu is most traditionally served with a generous drizzle of Tonkatsu sauce, accompanied by fluffy steamed rice, a mound of refreshing shredded cabbage, and a sprinkle of sliced green onions. This combination provides a delightful contrast of flavors and textures. For a complete and satisfying meal, I highly recommend pairing it with either fluffy Instant Pot White Rice or wholesome nutty Instant Pot Brown Rice. For a creative twist, consider serving the crispy chicken katsu on a soft bun, topped with shredded cabbage and ample Tonkatsu sauce, transforming it into an incredibly tasty and unique chicken sandwich.
How To Master Baked Chicken Katsu: Step-by-Step Guide
Crafting perfect **Baked Chicken Katsu** is simpler than you might imagine. Follow these detailed steps and accompanying tips to ensure your chicken is irresistibly crispy and tender. You’ll find precise ingredient quantities and comprehensive instructions in the recipe card at the bottom of this post, but these tips will help you achieve outstanding results.
1. Prepare the Flavorful Tonkatsu Sauce
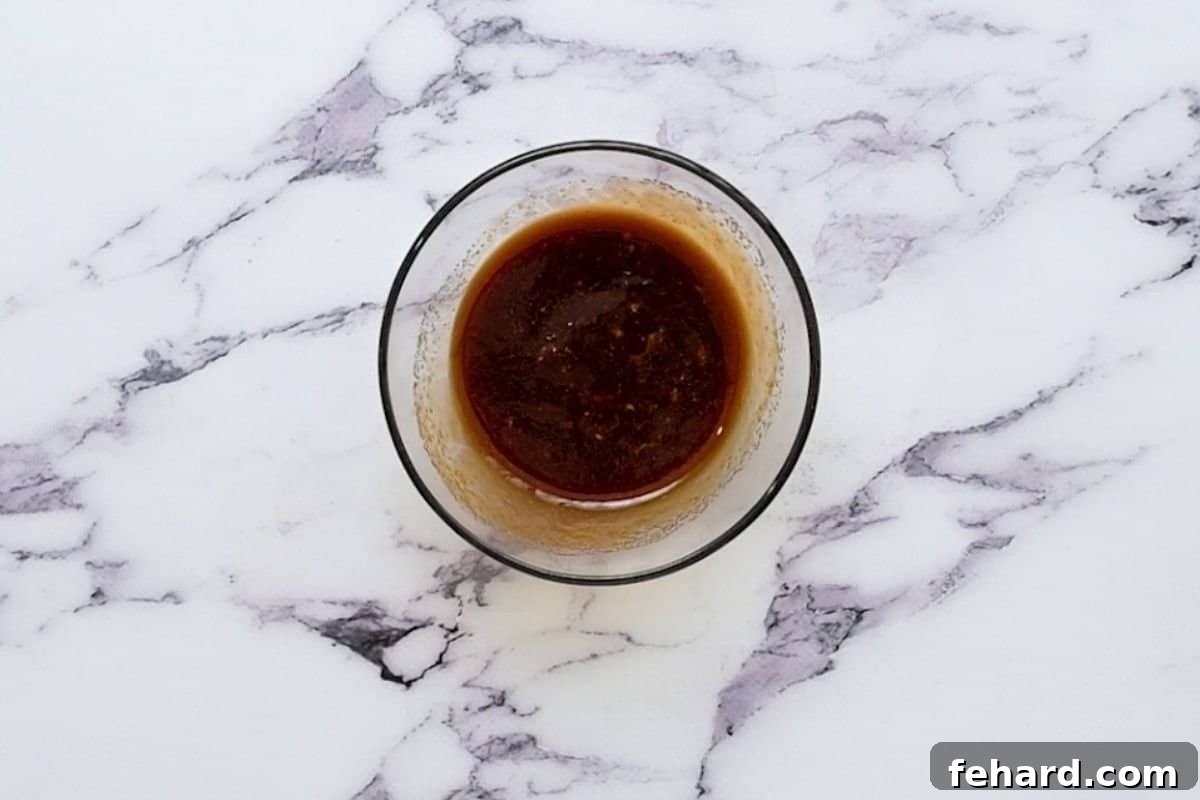
The **Tonkatsu sauce** is a cornerstone of this dish, providing its signature sweet and tangy kick. I highly recommend preparing the sauce *before* you even start with the chicken. Combining the ingredients ahead of time allows the flavors to meld and deepen, resulting in a more complex and satisfying sauce. Simply whisk together ketchup, Worcestershire sauce, molasses, soy sauce, garlic powder, and fresh grated ginger. Cover and refrigerate while you prepare the chicken, letting the flavors marry beautifully.
2. Prepare the Tender Chicken Cutlets
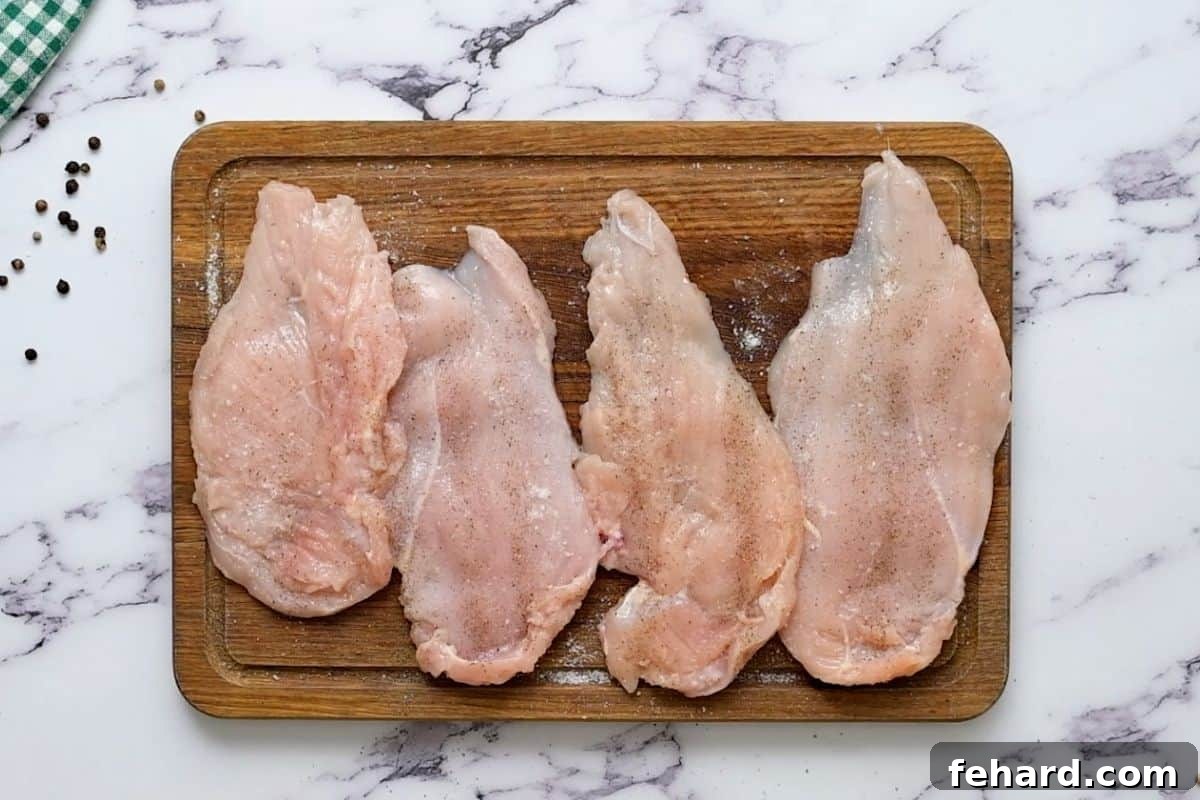
The secret to succulent and evenly cooked Chicken Katsu lies in starting with uniformly thin chicken cutlets. Whether you’re beginning with whole boneless, skinless chicken breasts that you’ve sliced in half crosswise, or you’ve purchased pre-cut chicken cutlets, the next crucial step is to pound them. Place the chicken between two sheets of plastic wrap and use a meat mallet to gently, but firmly, pound each piece until it’s no more than ½-inch thick, ideally closer to ¼-inch for optimal crispiness and tenderness. This ensures even cooking and helps create a larger surface area for that delicious panko crust.
3. Master the Crispy Breading Process
Achieving that signature golden, crunchy exterior is all about the breading. This recipe employs a classic three-step breading technique, similar to our popular Homemade Fish Sticks and Chicken Tenders recipes. This method ensures the panko breadcrumbs adhere perfectly to the chicken, creating an impregnable barrier that locks in moisture while delivering maximum crispiness:
- Flour Dredge: Season your pounded chicken cutlets with salt, pepper, and a touch of garlic powder. Working with one cutlet at a time, dredge it thoroughly in a shallow dish of all-purpose flour, ensuring it’s completely coated. Gently shake off any excess flour to prevent a gummy texture.
- Egg Wash: Next, dip the flour-dredged chicken into a separate shallow dish containing beaten eggs mixed with a little water and salt. Allow any excess egg to drip off; too much egg can lead to soggy breading.
- Panko Press: Finally, press the egg-coated chicken firmly into a third shallow dish filled with panko breadcrumbs. Use your hands to really press the panko onto both sides of the cutlet, ensuring every part is evenly and generously coated. This firm press is crucial for creating a robust crust that won’t fall off during baking.
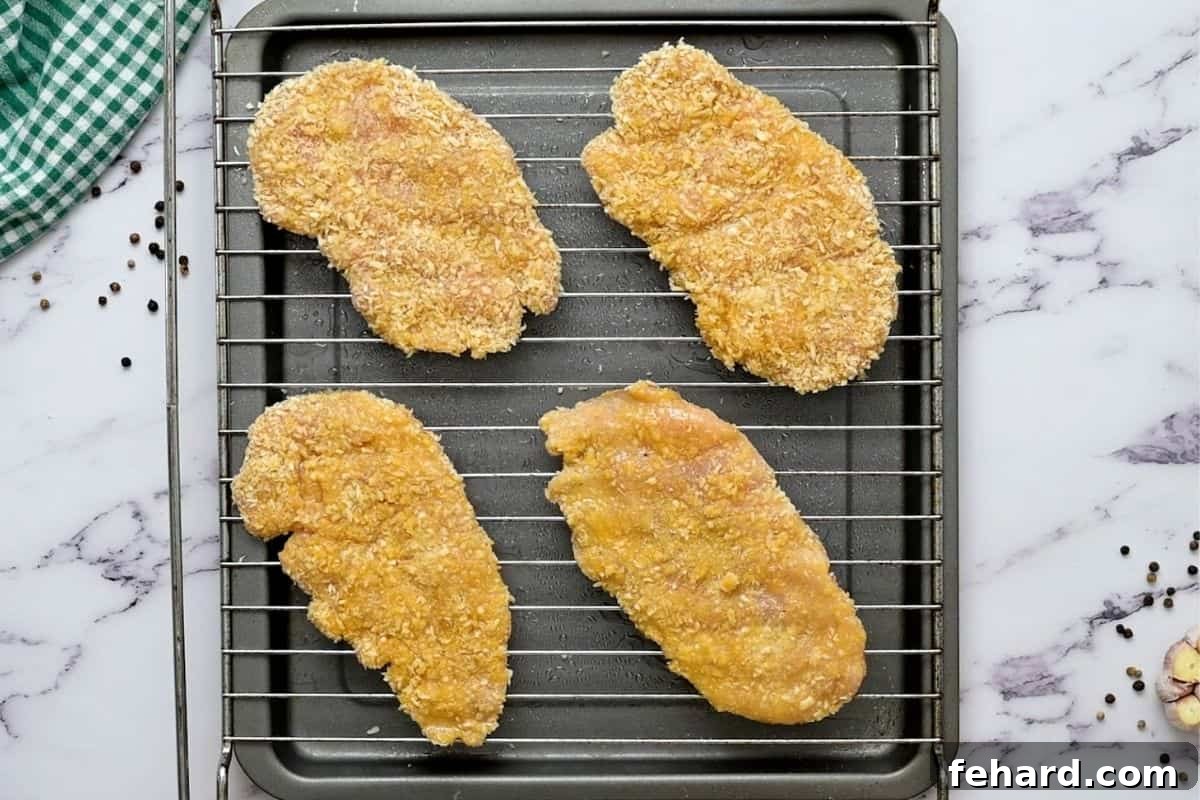
4. Bake for Unmatched Crispiness on a Rack
While traditional Chicken Katsu is deep-fried, this recipe provides a significantly lighter and healthier alternative by baking the chicken. The beauty of this method is that you still achieve an incredibly crispy and golden-brown exterior, but with a fraction of the fat and calories. The key to this success lies in how you bake it:
Always place your breaded chicken cutlets onto a cooling rack that has been fitted over a rimmed baking sheet. This setup is vital because it allows hot air to circulate completely around each chicken piece, ensuring all sides get beautifully golden and exceptionally crispy. Before baking, generously spray the breaded chicken with cooking spray until the panko glistens; this promotes browning and adds to the crunch. Bake in a preheated oven for approximately 15-18 minutes, or until the chicken is cooked through and reaches an internal temperature of 165°F (74°C).
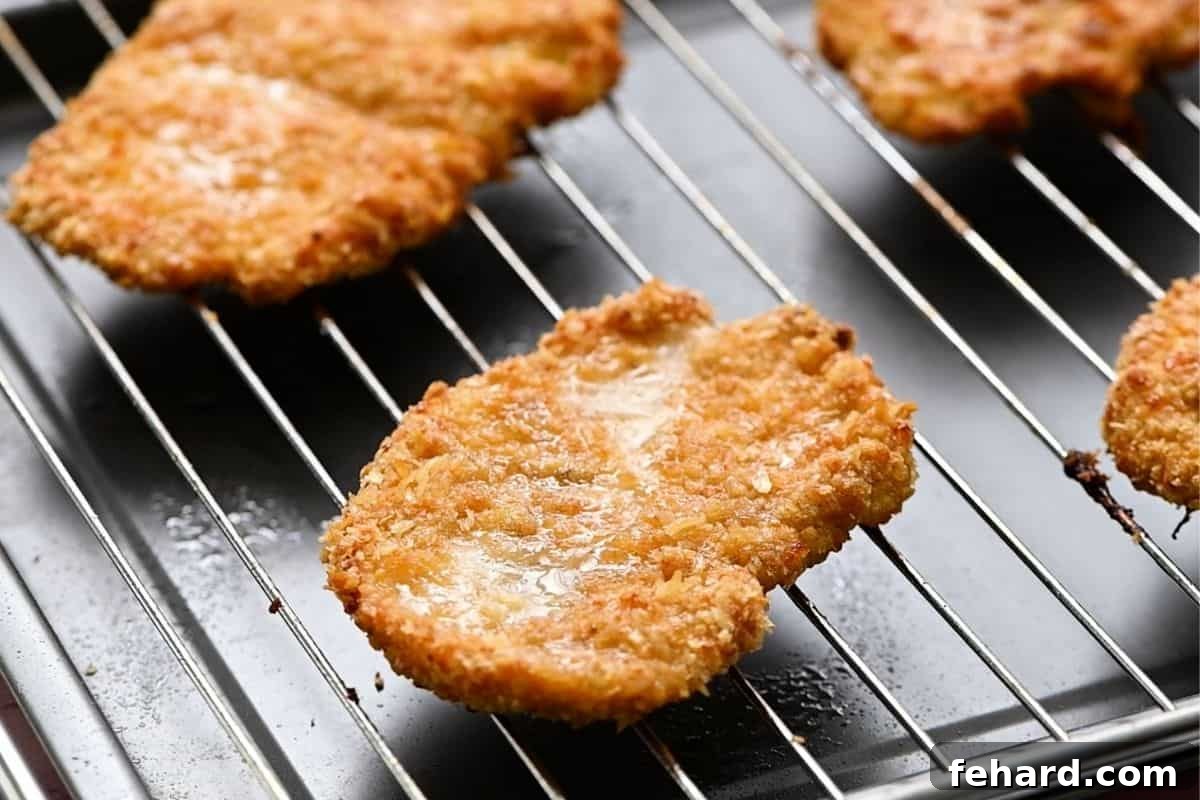
Serving Suggestions for Your Baked Chicken Katsu
Once your **Baked Chicken Katsu** is golden and crispy, it’s ready to be transformed into a memorable meal. Slice the cutlets into thick, manageable strips, then arrange them artfully on a plate. Drizzle generously with your homemade Tonkatsu sauce. For a classic Japanese presentation and a balanced meal, serve alongside a bed of fluffy steamed rice, a refreshing pile of finely shredded cabbage, and a sprinkle of vibrant green onions. The cabbage offers a wonderful textural contrast and freshness that cuts through the richness of the chicken and sauce.
Beyond the traditional, feel free to get creative! Chicken Katsu makes an excellent addition to bento boxes, a delicious topping for a Japanese curry, or as mentioned, a fantastic sandwich filling. Consider pairing it with a simple miso soup or a light cucumber salad for a truly authentic dining experience. No matter how you serve it, this baked version ensures you’re enjoying a flavorful, healthier twist on a beloved classic.
More Irresistible Easy Chicken Recipes to Try
If you loved the simplicity and flavor of this Baked Chicken Katsu, here are some other fantastic chicken recipes to add to your repertoire. They are all easy to make and packed with deliciousness:
- Savory Honey Lemon Chicken Skillet
- Authentic Moo Goo Gai Pan
- Spicy Hunan Chicken
- Quick Stir-Fried Chicken and Bok Choy
- Sweet and Tangy Orange Chicken
- Healthy Chicken Asparagus Stir Fry
- Simple Baked Pesto Chicken
- Popular Marry Me Chicken
If you enjoyed this recipe for Baked Chicken Katsu, we would love for you to leave a comment and a review to share your experience! Your feedback helps us grow and inspires others to try our dishes.
Baked Chicken Katsu
By: Kristen Chidsey
Servings: 4
Prep: 10 mins
Cook: 18 mins
Total: 28 mins
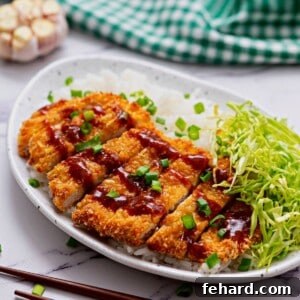
Made with crispy breaded chicken and served with a sweet and tangy Tonkatsu sauce, Chicken Katsu is a flavorful, simple recipe to make using chicken cutlets. This baked version offers a lighter, healthier alternative without sacrificing any of the delicious crunch or robust flavor you expect from a classic Katsu dish.
Ingredients
Tonkatsu Sauce
- 3 tablespoons ketchup
- 3 tablespoons Worcestershire sauce
- 1 tablespoon molasses
- 1 teaspoon low-sodium soy sauce
- ½ teaspoon garlic powder
- ⅛ teaspoon peeled, grated fresh ginger root
Chicken Katsu
- 2 (8 oz) boneless, skinless chicken breasts, or 4 chicken cutlets
- kosher salt + black pepper, to taste
- 1 teaspoon garlic powder, divided
- ½ cup all-purpose flour
- 2 large eggs, beaten
- 1 tablespoon water
- 1½ cups panko bread crumbs
- cooking spray for baking
For Serving (optional)
- steamed rice
- finely shredded cabbage
- green onions
Instructions
Tonkatsu Sauce
- In a small bowl, whisk together 3 tablespoons ketchup, 3 tablespoons Worcestershire sauce, 1 tablespoon molasses, 1 teaspoon low-sodium soy sauce, ½ teaspoon garlic powder, and ⅛ teaspoon peeled, grated fresh ginger root until well combined. Cover the bowl with plastic wrap and refrigerate until ready to serve, allowing the flavors to meld.
Chicken Katsu
- Preheat your oven to 425℉ (215℃). Place an oven-safe baking rack on a rimmed baking sheet and lightly spray the rack with non-stick cooking spray to prevent sticking.
- Trim any unwanted fat from the 2 (8 oz) boneless, skinless chicken breasts. If using whole chicken breasts, slice each breast crosswise to form thinner chicken cutlets. Lay the cutlets between two layers of plastic wrap and pound them out using a meat mallet until they are uniformly ¼ to ½-inch thick (¼-inch is ideal for maximum crispiness). Season both sides of the pounded chicken with ½ teaspoon kosher salt and ½ teaspoon black pepper.
- Prepare your breading stations: In a shallow dish, combine ½ cup all-purpose flour with ½ teaspoon salt and ½ teaspoon garlic powder (from the divided amount) and mix well. In a separate shallow dish, whisk together 2 large eggs with ½ teaspoon salt and 1 tablespoon water. In a third shallow dish, place the 1½ cups panko bread crumbs.
- Working with one chicken cutlet at a time, first dredge it in the seasoned flour, ensuring a thorough coating, then shake off any excess flour. Next, dip the cutlet into the egg mixture, coating both sides, and allow any excess egg to drip off. Finally, press the chicken firmly into the panko bread crumbs, using your hands to ensure the cutlet is completely and evenly coated on all sides. Place the breaded chicken onto the prepared baking rack and repeat the process for the remaining cutlets.
- Generously spray the breaded chicken cutlets with cooking spray until the panko breadcrumbs glisten. This helps achieve a beautiful golden color and extra crispiness during baking. Bake for 15-18 minutes, or until the chicken is golden brown and cooked through, reaching an internal temperature of 165℉ (74℃).
- Once baked, remove the chicken from the oven. Slice the cutlets into thick strips and serve immediately with the prepared Tonkatsu sauce. For a complete meal, pair with steamed rice and a side of finely shredded cabbage, garnished with green onions, if desired.
Equipment
- Baking Sheet with Rack
- Meat Mallet (optional, but recommended)
Notes
Storage: Leftover Tonkatsu sauce can be stored in an airtight container in the refrigerator for up to 7 days. For the absolute crispiest experience, Baked Chicken Katsu is best enjoyed immediately after preparation. However, leftovers can be stored in an airtight container in the refrigerator for up to 3 days. To reheat and maintain crispiness, avoid the microwave; instead, reheat by broiling under high heat for 1-2 minutes per side or warming in a dry skillet until heated through. Microwaving will cause the breading to become soggy.
Panko Breadcrumbs: A crucial element for the desired light and crispy texture. There is NO substitute for panko if you want your chicken to achieve the authentic Katsu crunch. Standard breadcrumbs will not yield the same airy and light result.
Nutrition
Nutrition information is automatically calculated, so should only be used as an approximation per serving:
- Calories: 347kcal
- Carbohydrates: 39g
- Protein: 32g
- Fat: 6g
- Saturated Fat: 2g
- Polyunsaturated Fat: 1g
- Monounsaturated Fat: 2g
- Trans Fat: 1g
- Cholesterol: 154mg
- Sodium: 643mg
- Potassium: 739mg
- Fiber: 2g
- Sugar: 9g
- Vitamin A: 222IU
- Vitamin C: 3mg
- Calcium: 90mg
- Iron: 4mg