
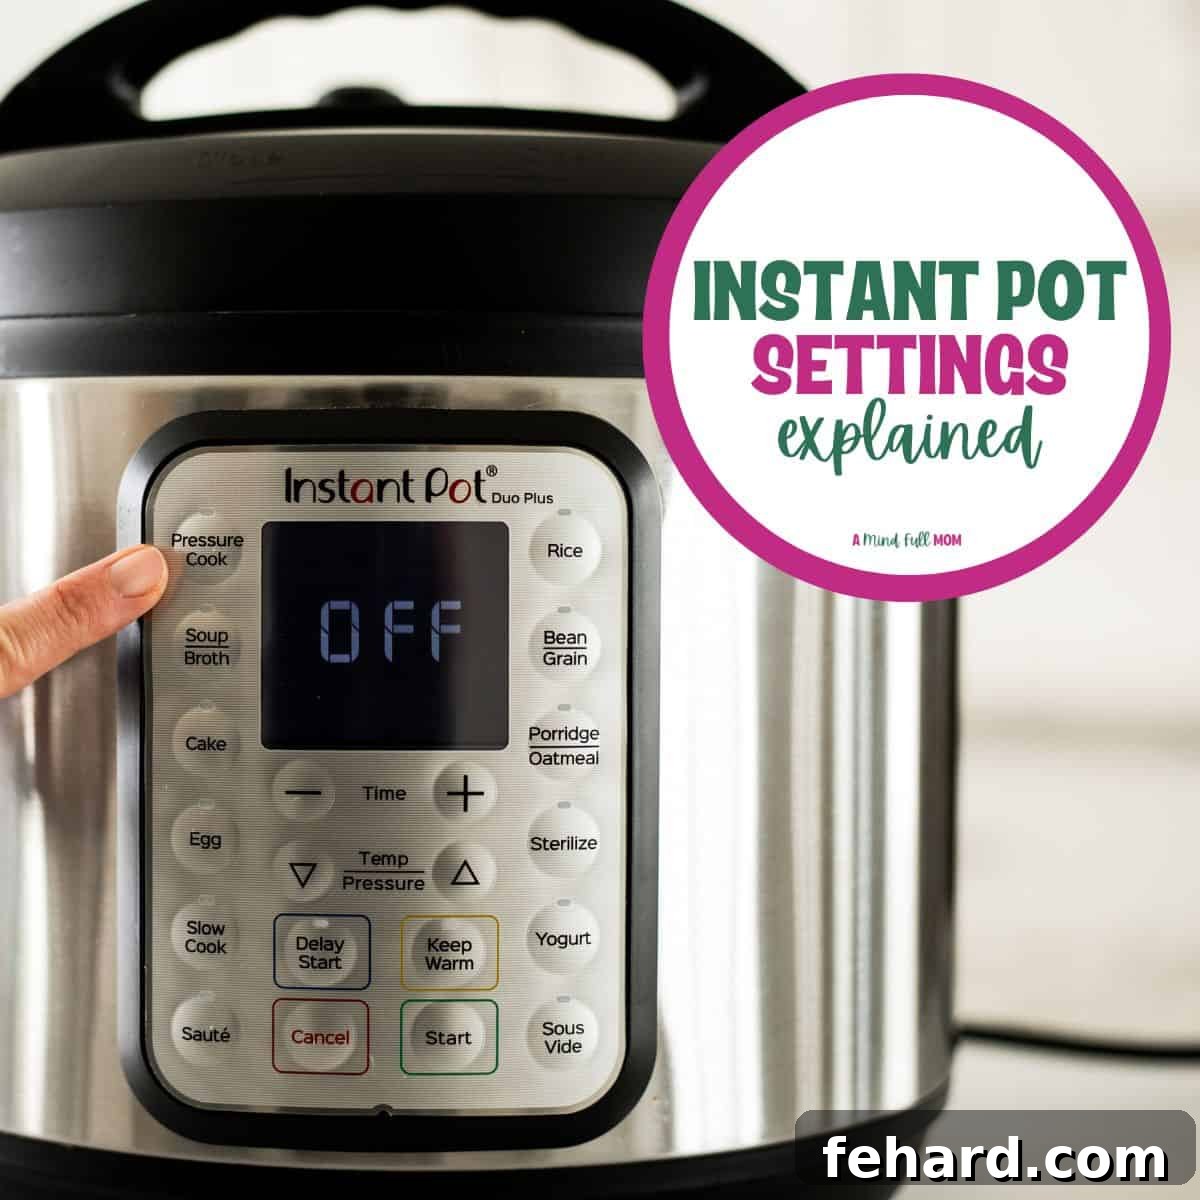
Do you find yourself staring at your Instant Pot’s control panel, overwhelmed by a dizzying array of buttons? You are definitely not alone! Whether you own a Duo, Viva, Ultra, or any other Instant Pot model, understanding its various settings and cook modes is the key to unlocking its full culinary potential. This comprehensive guide will teach you EVERYTHING you need to know about navigating your Instant Pot with confidence.
Once you learn the basics of using an Instant Pot, the next step is often deciphering which of its many buttons are actually useful. This in-depth guide breaks down each function, explaining its purpose, how to use it effectively, and crucially, when—or if—you should bother with it for preparing successful and delicious Instant Pot recipes. Say goodbye to confusion and hello to culinary mastery!
What You’ll Learn in This Instant Pot Settings Guide
- Are the Instant Pot’s Extra Preset Functions Truly Useful?
- The Essential Instant Pot Functions You Absolutely Need
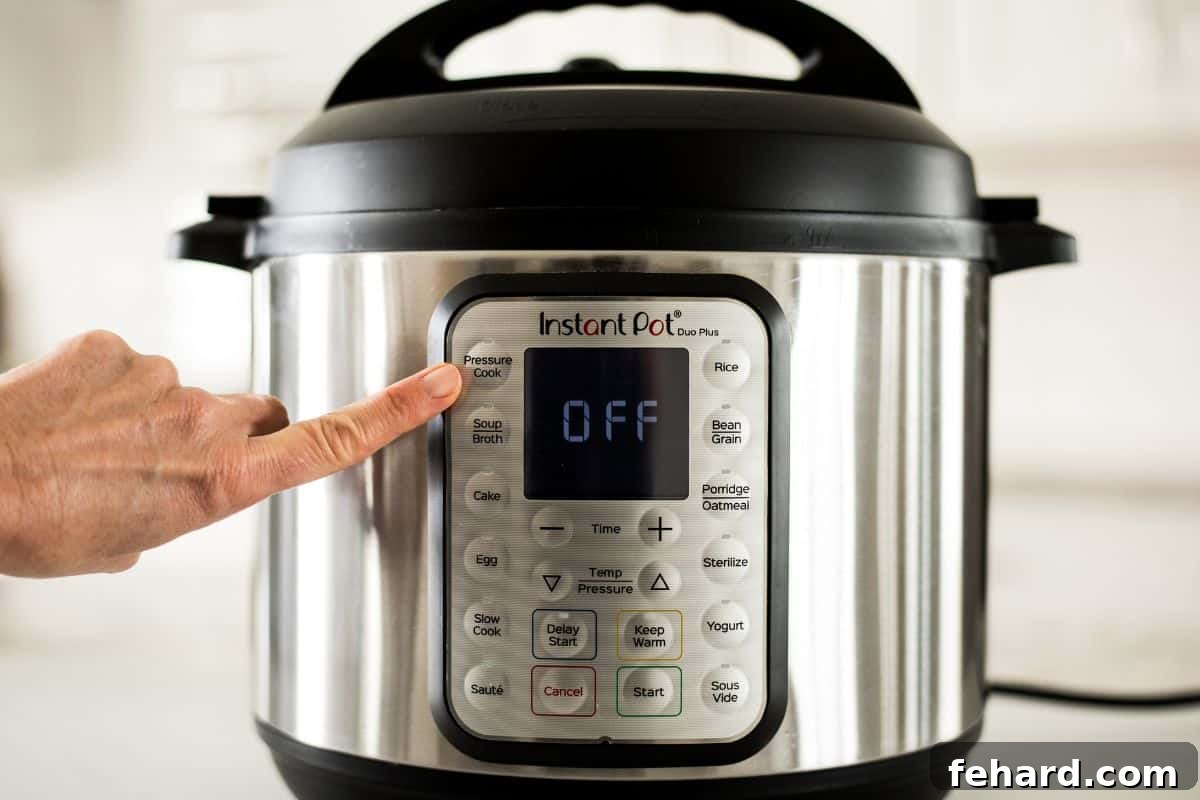
- Mastering the Manual/Pressure Cook Function
- Unlocking the Sauté Function’s Full Potential
- Exploring the Versatile Yogurt Setting
- Potentially Helpful Instant Pot Settings (and How to Use Them)
- Demystifying Other Preset Buttons: Rice, Bean, Poultry & More
- Instant Pot Settings Video Tutorial
- More Helpful Instant Pot Guides & Resources
Are the Instant Pot’s Extra Preset Functions Truly Useful?
Upon first encountering many Instant Pot models, it’s easy to assume that the multitude of pre-programmed buttons means you can cook virtually anything with a single press. Buttons like “Poultry,” “Stew,” “Rice,” “Bean/Chili,” or “Soup” promise effortless meals. However, relying on these pre-set functions can often lead to less-than-ideal results – think overcooked chicken, mushy rice, or dried-out beef. These buttons utilize generalized cooking times and pressure levels that simply cannot account for the unique variables of your specific ingredients, their quantity, or your desired texture.
For example, a “Poultry” button might cook chicken for 15 minutes, which is perfect for a whole chicken, but could turn chicken breasts into rubber. Similarly, a “Rice” button won’t differentiate between white rice, brown rice, or wild rice, each requiring different cooking times and liquid ratios. These pre-programmed settings are a one-size-fits-all solution that often disappoints because they lack the precision needed for truly great cooking.
Spoiler Alert: The vast majority of Instant Pot’s “smart” preset settings are, in fact, often USELESS! For consistent, delicious results, manual control is king.
The Essential Instant Pot Functions You Absolutely Need
While many Instant Pot models boast an impressive array of cooking modes, only a select few are truly indispensable for mastering pressure cooking and achieving versatile culinary feats. When choosing a model or learning to use your current one, prioritize understanding and utilizing these core functions. They offer the greatest control and adaptability, making all other preset buttons largely redundant.
- Manual/Pressure Cook: This is your ultimate control center, allowing you to precisely dictate cooking time and pressure settings for virtually any recipe.
- Sauté: Essential for building flavor directly in the pot – perfect for browning meats, sautéing aromatics, or thickening sauces after pressure cooking.
- Yogurt (optional but highly versatile): If you’re interested in making homemade yogurt, proofing dough, or even fermenting, this function is invaluable.
Below, you’ll find detailed explanations of these crucial settings, along with other potentially helpful functions that can enhance your Instant Pot experience.
Mastering the Manual/Pressure Cook Function
The “Manual” or “Pressure Cook” function is, without a doubt, the most important and versatile setting on your Instant Pot. It grants you complete control over both the cooking time and the pressure level, making it the go-to choice for the vast majority of recipes. Forget about confusing presets; this is where the real magic happens, allowing you to perfectly adapt any recipe to your needs.
Why It’s Essential: Unlike fixed presets, Manual mode lets you precisely tailor the cooking duration. Whether you’re cooking delicate fish for 3 minutes or tough cuts of beef for 45, this function puts you in the driver’s seat. It’s the foundation for almost every Instant Pot recipe, from soups and stews to perfectly cooked grains and tender meats.
How to Use:
- Initiate: Press the “Manual” or “Pressure Cook” button. The default cooking time will usually appear, often around 30 minutes.
- Adjust Pressure Level (if needed): Most recipes call for “High Pressure,” which is typically the default. If you need to cook on “Low Pressure” (rare for most recipes, but sometimes used for delicate items), press the “Pressure,” “Pressure Level,” or “Temp/Pressure” button repeatedly until “High” or “Low” is selected. Note: Older models like the Instant Pot Lux only cook on high pressure.
- Set Cooking Time: Use the “+” and “-” buttons to adjust the cooking time to your desired duration. Be precise – even a minute can make a difference.
- Start Cooking: After a few seconds of inactivity, the Instant Pot will automatically begin its preheating cycle, seal, and come to pressure. The display will show “On” or the preheating indicator until pressure is reached, then it will count down the set cooking time.
Pro Tip: Always double-check your recipe for the exact pressure level and cooking time. When in doubt, “High Pressure” is almost always the correct choice for most dishes.
Unlocking the Sauté Function’s Full Potential
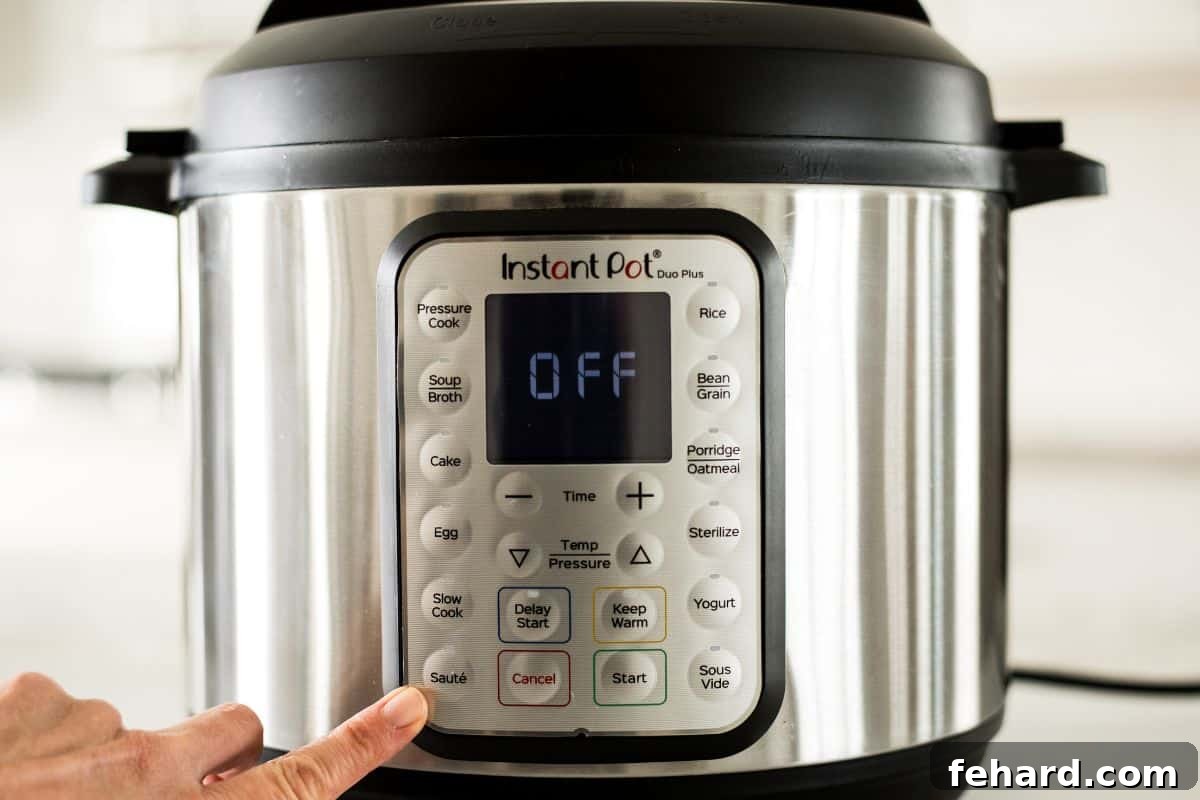
The “Sauté” function is your Instant Pot’s secret weapon for building incredible flavor directly in the cooking pot, eliminating the need for extra pans. It’s indispensable for achieving restaurant-quality results in your pressure cooker, perfect for tasks like browning meat for savory dishes like Instant Pot Chili, softening vegetables, or thickening delicious sauces at the end of pressure cooking, such as with Instant Pot Butter Chicken.
Why It’s Essential: This function allows you to brown ingredients before pressure cooking, which creates a rich depth of flavor through the Maillard reaction. It’s also perfect for deglazing the pot, simmering sauces, or reducing liquids after cooking, all without transferring food to another appliance.
How to Use:
- Activate Sauté: Press the “Sauté” button. The display will typically show a default time (e.g., 30 minutes) and heat level (usually “Normal”).
- Adjust Temperature (Heat Level): Most Instant Pot models offer three heat levels for Sauté:
- “More” (High Heat): Ideal for searing meats, browning intensely, or rapidly reducing sauces. Use with caution to prevent burning.
- “Normal” (Medium Heat): Your go-to for general sautéing, softening onions, garlic, and vegetables.
- “Less” (Low Heat): Perfect for gentle simmering, slow caramelization, or keeping food warm without continuing to cook it rapidly.
To change the level, press the “Sauté” button again (some models use an “Adjust” or “Temp” button).
- Preheat and Cook: The Instant Pot will begin to heat up. Once the desired temperature is reached, some models will display “Hot,” signaling it’s ready for your ingredients. Add a little oil or fat, then proceed with browning or sautéing your food.
- To Stop: Press the “Cancel” button to turn off the Sauté function.
Pro Tip: Always deglaze your pot thoroughly after sautéing meat by adding a splash of liquid (broth, wine, water) and scraping up any browned bits from the bottom. This prevents a “Burn” error during pressure cooking and adds fantastic flavor to your dish.
Exploring the Versatile Yogurt Setting
While often overlooked by those not explicitly interested in dairy fermentation, the “Yogurt” setting is incredibly versatile. It’s truly essential if you plan on making homemade yogurt, but it also shines as a reliable low-temperature incubator for proofing dough, fermenting other foods, or even making certain cheeses.
Why It’s Essential: This function maintains a precise, consistent low temperature, crucial for culturing dairy into yogurt or creating the ideal environment for yeast activity in dough. Its ability to gently heat and hold specific temperatures is what makes it unique among the Instant Pot’s settings.
How to Use:
- Press “Yogurt”: Select the “Yogurt” button. The display will often show “YOGT” or a default incubation time (e.g., 8:00 for 8 hours).
- Adjusting Modes (Boil/Incubate): The yogurt button can often be adjusted by hitting the “Adjust” or “Yogurt” button again to cycle through its specific sub-functions:
- “Boil” (or “bOI”): This setting heats milk to a specific temperature (around 180°F/82°C) for pasteurization, which is the first step in making homemade yogurt. The Instant Pot will alert you when it reaches temperature.
- Incubation Time (e.g., 8:00, 10:00, or a customizable time): This is the low-temperature incubation phase where the yogurt cultures develop. Use the “+” and “-” buttons to set your desired incubation time (typically 6-10 hours for yogurt, or shorter for dough proofing).
These functions are unique to yogurt and other low-temperature fermentation recipes.
- Proofing Dough: For proofing dough, you typically use the incubation setting at a low temperature (often “Less” or a custom low-hour setting if available) to provide a warm, consistent environment for yeast to activate.
Pro Tip: For yogurt, ensure your inner pot is thoroughly clean and sanitized. Any residue can interfere with the culturing process. For dough, ensure the pot is warm but not hot enough to kill the yeast.
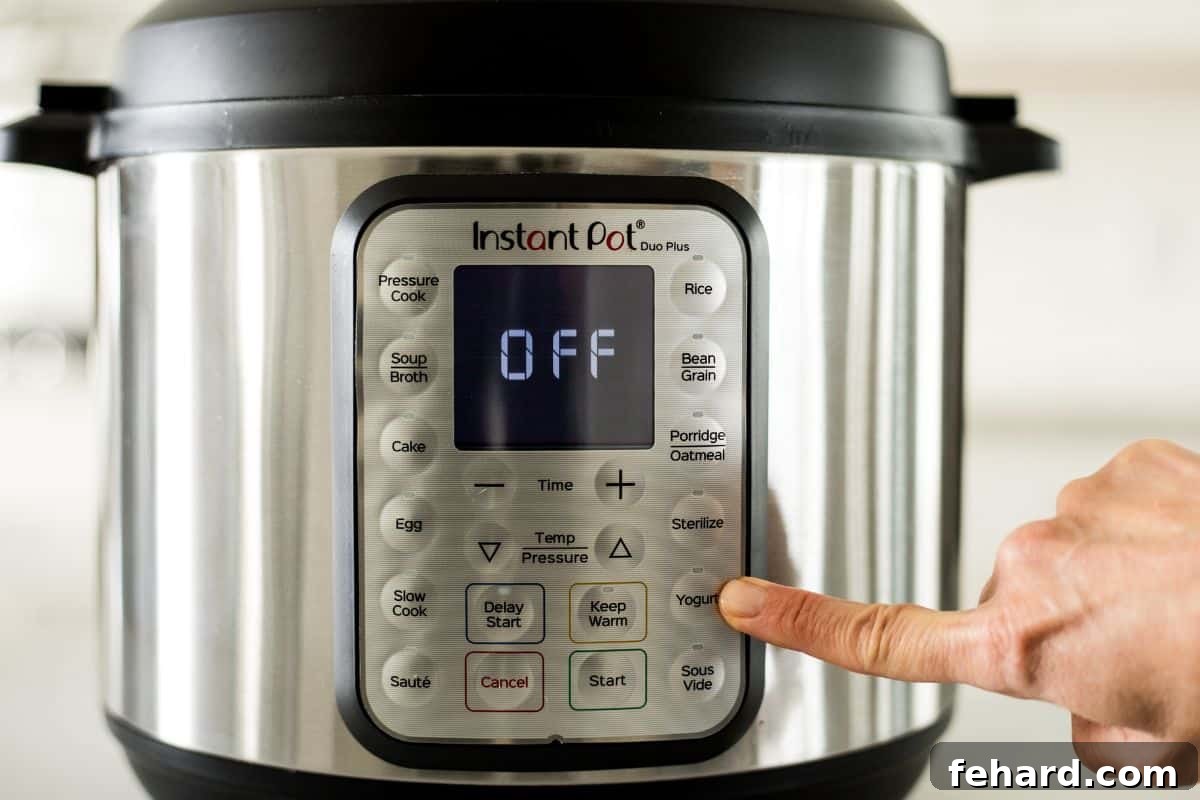
Potentially Helpful Instant Pot Settings (and How to Use Them)
Beyond the core three functions, several other buttons on your Instant Pot can be genuinely useful in specific scenarios, offering convenience and enhancing your cooking experience. While not universally essential, understanding them can add another layer of control to your Instant Pot repertoire.
- Adjust / Temp:
Labeled as “Adjust” on some models and “Temp” on others, this button is crucial for modifying the intensity of certain cooking functions. It primarily allows you to toggle between “Less,” “Normal,” and “More” settings for functions like Sauté, Yogurt, or Slow Cooking. For Sauté, it controls the heat level. For Yogurt, it may cycle through different incubation temperatures or modes (like “Boil”). For Slow Cook, it adjusts the heating intensity. Simply press the button repeatedly to cycle through the available options and select your desired setting.
- Pressure (Pressure Level):
This button is less frequently used for most recipes but is vital when you need to specify the pressure level. It allows you to switch between “High Pressure” and “Low Pressure.” The vast majority of Instant Pot recipes call for “High Pressure,” as it cooks food faster and more efficiently. “Low Pressure” is occasionally recommended for more delicate foods, although many experienced users still opt for high pressure with shorter cook times. You’ll press this button after selecting “Manual/Pressure Cook” but before setting your time, to toggle between high and low.
- Timer / Delay Start:
The “Timer” or “Delay Start” function is a fantastic convenience feature, allowing you to program your Instant Pot to begin cooking at a later time. This is particularly useful for preparing non-perishable items like oatmeal in the morning or rice that will be ready exactly when you get home. However, it’s crucial to exercise caution: avoid using Delay Start for raw ingredients that could spoil at room temperature, such as meat, poultry, dairy, or fish. To use it, first set your desired cooking time using the “Manual/Pressure Cook” function. THEN, within about 10 seconds, press “Timer” or “Delay Start” and use the “+” and “-” buttons to set the desired delay time (e.g., how many hours until cooking begins). The Instant Pot will count down the delay time before it starts cooking.
- Slow Cook:
While present on many models, it’s important to understand that the Instant Pot’s “Slow Cook” function does not operate exactly like a traditional slow cooker. Unlike dedicated slow cookers that heat from the sides and bottom, the Instant Pot primarily heats from the bottom, and its sealed lid can create residual pressure. For best results and to understand the nuances, it’s highly recommended to refer to my comprehensive guide on using your Instant Pot as a slow cooker. Generally, you’ll need to use a glass lid (not the pressure cooking lid) for true slow cooking, and you might need to adjust liquid levels or cook times compared to conventional slow cooker recipes.
- Keep Warm / Cancel:
The “Keep Warm” function is often automatic, activating once a pressure cooking cycle is complete. It maintains the food at a safe serving temperature. You can usually toggle this feature off or on before starting a cook cycle, or press “Cancel” to end any program and turn off the Instant Pot entirely. “Cancel” is your universal “stop” button.
- Steam:
This function uses pressure to quickly steam foods. It’s excellent for vegetables, seafood, and even eggs. Typically, you’ll add water to the bottom of the pot, place your ingredients on a trivet (often included with your Instant Pot), close the lid, and select “Steam.” You’ll then adjust the time using the +/- buttons. It often defaults to high pressure, providing rapid steaming.
Demystifying Other Preset Buttons: Rice, Bean, Poultry & More
As mentioned earlier, many Instant Pot models come equipped with a variety of pre-programmed buttons designed for specific food types like “Rice,” “Bean/Chili,” “Poultry,” “Meat/Stew,” “Soup,” “Multigrain,” and “Porridge.” While these buttons might seem convenient, they are often less precise and less effective than simply using the “Manual/Pressure Cook” function.
Why These Presets Are Often Suboptimal:
- Lack of Customization: Each preset button has a fixed cooking time and sometimes a fixed pressure level. This doesn’t account for variations in ingredient size, freshness, desired doneness, or different varieties of the same food (e.g., various types of beans or cuts of poultry).
- Inconsistent Results: Because they lack flexibility, these presets can lead to overcooked, mushy, or undercooked results. For instance, a “Rice” button won’t cook all types of rice perfectly, and a “Poultry” button for chicken breasts will yield very different results than for a whole chicken.
- Manual Control is Superior: Most Instant Pot recipes you find online or in cookbooks will specify a manual pressure cook time. Learning to use “Manual/Pressure Cook” gives you the confidence to follow any recipe and adapt it if needed, rather than relying on a button that might not be right for your specific dish.
Recommendation: While you can experiment with these buttons, for consistent and optimal results, we strongly recommend sticking to the “Manual/Pressure Cook” function and setting the time yourself based on reliable recipes. This approach ensures you have full control and achieve the perfect texture every time.
Instant Pot Settings Video Tutorial
If you’re a visual learner and prefer to see the buttons in action, be sure to watch the video below. This tutorial walks you through each essential cooking mode and setting on the Instant Pot, demonstrating how to use them and adjust their parameters for various culinary tasks. It’s a great companion to this written guide for hands-on learning.
More Helpful Instant Pot Guides & Resources
Ready to dive deeper into the world of Instant Pot cooking? Explore these additional resources designed to help you troubleshoot common issues, adapt recipes, and conquer advanced techniques:
- Instant Pot Troubleshooting: Common Issues and Fixes
- How to Convert Any Recipe for Instant Pot Pressure Cooking
- Instant Pot High Altitude Cooking Conversions Explained
- The Essential Instant Pot Water Test: First Use Setup Guide
- Instant Pot Cooking Times Chart: Your Ultimate Reference Guide
- Must-Have Instant Pot Accessories to Enhance Your Cooking
Mastering your Instant Pot doesn’t have to be daunting. By focusing on a few key functions, you’ll unlock a world of culinary possibilities. I really, truly hope this comprehensive guide helps you gain confidence and enjoy your Instant Pot to the fullest! Happy cooking! -Kristen