
Bright & Creamy Roasted Beet Hummus: Your New Favorite Healthy Dip
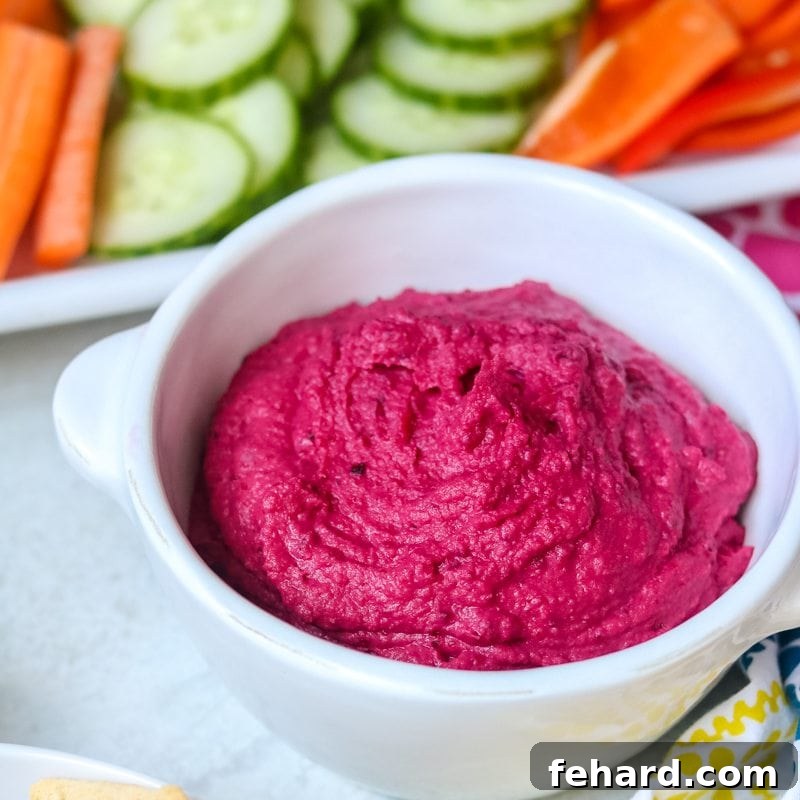
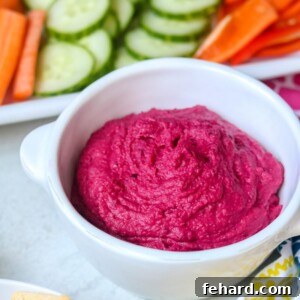
Prepare to be captivated by this incredibly vibrant and deliciously creamy Roasted Beet Hummus! Boasting an alluring earthy flavor with a hint of natural sweetness, this dip stands out not just for its exquisite taste but also for its absolutely stunning bright pink color. It’s the perfect addition to any meal or snack, ideal for serving with crisp vegetables, crunchy crackers, or even as a unique sandwich spread.
Whether you prefer to cook your own chickpeas from scratch using an Instant Pot for unparalleled creaminess, or opt for the convenience of canned chickpeas and a food processor, this beet hummus recipe is wonderfully adaptable. It offers a simple, healthy, and incredibly rewarding culinary experience that will quickly become a staple in your kitchen.
Why You’ll Fall in Love with Roasted Beet Hummus
My journey with beet hummus began after a memorable dinner at a local Mediterranean restaurant, and I’ve been hooked ever since. The unique flavor profile that roasted beets bring to traditional hummus is simply extraordinary. Roasting beets intensifies their natural sugars and introduces a subtle earthy, sometimes even slightly citrusy, note that perfectly complements the rich, nutty tahini and tangy lemon.
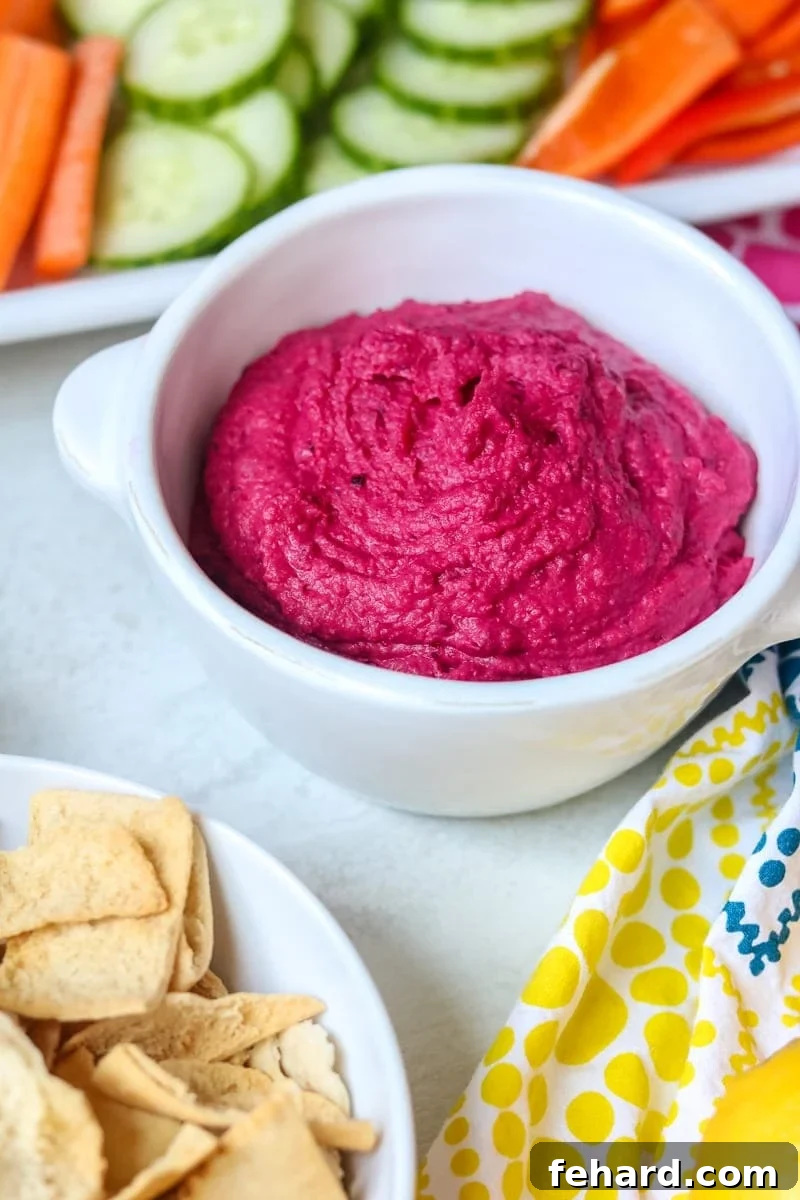
Beyond its incredible taste, homemade beet hummus offers a wealth of benefits. It’s a naturally gluten-free, dairy-free, and vegan dip, packed with nutrients from chickpeas and beets. This makes it an ideal healthy snack or appetizer for a wide range of dietary needs. The striking bright pink hue is also a fantastic conversation starter and a feast for the eyes, making it perfect for entertaining or adding a splash of color to your everyday meals.
Beyond dipping, beet hummus is incredibly versatile. Spread it generously on sandwiches and wraps for a healthier alternative to mayo, use it as a base for vibrant salad bowls, or even dollop it onto grilled meats or roasted vegetables for an extra layer of flavor and moisture. Its creamy texture and balanced taste make it a true culinary chameleon.
The Magic of Roasting Beets: Unlocking Deep Flavors
The secret to this hummus’s incredible depth of flavor lies in one crucial step: roasting the beets. While you might be tempted to use boiled or steamed beets for convenience, roasting truly transforms them. The high heat caramelizes their natural sugars, mellowing their earthy notes and enhancing their inherent sweetness. This process creates a richer, more complex flavor that infuses the hummus with an unparalleled deliciousness. It’s an extra step, but trust me, the difference is absolutely worth the effort for that truly gourmet taste.
How to Make the Best Roasted Beet Hummus at Home
Creating this gourmet-quality hummus in your own kitchen is surprisingly straightforward. The process is broken down into a few simple steps, ensuring a smooth and flavorful result every time. You have the flexibility to choose between cooking dried chickpeas for a superior creamy texture or using canned chickpeas for ultimate convenience.
Step One: Prepare and Roast the Beets
Begin by preparing your beets. Wash them thoroughly, then peel and quarter them. Drizzle them lightly with a good quality olive oil, wrap them securely in aluminum foil, and place them on a baking sheet. Roast them in a preheated oven until they are fork-tender and slightly caramelized. This usually takes between 45 to 60 minutes, depending on the size of your beets. Once roasted, let them cool slightly before proceeding.
Step Two: Prepare Your Chickpeas
The foundation of any great hummus is perfectly cooked chickpeas. For the silkiest, creamiest hummus, I highly recommend using dried chickpeas cooked in an Instant Pot. They become incredibly tender, resulting in a much smoother texture than canned varieties. If using an Instant Pot, combine 1 cup of dried chickpeas with 3 cups of water and cook on high pressure for 40 minutes, allowing a natural pressure release. This yields about 2 cups of cooked chickpeas. Remember to reserve some of the cooking liquid, or aquafaba, as it’s excellent for achieving the desired hummus consistency. If time is of the essence, well-rinsed and drained canned chickpeas will also work beautifully, just ensure they are of good quality.
Step Three: Process Until Smooth and Creamy
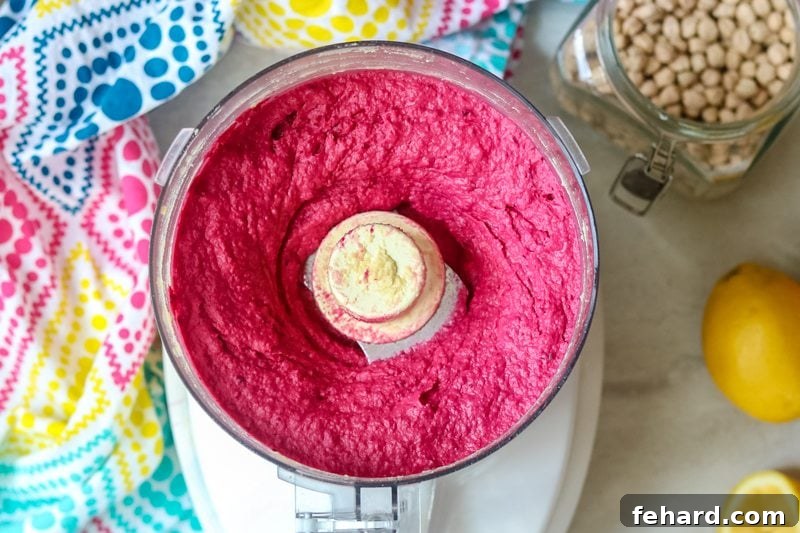
Once your beets are roasted and your chickpeas are ready, the magic happens in the food processor. Combine the roasted beets, cooked chickpeas, tahini, grated garlic, kosher salt, and fresh lemon juice in the bowl of a food processor fitted with an S-blade. Process the mixture until it becomes nearly smooth. Then, with the food processor running, slowly drizzle in the extra virgin olive oil. Continue processing, adding a tablespoon or two of water (or your reserved chickpea cooking liquid) at a time, until the hummus reaches your desired creamy and luxurious consistency. Scrape down the sides of the bowl as needed to ensure everything is thoroughly blended.
Step Four: Serve and Enjoy!
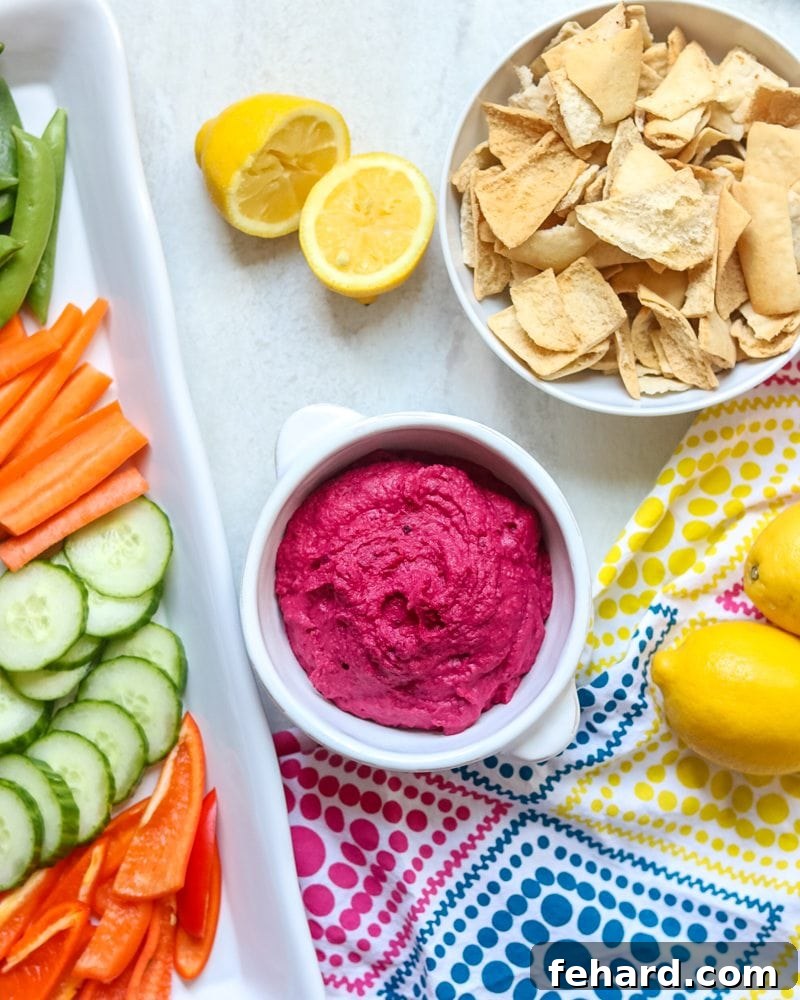
Transfer your freshly made beet hummus to a serving bowl. Drizzle with a final touch of olive oil, and optionally garnish with fresh herbs like parsley or cilantro, a sprinkle of sesame seeds, or a pinch of paprika for extra flavor and visual appeal. Serve it proudly with warm pita bread, an array of crunchy vegetable sticks (cucumbers, carrots, bell peppers), or your favorite crackers. Prepare to marvel at the stunning natural bright pink color and the delectable taste you’ve created with this easy homemade beet hummus!
Tips for the Creamiest Hummus Ever
- Overcook Your Chickpeas: Whether using dried or canned, cooking chickpeas until they are very soft (almost mushy) is key to a smooth hummus. If using canned, rinse them well and consider a quick simmer for 10-15 minutes with a pinch of baking soda to soften them further.
- Use Good Quality Tahini: Tahini, a sesame paste, is a crucial ingredient. A high-quality tahini will be thinner, pourable, and less bitter, contributing significantly to the hummus’s creamy texture and rich flavor. Stir it well before measuring.
- Add Ice Water or Aquafaba: For an extra light and airy texture, use ice-cold water or the reserved chickpea cooking liquid (aquafaba) when blending. Add it gradually, a tablespoon at a time, until you reach your desired consistency.
- Process Longer: Don’t be afraid to let your food processor run for several minutes. The longer it processes, the creamier and smoother your hummus will become.
Storage Instructions for Freshness
This delightful beet hummus is perfect for meal prepping! Store any leftovers in an airtight container in the refrigerator for up to 5 days. For longer storage, it freezes beautifully for up to 3 months. When ready to enjoy frozen hummus, remember to defrost it slowly in the refrigerator overnight. Avoid using the microwave for defrosting, as rapid temperature changes can alter its smooth, creamy consistency.
More Healthy and Delicious Snack Recipes
If you’re looking for more wholesome and tasty options to satisfy your snack cravings, explore these fantastic recipes:
- Homemade Larabars: Energy-boosting bars made with simple, natural ingredients.
- Homemade Tzatziki Sauce: A refreshing and creamy yogurt-cucumber dip.
- Skinny Spinach Artichoke Dip: A lighter version of a classic, comforting dip.
- No-Bake Oatmeal Balls: Quick and easy energy bites for a guilt-free treat.
We hope you truly enjoy this bright and beautiful Roasted Beet Hummus! We’d love to hear your thoughts and see your creations. Please feel free to leave a comment and review below to share your experience!
Roasted Beet Hummus Recipe
By: Kristen Chidsey
Servings: 16
Prep Time: 15 mins
Cook Time: 40 mins
Total Time: 55 mins
Homemade hummus is jazzed up with the addition of roasted beets for a bright and creamy hummus that has an earthy, slightly sweet taste.
Ingredients
- 2 large beets, peeled and quartered
- 2 cups cooked chickpeas (see directions below for cooking dried chickpeas, or use canned)
- 2 tablespoons tahini
- 1 clove garlic, grated
- ½ teaspoon kosher salt, divided
- ¼ cup fresh lemon juice
- ¼ cup extra virgin olive oil, plus more for roasting beets
- ¼-⅓ cup water (or reserved chickpea cooking liquid/aquafaba)
Instructions
Directions for Cooking Dried Chickpeas (Optional, for ultimate creaminess)
- Place 1 cup dried chickpeas and 3 cups of water in the inner pot of an Instant Pot or electric pressure cooker. Secure the lid and turn the vent knob to “sealing.” Set to cook on high pressure for 40 minutes. Allow the pressure to release naturally, then strain the chickpeas, reserving the cooking liquid (aquafaba).
Beet Hummus Preparation
- Preheat oven to 375℉ (190℃). Lightly coat the 2 large beets with olive oil and wrap them in aluminum foil. Place the foil-wrapped beets on a baking sheet and roast in the oven until they are tender when pierced with a fork, approximately 45 to 60 minutes. Allow to cool slightly.
- In a food processor fitted with an S-blade, combine the 2 cups cooked chickpeas, 2 tablespoons tahini, 1 clove grated garlic, ½ teaspoon kosher salt, and ¼ cup fresh lemon juice. Process until the mixture is nearly smooth, scraping down the sides as needed.
- With the food processor running, slowly pour in the ¼ cup extra virgin olive oil through the food pusher opening on the lid. Continue processing. Gradually add ¼ to ⅓ cup of water (or the reserved cooking liquid from the chickpeas) until the hummus achieves your desired smooth and creamy consistency. Taste and adjust salt or lemon juice if necessary.
Equipment
- Electric Pressure Cooker (6 or 8 quart) (Optional, for cooking dried chickpeas)
- Food Processor with S-blade
- Baking Sheet
- Aluminum Foil
Notes
Storage: Store your homemade beet hummus in an airtight container in the refrigerator for up to 5 days. It can also be frozen for up to 3 months. For best results, defrost frozen hummus overnight in the refrigerator; avoid microwaving, as this may affect its smooth texture.
Nutrition
Nutrition information is an approximation based on standard calculations and may vary depending on specific ingredients and preparation methods.
- Calories: 88 kcal
- Carbohydrates: 8g
- Protein: 2g
- Fat: 5g
- Sodium: 221mg
- Potassium: 127mg
- Fiber: 2g
- Sugar: 1g
- Vitamin A: 10 IU
- Vitamin C: 2.3mg
- Calcium: 16mg
- Iron: 0.9mg