
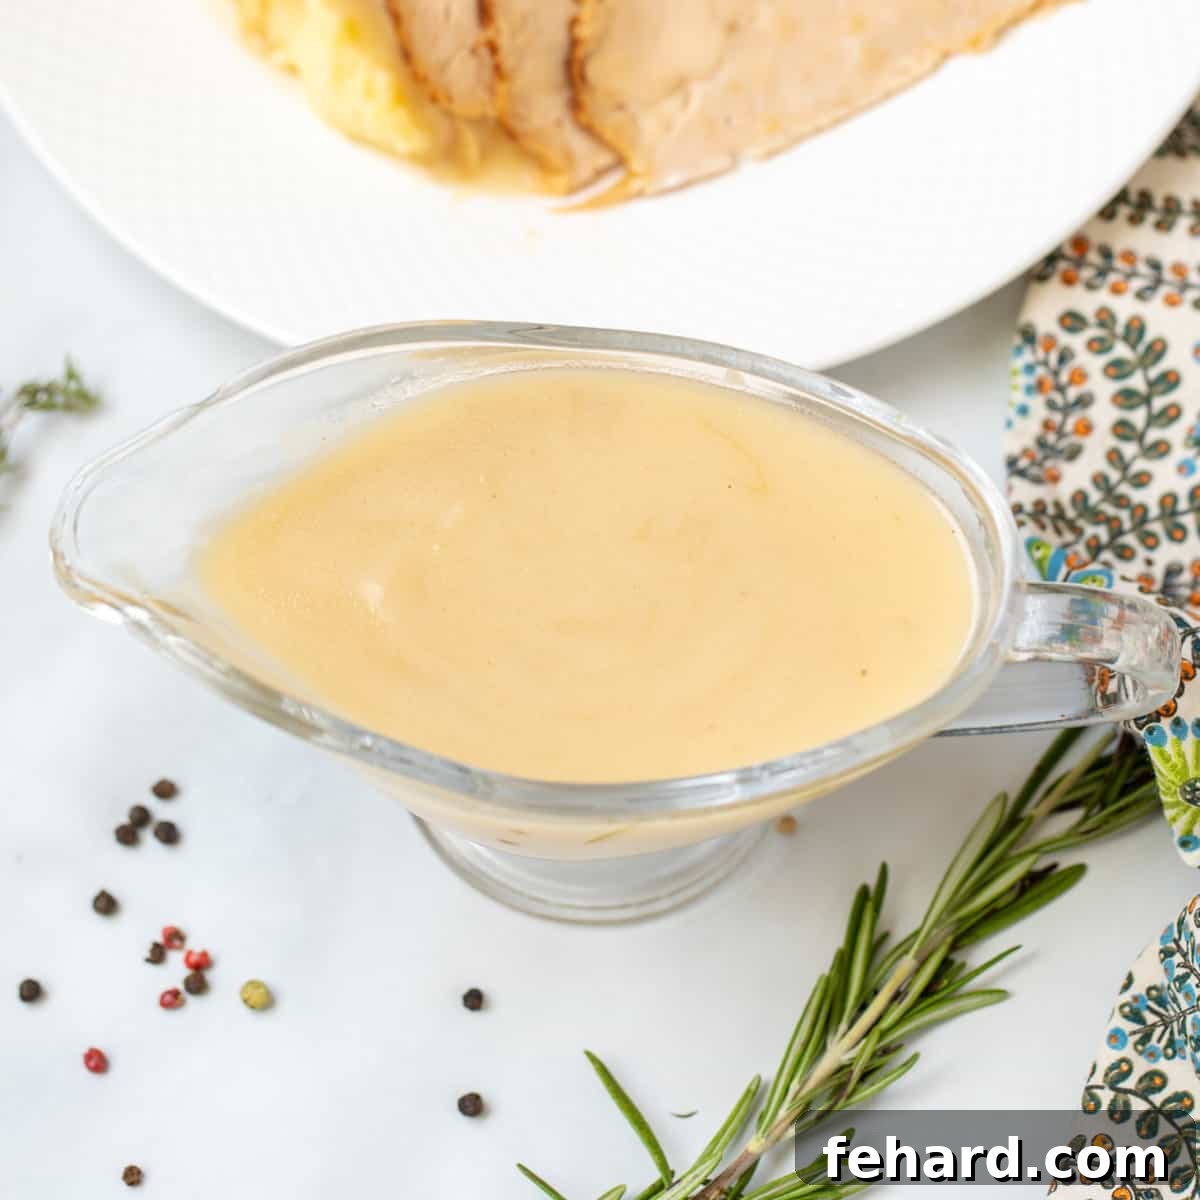
Effortless Homemade Turkey Gravy: The Ultimate No-Drippings Recipe for a Silky, Rich Finish
Imagine a Thanksgiving spread where every dish shines, and the gravy is no exception. This recipe for **Effortless Homemade Turkey Gravy** is your secret weapon, promising a consistently silky, incredibly rich, and deeply flavorful gravy that takes center stage. Forget the stress of last-minute pan drippings or worrying about greasy results; our innovative method allows you to create a superior gravy from scratch, quickly, and even days ahead of your big meal. It’s the perfect solution for those who don’t roast a whole turkey, or simply prefer a foolproof approach to mastering this essential holiday staple.
You’ll fall in love with this turkey gravy recipe because it delivers profound, buttery flavor and a luxurious texture without the traditional reliance on turkey drippings. This modern approach ensures consistent quality every single time, removing the variability that can often come with using pan juices. The thoughtful inclusion of dry white wine and a medley of fresh herbs infuses a complex depth into the gravy, creating a taste profile so rich, aromatic, and authentic, your guests will be convinced you spent hours perfecting it. Prepare to impress without the fuss, serving a gravy that truly elevates your festive feast to new heights.
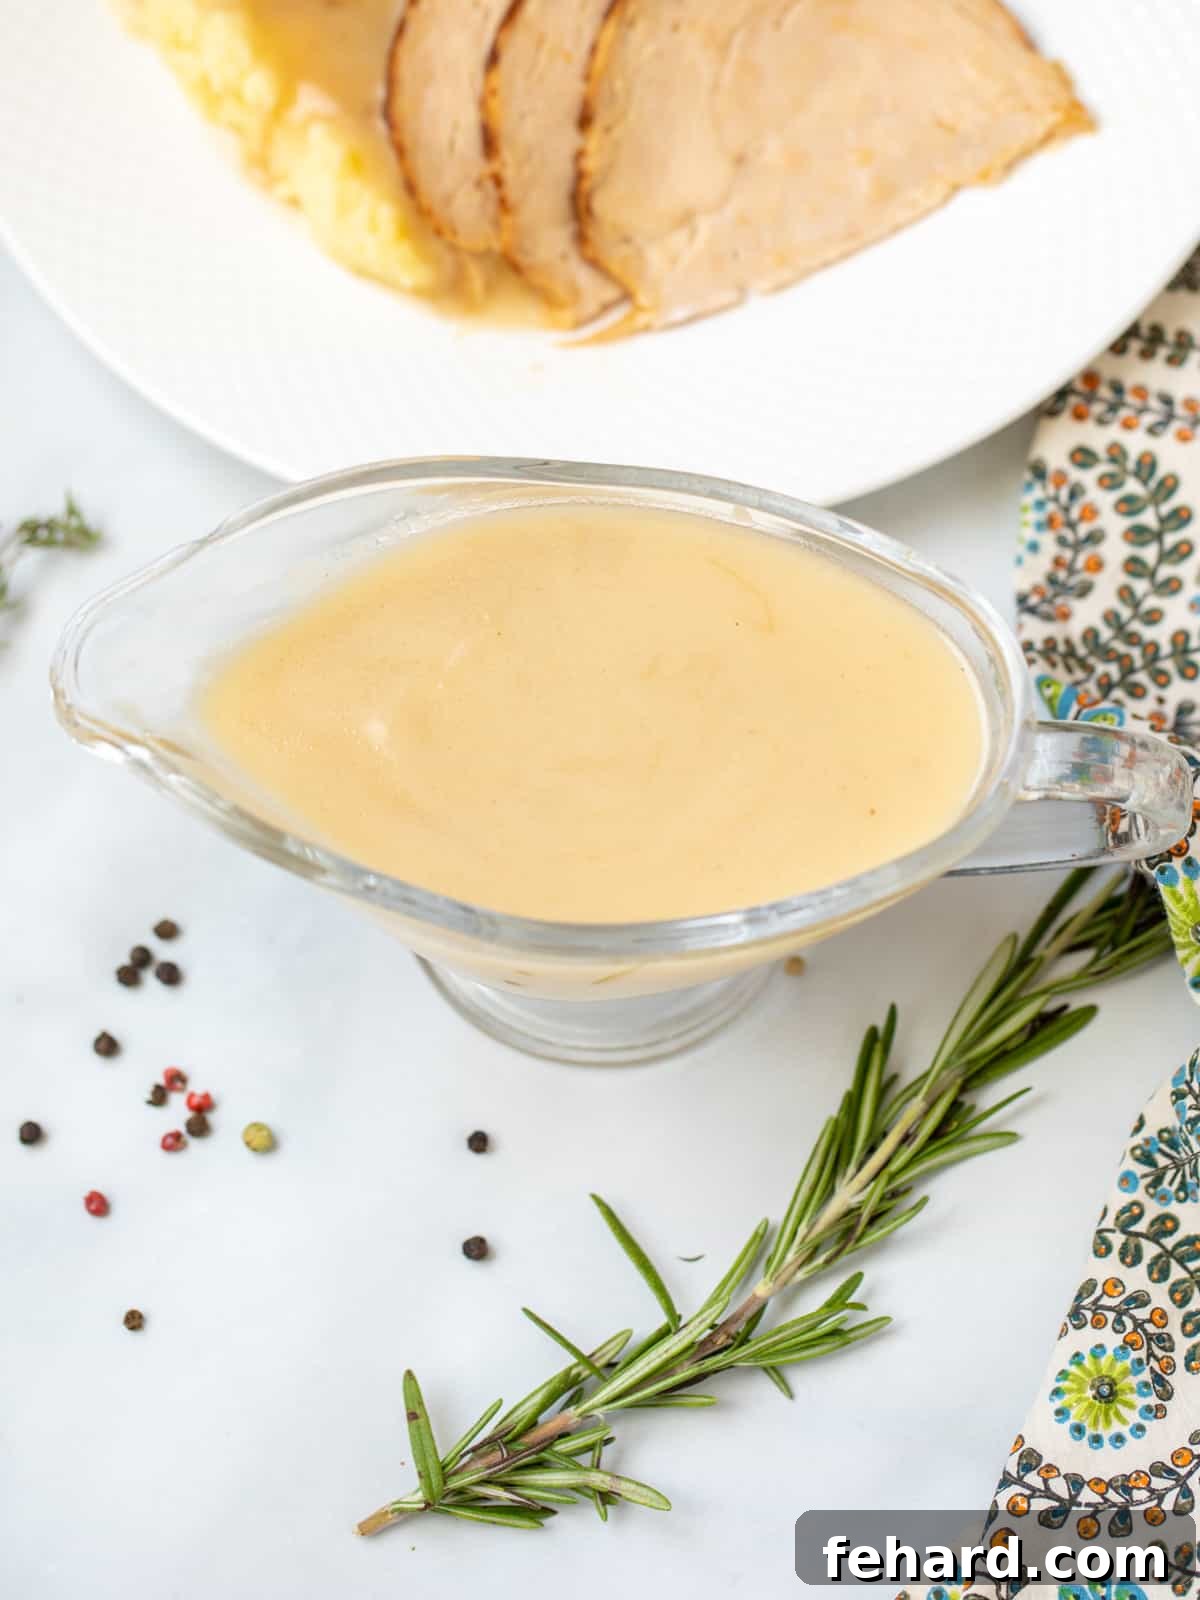
Secrets to Stress-Free Turkey Gravy: Achieving Silky Perfection Every Time
Creating a truly magnificent, rich, and silky turkey gravy, especially when made without drippings, hinges on a few essential techniques and ingredient choices. Mastering these “keys” will transform your gravy from simply good to absolutely unforgettable, ensuring a smooth process and delicious, consistent results every time you prepare it.
- Embrace Butter for Superior Richness and Control: While traditional pan drippings might seem like the natural choice, they can often lead to unpredictable results. Drippings can sometimes be excessively oily, greasy, or become overly salty, particularly if your turkey has been brined. Opting for high-quality unsalted butter provides a controlled and consistent fat source. This foundational choice creates a gravy that is reliably smooth, exquisitely rich, and deeply buttery, with a perfectly balanced seasoning that you can control from start to finish. It guarantees a velvety texture and a luxurious mouthfeel that’s superior to inconsistent drippings.
- The Foundation: Quality Stock is Non-Negotiable: The true backbone of any exceptional gravy is a deeply flavorful stock. Whether you choose turkey stock for an authentic flavor profile or opt for a robust chicken stock, ensure it is of the highest quality you can find. For store-bought options, seek out low-sodium varieties and brands known for their rich, concentrated flavor. If you’re fortunate enough to have homemade stock on hand, that will undoubtedly elevate your gravy even further. Avoid using watery or bland stocks at all costs, as they will directly and negatively impact the final taste and depth of your gravy.
- Don’t Skip the Worcestershire Sauce for Umami Depth: This often-overlooked ingredient is truly a game-changer for no-drippings gravy. Just a couple of teaspoons of Worcestershire sauce adds an incredible layer of umami, a subtle tang, and a complex savory depth that wonderfully mimics the rich, roasted flavors typically found in slow-cooked turkey drippings. It acts as a powerful flavor enhancer, helping to round out the seasoning and providing that coveted “something extra” that makes your gravy truly stand out from the crowd. It’s the secret ingredient that binds all the flavors together beautifully.
- Elevate Flavor with Dry White Wine (Optional, but Recommended): A modest splash of dry white wine, such as a crisp Pinot Grigio or a bright Sauvignon Blanc, introduces a delightful hint of acidity and an aromatic complexity to the gravy. This addition plays a crucial role in balancing out the richness, preventing the gravy from tasting heavy, and adding sophisticated layers of flavor that will impress even the most discerning palate. The alcohol content cooks off completely, leaving behind only its nuanced contribution. If you prefer to cook without alcohol, simply substitute with an equal amount of additional quality stock; the gravy will still be incredibly delicious.
- The Power of Planning: Make it Ahead for Holiday Ease: One of the biggest advantages of this particular gravy recipe is its remarkable make-ahead potential. This turkey gravy reheats beautifully, often even improving in texture and depth of flavor as it slightly thickens upon chilling. Preparing your gravy 1 to 3 days before your main meal drastically reduces holiday stress and frees up valuable kitchen time on the big day. This thoughtful foresight allows you to focus your attention on other complex dishes and truly enjoy a more relaxed and joyful cooking experience.
How to Make Flavorful Turkey Gravy Without Drippings: A Detailed Step-by-Step Guide
Creating a perfectly smooth, lump-free, and incredibly flavorful turkey gravy might seem like a daunting task, especially if it’s your first time tackling this holiday staple. However, with this detailed, step-by-step guide, you’ll feel completely confident making a restaurant-quality gravy every single time. We’ll walk you through each crucial stage of the process to ensure your success, from mastering the foundational roux to achieving that ideal pourable consistency.
Step One: Mastering the Roux – Your Gravy’s Essential Foundation
The journey to an exquisite, velvety gravy begins with a perfectly made roux. To start, in a medium-sized, heavy-bottomed saucepan, melt ¼ cup of unsalted butter over a steady medium heat. Once the butter is completely melted and shimmering invitingly, whisk in ¼ cup of all-purpose flour. Continue to whisk vigorously and constantly for 1-2 minutes. This crucial step is multi-faceted: it not only thoroughly blends the fat and flour into a thick, uniform paste, but also cooks out the raw flour taste, which is essential for preventing your gravy from having a pasty or unpleasantly chalky flavor. The roux serves as both the primary thickening agent and the initial flavor base for your gravy, so dedicate sufficient time here to ensure it’s cooked thoroughly but without browning excessively, aiming for a light, golden color.
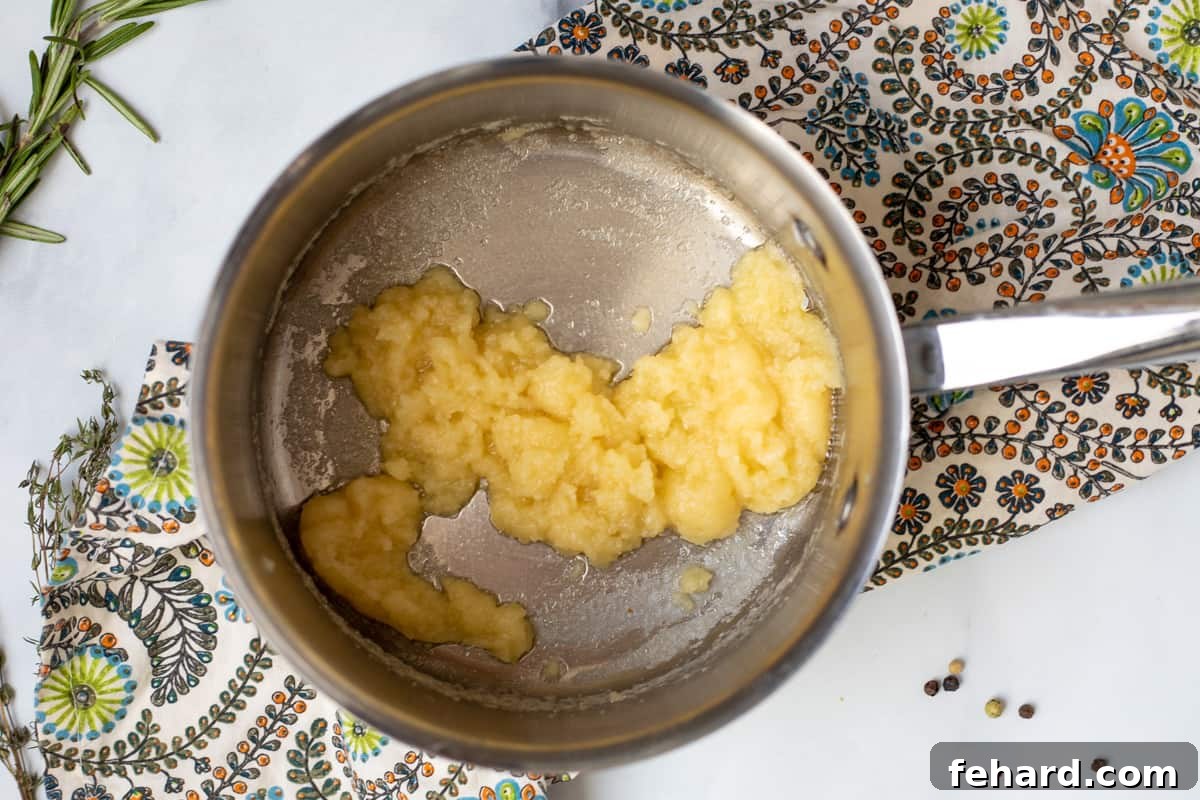
What is a Roux?
A roux is a fundamental thickening agent widely used in classical French cuisine, and it’s simpler than it sounds. It is traditionally created by cooking equal parts fat (such as butter, oil, or rendered pan drippings) and flour together. This mixture forms a stable paste that, when liquid is gradually added and heated, expands and thickens into a sauce, soup, or in this case, a rich gravy. The precise cooking of the roux is paramount to preventing a raw flour taste and achieving that coveted smooth, glossy consistency in the final product.
Step Two: Gradual Liquid Incorporation and Herb Infusion for Complex Depth
Once your perfectly cooked roux is ready, it’s time to meticulously build the liquid base of your gravy. If you’re opting to use wine, pour in ½ cup of dry white wine and whisk vigorously until it is fully smooth and completely incorporated into the roux. Allow this mixture to gently bubble for a minute or two; this process is essential for cooking off the alcohol and concentrating the wine’s nuanced flavors. Next, begin to gradually whisk in 2 cups of low-sodium chicken or turkey stock, adding it in small increments, approximately ½ cup at a time. Whisk constantly and thoroughly after each addition until the liquid is evenly combined and smooth. This slow and steady approach is absolutely vital for preventing any lumps from forming and ensuring a beautifully smooth, cohesive gravy texture. Once all the stock is combined, add your fresh herbs – 2 sprigs of fresh thyme and 1 sprig of fresh rosemary (you can also add a small pinch of fresh sage for a more classic Thanksgiving touch) – allowing their aromatic oils to slowly infuse into the warming liquid, adding an incredible depth of flavor.
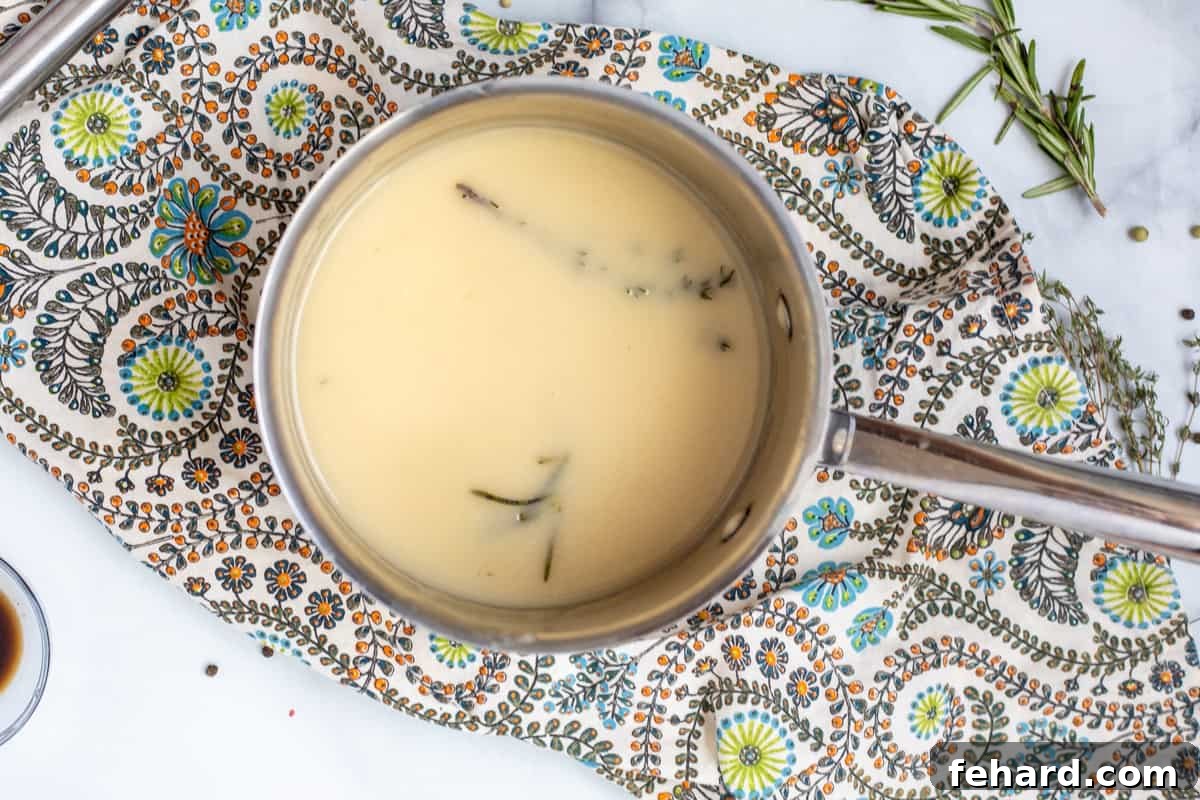
Why Slow and Steady Wins the Race for Lump-Free Gravy?
Adding liquid slowly to a hot roux is a critical culinary technique, specifically designed to achieve a perfectly lump-free gravy. When hot liquid rapidly comes into contact with the flour particles in the roux, they quickly expand and can clump together before they have a chance to fully absorb the moisture. This results in undesirable lumps that compromise the gravy’s texture. By adding the liquid gradually, in small splashes, and whisking continuously, you allow the flour to hydrate and swell evenly. This controlled process ensures a perfectly smooth, velvety texture, creating a truly luxurious gravy that pours beautifully.
Step Three: Simmering to Perfect Thickness and Final Seasoning
With all your liquids and herbs incorporated, bring the gravy mixture to a gentle simmer over medium-low heat. Whisk occasionally to prevent any sticking to the bottom of the pan and to ensure that the gravy thickens evenly. Let it simmer for approximately 5-7 minutes, or until the gravy visibly thickens and coats the back of a spoon. This “coating the spoon” test is your reliable visual cue that the gravy has reached its desired consistency. As it simmers, the starch molecules in the flour fully expand and absorb the liquid, causing the thickening effect. You might find you need to add an additional 1 to 1½ cups of stock in total; add it gradually, ¼ cup at a time, whisking well after each addition, until you achieve your preferred thickness – it should be thick enough to cling beautifully to roasted turkey and creamy mashed potatoes, yet still pour easily from a gravy boat. Once it reaches this ideal consistency, whisk in 2 teaspoons of Worcestershire sauce, then give the gravy a quick taste. Adjust the seasoning with salt and additional black pepper as needed, ensuring a perfectly balanced and deeply savory flavor profile.
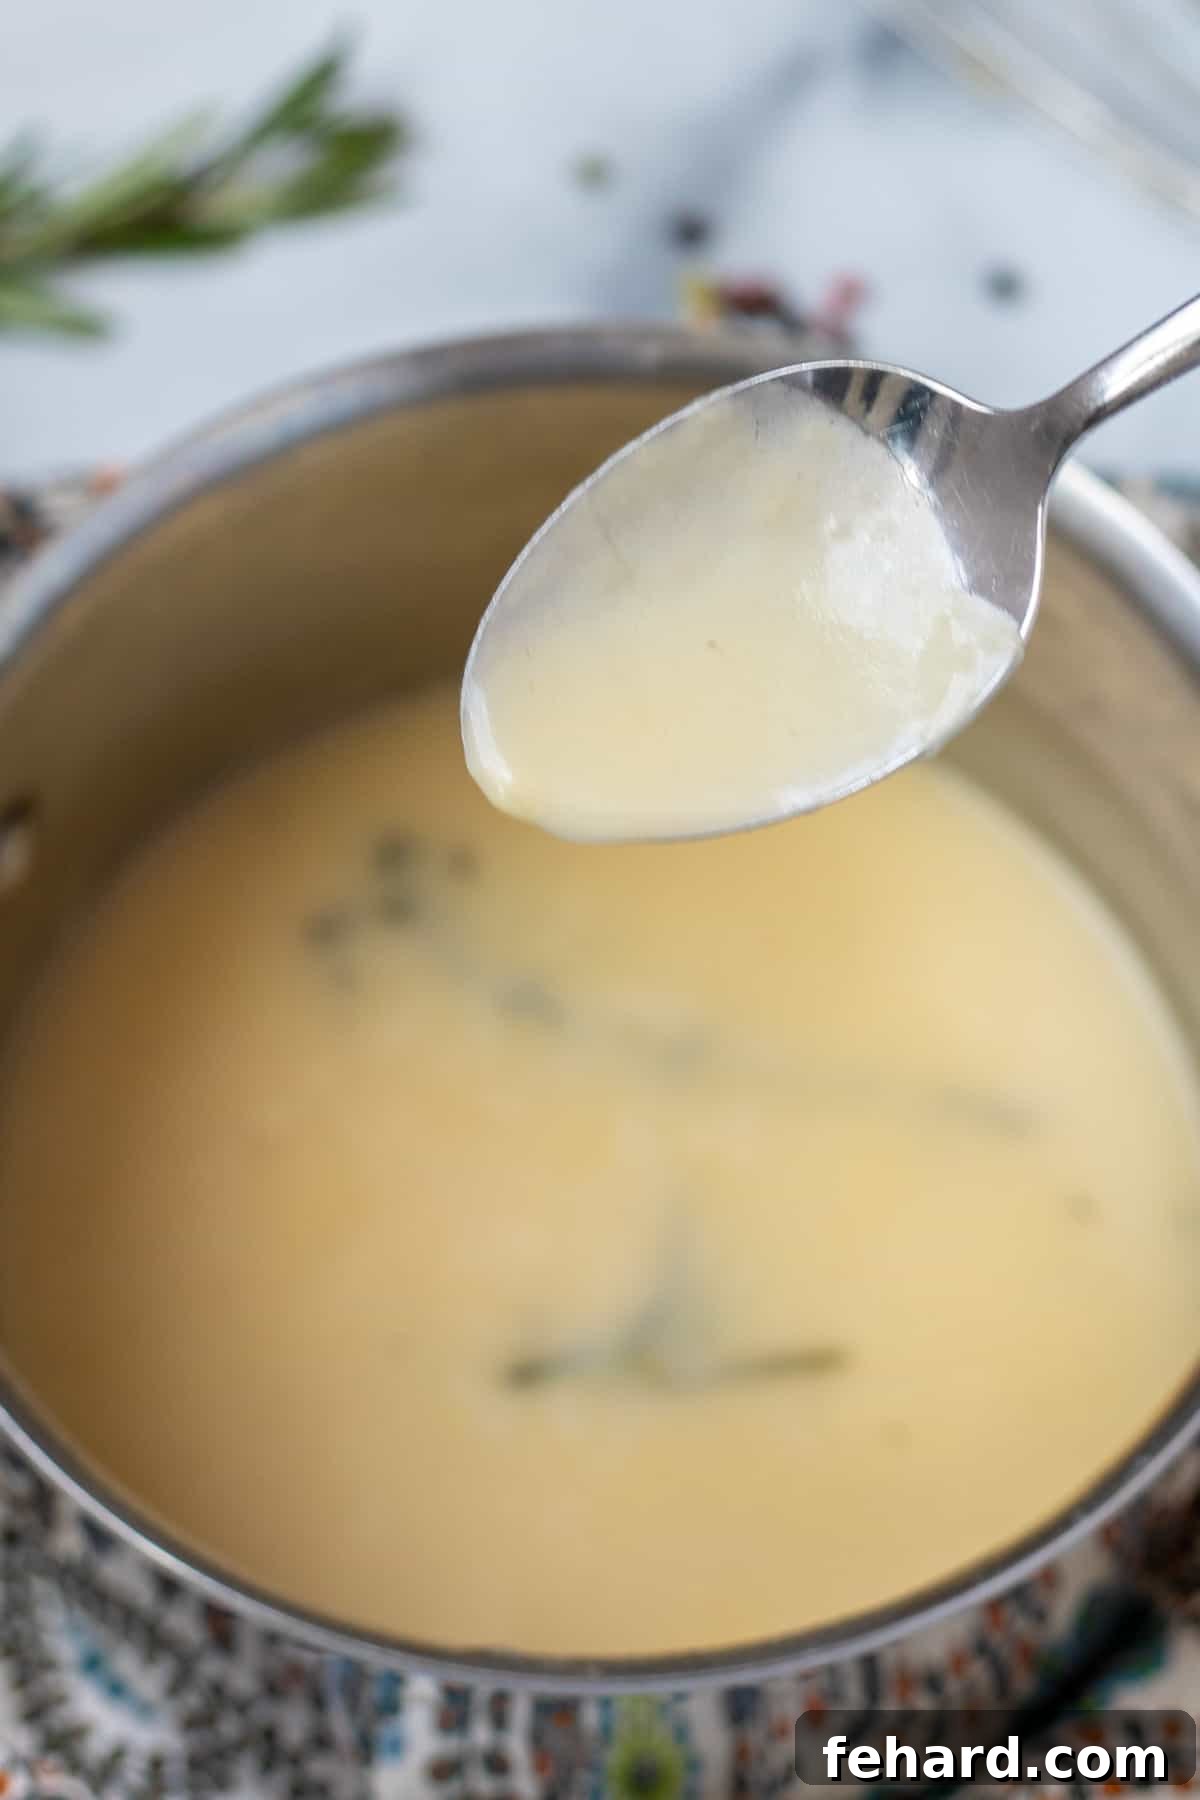
The Gold Standard for Gravy Thickness
The ideal gravy thickness can be a matter of personal preference, but generally, a perfect gravy should be viscous enough to cling to food without being excessively pasty, gloopy, or overly thin. The simplest and most reliable method is the “back of a spoon” test: dip a clean spoon into the simmering gravy, then pull it out. If the gravy coats the spoon evenly and you can draw a clean line through it with your finger that holds its shape, your gravy has reached the perfect consistency. If it appears too thin, continue to simmer it for a few more minutes, whisking regularly. If it becomes too thick, simply whisk in a splash more warm stock, a tablespoon at a time, until your desired pourable consistency is achieved.
Step Four: Straining for a Restaurant-Quality, Silky Smooth Finish
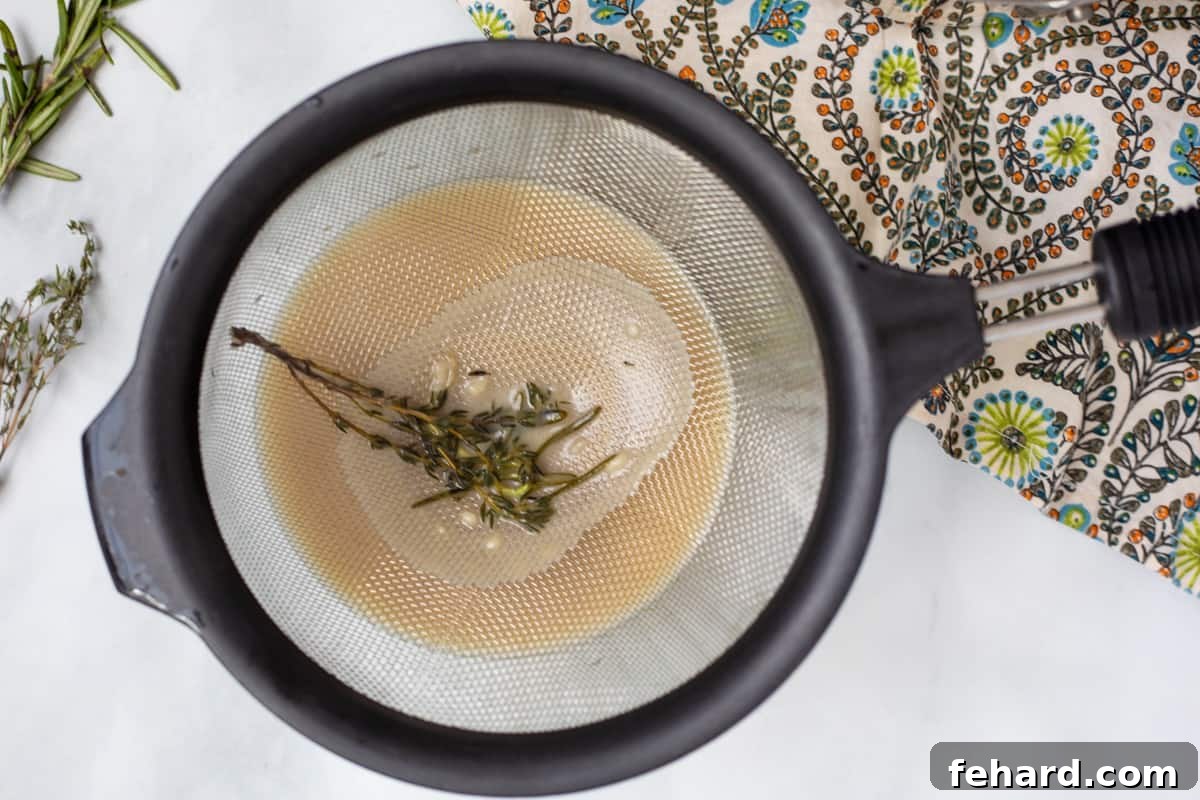
For an exceptionally smooth, glossy, and refined gravy that is truly worthy of any gourmet meal or grand holiday feast, the final and often overlooked step is straining. Carefully pour your freshly made gravy through a fine-mesh strainer, positioned over a clean bowl or directly into your serving gravy boat. This simple yet highly effective step expertly catches any stray lumps that might have formed despite your careful whisking, as well as the cooked sprigs of fresh herbs. The result of this effortless action is a perfectly uniform, elegantly smooth, and professional-looking gravy with an unparalleled velvety texture that will undoubtedly impress all your dinner guests and elevate the entire dining experience.
Recipe Modifications: Tailoring Your Gravy for Dietary Needs and Flavor Twists
This versatile homemade turkey gravy recipe is incredibly adaptable, making it easy to suit various dietary requirements or to introduce exciting new flavor profiles. Explore these simple modifications to customize the gravy and make it perfectly yours, ensuring everyone at your table can enjoy this delicious holiday staple.
- Gluten-Free Gravy: To seamlessly make this recipe gluten-free, simply swap the all-purpose flour for an equal amount of a high-quality 1:1 gluten-free flour blend. For optimal thickening and texture, ensure your chosen blend contains xanthan gum. Additionally, it’s crucial to double-check that your Worcestershire sauce is certified gluten-free, as some brands may contain hidden gluten ingredients. The cooking process remains exactly the same, yielding an equally delicious and wonderfully thick gluten-free alternative.
- Dairy-Free Gravy: For a completely dairy-free version, substitute the unsalted butter with an equivalent amount of a good quality dairy-free butter alternative. Products like Earth Balance sticks or other plant-based butter brands specifically designed for cooking work exceptionally well. Be mindful that many dairy-free butters are already salted, so you may need to reduce the amount of additional salt you add to your gravy. Always taste and adjust seasoning as you go to achieve perfect balance.
- Adding a Flavor Twist: While the basic recipe is already wonderfully flavorful and robust, you can easily enhance its profile with additional spices or aromatics. Stir in ½ teaspoon of your favorite homemade poultry seasoning blend, a generous pinch of rubbed sage, or a dash of garlic or onion powder during the simmering stage for an even more pronounced “Thanksgiving” flavor. A tiny pinch of freshly grated nutmeg can also add a subtle, warming complexity that complements the savory notes beautifully.
Make-Ahead and Storage Tips for Ultimate Holiday Convenience
This homemade turkey gravy is an absolute champion when it comes to make-ahead holiday cooking, rightfully earning its place as one of the ultimate stress-reducing Thanksgiving recipes. Preparing it in advance ensures you have one less crucial dish to worry about on the busy holiday itself. Follow these comprehensive tips for optimal storage and seamless reheating, guaranteeing perfectly delicious gravy whenever you’re ready to serve.
- Prepare in Advance: You can fully prepare this delicious gravy up to 3 days before your main event. Once cooked to perfection, allow the gravy to cool slightly at room temperature, then transfer it to a clean, airtight container. Promptly refrigerate it. It’s completely normal for the gravy to thicken considerably as it chills; this is a natural consequence of the roux setting up.
- Reheating Refrigerated Gravy: When you’re ready to serve, transfer the chilled, thick gravy to a medium saucepan. Over very low heat, gently warm the gravy, whisking frequently and continuously to smooth out any thickness that occurred during chilling. If, even after whisking, it’s still too thick for your preference, gradually whisk in a splash or two of additional warm chicken or turkey stock (or even water) until it reaches your desired pourable consistency. Be patient and add liquid slowly.
- Freezing for Long-Term Storage: For even longer storage, this versatile gravy freezes beautifully. Once the gravy has completely cooled to room temperature, transfer it to freezer-safe containers or heavy-duty freezer bags. Be sure to leave about an inch of headspace at the top of the container to allow for expansion during freezing. Freeze for up to 1 month for best quality.
- Reheating Frozen Gravy: To reheat gravy from frozen, first thaw it overnight in the refrigerator. Once fully thawed, transfer it to a medium saucepan. Proceed with the reheating instructions identical to those for refrigerated gravy: warm it gently over low heat, whisking occasionally until it is loosened and warmed through. Add extra stock as needed to achieve the perfect, pourable consistency.
Serving Suggestions: Beyond the Turkey and Into Every Meal
While a rich, savory turkey gravy is undeniably the quintessential companion for a beautifully roasted turkey or a tender Instant Pot turkey breast, its incredible depth of flavor and luscious profile make it exceptionally versatile. Do not limit this delicious creation solely to the main bird; explore its potential to elevate and transform a wide variety of dishes, turning everyday meals into something extraordinary.
- Classic Holiday Pairings: Drizzle generously over creamy, fluffy mashed potatoes, hearty bread stuffing, tender roasted root vegetables, or even simple steamed green beans for a comforting and traditional holiday meal experience.
- Hearty Breakfast & Brunch: Use this gourmet gravy to transform classic biscuits and gravy into a truly elevated experience, or spoon it over savory breakfast potatoes, crispy hash browns, or a full English breakfast.
- Robust Main Courses: Elevate weeknight dinners by serving it over dishes like crispy chicken fried steak, a comforting meatloaf, simple pan-seared chicken breasts, or even tender pork chops.
- Creative Appetizers & Sides: Serve it as a decadent dipping sauce for Thanksgiving eggrolls, crispy potato wedges, or as the essential liquid component for a rich and satisfying poutine, generously poured over french fries and cheese curds.
- Inspired Leftover Creativity: Breathe new life into your Thanksgiving leftovers by turning them into delicious open-faced turkey sandwiches, simmered gently in the gravy. It’s also an excellent binder for leftover turkey shepherd’s pie or as a flavorful base for a turkey pot pie.
Easy Turkey Gravy Recipe
By: Kristen Chidsey
Yields: 10 Servings
Prep Time: 5 mins
Cook Time: 10 mins
Total Time: 15 mins
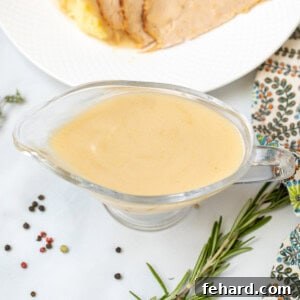
Made without drippings, this homemade turkey gravy is quick, incredibly flavorful, and can be prepared ahead of time, ensuring a stress-free holiday meal.
Ingredients
- ¼ cup unsalted butter (or fat from pan drippings, if available)
- ¼ cup all-purpose flour
- ½ cup dry white wine (optional, such as Pinot Grigio or Sauvignon Blanc)
- 2 cups low-sodium chicken or turkey stock (+ 1 to 1½ cups more if needed to thin)
- 2 sprigs fresh thyme
- 1 sprig fresh rosemary (or a pinch of fresh sage)
- ½ teaspoon black pepper
- 2 teaspoons Worcestershire sauce
- Salt to taste
Instructions
- In a heavy-bottomed medium saucepan, melt ¼ cup unsalted butter over medium heat. Once completely melted and shimmering, whisk in ¼ cup all-purpose flour to form a thick, smooth paste (a roux). Cook this roux for 1-2 minutes, stirring constantly, to eliminate the raw flour taste.
- If using wine, pour ½ cup dry white wine into the roux. Whisk vigorously until smooth and allow the mixture to bubble gently for 1-2 minutes to cook off the alcohol. Then, gradually whisk in 2 cups of low-sodium chicken or turkey stock, about ½ cup at a time, ensuring each addition is fully incorporated before adding more. Add the 2 sprigs of fresh thyme, 1 sprig of fresh rosemary, and ½ teaspoon of black pepper. Bring the mixture to a gentle boil.
- Reduce the heat to medium-low and continue to simmer, whisking frequently, until the gravy visibly thickens and coats the back of a spoon (approximately 5-7 minutes). If the gravy becomes too thick for your liking, gradually whisk in an additional 1 to 1½ cups of stock, ¼ cup at a time, until the desired consistency is achieved. Finally, stir in 2 teaspoons of Worcestershire sauce. Taste the gravy and season with salt and additional pepper as needed to achieve a perfectly balanced flavor.
- For a beautifully smooth and refined gravy, carefully pour the finished gravy through a fine-mesh strainer set over a clean bowl or directly into your gravy boat. This step removes any potential lumps and the cooked herb sprigs, resulting in a perfectly uniform texture.
- Transfer the strained gravy to a gravy boat and serve immediately. Alternatively, return it to the saucepan and keep it warm over very low heat, whisking occasionally, until you are ready to serve.
Equipment
- Medium heavy-bottomed saucepan
- Whisk
- Fine mesh strainer
Notes
- Using Pan Drippings: If you have turkey pan drippings available, you can substitute the rendered fat for a portion of the butter, and the strained liquid drippings (after skimming fat) for some of the stock. Be mindful of the drippings’ inherent saltiness and adjust seasoning accordingly.
- White Wine Choice: For the best flavor, use a dry white wine that you would enjoy drinking, such as a Sauvignon Blanc, Pinot Grigio, or even an unoaked Chardonnay. If you prefer to omit wine, simply replace the ½ cup of wine with an additional ½ cup of chicken or turkey stock.
- Prepare in Advance: To prepare ahead, follow the recipe completely, then cool the gravy slightly before transferring it to an airtight container. Refrigerate for up to 3 days. Reheat gently over low heat, whisking frequently. Add a splash of stock if it has thickened too much in the fridge.
- Storage: Leftover gravy can be stored in an airtight container in the refrigerator for up to 3 days. For longer storage, freeze in a freezer-safe container for up to 1 month, leaving about 1 inch of headspace. Thaw in the refrigerator before reheating gently over low heat, adding stock as needed.
Nutrition
Nutrition information is automatically calculated and should be considered an approximation.
| Nutrient | Amount |
|---|---|
| Calories | 72 kcal |
| Carbohydrates | 4 g |
| Protein | 1 g |
| Fat | 5 g |
| Saturated Fat | 3 g |
| Polyunsaturated Fat | 0.2 g |
| Monounsaturated Fat | 1 g |
| Trans Fat | 0.2 g |
| Cholesterol | 12 mg |
| Sodium | 32 mg |
| Potassium | 67 mg |
| Fiber | 0.1 g |
| Sugar | 0.3 g |
| Vitamin A | 155 IU |
| Vitamin C | 0.5 mg |
| Calcium | 7 mg |
| Iron | 0.4 mg |
Tried this recipe? Mention @amindfullmom or tag #amindfullmom!
Pin this recipe |
Print recipe