
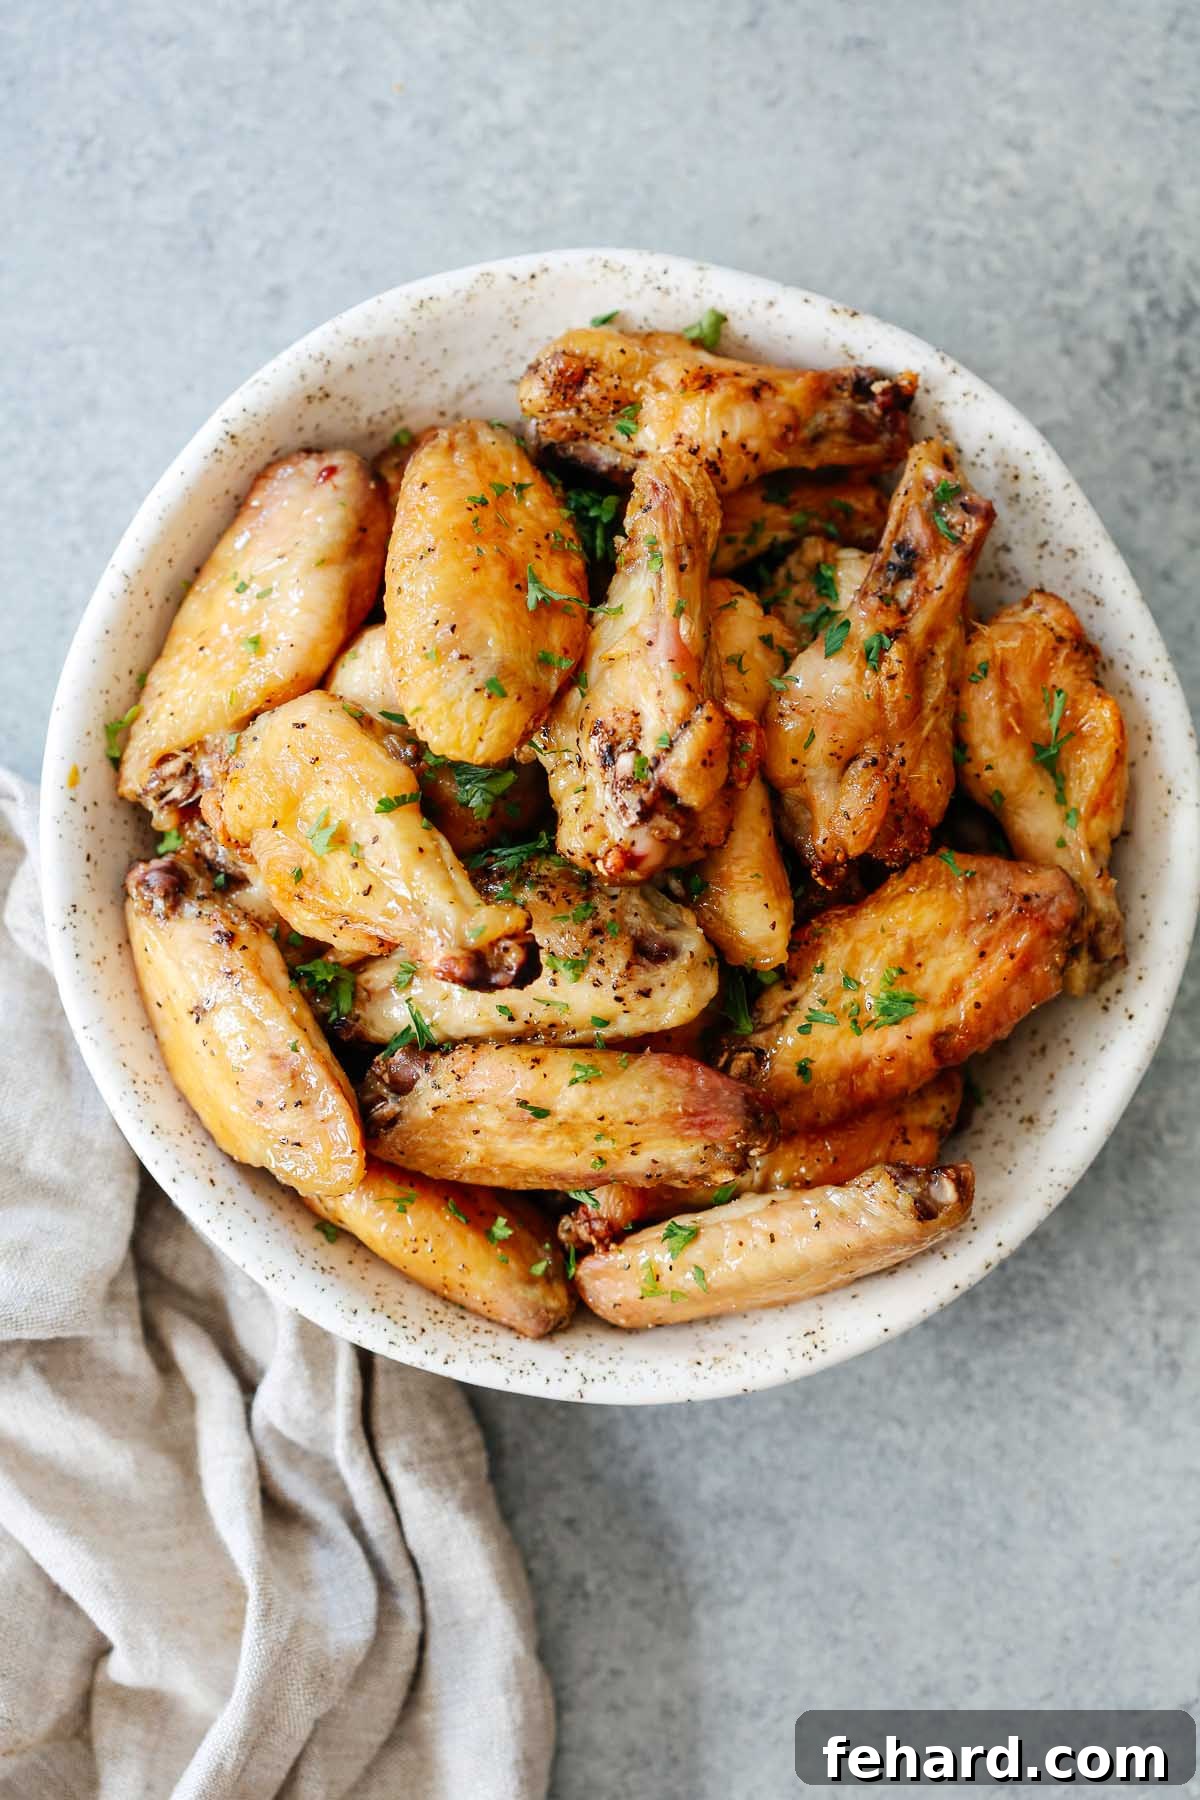
The Ultimate Crispy Baked Salt and Pepper Chicken Wings
Prepare yourself for a culinary revelation! These aren’t just any chicken wings; these are the best salt and pepper chicken wings you will ever make, delivering a perfectly crispy, golden exterior and juicy, succulent meat within. Forget soggy takeout or the mess of deep-frying – our simple, oven-baked method guarantees restaurant-quality crunch every single time. Crafted with budget-friendly, readily available pantry staples, this irresistibly flavorful recipe is destined to become a cherished staple in your household. Get ready to experience finger-licking goodness that will have everyone asking for more!
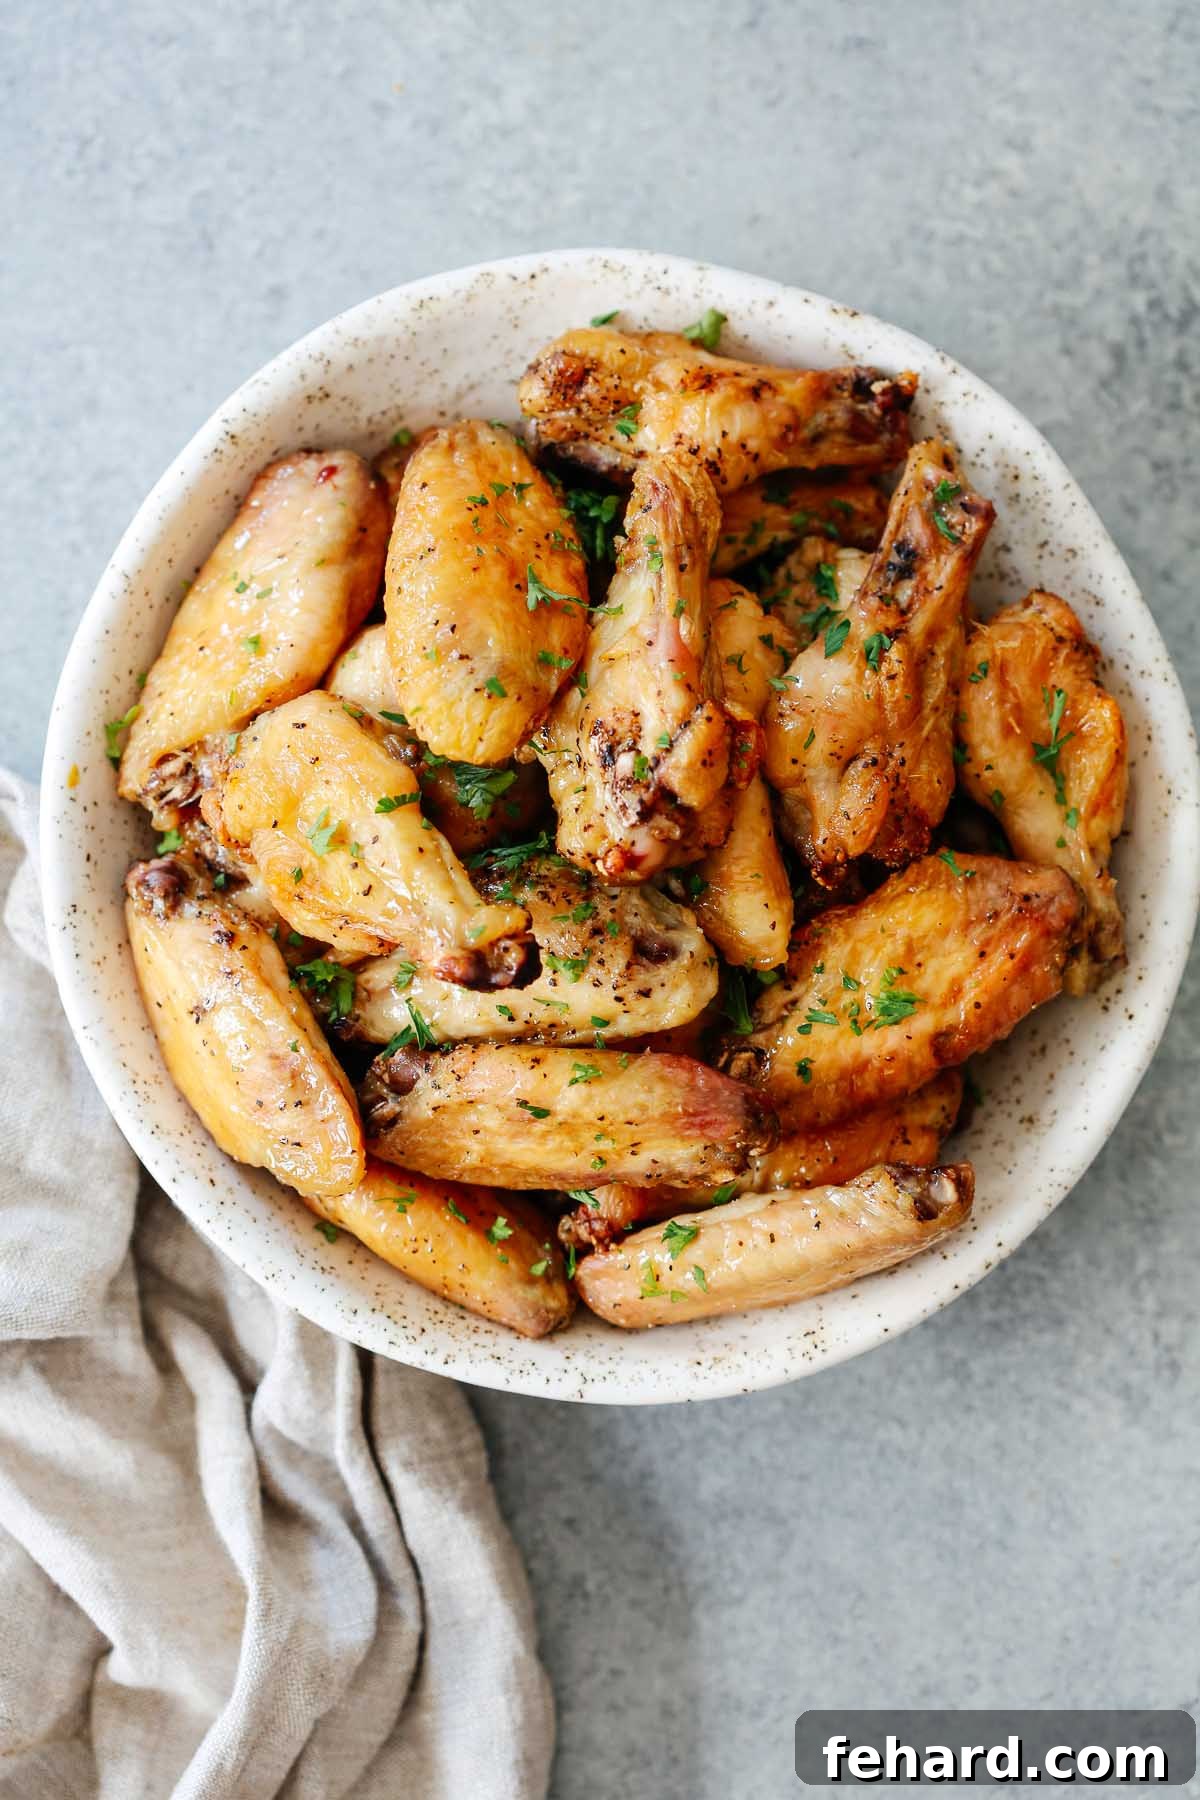
My family, like many others, has an undeniable adoration for crispy chicken wings. There’s something uniquely satisfying about that initial bite, the audible crunch of the perfectly rendered, seasoned skin, and the burst of savory flavor that follows. It’s truly one of my all-time favorite chicken recipes to prepare and enjoy. For too long, many home cooks have believed that achieving such a desirable crispy texture was an exclusive domain of professional restaurants or required the hassle and health implications of deep-frying at home.
I am thrilled to dispel that myth and share the secret to achieving flawlessly golden and incredibly crispy chicken wings right in your own kitchen, using nothing more than your oven. That’s right – no cumbersome deep fryer needed! This baking method not only simplifies the cooking process but also results in wings that are significantly less oily and greasy than typical takeout options. You won’t find yourself dealing with the heavy aftermath of fried chicken or the specific techniques of a stir-fry recipe. Best of all, this method is ideal for preparing a large batch, making it perfect for feeding a crowd at parties, game nights, or family gatherings without any added stress.
If you’re eager to explore more delicious ways to prepare chicken wings, be sure to check out these other fantastic recipes: Classic Baked Chicken Wings for a foundational recipe, and Air Fryer Chicken Wings for an even quicker, equally crispy alternative. Each recipe offers a unique approach to everyone’s favorite finger food, ensuring you’ll always have a go-to method for any occasion.
Essential Ingredients for Your Salt and Pepper Chicken Wings
Creating these sensational salt and pepper chicken wings requires only a handful of common ingredients, most of which you likely already have in your pantry. The magic lies in the quality of these simple components and how they are combined to elevate the natural flavor of the chicken. Here’s what you’ll need to gather:
- Chicken wings: For convenience and consistent cooking, I highly recommend using pre-cut chicken wings, often labeled as “party wings,” “wingettes,” and “drumettes.” These portions cook more evenly and are easier to handle. Aim for about 2 pounds, which typically serves 4-6 people as an appetizer or 2-3 as a main course.
- Olive oil: A drizzle of olive oil helps to bind the seasonings to the chicken and contributes to that desirable crispy skin. If olive oil isn’t on hand, feel free to substitute with vegetable oil, avocado oil, or even melted unsalted butter for a slightly richer flavor profile.
- Black pepper: The “pepper” in salt and pepper wings is crucial. I cannot overstate the importance of using freshly ground black pepper for the best results. The aroma and robust flavor of pepper freshly ground from peppercorns using a grinder are unparalleled compared to pre-ground varieties. If you prefer a milder, earthier note, white pepper can also be used.
- Salt: The “salt” is just as vital for seasoning and drawing out moisture to promote crispiness. My preferred choice is kosher salt due to its larger crystal size, which provides a more even seasoning and adheres well to the chicken. Fine sea salt or regular table salt can also be used, but you might need to adjust the quantity slightly as their salinity levels can differ.
- Fresh parsley or green onions: These fresh herbs are optional but highly recommended for a vibrant garnish. A sprinkle of chopped fresh parsley or thinly sliced green onions adds a touch of color and a fresh, aromatic counterpoint to the savory, crispy wings.
Step-by-Step Instructions to Make Perfect Salt and Pepper Chicken Wings
Follow these straightforward steps to achieve perfectly seasoned, incredibly crispy chicken wings with minimal effort. Precision in preparation and baking technique is key to unlocking their full potential.
1. Prepare Your Oven and Equipment
- Begin by preheating your oven to a precise 425°F (220°C). A hot oven is essential for immediate crisping.
- Line a sturdy baking sheet with parchment paper. This simple step will make cleanup significantly easier by catching any drippings. While a baking sheet is ideal, a cast iron skillet can also be used for excellent results if you prefer.
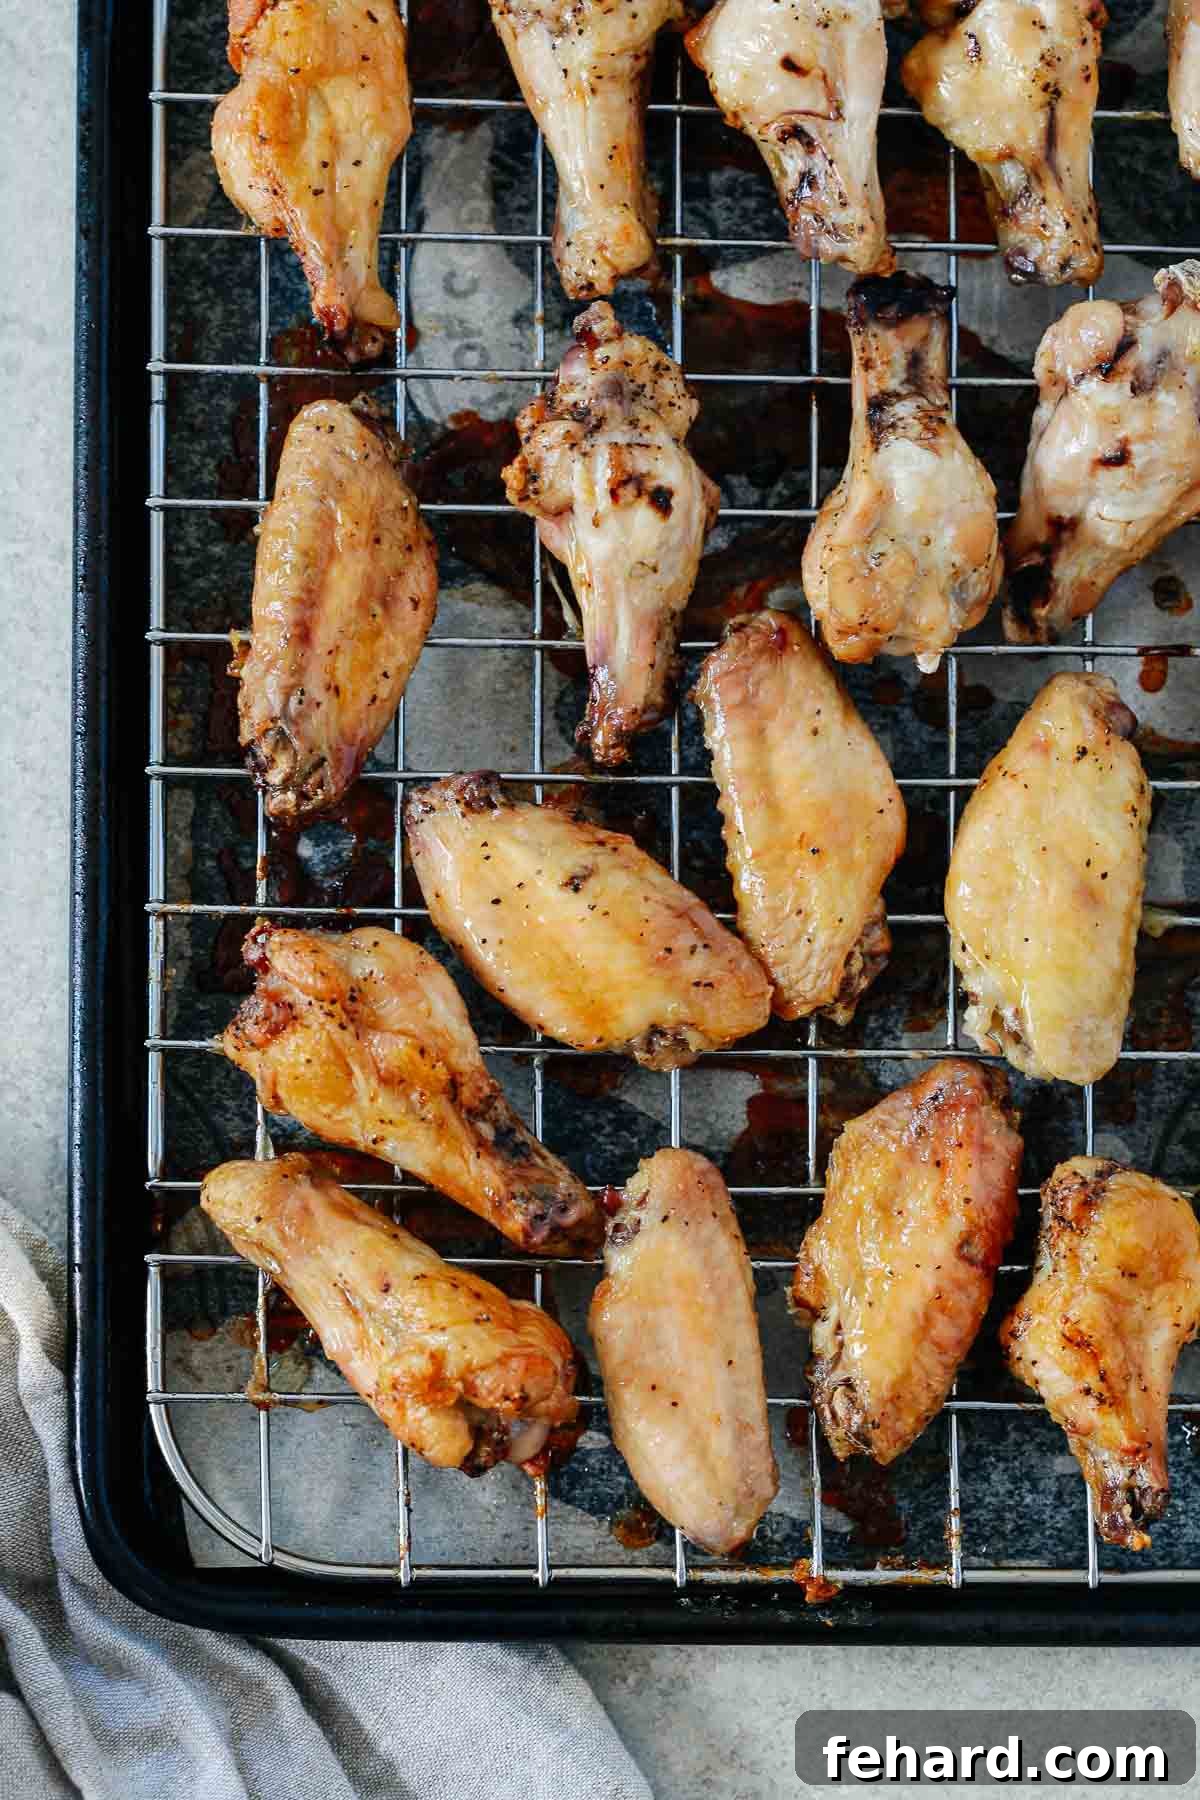
- Crucially, place a wire cooling rack directly on top of the parchment-lined baking sheet. This setup allows for optimal airflow around the wings, ensuring all sides get crispy and preventing them from becoming soggy by sitting in rendered fat.
2. Prepare the Chicken Wings for Seasoning
- Before seasoning, it is vital to thoroughly pat the chicken wings dry with paper towels. Removing excess moisture is the single most important step for achieving truly crispy skin. Any surface moisture will steam rather than crisp.
- In a large mixing bowl, combine all the patted-dry chicken wings, the olive oil, kosher salt, and freshly ground black pepper.
- Use your hands or a sturdy spatula to mix everything together vigorously, ensuring each wing piece is evenly coated with the oil and seasonings. This thorough coating is essential for uniform flavor and crispness.
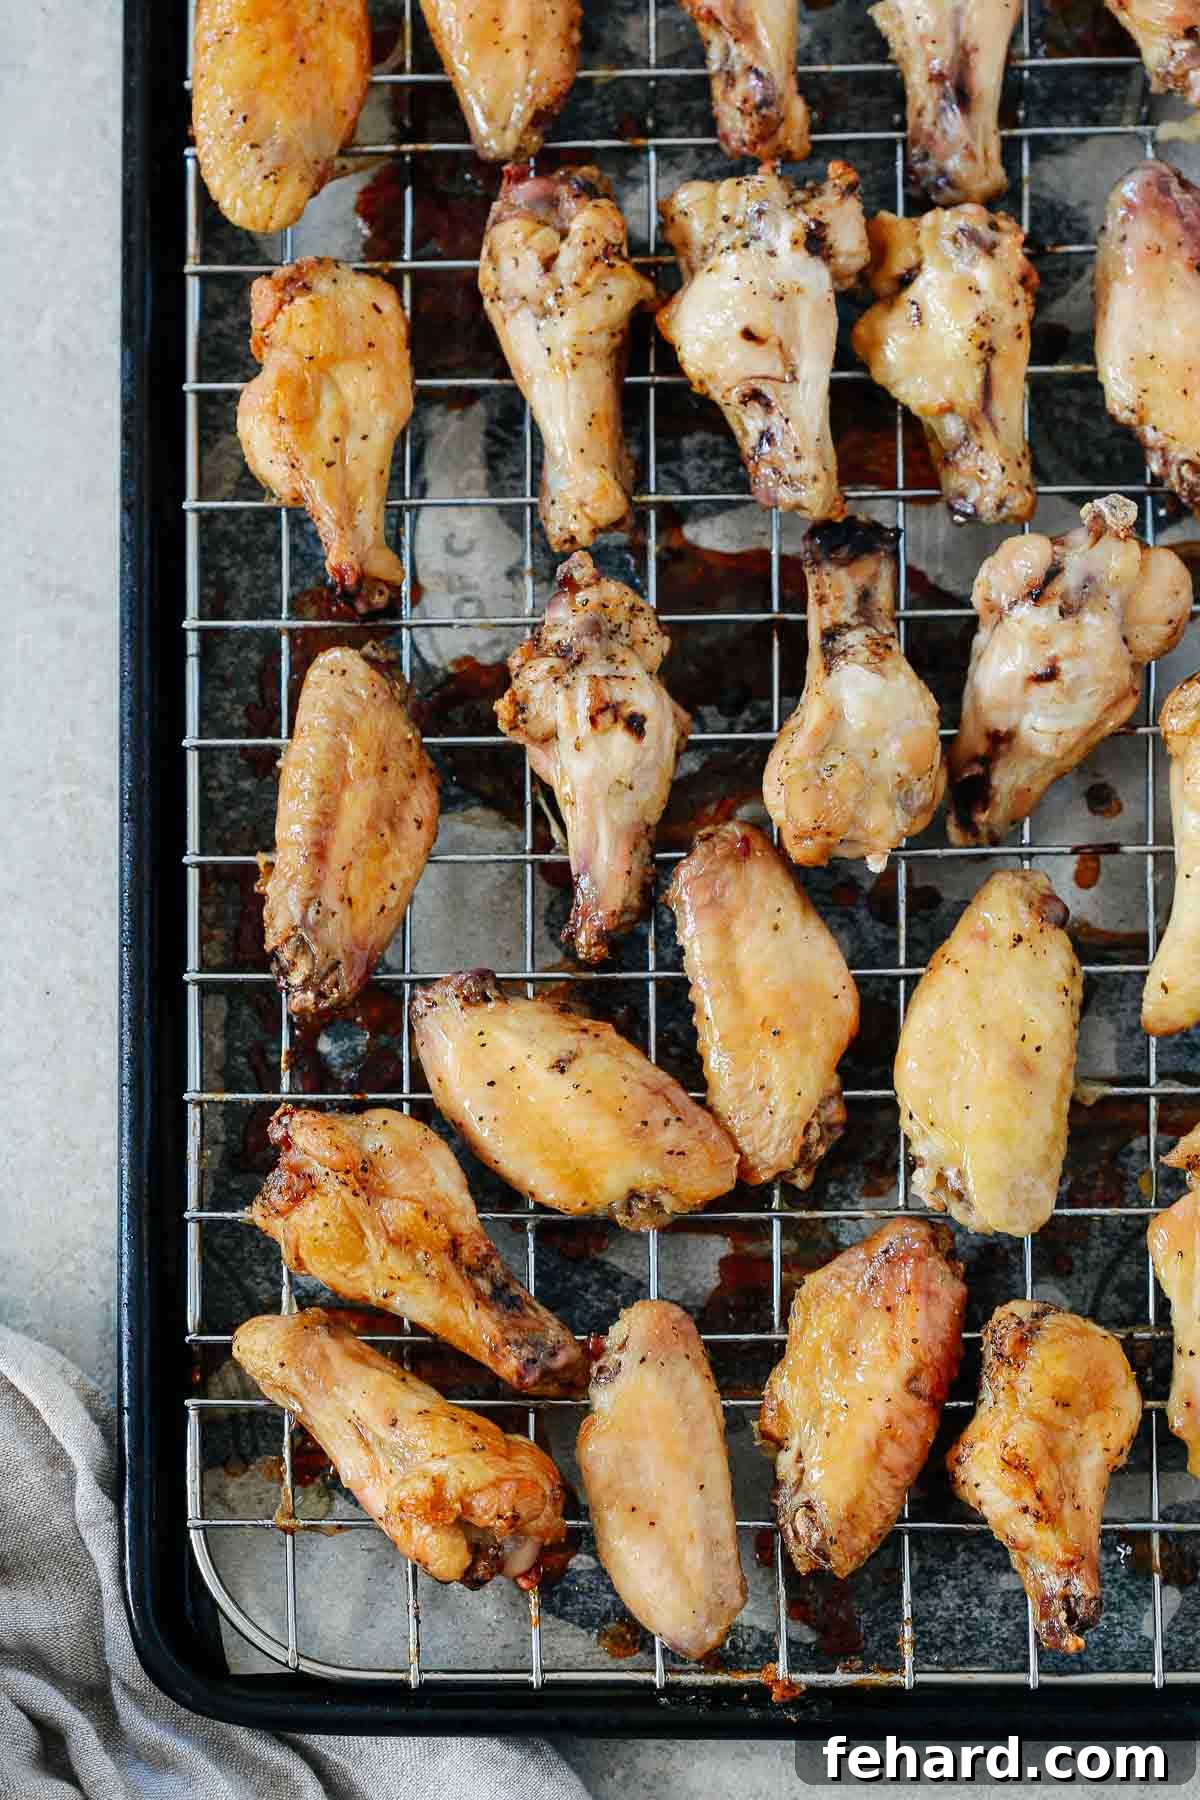
- Arrange the seasoned wings in a single layer on the wire rack atop your prepared baking sheet. Ensure there is adequate space between each wing; overcrowding the pan will lead to steaming rather than crisping. You may need to use two baking sheets if preparing a larger batch.
3. Bake Until Golden and Serve
- Place the baking sheet with the wings into the preheated oven. Bake for approximately 30 minutes.
- After the initial 30 minutes, carefully remove the baking sheet from the oven. Using tongs, flip each chicken wing to ensure even cooking and browning on all sides.
- Return the baking sheet to the oven and continue baking for another 15-20 minutes, or until the wings have reached a beautiful golden-brown color and are irresistibly crispy. Baking times can vary slightly depending on your oven’s calibration and the size of your wings, so keep an eye on them.
- Once cooked to perfection, remove the wings from the oven. Before serving, taste and, if desired, sprinkle with a touch more fresh salt and pepper for an extra flavor boost.
- Garnish generously with freshly chopped parsley or sliced green onions for a vibrant finish, then serve immediately and enjoy the crunch!
Expert Tips for the Crispiest Baked Chicken Wings
Achieving truly exceptional crispy baked chicken wings involves a few key techniques and considerations. These expert tips will help ensure your wings are consistently perfect:
- Pat dry the wings thoroughly: This cannot be stressed enough. Moisture is the enemy of crispiness. Use paper towels to pat every nook and cranny of the chicken wings dry, removing any residual water or ice crystals. This allows the skin to render fat and crisp up beautifully in the oven.
- Use a wire rack: Baking the wings on a wire rack set over a baking sheet is a game-changer. This setup promotes 360-degree airflow around each wing, preventing the bottoms from getting soggy by lifting them out of any rendered fat. It’s crucial for even crisping.
- Don’t overcrowd the pan: Give your wings space! Arranging them in a single layer with enough room between each piece ensures that air circulates freely, leading to crispier results. If your pan is too full, the wings will steam instead of roast, resulting in a less desirable texture. Use a second baking sheet if necessary.
- High baking temperature: A hot oven (400-425°F or 200-220°C) is essential for rendering the fat and crisping the skin quickly. Lower temperatures will result in chewy skin.
- Flip the wings: Halfway through baking, flip the wings to ensure both sides cook evenly and achieve that desirable golden-brown crispness.
- Consider a broil finish (optional): If your wings aren’t as golden and crispy as you’d like after the full baking time (typically 45-50 minutes total), you can briefly broil them for 1-2 minutes. Watch them extremely closely, as broilers can quickly burn food. This step is usually only necessary if you’re aiming for an extra-deep golden color.
- Line the baking sheet: For a hassle-free cleanup, always line your baking sheet with parchment paper or aluminum foil. This catches all the delicious drippings and makes washing the pan a breeze. Consider lightly spraying the wire rack with non-stick cooking spray to prevent the wings from sticking.
Storage and Make-Ahead Tips for Convenience
These crispy salt and pepper chicken wings are best enjoyed fresh out of the oven, but they can be made ahead or stored for later enjoyment with a few clever tips:
Storage Tips
If you find yourself with irresistible leftovers, proper storage is key to maintaining their quality. Place cooled chicken wings in an airtight container and store them in the refrigerator for up to 3-4 days. It’s crucial to use an airtight container to prevent them from absorbing moisture and becoming soggy, preserving as much of their crispy texture as possible.
Can I make these wings ahead of time?
Absolutely! Preparing these delicious wings ahead of time offers fantastic flexibility, whether you’re planning for a party or meal prepping. You have two excellent options:
- Season and Marinate Ahead: You can season the raw chicken wings with olive oil, salt, and pepper, then let them marinate in an airtight container in the refrigerator overnight. This allows the flavors to deeply penetrate the chicken. When you’re ready to eat, simply bake them fresh according to the instructions.
- Bake and Reheat Later: Alternatively, you can bake the wings completely ahead of time. Once they’ve cooled, store them in an airtight container in the fridge for up to 4 days. When it’s time to serve, reheat them in the oven (preferably on a wire rack at 375°F/190°C) until warmed through and crispy again. This method makes for incredibly easy and delicious entertaining!
To Freeze Cooked Wings:
For longer storage, cooked chicken wings can be frozen. Allow them to cool completely, then place them in a single layer on a baking sheet and freeze for about an hour until solid. Transfer the frozen wings to a freezer-safe bag or container, removing as much air as possible. They can be stored in the freezer for up to 3 months. To reheat, bake them from frozen on a wire rack at 400°F (200°C) until hot and crispy.
How to Serve Your Delicious Salt and Pepper Chicken Wings
These versatile salt and pepper chicken wings shine equally well as a crowd-pleasing appetizer or as the star of a casual main meal. Their simple yet profound flavor profile makes them adaptable to a variety of accompaniments. Here are some delightful ways to serve them:
- As a Snack or Appetizer: For a fantastic snack or an impressive appetizer platter, arrange the crispy wings alongside an assortment of fresh, crunchy crudités. Think crisp carrot sticks, cool celery stalks, blanched edamame pods, or cucumber slices. Pair them with a variety of dips such as ranch, blue cheese dressing, or a spicy sriracha mayo to offer diverse flavor experiences.
- As Part of a Main Meal: When serving these wings as the centerpiece of a meal, you can opt for lighter sides to balance the richness or heartier options for a more substantial plate.
- For a lighter meal, I particularly enjoy serving them with a vibrant coleslaw salad or a simple green salad with a vinaigrette. The freshness cuts through the savory chicken beautifully.
- If you’re craving something more indulgent, these wings pair exceptionally well with classic American comfort foods. Consider serving them alongside juicy homemade hamburgers, perfectly cooked air-fried sweet potato fries, or crispy onion rings. The combination creates a truly satisfying and enjoyable meal.
- With a Dazzling Dipping Sauce: While these wings are utterly delicious on their own, a good dipping sauce can elevate the experience even further. Don’t forget to offer a selection of your favorite sauces, such as a creamy garlic aioli sauce, a fiery hot sauce for those who love a kick, or a refreshing and healthy avocado sauce.
Salt and Pepper Chicken Wings Recipe
Crispy, golden, and finger-licking good, these are going to be the best salt and pepper chicken wings you’ve ever made! Made with pantry staples, these flavourful but budget-friendly wings are going to become a staple in your household!
Author: Olivia Ribas
Servings: 6 people
Prep Time: 5 minutes
Cook Time: 40 minutes
Total Time: 45 minutes
Ingredients
- 2 lb chicken wings
- 1 tbsp olive oil
- 1 tsp black pepper, freshly ground
- 2 tsp sea salt
- 1 tsp fresh parsley, chopped for garnish
Instructions
- Preheat oven to 425 F degrees. Line a baking sheet with parchment paper. Then, place a cooling rack on top of the prepared baking sheet. Set aside.
- In a large bowl, add all chicken wings, olive oil, salt, and pepper. Mix everything very well to combine, ensuring each wing is evenly coated.
- Place the wings in a single layer on the prepared wire rack on the baking sheet, ensuring they are not overcrowded.
- Bake for about 30 minutes. Remove from the oven, carefully flip each wing, and bake for another 15-20 minutes or until they are golden and crisp. Baking time may vary depending on your oven’s power and wing size.
- Before serving, sprinkle with more salt and pepper if necessary and garnish generously with chopped parsley for a fresh finish.
Notes
- Always pat the chicken wings thoroughly dry before seasoning to help them crisp up better in the oven.
- For easier cleanup, line your baking sheet with tin foil or parchment paper to catch any drippings.
- Using a wire rack is crucial to allow air to circulate around the wings and let fat drip off, preventing soggy bottoms.
- To store: Keep leftover wings in an airtight container in the refrigerator for up to 4 days.
- To reheat: Reheat wings in the oven at 375°F (190°C) until warm and crispy. Avoid the microwave for reheating if you want to maintain crispiness.
- To freeze: Cooked chicken wings can be frozen for up to 3 months in a freezer-safe bag. Reheat from frozen in the oven.
Nutrition Information (Approximate)
Serving: 1/6 of recipe, Calories: 302kcal, Protein: 27g, Fat: 22g, Sodium: 787mg, Potassium: 6mg.
Nutrition information is automatically calculated and provided for approximation purposes only.
Why These Baked Salt and Pepper Chicken Wings Will Be Your New Favorite
You’ve now unlocked the secrets to creating truly exceptional salt and pepper chicken wings at home. This recipe isn’t just about cooking chicken; it’s about mastering a simple technique that yields incredible results, transforming humble pantry staples into a dish that’s both comforting and impressive. The satisfying crunch, the perfect balance of savory salt and pungent pepper, and the tender, juicy interior make these wings an undeniable winner.
Beyond the delicious taste, this recipe offers numerous advantages. It’s significantly healthier than deep-fried alternatives, with less oil and grease. The cleanup is minimal thanks to parchment paper and a wire rack. And the flexibility to prepare them for a small family dinner or scale up for a large gathering makes it incredibly practical. Whether you’re a seasoned chef or a novice in the kitchen, these oven-baked salt and pepper chicken wings are approachable, foolproof, and guaranteed to earn rave reviews. So, go ahead, gather your ingredients, follow these steps, and prepare to delight your taste buds with the ultimate crispy chicken wing experience!