
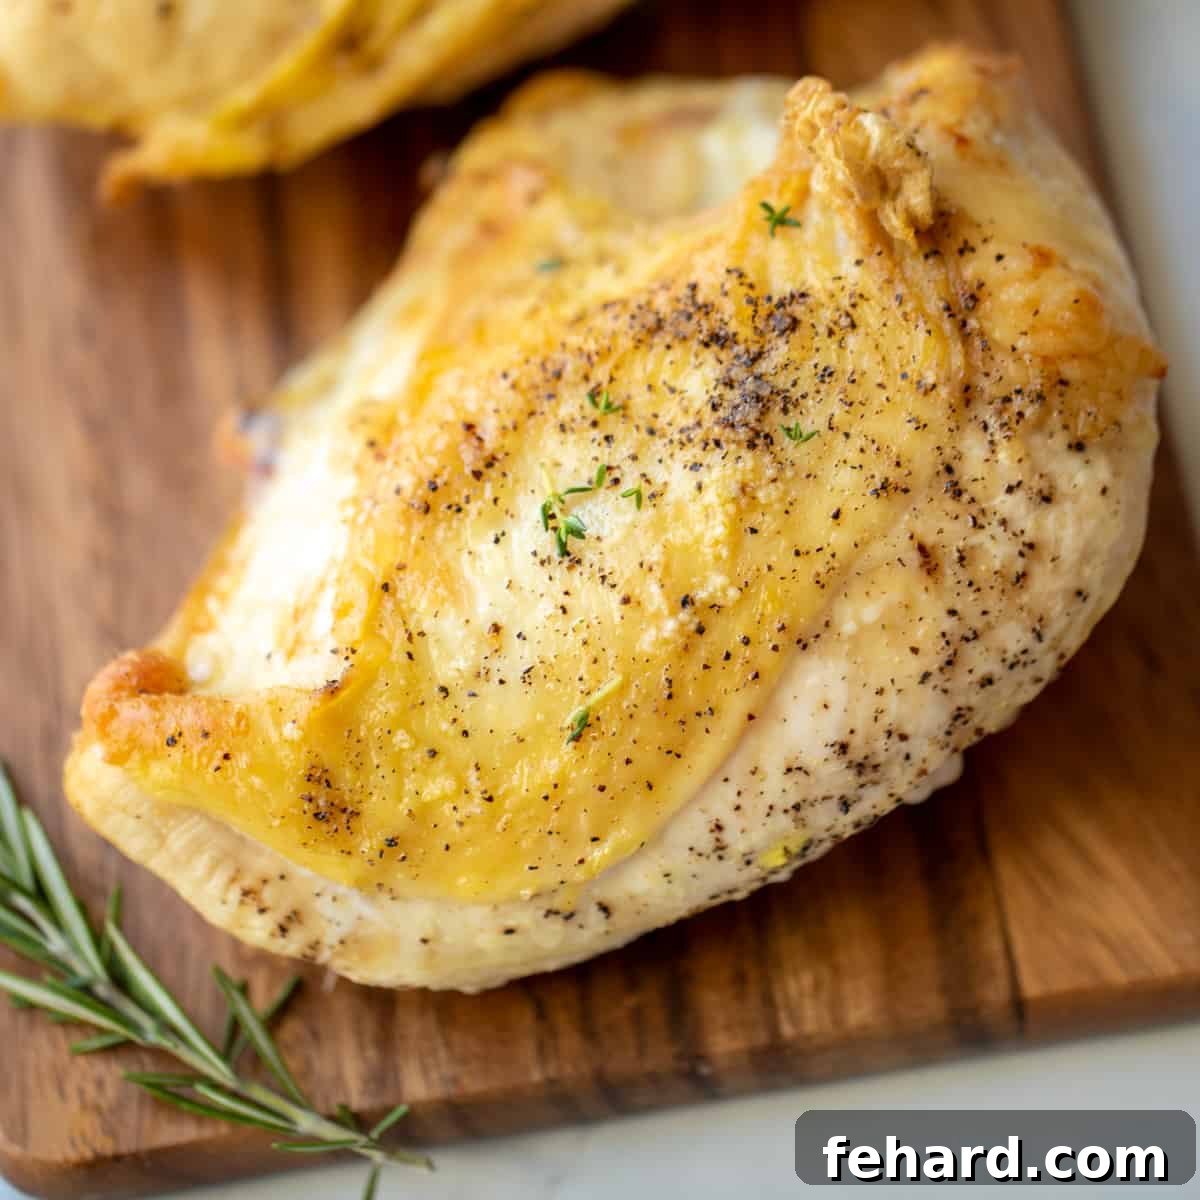
Mastering the art of roasting chicken doesn’t have to be complicated or expensive. This comprehensive guide to Roasted Split Chicken Breasts will show you how to achieve consistently juicy, tender, and incredibly flavorful bone-in chicken with minimal preparation and budget-friendly ingredients. Say goodbye to dry, bland chicken and hello to a culinary staple that’s perfect for any occasion.
Whether you’re planning a comforting family dinner served with creamy twice-baked potatoes and crisp roasted broccoli, or seeking a versatile protein for future meals, this recipe for bone-in, skin-on split chicken breasts offers unmatched flavor and value. It’s an ideal choice for anyone looking to incorporate delicious, wholesome chicken into their diet without the fuss.
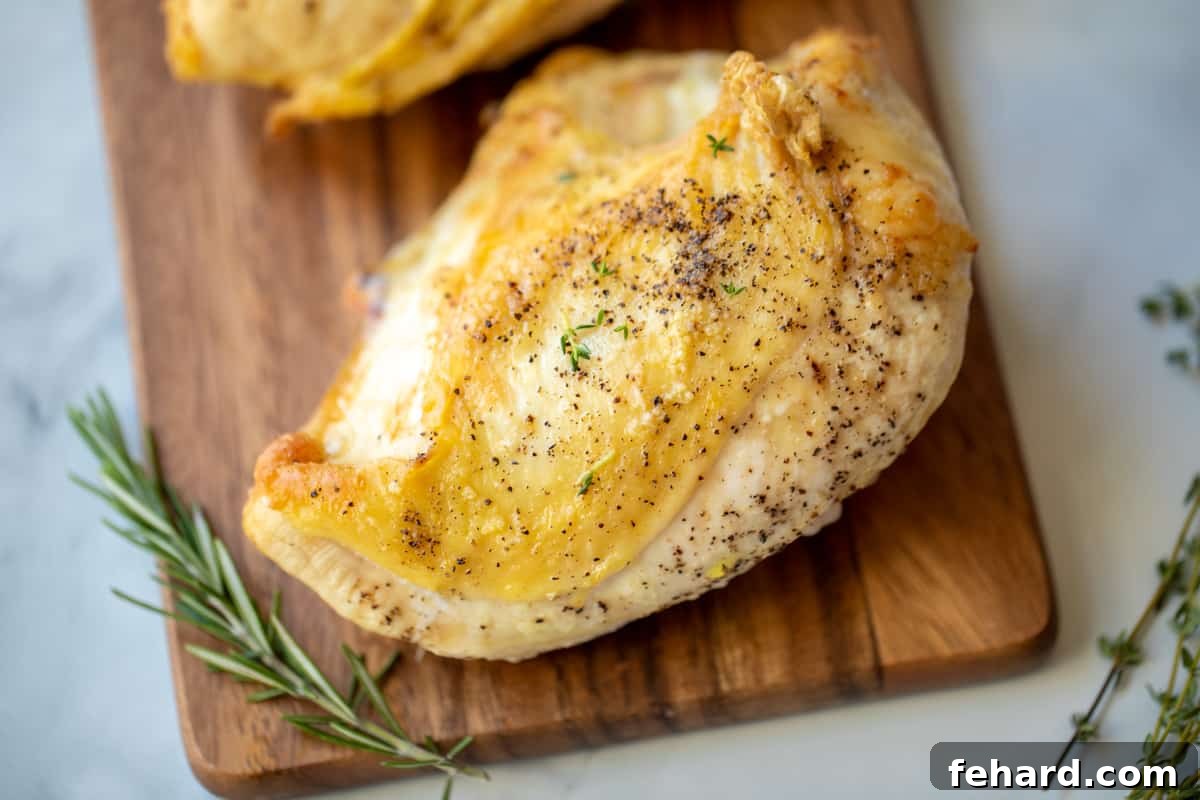
Why Opt for Bone-In, Skin-On Split Chicken Breasts?
When it comes to purchasing chicken breasts, the boneless, skinless variety often seems like the default choice due to its quick cooking time and perceived convenience. While boneless breasts are excellent for recipes like Honey Lemon Chicken Skillet or Blackened Chicken where a quick sear is preferred, for roasting, split chicken breasts (also known as bone-in, skin-on chicken breasts) are undeniably the superior option.
The benefits of choosing split chicken breasts extend beyond just their delicious taste:
- Superior Flavor Profile: The bone itself contributes a rich depth of flavor to the meat as it cooks. Bones contain marrow and connective tissues that slowly release savory nuances, infusing the chicken with an incomparable taste that boneless cuts simply can’t achieve.
- Unmatched Juiciness: The skin acts as a natural protective barrier, basting the meat in its own rendered fat throughout the roasting process. This helps to lock in moisture, preventing the chicken from drying out and ensuring every bite is incredibly tender. The bone further aids in even heat distribution, helping the meat cook more uniformly and retain its succulence.
- Achieve Crispy, Golden Skin: One of the greatest joys of roasted chicken is that irresistible crispy skin. With split chicken breasts, the skin is designed to crisp up beautifully, developing a golden-brown, crackling texture that adds a delightful contrast to the tender meat beneath.
- Economical Choice: Bone-in, skin-on chicken breasts are consistently more affordable than their boneless, skinless counterparts. This makes them a smart and economical choice for feeding families or preparing meals on a budget without compromising on quality or flavor.
- Versatility for Meal Prep: While phenomenal as a standalone entree, the rich flavor and moist texture of roasted split chicken breasts make them perfect for shredding or dicing into a myriad of other dishes. From salads to casseroles, using pre-cooked roasted chicken can significantly cut down on meal preparation time during the week.
By embracing split chicken breasts, you’re not just saving money; you’re elevating your culinary experience, ensuring a more flavorful, juicy, and satisfying result every time you roast chicken.
Simple Ingredients for Maximum Impact
The beauty of this recipe lies in its simplicity. You don’t need a pantry full of exotic spices to create a memorable meal. With just a few staple ingredients, you can transform humble chicken breasts into a show-stopping dish. Quality ingredients are key here, as they form the foundation of our delicious roasted chicken.
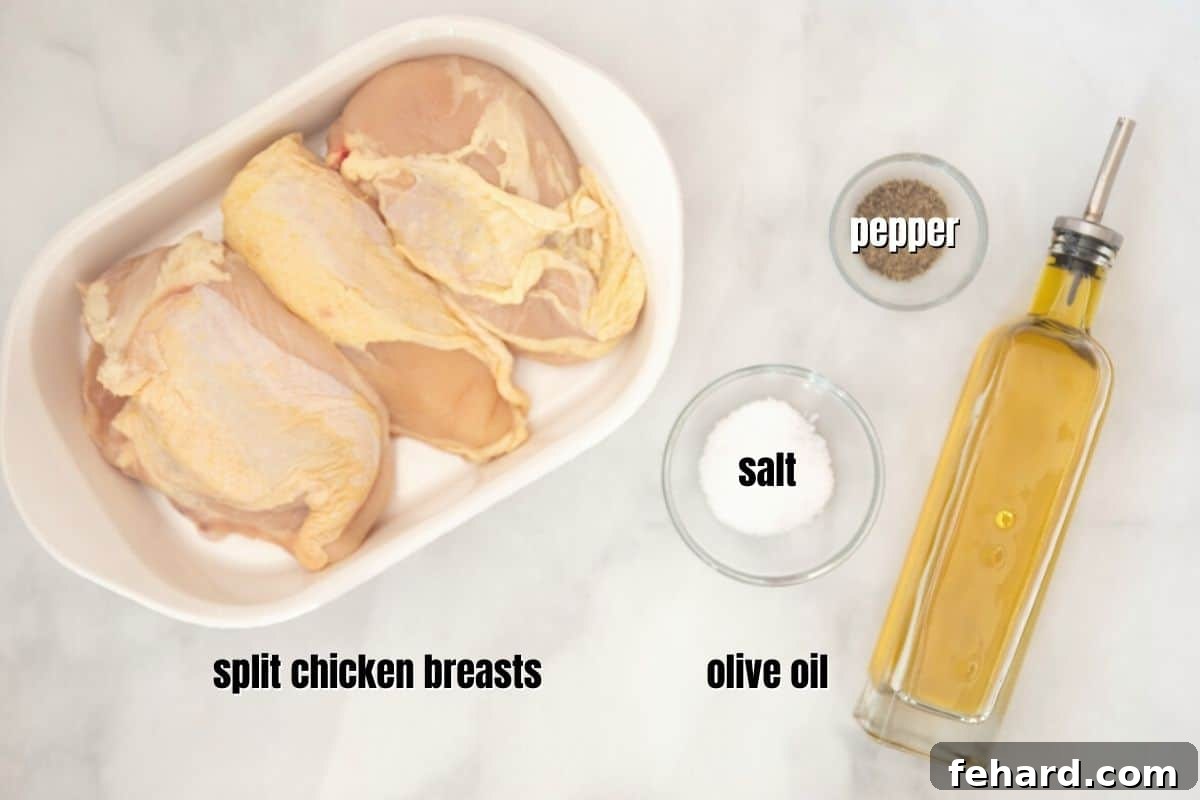
- Split Chicken Breasts: Look for large, plump bone-in, skin-on chicken breasts. These are typically sold labeled as “split chicken breasts” or simply “bone-in chicken breasts.” Aim for pieces of similar size to ensure even cooking. If you can, choose organic or free-range for the best flavor and quality.
- Extra Virgin Olive Oil: A good quality olive oil is essential. It helps the seasonings adhere to the chicken, promotes a beautiful golden-brown crust, and contributes to that desirable crispy skin. While extra virgin olive oil is preferred for its flavor, any neutral high-heat oil like avocado oil can also be used.
- Salt and Pepper: Don’t underestimate the power of these two fundamental seasonings. Kosher salt is recommended for its coarse texture, which allows for better distribution and flavor penetration. Freshly ground black pepper adds a pungent kick. These simple seasonings enhance the natural flavor of the chicken without overpowering it.
- Optional Fresh Herbs: For an extra layer of aroma and flavor, consider adding a few sprigs of fresh rosemary or thyme to the baking sheet. Their herbaceous notes beautifully complement roasted chicken.
This minimalist approach allows the inherent deliciousness of the chicken to shine through, creating a foundational recipe you can easily adapt with various flavor variations.
Step-by-Step Guide to Perfectly Roasted Split Chicken Breast
Achieving perfectly roasted, juicy chicken breasts with delightfully crispy skin is surprisingly simple. Follow these detailed steps to ensure flawless results every time. Remember, the key to success lies in proper preparation and monitoring the internal temperature.
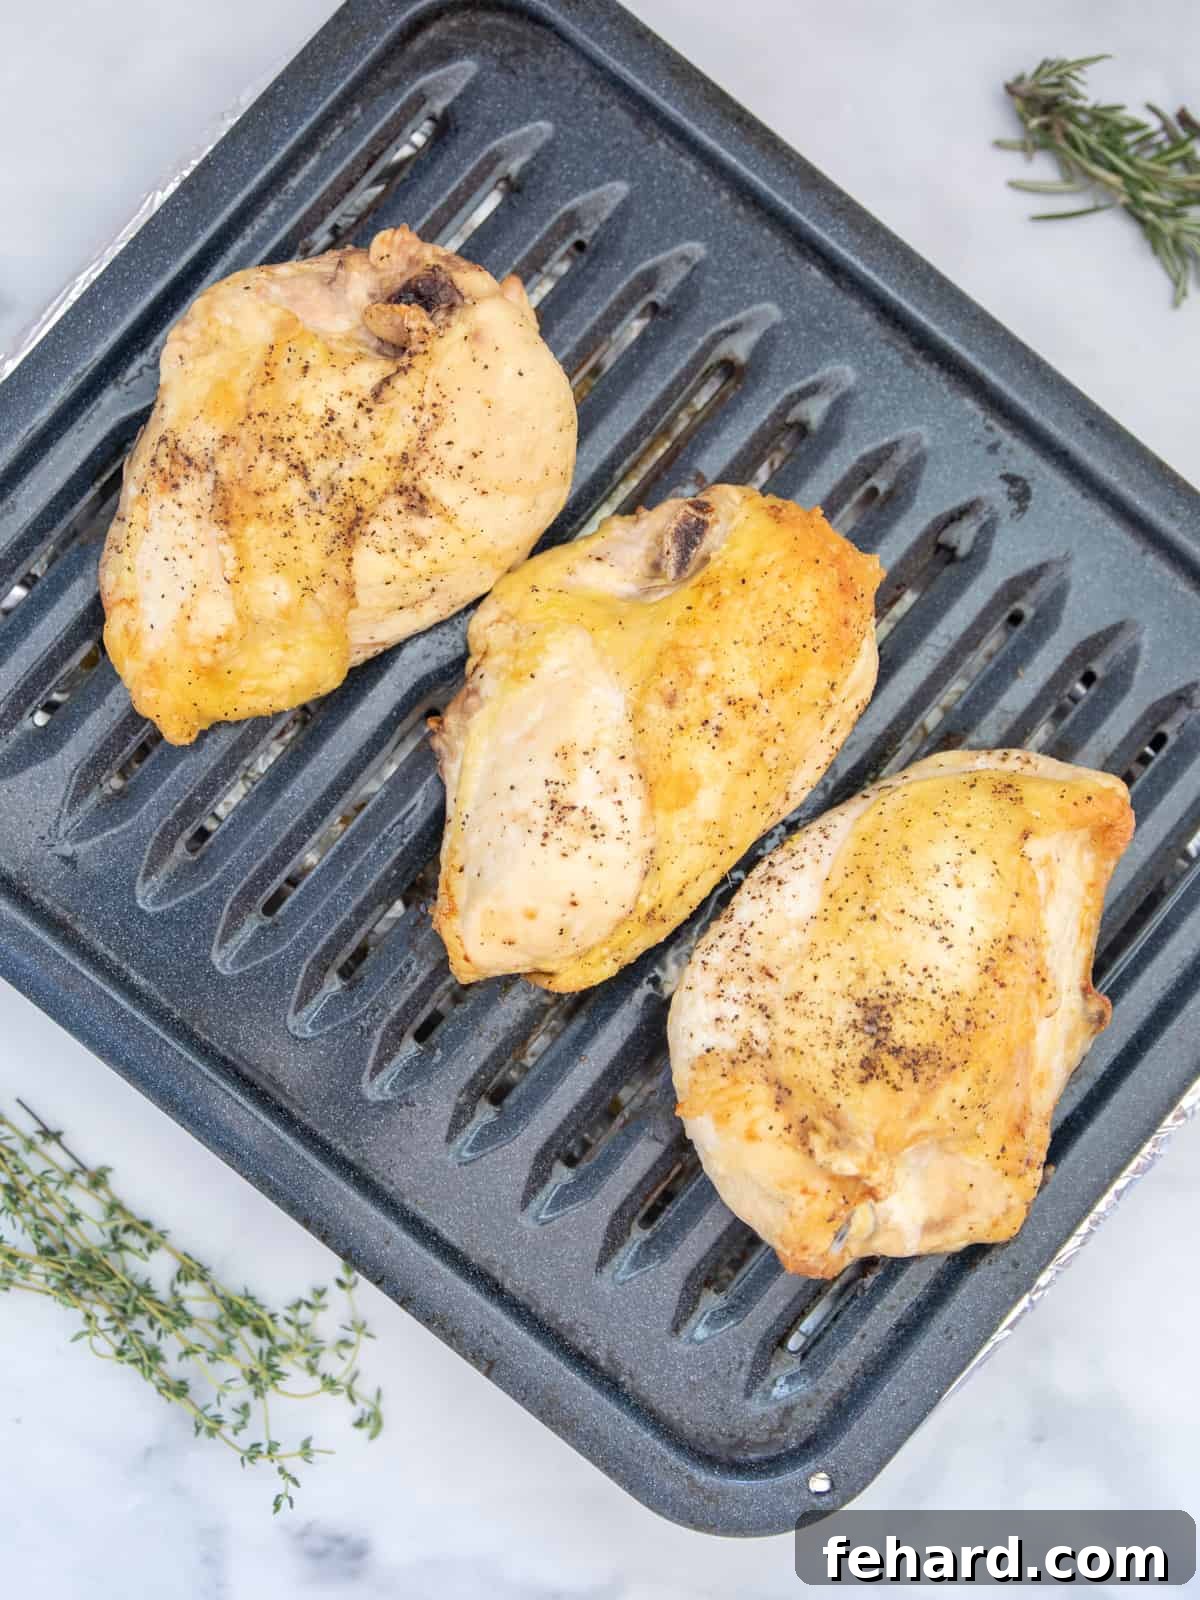
- Preheat Oven and Prepare Pan: Begin by preheating your oven to 375°F (190°C). This temperature allows the chicken to cook through without drying out, while also giving the skin a chance to crisp up. Line the bottom of a broiler pan with aluminum foil for easier cleanup, then place the rack on top. If you don’t have a broiler pan, a standard baking sheet topped with a wire cooling rack works just as well. The rack is crucial for air circulation, which prevents the chicken from sitting in its juices and helps the skin get crispy all around.
- Prepare the Chicken: Pat your split chicken breasts thoroughly dry with paper towels. Removing excess moisture is a critical step for achieving truly crispy skin. Drizzle the chicken with 1 tablespoon of extra virgin olive oil, then generously sprinkle with 2 teaspoons of kosher salt and ½ teaspoon of black pepper. Don’t be shy with the seasoning; remember, bone-in chicken can handle a good amount of salt.
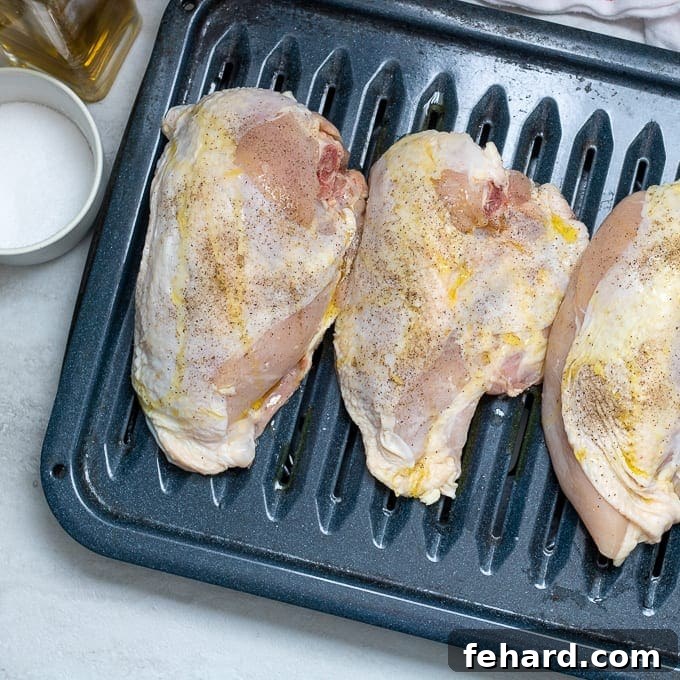
- Seasoning Application: Use your hands or a pastry brush to rub the oil and seasonings evenly into both sides of the chicken breasts. For an even more flavorful result, gently lift the skin and rub some seasoning directly onto the meat underneath before replacing the skin. This ensures every part of the chicken is well-seasoned and flavorful. Place the seasoned chicken breasts skin-side up on the prepared rack.
- Bake with a Thermometer for Precision: For consistently perfect and safe results, an oven-safe digital meat thermometer is your best friend. Insert the probe into the thickest part of one of the split chicken breasts, ensuring it doesn’t touch the bone. Set the alarm for 165°F (74°C). This is the minimum safe internal temperature for poultry. Baking time will typically range from 45 to 60 minutes, depending on the size and thickness of your chicken breasts. The alarm will signal when your chicken is perfectly cooked, guaranteeing juicy, tender meat every time. If you don’t have an oven-safe thermometer, use an instant-read thermometer to check the temperature before serving. The juices should also run clear when pierced, and the meat near the bone should no longer be pink.
- Rest Before Serving: Once the chicken reaches 165°F (74°C), remove it from the oven and loosely tent it with aluminum foil. Allow the roasted chicken to rest for 10 minutes before carving or serving. This crucial resting period allows the juices to redistribute throughout the meat, ensuring maximum tenderness and juiciness. Skipping this step can result in dry chicken.
- Achieve Extra Crispy Skin (Optional): If you desire exceptionally crispy skin, after the chicken has cooked through and reached 165°F (74°C), you can briefly broil it. Place the chicken under the broiler for 2-4 minutes, watching it very closely to prevent burning. The skin will crisp up beautifully and turn a rich, deep golden brown.
Elevate Your Meal: Delicious Flavor Variations
While simple salt and pepper yield fantastic results, one of the best aspects of roasted split chicken breasts is their adaptability. You can easily switch up the flavor profile to suit your mood or pair with specific side dishes. Here are some popular and incredibly tasty variations:
- Sweet & Smoky BBQ: For a delightful sweet and savory twist, season your chicken with 1-2 tablespoons of a homemade dry rub. These rubs typically contain brown sugar, paprika, garlic powder, onion powder, and a touch of cayenne, creating a complex flavor profile. Serve this variation with a side of homemade barbecue sauce for dipping or brushing on during the last 10 minutes of cooking.
- Classic Italian Herb: Transport your taste buds to the Mediterranean! Along with olive oil, season the chicken with 1 teaspoon each of kosher salt, fragrant Italian seasoning, and granulated garlic powder. For a subtle warmth and kick, add a pinch of crushed red pepper flakes. This variation pairs wonderfully with pasta or roasted Mediterranean vegetables.
- Savory Seasoned Salt: For a simple yet deeply nuanced flavor, swap out plain kosher salt for a specialty seasoned salt. Try Homemade Seasoned Salt (a blend of salt, paprika, garlic, onion, and celery salt) or bold Adobo Seasoning (garlic, oregano, black pepper, and turmeric). These blends provide a robust flavor foundation without much extra effort.
- Aromatic Poultry Blend: Enhance the classic chicken flavor by seasoning your split chicken breasts with 1-2 teaspoons of poultry seasoning in addition to the olive oil and salt. Poultry seasoning typically includes sage, thyme, rosemary, marjoram, and nutmeg, providing a comforting and traditional aroma that’s perfect for a Sunday roast.
- Bright Lemon Garlic Herb: This vibrant combination is always a winner. In a small bowl, combine 2 tablespoons of extra virgin olive oil with the zest of 1 fresh lemon, 1 teaspoon of kosher salt, and 2 cloves of finely minced garlic. Rub this aromatic mixture generously all over the chicken before baking as directed. The lemon adds a refreshing tang, while garlic and herbs provide an irresistible savory depth.
- Spicy Southwest Kick: For those who love a bit of heat, mix the olive oil with 1-2 teaspoons of chili powder, ½ teaspoon of cumin, ½ teaspoon of smoked paprika, and a pinch of cayenne pepper, along with salt and pepper. This bold flavor profile is fantastic with corn and black bean salsa or a side of cilantro-lime rice.
Experiment with these variations to discover your personal favorites and keep your roasted chicken dishes exciting and new!
Versatile Serving Ideas & Meal Prep Excellence
The beauty of perfectly roasted split chicken breasts lies not only in their incredible flavor but also in their adaptability. They can anchor a lavish dinner or become the foundation for a week’s worth of quick and delicious meals.
- As a Hearty Entree: Serve your succulent roasted chicken breasts as the star of your meal alongside your favorite seasonal side dishes. The rich, savory flavor pairs wonderfully with a variety of accompaniments. Consider serving with:
- Crispy Roasted Potatoes and Carrots
- Flavorful Italian Roasted Vegetables
- Creamy mashed potatoes or a hearty rice pilaf
- Steamed green beans, asparagus, or a fresh garden salad
- Warm crusty bread to soak up any delicious pan juices
- The Ultimate Meal Prep Hero: Roasting a batch of bone-in chicken breasts is an excellent strategy for efficient meal preparation. Once cooked, these breasts can be transformed into countless dishes throughout the week, significantly cutting down on cooking time. This is especially useful for recipes that call for pre-cooked or leftover rotisserie chicken.
To prepare for meal prep: After the chicken has cooled, remove and discard the skin. Then, carefully remove the tender meat from the bone. The bones themselves can be saved and used to make a rich, flavorful homemade chicken stock, ensuring nothing goes to waste. Shred or dice the cooked chicken into bite-sized pieces, making it perfect for:
- Comforting Homemade Chicken Pot Pie
- Savory Chicken Enchilada Casserole
- Creamy and Cheesy Chicken and Rice dishes
- Refreshing Waldorf Chicken Salad sandwiches or wraps
- Quick chicken tacos, quesadillas, or burritos
- Adding protein to soups, stews, or pasta dishes
Having pre-cooked chicken on hand simplifies weeknight cooking immensely, allowing you to whip up healthy and delicious meals in a flash.
Storing and Freezing Your Roasted Chicken
Proper storage is essential to maintain the quality and safety of your roasted chicken, whether you’re saving leftovers or preparing for future meals.
- Refrigerate: Allow your roasted chicken to cool completely before storing. If desired, you can remove the meat from the bone and shred or dice it into convenient bite-sized pieces. Place the chicken into an airtight container and store it in the refrigerator for up to 3 days. Reheat gently in the oven or microwave to prevent drying out.
- Freeze for Longer Storage: For extended storage, cooked chicken freezes beautifully. Place the diced, shredded, or even whole (once cooled) chicken pieces into airtight freezer-safe bags or containers. Remove as much air as possible to prevent freezer burn. Store in the freezer for up to 3 months.
- To use frozen cooked chicken: The best method is to allow the chicken to defrost overnight in the refrigerator. Alternatively, you can add the frozen chicken directly to simmering soups or stews, or incorporate it into casseroles before baking, extending the cooking time slightly to ensure it heats through evenly.
Explore More Essential Chicken Recipes
If you love the versatility and ease of cooking with chicken, be sure to explore these other staple recipes that will round out your culinary repertoire:
- Instant Pot Chicken Breasts: Quick and perfectly cooked chicken for busy weeknights.
- Homemade Rotisserie Chicken: Achieve that classic rotisserie flavor at home.
- Easy Slow Cooker BBQ Drumsticks: Fall-off-the-bone tender chicken with minimal effort.
- Instant Pot Whole Chicken: A super-fast way to cook an entire chicken.
- Air Fryer Chicken Breast: Crispy exterior, juicy interior – quick and healthy.
- Air Fryer Chicken Wings: Perfectly crispy wings without deep frying.
We hope you enjoy this recipe for roasted split chicken breasts. If you try it, we would love for you to leave a comment and review below to share your experience!
Roasted Split Chicken Breasts Recipe Card
Kristen Chidsey
4
5 mins
45 mins
10 mins
60 mins

Ingredients
- 3 large split chicken breasts, (bone-in, skin-on chicken breasts)
- 1 tablespoon extra virgin olive oil
- 2 teaspoons kosher salt
- ½ teaspoon black pepper
Instructions
-
Preheat the oven to 375℉/190℃. Line the bottom of a broiler pan then the rack on top of the lined pan. Note: If you don’t have a broiler pan, use a baking sheet topped with a heat-safe cooling rack.
-
Pat 3 large split chicken breasts dry with a few sheets of paper towels. Drizzle the chicken with 1 tablespoon extra virgin olive oil, 2 teaspoons kosher salt, and ½ teaspoon black pepper. Use your hands or a pastry brush to evenly distribute the oil and seasonings over each side of the chicken breasts.
-
If you have an oven-safe thermometer, insert the probe into the middle of the thickest chicken breast. Set the alarm for 165℉/74℃. Alternatively, bake the chicken until the meat is no longer pink at the bone and the juices run clear. This will take about 45 to 60 minutes, depending on the thickness of the chicken. An instant-read thermometer inserted in the thickest part of the breast meat should read 165℉/74℃.
-
Remove the chicken from the oven and loosely tent with foil. Allow the chicken to rest for 10 minutes, for the juices to redistribute.
-
Once your chicken has been rested, you can serve immediately with fresh herbs as desired, or use the meat for meal prep or a recipe that calls for pre-cooked chicken.
Notes
Freezing: Place the cooled chicken, whole or diced, into airtight freezer-safe bags and store in the freezer for up to 3 months.
Crispy Skin: If you are desiring crispy skin, broil the chicken, watching closely for 2-4 minutes after baking.
Seasoning Variations:
- Sweet & Smoky: Use 1-2 tablespoons of homemade dry rub for a sweet and spicy variation of baked split chicken breasts. Delicious served with barbecue sauce as well.
- Italian-Seasoned: Along with the olive oil, season the chicken with 1 teaspoon each of kosher salt, Italian seasoning, and garlic powder. Add a pinch of crushed red pepper flakes if desired.
- Swap Out the Salt: In place of the salt use Homemade Seasoned Salt or Adobo Seasoning, for a simple, yet more nuanced flavor.
- Poultry Seasoning: Along with the olive oil and salt, season the split chicken breasts with 1-2 teaspoons of poultry seasoning before baking.
- Lemon Garlic: Combine 2 tablespoons of olive oil with the zest of 1 lemon, 1 teaspoon kosher salt, and 2 cloves of minced garlic. Use to rub all over the chicken bake as directed.
Nutrition
Protein: 18g
Fat: 10g
Saturated Fat: 2g
Cholesterol: 57mg
Sodium: 56mg
Potassium: 198mg
Vitamin A: 75IU
Calcium: 10mg
Iron: 0.7mg
Nutrition information is automatically calculated, so should only be used as an approximation.
This post was originally published in 2014 but updated in 2024 to include more detailed instructions, SEO optimization, and expanded content.