
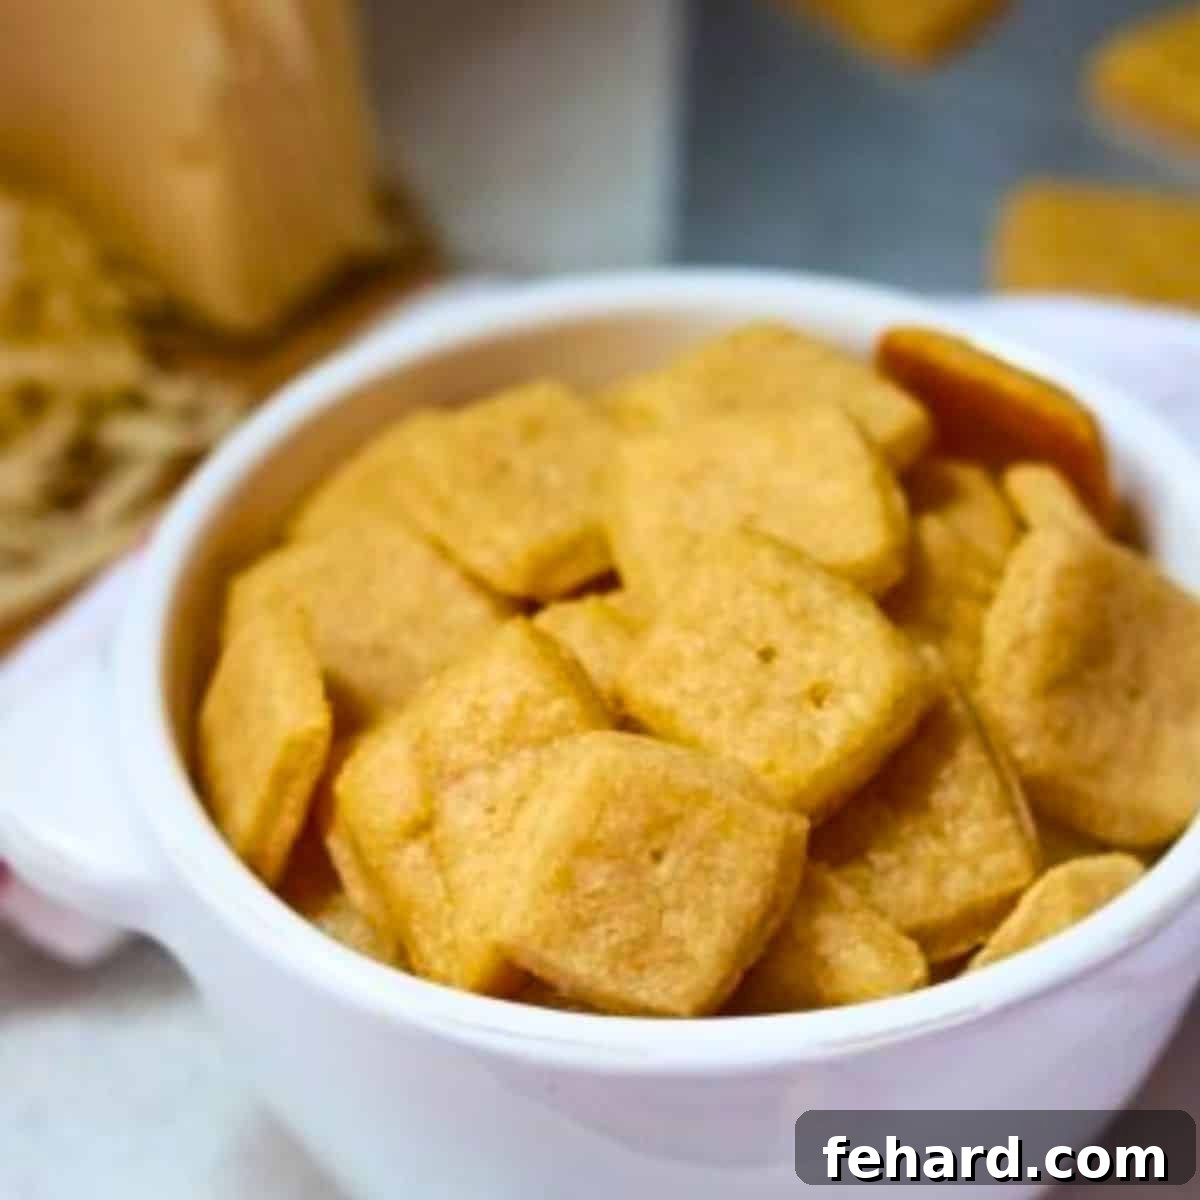
Are you a fan of those addictive, cheesy squares we all grew up with? If you love Cheez-Its, prepare to be amazed by this incredible recipe for Homemade Cheese Crackers! Forget the store-bought versions; these DIY delights are made with just a handful of simple, wholesome ingredients, transforming them into crispy, crunchy, and irresistibly melt-in-your-mouth treats. Each bite delivers a burst of authentic cheese flavor that will have you reaching for more.
Making your own snacks is not only rewarding but also ensures you know exactly what goes into your food. These homemade cheese crackers are a perfect example, offering a superior taste and texture that mass-produced crackers simply can’t match. They’re ideal for lunchboxes, party appetizers, or simply satisfying that savory craving any time of day. Get ready to bake a batch of cheesy goodness that will quickly become a family favorite!
Craving more wholesome and delicious snack ideas for your family? Be sure to explore our other popular recipes, including Homemade Granola Bars, vibrant Fruit Roll-Ups, and our fun Copycat Gogurts. These simple recipes make snack time exciting and nutritious!
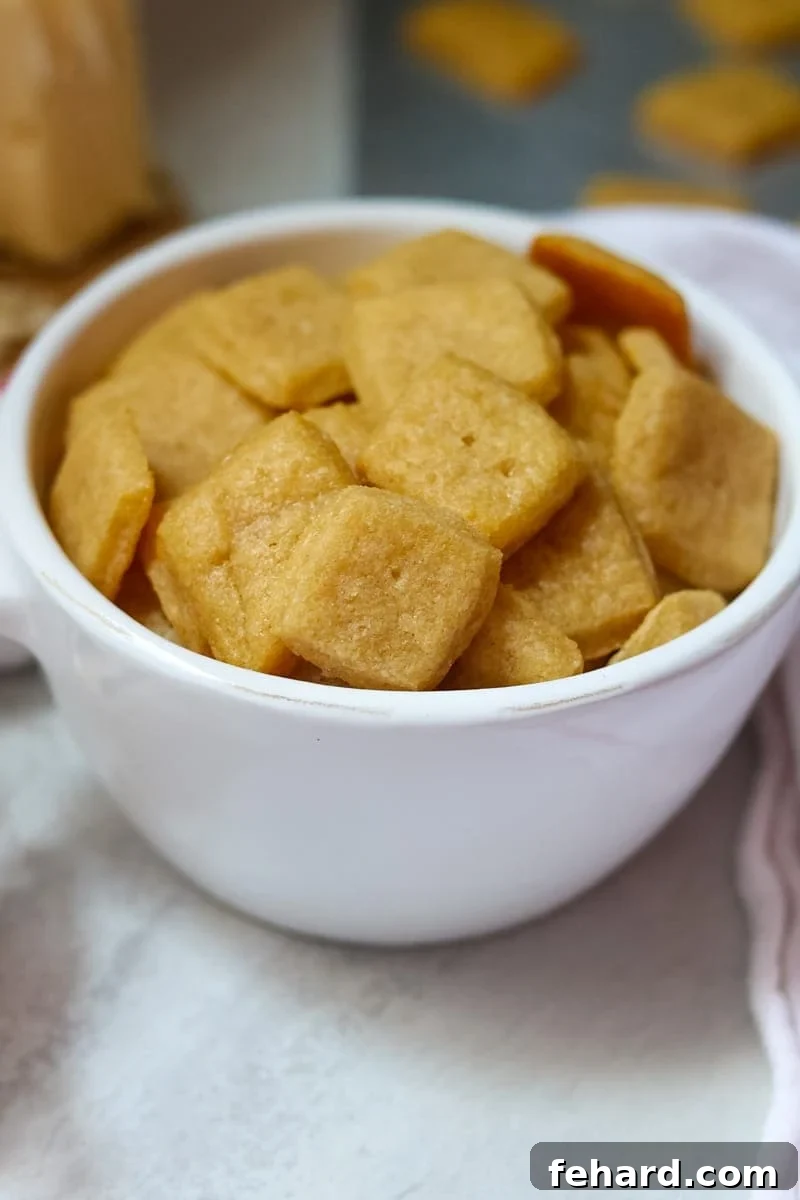
Better Than Store-Bought: The Magic of Homemade Cheese Crackers
If you or your children are avid fans of Cheez-Its, then this homemade cheese cracker recipe is an absolute culinary adventure you must embark on. These crackers capture the quintessential savory, salty, and undeniably cheesy essence that makes Cheez-It crackers so popular. However, our homemade version takes things several steps further, elevating the snack experience with distinct advantages:
- Unmatched Flavor Profile: The difference is truly remarkable. By using real, high-quality butter and freshly grated cheese, these homemade Cheez-Its boast a depth of flavor that simply cannot be replicated by artificial ingredients. The rich, authentic dairy notes shine through, creating a taste that is both comforting and gourmet.
- Preservative-Free Goodness: Say goodbye to artificial flavors, colors, and preservatives. When you make cheese crackers from scratch, you’re in complete control of the ingredients, ensuring a pure, wholesome snack free from unnecessary additives. This makes them a much healthier choice for your family.
- Effortlessly Adaptable: One of the greatest benefits of a DIY recipe is the flexibility it offers. Whether you follow a specific dietary plan or simply prefer different flavors, these cheese crackers can be easily made gluten-free by substituting the flour, or you can experiment with various types of cheese and seasonings to create your unique signature snack.
And the best part? Crafting these delicious cheese crackers is far from complicated! With just a handful of staple ingredients and a minimal amount of prep time, you can effortlessly whip up a batch of Homemade Cheez-Its that are incredibly rich, buttery, delightfully flaky, and utterly delicious. It’s a simple process that yields extraordinary results. Let’s dive into the details and get baking!
How to Make Homemade Cheese Crackers: Step-by-Step Guide
Crafting perfect homemade cheese crackers is a straightforward process when you know the key steps. The following expert tips and detailed guidance are designed to help you achieve flawlessly crisp, flavorful crackers every single time. For precise ingredient quantities and comprehensive instructions, please refer to the full recipe card located at the bottom of this article.
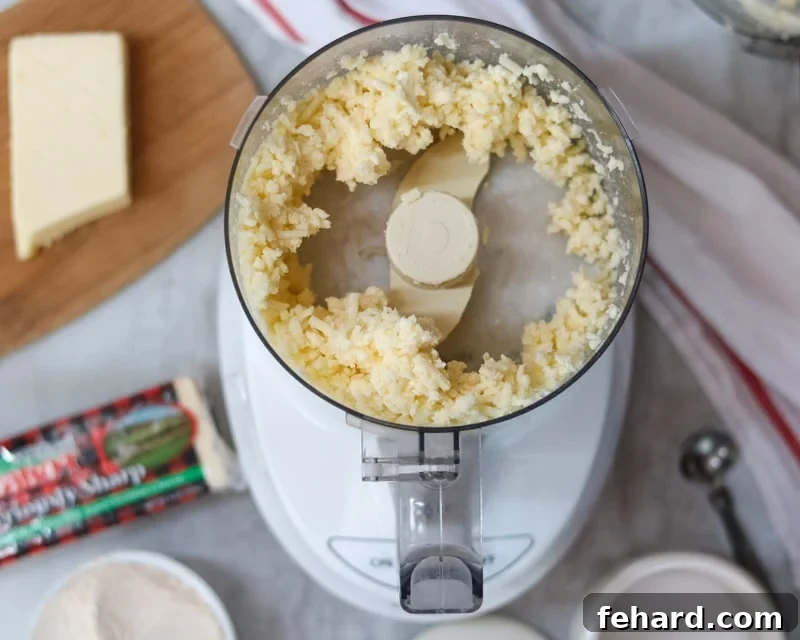
Freshly Grate the Cheese for Optimal Flavor and Texture
The importance of using freshly grated cheese versus pre-shredded cheese when making cheese crackers cannot be overstated. Pre-shredded bagged cheese is often coated with anti-caking agents, such as cellulose or potato starch, which prevent the cheese from clumping together in the package. While convenient, these coatings can significantly alter the consistency of your cracker dough, leading to a less desirable texture in the final product. They can inhibit the cheese from melting properly and integrating smoothly with the other ingredients, resulting in a gritty or less cohesive cracker.
For the best results – meaning crackers that are wonderfully smooth, rich, and truly melt in your mouth – always opt for a block of cheese. You can easily grate it yourself using either a traditional box grater, which offers great control and a satisfying texture, or for a quicker solution, a food processor fitted with a grating blade. This simple step makes a world of difference in the quality and flavor of your homemade cheese crackers.
Processing the Dough for Perfect Consistency
While it is technically possible to mix the cracker dough by hand or using a stand mixer, we highly recommend utilizing a food processor, ideally fitted with a dough blade or S-blade. A food processor is a true game-changer for this recipe, making incredibly quick work of thoroughly incorporating the cold butter and grated cheese into the flour. Its rapid pulsing action helps to cut the butter into the flour efficiently, creating small, even pieces that are crucial for developing that desirable flaky texture in your crackers.
Furthermore, a food processor minimizes the risk of over-processing the dough, a common pitfall that can easily occur with a stand mixer. Over-mixing can lead to tough, dense crackers due to over-development of gluten. With a food processor, you can achieve a perfectly blended, crumbly mixture that just comes together without overworking it, ensuring your crackers remain tender and crisp.
Forming the Cracker Dough: Gently Does It
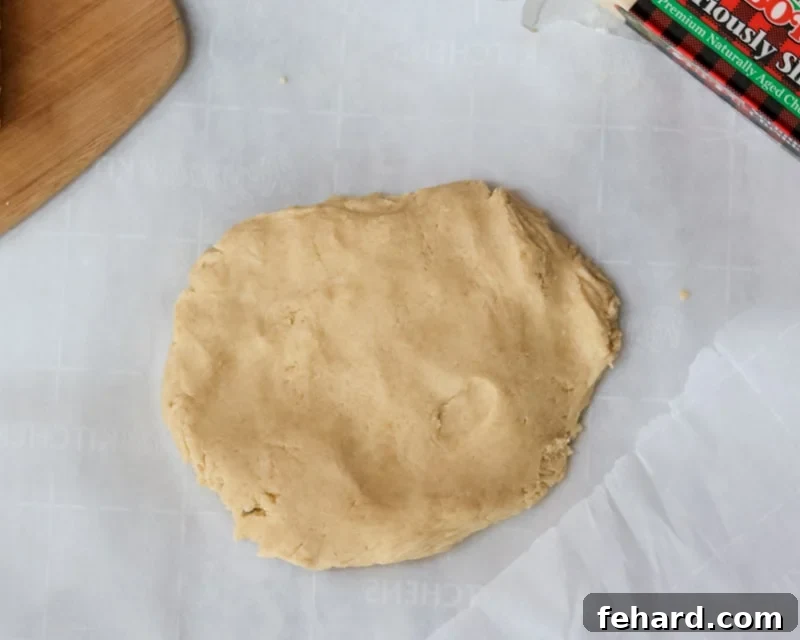
Once your dough has just come together in the food processor, it’s time to transfer it to a lightly floured surface or a piece of parchment paper. The goal here is to handle the dough as little as possible to prevent it from becoming tough. Gently bring the dough together and form it into a flattened disk. Think of the consistency and shape you’d aim for when preparing dough for delicate shortbread cookies or fluffy homemade biscuits. A flat disk allows for even chilling and makes the subsequent rolling step much easier.
The Crucial Step: Chilling the Cracker Dough
Chilling the dough is not an optional step; it is absolutely crucial for achieving perfectly crisp and flaky homemade cheese crackers. We recommend chilling the dough for a minimum of 1 hour, or ideally, up to 24 hours. This refrigeration period allows the butter within the dough to firm up and solidify. When the cold butter hits the hot oven, it rapidly melts and releases steam, creating tiny air pockets throughout the crackers. These air pockets are what give your cheese crackers their signature light, airy, and incredibly crunchy texture. Furthermore, chilling helps the dough become firmer and easier to handle, ensuring the crackers hold their shape beautifully during cutting and baking, preventing them from spreading excessively.
Cutting the Dough into Uniform Crackers
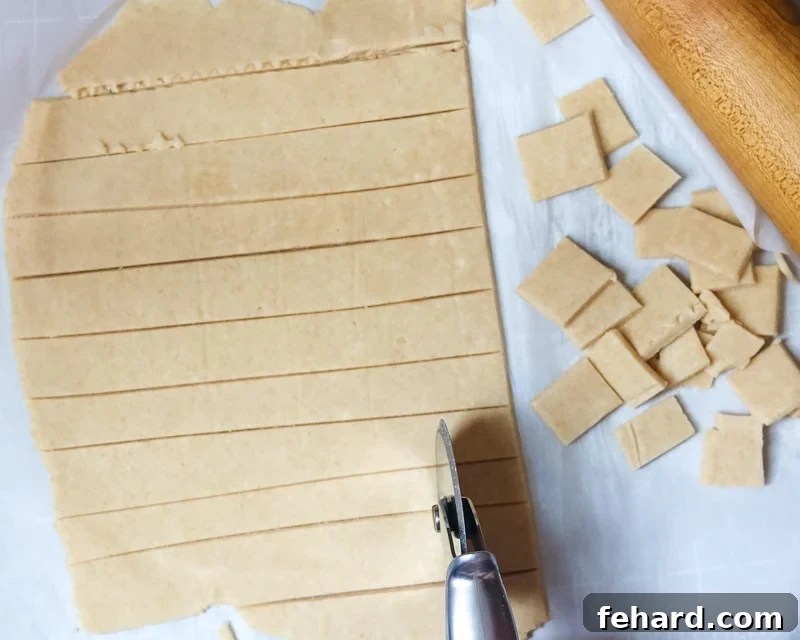
Once your dough is perfectly chilled and firm, it’s time to transform it into individual crackers. For uniform and appealing squares, you can use a very sharp knife, a pizza cutter, or a fluted pastry wheel. Roll out the dough between two sheets of parchment paper to your desired thickness (typically about ⅛-inch for classic Cheez-It thinness). Then, carefully cut the dough into approximately 1-inch squares. Precision in cutting not only makes your crackers look professional but also ensures they bake evenly, preventing some from burning while others are still undercooked.
Docking the Crackers for Ultimate Crispiness
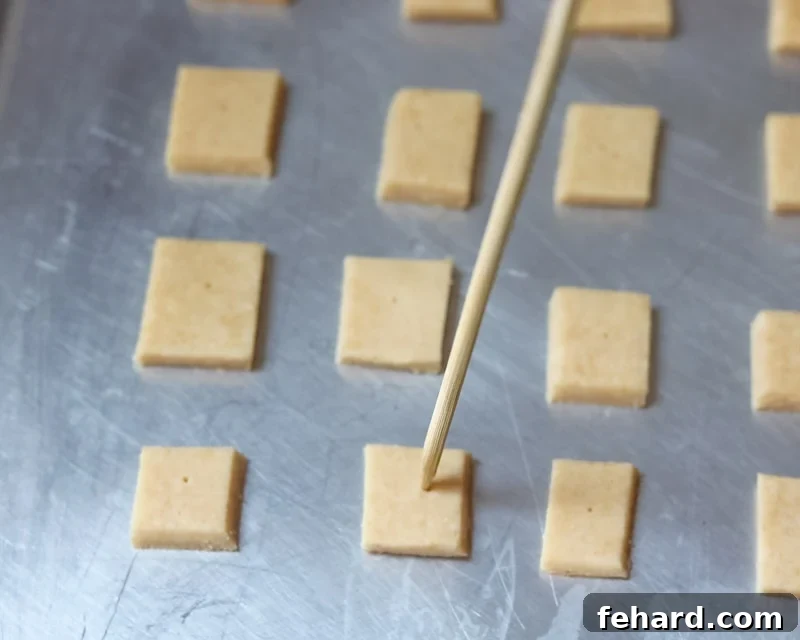
To prevent your cheese crackers from puffing up excessively and to ensure they achieve that coveted crispy texture, you’ll need to “dock” them. This simple step involves using a toothpick, the tines of a fork, or the end of a skewer to poke a single hole in the center of each cracker square. These small holes act as vents, allowing steam and air to escape as the crackers bake. Without docking, the crackers might bubble up or become too puffy, losing their desired flat and crisp consistency. This quick action is key to achieving that perfect, uniform crunch.
Baking Until Golden Perfection
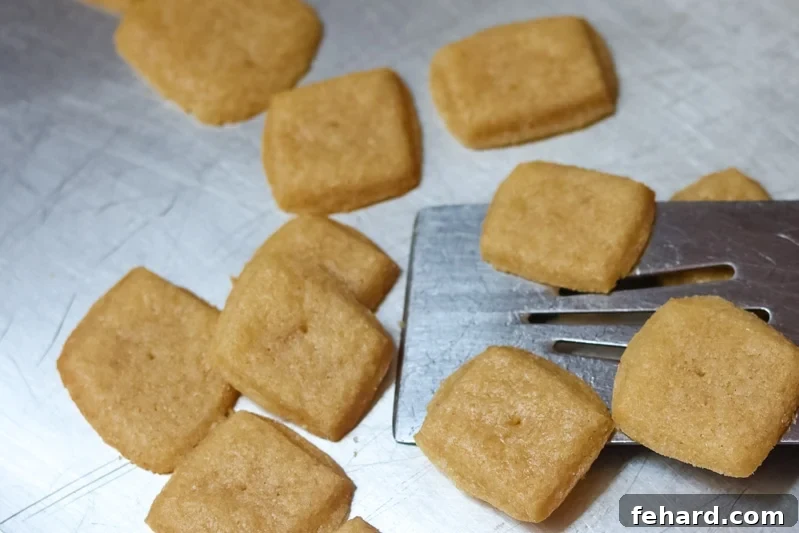
The final step in creating your delectable homemade cheese crackers is baking them to a beautiful golden perfection. Arrange your docked crackers on a baking sheet, ensuring they have about an inch of space between them for even air circulation. Bake them until the crackers are just set, and their edges have turned a delicate, golden brown. This usually takes around 10-13 minutes, but oven temperatures can vary, so it’s essential to keep a close eye on them, especially during the last few minutes of baking. Cheese crackers can go from perfectly baked to burnt very quickly, so vigilance is key to preventing them from over-browning. Once out of the oven, allow them to cool completely on the baking sheet; they will crisp up significantly as they cool.
Unleash Your Creativity: Cheese Cracker Variations
One of the joys of making crackers from scratch is the endless possibilities for customization. Don’t be afraid to experiment with different cheeses and seasonings to create a personalized snack that perfectly suits your palate. Here are some fantastic variations to inspire your next batch:
- Vary the Cheese: While sharp white or yellow cheddar provides that classic, tangy Cheez-It flavor, feel free to get creative. You can replace up to 4 ounces of the cheddar cheese with other semi-hard cheeses like Monterey Jack for a milder, creamier cracker, Gouda for a nutty sweetness, Colby for a gentle tang, or Swiss cheese for a distinct, savory note. If you’re a fan of Parmesan, incorporate no more than 1 ounce of freshly grated Parmesan alongside 7 ounces of cheddar cheese, as Parmesan’s strong flavor can quickly become overpowering.
- Add Additional Seasonings: Elevate the flavor profile with extra spices. A teaspoon of garlic powder can add a warm, aromatic depth, while paprika (smoked or sweet) introduces a touch of color and a subtle peppery or smoky undertone. Onion powder is already included, but you could also consider a pinch of cayenne pepper for a little kick, or Italian seasoning for an herbaceous twist.
- Gluten-Free Cheese Crackers: For those with gluten sensitivities or dietary preferences, transforming this recipe into a gluten-free version is incredibly simple. Just replace the all-purpose flour with a high-quality 1:1 gluten-free all-purpose flour blend. Ensure your chosen blend contains xanthan gum for optimal texture.
- Whole-Grain Cheez-its: If you’re looking to boost the fiber content and add a heartier flavor, substitute the all-purpose flour with whole wheat pastry flour. This will yield crackers with a slightly denser texture and a nutty, wholesome taste that’s equally delicious.
- Spicy Kick: For a delightful zing, add a pinch of cayenne pepper or a dash of your favorite hot sauce (reduce water slightly if adding liquid sauce) to the dough.
Storage Instructions: Keeping Your Crackers Fresh
To ensure your homemade cheese crackers maintain their delightful crispness and flavor, proper storage is essential. Here’s how to store them for maximum enjoyment:
- Room Temperature Storage: Once your crackers are completely baked and fully cooled, transfer them to an airtight container. They will remain wonderfully crisp and fresh when stored at room temperature for up to 5 days. Be sure the container is truly airtight to prevent them from absorbing moisture and becoming stale.
- Freezing for Long-Term Freshness: For extended storage, homemade cheese crackers freeze beautifully. After baking and cooling thoroughly, place the crackers in a single layer on a baking sheet and freeze until solid. Once frozen, transfer them to a freezer-safe bag or an airtight container, sealing it tightly to prevent freezer burn. They can be stored in the freezer for up to 3 months. To enjoy, simply let them thaw at room temperature for a few minutes.
- Perfect for Packed Lunches: Homemade Cheez-Its are an ideal, wholesome addition to any school lunch or picnic. When packing them, always place them in a separate, sealed container. It’s crucial to keep them away from any items that might introduce moisture, such as fruit or sandwiches, to ensure they retain their crispy texture throughout the day.
More Favorite Homemade Snack Recipes to Try
If you’ve enjoyed the process and delicious results of making your own cheese crackers, you’ll love exploring these other fantastic homemade snack recipes from our kitchen. Each recipe is designed to be easy, wholesome, and incredibly satisfying:
- Homemade Larabars: Simple, healthy energy bars perfect for on-the-go snacking.
- Oatmeal Chocolate Chip Muffins: A comforting and nutritious treat for breakfast or snack time.
- Peanut Butter Oat Bars: A no-bake delight, packed with protein and fiber.
- Homemade Granola: Customize your morning with this crunchy, versatile staple.
- Chocolate Zucchini Muffins: A delicious way to sneak in some veggies!
- Oatmeal Date Energy Balls: Quick, healthy, and perfect for a sustained energy boost.
We hope you enjoyed this recipe for Homemade Cheese Crackers. Your feedback means the world to us! Please consider leaving a comment and a review below to share your experience and any creative variations you tried. Happy baking!
Homemade Cheez-Its
Kristen Chidsey
16
10
12
1
22

Ingredients
- 8 ounces sharp cheddar cheese, freshly grated
- 4 tablespoons unsalted butter, cold and cubed
- ½ teaspoon kosher salt, plus more for serving
- ¼ teaspoon onion powder
- 1 cup all-purpose flour
- 2 tablespoons cold water
Instructions
-
Using a food processor fitted with a grating blade or a box grater, finely grate 8 ounces of sharp cheddar cheese. Set the grated cheese aside.
-
Fit your food processor with a dough blade (or S-blade). Add the grated cheese, 4 tablespoons of cold unsalted butter (cut into small cubes), ½ teaspoon of kosher salt, and ¼ teaspoon of onion powder. Pulse the mixture in short bursts until the butter is evenly distributed throughout the cheese, and the mixture resembles coarse sand or small peas.
-
Add 1 cup of all-purpose flour to the food processor. Pulse 2-5 times just until the dough begins to come together in a shaggy mass. Then, add 2 tablespoons of cold water and pulse 2-3 more times, or until a cohesive dough ball begins to form. Be careful not to overmix.
-
Turn the dough out onto a lightly floured surface or a piece of parchment paper. Gently gather the dough and form it into a flat disk, no more than ½-inch thick. Wrap the dough tightly in plastic wrap and chill it in the refrigerator for at least 1 hour, or up to 24 hours. This step is crucial for flavor development and achieving a crisp texture.
-
When you’re ready to bake, preheat your oven to 350℉ (175℃). Prepare a baking sheet by lining it with parchment paper.
-
Remove the chilled dough from the refrigerator. Place it between two fresh pieces of parchment paper and roll it out evenly to about ⅛-inch thick. Carefully remove the top layer of parchment paper. Using a sharp knife, pizza cutter, or fluted pastry wheel, cut the dough into uniform ~1-inch strips lengthwise, then repeat width-wise to create ~1-inch squares.
-
Carefully transfer the cut cheese crackers to your prepared baking sheet, leaving about 1-inch of space between each. Using a toothpick, the tines of a fork, or the end of a skewer, poke a small hole in the center of each cracker. This “docking” step helps prevent puffing and ensures even crispness.
-
Bake for 10-13 minutes, or until the crackers are just set and their edges are lightly browned. Pay close attention during the last few minutes of baking, as they can burn quickly.
-
Remove the baking sheet from the oven and allow the cheese crackers to cool completely on the sheet before enjoying or storing. They will become even crispier as they cool.
Equipment
-
Food Processor (recommended for best results)
-
Box Grater
-
Rolling Pin
-
Parchment Paper
-
Baking Sheet
-
Sharp Knife or Pizza Cutter
Notes for Success
Flour Alternatives: This recipe is incredibly versatile. For a gluten-free option, simply substitute the all-purpose flour with a good quality 1:1 gluten-free all-purpose flour blend. If you prefer a whole-grain snack, whole wheat pastry flour works wonderfully, adding a pleasant nutty flavor and extra fiber.
No Food Processor? No Problem!: While a food processor is highly recommended for its efficiency and consistent results, you can still make these crackers without one. Hand-grate your cheese, then use two forks or a pastry cutter to cut the cold butter into the flour and cheese mixture until it resembles coarse crumbs. Gradually add the water and mix gently until a dough forms.
Extra Flavor Boost: Don’t hesitate to customize your crackers with additional seasonings. Up to 1 teaspoon each of garlic powder and/or paprika can be added along with the onion powder for an enhanced savory profile. A tiny pinch of cayenne pepper can also add a delightful subtle heat.
Storage Tips: Once completely cooled, homemade cheese crackers can be stored in an airtight container at room temperature for up to 5 days, retaining their crispness. For longer storage, bake and cool them fully, then place them in a freezer bag and seal tightly. They will keep in the freezer for up to 3 months. Thaw at room temperature before serving.
Nutrition (per serving)
Carbohydrates: 5g
Protein: 4g
Fat: 7g
Saturated Fat: 4g
Cholesterol: 22mg
Sodium: 185mg
Potassium: 41mg
Vitamin A: 230IU
Calcium: 106mg
Iron: 0.4mg
Nutrition information is automatically calculated and should only be used as an approximation.
Tried this recipe?
Mention @amindfullmom or tag #amindfullmom! We love seeing your creations!
This post was originally published in 2018 and has been comprehensively updated with fresh insights, new tips, and enhanced details in 2024 to bring you the best homemade cheese cracker experience.