
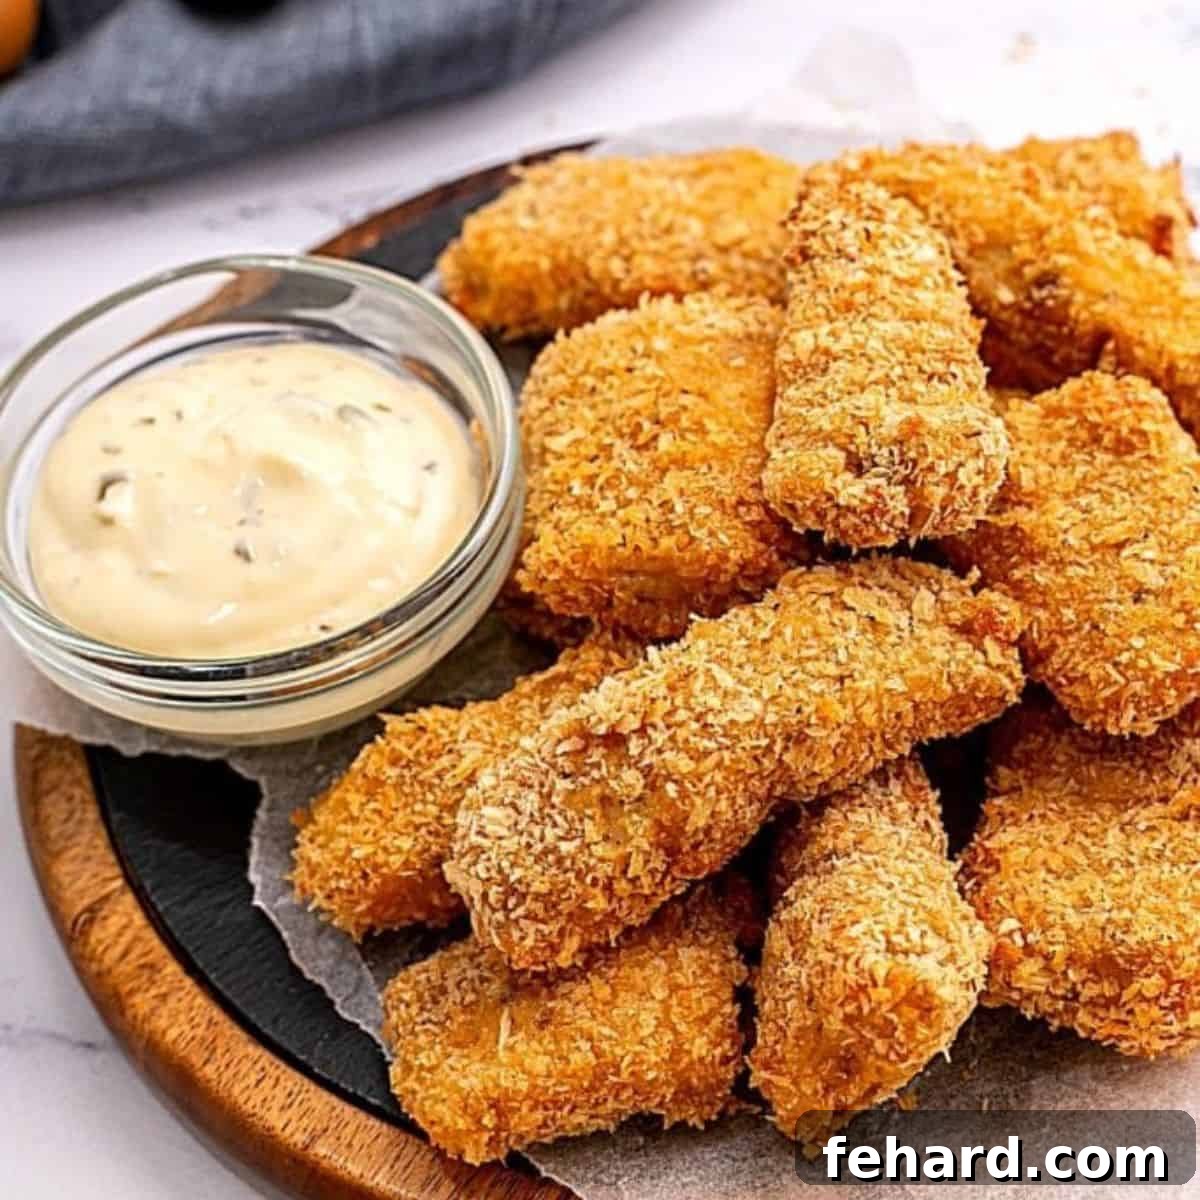
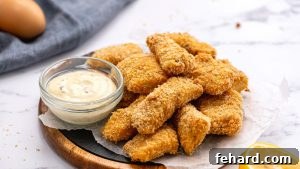
Say goodbye to bland, frozen processed foods and hello to delightfully tender, flaky fish sticks coated in an irresistibly crispy breading. These **Baked Fish Sticks** are a revelation – surprisingly easy to make at home, bursting with fresh flavor, and far superior to any store-bought alternative. Perfect for a quick weeknight meal or a fun family dinner, this recipe promises a satisfying crunch with every bite, making healthy eating a joy for everyone.
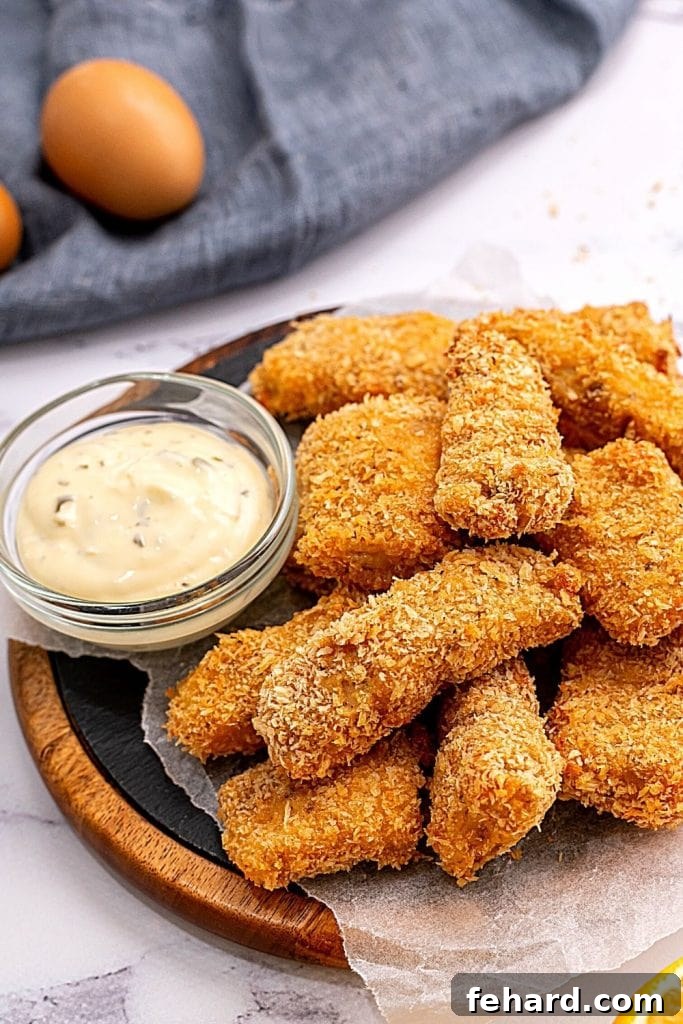
Homemade Baked Fish Sticks: A Family Favorite Reinvented

If you’re on a mission to encourage your children (or even your inner child!) to embrace more seafood, homemade fish sticks are an excellent starting point. This classic comfort food staple offers a mild flavor profile that appeals to a wide range of palates, coupled with a satisfying crunch factor that makes them genuinely enjoyable. Their familiar shape and appearance often draw comparisons to beloved Chicken Tenders, making them an easier sell for even the most discerning eaters.
The beauty of crafting your own fish sticks lies in the control you gain over ingredients. While the convenience of a box of frozen fish sticks might be tempting, the difference in taste and quality when made from scratch is remarkable. Our baked fish stick recipe utilizes simple, wholesome ingredients and comes together with minimal effort, transforming a typical kid-friendly dinner into a healthy and delicious meal for the entire family. You’ll love knowing exactly what goes into your food, free from the excessive sodium, preservatives, and artificial flavors often found in commercial versions.
Beyond being incredibly tasty, making fish sticks at home is a fantastic way to introduce essential nutrients into your family’s diet. Fish is a rich source of lean protein, Omega-3 fatty acids, and vital vitamins and minerals that support growth and overall well-being. By choosing baking over frying, we further enhance the health benefits, reducing unhealthy fats while still achieving that desired crispy texture. Get ready for happy plates and satisfied smiles!
Happy Cooking! **Kristen**
Essential Ingredients for Perfect Fish Sticks
You’ll find the complete list of ingredients, along with precise quantities, in the detailed recipe card below. Here’s a quick overview of what you’ll need and some tips for making the best ingredient selections.
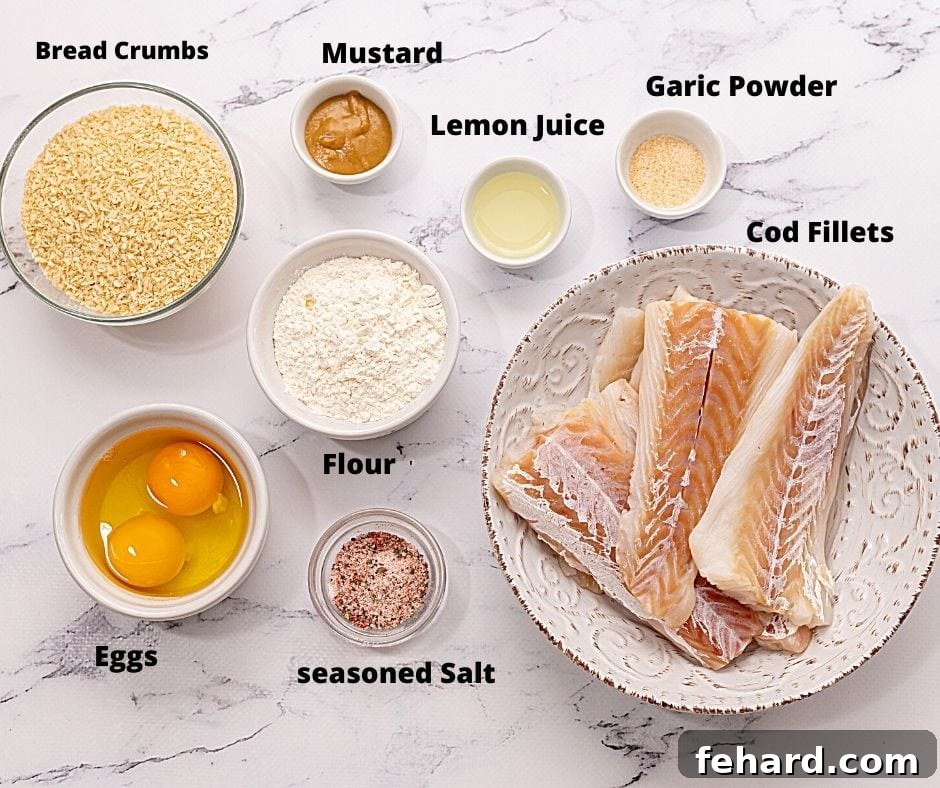
- Fish: The foundation of great fish sticks is the right type of fish. Opt for a mild, firm white fish that can hold its shape during cooking. Excellent choices include **Cod**, **Mahi Mahi**, or **Haddock fillets**. These fish varieties offer a delicate flavor and a flaky texture once cooked. While **Tilapia** can also work, keep in mind its thinner fillets will require a shorter cooking time, so adjust accordingly to prevent overcooking. Always ensure your fish is thawed if frozen and patted dry for the best breading adhesion.
- For Flavor: To infuse your fish sticks with a vibrant and fresh taste that stands out, we use a thoughtfully balanced combination of ingredients. **Seasoned salt** provides a savory depth, enhancing the natural flavors of the fish. **Fresh lemon juice** adds a bright, zesty tang that complements seafood beautifully and helps to tenderize the fish slightly. Finally, a touch of **Dijon mustard** contributes a subtle, tangy complexity, rounding out the flavor profile without being overpowering. These elements work synergistically to create fish sticks that are lively, well-seasoned, and incredibly delicious.
- Panko Breadcrumbs: The undisputed secret to achieving truly crispy fish sticks without deep-frying is **Panko breadcrumbs**. Unlike traditional breadcrumbs, Panko are larger, flakier, and lighter, which means they absorb less oil and create a superiorly crisp exterior. This unique texture ensures your baked fish sticks have that satisfying “crunch” that everyone loves, elevating them far beyond their frozen counterparts. Don’t skip the Panko for the ultimate crispiness!
Essential Equipment Note
For the crispiest results, it is highly recommended to use a rimmed sheet pan fitted with a wire rack. This setup is crucial because it elevates the fish sticks, allowing hot air to circulate evenly all around them as they bake. This prevents the bottoms from becoming soggy and ensures a uniformly golden-brown, crunchy coating on all sides. Without a wire rack, the bottom of the fish sticks would steam against the pan, resulting in a less crispy texture.
Step-by-Step Guide to Crispy Baked Fish Sticks
The following detailed tips are designed to guide you toward achieving perfectly crispy and flavorful fish sticks every time. You will find the exact ingredient quantities and comprehensive instructions in the recipe card located at the very bottom of this post.
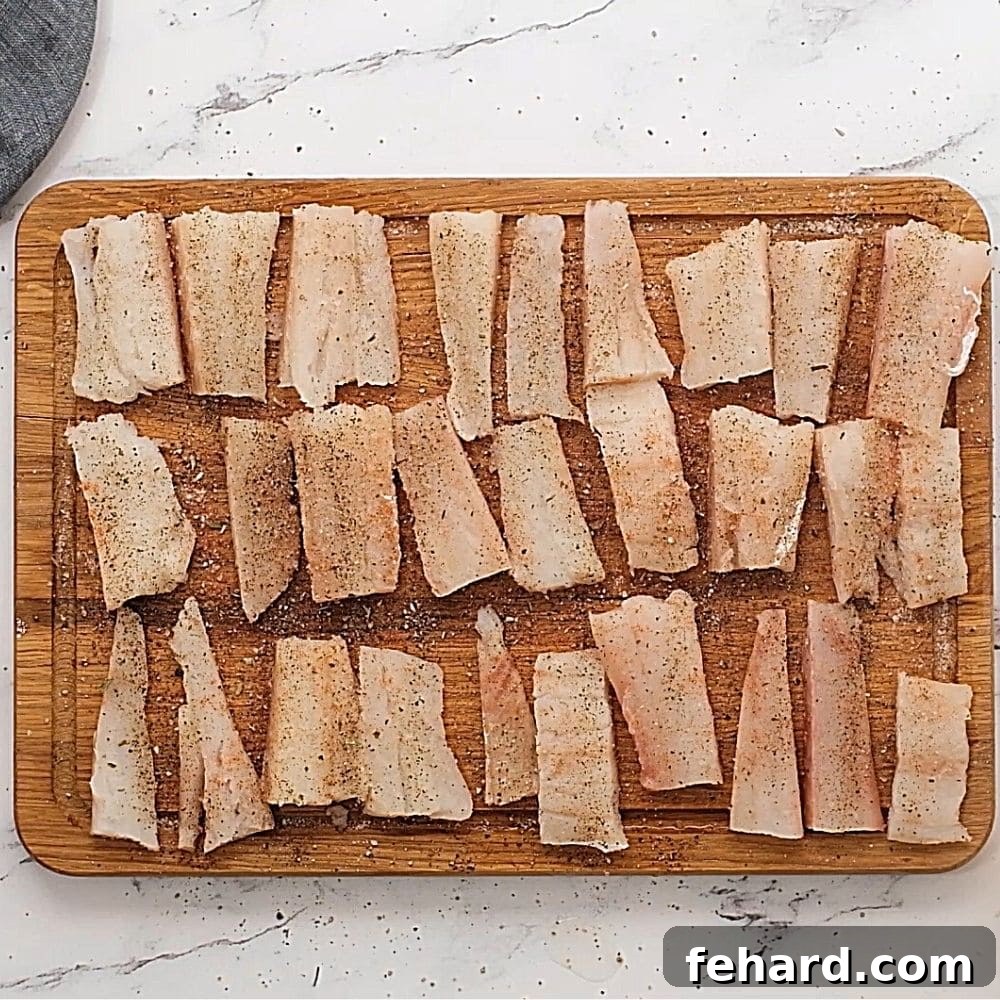
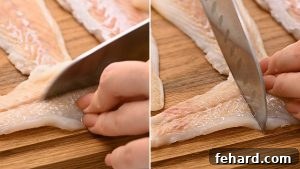
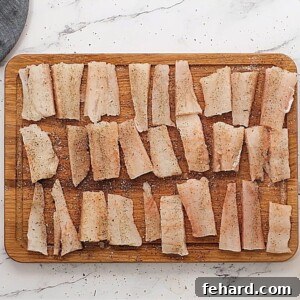
- Prepare and Season the Fish. Begin by preparing your fish fillets. Using a sharp knife, cut the fillets into even strips, aiming for pieces approximately 1-inch thick and 2-inches long. Uniform sizing is key for even cooking. Once cut, generously season all sides of your fish sticks with seasoned salt. This initial seasoning is vital for building layers of flavor from the inside out, ensuring every bite is well-seasoned and delicious. Patting the fish dry before seasoning will also help the seasoning adhere better.
- Set Up Your Breading Station. Organization is key for efficient breading! Prepare three shallow dishes or wide, shallow bowls. In the first dish, combine your all-purpose flour with additional seasoned salt; this flour mixture creates the base for the breading and helps seal in moisture. In the second dish, whisk together the eggs, fresh lemon juice, and Dijon mustard until well combined; this egg wash acts as the “glue” for the breadcrumbs. In the final dish, combine the Panko breadcrumbs, garlic powder, and a final touch of seasoned salt; this is your ultimate crispy coating. Having these stations ready will make the breading process smooth and mess-free.
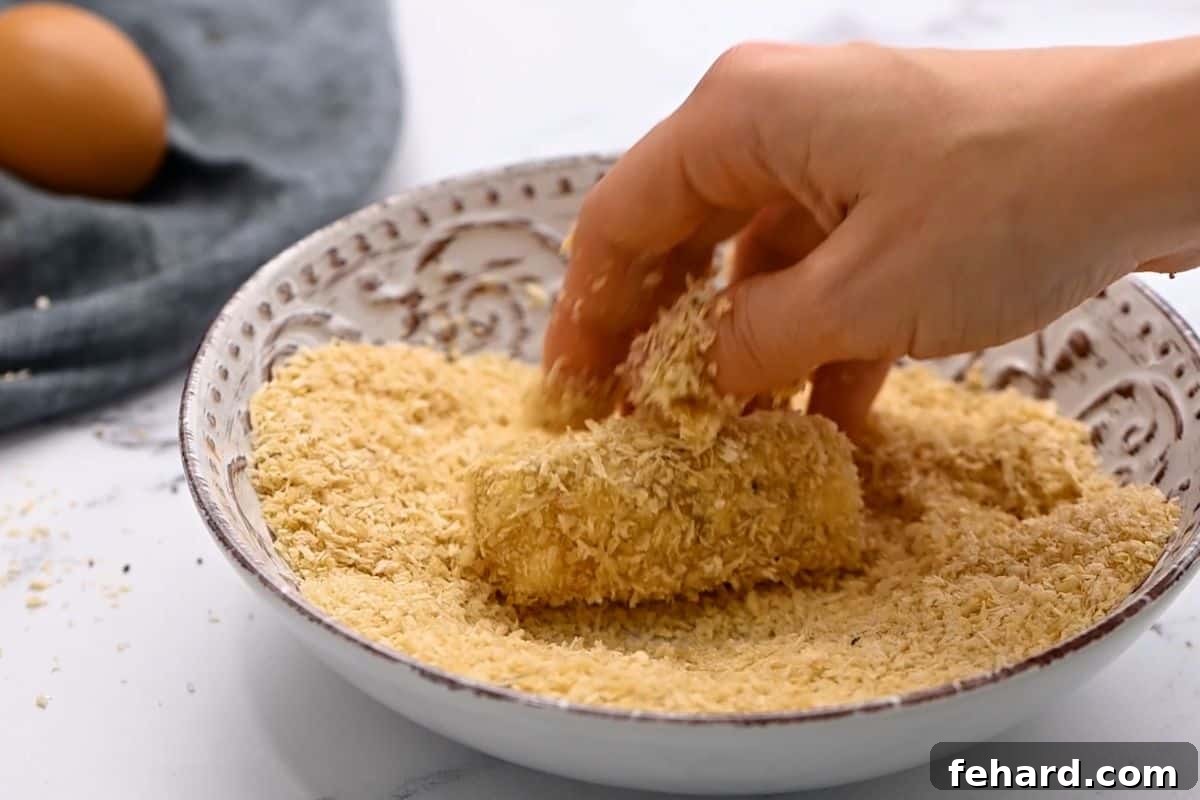
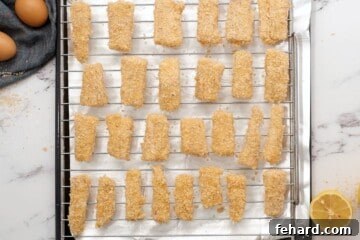
- Bread Each Fish Stick. Now it’s time to coat your fish. Take each seasoned fish stick and first dip it thoroughly into the seasoned flour mixture, ensuring it’s fully coated. Gently shake off any excess flour. Next, dip the floured fish stick into the egg wash, allowing any extra to drip off. Finally, transfer it to the Panko breadcrumb mixture. Use your hands to gently but firmly press the Panko onto all surfaces of the fish, ensuring the entire stick is completely covered. This firm press helps the breadcrumbs adhere securely, preventing them from falling off during baking and guaranteeing that satisfying crispiness. Place the fully breaded fish stick onto your prepared baking rack.
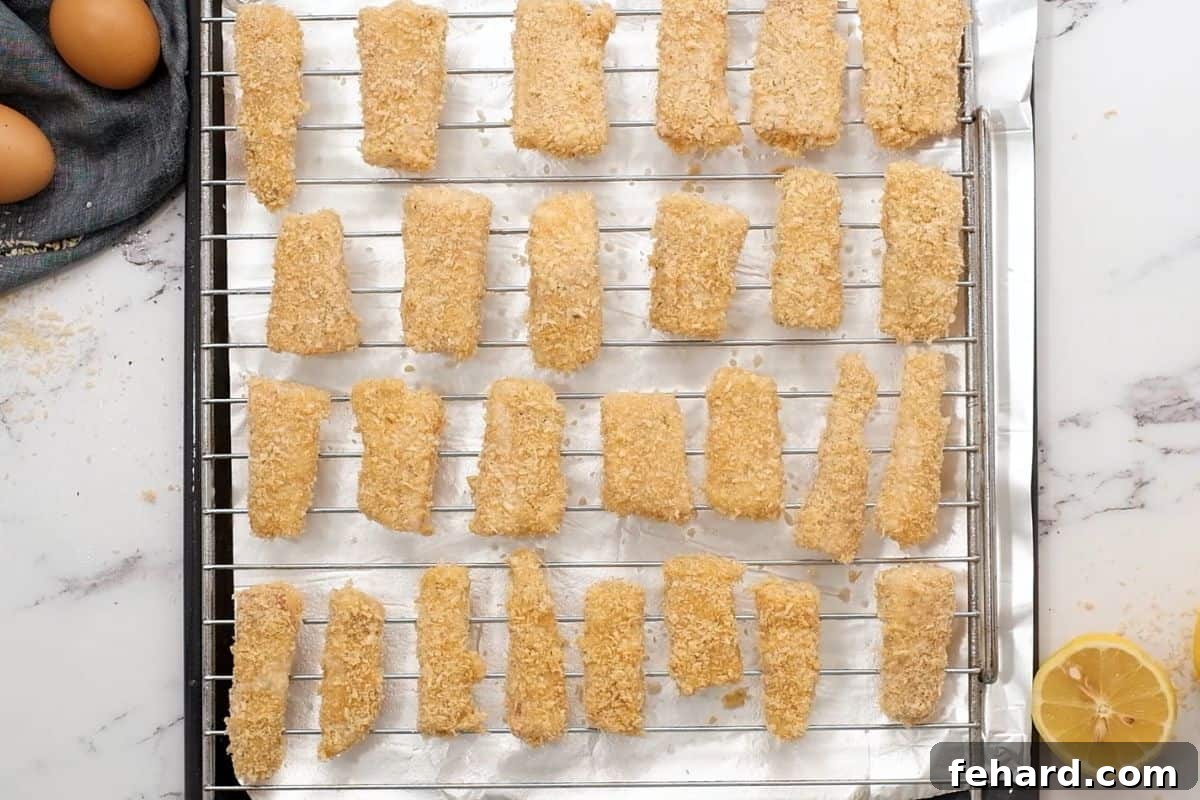
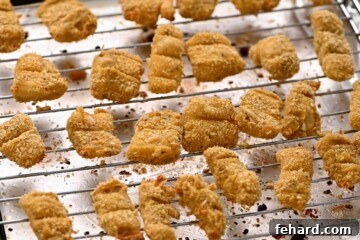
- Bake to Golden Perfection. Arrange the breaded fish sticks in a single layer on the wire rack, making sure not to overcrowd the pan, as this can lead to steaming instead of crisping. Before baking, give them a generous spray with cooking spray; this helps achieve that beautiful golden-brown color and extra crunch. Bake in the preheated oven, flipping them carefully halfway through the baking process. Even when using a baking rack, I’ve found that this mid-bake flip significantly contributes to uniformly crispy fish sticks, ensuring both sides are equally golden and crunchy. Bake until the fish is opaque throughout and the coating is deeply golden.
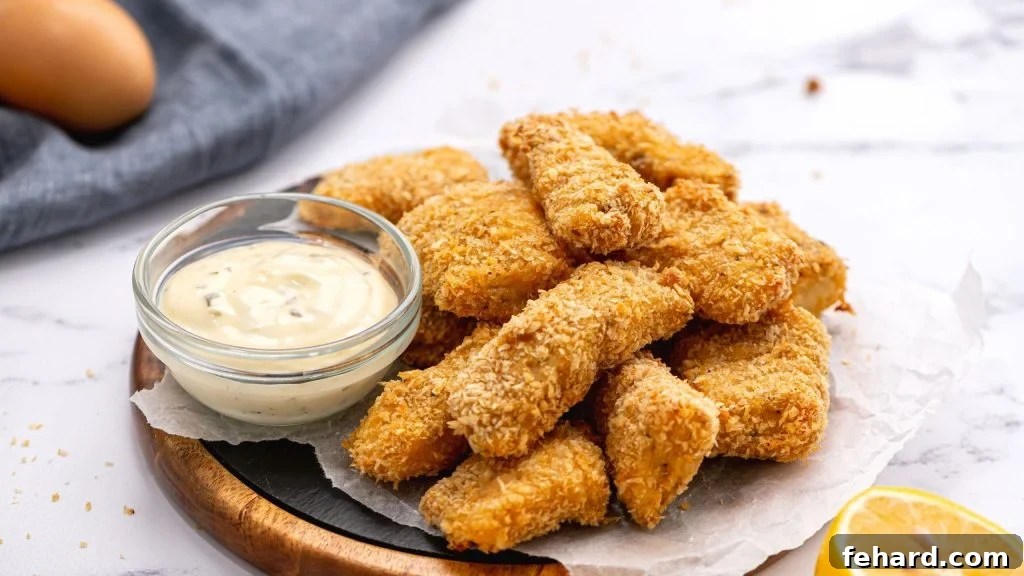
- Serve and Enjoy. Once baked to golden perfection, allow the fish sticks to cool slightly on the rack before serving. The classic pairing for fish sticks is a side of creamy homemade tartar sauce, offering a tangy contrast to the rich fish. For those who enjoy a little kick, a zesty bang bang sauce makes a fantastic dipping option. To complete your family-friendly meal, consider rounding out dinner with sides like crispy baked oven fries and a refreshing carrot raisin salad. This combination creates the ultimate kid-friendly and balanced meal that everyone will eagerly dig into.
Recipe Modifications for Dietary Needs and Preferences
- Gluten-Free Fish Sticks: Adapting this recipe for a gluten-free diet is straightforward. Simply replace the all-purpose flour in your breading station with a 1:1 gluten-free all-purpose flour blend. It’s crucial to also swap out regular Panko breadcrumbs for gluten-free Panko, which is readily available in most grocery stores. These two substitutions will ensure your fish sticks retain their crispy texture and delicious flavor without compromising dietary requirements.
- Egg-Free Fish Sticks: For those with egg allergies, an effective alternative for the egg wash is to use ½ cup of milk or buttermilk in place of the two eggs. These liquids will still provide enough moisture and binding power to help the Panko breadcrumbs adhere to the fish, ensuring a crispy and well-coated result. You can also experiment with other egg substitutes if you have a preferred brand.
- Air Fryer Method: To achieve incredibly crispy results with an air fryer, prepare the fish strips and bread them exactly as directed in the main recipe. Once breaded, lightly spray each side of the fish sticks generously with cooking spray. Place them in a single layer in your air fryer basket, ensuring not to overcrowd. Air fry at 400°F (205°C) for 10 minutes, flipping them halfway through (after 5 minutes). Check for doneness and add an additional 2 minutes if needed to reach your desired level of golden crispiness. This method offers a fantastic way to get a super crunchy exterior with minimal oil.
Storage and Reheating for Best Results
While these homemade fish sticks are undoubtedly best enjoyed fresh from the oven, any leftovers can be easily stored and reheated for future meals. To maintain their delicious crispy and crunchy texture, I highly recommend freezing them and reheating them directly from frozen in the oven. Reheating in a microwave can lead to soggy fish sticks, which diminishes their appeal.
- Freezing Leftovers: Once your baked fish sticks have cooled completely to the touch, arrange them in a single layer on a baking pan. Place the pan in the freezer and freeze until the fish sticks are solid, which usually takes about 1 hour. This flash-freezing technique prevents them from sticking together. Once solid, transfer the frozen fish sticks to a freezer-safe bag or airtight container. They can be stored in the freezer for up to 3 months, making them a fantastic make-ahead meal option.
- Reheating Frozen Fish Sticks: To bring your frozen fish sticks back to life with their original crispiness, preheat your oven to 425°F (218°C). Place the frozen fish sticks directly onto a baking sheet (preferably with a wire rack for optimal crisping). Bake for 10-12 minutes, or until they are thoroughly warmed through and their coating has regained its golden crispness. This method ensures a delicious, convenient meal that tastes almost as good as freshly made.
More Kid-Friendly Seafood Recipes to Explore
- Easy Fish Tacos
- Easy Baked Salmon
- Easy Grilled Shrimp
- Shrimp Tacos
- Salmon Bites
Did you make this recipe?
If you enjoyed this recipe, please leave a comment with a 5-star review at the bottom of the post. Thank you!
The Best Homemade Baked Fish Sticks
Kristen Chidsey
4
10 mins
14 mins
24 mins
Ingredients
- cooking spray
- 1 pound skinless white fish fillets, about 1-inch thick (thawed if frozen)
- ½ teaspoon seasoned salt, for seasoning fish
- ½ cup all-purpose flour
- ½ teaspoon seasoned salt, for seasoning flour
- 2 large eggs
- 1 tablespoon fresh lemon juice, about 1 medium lemon
- 1 tablespoon Dijon mustard
- 1 cup Panko breadcrumbs
- 1 teaspoon garlic powder
- 1 teaspoon seasoned salt, for seasoning breading
Instructions
-
Preheat the oven to 425°F/215℃ and adjust the rack to the center position. Line a rimmed baking sheet with foil (for easy clean-up) and place an oven-safe cooling rack on top. Lightly spray with cooking spray. Alternatively, line the rimmed baking sheet with parchment paper and spray with non-stick spray.
-
Slice 1 pound skinless white fish fillets crosswise into 2-inch long strips, about 1-inch wide.

-
Season both sides of the fish sticks with ½ teaspoon seasoned salt.
-
Place ½ cup all-purpose flour and ½ teaspoon seasoned salt in one shallow dish and mix well. In a separate shallow dish, whisk 2 large eggs with 1 tablespoon fresh lemon juice and 1 tablespoon Dijon mustard. In the final shallow dish, combine 1 cup Panko breadcrumbs, 1 teaspoon garlic powder, and 1 teaspoon seasoned salt.
-
Dip each fish stick into flour, tossing to coat. Shake off excess. Dip into the egg wash, and then finally into panko breadcrumbs, using your hands to help panko coat fish thoroughly. Place the breaded fish onto the prepared pan and then repeat with the remaining fish strips. Spray the fish sticks generously with cooking spray.
-
Bake the fish sticks for 7 minutes. Flip and bake for 5-7 minutes longer, or until golden brown and fish is no longer opaque.
-
Allow to cool slightly and then serve with tartar sauce or your favorite dipping sauce.
Equipment
-
Baking Sheet with Rack
Notes
Breadcrumbs: Panko breadcrumbs give these fish sticks the best texture, but feel free to use unseasoned regular breadcrumbs if that is all you have, though results may be less crispy.
Storage: Leftover fish sticks are best frozen after cooling and then reheated in a 400-degree oven until warmed through, about 12-15 minutes, to maintain crispiness.
Air Fryer Instructions: Bread the fish strips as directed and spray each side with cooking spray. Place in a single layer in the air fryer and set to 400°F/205°C for 10 minutes, flipping after 5 minutes. Add 2 minutes if needed for extra crispiness.
Gluten-Free Fish Sticks: Replace the all-purpose flour with a 1:1 gluten-free all-purpose flour and gluten-free panko.
Egg-Free Fish Sticks: If you have an egg allergy, you can use ½ cup of milk or buttermilk in place of the 2 eggs for the egg wash.
Nutrition
Calories: 230 kcal
Carbohydrates: 24g
Protein: 25g
Fat: 3g
Saturated Fat: 1g
Cholesterol: 90mg
Sodium: 1393mg
Potassium: 539mg
Fiber: 1g
Sugar: 1g
Vitamin A: 105 IU
Vitamin C: 1mg
Calcium: 52mg
Iron: 2mg
Nutrition information is automatically calculated, so should only be used as an approximation.
Tried this recipe?
Mention @amindfullmom or tag #amindfullmom!