
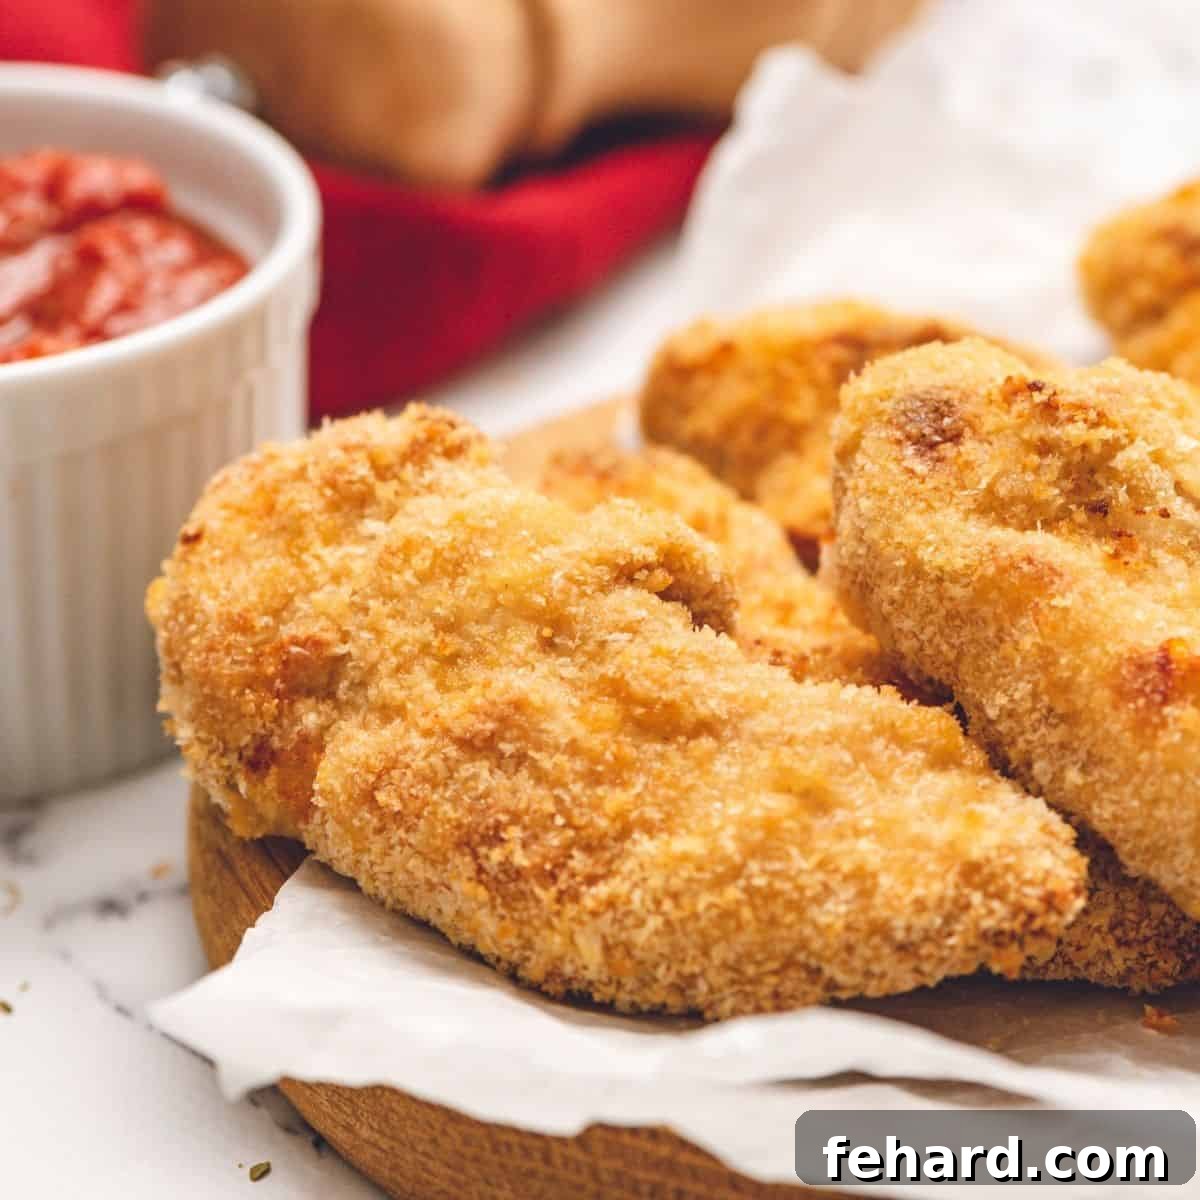
Welcome to your new go-to recipe for the most irresistibly crispy baked chicken tenders! This ultimate guide offers a parent-approved, kid-friendly meal solution that everyone at your table will adore. Crafted with just a handful of simple ingredients and demanding minimal effort, this easy recipe consistently delivers perfectly crispy, juicy, breaded chicken strips—all without the excessive grease typically found in fried versions, and remarkably, in under 30 minutes!
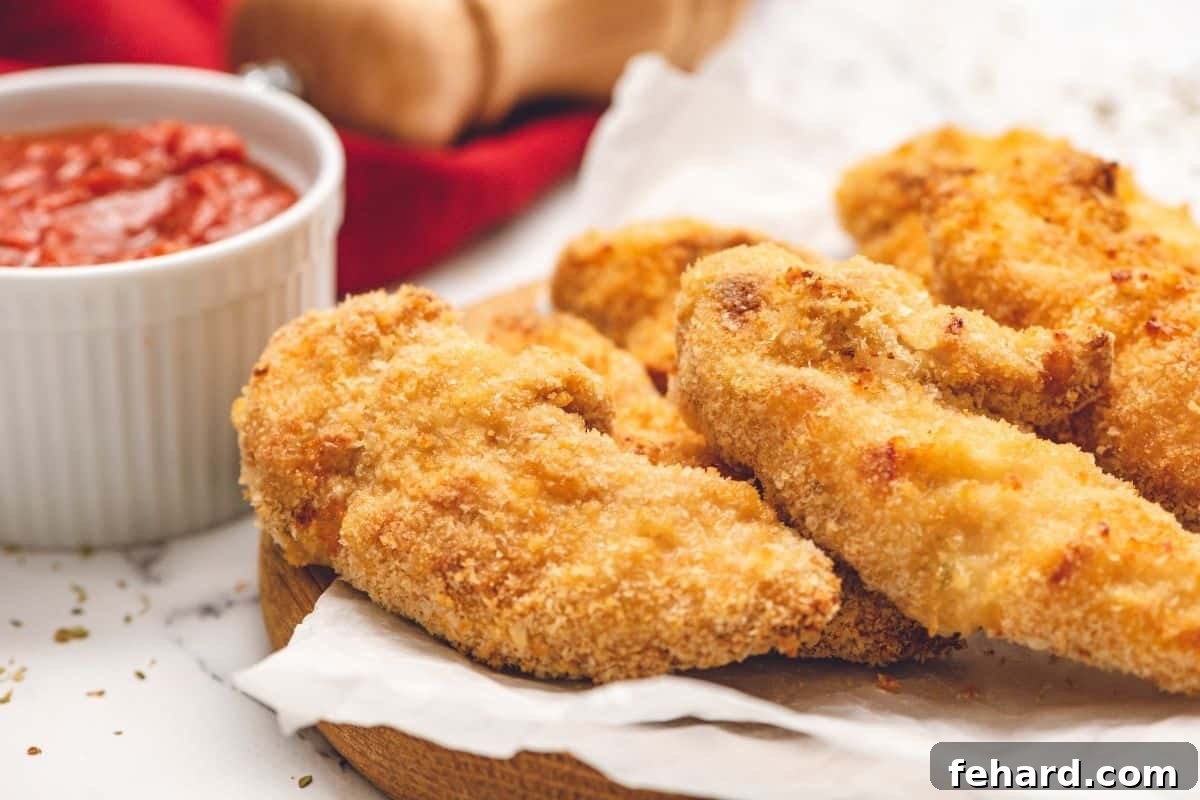
Our Favorite Homemade Crispy Chicken Tender Recipe

There are certain meals from childhood that just stick with you, becoming synonymous with comfort and family. For me, one of those cherished memories involves my mom’s homemade chicken strips. She had a knack for taking simple chicken tenders, breading them just right, and baking them until they were golden and perfectly crispy. It was an incredibly easy recipe, yet it managed to be one of the few dishes that could consistently please all four of her notoriously picky children.
Fast forward a few decades, and I find myself carrying on this delicious tradition, making these very same crispy baked chicken tenders for my own two picky kids, and yes, even my somewhat particular spouse. It’s a testament to the recipe’s timeless appeal that my entire family loves this straightforward dish just as much as I always have!
What makes this kid-friendly chicken recipe even better is its undeniable health benefits and incredible satisfaction factor. Plus, it manages to get a wholesome, delicious dinner on the table in less than 30 minutes, making it a weeknight hero for busy parents everywhere. Thank you, Mom, for this culinary gift!
Happy Cooking! xo Kristen
Kristen’s Keys to Achieving Perfect Crispy Baked Chicken Tenders
Before we dive into the step-by-step process of creating these incredibly crispy baked chicken tenders, let’s explore a few essential tips and tricks that will ensure you achieve perfect, restaurant-quality results every single time. These are the secrets I’ve learned and perfected over years of making this beloved family meal.
- Go for Panko for Superior Crunch. When it comes to achieving that coveted light, airy, and incredibly crispy texture, Panko bread crumbs are your best friend. Unlike traditional breadcrumbs, Panko is made from bread without crusts, ground into larger, flakier pieces, which absorb less oil and result in a much crunchier coating. While traditional breadcrumbs can be used in a pinch, they simply won’t deliver the same satisfying crispiness as Panko, making it a non-negotiable for truly exceptional chicken tenders.
- Smart Chicken Options. You have flexibility when it comes to your chicken. You can easily purchase pre-cut chicken tenderloins, which are convenient and ready to go. Alternatively, a smart money-saving tip is to buy boneless, skinless chicken breasts and slice them into 1-inch thick strips yourself. This allows for greater control over the size and thickness of your chicken tenders, ensuring even cooking and consistent results.
- Seasoning Matters! This is perhaps the most crucial key to flavorful chicken tenders. Using a good quality seasoned salt throughout the breading process adds significantly more depth and complexity than just plain salt and pepper. The secret here is to season every single layer of your breading station – the flour, the egg wash, and the Panko. This multi-layered approach guarantees that every bite of your crispy baked chicken tenders bursts with delicious flavor, rather than just tasting of bland breading.
How to Make the Crispiest Baked Chicken Tenders: A Step-by-Step Guide
While this recipe is genuinely easy, following these detailed steps will help you achieve perfectly crispy, golden-brown chicken tenders every time. Get ready to impress your family with these homemade delights!
- Set Up Your Breading Station. Organization is key for a smooth breading process. Before you even touch the raw chicken, prepare your three shallow dishes (pie plates or wide bowls work best) for the breading.
- In the first dish, combine 1 cup of all-purpose flour with 1 teaspoon of seasoned salt. Whisk well to ensure the salt is evenly distributed.
- In the second dish, whisk together 3 large eggs with ¼ cup of water and ½ teaspoon of seasoned salt. This creates your flavorful egg wash.
- In the third dish, mix 2 cups of plain Panko bread crumbs with 1 teaspoon of seasoned salt. Remember our golden rule: season every layer for maximum flavor!
- Prepare the Chicken Tenderloins. If you’re using chicken tenderloins, carefully remove the white, stringy tendon. This small piece can become quite tough and chewy once cooked, affecting the overall texture and enjoyment of your tenders. To remove it, hold the tenderloin firmly at one end and, using a fork to brace the tendon, pull it away with your other hand. If you’re using boneless, skinless chicken breasts, trim off any excess fat and then slice them lengthwise into approximately 1-inch thick strips. Aim for uniform thickness for even cooking.
- Master the Breading Process. Now it’s time to coat your chicken! Working one tender at a time, follow these steps to ensure a thick, even, and crispy coating:
- First, dip the chicken strip into the seasoned flour, ensuring it’s completely coated. Gently shake off any excess flour.
- Next, immerse the floured chicken into the egg mixture, allowing any excess to drip off.
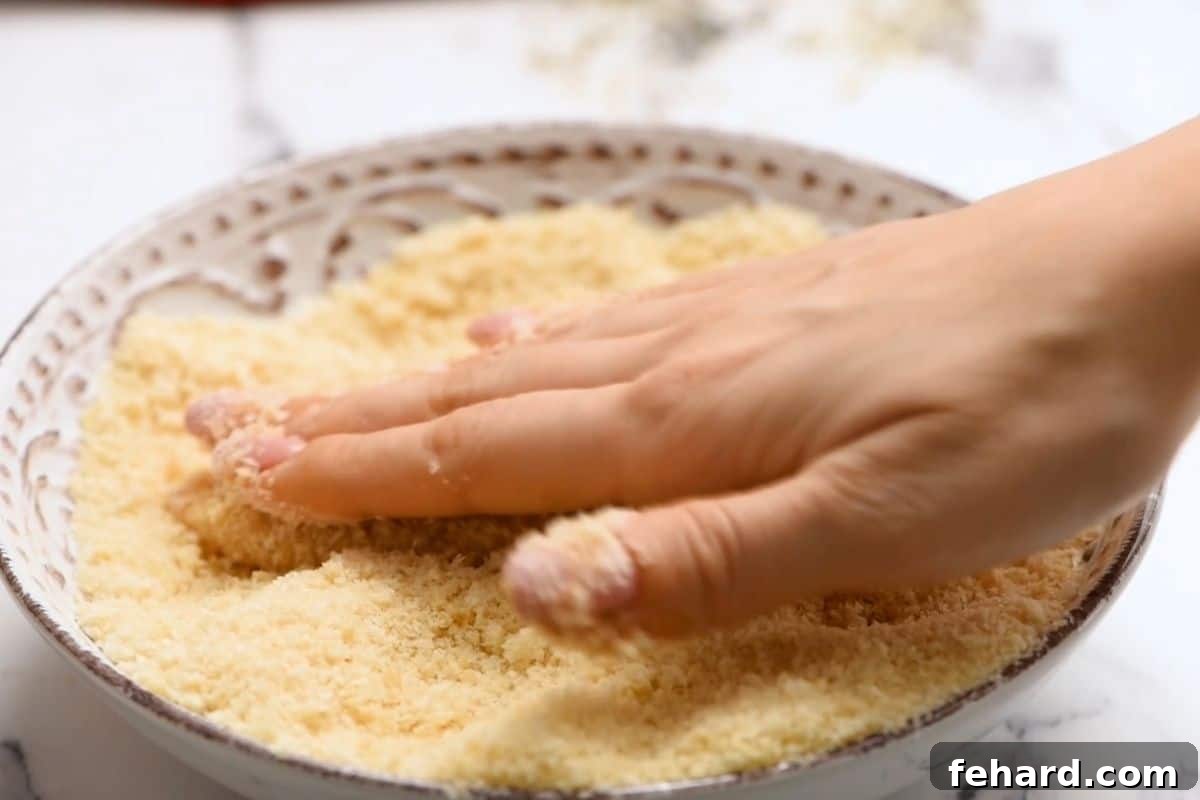
- Finally, transfer the chicken to the seasoned Panko breadcrumbs. This is where you want to be hands-on! Use your fingers to firmly press the Panko into all sides of the chicken strip. This crucial step helps the breadcrumbs adhere well, creating that wonderfully crispy crust. Place each fully breaded chicken strip onto your prepared baking rack and continue with the remaining chicken.
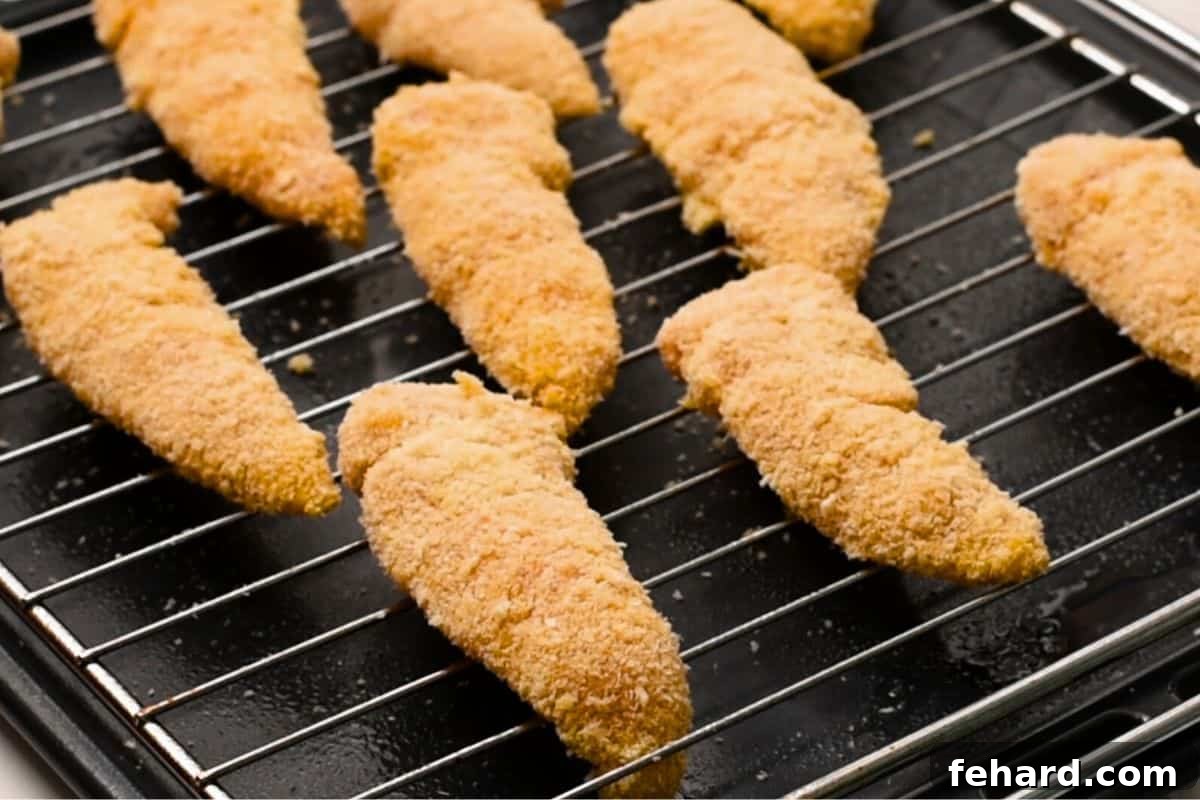
- Bake on a Rack for Ultimate Crispiness. This tip is a game-changer for achieving truly even and superior crispiness. Instead of placing your breaded chicken tenders directly on a baking sheet, arrange them on an oven-safe baking rack set over a rimmed baking sheet. This simple trick allows hot air to circulate completely around each chicken strip, crisping up all sides simultaneously. The result is a uniformly golden and crunchy exterior without the need to flip them halfway through cooking. Be sure to lightly spray the surface of the breaded chicken tenders with additional cooking spray before baking to achieve a beautiful golden exterior and extra crunch.
Delicious Serving Suggestions for Your Crispy Chicken Tenders
These versatile crispy baked chicken tenders are fantastic on their own, but they truly shine when paired with the right accompaniments. Here are some ideas to turn them into a memorable meal, suitable for any occasion:
- The Essential Dipping Sauce. Let’s be honest, every great chicken strip deserves a fantastic dipping sauce! Whether you’re serving little ones or adults, a flavorful sauce takes these tenders to the next level. Consider a classic like homemade ranch, a tangy BBQ sauce, a creamy bang bang sauce, sweet honey mustard, or a spicy sweet chili sauce. Offer a variety for a fun dipping experience!
- Create the Ultimate Kid-Friendly Combo. For a meal that’s sure to be a hit with children (and adults!), serve these homemade chicken tenders alongside some crispy sides. Nothing beats easy baked oven fries (or even faster Air Fryer fries) and a simple, refreshing fruit salad for a perfectly balanced and appealing dinner.
- Elevate Your Salad. Transform a simple side salad into a hearty entree by topping it with sliced crispy chicken tenders. They add a wonderful texture and protein boost to a BLT Salad, a classic Caesar Salad, a vibrant Greek Salad, or a fresh Tossed Italian Salad. It’s a great way to enjoy a lighter meal without sacrificing flavor or satisfaction.
- Build Crispy Chicken Tacos. Get creative with taco night! Place one or two crispy chicken tenders on a warmed flour tortilla or a crunchy taco shell. Then, pile on your favorite taco toppings like shredded lettuce, diced tomatoes, cheese, salsa, or a drizzle of crema for a fun and flavorful twist.
- Craft a Delectable Chicken Sandwich. These tenders are perfect for building a gourmet-style sandwich. Serve them on a fluffy buttermilk biscuit or a toasted brioche bun. Top with creamy coleslaw, a slice of cheese, crisp pickles, or a touch of honey mustard for an incredibly satisfying chicken sandwich that rivals any restaurant version.
Recipe Modifications & Dietary Adaptations
One of the beauties of this crispy baked chicken tenders recipe is how easily it can be adapted to suit various dietary needs or preferences. Here are some simple modifications you can make:
- Boost the Nutrition. To enhance the nutritional value of this already wholesome meal, consider substituting whole wheat flour for all-purpose flour and opting for whole wheat Panko bread crumbs instead of regular Panko. These simple swaps introduce beneficial whole grains, adding fiber and nutrients to this family-favorite chicken recipe without compromising on taste or texture.
- Gluten-Free Chicken Tenders. Making these tenders gluten-free is straightforward! Simply use an all-purpose gluten-free 1:1 flour blend in place of the regular all-purpose flour and choose gluten-free Panko breadcrumbs. The Panko is essential for crispiness, so don’t skip it!
- Egg-Free Option. If you or a family member has an egg allergy, you can still enjoy these delicious tenders. Instead of eggs, use a moist alternative for the binding layer. Buttermilk, plain Greek yogurt, or even a thin coating of mustard can all work wonderfully to help the flour and Panko adhere to the chicken, ensuring a flavorful and crisp result.
- Air-Fryer Convenience. Prefer the convenience of an air fryer? These chicken tenders cook beautifully in an air fryer too! For specific instructions and timings, you can follow my dedicated recipe for Air Fryer Chicken Tenders, which guarantees a similar crispy outcome with a slightly different cooking method.
Storage & Reheating Tips for Meal Prep
One of the fantastic advantages of these crispy baked chicken tenders is how well they freeze and reheat. This makes them an ideal candidate for meal prepping, allowing you to easily prepare extra batches to save for those incredibly busy weeknights when time is short but you still want a wholesome, homemade meal.
- Refrigerate Leftovers: Any leftover baked chicken tenders will stay fresh and delicious for up to 3 days when stored in an airtight container in the refrigerator. Ensure they are completely cooled before storing to prevent sogginess.
- Freeze for Future Meals: To freeze, first place the baked and cooled chicken strips in a single layer on a baking sheet lined with parchment paper. Transfer the sheet to the freezer until the tenders are frozen solid (this prevents them from sticking together). Once solid, move them to a freezer-safe bag or container, removing as much air as possible to prevent freezer burn. They will keep beautifully in the freezer for up to 3 months.
- Reheat for Best Results: For optimal crispiness, reheating in the oven is highly recommended. Place refrigerated chicken tenders on a baking sheet and bake at 400°F (200°C) for 5-6 minutes. If reheating from frozen, bake at the same temperature for 18-22 minutes, or until heated through and crispy. Resist the urge to microwave the chicken strips, as this will almost certainly result in soggy breading, diminishing their delightful crunch.
More Kid-Friendly Dinner Recipes Your Family Will Love
If your family enjoys these crispy baked chicken tenders, you’ll find plenty more delicious and wholesome options on our site. You can browse all of my kid-friendly recipes here, or pick from some of our top family favorites below. These recipes are designed to be easy, satisfying, and appealing to even the pickiest eaters!
- Easy Homemade Hamburger Helper Skillet
- Homemade Ham and Cheese Pretzel Hot Pockets
- Baked Ravioli Lasagna (No-Boil!)
- Simple Shake and Bake Pork Chops
- Healthy Baked Fish Sticks
- Quick Instant Pot Sweet and Sour Chicken
- Comforting Crockpot Baked Ziti
Did you make this recipe?
If you enjoyed this recipe, we’d love to hear from you! Please consider leaving a comment and a 5-star review below to help others discover this delicious family favorite.
Crispy Baked Chicken Tenders
Kristen Chidsey
4
10 mins
12 mins
22 mins

Ingredients
- 1 pound chicken tenderloins, or boneless, skinless chicken breasts cut into 1-inch thick strips
- 1 cup all-purpose flour
- 1 teaspoon seasoned salt, for seasoning flour
- 3 large eggs
- ¼ cup water
- ½ teaspoon seasoned salt, for seasoning eggs
- 2 cups plain panko bread crumbs
- 1 teaspoon seasoned salt, for seasoning breading
- cooking spray, I recommend olive oil or avocado oil cooking spray
Instructions
-
Preheat oven to 425℉ (215℃). Place an oven-safe baking rack on a rimmed baking sheet. Lightly spray with cooking spray.
-
Prepare the Chicken Tenders. Trim off all fat and tendons (white stringy or hard pieces) from the chicken tenderloins. If using boneless skinless chicken breasts, trim any fat from the breasts and then cut them into 1-inch wide strips.
-
Prepare the Breading Station. Whisk together 1 cup all-purpose flour and 1 teaspoon seasoned salt in one shallow dish. In a second shallow dish, whisk 3 large eggs with ¼ cup water and ½ teaspoon seasoned salt. In a final shallow dish, combine 2 cups plain panko bread crumbs and 1 teaspoon seasoned salt.
-
Bread the Chicken Tenders. Dip each chicken strip into the flour, tossing to coat. Shake off excess flour and then dip into the egg wash. Remove from the egg wash, shaking off excess and place the chicken tender into the panko mixture. Use your hands to ensure the panko coats the chicken strips evenly. Place each breaded chicken strip onto the prepared baking rack and repeat the process.
-
Bake Chicken Strips. Lightly spray the surface of the breaded chicken tenders with additional cooking spray to achieve a golden exterior. Bake for 10-13 minutes, or until the chicken reaches an internal temperature of 165℉ (74℃). There is no need to flip during the baking process if using a baking rack, as the air will circulate around the chicken, evenly crisping it up.
Equipment
-
Baking Sheet with Rack one of my most used kitchen tools!
Notes
Egg-Free Option: If you happen to have an egg allergy, dip your chicken strips into flour first, then something moist, like mustard, and finally panko.
Leftovers: Leftover Chicken Strips will keep for 3 days in the refrigerator. They are best warmed up in a 400°F (200°C) oven for 5 minutes.
Freezing Homemade Chicken Strips: Place baked, cooled chicken strips on an oven sheet lined with wax or parchment paper and place them into the freezer until frozen solid. Once frozen solid, transfer them to a freezer-safe bag or container and store in the freezer for up to 3 months. Bake from frozen on a baking sheet at 400°F (200°C) for 18-22 minutes.
Nutrition
Calories: 257kcal
Carbohydrates: 43g
Protein: 36g
Fat: 7g
Saturated Fat: 2g
Cholesterol: 195mg
Sodium: 279mg
Potassium: 632mg
Fiber: 4g
Sugar: 2g
Vitamin A: 210IU
Vitamin C: 1.3mg
Calcium: 89mg
Iron: 3.5mg
Nutrition information is automatically calculated, so should only be used as an approximation.
Tried this recipe?
Mention @amindfullmom or tag #amindfullmom!
This post was originally published in August 2017 but has since been updated in 2025 with fresh content, enhanced tips, and new imagery to provide the best possible experience. The core recipe remains the same beloved family favorite.