
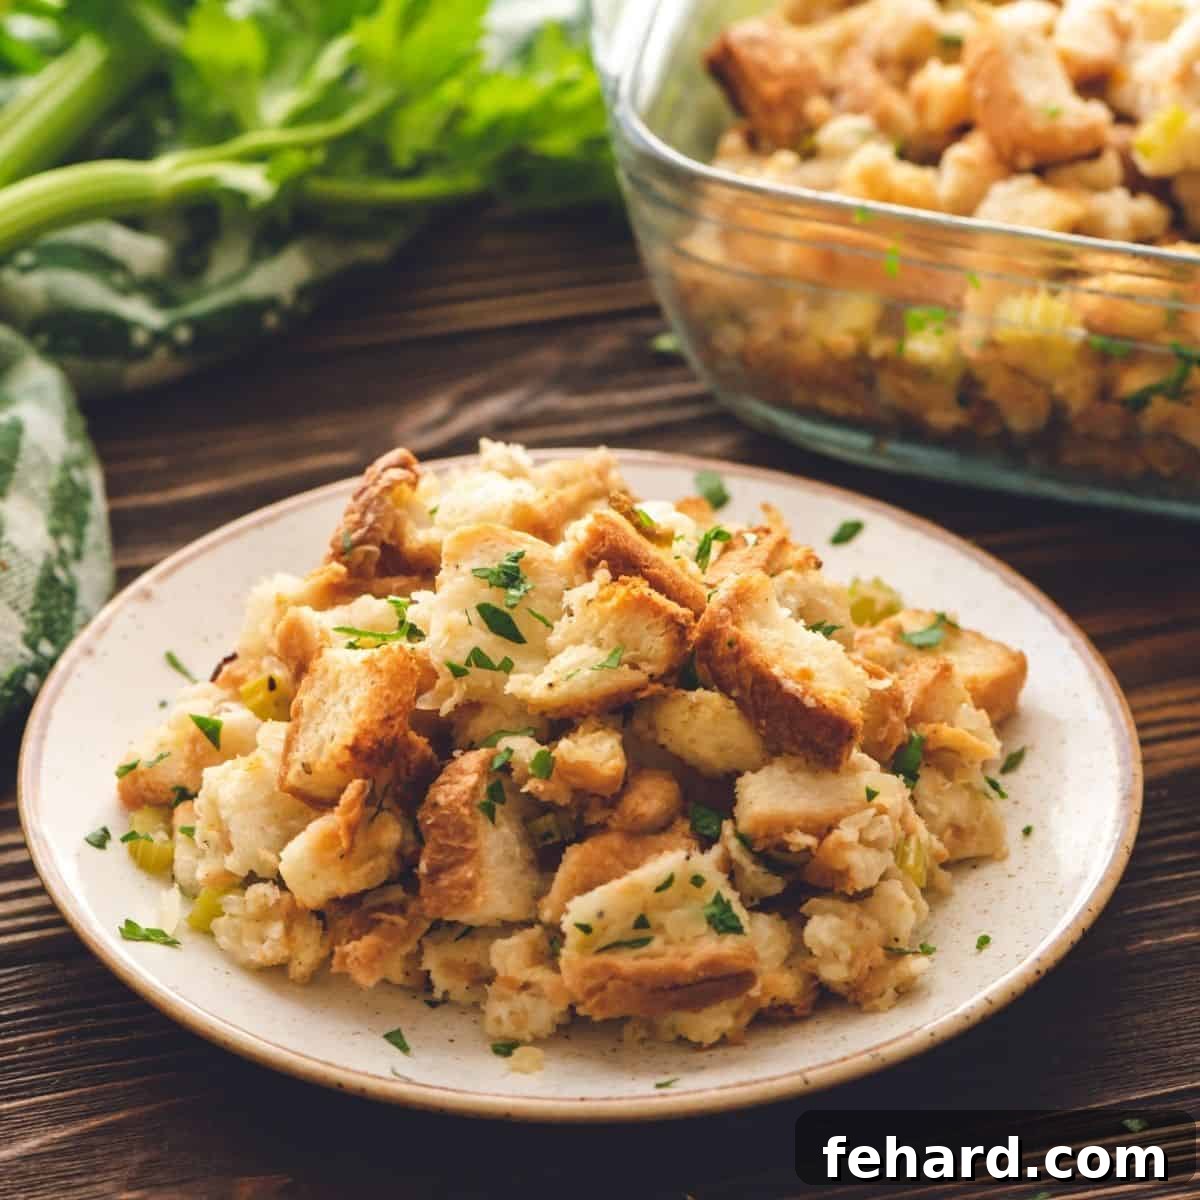
Classic Old-Fashioned Bread Stuffing: A Timeless Holiday Tradition
Few dishes evoke the warmth and nostalgia of a holiday meal quite like a perfectly crafted bread stuffing. This Old-Fashioned Bread Stuffing recipe, made with wholesome cubed bread, perfectly sautéed onions and celery, and a savory seasoned broth, is more than just a side dish; it’s a rich, buttery classic that holds a special place at any festive table. Its enduring popularity is no accident, born from generations of families gathering around comforting, homemade flavors.
Indeed, no Thanksgiving dinner, or really any celebratory feast, would be complete without the heartwarming presence of a truly exceptional bread stuffing. This recipe, inspired by cherished family traditions and passed down through generations, relies on simple, quality ingredients and minimal prep time. It effortlessly delivers a cozy, nostalgic taste that is undeniably far superior to any boxed mix you could ever buy. It’s the kind of dish that transforms a meal into a memory, solidifying its status as an indispensable part of holiday dining.
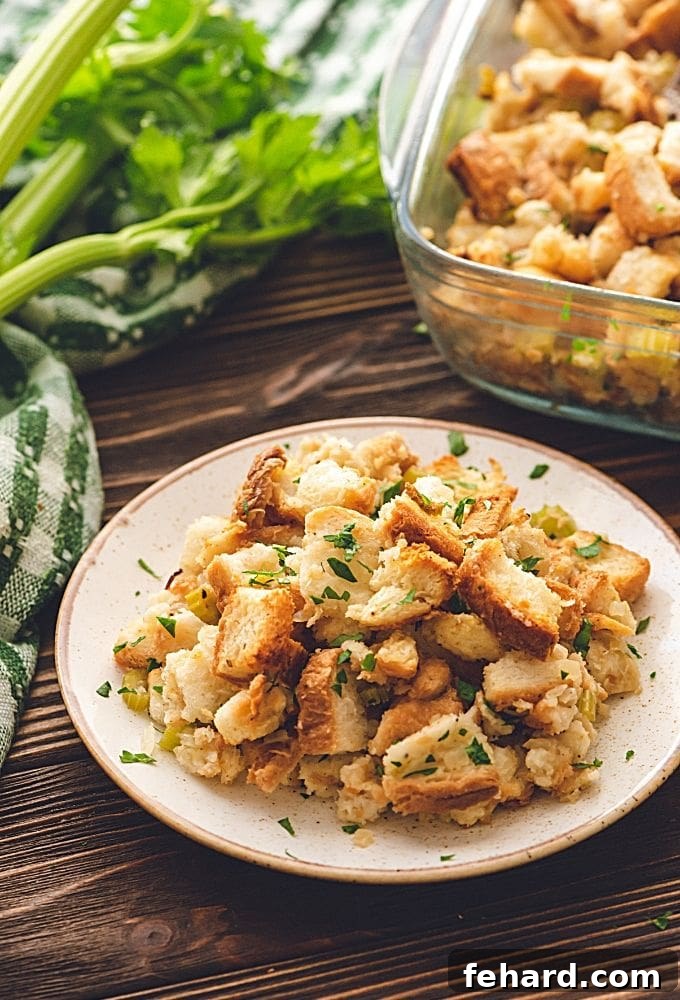
Mastering the Art of Homemade Stuffing: Key Insights for Success
Having grown up observing my family meticulously prepare this stuffing for every holiday gathering, and after decades of recreating it myself, I’ve gathered invaluable insights and simple tricks to capture that distinctively cozy, made-with-love flavor that Grandma so perfectly perfected. These aren’t just steps; they are the fundamental principles behind achieving a truly unforgettable bread stuffing that will delight everyone at your table and become a cherished part of your own family’s traditions.
- The Foundation: Use Stale or Dried-Out Bread. This is perhaps the most crucial tip for a perfect stuffing. Soft, fresh bread can quickly turn into a soggy, undesirable mess when introduced to liquid. By using slightly dry or stale bread, you create a sponge-like texture that eagerly absorbs all the rich flavors of the butter, herbs, and broth without disintegrating. This ensures a stuffing that is wonderfully moist and flavorful on the inside, yet still holds its appealing structure beautifully, preventing any mushiness.
- Bread Choice Matters: Opt for Neutral Varieties. For a truly classic, comforting bread stuffing, simplicity often reigns supreme. Opt for plain white sandwich bread, robust Italian bread, or tangy sourdough with a mild crumb. The goal is to choose a neutral base that will readily absorb and complement the other ingredients, rather than competing with them. Breads with very strong flavors, excessive seeds, or heavy grains can distract from the traditional texture and delicate balance of this beloved dish, so stick to the basics for a timeless taste.
- Season with Care and Precision. A classic, buttery bread stuffing shines when its seasonings enhance, rather than overpower, its inherent goodness. Use a gentle hand with your spices and herbs. A scattering of fresh thyme leaves, a dash of homemade poultry seasoning, or a hint of fresh sage can add incredible depth and aromatic complexity without obscuring the simple, delicious essence of the bread and butter. Remember, it’s always easier to add more seasoning later than to try and salvage an over-seasoned dish.
- Moisture Control: Add Stock Slowly and Gradually. The ideal stuffing is moist and succulent, never drenched or dry. This delicate balance is achieved by adding your broth in stages. Pour a portion, toss gently, and observe how quickly the bread absorbs the liquid. You want the bread cubes to be thoroughly coated and softened, plump with flavor, but never swimming in liquid or becoming mushy. This gradual, careful approach allows the bread to absorb just the right amount, ensuring a delightful, tender texture in every single bite.
- Smart Saver: A Money-Saving Tip for the Holidays. Don’t let leftover bread go to waste, especially during holiday season preparations! Throughout the weeks leading up to your festivities, collect any unused bread, rolls, or buns and store them in a freezer-safe bag. The day before you plan to make your stuffing, simply thaw them out, then spread them evenly on a sheet pan overnight to dry out. This not only significantly saves money but also guarantees you’ll have perfectly stale bread ready for your stuffing, making your holiday prep even more efficient and stress-free.
5-Star Reader Review
Exactly like my dear Grandma Peggy made. So easy yet good tasting. It’s a total comfort food good to make several times a year not just turkey day. -Cindy ⭐⭐⭐⭐⭐
How To Make Classic Bread Stuffing: A Step-by-Step Guide
Imagine this section as having me, or perhaps your own Grandma, right by your side, guiding you through each meticulous step to create this timeless, classic dish. We’ll walk through the process together, ensuring your homemade bread stuffing is nothing short of perfect for your next gathering.
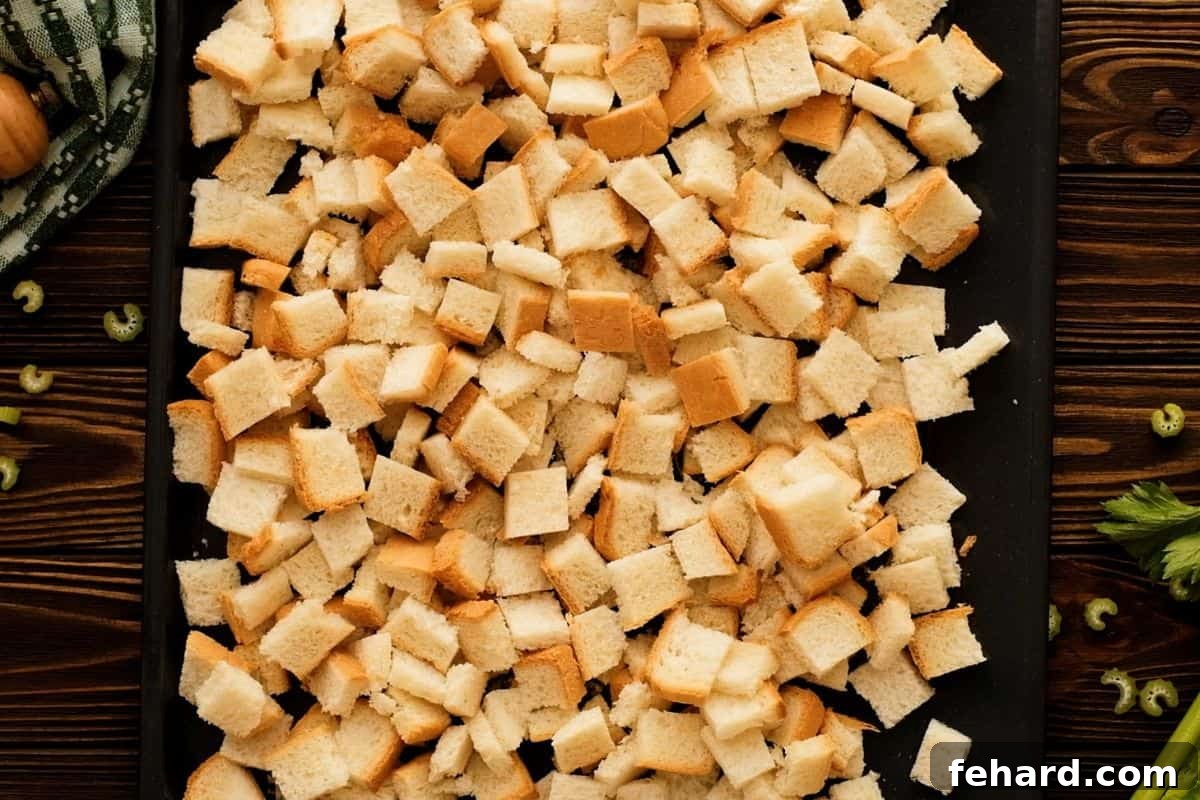
Step One: Prepare and Dry Out the Bread Cubes
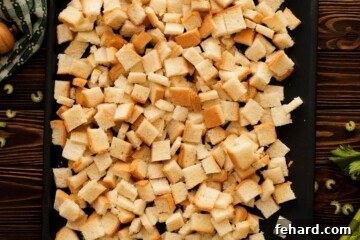
Begin by cutting your chosen bread into uniform 1-inch cubes. The consistency in size is important, as it ensures even drying and optimal absorption of flavors. Spread these bread cubes evenly across a large baking sheet. For the traditional method, cover the baking sheet loosely with a clean kitchen towel and allow the bread to sit on your kitchen counter overnight, or for at least 3-12 hours. The primary objective here is to remove as much moisture as possible, transforming the soft bread into sturdy, dry cubes that will readily soak up the flavorful broth later without becoming soggy or disintegrating into a mushy texture.
Short on Time? Quick Drying Method. If you find yourself pressed for time, or if curious pets might be tempted by bread left out on the counter, you can accelerate the drying process using your oven. Simply spread the bread cubes on a baking sheet and bake them in a preheated oven at 300°F (150°C) for approximately 20-25 minutes. It’s crucial to keep a close eye on them during this time; the goal is for the cubes to be crisp and dry to the touch, but not browned or toasted. They should feel light and airy, ready to soak up all the deliciousness.
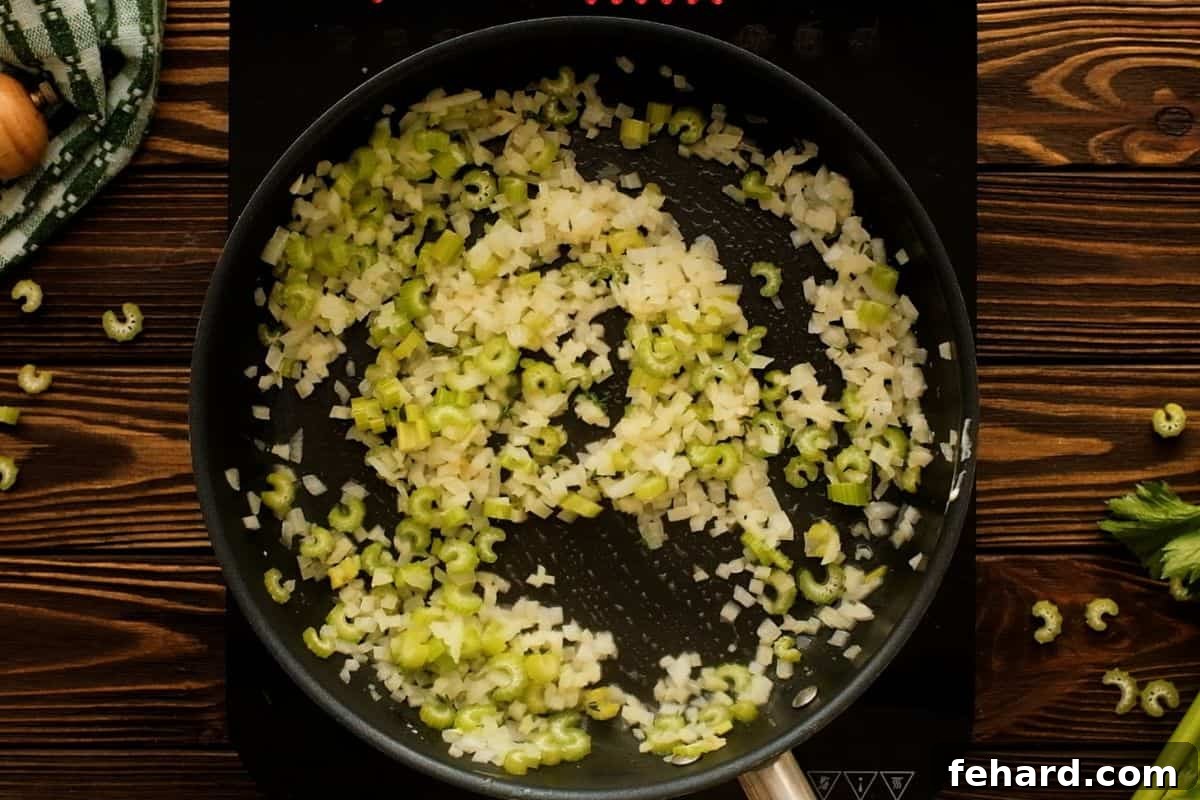
Step Two: Sauté the Aromatic Vegetables
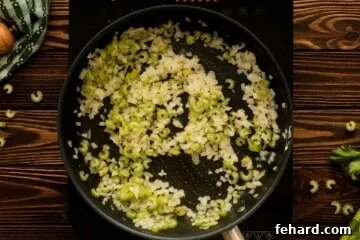
Melt the specified amount of unsalted butter in a large, heavy-bottomed nonstick skillet over medium-low heat. Once the butter is fully melted and shimmering, add your finely minced yellow onion and chopped celery to the pan. Sauté these aromatic vegetables gently, stirring frequently, until the onions become translucent and both the onions and celery are slightly softened. This process, typically taking about 5-7 minutes, is incredibly crucial as it creates a mellow, deeply savory, and fragrant foundation for your stuffing, allowing their natural sweetness and appealing aromas to release and meld beautifully with the butter.
Enhancing with Fresh Herbs? Unlock More Flavor. If you’re incorporating fresh herbs like delicate thyme leaves, pungent rosemary, or aromatic sage, now is the ideal time to add them to the vegetable mixture. Adding them as the vegetables sauté allows their essential oils and vibrant flavors to bloom and meld beautifully with the butter and vegetables. This step significantly enhances the overall aroma and adds a layer of complex taste to your homemade stuffing, making it even more special.
Step Three: Combine All Ingredients and Moisten Evenly
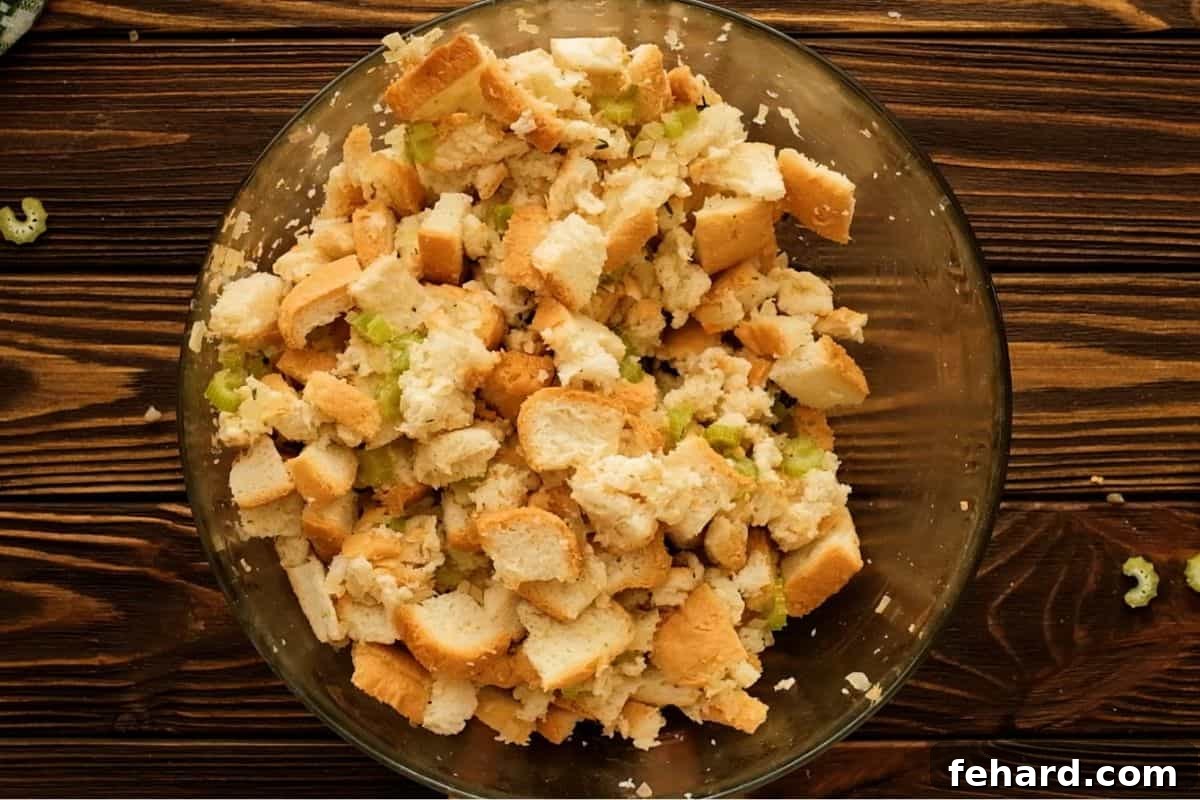
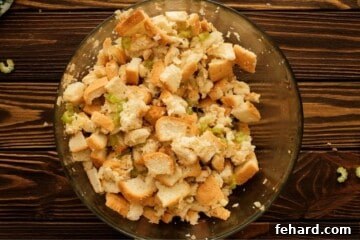
Transfer your perfectly dried bread cubes into a very large mixing bowl. Pour the warm, buttery vegetable mixture evenly over the bread cubes, ensuring a good distribution. If you’re using dried herbs or additional poultry seasoning, sprinkle them over the mixture at this point to ensure they are well integrated. Next, begin to slowly add your chicken or vegetable stock, about ½ cup at a time, tossing gently with a large spoon or your clean hands after each addition. The ultimate goal is to ensure the bread is evenly moistened and softened, absorbing the liquid and all the delicious flavors, but it should not be dripping wet or mushy. Continue adding stock gradually until you achieve the desired consistency – soft and tender, but still retaining some delightful structure and chew. This delicate step is where the stuffing truly comes alive, transforming into a cohesive, flavorful mixture.
The Art of Gradual Stock Addition: A Key to Texture. The precise amount of broth required can vary depending on several factors, including how dry your bread is, the type of bread used, and even ambient humidity. It’s a feel-based process rather than a strict measurement. Add just enough liquid for the bread cubes to feel soft and thoroughly moistened, ensuring they are plump with flavor but not heavy or waterlogged. This careful, gradual approach is paramount in preventing a soggy stuffing and guarantees a delightful, light texture with every bite.
Step Four: Bake to Golden Perfection
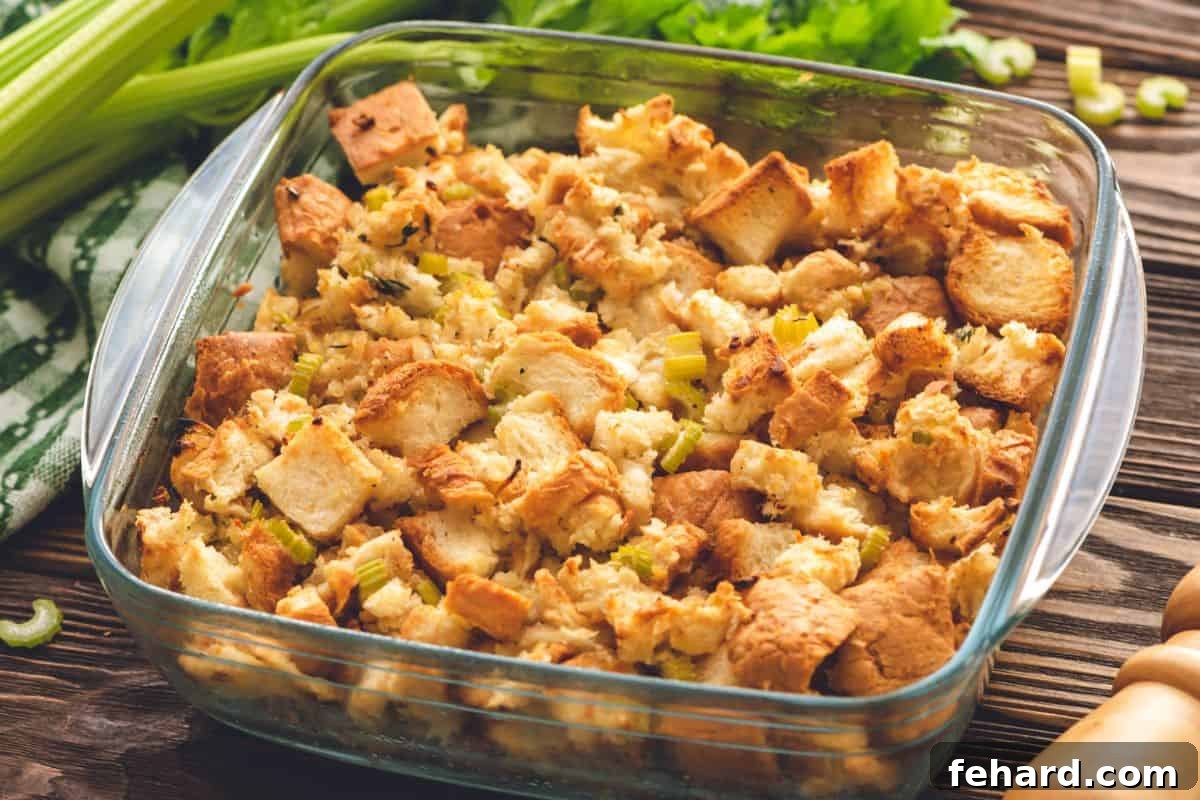
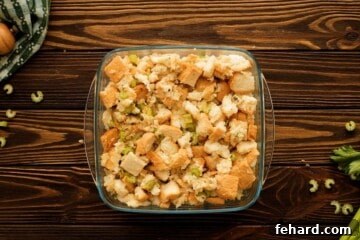
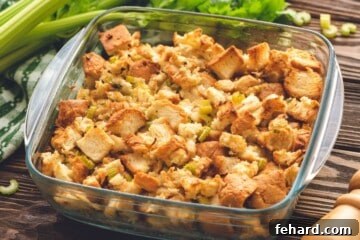
Lightly butter a casserole dish (an 8×8 inch or 2-quart dish works perfectly for this recipe, or a 9×13 inch for a doubled batch) and evenly spread the prepared stuffing mixture into it. Cover the dish tightly with aluminum foil. This covering is essential to trap moisture and ensure the stuffing cooks through evenly without drying out prematurely. Bake the covered stuffing in your preheated 350°F (175°C) oven for 25 minutes. After this initial baking period, carefully remove the foil and continue to bake for another 15-20 minutes, or until the top of the stuffing achieves a beautiful golden-brown color and a slightly crisp, inviting texture. This uncovered baking phase is crucial for developing that desirable crispy crust that contrasts wonderfully with the moist and tender interior.
A Golden Rule for Safety and Taste: Skip Stuffing the Turkey. For both enhanced food safety and superior taste, it is highly recommended to bake your stuffing separately from the turkey. As advised by the FDA, stuffing cooked inside a turkey must reach an internal temperature of 165°F (74°C). Reaching this temperature often means the turkey itself will become significantly overcooked and dry by the time the stuffing is safely done. Baking the stuffing in a separate casserole dish ensures it cooks evenly, develops the absolute best flavor and texture, and guarantees food safety without compromising the succulent quality of your main course.
Recipe Modifications and Creative Variations
This classic bread stuffing recipe serves as a fantastic foundation, but it’s also wonderfully adaptable. Feel free to personalize it with these suggestions to suit your taste, accommodate dietary needs, or simply try something new:
- For a Denser, More Cohesive Stuffing: Consider Adding an Egg. If you prefer a stuffing with a slightly firmer texture and more binding, you can whisk in one large egg along with the stock. The egg acts as a binder, helping to hold the bread cubes together and creating a denser, more pudding-like consistency. If adding an egg, it’s wise to decrease the broth by about ¼ cup to maintain the perfect moisture level and prevent an overly wet stuffing.
- Dairy-Free Version: Simple Swaps for Everyone. To make this beloved recipe completely dairy-free without sacrificing its rich flavor, simply substitute unsalted butter with your favorite plant-based butter alternative. There are many excellent options available today that will provide the same buttery taste. Be mindful of the salt content in plant-based butters; they are often already salted, so you may want to decrease the added kosher salt by half and then adjust to taste after mixing.
- Gluten-Free Option: Enjoy Without Compromise. This classic recipe is easily made gluten-free, ensuring everyone at your table can enjoy it. Simply use your preferred brand of certified gluten-free bread. It’s also important to ensure that your chosen chicken or vegetable broth is certified gluten-free to avoid any accidental cross-contamination. The drying method and cooking process remain exactly the same, ensuring a delicious and safe outcome for all.
- Spice it Up: Add Sausage, Bacon, or Chorizo. For a heartier and more robust stuffing, brown 1 pound of your favorite breakfast sausage, diced bacon, or spicy chorizo before sautéing the vegetables. Drain any excess fat thoroughly, then add the cooked meat back to the stuffing mixture along with the sautéed onions and celery. This adds a fantastic depth of flavor and a satisfying texture.
- Fruity & Nutty Accents: Apples, Cranberries & Pecans. To introduce a delightful balance of sweetness and tartness, incorporate ½ cup of finely diced apples (such as crisp Granny Smith or sweet Honeycrisp) and ½ cup of plump dried cranberries into the mixture. To add a delightful crunch and nutty undertone, mix in ½ cup of toasted chopped pecans or walnuts. These additions elevate the complexity of the stuffing beautifully.
- Mushroom & Herb Medley: Earthy and Aromatic Flavors. For a more earthy and deeply aromatic stuffing, sauté 1 cup of sliced mushrooms (cremini or shiitake work wonderfully) with the onions and celery. You can further enhance the herb profile by adding additional fresh sage or rosemary, which pair beautifully with mushrooms, creating a rich and fragrant side dish.
Make-Ahead and Storage Tips for Ultimate Convenience
One of the many fantastic benefits of this classic bread stuffing is its adaptability for make-ahead preparation, making your holiday cooking significantly less stressful and allowing you more time to enjoy with loved ones. Plan ahead with these smart and practical tips:
- Preparation in Advance (Prep-Ahead): Bread stuffing is an ideal candidate for your make-ahead Thanksgiving dishes roster, easing the pressure on the big day. Prepare the recipe exactly as directed, combining all ingredients up to the point of baking. Transfer the entire mixture to your buttered casserole dish, cover it tightly with aluminum foil, and refrigerate for up to 3 days. When you’re ready to bake, remove the dish from the fridge and allow it to sit at room temperature for about 30 minutes while your oven preheats. Then, bake as directed in the recipe – covered first, then uncovered for the final browning, ensuring a delicious, perfectly cooked stuffing.
- Storing Leftovers: Freshness and Freezing. Should you be fortunate enough to have any leftover stuffing (a rare but delightful occurrence!), proper storage is key to enjoying it longer. Store leftover stuffing in an airtight container. It will keep beautifully fresh in the refrigerator for up to 4 days. For longer preservation, transfer the cooled stuffing to a freezer-safe container or heavy-duty freezer bag and freeze for up to 3 months. When reheating, leftovers can be gently warmed in the microwave (covered with a damp paper towel to retain moisture) or baked in the oven at 325°F (160°C) until thoroughly heated through and slightly crispy on top.
- Get Creative with Leftovers: Beyond the Main Meal! Don’t let a single delicious crumb go to waste! Transform your leftover stuffing into exciting new dishes that extend the holiday flavors. Try turning it into savory Thanksgiving Egg Rolls, serving it alongside delicious Turkey Swedish Meatballs, or even broiling chunks into crunchy, flavorful croutons perfect for salads, soups, or as a delightful snack. The possibilities for creative leftover meals are truly endless, making sure no flavor is left behind.
Complete Your Holiday Feast: Perfect Pairings
This Old-Fashioned Bread Stuffing stands as proof that the simplest, most classic ingredients often culminate in the best and most cherished memories. Its rich, savory, and subtly herbaceous profile makes it an exquisite partner for a variety of holiday main courses and side dishes. Serve it proudly alongside a perfectly cooked roast turkey, creamy mashed potatoes, bright and tangy cranberry sauce, and a selection of other delightful sides for a truly unforgettable Thanksgiving meal. Here are some highly recommended companions that complement its flavors beautifully, ensuring a balanced and satisfying holiday spread:
- Sweet Potato Casserole: A delightful sweet and savory dish that perfectly balances the savory richness of the stuffing.
- Corn Casserole: A creamy, comforting, and subtly sweet dish that adds a different texture and flavor dimension to your plate.
- Homemade Applesauce: A fresh, light, and tangy addition that provides a wonderful counterpoint to cut through the richness of a holiday meal.
- Broccoli Cheese Rice Casserole: A cheesy, wholesome, and vibrant green side dish that offers additional texture and a welcome savory element.
Did you make this recipe?
If you enjoyed this recipe, please leave a comment with a 5-star review at the bottom of the post. Your feedback is greatly appreciated and helps other home cooks!
Classic Bread Stuffing Recipe
Kristen Chidsey
8
10
1 10
1 20
Rate Recipe
Print Recipe
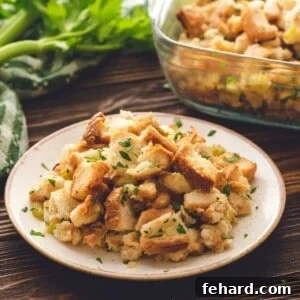
Made with cubed bread, sautéed onions and celery, and seasoned broth, this Old-Fashioned Bread Stuffing is rich, buttery, and a classic for a reason!
Ingredients
- ¼ cup unsalted butter, plus more for greasing pan
- 1 large yellow onion, finely diced
- 3 stalks celery, chopped
- 3 sprigs fresh thyme leaves, stems discarded (optional)
- 1 pound bread, cubed (stale or dried out is best)
- 2 cups low sodium chicken stock (or vegetable/turkey broth)
- ½ teaspoon kosher salt
- ¼ teaspoon black pepper
Instructions
-
Cube the bread into 1-inch pieces and spread them evenly onto a large baking sheet. Cover with a clean kitchen towel and allow to sit on the counter for 3-12 hours until the bread cubes are thoroughly dried out. Alternatively, to expedite the drying process, place the sheet pan with the cubed bread into a 300℉ (150℃) oven and bake, uncovered, for 15-20 minutes until crisp but not browned.

-
Lightly grease an 8×8 or 2-quart baking dish with butter. Preheat your oven to 350℉ (175℃).
-
In a large, heavy-bottomed skillet, melt ¼ cup unsalted butter over medium-low heat. Add the finely minced yellow onion, chopped celery, and fresh thyme leaves (if using) to the skillet. Season with ½ teaspoon kosher salt and ¼ teaspoon black pepper. Sauté the vegetables, stirring frequently, for about 5-7 minutes, until they are softened and translucent.
-
Transfer the dried bread cubes into a large mixing bowl. Pour the warm sautéed vegetable mixture over the bread. Add a little extra pinch of salt and pepper if desired, then toss everything thoroughly. Gradually add the chicken stock, ½ cup at a time, tossing gently after each addition, until the bread cubes are completely moistened but not soggy. The total amount of liquid needed may vary.
-
Spoon the prepared stuffing mixture evenly into your buttered baking dish.
-
Cover the baking dish tightly with aluminum foil and bake for 40 minutes. Then, remove the foil and continue baking for an additional 15-20 minutes, or until the top is beautifully golden brown and slightly crisp. Serve warm and enjoy!
Equipment
-
2 Quart Baking Dish (this brand has lasted me 20+ years)
-
Large Heavy-Bottomed Skillet (the Lodge is a workhorse!)
Notes
Doubling the Recipe: This recipe is easily scalable for larger gatherings. Simply double all the ingredients and bake the stuffing in a larger 9×13 inch pan. The baking time will generally remain the same.
Bread Selection: Feel free to use any type of bread or a mixture of different breads you enjoy. For a delicious gluten-free stuffing, ensure you use your favorite certified gluten-free bread.
Broth Options: You can use chicken broth, turkey broth, or even a flavorful vegetable broth, depending on your dietary preferences and what you have on hand. All will yield a savory stuffing.
Herb Variations: Fresh thyme is optional but highly recommended for its aromatic contribution. You can easily swap it out for or add other fresh herbs like sage or rosemary to the mix. For a classic savory depth, you may also add up to ½ teaspoon of poultry seasoning if desired.
This is an EGG-FREE Stuffing Recipe. You won’t typically need an egg to bind this bread stuffing, as the stock provides sufficient moisture and cohesion. However, if you prefer a denser, more structured stuffing, feel free to whisk in 1-2 eggs with the stock, and decrease the liquid by ¼ cup to account for the added moisture from the eggs.
Storage & Reheating: Leftovers store exceptionally well in an airtight container for 3-4 days in the refrigerator. For longer preservation, freeze in a freezer-safe container for up to 3 months. To reheat, warm in the microwave (covered with a damp paper towel to maintain moisture) or bake at 325°F (160°C) until thoroughly heated through.
Nutrition
Carbohydrates: 32g
Protein: 7g
Fat: 8g
Saturated Fat: 4g
Cholesterol: 17mg
Sodium: 588mg
Potassium: 232mg
Fiber: 2g
Sugar: 5g
Vitamin A: 260IU
Vitamin C: 2.7mg
Calcium: 94mg
Iron: 2.3mg
Nutrition information is automatically calculated, so should only be used as an approximation.
Tried this recipe?
Mention @amindfullmom or tag #amindfullmom!
This post was originally published in 2017 and was extensively updated in 2025 to provide more detailed instructions, tips, and recipe enhancements.