
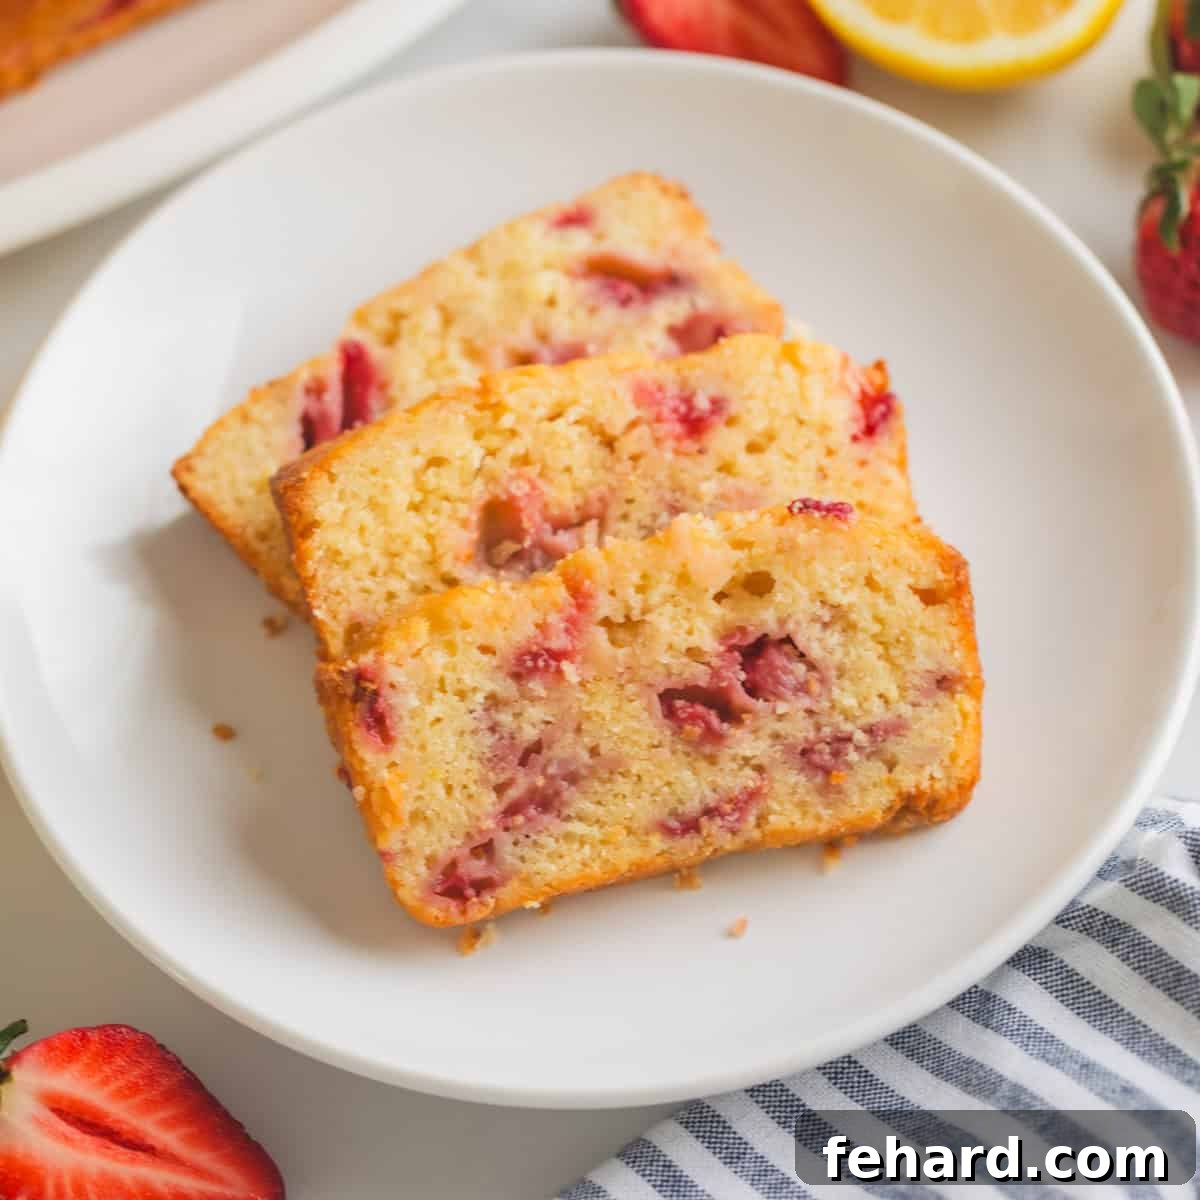
There’s a special charm to homemade quick bread, and this Strawberry Bread with Lemon Glaze takes that appeal to an irresistible new level. Crafted with real butter, bursting with juicy strawberries, enriched with creamy Greek yogurt, and finished with a bright, sweet-tart lemon glaze, this recipe promises a baking experience as delightful as the first bite. It’s incredibly easy to make, yielding a loaf that is exceptionally soft, wonderfully tender, and perfectly balanced in sweetness. Whether you’re planning a springtime brunch, seeking a comforting dessert, or simply craving a delightful snack, this strawberry quick bread is perfectly suitable for any occasion.
For those who adore the vibrant flavor of strawberries, don’t stop here! Explore more of our favorite strawberry recipes, including our irresistible Strawberry Chia Jam, the refreshing Strawberry Spinach Salad, and the delightful Strawberry Crumb Bars. Each recipe celebrates the versatility and deliciousness of fresh strawberries.
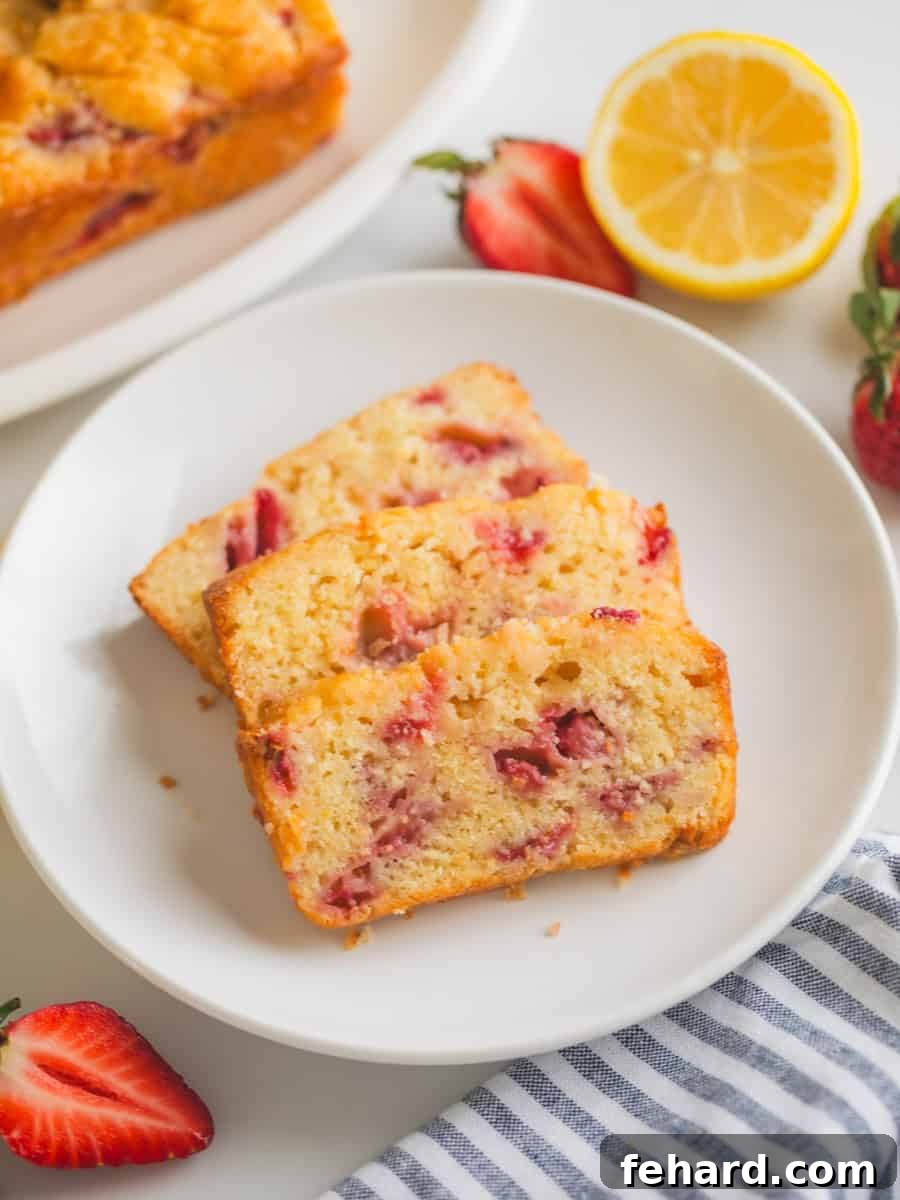
The Secret to Perfect Strawberry Quick Bread: Expert Tips & Tricks
This delightful strawberry quick bread, inspired by a cherished family lemon bread recipe, brings a fresh and vibrant twist perfect for any season. To ensure your loaf turns out exceptionally moist, tender, and full of flavor, keep these simple yet crucial tips in mind as you bake. Following these guidelines will elevate your homemade strawberry bread from good to truly unforgettable.
- Achieve Optimal Texture with Room Temperature Ingredients: The foundation of a light and fluffy quick bread starts with room temperature butter and eggs. When butter is soft (but not melted) and eggs are not cold, they emulsify more effectively with sugar, creating a creamy, airy base. This process, known as creaming, incorporates tiny air pockets into the batter, which expand during baking to produce an incredibly soft and tender crumb. This seemingly small detail makes a significant difference in the final texture of your strawberry bread.
- Macerate Strawberries for Enhanced Flavor and Texture: This essential step involves tossing diced strawberries with a small amount of sugar and allowing them to rest while you prepare the rest of your ingredients. Maceration serves a dual purpose: it draws out the natural juices from the strawberries, intensifying their sweet and vibrant flavor, and it slightly softens them. This ensures that the berries bake beautifully into the bread, remaining juicy and distinct without turning mushy, and prevents them from sinking to the bottom of the loaf.
- Choose Greek Yogurt for Unbeatable Moisture and Richness: While many quick bread recipes call for buttermilk, the added moisture from fresh strawberries makes Greek yogurt a superior choice for this recipe. Greek yogurt provides the perfect balance of richness and tang, contributing to an incredibly moist crumb without making the bread dense or soggy. Its thick consistency also adds a subtle creaminess that complements the fruit beautifully, ensuring a tender and luscious loaf every time.
- Embrace the Brightness of Lemon: Don’t underestimate the power of lemon in this strawberry bread. A hint of lemon zest in the batter works wonders to brighten and elevate the natural sweetness of the strawberries, creating a more complex and balanced flavor profile. The finishing touch of a simple, sweet-tart lemon glaze not only adds a beautiful sheen but also delivers a burst of zesty flavor that perfectly complements the berries, truly setting this recipe apart and making it utterly irresistible.
- Avoid Overmixing for a Tender Crumb: Quick breads thrive on gentle mixing. Once you combine the wet and dry ingredients, mix only until they are just incorporated. Overmixing develops the gluten in the flour, which can lead to a tough, chewy, and dense loaf rather than the light and tender texture you desire. A few lumps in the batter are perfectly fine and often indicate that you haven’t overmixed.
- Proper Pan Preparation Prevents Sticking: A well-prepared loaf pan is crucial for an easy release and a beautifully shaped bread. Generously buttering the pan and then lightly flouring it creates a non-stick barrier. The flour adheres to the butter, forming a protective layer that helps the bread detach cleanly after baking, preventing any frustrating sticking disasters.
Step-by-Step Guide: Crafting Your Lemon-Glazed Strawberry Bread
Let’s embark on the journey of making this mouthwatering glazed strawberry quick bread. Each step is designed to be straightforward, and I’ll share additional insights along the way to ensure your baking success.
Step One: Prepare Your Loaf Pan
First, thoroughly butter a 9-inch loaf pan, ensuring all interior surfaces – bottom and sides – are well coated. This generous greasing is key to preventing sticking. Next, add approximately ½ tablespoon of all-purpose flour to the buttered pan. Gently shake and rotate the pan to evenly coat the buttered surfaces with flour, then invert it over a sink or trash can and tap out any excess flour. This thin, even layer of flour acts as a non-stick barrier, helping your delicious loaf release cleanly and effortlessly once it’s baked, ensuring a perfect presentation.
Step Two: Macerate Those Strawberries
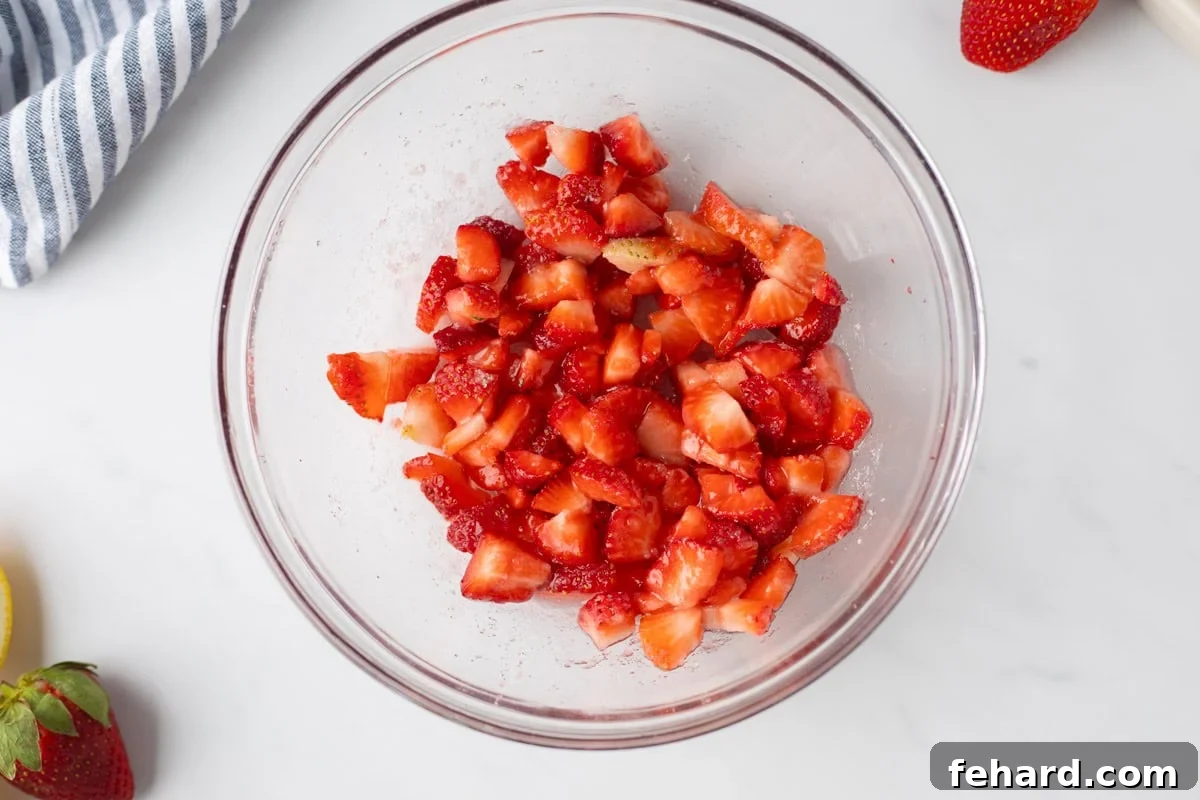
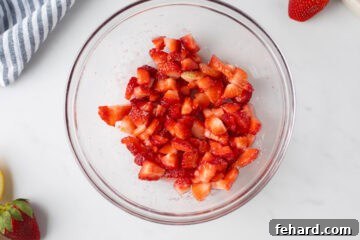
Begin by washing your fresh strawberries thoroughly. Hull them (remove the green leafy tops and the small white core) and then dice them into small, uniform pieces. Aim for pieces that are roughly ¼ to ½ inch in size. Place the diced strawberries in a small bowl, add ¼ cup of granulated sugar, and gently toss to coat them evenly. Set the bowl aside. Allowing the strawberries to sit and macerate while you prepare the remaining batter is a vital step. This process encourages the berries to soften slightly and release their natural, sweet juices, which will infuse the bread with even more intense strawberry flavor and moisture.
Step Three: Cream the Wet Ingredients to Perfection
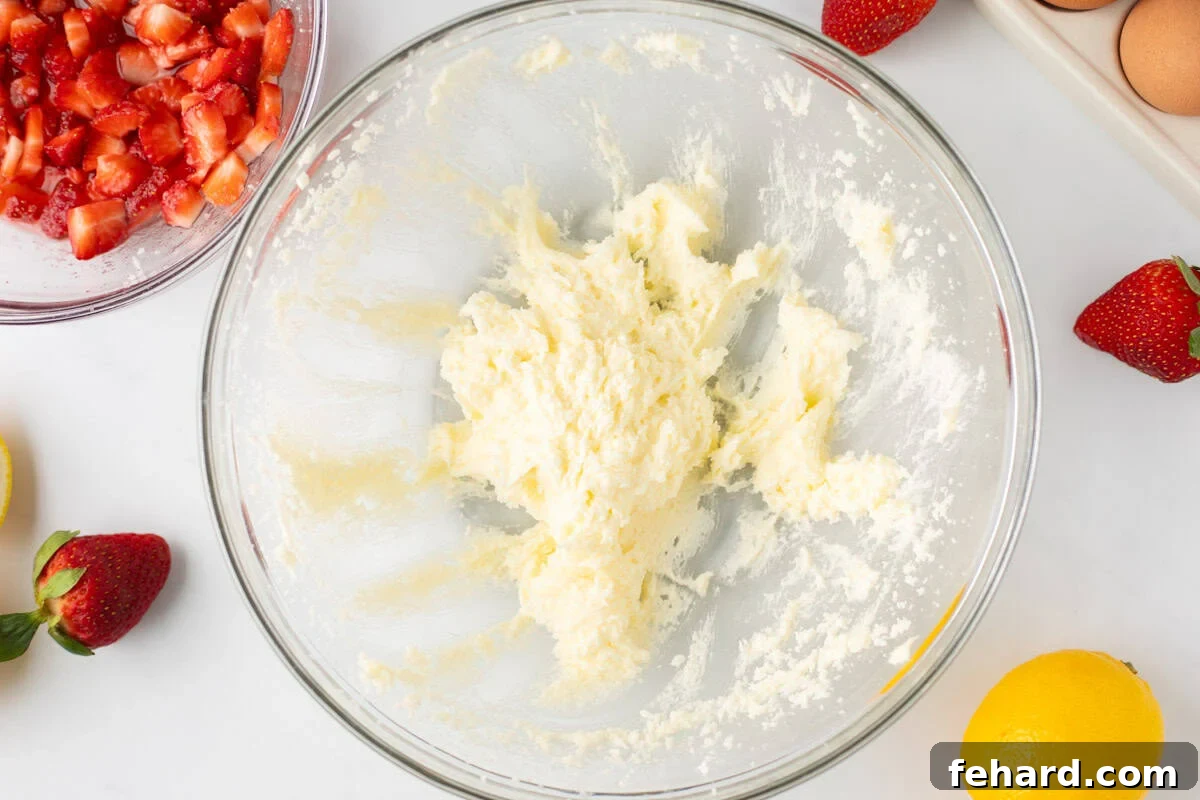
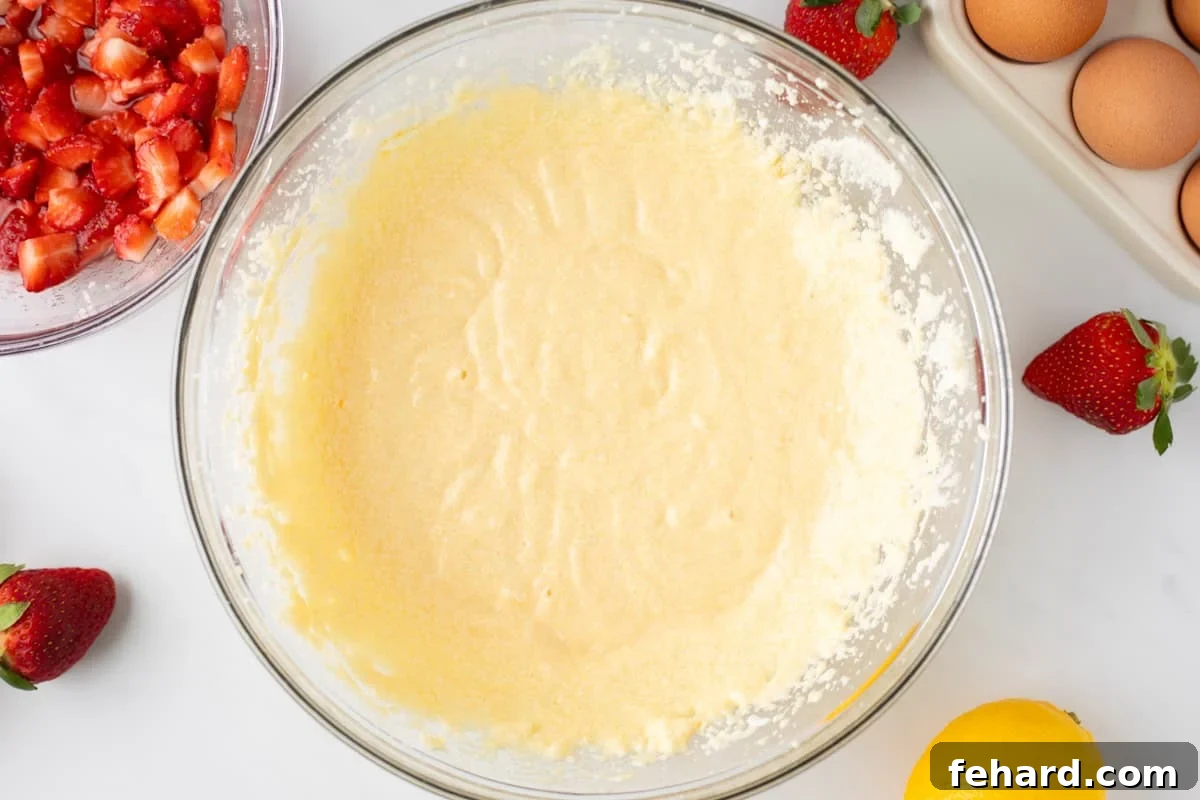
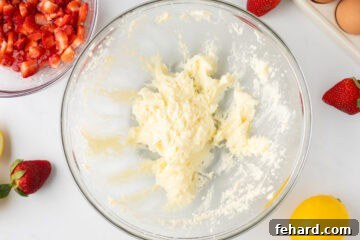
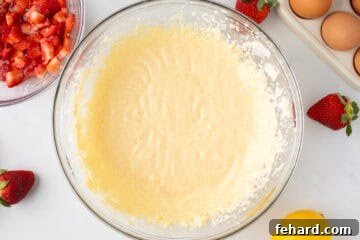
In a large mixing bowl, combine the softened unsalted butter with the remaining granulated sugar. Using an electric mixer (handheld or stand mixer), beat the mixture on medium-high speed for 2-3 minutes. The goal is to achieve a light, fluffy, and pale-yellow consistency. If the mixture still appears dense, grainy, or deep yellow, continue beating until it lightens in color and texture. This creaming process incorporates air, which is essential for a tender quick bread. Once pale and fluffy, reduce the mixer speed to low and add the room temperature eggs one at a time, mixing well after each addition. Finally, incorporate the Greek yogurt, lemon zest, and vanilla extract, beating until just combined and smooth. Be careful not to overmix at this stage.
Step Four: Combining Dry Ingredients & Preventing Sinking Berries
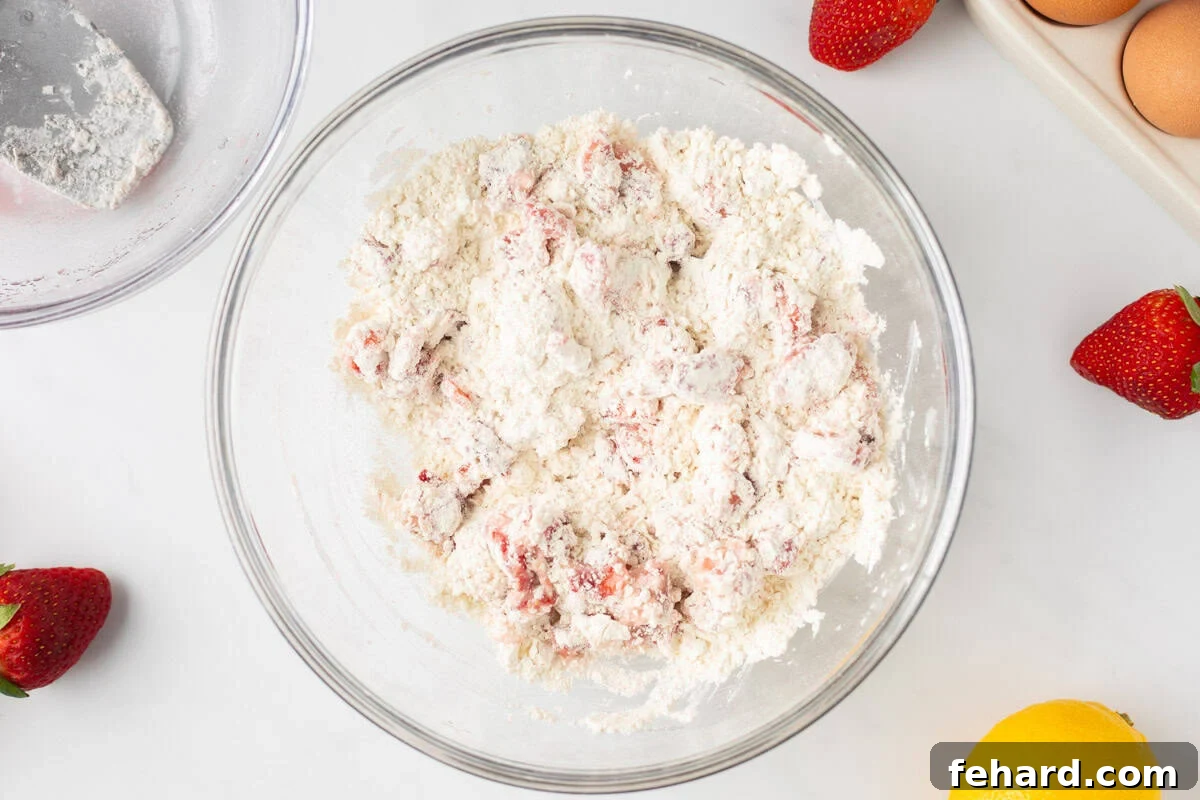
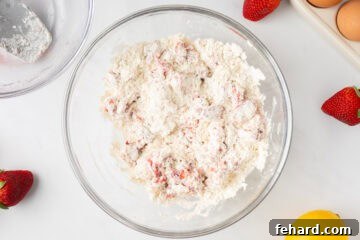
In a separate, medium-sized mixing bowl, combine the all-purpose flour, baking powder, and salt. While you can simply whisk these dry ingredients together, sifting them is highly recommended. Sifting helps to remove any lumps, ensuring a smooth, uniform texture, and also aerates the flour, which contributes to a lighter bread. Once sifted or whisked, add the macerated strawberries, along with any juices that have accumulated in the bowl, to the flour mixture. Gently toss the strawberries until they are lightly coated with the flour. This clever technique is crucial for preventing the berries from sinking to the bottom of the pan during baking, ensuring that they are evenly distributed throughout your delicious loaf.
Step Five: Gently Fold: The Key to a Tender Loaf
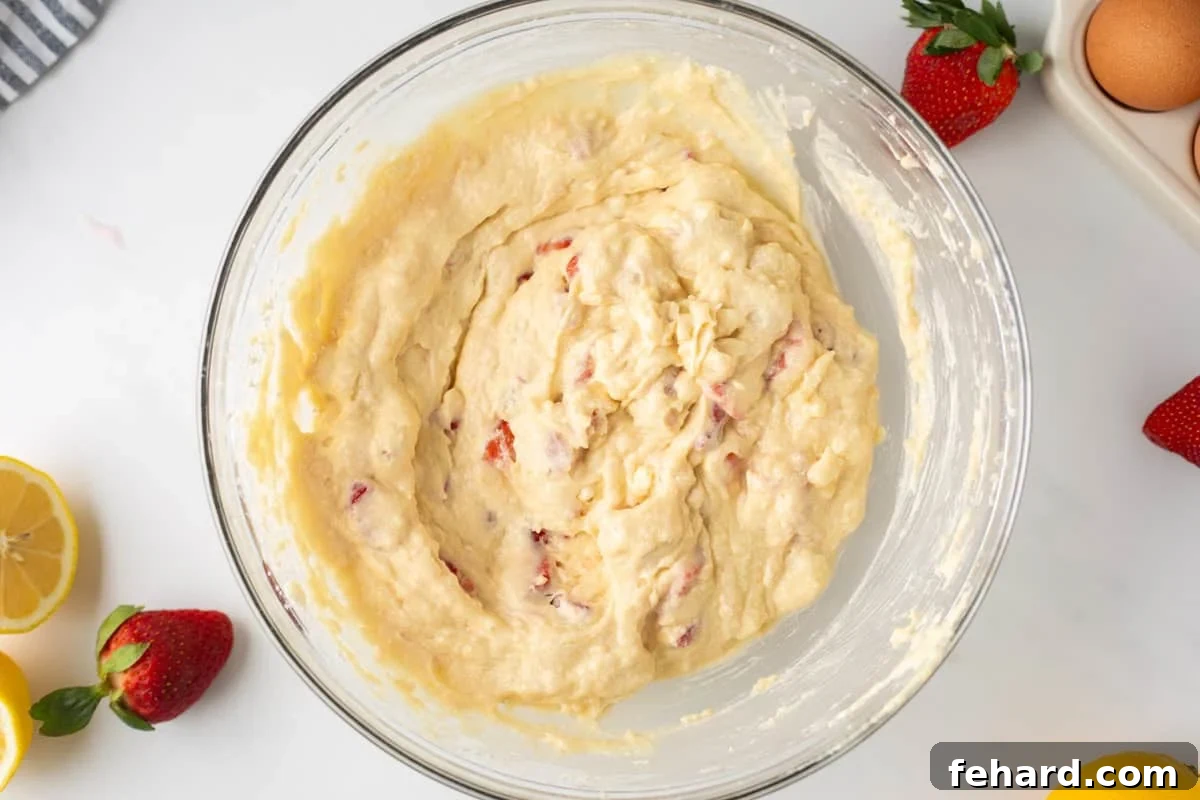
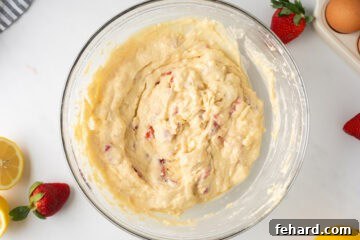
Now, add the strawberry-coated flour mixture to the bowl of wet ingredients. Using a wooden spoon or a spatula, gently fold the dry ingredients into the wet mixture until they are just combined. It’s crucial to use a light hand and avoid overmixing. Overworking the batter develops gluten, which can result in a dense, tough, and chewy quick bread, rather than the desired soft and tender texture. A few streaks of flour remaining are perfectly acceptable; the residual heat from baking will finish the combining process.
Step Six: Bake Until Golden Perfection
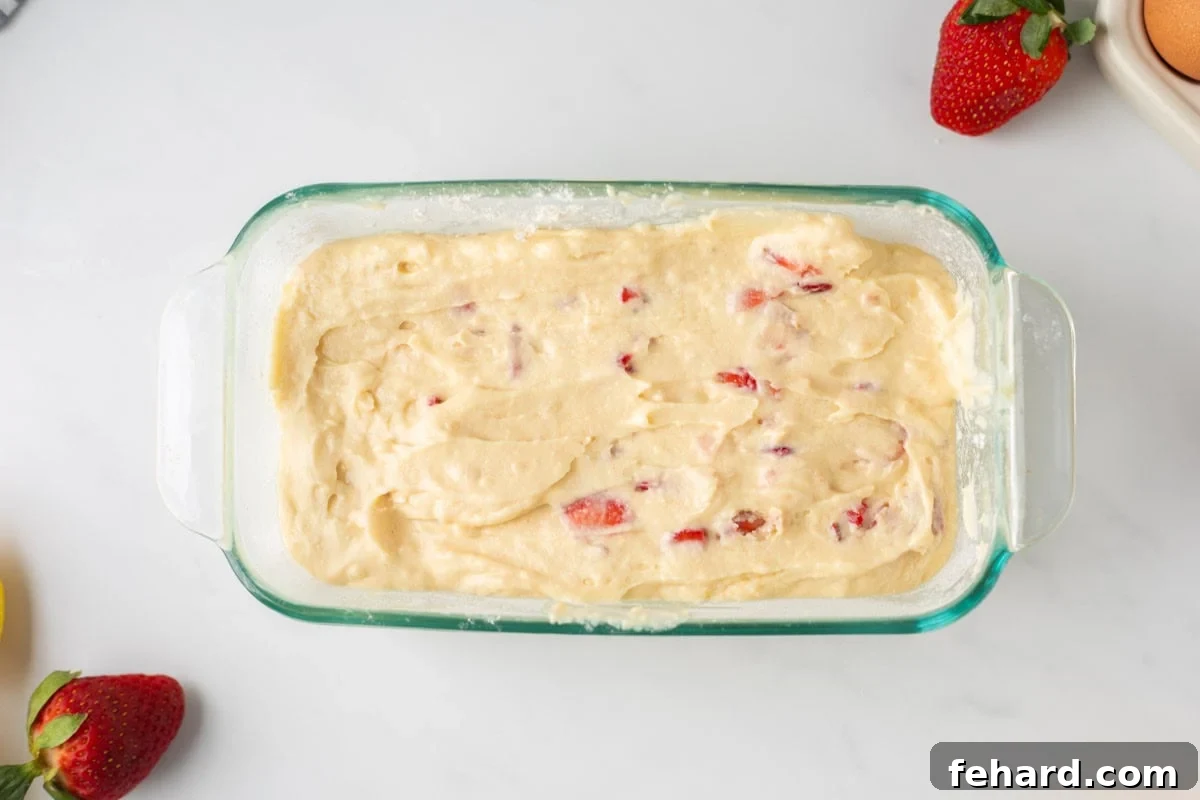
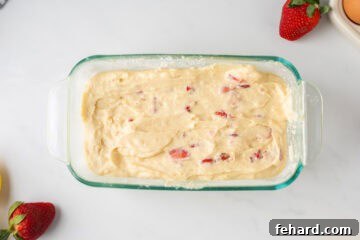
Carefully pour the prepared batter into your buttered and floured loaf pan, spreading it evenly with your spatula. Bake the quick bread in a preheated oven until a toothpick inserted into the center comes out mostly clean, with only a few moist crumbs attached. For a more precise measure of doneness, insert a digital thermometer into the center of the loaf; it’s ready when it reads between 195-200°F (90-93°C). A very important note: if you are using a metal baking dish, your quick bread will typically bake faster than in a glass or ceramic pan, so begin checking for doneness around the 40-minute mark to prevent overbaking. Glass pans often require a few extra minutes.
Step Seven: Whip Up the Zesty Lemon Glaze
While your delightful strawberry quick bread is baking, seize the opportunity to prepare the simple yet vibrant lemon glaze. First, zest your lemons (if you haven’t already for the batter). For maximum juice extraction, microwave the zested lemons for about 15-20 seconds; this softens the fruit and makes them easier to juice. Squeeze the warmed lemons into a small bowl, aiming for two tablespoons of fresh lemon juice. Add two tablespoons of granulated sugar to the lemon juice and whisk vigorously until the sugar is completely dissolved. The slight warmth of the lemon juice greatly assists the sugar in dissolving quickly, ensuring a smooth, glossy glaze.
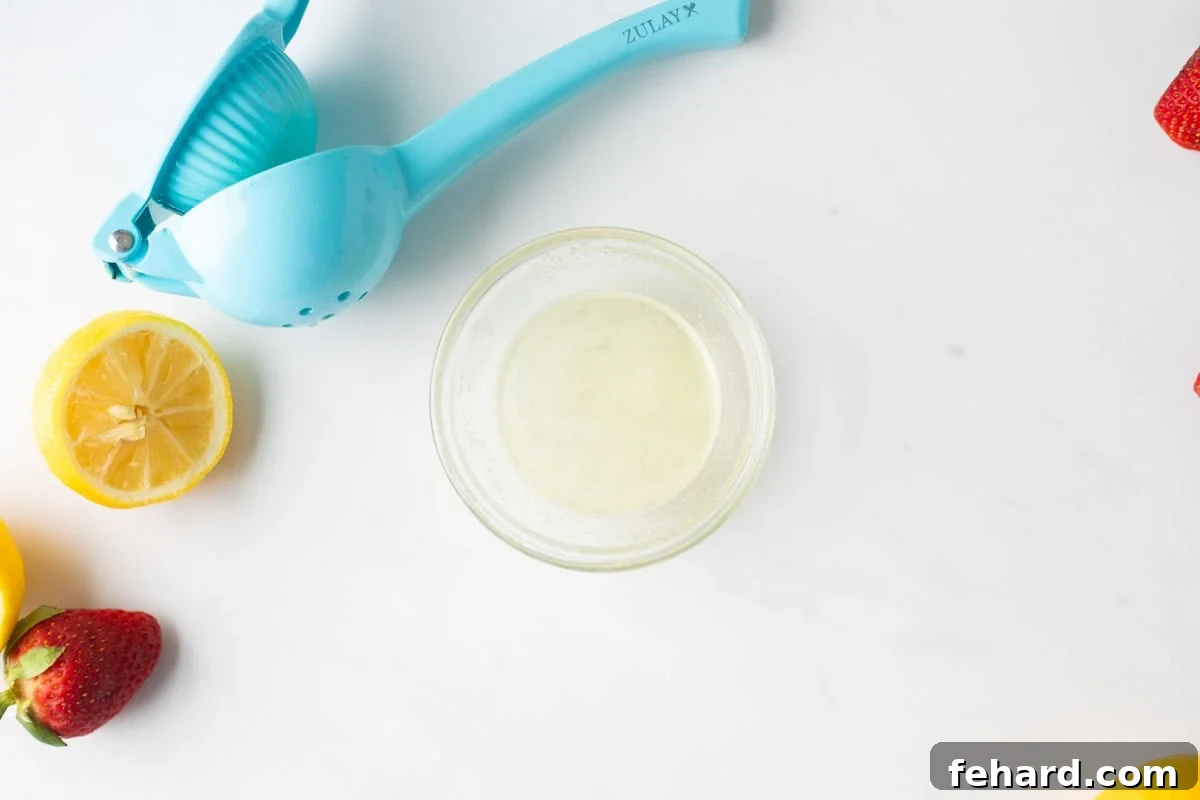
Step Eight: Glazing for Maximum Flavor
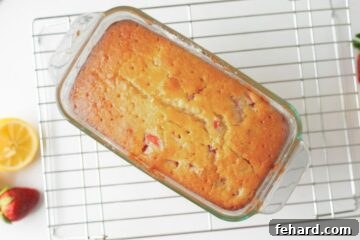
As soon as the perfectly baked strawberry loaf emerges from the oven, immediately place the hot pan onto a wire cooling rack. While the bread is still warm, take a skewer or a thin wooden chopstick and carefully poke holes about halfway down into the surface of the loaf. These holes will act as channels, allowing the freshly prepared lemon glaze to penetrate deep into the bread, infusing every slice with its sweet-tart goodness. Pour the entire glaze evenly over the top of the bread, letting it slowly seep into the holes and coat the surface. This technique ensures maximum flavor absorption and a wonderfully moist result.
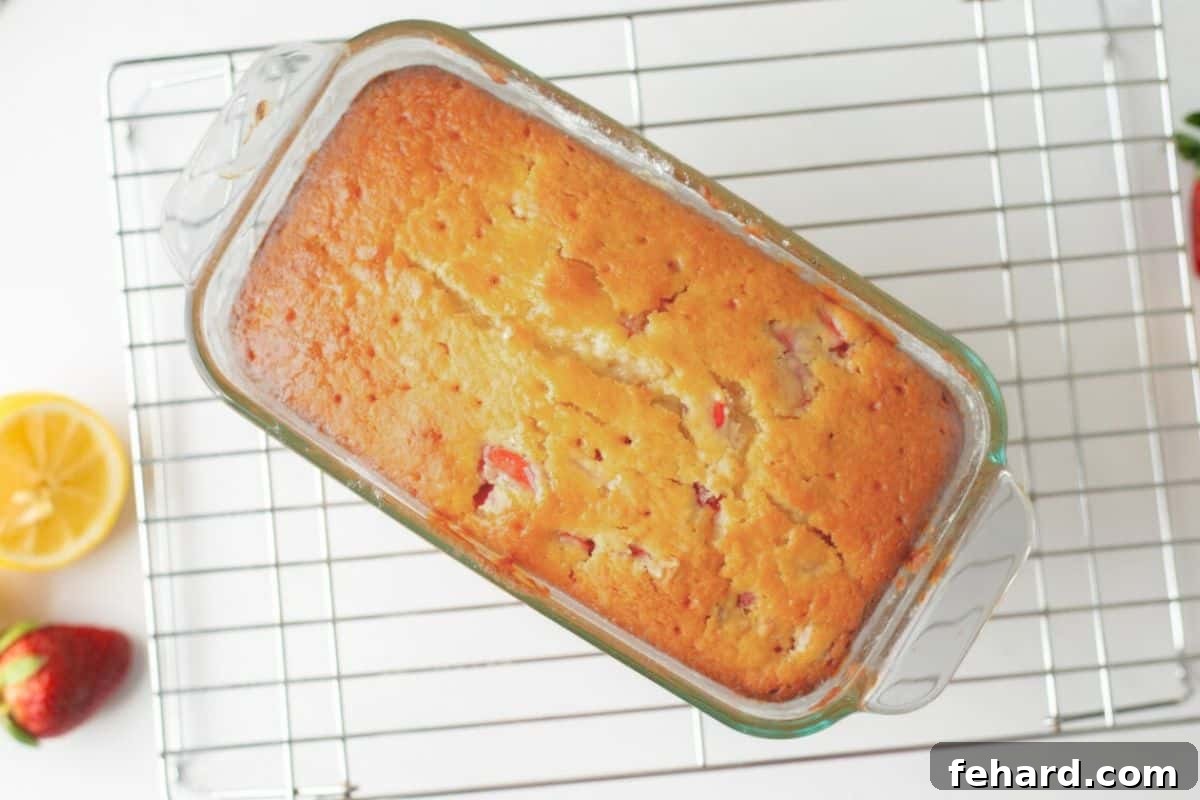
Step Nine: Patience is a Virtue: Cooling Your Bread
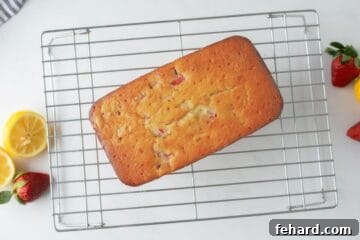
Allow the glazed loaf to cool in its pan on the wire rack for a solid 10 minutes. This initial cooling period helps the bread set and firm up slightly. After 10 minutes, carefully run a butter knife or thin spatula along the edges of the bread to loosen it from the pan. Then, gently transfer the loaf out of the pan and onto the wire rack to cool completely. It is absolutely essential to let the bread cool fully before attempting to slice it. Slicing warm quick bread can cause it to crumble, tear, and become dense. Complete cooling ensures clean slices and the best possible texture and flavor.
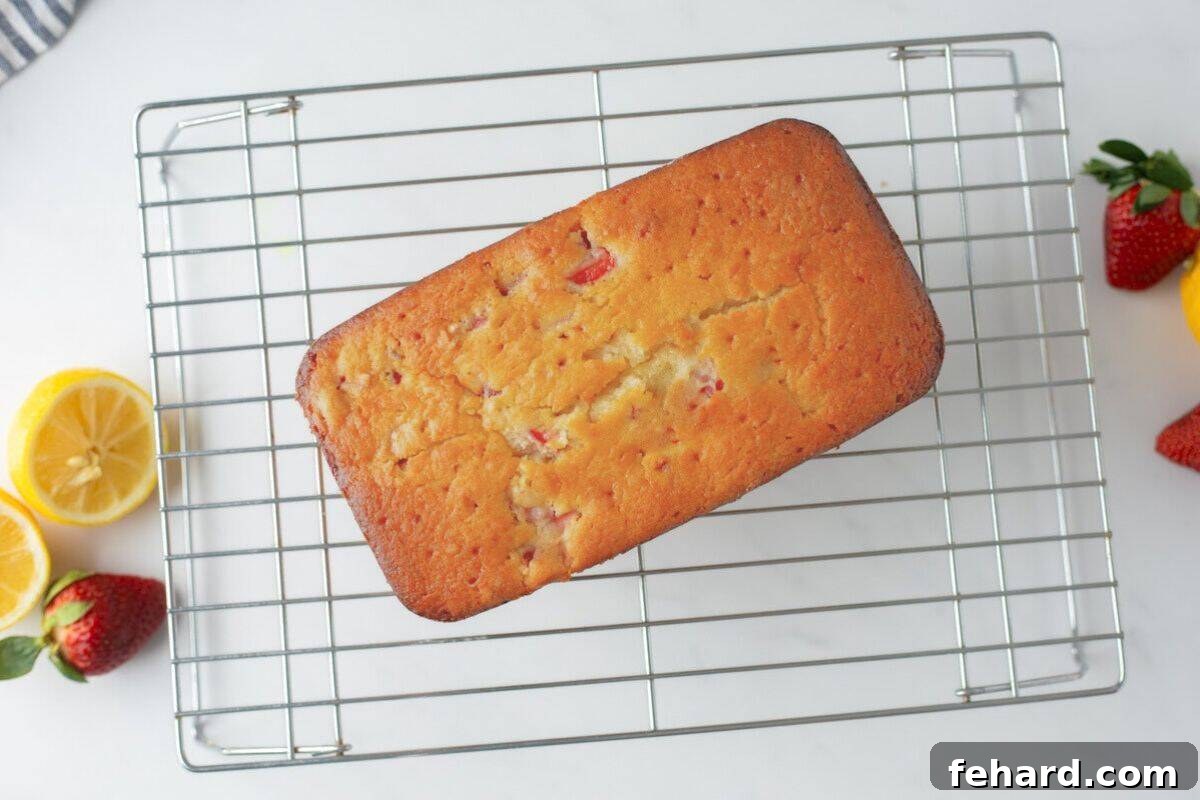
Recipe Modifications and Tips for Success
This strawberry bread recipe is wonderfully adaptable! Here are a few ways you can customize it to suit your preferences or dietary needs, ensuring delicious results every time.
- Gluten-Free Adaptation: For those with gluten sensitivities, you can successfully make this quick bread gluten-free. I’ve had great results using an all-purpose 1:1 Gluten-Free flour blend. Keep in mind that while the flavor will remain fantastic, the gluten-free version might be a bit more delicate and crumbly in texture compared to the traditional wheat flour version. Handle with care when slicing.
- Icing vs. Glaze – Your Choice: The recipe as written instructs you to poke holes and pour the glaze over the warm bread, allowing it to soak in and create a moist, flavorful crumb. However, if you prefer a thicker, more visible icing on top of your strawberry bread, simply skip the step of poking holes. Instead, wait until the loaf has completely cooled and been removed from the baking pan, then drizzle or spread the glaze over the top. This will create a delightful, firm layer of lemon icing.
- Double the Deliciousness: Planning for a crowd or want to enjoy this treat longer? You can easily double the recipe! Simply double all the ingredients and divide the batter evenly between two 9-inch loaf pans. When baking two loaves simultaneously, it’s best to place them on the same oven rack, ensuring there are a couple of inches of space between each pan for even air circulation. For optimal baking, rotate their positions midway through the baking time.
- Add Extra Crunch or Flavor: Feel free to customize your strawberry bread with additional mix-ins. Consider folding in ½ cup of chopped toasted nuts like pecans or walnuts for added crunch. A handful of white chocolate chips would also be a delicious addition, complementing the sweet strawberries and tangy lemon glaze beautifully.
More Baked Goods Perfect for Spring
As the days grow longer and the weather warms, our cravings turn to light, fresh, and fruity baked goods. Here are some more delightful recipes perfect for celebrating the season:
- Baked Lemon Pudding
- Lemon Cheesecake Bars
- Carrot Cake Muffins
- Raspberry Cheesecake Bars
- Lemon Blueberry Coffee Cake
Strawberry Bread with Lemon Glaze Recipe
By: Kristen Chidsey
Servings: 12
Prep Time: 10 mins
Cook Time: 1 hr
Total Time: 1 hr 10 mins
Pin Recipe
|
Print Recipe
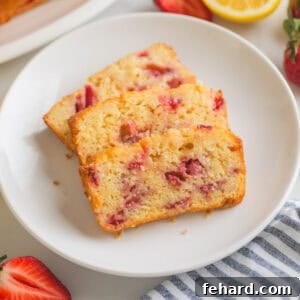
This Strawberry Quick Bread is made with real butter, juicy strawberries, Greek yogurt, and sweet-tart lemon glaze, delivering a moist, tender, and perfectly sweet loaf perfect for any occasion.
Ingredients
For Loaf Pan
- ~½ tablespoon unsalted butter, softened
- ~1 tablespoon all-purpose flour
Strawberry Bread
- 1 cup strawberries, hulled and diced
- 1 cup granulated sugar, divided (¼ cup for macerating strawberries, ¾ cup for batter)
- 1½ cups all-purpose flour
- 1 teaspoon baking powder
- ¼ teaspoon table salt
- ½ cup unsalted butter, softened
- 2 large eggs, at room temperature
- ½ cup plain Greek yogurt
- 1 teaspoon vanilla extract
- 1 teaspoon lemon zest, from ~1 lemon
Lemon Glaze
- 2 tablespoons lemon juice, from ~2 large lemons
- 2 tablespoons granulated sugar
Instructions
- Position an oven rack in the center of the oven and preheat the oven to 350℉ (175℃). Generously grease an 8.5 x 4.5-inch loaf pan with softened butter on the bottom and sides. Add 1 tablespoon of flour to the pan, shaking to coat all buttered surfaces, then tap out any excess flour.
- Wash and hull strawberries, then measure out 1 cup of diced strawberries. Place them in a small bowl, add ¼ cup of the granulated sugar, and toss to coat. Let the strawberries sit while you prepare the remaining ingredients.

- In a large mixing bowl, beat the softened butter with the remaining ¾ cup sugar on medium-high speed until the mixture becomes light in color and fluffy, approximately 2-3 minutes.
- Once the butter and sugar mixture is pale and fluffy, mix in the room temperature eggs, Greek yogurt, vanilla extract, and lemon zest. Beat again until just incorporated.
- In a separate medium bowl, sift together the flour, salt, and baking powder. Whisk them well to ensure even distribution. Add the macerated strawberries, along with any released juices, to the flour mixture and toss lightly to coat the strawberries with flour. This helps prevent them from sinking during baking.
- Add the strawberry-flour mixture to the creamed wet ingredients. Using a wooden spoon or spatula, gently fold the dry into the wet until just combined. Be careful not to overmix, as this can lead to a tough bread.
- Transfer the batter to the prepared loaf pan, spreading it into an even layer.
- Bake for 50-60 minutes, or until a toothpick inserted into the center comes out mostly dry or with a few moist crumbs. Alternatively, a digital thermometer inserted into the center should read between 195-200°F (90-93°C). If using a metal baking pan, begin checking the bread after 40 minutes as it tends to bake faster.
- While the strawberry bread is baking, prepare the lemon glaze. In a small bowl, whisk together 2 tablespoons of fresh lemon juice and 2 tablespoons of granulated sugar until the sugar is fully dissolved. For quicker dissolving, you can warm the lemon juice in the microwave for 15-20 seconds before adding the sugar.
- Once the bread is baked, immediately place the hot pan on a cooling rack. Use a skewer or thin chopstick to poke holes halfway down into the loaf. Pour the prepared lemon glaze evenly over the warm bread, allowing it to soak in. Let the bread cool in the loaf pan for 10 minutes.
- After 10 minutes, run a butter knife or thin spatula around the edges to loosen the bread from the pan. Carefully remove the bread from the pan and transfer it to a wire cooling rack to cool completely before slicing and serving. This prevents crumbling and ensures the best texture.

Equipment
- 8.5-inch by 4.5-inch loaf pan
- Electric Mixer (handheld or stand mixer)
- Mixing Bowls (large and medium)
- Whisk or Sifter
- Spatula or Wooden Spoon
- Wire Cooling Rack
- Skewer or Thin Chopstick
Notes
- Room-Temperature Ingredients: For the best texture and creaming, it’s highly recommended to use room-temperature eggs and softened butter.
- Loaf Pan Size and Type: This recipe is specifically designed for an 8.5 x 4.5-inch loaf pan. If you’re using a metal loaf pan, please note that quick breads tend to bake faster in metal, so start checking for doneness around 40 minutes into the baking time.
- Measuring Strawberries: Ensure you hull and dice the strawberries first, then measure them to get the accurate 1 cup amount specified in the recipe.
- Storage Guidelines: Once completely cooled, store the strawberry bread in an airtight container. It will keep well at room temperature for up to 3 days. For extended freshness, refrigerate it for up to 5 days.
- Freezing for Later: This strawberry loaf freezes beautifully! Allow the bread to cool entirely, then wrap the UN-SLICED loaf tightly in several layers of plastic wrap, followed by a layer of aluminum foil, or place it in a freezer-safe bag. It can be frozen for up to 1 month. To enjoy, defrost the loaf in the refrigerator overnight before slicing.
- Doubling the Recipe: If you wish to make two loaves, simply double all the ingredients. Divide the batter evenly between two 8.5 x 4.5-inch loaf pans. When baking two loaves, place them on the same rack in the oven, ensuring a few inches of space between them, and rotate their positions halfway through the baking time for even cooking.
Nutrition
Nutrition information is automatically calculated, so should only be used as an approximation.
- Calories: 229kcal
- Carbohydrates: 33g
- Protein: 4g
- Fat: 9g
- Saturated Fat: 6g
- Polyunsaturated Fat: 1g
- Monounsaturated Fat: 2g
- Trans Fat: 0.3g
- Cholesterol: 53mg
- Sodium: 66mg
- Potassium: 100mg
- Fiber: 1g
- Sugar: 20g
- Vitamin A: 302IU
- Vitamin C: 8mg
- Calcium: 36mg
- Iron: 1mg
Tried this recipe?Mention @amindfullmom or tag #amindfullmom!