
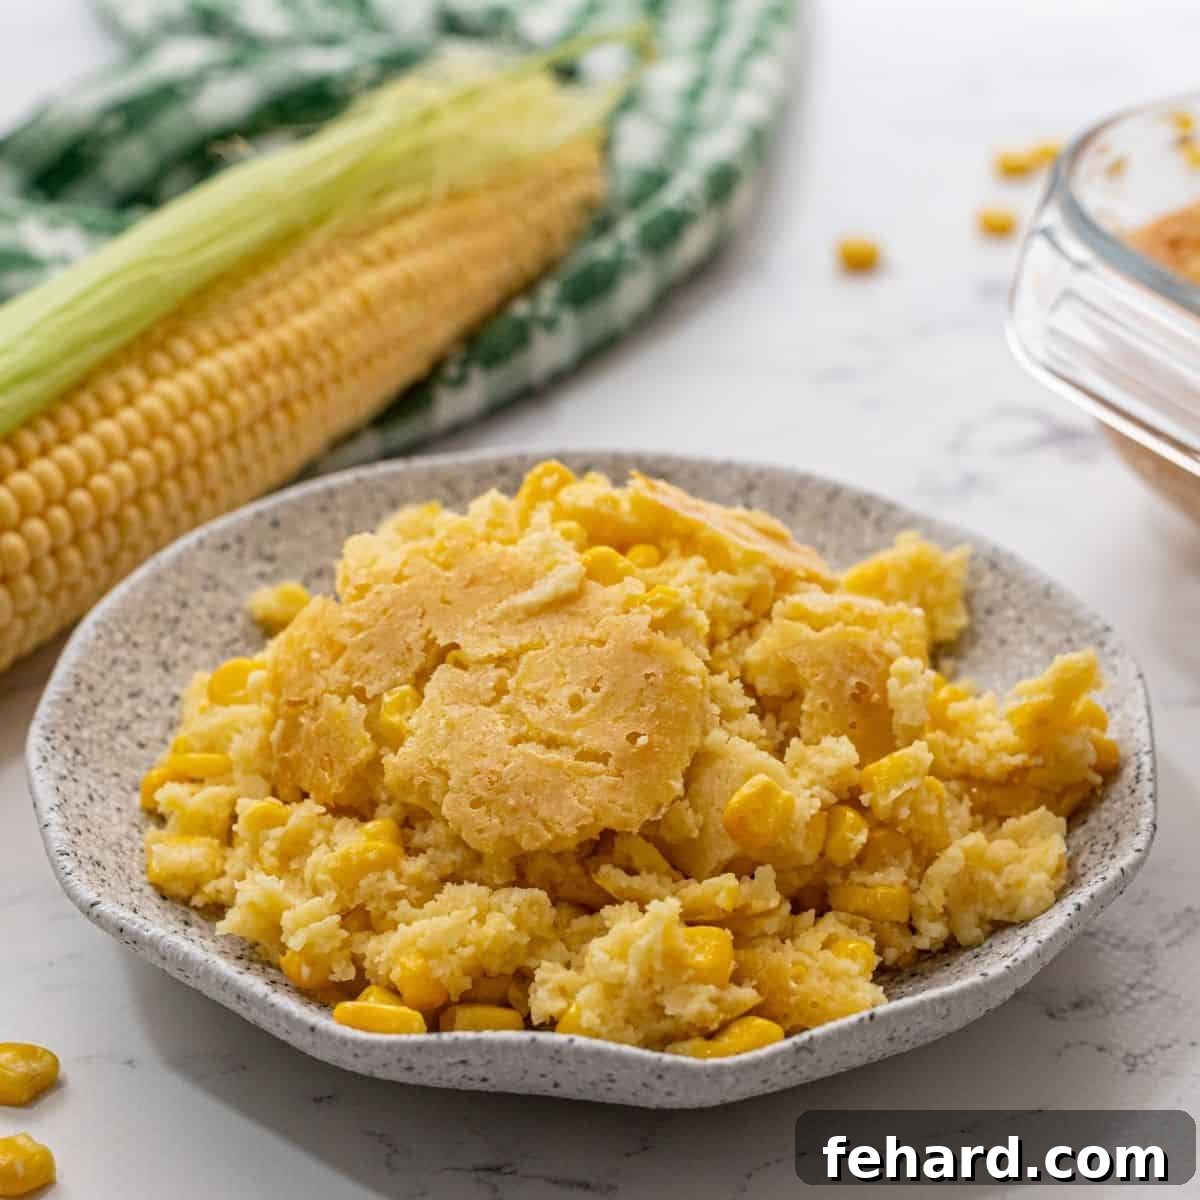
The Best Homemade Corn Casserole Recipe (No Jiffy Mix Needed!)
Prepare to fall in love with this homemade corn casserole without Jiffy mix. It’s the epitome of comfort food: incredibly buttery, luxuriously creamy, and downright irresistible. With a soft, custardy texture that melts in your mouth and perfectly golden, caramelized edges, it achieves that elusive balance between a rich corn pudding and a savory cornbread. This recipe is so delectable, it’s guaranteed to have everyone reaching for seconds, making it a staple at any gathering, from casual dinners to grand holiday feasts.
Forget the boxed mixes; this from-scratch corn casserole tastes just like Grandma used to make, but with the added satisfaction of knowing exactly what goes into it. Whether it’s the star alongside a succulent roast turkey, a festive baked ham, or a hearty scoop next to your favorite crockpot chili, its versatility knows no bounds. Best of all, you can whip up this amazing side dish and have it ready for the oven in mere minutes, proving that homemade doesn’t have to mean complicated.
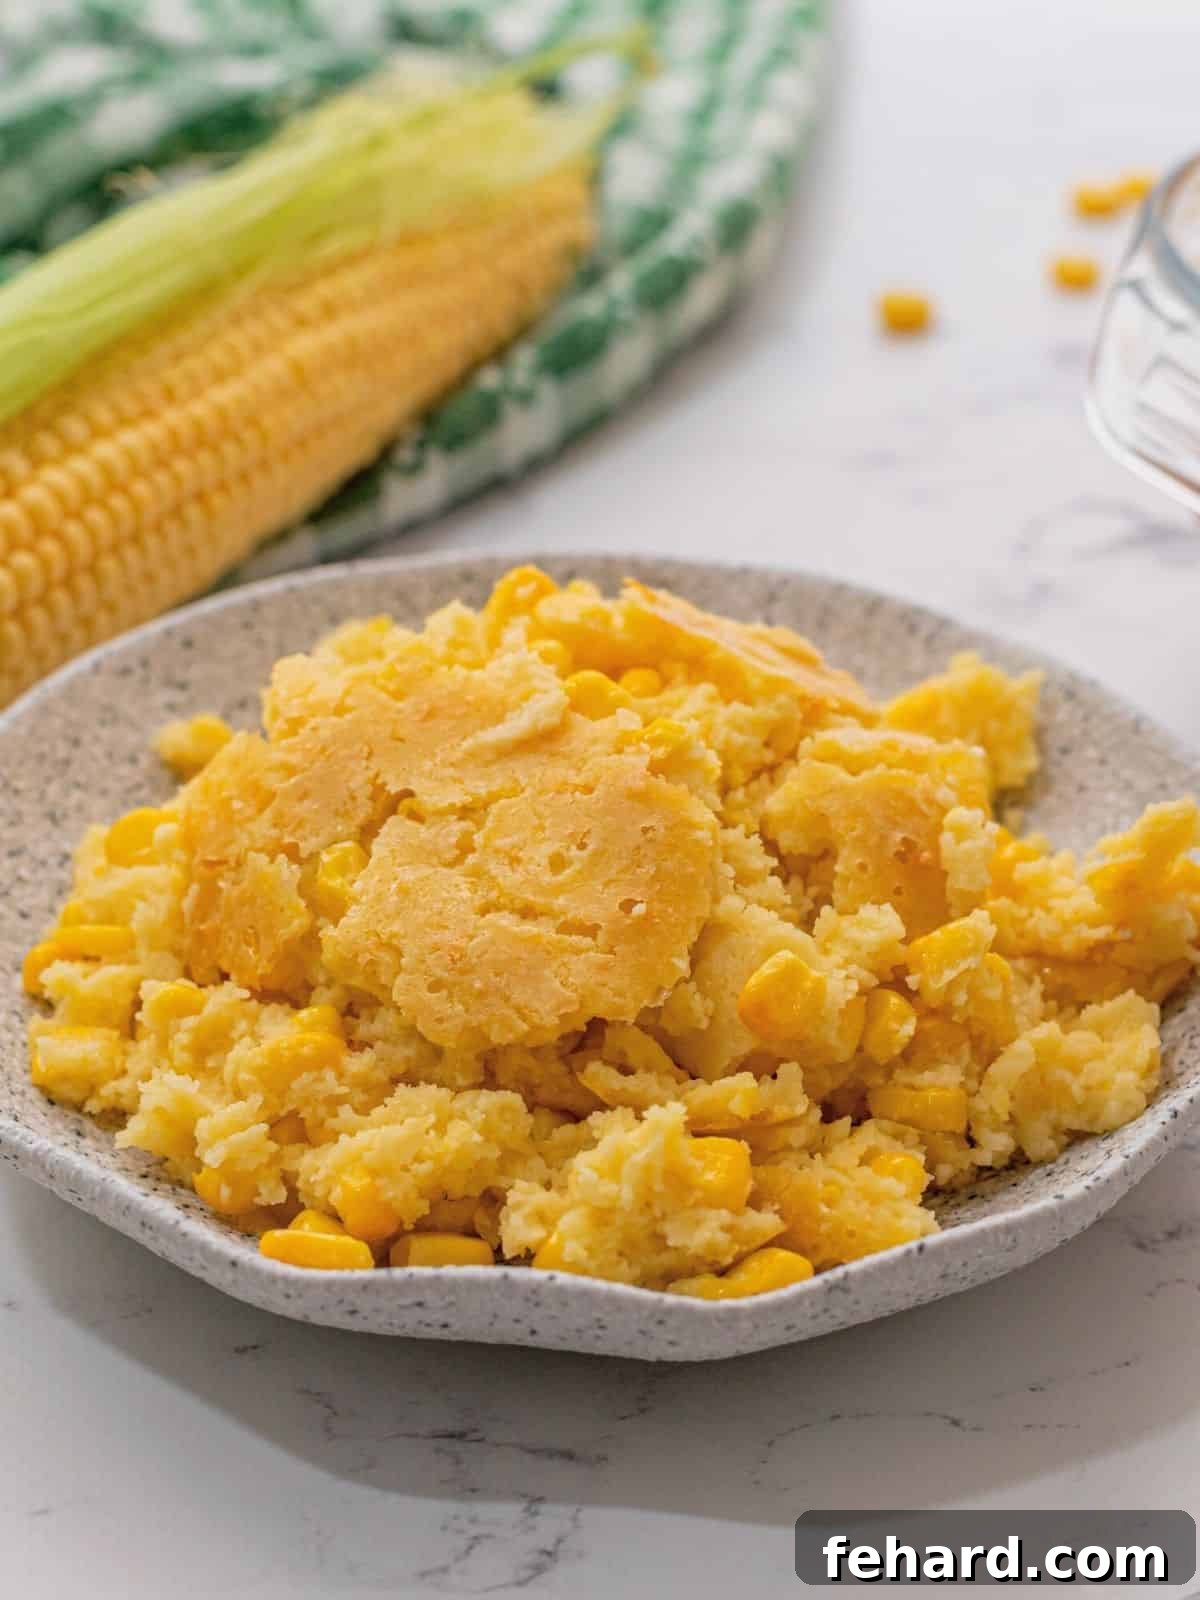
Why Choose a Homemade Corn Casserole Over a Boxed Mix?
While convenience mixes have their place, crafting a corn casserole from scratch elevates the dish to an entirely new level. Here’s why making it yourself is truly worth the minimal extra effort:
- Superior Flavor & Texture: A homemade version boasts a richer, more authentic corn flavor that shines through without any artificial notes. You get to control the balance of sweet and savory, and the texture is perfectly custardy and tender, unlike the sometimes-gummy or dry results from a mix.
- Control Over Ingredients: By making your own, you know exactly what’s going into your food. You can avoid preservatives, artificial flavors, and excessive sodium often found in boxed products. This is especially beneficial for those with dietary restrictions or specific health goals.
- Customization Options: From adjusting the sweetness level to incorporating various mix-ins like cheese, jalapeños, or bacon, a homemade base allows for endless creativity. You can easily adapt it to be gluten-free, egg-free, or less sweet, catering to specific preferences and dietary needs.
- The Joy of From-Scratch Cooking: There’s immense satisfaction in preparing a dish from basic ingredients. The aroma filling your kitchen and the proud look on your family’s faces as they enjoy your creation are rewards in themselves.
- Budget-Friendly: Often, making dishes from scratch using pantry staples can be more economical than regularly buying pre-packaged mixes, especially when cooking for a crowd.
Keys to Achieving the Perfect Creamy Corn Casserole
To master this buttery, creamy, and undeniably delicious corn casserole from scratch, paying attention to a few critical details will make all the difference. These are the secrets to its incredibly soft texture and rich corn flavor:
- Opt for Fine Ground Yellow Cornmeal: This isn’t just any cornmeal; the type you choose significantly impacts the final texture and flavor. For a mild sweetness, a soft, smooth texture, and a distinctive corn flavor that isn’t gritty, always use fine ground yellow cornmeal. Avoid coarser stone-ground cornmeal, which can result in a tougher, grainier texture, and steer clear of Masa harina, which is nixtamalized corn flour typically used for tortillas and will yield a completely different result.
- Don’t Skip the Sour Cream: Sour cream is a star ingredient here, playing a crucial dual role. Its acidity reacts with the baking soda in the recipe, creating tiny air bubbles that help keep the casserole incredibly light and fluffy, preventing it from becoming dense. Beyond texture, sour cream introduces a subtle tangy flavor that brilliantly balances the sweetness of the corn, adding complexity and depth to the overall profile. Using full-fat or low-fat sour cream is recommended; fat-free versions may alter the texture and richness.
- Utilize Both Corn Kernels AND Creamed Corn: This combination is essential for the casserole’s signature consistency and flavor. The whole corn kernels provide delightful bursts of texture and fresh corn flavor, adding substance and chewiness. Creamed corn, on the other hand, contributes significant moisture and natural sweetness, forming the custardy, creamy base that makes this dish so irresistible. Together, they create a harmonious blend that offers the best of both worlds.
- Room Temperature Ingredients (Especially Eggs): While not explicitly listed as a “key” in the original snippet, ensuring your eggs (and sour cream, if time allows) are at room temperature helps them incorporate more smoothly into the batter, leading to a more uniform and tender crumb. This is a general baking tip that greatly benefits casseroles.
Glowing Reader Review
“This corn casserole is absolutely delicious. I did not use Jiffy Mix, but rather her recipe to replace the Jiffy Mix. I will certainly use this recipe from now on!” – Deborah ⭐⭐⭐⭐⭐
Step-by-Step: Crafting Your Perfect Homemade Corn Casserole
You’ll be amazed at how quickly this incredible corn casserole comes together, even without using a pre-made mix. It truly does come together “in a jiffy”! Follow these simple steps for a flawless result:
- Prepare Your Baking Dish and Preheat Oven: Begin by preheating your oven to 350°F (175°C). Lightly grease a 2-quart baking dish (an 8×8-inch or 11×7-inch pan works perfectly) with butter. This ensures easy removal and contributes to those coveted golden edges.
- Melt and Cool the Butter: Add the ½ cup of unsalted butter to a large, microwave-safe mixing bowl. Melt it in 30-second intervals in the microwave until it’s completely liquid. Once melted, set the butter aside to cool slightly. This crucial step prevents the hot butter from scrambling your eggs when they are mixed in later, ensuring a smooth, uniform batter.
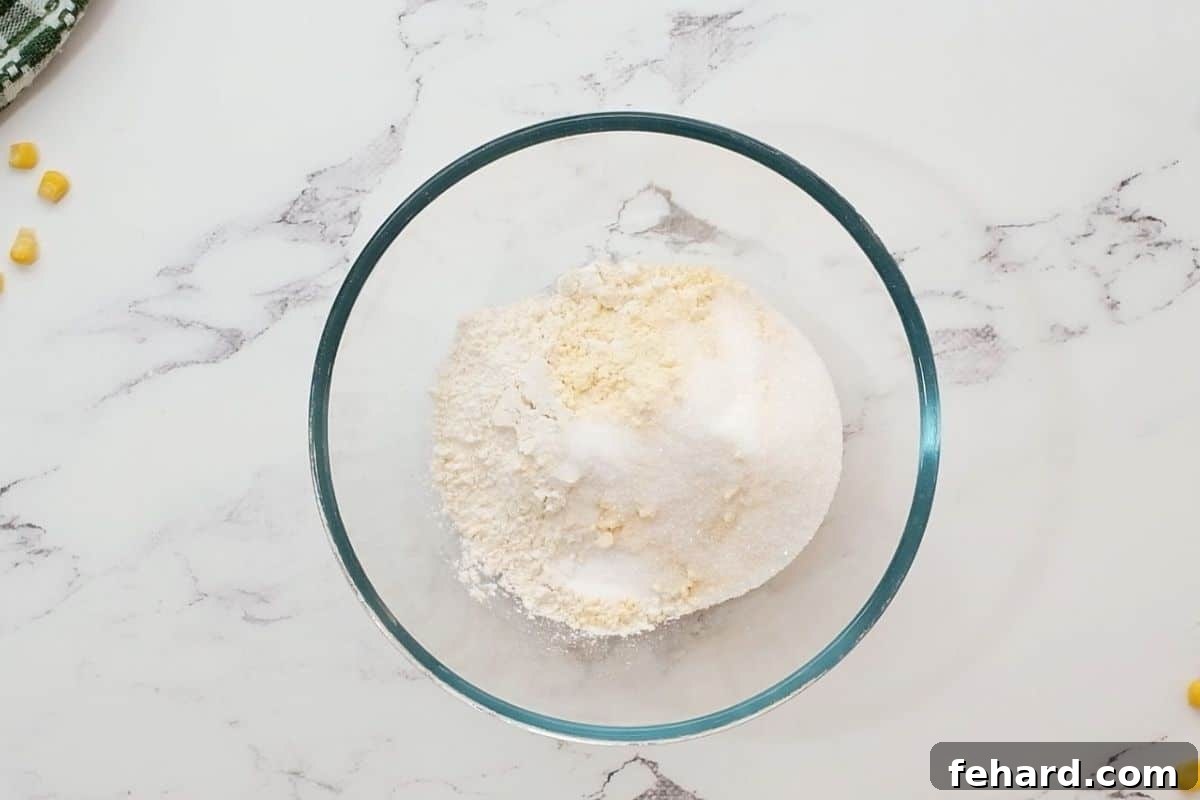
- Assemble Your Homemade Cornbread Mix: In a separate medium mixing bowl, whisk together your dry ingredients: ½ cup all-purpose flour, ½ cup fine ground yellow cornmeal, ¾ teaspoon table salt, ½ teaspoon baking soda, and 2 tablespoons granulated sugar. Whisk thoroughly until all ingredients are well combined. This simple mixture effectively replaces a box of Jiffy, proving that homemade is incredibly easy!

The dry ingredients for your homemade “Jiffy-style” cornbread mix, perfectly combined. - Combine the Wet Ingredients: Into the bowl with your slightly cooled melted butter, add the remaining wet ingredients: 1 cup sour cream, 2 large eggs, 1 (15 oz) can creamed corn, and 1 (15 oz) can whole corn kernels (make sure these are well-drained to avoid a watery casserole). Mix everything together thoroughly until all ingredients are evenly incorporated and smooth.
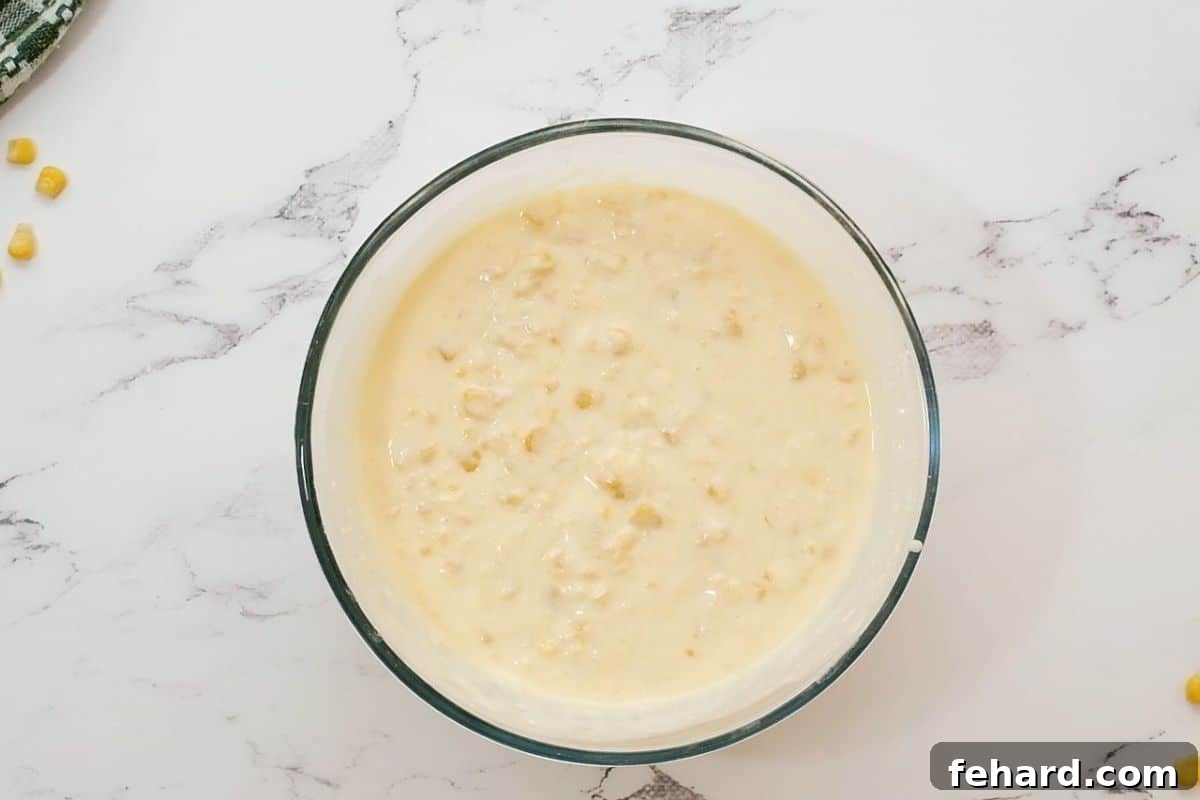
All the creamy, sweet, and tangy wet ingredients beautifully blended. - Gently Fold Wet and Dry Ingredients: Add the prepared cornbread mix (from step 3) to the large bowl containing your wet ingredients. Using a wooden spoon or a spatula, gently fold the dry into the wet until they are just combined. It’s important not to overmix the batter at this stage. Overmixing can develop the gluten in the flour, leading to a dense and tough casserole instead of the desired light and fluffy texture. A few small lumps are perfectly fine.
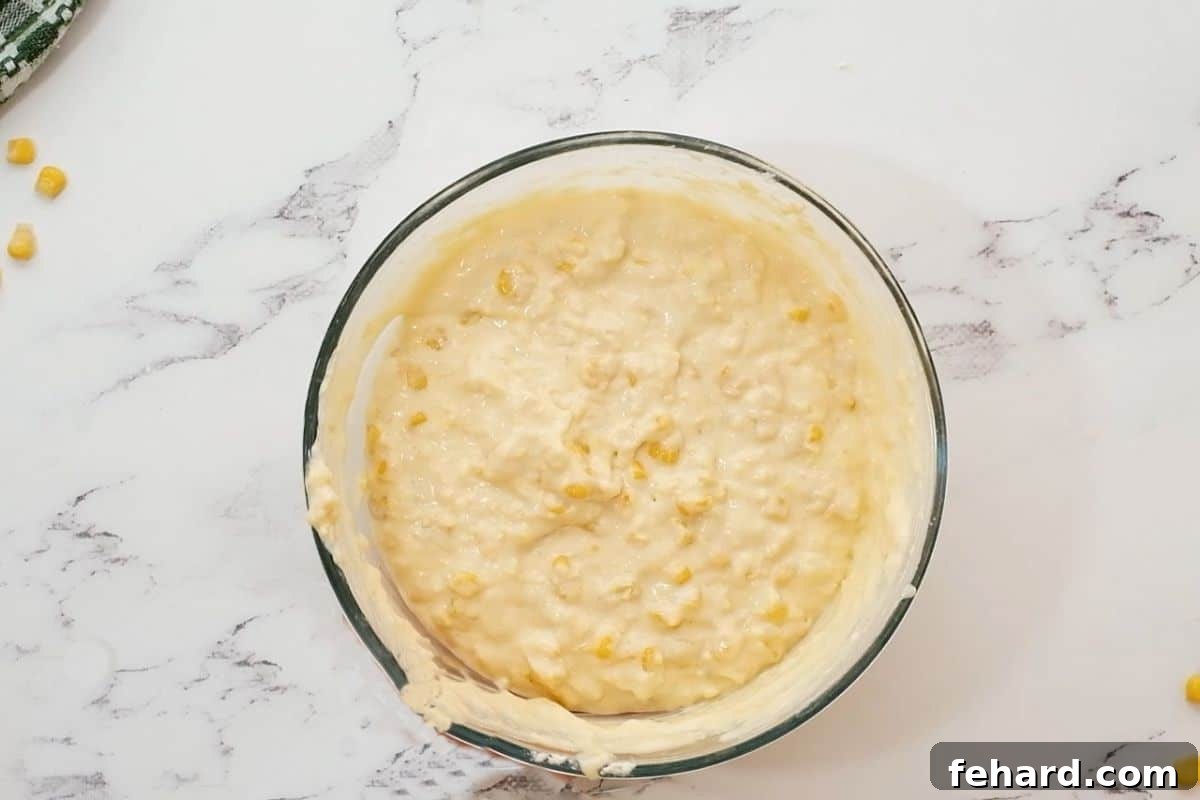
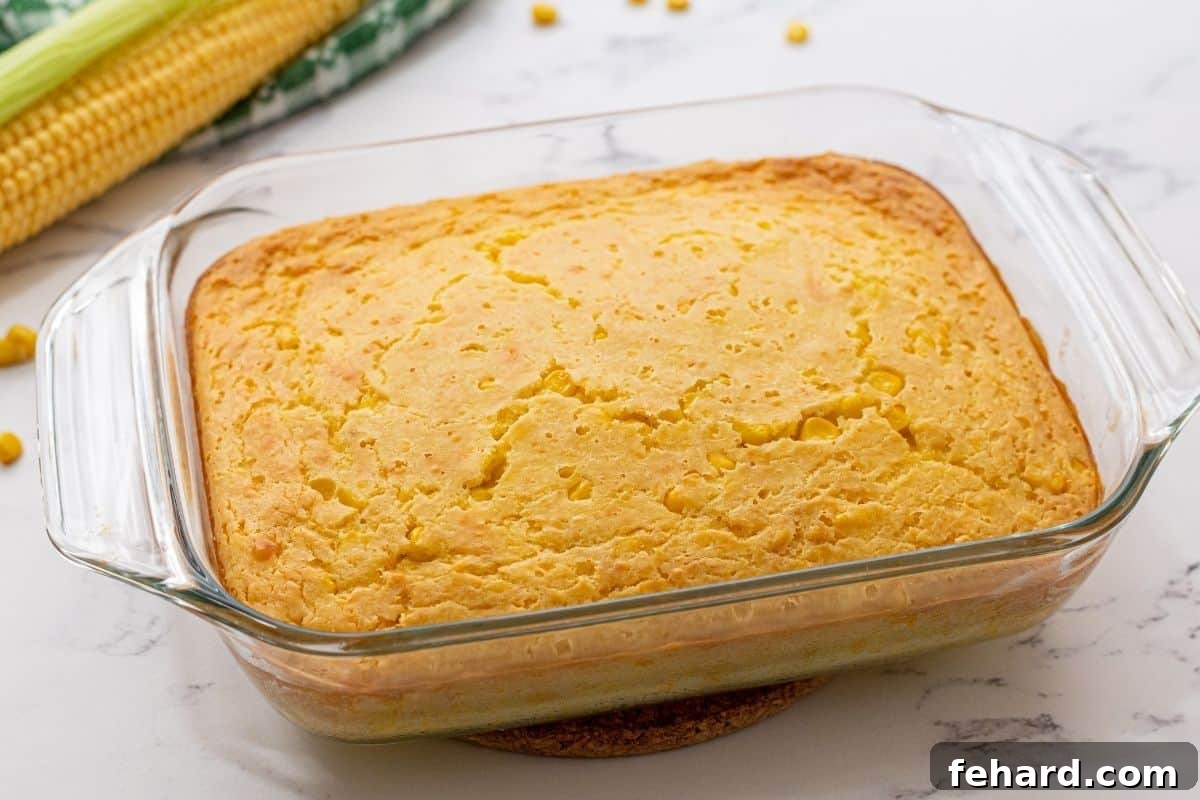
The combined batter, gently folded to retain its airy texture. - Bake to Golden Perfection: Pour the corn casserole mixture into your prepared baking dish. Transfer it to the preheated oven and bake for approximately 45-50 minutes, or until the center is fully set (it should not be jiggly when gently shaken) and the top is a beautiful golden brown. The edges should appear slightly caramelized and pull away from the sides of the pan. Let it cool for a few minutes before serving to allow it to set completely.
Your perfectly baked, golden-brown corn casserole, ready to be devoured.
Recipe Modifications and Dietary Adaptations
One of the great advantages of making corn casserole from scratch is the flexibility to customize it to your liking or dietary needs. Here are some simple modifications you can make:
- Gluten-Free Corn Casserole: Easily adapt this recipe by swapping the all-purpose flour for a 1:1 gluten-free baking blend. Many brands (like Bob’s Red Mill 1-to-1) work beautifully. Always double-check that your cornmeal is certified gluten-free, as some brands may have cross-contamination. The results will be just as moist and delicious!
- Egg-Free Option: If you need an egg-free version, simply skip the eggs and add an extra ¼ cup of sour cream or unsweetened applesauce. The texture will still be wonderfully moist and soft, though it might be a tad more crumbly than the egg-inclusive version. It remains incredibly tasty!
- Adjust Sweetness: This recipe offers a delightful balance of sweet and savory. However, if you prefer a more savory corn casserole, you can easily cut the granulated sugar in half (reduce to 1 tablespoon). Keep in mind that a little sweetness beautifully enhances the natural corn flavor.
- Using Frozen Corn: Don’t have canned corn on hand? No problem! You can swap the 1 (15 oz) can of whole corn kernels for 1½ cups of frozen corn kernels. There’s no need to thaw them beforehand; simply add them directly to the wet ingredients.
- Double the Recipe for a Crowd: This casserole is a crowd-pleaser, so doubling it is often a great idea! Simply double all the ingredients and bake it in a larger 9×13-inch pan. You’ll need to increase the baking time by approximately 5-10 minutes, so keep an eye on it until the center is set and golden. If your family is anything like mine, you’ll definitely want to make a double batch!
- Add Cheese: For a cheesier version, fold in 1 cup of shredded cheddar cheese or a Mexican cheese blend with the wet ingredients, or sprinkle it on top during the last 15 minutes of baking.
- Spice it Up: For a subtle kick, add a pinch of cayenne pepper or a small amount of finely diced jalapeños (deseeded for less heat) to the batter.
Make-Ahead & Storage Tips for Convenience
This from-scratch corn casserole is already simple to make, but the ability to prep it ahead of time is a huge bonus, especially when preparing large holiday meals like Thanksgiving dinner. It helps reduce stress and streamlines your cooking process. And for leftovers? They rarely last long – don’t be surprised if you find yourself with an empty pan!
- Prep-Ahead for Easy Baking: You can prepare the entire casserole batter up to the point of baking. Tightly cover the baking dish with plastic wrap or foil and refrigerate for up to 24 hours. The next day, before baking, allow the casserole to sit at room temperature for 30-60 minutes. This helps ensure it bakes evenly and protects your baking dish from cracking due to extreme temperature changes when going straight from a cold fridge to a hot oven.
- Storage of Leftovers: Any leftover corn casserole (though there rarely are any!) keeps wonderfully. Transfer it to an airtight container and store it in the refrigerator for up to 3 days.
- Reheating Instructions: To reheat, simply place a serving on a heat-safe plate and gently warm it in the microwave until it’s hot and creamy again. You can also reheat larger portions in the oven at 300°F (150°C) until warmed through, covering it with foil to prevent drying out. It’s also surprisingly delicious served cold!
- Freezing Instructions: If you want to freeze the casserole, bake it completely and allow it to cool entirely. Cover it tightly with plastic wrap, then a layer of aluminum foil. It can be frozen for up to 2-3 months. To reheat from frozen, thaw it overnight in the refrigerator, then bake at 350°F (175°C) until warmed through, covering loosely with foil if the top starts to brown too much.
More Classic Holiday Side Dishes You’ll Love
This creamy corn casserole has been a cherished staple at my holiday meals for decades, and it’s truly the one dish my family insists upon. While it often takes center stage, they never complain when I round out our festive dinner with a few other beloved classics. Explore these delicious recipes to complete your holiday spread or elevate any weeknight meal:
- Mashed Potato Casserole
- Broccoli Cheese Rice Casserole
- Sweet Potato Casserole
- Old Fashioned Bread Stuffing
- Cranberry Orange Sauce
Average Rating: 5 stars from 11 votes
Homemade Corn Casserole
By: Kristen Chidsey
Servings: 10
Prep Time: 5 mins
Cook Time: 45 mins
Total Time: 50 mins
Buttery, creamy, and perfectly sweet, this corn casserole couldn’t be easier to make, even when made without using a box of Jiffy!
Pin Recipe | Rate Recipe | Print Recipe
Ingredients
- ½ cup unsalted butter, plus additional butter for greasing pan
- ½ cup all-purpose flour
- ½ cup fine ground yellow cornmeal
- ¾ teaspoon table salt
- ½ teaspoon baking soda
- 2 tablespoons granulated sugar
- 1 cup sour cream
- 2 large eggs
- 1 (15 oz) can creamed corn
- 1 (15 oz) can whole corn kernels, well drained
Instructions
- Preheat the oven to 350℉ (175℃). Grease a 2-quart, 8×8-inch, or 11×7-inch baking dish with butter and set aside.
- In a small saucepan over low heat, melt ½ cup unsalted butter. Remove from the heat and set aside to cool slightly while combining the dry ingredients. Alternatively, melt the butter in a heat-safe bowl in the microwave.
- In a medium mixing bowl, mix together ½ cup all-purpose flour, ½ cup fine ground yellow cornmeal, ¾ teaspoon table salt, ½ teaspoon baking soda, and 2 tablespoons granulated sugar.
- In a large mixing bowl, add 1 cup sour cream, 2 large eggs, 1 (15 oz) can creamed corn, 1 (15 oz) can whole corn kernels (drained), and the melted butter. Mix until well combined.
- Add the flour mixture to the wet ingredients and gently fold together, using a wooden spoon or spatula, until everything is JUST combined. Don’t overmix.
- Pour the mixture into the prepared baking dish and bake for 45-50 minutes, or until the center is fully set, not jiggly, and the casserole is lightly browned.
Equipment
- 2 Quart Casserole Dish
Notes
- Cornmeal: Use fine stone-ground yellow cornmeal, not corn flour or masa for the best texture.
- Sour Cream: For optimal results, use either full-fat or low-fat sour cream, NOT fat-free sour cream, as it will significantly alter the casserole’s texture and richness.
- Gluten-Free: To make this recipe gluten-free, substitute the all-purpose flour with a 1:1 gluten-free baking blend. Ensure your cornmeal is certified gluten-free to avoid cross-contamination.
- Egg-Free: For an egg-free version, omit the eggs and add an extra ¼ cup of sour cream or unsweetened applesauce. The casserole will still be moist and soft, though it might be slightly more crumbly.
- Using Frozen Corn: You can easily swap the canned whole corn kernels for 1½ cups of frozen corn kernels. No other recipe changes are needed; simply add them straight from frozen.
- Double the Recipe: If you’re feeding a larger crowd, double all the ingredients and bake in a 9×13-inch pan. The baking time will increase by approximately 5-10 minutes.
- Storage: Store any leftover corn casserole in an airtight container in the refrigerator for up to 3 days. Reheat gently in the microwave or enjoy it cold.
Nutrition
Calories: 250kcal | Carbohydrates: 28g | Protein: 5g | Fat: 14g | Saturated Fat: 8g | Polyunsaturated Fat: 1g | Monounsaturated Fat: 4g | Trans Fat: 1g | Cholesterol: 65mg | Sodium: 450mg | Potassium: 202mg | Fiber: 1g | Sugar: 4g | Vitamin A: 438IU | Vitamin C: 3mg | Calcium: 44mg | Iron: 1mg
Nutrition information is automatically calculated, so should only be used as an approximation.