
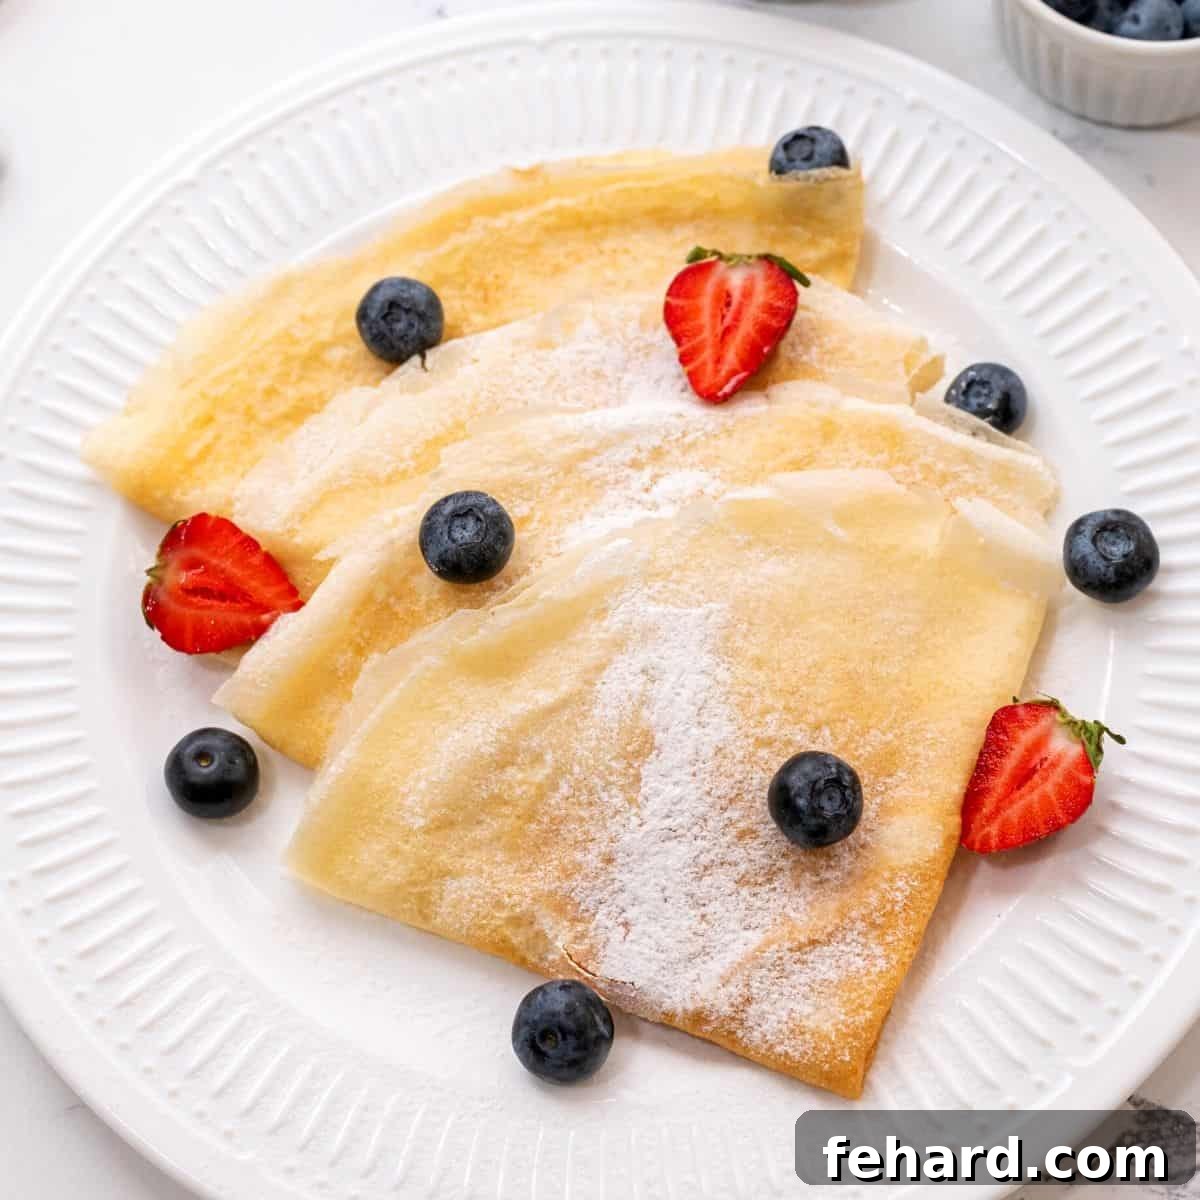
Easy Homemade Crepes: Your Guide to Delicate French Pancakes
Homemade Crepes are a culinary delight that are surprisingly simpler to make than you might imagine! With just a few staple ingredients, expert tips, and a dash of enthusiasm, this easy recipe guides you to create perfectly delicate, thin, and buttery crepes. Whether served plain, generously stuffed, or adorned with sweet or savory fillings, these French-inspired pancakes are guaranteed to impress. Prepare to elevate your breakfast, brunch, or dessert game with this versatile and elegant dish!
Much like other timeless French classics such as French Onion Soup, Quiche Lorraine, Green Beans Almondine, Instant Pot Coq au Vin, and Instant Pot Beef Bourguignon, crepes embody a certain effortless elegance that never fails to satisfy!
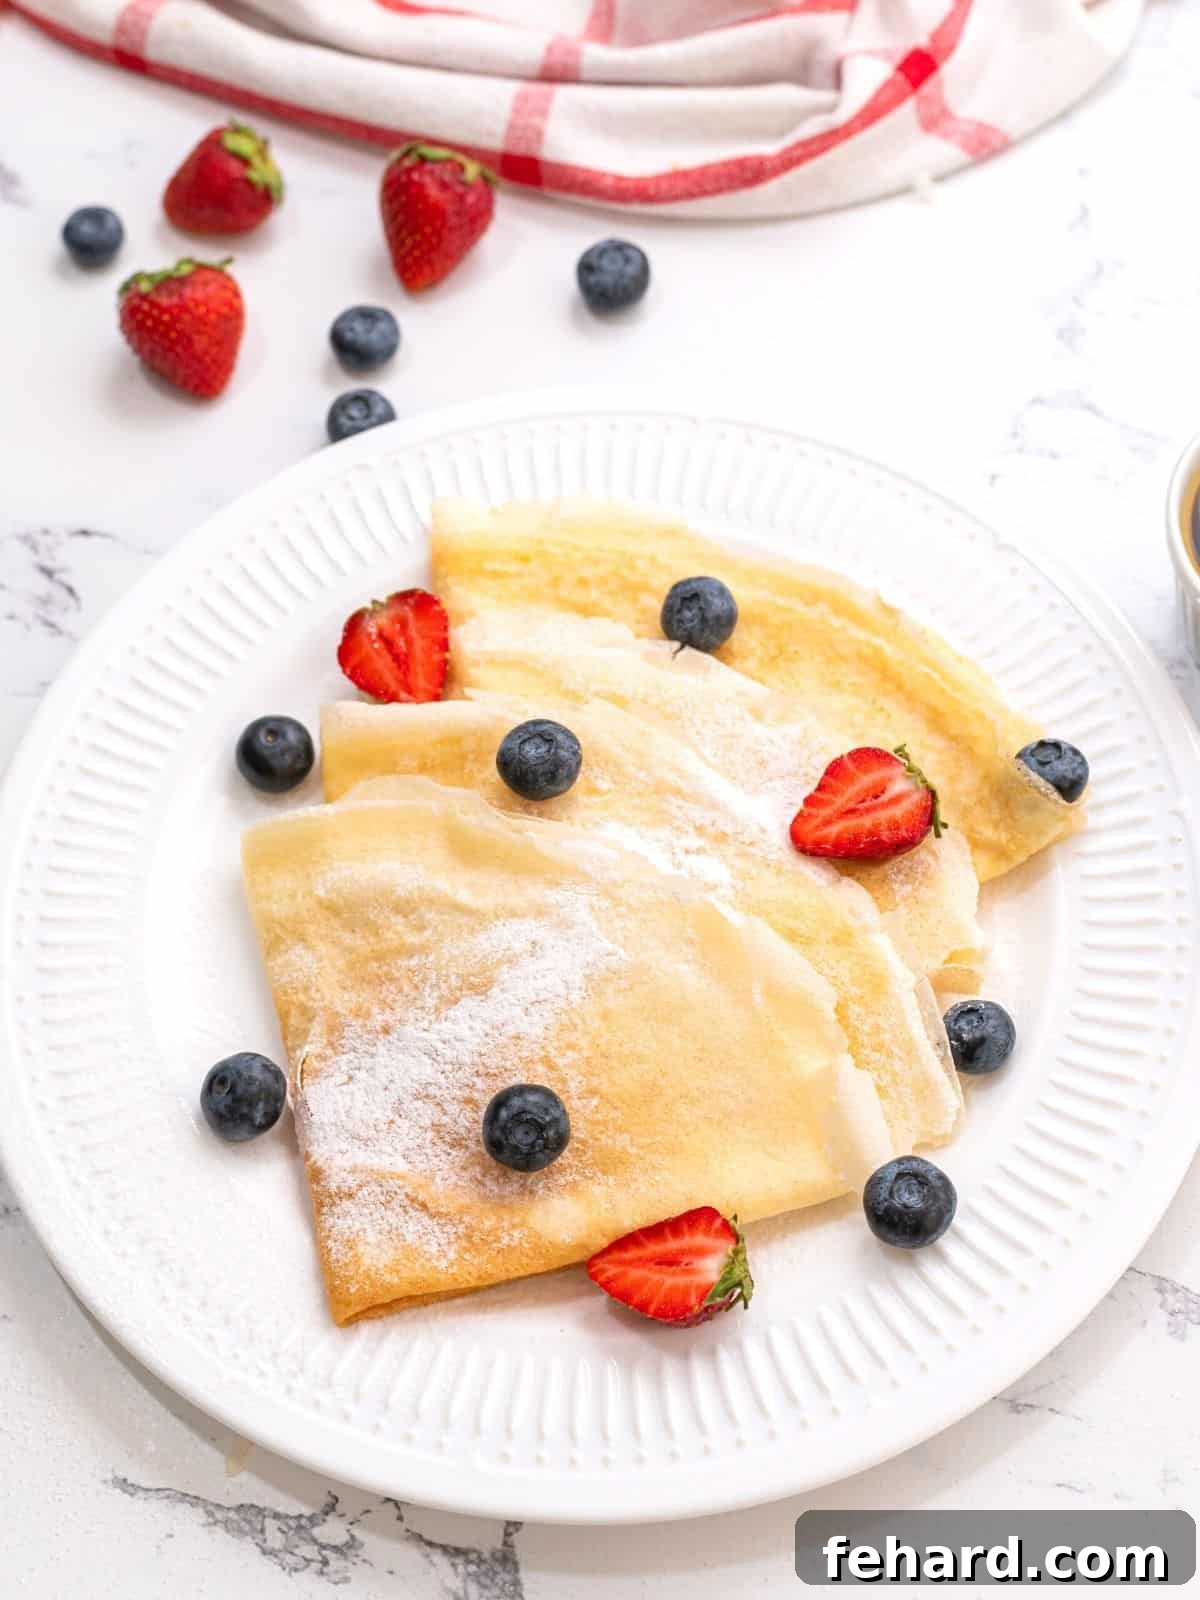
Mastering Easy Homemade Crepes

My journey into the delightful world of crepes began in high school, during my four years of French language studies. While much of the grammar and vocabulary may have faded, one invaluable lesson from my sweet French teacher remained vivid: her remarkably simple yet effective method for making crepes. This timeless technique, which she insisted be called ‘crêpe’ with the accent, proved to be an invaluable skill that has brought countless moments of culinary joy.
She demystified the process, assuring us that creating these thin, elegant pancakes was far from complicated. With her guidance, I learned that the secret lies not in elaborate techniques, but in understanding a few key principles and the magic of simple ingredients.
And now, with her time-tested tips and this straightforward recipe, you too can effortlessly master the art of making perfect crepes right in your own kitchen. Get ready to embark on a delicious adventure!
Happy Cooking! xo Kristen
Recipe Highlights: What You’ll Learn
- Detailed Homemade Crepes Recipe
- Essential Notes on Key Ingredients
- Step-by-Step Guide: How to Make Crepes Perfectly
- Creative Filling Ideas for Sweet and Savory Crepes
- Frequently Asked Questions About Crepes
- Pro Tips for Perfect Crepes
- Storage and Make-Ahead Options
Notes on Key Ingredients for Flawless Crepes
While crepes require only a handful of basic ingredients, the choice and handling of a couple of these components are absolutely critical to achieving that signature delicate texture. Pay close attention to the type of flour and the inclusion of seltzer water; these two elements are the unsung heroes behind light, airy homemade crepes.
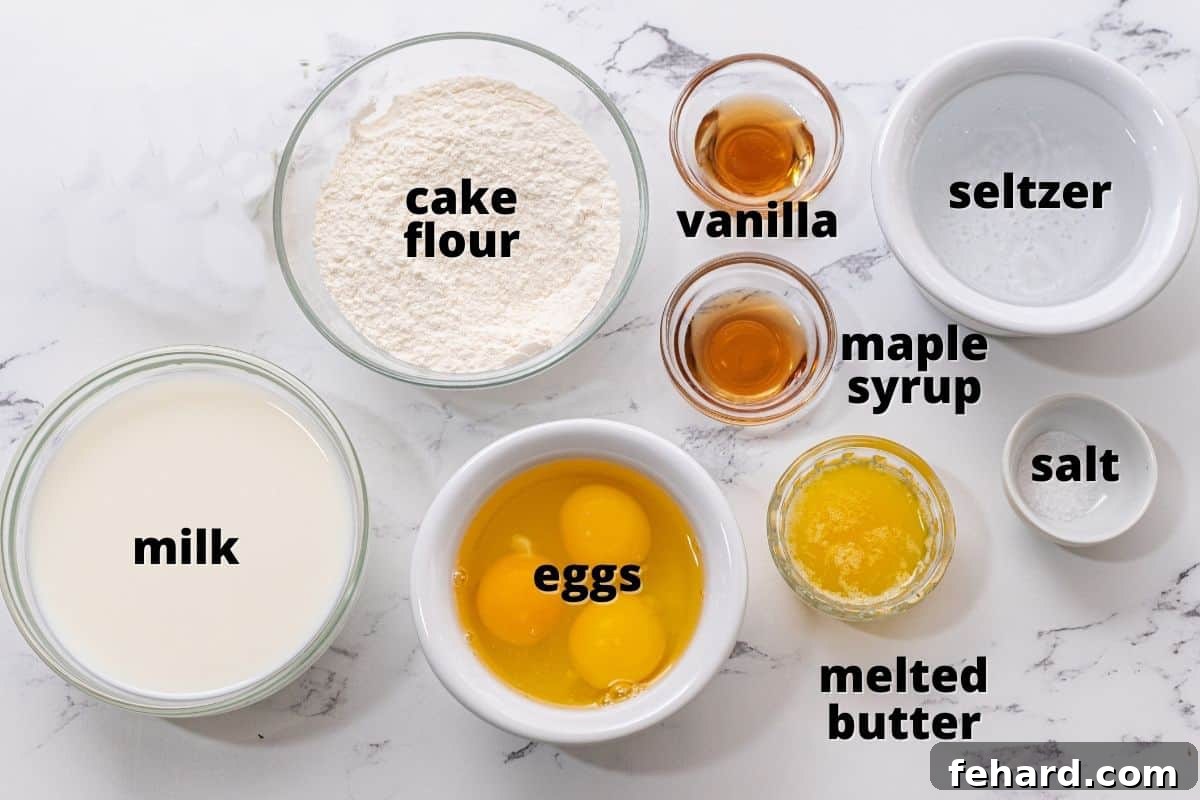
- Cake Flour (or Whole Wheat Pastry Flour): This is the secret weapon for truly exceptional crepes. Unlike all-purpose flour, cake flour has a lower protein content, which means less gluten development. Less gluten results in a batter that is incredibly light and fluid, making the crepes easier to swirl thinly in the pan and, crucially, much easier to flip without tearing. Using regular all-purpose flour or even standard whole wheat flour will yield a heavier, chewier crepe that is harder to manipulate and lacks the desired delicate quality. If opting for whole wheat pastry flour, ensure it’s specifically ‘pastry’ flour for its fine texture and lower protein.
- Seltzer Water (or Club Soda): The effervescence in seltzer water plays a vital role in aerating the crepe batter. As the carbonation is incorporated, it introduces tiny air bubbles that contribute to a remarkably light and delicate final product. This aeration creates a tender texture that melts in your mouth. Always use plain, unflavored seltzer water or club soda to avoid any unwanted taste in your crepes.
- Milk: The type of milk you use is quite flexible. Whole milk will yield a slightly richer crepe, while skim milk or even non-dairy alternatives like almond milk or oat milk will work perfectly well, providing a slightly lighter result. Choose your preferred variety, ensuring it’s at room temperature for better blending.
- Eggs: Eggs are essential for structure, richness, and binding the ingredients together. They contribute to the crepe’s elasticity, preventing it from breaking easily while still maintaining its delicate nature.
- Unsalted Butter: Butter provides an incomparable richness and flavor to the crepes. It’s used both in the batter and for greasing the pan, ensuring a beautiful golden finish and preventing sticking. Using unsalted butter allows you to control the overall saltiness of the dish, especially important if you plan on making savory crepes.
- Maple Syrup (Optional, for Sweet Crepes): A touch of maple syrup in the batter adds a subtle sweetness and depth of flavor. If you’re planning strictly savory crepes, feel free to omit this ingredient.
- Vanilla Extract (Optional, for Sweet Crepes): Vanilla enhances the aroma and flavor of sweet crepes, adding a warm, comforting note. It pairs wonderfully with most sweet fillings.
- Dash of Salt: A small amount of salt is crucial for balancing flavors in both sweet and savory applications. It brings out the natural sweetness of other ingredients and prevents the crepes from tasting bland.
How to Make Homemade Crepes: A Step-by-Step Guide
The process of making crepes is incredibly straightforward, but a few key techniques will ensure consistently perfect results every time. Follow these steps and accompanying tips to create light, tender, and beautifully golden crepes.
- Prepare and Blend the Batter. Begin by melting one tablespoon of the unsalted butter and setting it aside to cool slightly. In a blender, combine the eggs, milk, seltzer water, maple syrup (if using for sweet crepes), vanilla, and the cooled melted butter. Add the cake flour (or whole wheat pastry flour) and a dash of salt. Blend on high speed until the batter is completely smooth, silky, and lightly bubbly. The blender is ideal for this as it fully aerates the mixture and ensures no lumps remain, which is essential for thin crepes.
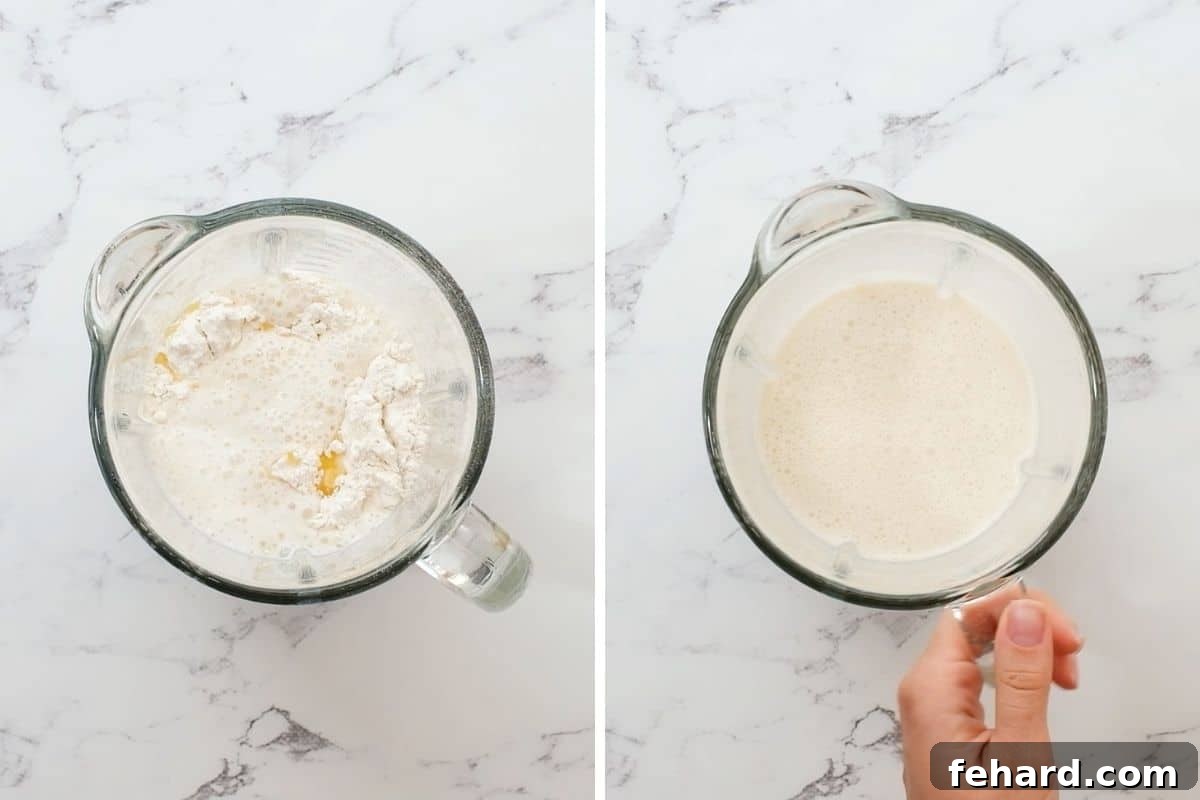
- Allow the Batter to Rest. This step is absolutely crucial and should not be skipped. Pour the blended batter into a bowl, cover it, and let it rest at room temperature for a minimum of 30 to 60 minutes. The resting period serves a dual purpose: it allows the flour to fully hydrate and absorb all the liquid, and it gives the gluten a chance to relax. This relaxation is key to preventing chewy crepes and ensuring they are wonderfully thin, tender, and easy to handle without tearing.
- Prepare the Pan and Add Batter. While the batter rests, melt the remaining two tablespoons of butter in a small dish and keep it handy near your stove. This melted butter will be used to generously brush the skillet for each and every crepe, ensuring they don’t stick and develop a beautiful golden hue. Once the batter has rested, heat an 8 to 10-inch nonstick skillet (a dedicated crepe pan or a regular frying pan works well) over medium heat. Brush the hot skillet generously with the melted butter. Pour approximately ¼ cup of the crepe batter into the center of the pan. Immediately and very quickly tilt and swirl the pan in a circular motion, allowing the batter to spread thinly and evenly coat the entire bottom surface of the skillet. This swift action is vital for achieving those signature delicate, thin crepes.
Kristen’s Essential Tip for Non-Stick Crepes
Before you even begin cooking your first crepe, melt butter in a small, heat-proof dish and position it right next to your stovetop. Make it a habit to generously brush your skillet with this melted butter for EACH and EVERY crepe you cook. This simple, consistent step is your best friend in ensuring the delicate batter doesn’t adhere to the pan, guaranteeing beautifully released crepes every time.
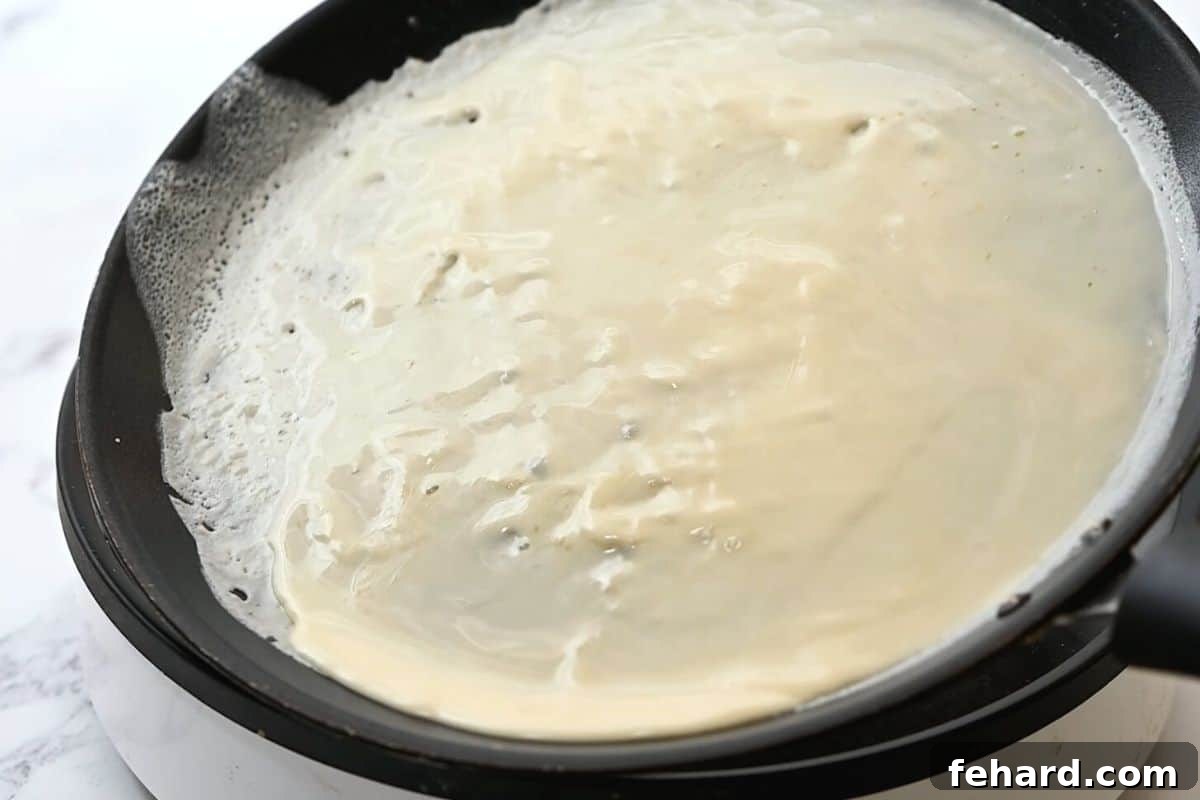
- Cook and Flip the Crepes. Cook the crepe undisturbed until the edges begin to crisp slightly, the surface looks set, and the bottom is lightly golden brown. This usually takes about 60 to 90 seconds. Gently loosen the crepe from the edges of the pan using a thin, nonstick rubber spatula. Carefully slide the spatula under the center, then swiftly flip the crepe over to cook the second side. Continue to cook for an additional 30-45 seconds, or until it is lightly browned and set. Remove the cooked crepe to a plate and repeat the entire process with the remaining batter, remembering to brush the skillet generously with melted butter before each new crepe to prevent sticking.
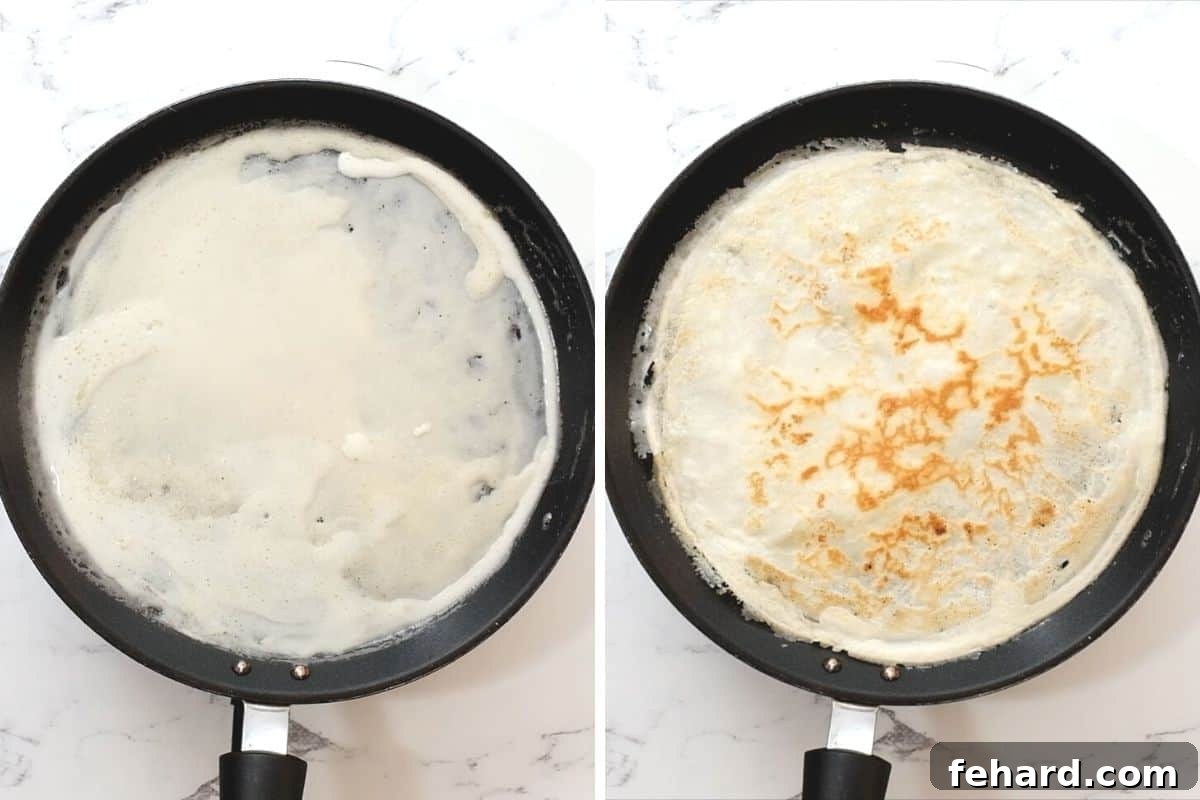
- Serve Your Delicious Crepes. Once cooked, your homemade crepes are ready to be enjoyed! They are incredibly delicious served simply, rolled or folded, or transformed into a more elaborate dish with one of the many sweet or savory filling ideas detailed below.
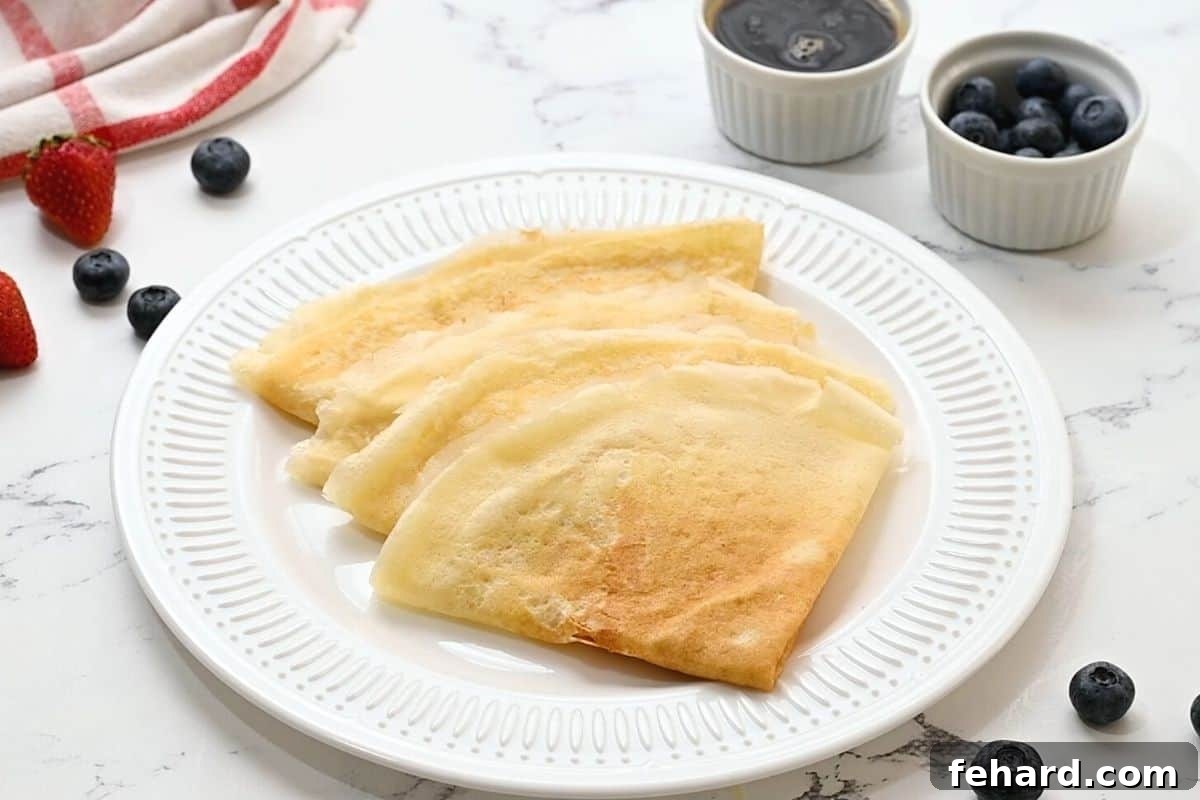
Creative Filling Ideas for Your Homemade Crepes
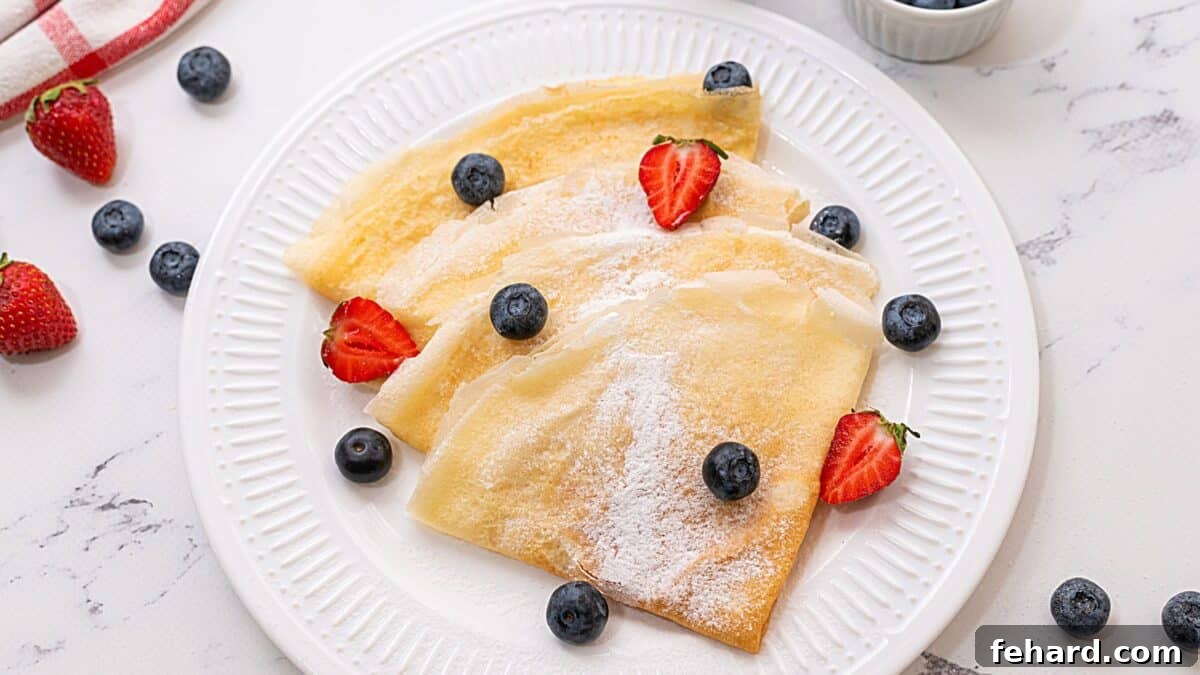
The true magic of crepes lies in their incredible versatility. They act as a blank canvas, ready to be transformed into an endless array of sweet or savory delights. Whether you prefer them simply plain or lavishly stuffed, here are some of my favorite suggestions to inspire your crepe creations:
- Ricotta and Berries: For a light and refreshing option, gently mix creamy ricotta cheese with a touch of honey or a sprinkle of sugar. Spread a thin layer over each crepe, fold them delicately, and serve with a generous topping of fresh seasonal berries (strawberries, blueberries, raspberries) and a drizzle of maple syrup or extra honey.
- Nutella and Bananas: A classic for a reason! Spread a thin, even layer of rich Nutella over the entire crepe, then arrange thin slices of ripe banana across one half. Fold or roll the crepe and enjoy this decadent combination. For an extra treat, add a few chopped hazelnuts.
- Strawberries and Chocolate: Fold your freshly prepared crepes into quarters or triangles. Drizzle generously with luscious homemade chocolate syrup and top with vibrant fresh sliced strawberries. A dollop of whipped cream would also be divine!
- Jam and Cream: Simple, yet profoundly satisfying. Spread your favorite fruit jam (strawberry, raspberry, apricot) in a thin layer over the crepe. Fold or roll as desired, then crown with a cloud of light and airy homemade whipped cream.
- Roasted Vegetables (Savory): For a hearty and healthy savory crepe, fill with a medley of leftover roasted vegetables such as bell peppers, zucchini, onions, and cherry tomatoes. Roll them up, drizzle with a good quality olive oil or a savory spaghetti sauce, and finish with a sprinkle of grated Parmesan cheese.
- Chicken and Cheese (Savory): Sauté leftover shredded chicken with sliced baby portabella mushrooms in a touch of butter until warmed through. Layer this savory mixture over your crepes, then add a generous sprinkling of Swiss or Gruyere cheese. Fold or roll the crepe and serve warm. A light béchamel sauce could also be added.
- Cream Cheese and Smoked Salmon (Savory): An elegant and sophisticated choice. Spread crepes with a thin layer of plain cream cheese. Arrange delicate thin slices of smoked salmon on top of the cream cheese before gently rolling or folding the crepe. A sprinkle of fresh dill or chives would complete this gourmet treat.
- Ham and Cheese (Savory): A classic comfort food combination. Lay thin slices of your favorite deli ham and a slice of your preferred cheese (Swiss, cheddar, or provolone work well) onto a warm crepe. Roll them up, and for an extra melted delight, briefly return to the pan or microwave until the cheese is gooey.
- Pesto and Tomatoes (Savory): A burst of Mediterranean flavors. Spread crepes with a thin layer of vibrant basil pesto. Roll them up and top with fresh, juicy sliced cherry or grape tomatoes. A crumble of feta cheese or a drizzle of balsamic glaze would be a lovely addition.
- Apple Cinnamon Delight (Sweet): Sauté thinly sliced apples with a touch of butter, brown sugar, and cinnamon until tender. Fill crepes with this warm mixture, fold, and top with a scoop of vanilla ice cream or a dollop of whipped cream.
- Lemon and Sugar (Sweet): A simple, classic French way to enjoy crepes. Squeeze fresh lemon juice over a warm crepe, sprinkle generously with granulated sugar, and fold into quarters. The tartness of the lemon beautifully balances the sweetness.
Frequently Asked Questions About Homemade Crepes
For the absolute best results, blending crepe batter is highly recommended. The goal is to achieve a batter that is perfectly smooth and completely lump-free, with the flour thoroughly dissolved. A blender excels at this, creating a homogeneous mixture and incorporating air, which contributes to the crepes’ light and delicate texture.
Yes, absolutely! Resting the batter is a critical step that significantly impacts the final quality of your crepes. It allows time for the flour to fully hydrate, ensuring a tender and uniform texture. More importantly, it gives the gluten in the flour time to relax. This relaxation prevents the crepes from being tough or rubbery, making the batter much easier to work with and resulting in beautifully pliable and delicate crepes.
While you technically *can* use all-purpose flour, it is not recommended for achieving truly delicate crepes. All-purpose flour has a higher protein content than cake flour or whole wheat pastry flour, leading to more gluten development. This will result in a denser, chewier crepe that is harder to spread thinly and more prone to tearing. For that signature light and tender texture, stick to cake flour or whole wheat pastry flour.
Yes, this is one of the convenient aspects of making crepes! You can prepare the batter up to 1-2 days in advance. Simply blend the batter as directed, then transfer it to an airtight container and refrigerate. When you’re ready to cook, allow the batter to come to room temperature for about 20-30 minutes before proceeding with the cooking steps. Give it a gentle whisk before pouring.
No, a specialized crepe pan is not strictly necessary. While they are designed for the task, a good quality 8 to 10-inch nonstick skillet with low sides works just as well. The key is to have a pan that heats evenly and has a nonstick surface to ensure easy flipping and removal of the delicate crepes.
The best way to prevent sticking is to ensure your pan is properly heated (medium heat is usually ideal) and generously buttered before pouring each and every crepe. Using melted butter applied with a pastry brush works best, covering the entire cooking surface. If crepes are sticking, your pan might not be hot enough, or it needs more butter.
Crepes can tear for a few reasons. Firstly, the batter might be too thick (try adding a touch more seltzer water or milk). Secondly, you might be trying to flip it too soon; wait until the edges are set and lightly browned, and the surface appears dry. Thirdly, your spatula might not be thin enough, or you’re not getting it completely under the crepe before flipping. The resting period also contributes to elasticity, making them less prone to tearing.
Pro Tips for Perfect Crepes Every Time
Beyond the ingredients and basic steps, a few extra tips can truly elevate your crepe-making experience:
- Maintain Consistent Pan Temperature: Medium heat is generally ideal. If the pan is too hot, the crepes will brown too quickly and burn before cooking through; too cool, and they won’t brown properly and may stick. Adjust the heat as needed throughout the cooking process.
- Use a Ladle or Measuring Cup: For uniform crepes, use a consistent amount of batter for each one (e.g., ¼ cup). This helps keep them all the same size and thickness.
- The First Crepe: Don’t be discouraged if your first crepe isn’t perfect. It’s often referred to as the “test crepe” because it helps you gauge your pan’s temperature and adjust it. It’s also often the most delicious, as you get to enjoy it immediately!
- Stacking Cooked Crepes: As you cook, stack the finished crepes on a plate. The residual heat from each crepe will keep the stack warm and prevent them from drying out. You can also cover the stack loosely with foil.
- Practice Makes Perfect: Crepe making is a skill that improves with practice. Don’t worry if your first few aren’t picture-perfect; they’ll still be delicious!
Storage and Make-Ahead Options
Crepes are fantastic for meal prep! They store beautifully and can be made in advance, making them an excellent choice for busy mornings or entertaining.
- Refrigeration: Once cooled completely, stack your crepes with a piece of parchment paper or waxed paper between each one to prevent sticking. Place the stack in an airtight freezer bag or a sealed container. They will keep fresh in the refrigerator for up to 3 days.
- Freezing: For longer storage, stack cooled crepes with parchment or waxed paper in between. Place the stack in a heavy-duty freezer bag or an airtight freezer-safe container. Crepes can be frozen for up to 2 months. Thaw them overnight in the refrigerator before reheating.
- Reheating: Reheat individual crepes gently in a dry nonstick skillet over medium-low heat for about 30 seconds to 1 minute per side, until warmed through and pliable. You can also briefly warm them in the microwave if you’re in a hurry.
- Make-Ahead Batter: As mentioned in the FAQs, the batter can be made 1-2 days in advance and stored in the refrigerator. Just remember to let it come to room temperature and give it a quick whisk before cooking.
More Delicious Breakfast Favorites
If you loved making these homemade crepes, you might enjoy exploring these other delightful breakfast and brunch recipes that are perfect for any occasion:
- Fluffy Whole Wheat Pancakes
- Easy Hashbrown Breakfast Casserole
- Overnight French Toast Casserole
- Wholesome Whole Wheat Waffles
- Flavorful Homemade Breakfast Sausage
- Indulgent Bananas Foster French Toast
Did you make this recipe?
If you enjoyed this recipe, please consider leaving a comment with a 5-star review below. Your feedback means the world to us!
Homemade Crepes
Kristen Chidsey
6
5 mins
20 mins
1 hr
1 hr 25 mins
Rate

Video
(Video demonstration of crepe making process would be embedded here.)
Ingredients
- 3 tablespoons unsalted butter, divided
- 3 large eggs
- 1 cup cake flour, or whole wheat pastry flour
- 1 cup milk, any variety
- ¾ cup seltzer water
- 1 tablespoon maple syrup, (optional, for sweet crepes)
- 1 teaspoon vanilla extract, (optional, for sweet crepes)
- dash of salt
Instructions
-
Melt one tablespoon of the unsalted butter and allow it to cool slightly before use.
-
In a blender, combine the eggs, milk, seltzer water, maple syrup (if desired), vanilla extract (if desired), and the slightly cooled melted butter. Add the cake flour (or whole wheat pastry flour) and a dash of salt. Blend on high speed until the mixture is perfectly smooth and has a bubbly consistency.
-
Transfer the batter to a bowl, cover it, and let it rest at room temperature for 30 to 60 minutes. This resting period is crucial for the flour to fully hydrate and for the gluten to relax, resulting in tender crepes.
-
Once the batter has rested, melt the additional 2 tablespoons of butter. Keep this melted butter in a small dish near your stove; you will use it to generously grease the skillet for each individual crepe.
-
Heat an 8 to 10-inch nonstick skillet over medium heat. Brush the hot skillet generously with the melted butter. Pour approximately ¼ cup of the batter into the center of the pan. Immediately and very quickly tilt and swirl the pan in a circular motion to allow the batter to spread thinly and evenly across the entire bottom surface.
-
Cook the crepe for about 60 to 90 seconds, until the edges are lightly golden and the surface appears set. Carefully slide a thin rubber spatula underneath the crepe, then gently flip it over. Cook for an additional 30 to 60 seconds on the second side, until lightly browned and cooked through. Remove the finished crepe to a plate.
-
Repeat the process with the remaining batter, remembering to brush the skillet generously with melted butter between each crepe to ensure they do not stick and cook beautifully.
Notes
Seltzer Water: If seltzer water is unavailable, club soda can be used as a direct substitute. Both provide the necessary carbonation for aerating the batter.
For Storage: To store cooled crepes, stack them neatly with a piece of parchment paper or waxed paper placed between each crepe. This prevents them from sticking together. Transfer the stacked crepes into an airtight freezer bag or a sealed container. They can be stored in the refrigerator for up to 3 days or in the freezer for up to 2 months. To reheat, simply warm them gently in a dry skillet over medium-low heat.
Recipe Note for Savory Crepes: If your intention is to make savory crepes, you can completely omit the maple syrup from the batter. The subtle sweetness is optional and can be adjusted based on your desired filling.
Nutrition
Carbohydrates: 18g
Protein: 6g
Fat: 2g
Cholesterol: 82mg
Sodium: 50mg
Potassium: 174mg
Fiber: 2g
Sugar: 4g
Vitamin A: 200IU
Calcium: 73mg
Iron: 1.1mg
Nutrition information is automatically calculated and should only be used as an approximation.
Tried this recipe?Mention @amindfullmom or tag #amindfullmom!
This recipe was originally published in 2016 but has been thoughtfully updated and expanded in 2025 to provide even more helpful tips and details for perfect homemade crepes.