
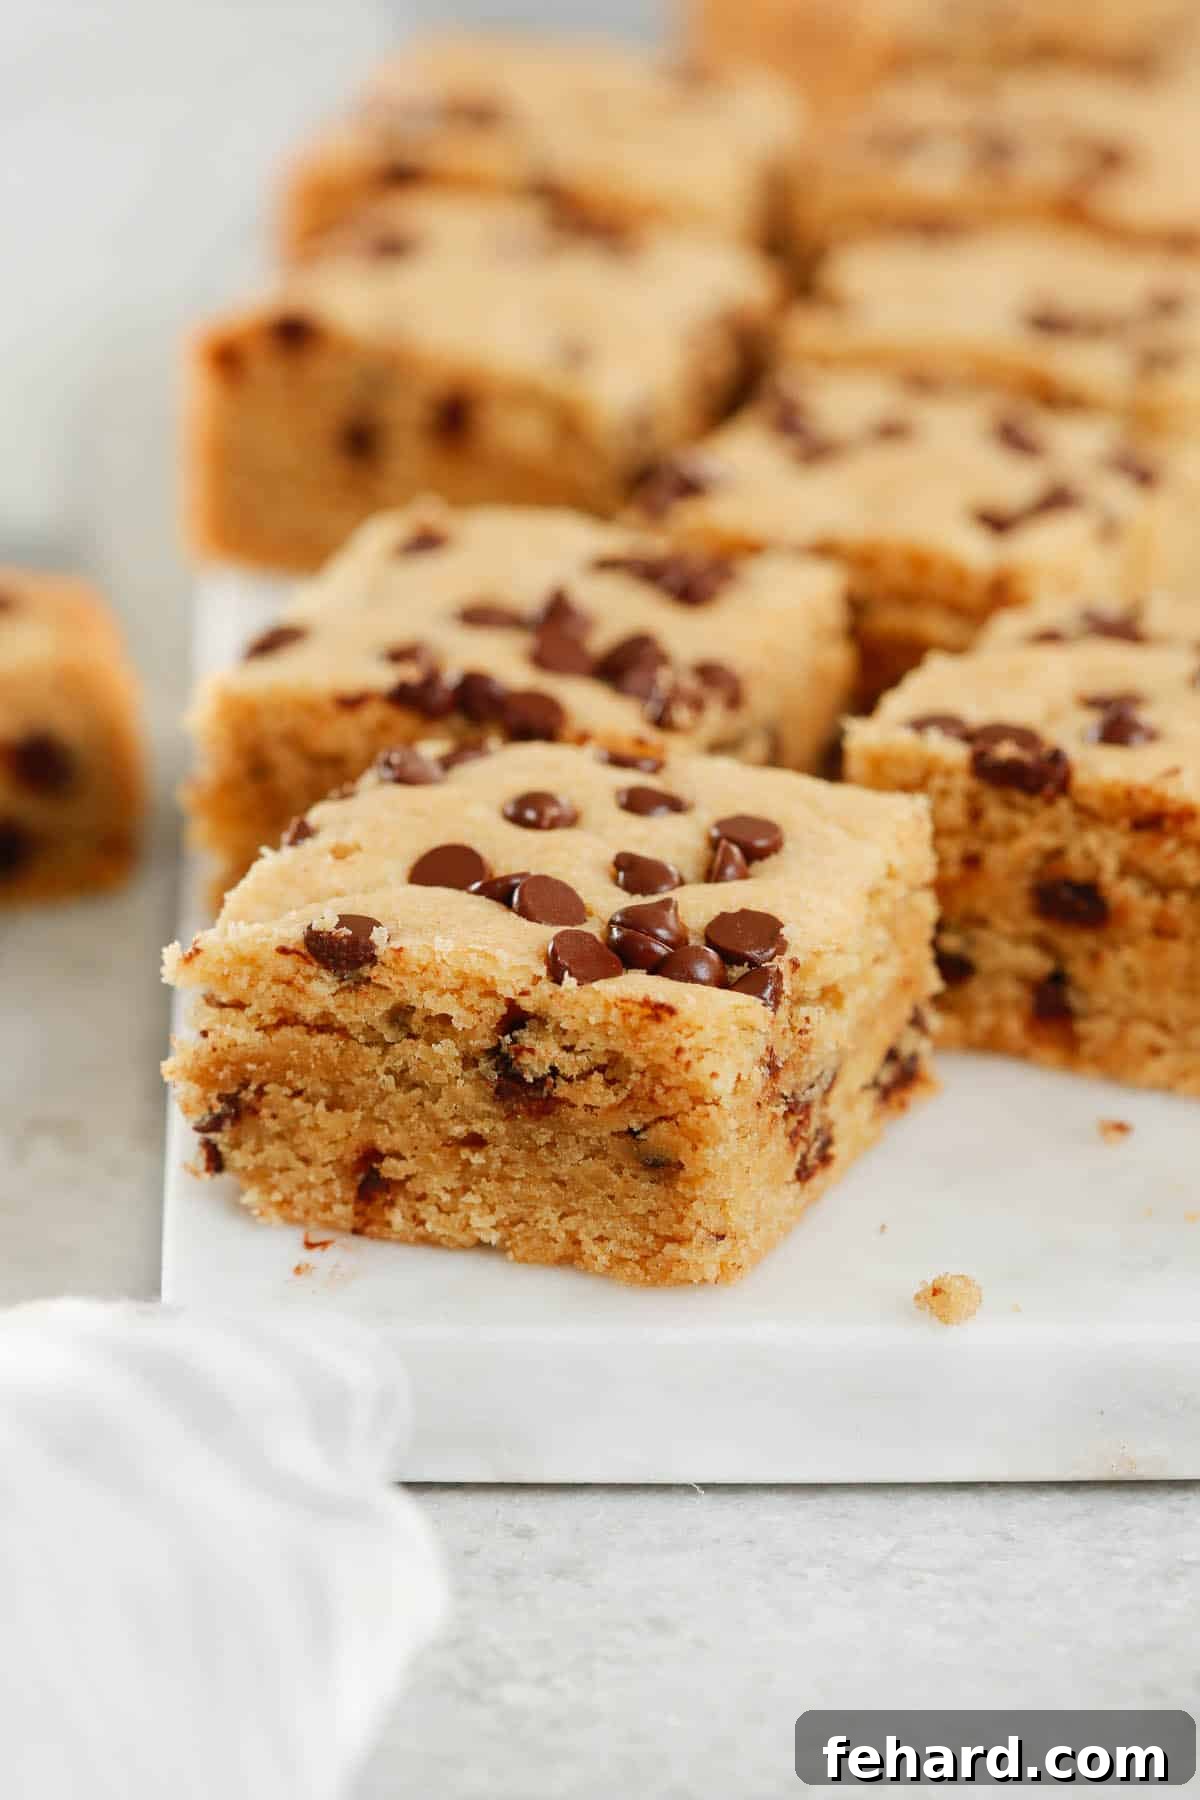
Are you searching for a dessert that captures the comforting essence of a homemade chocolate chip cookie but comes with a fraction of the fuss? Look no further! These irresistible Chocolate Chip Cookie Bars are your answer. Imagine a soft, chewy, and utterly delightful treat, loaded with rich dark chocolate chips and crafted with wholesome whole wheat flour, offering a slightly healthier twist on a classic favorite. They’re incredibly easy to prepare, making them a perfect project for bakers of all skill levels, even for a spontaneous afternoon activity with the kids.
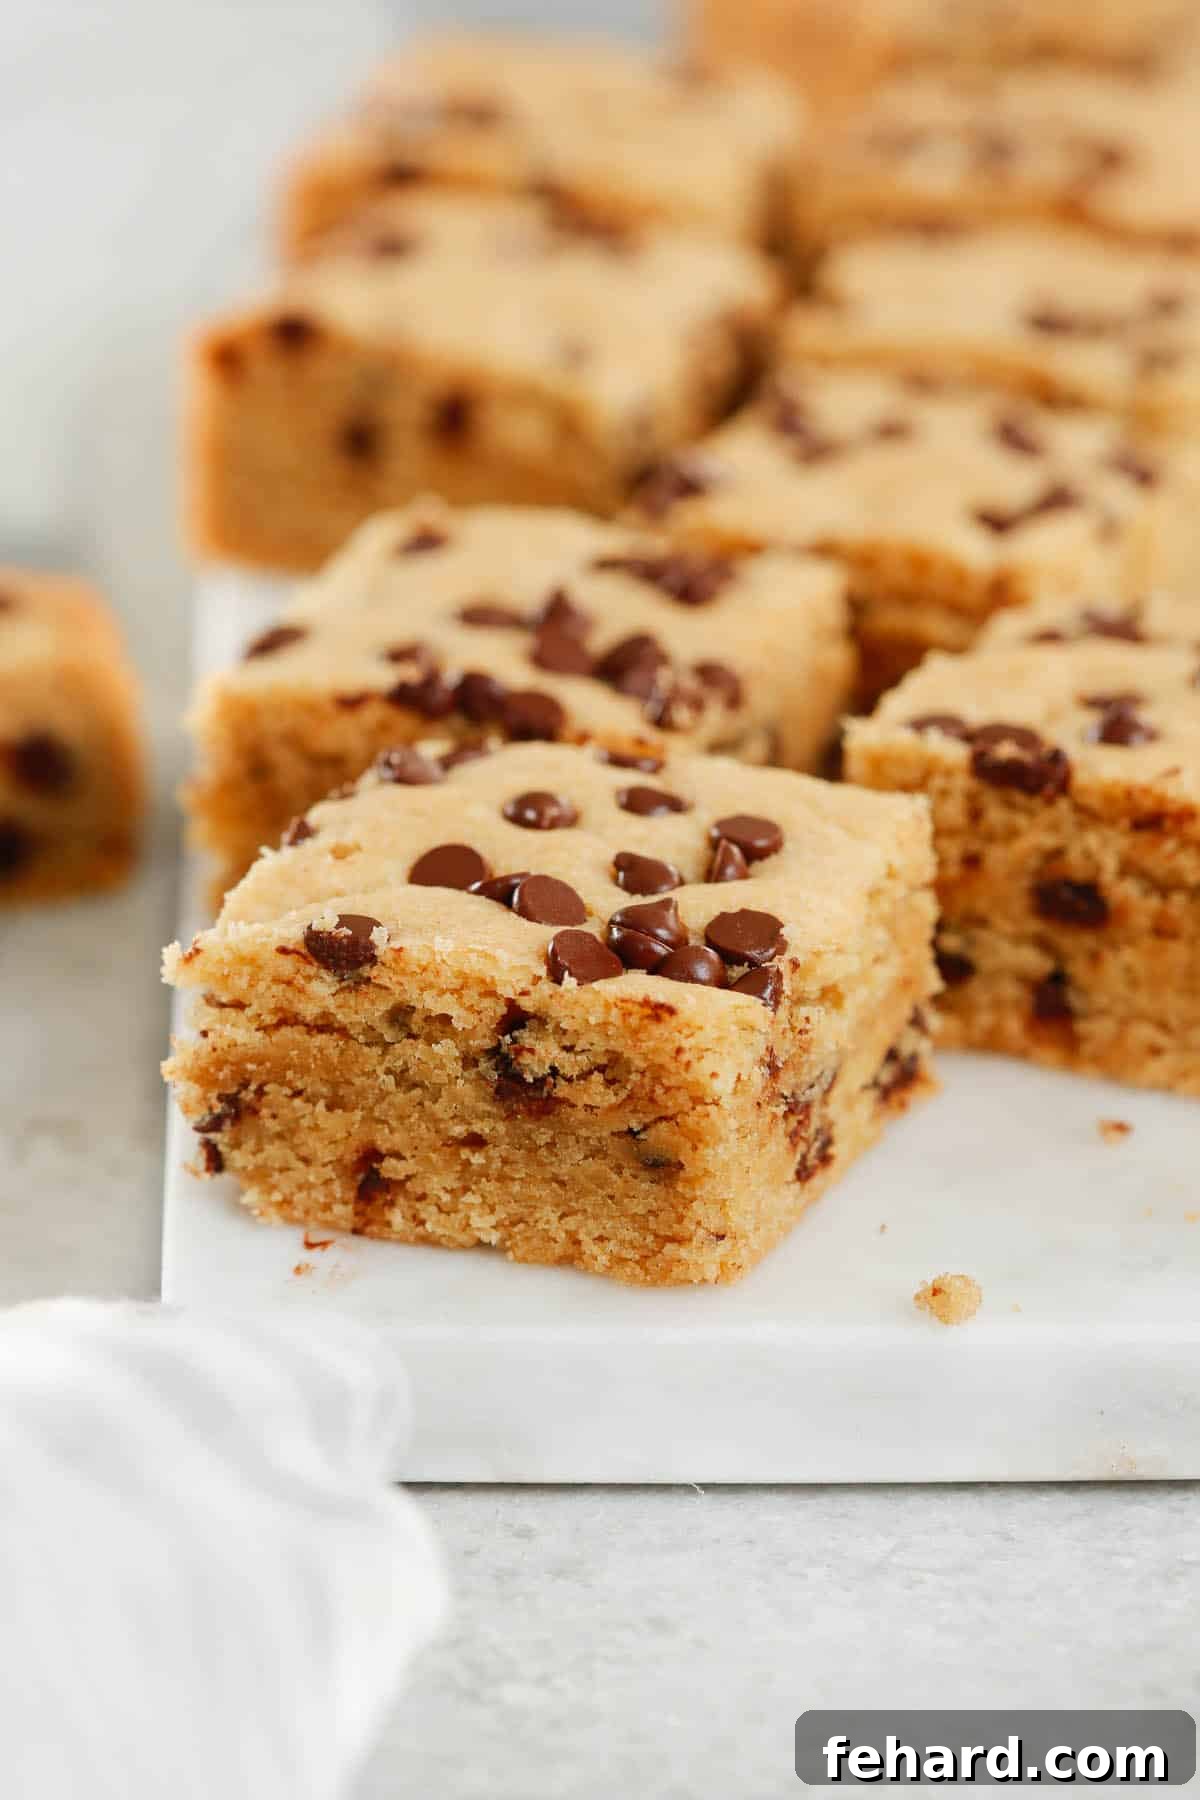
You are truly going to fall in love with making these easy chocolate chip cookie bars. I first whipped up a batch when my nephew and niece visited us from Montreal, and they were an instant hit! Their eyes lit up with every bite, proving that these bars are a crowd-pleaser for all ages. What makes them particularly special is their simplicity. Unlike traditional cookies that often demand chilling time for the dough or the use of a stand mixer, these bars come together effortlessly with minimal equipment and no waiting around. This makes them an ideal choice for busy parents or anyone looking for a quick and satisfying dessert that doesn’t involve a mountain of dirty dishes.
The beauty of dessert bars lies in their convenience. Just like my popular No-Bake Chocolate Strawberry Bars and No-Bake Chocolate Coconut Bars, these chocolate chip variations are designed for ease. They simplify baking without compromising on flavor or texture. They’re not only straightforward to bake but also incredibly convenient to transport, making them the ultimate grab-and-go treat for picnics, potlucks, school lunches, or any gathering where delicious, homemade sweets are appreciated.
One of the biggest advantages of baking cookie bars instead of individual cookies is the sheer efficiency. While traditional cookies require careful spacing on a baking sheet to prevent spreading and often necessitate multiple batches, these bars can be spread into a single pan and baked to perfection all at once. This eliminates the tedious process of baking in “a zillion batches” and ensures a consistent, perfectly baked result every time. Need more? Simply double the recipe and use a larger pan or two standard pans. You’ll spend less time in the kitchen and more time enjoying your delectable homemade cookie bars.
Baking the Perfect Healthier Chocolate Chip Cookie Bars
Creating these chewy chocolate chip cookie bars is a rewarding experience. This recipe focuses on simple steps and readily available ingredients to deliver a dessert that tastes indulgent yet incorporates healthier elements like whole wheat flour and dark chocolate. The result is a bar that is satisfyingly soft on the inside, with perfectly crisp edges, and bursting with rich chocolate flavor.
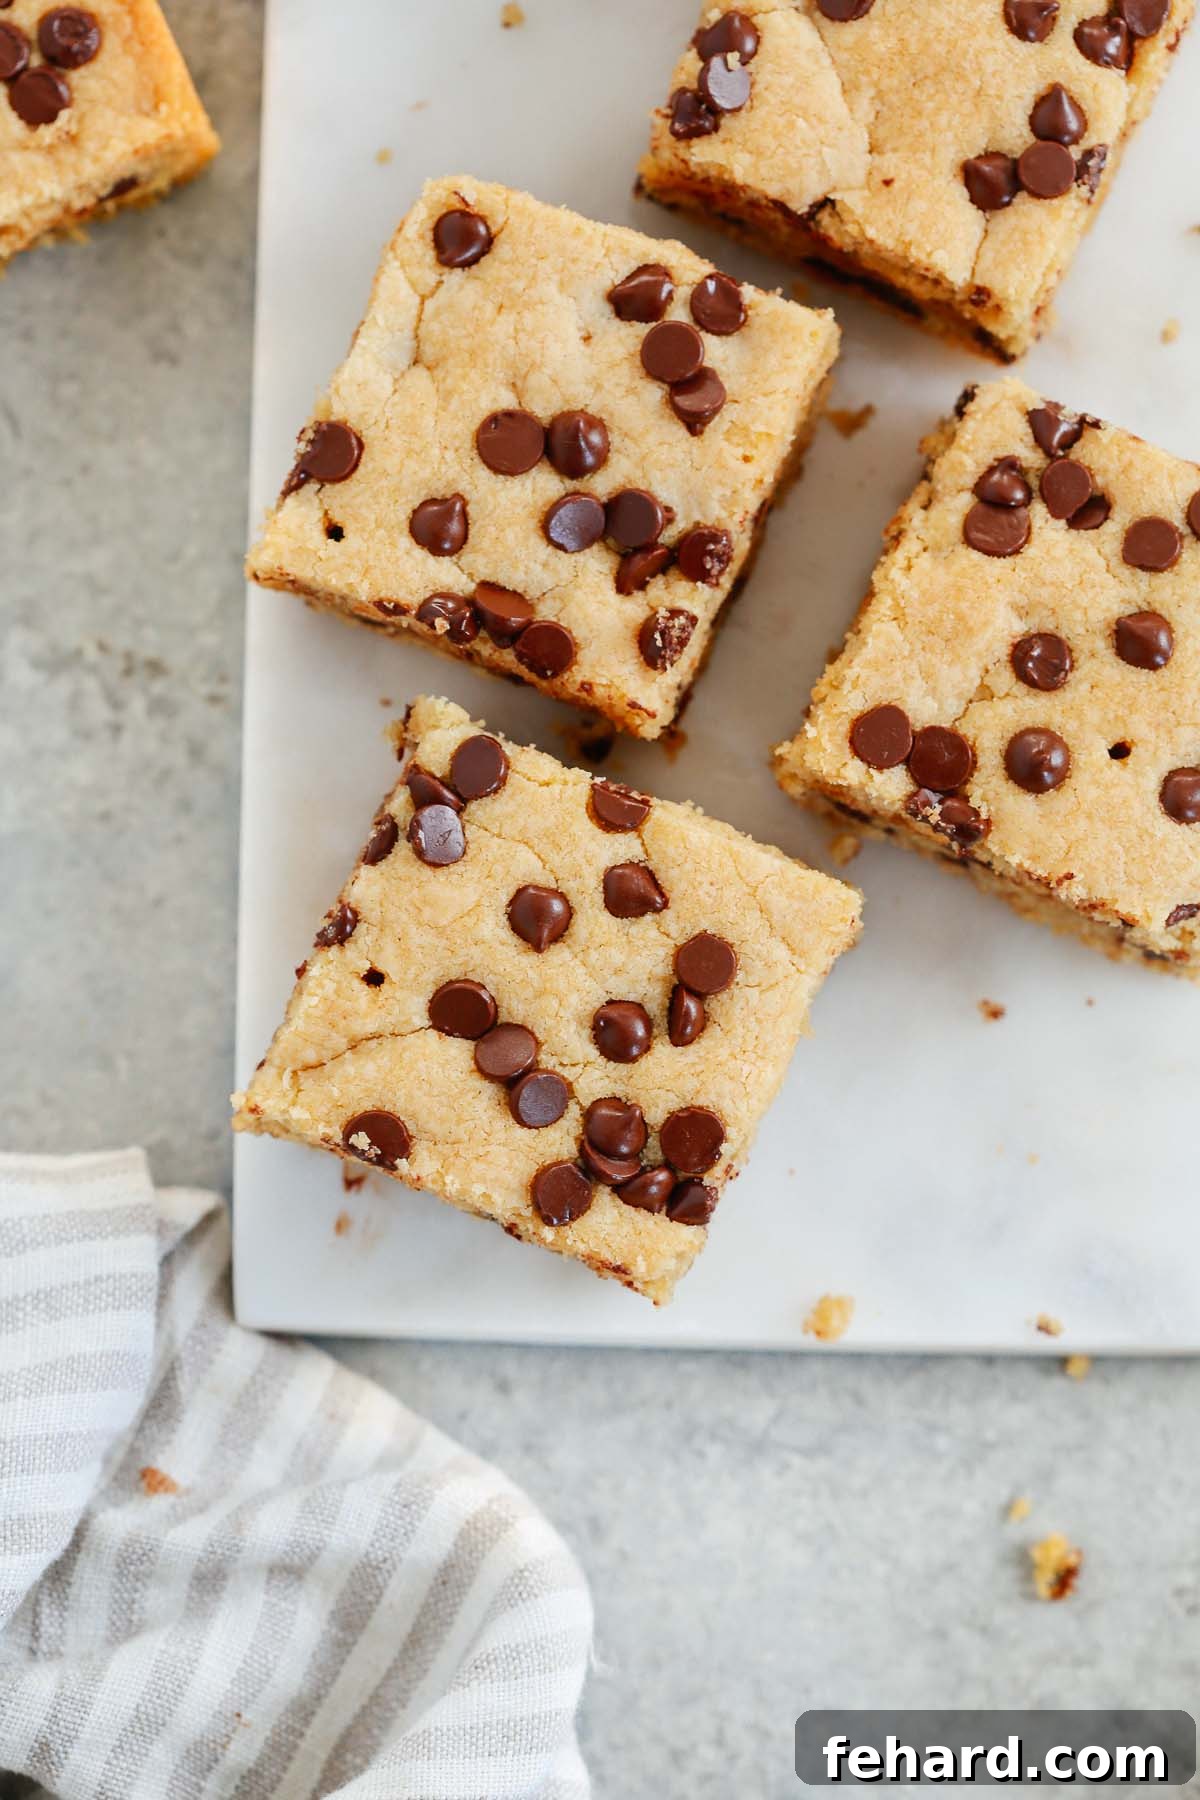
Instructions for Simple Chocolate Chip Cookie Bars
Follow these easy steps to create your own batch of delicious cookie bars. Remember, the key to success is in the preparation and simple mixing!
Prepare the Oven and Pan
- First, preheat your oven to 350°F (175°C). This ensures your oven is at the correct temperature for even baking.
- Next, prepare a 9×13-inch baking dish. You can grease it lightly with cooking spray, but for the easiest removal and cleanup, I highly recommend lining the pan with parchment paper, leaving an overhang on the sides. This creates “handles” that allow you to lift the entire slab of cookie bars out of the pan once cooled, making slicing a breeze. Set the prepared pan aside.
Crafting the Delicious Batter
- In a large mixing bowl, combine the softened unsalted butter and your choice of natural sweetener (like granulated sugar or coconut sugar). Cream these two ingredients together until they are fully combined and light, which typically takes about 2 minutes of vigorous mixing. This step incorporates air into the mixture, contributing to the bars’ soft and tender texture.
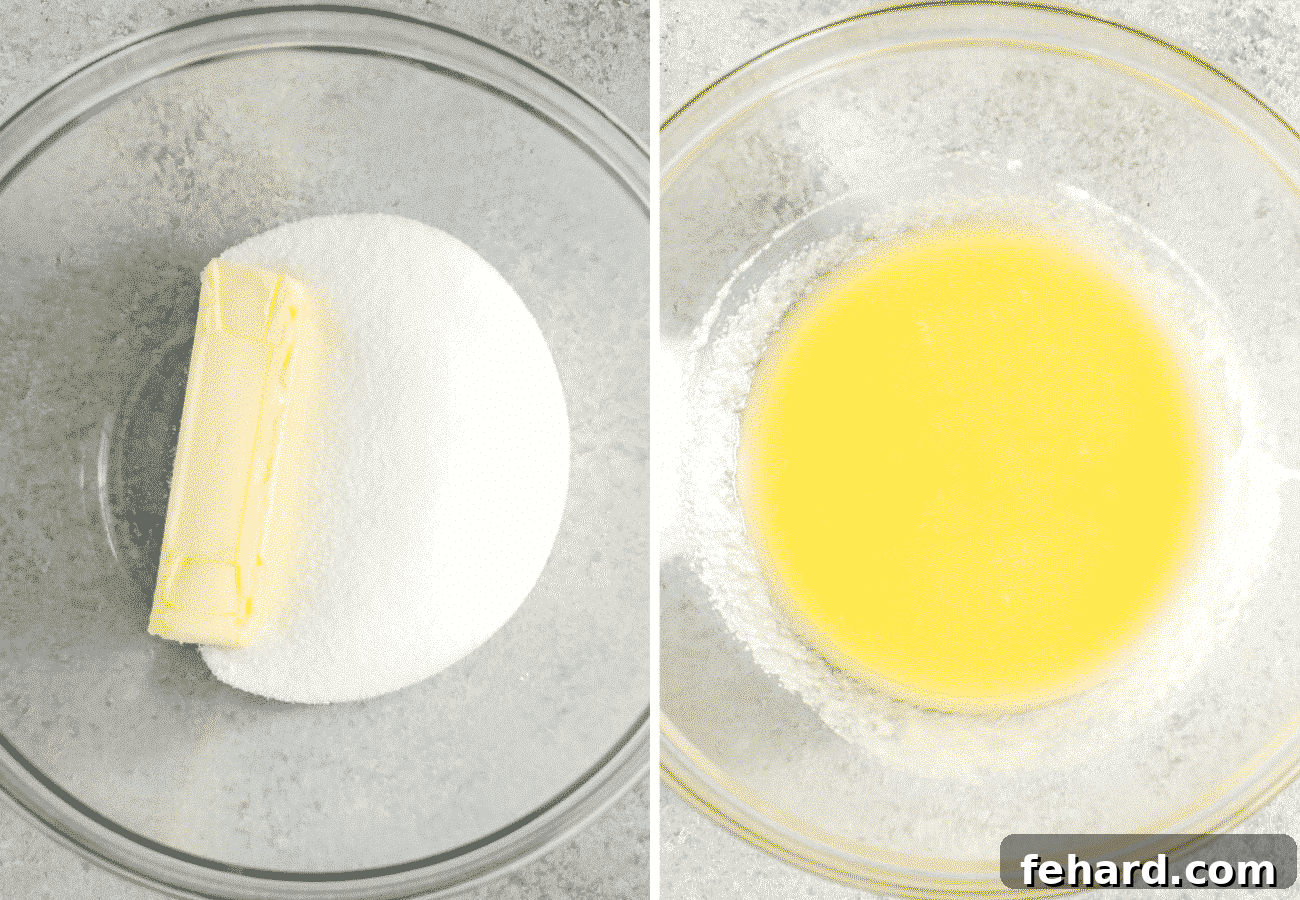
2. Once the butter and sweetener are creamed, add the almond butter and mix thoroughly until the mixture becomes smooth and well-incorporated. The almond butter adds a lovely depth of flavor and helps achieve that signature chewy texture. Then, crack in the two eggs and add the vanilla extract. Mix again until the mixture is beautifully creamy and homogenous. Next, gradually add the dry ingredients: the white whole wheat flour, baking soda, and salt, along with 1 tablespoon of water. Mix all the ingredients gently until they are just combined. Be careful not to overmix, as this can lead to tough bars.
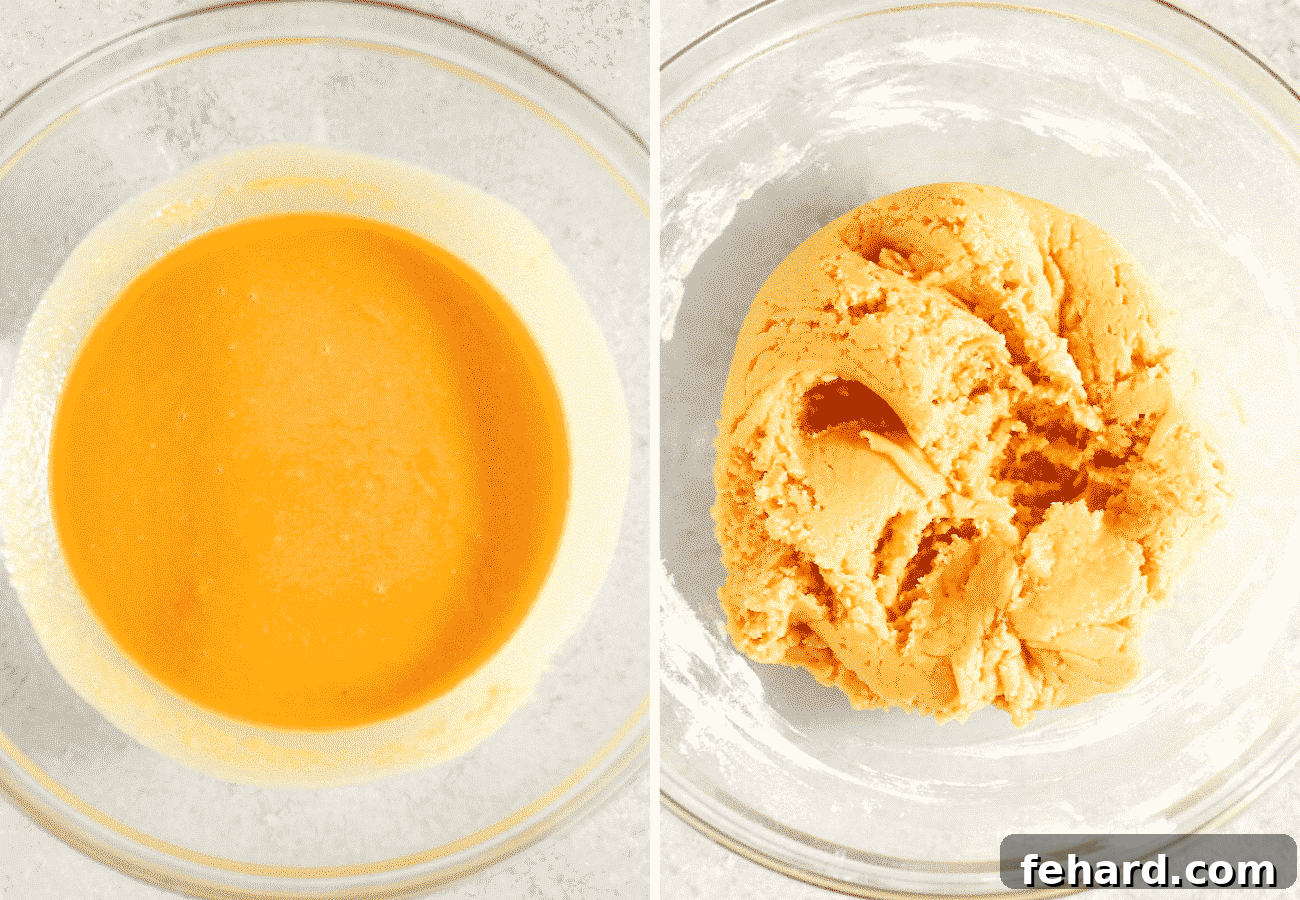
3. Finally, it’s time for the star ingredient – the chocolate chips! Add the dark chocolate chips to the dough and gently fold them in until they are evenly distributed throughout the batter. Once combined, spread the cookie dough evenly into the prepared baking pan, ensuring it reaches all corners. A spatula or the back of a spoon can help you achieve a smooth, consistent layer.
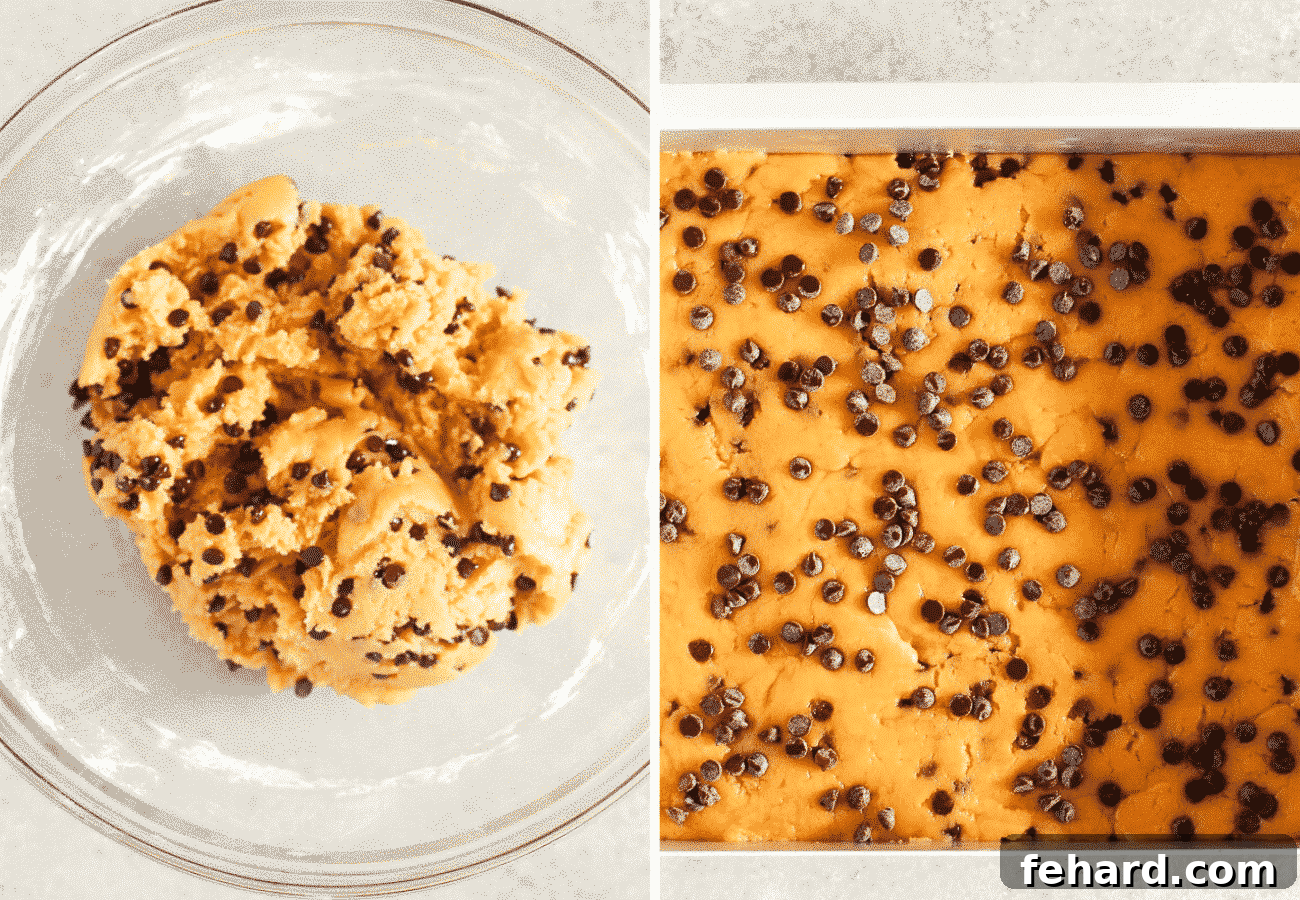
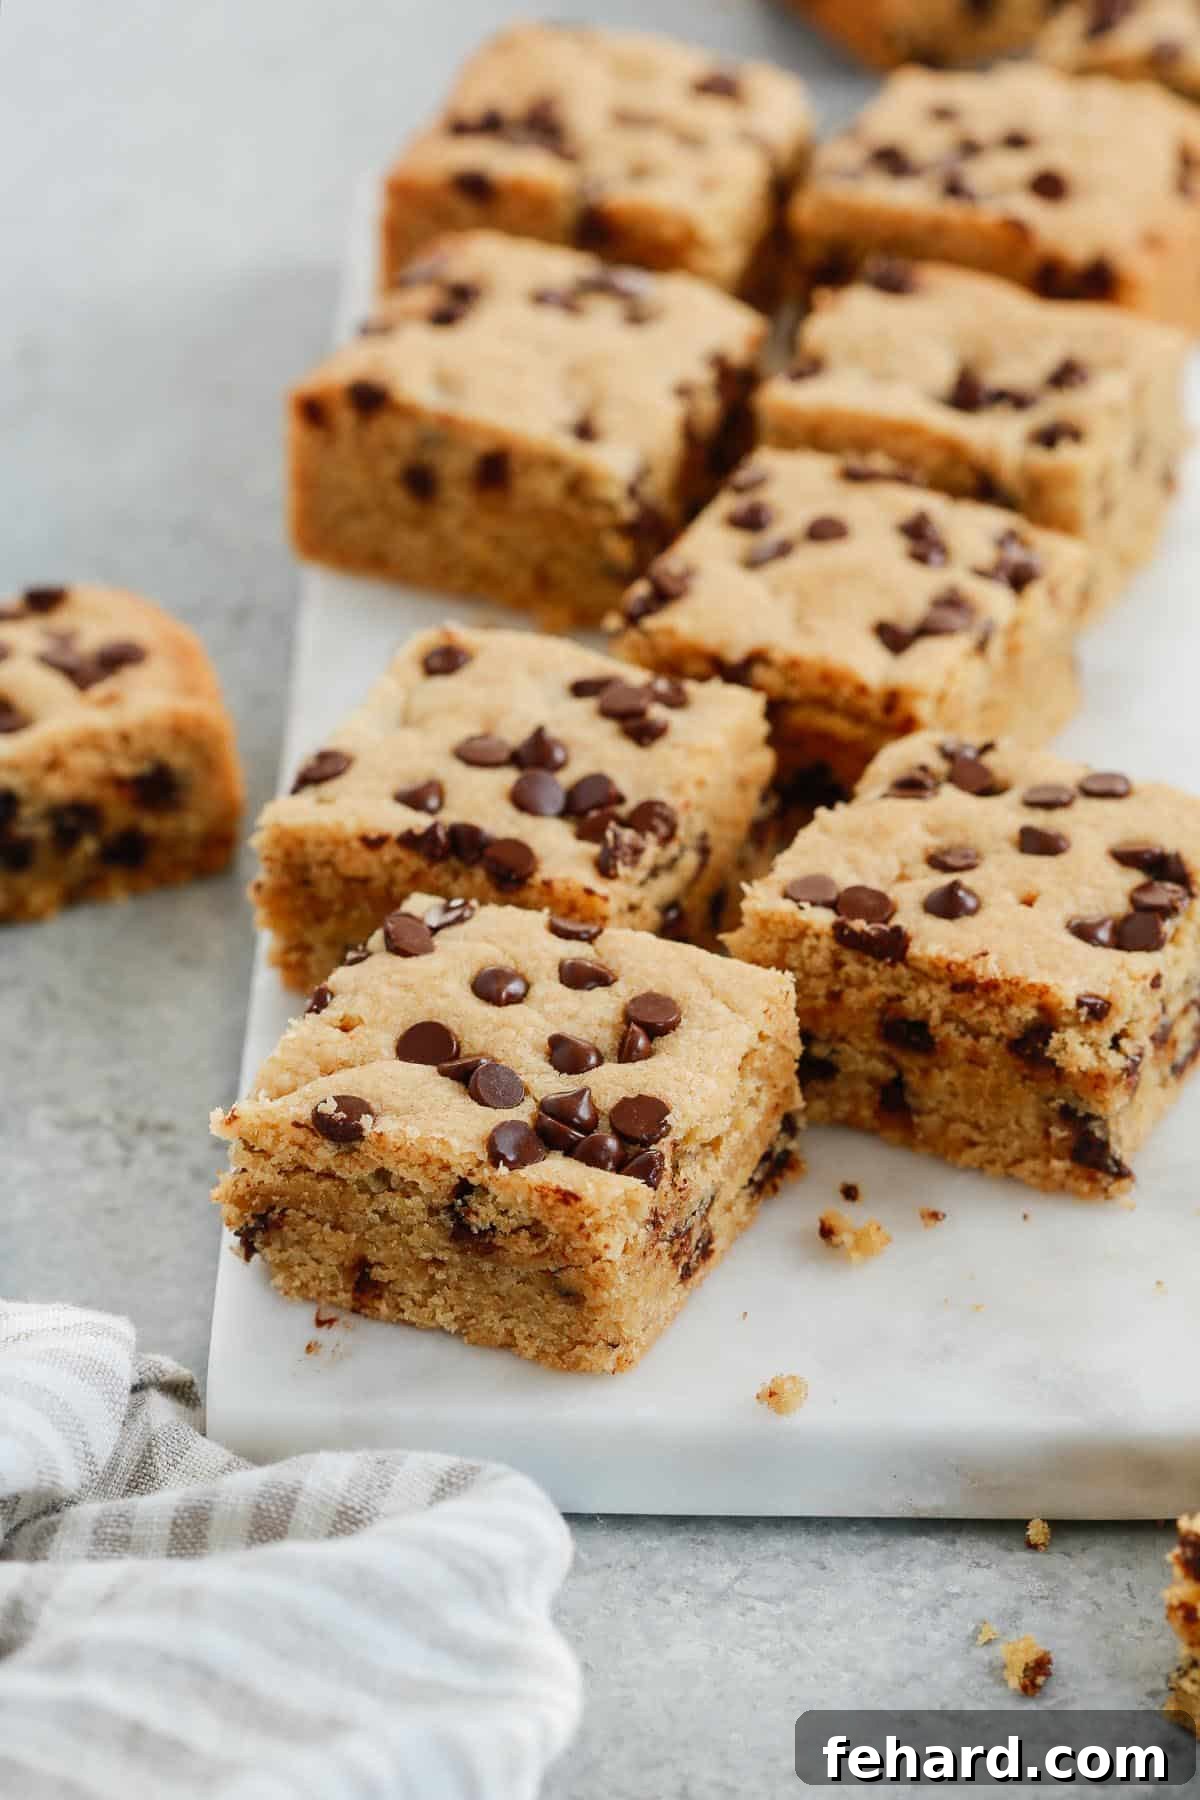
4. Place the pan in the preheated oven and bake for approximately 18 minutes, or until the center is just set and the edges are golden brown. Baking times can vary slightly depending on your oven, so keep an eye on them. Once baked, remove the pan from the oven and let the healthier chocolate chip bars cool completely in the pan before attempting to cut them. Patience is key here; cutting them while warm can result in crumbly bars. Once cooled, use the parchment paper overhang to lift the entire slab out and slice them into perfect squares.
Essential Tips and Notes for Baking Cookie Bars
- Checking for Doneness: To accurately determine if your cookie bars are perfectly baked, insert a toothpick into the center of the pan. If it comes out clean or with a few moist crumbs attached, your bars are ready. If you see wet batter, continue baking for a few more minutes and re-test. Overbaking can lead to dry bars, so aim for just set.
- Parchment Paper is Your Best Friend: While greasing your baking pan is an option, I strongly recommend lining it with parchment paper. This simple step makes lifting the entire batch of baked bars out of the pan incredibly easy, allowing for neat and effortless cutting into squares. It also significantly simplifies cleanup, saving you from scrubbing sticky bits off your pan.
- A Pinch of Flaky Salt: For an elevated flavor experience, sprinkle a tiny bit of flaky sea salt over the top of the bars immediately after they come out of the oven. This small addition doesn’t just look appealing; it enhances the rich chocolate flavor and perfectly balances the sweetness, creating a more sophisticated taste profile.
- Unsalted Butter is Crucial: Always opt for unsalted butter in this recipe. Since salt is added separately to the batter, using unsalted butter gives you precise control over the overall saltiness of your cookie bars. Using salted butter can result in a dessert that is unexpectedly salty, detracting from the intended flavor.
- Ingredient Swaps and Variations:
- Flour: While white whole wheat flour is used for a healthier touch, you can substitute it with all-purpose flour for a more traditional texture.
- Sweetener: Feel free to experiment with different natural sweeteners like brown sugar (for a chewier, more molasses-rich flavor) or a combination of sugar and maple syrup, adjusting dry ingredient ratios slightly if needed.
- Chocolate: Dark chocolate chips are fantastic, but milk chocolate, white chocolate, or even a mix of different chocolate types would be delicious. Chopped chocolate bars also work wonderfully.
- Add-ins: Get creative! Stir in a handful of chopped nuts (walnuts, pecans), shredded coconut, dried cranberries, or a dash of cinnamon for extra flavor and texture.
- Cooling is Non-Negotiable: It’s tempting to cut into these warm, gooey bars, but resist the urge! Letting them cool completely allows them to firm up, ensuring clean cuts and preventing them from falling apart.
- Serving Suggestions: These cookie bars are delightful on their own, but they’re also fantastic served warm with a scoop of vanilla ice cream, a drizzle of caramel sauce, or a dollop of whipped cream. They make an excellent accompaniment to a cup of coffee or tea.
Make Ahead and Freezer Tips for Chocolate Chip Cookie Bars
- These simple dessert bars are excellent for making ahead, making them perfect for parties, meal prep, or simply having a sweet treat on hand whenever a craving strikes.
- Once completely cooled, store the chocolate chip cookie bars in an airtight container at room temperature for up to 5 days. This keeps them fresh, soft, and chewy.
- To extend their shelf life significantly, these bars freeze beautifully. Wrap individual bars or small stacks tightly in plastic wrap, then transfer them to a freezer-safe container or heavy-duty freezer bag. They can be frozen for up to 3 months without losing their quality.
- When you’re ready to enjoy a frozen cookie bar, simply thaw it overnight in the refrigerator. For best texture, let it come to room temperature before serving. You can also warm them slightly in the microwave for a few seconds for that freshly baked, gooey center experience.
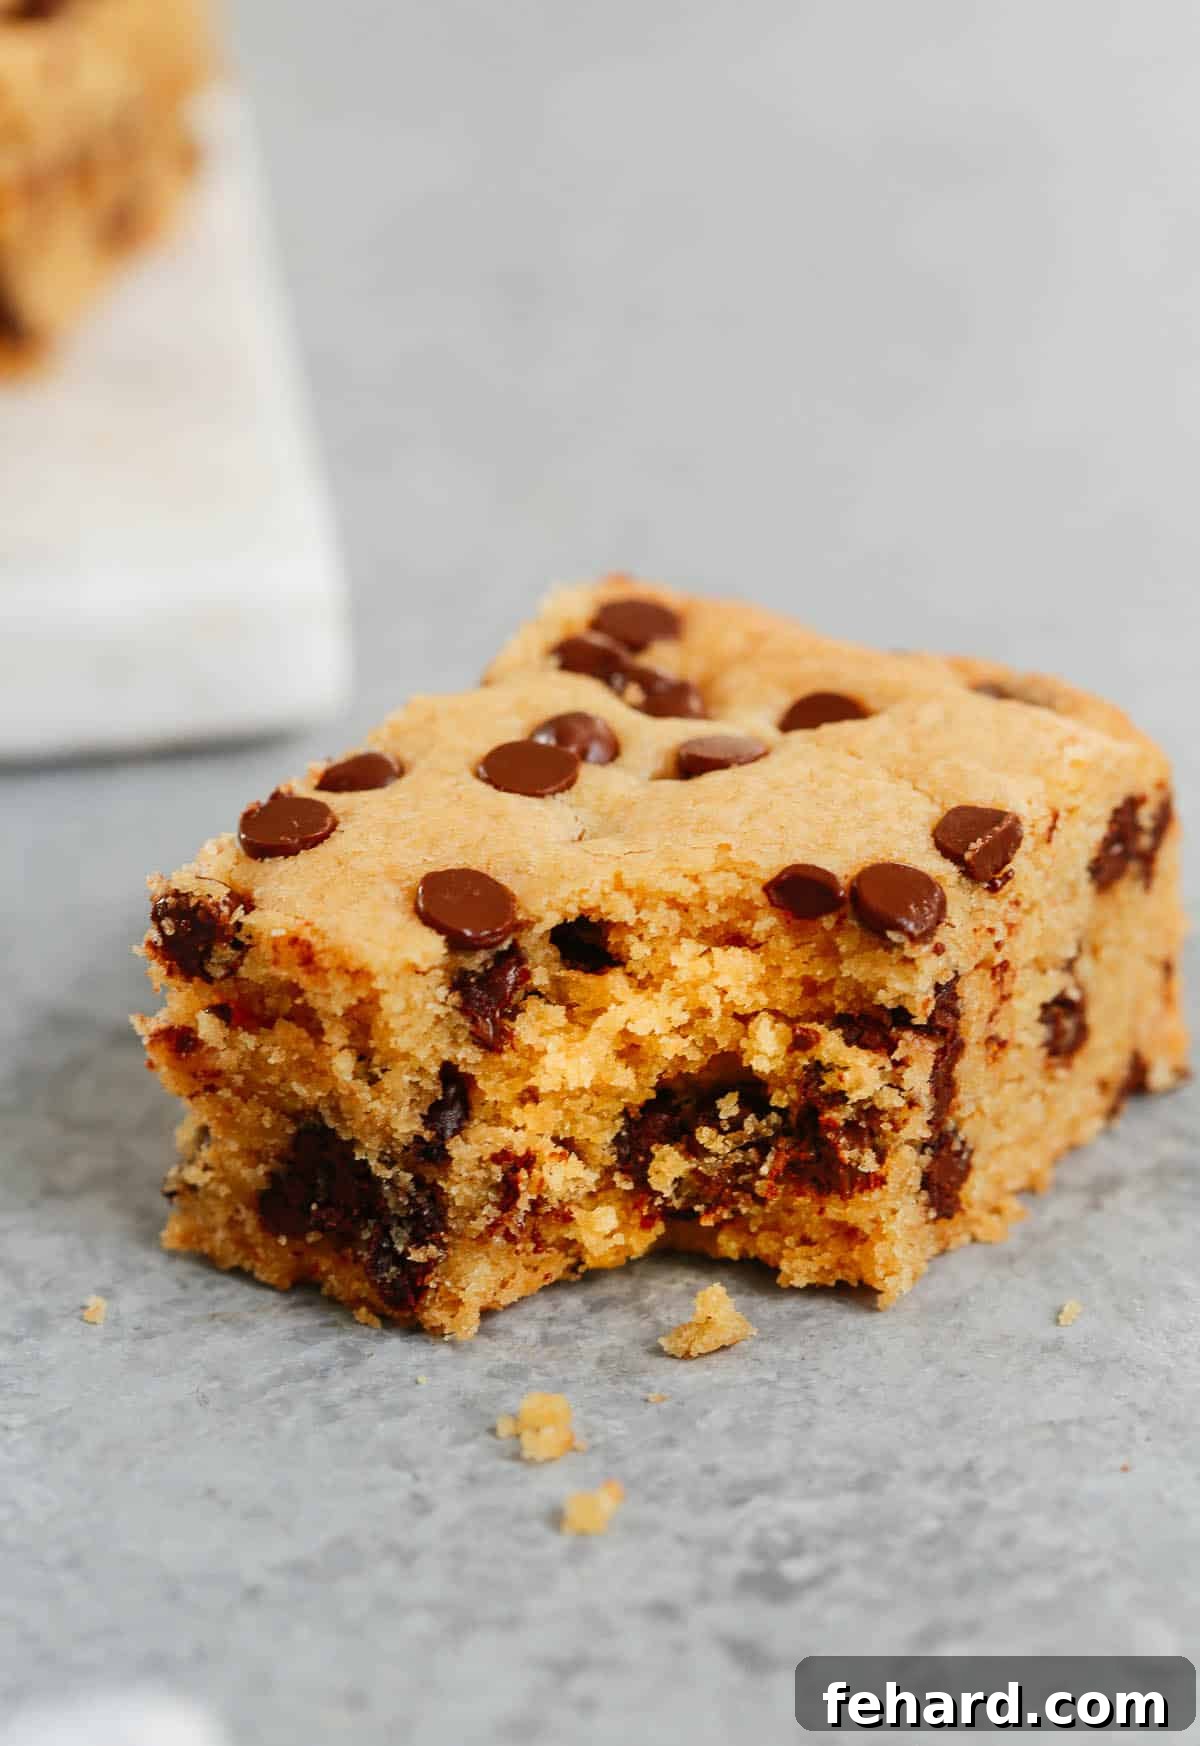
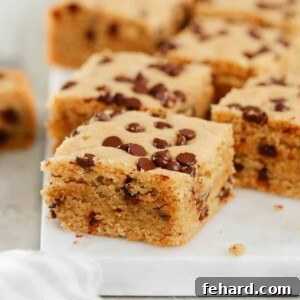
Chocolate Chip Cookie Bars
These Chocolate Chip Cookie Bars taste just like a chocolate chip cookie but are made with whole wheat flour, sugar, and dark chocolate chips. Soft but chewy, they are so easy to make!
- Author: Olivia Ribas
- Servings: 16 squares
- Prep Time: 10 minutes
- Resting Time: 10 minutes
- Cook Time: 30 minutes
- Total Time: 40 minutes
Print Recipe
Ingredients
- 1 stick unsalted butter, softened
- 1 cup sugar or coconut sugar
- 1/2 cup almond butter
- 2 eggs
- 2 tsp vanilla extract
- 2 cups white whole wheat flour
- 1 tsp baking soda
- 1/4 tsp salt (save some for topping)
- 3/4 cup dark chocolate chips (save some for topping)
Instructions
- Preheat the oven to 350°F (175°C). Grease a 9×13 inch baking dish with cooking spray, line it with parchment paper, and set aside.
- In a large bowl, mix together the softened butter and natural sweetener until fully combined and creamy, about 2 minutes.
- Then, add the almond butter and mix until thoroughly smooth and incorporated.
- Add the eggs and vanilla extract to the mixture and beat again until the batter is creamy and well-combined.
- In a separate bowl, whisk together the white whole wheat flour, baking soda, and salt. Gradually add the dry ingredients to the wet ingredients, along with 1 tablespoon of water.
- Mix everything gently until all the ingredients are just combined into a cohesive dough. Avoid overmixing.
- Fold in the dark chocolate chips until they are evenly distributed throughout the dough.
- Carefully spread the prepared cookie dough evenly into the lined baking pan, ensuring it forms a consistent layer.
- Bake for 18-20 minutes, or until the center is just set and the edges are lightly golden brown.
- Allow the cookie bars to cool completely in the pan before lifting out with the parchment paper and cutting into squares.
- Store the cooled cookie bars for up to 5 days in an airtight container at room temperature.
Notes
- This recipe is adapted from Half Baked Harvest.
- For easy removal and cleanup, lining your baking pan with parchment paper is highly recommended over just greasing it.
- For an enhanced flavor profile, sprinkle a pinch of flaky salt on top of the bars immediately after they finish baking. This will bring out the chocolate flavor and temper the sweetness.
- Ensure you use unsalted butter to control the saltiness of your bars.
- To store: Keep the chocolate chip cookie bars in an airtight container at room temperature for up to 5 days to maintain freshness.
- To freeze: Wrap individual cookie bars or the entire slab tightly in plastic wrap, then transfer them to a freezer-safe container or bag. Freeze for up to 3 months. Thaw overnight in the refrigerator before serving.
Nutrition
Serving: 1/18, Calories: 187kcal, Carbohydrates: 22g, Protein: 4g, Fat: 9g, Cholesterol: 28mg, Sodium: 109mg, Potassium: 7mg, Fiber: 2g, Sugar: 13g
Nutrition information is automatically calculated and should only be used as an approximation.
These homemade chocolate chip cookie bars are more than just a dessert; they’re a testament to simple, joyful baking that brings smiles to faces and warmth to any occasion. Whether you’re making them for a special family visit, a casual get-together, or simply to satisfy a sweet craving, their effortless preparation and irresistible taste make them an instant classic. Enjoy the delightful balance of soft, chewy texture and rich, melty dark chocolate in every wholesome bite. Happy baking!