
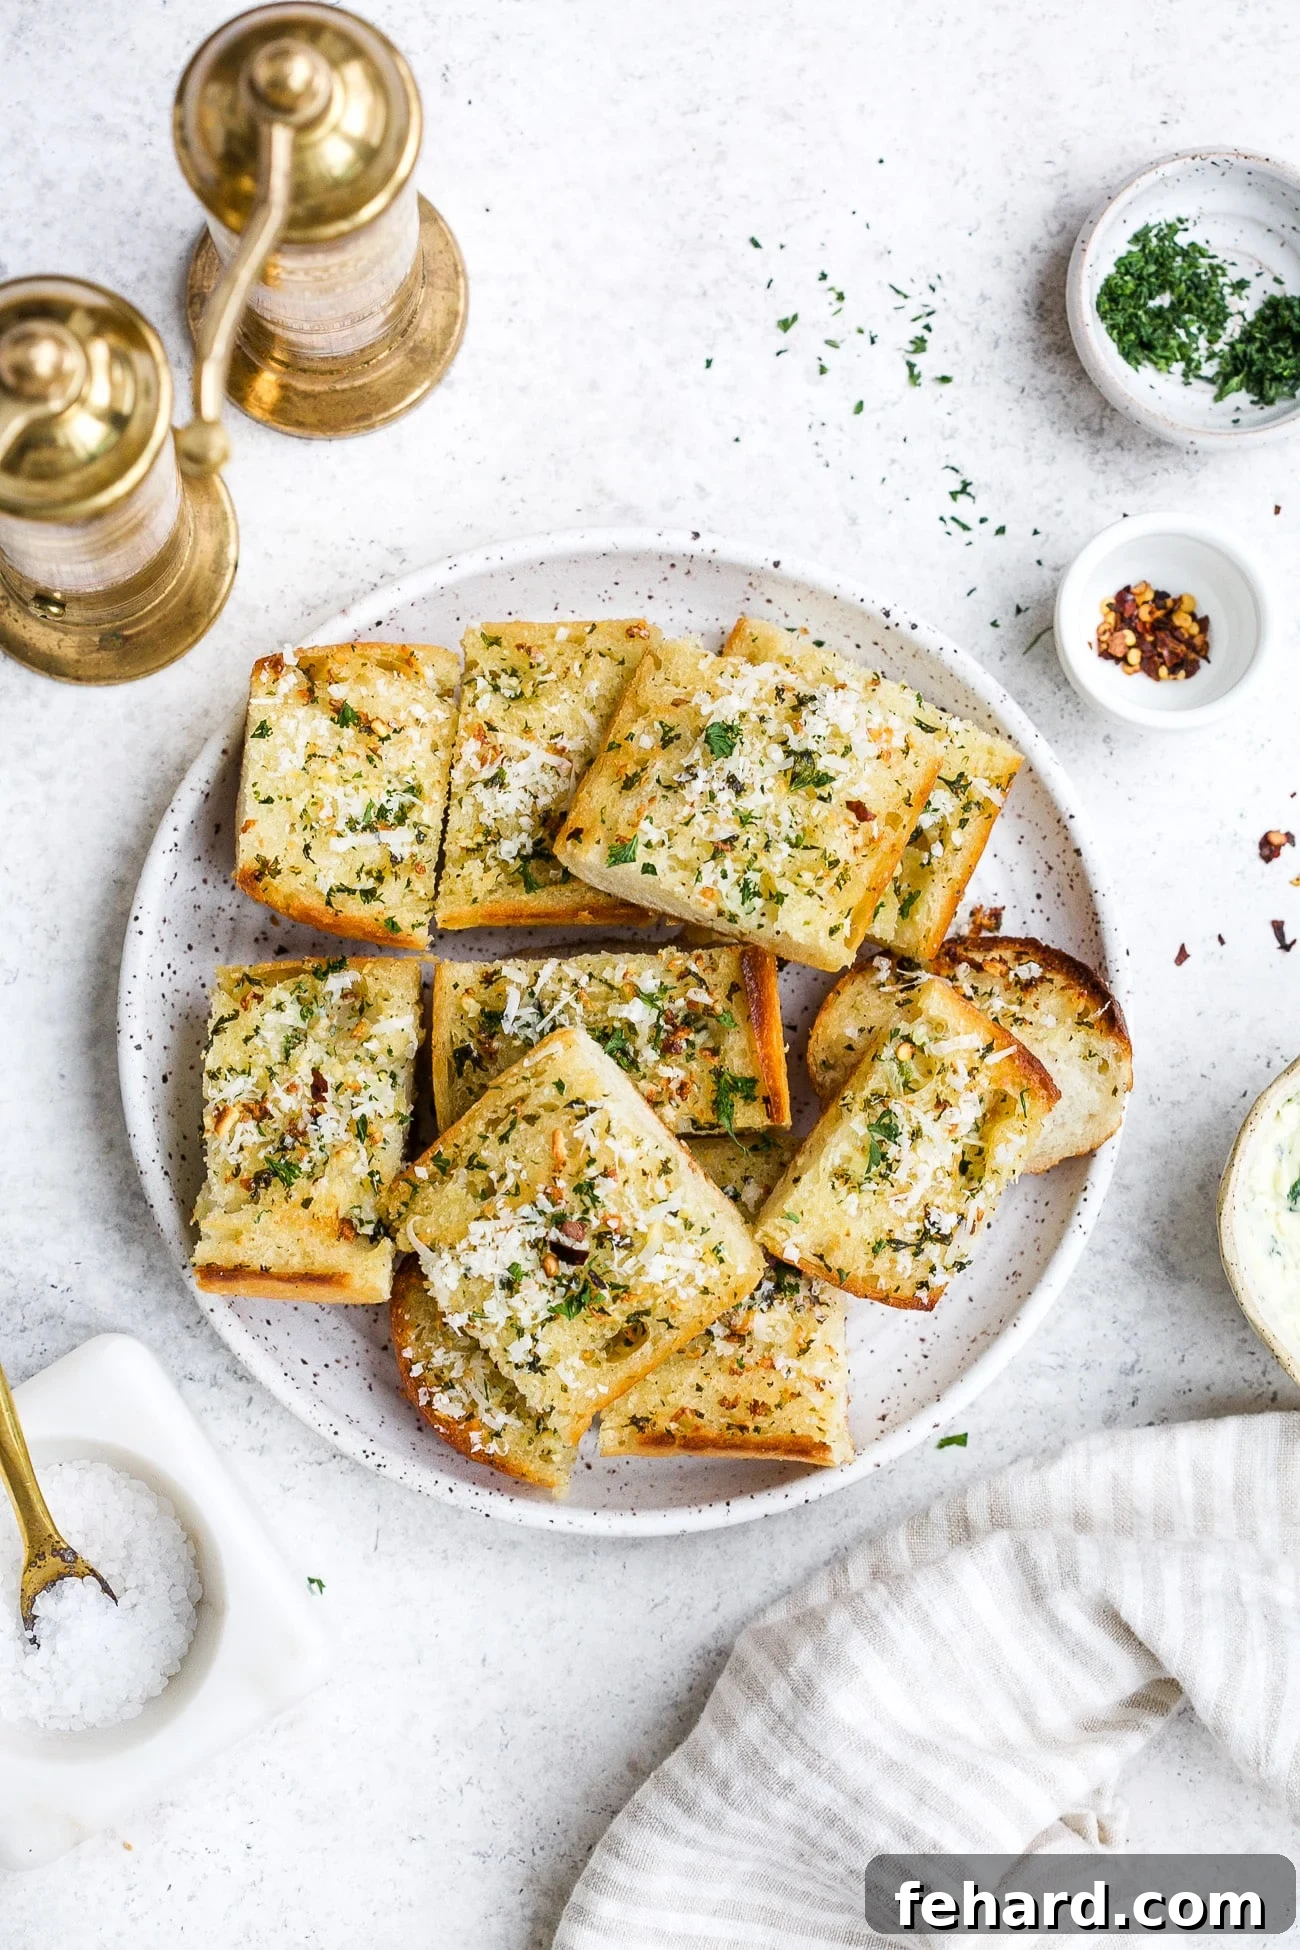
Garlic bread is more than just a side dish; it’s a culinary experience that elevates any meal with its irresistible aroma and delightful texture. Imagine warm, crusty bread infused with rich garlic butter, perfectly toasted to a golden crisp, and often topped with savory Parmesan cheese. This classic accompaniment is incredibly versatile, simple to prepare, and universally loved. Whether you’re hosting a dinner party or enjoying a casual weeknight meal, this homemade garlic bread recipe promises to deliver mouthwatering flavor with minimal effort. Ready in about ten minutes with just a handful of staple ingredients, it’s the ultimate easy side that guarantees to impress everyone at your table.
Beyond its simplicity, this recipe offers a perfect balance of savory, buttery, and slightly salty notes that make it incredibly addictive. It’s an ideal choice for any season and celebration, equally at home at a casual BBQ or a festive holiday spread. We frequently find ourselves preparing this cheesy, crunchy delight for special occasions like Easter and Thanksgiving, where it consistently garners rave reviews. Its universal appeal ensures that the entire family, from the youngest to the oldest, will eagerly reach for another slice of this delicious garlic bread.
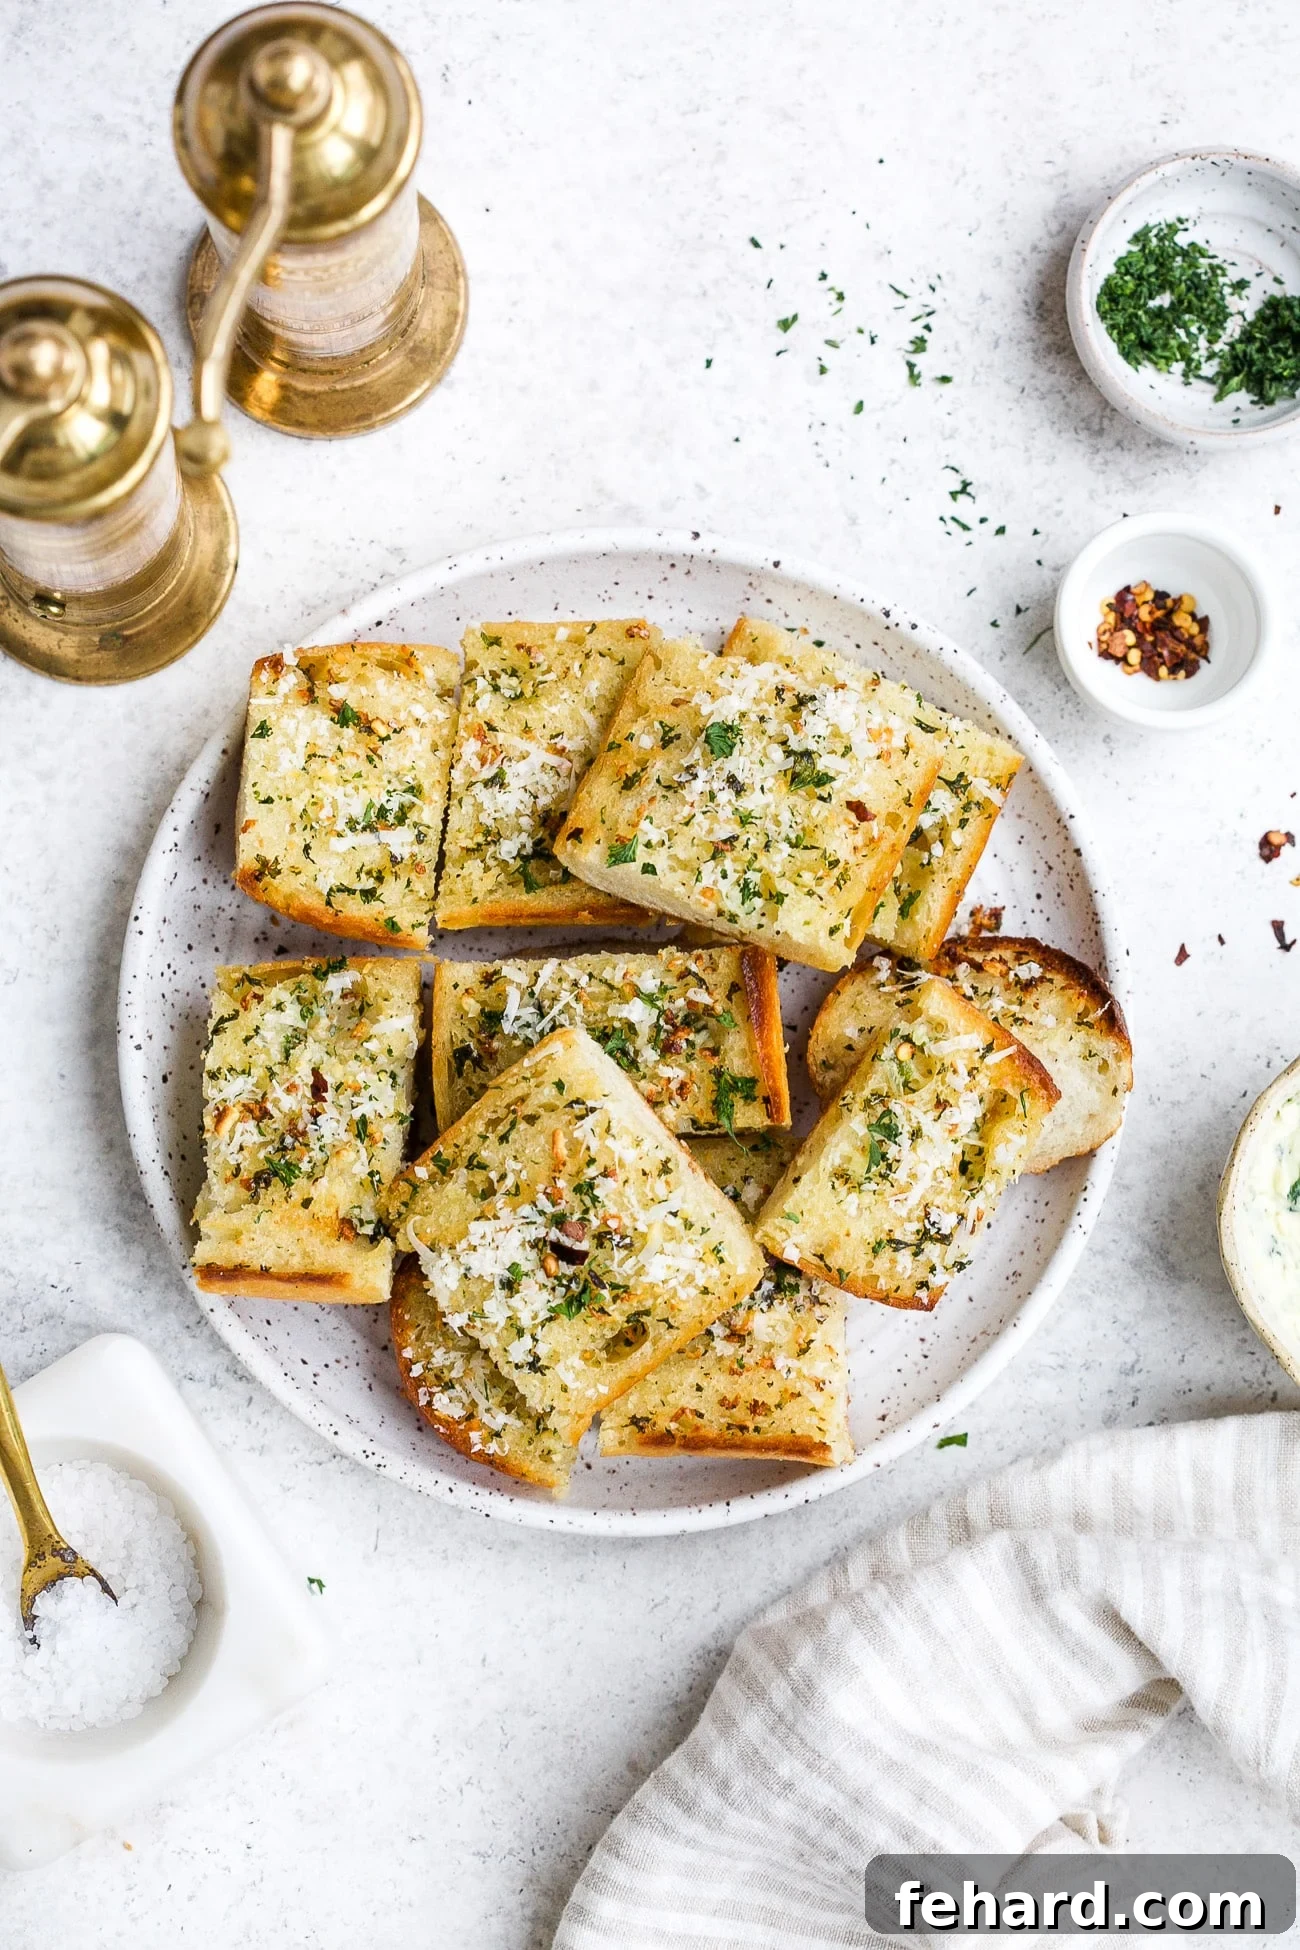
Why This Homemade Garlic Bread Recipe is a Must-Try
What sets this homemade garlic bread apart is its incredible ease and speed, making it a go-to recipe for busy weeknights or impromptu gatherings. With just six simple ingredients, most of which you likely already have in your pantry, you can whip up a batch of gourmet-quality garlic bread in under 15 minutes. This recipe is designed to be foolproof, ensuring perfect results every time, even for novice cooks. The combination of fresh garlic, rich butter, and a hint of salt creates a flavor profile that is both comforting and sophisticated, making it an instant classic in any household. You’ll quickly discover why making your own garlic bread from scratch is far superior to any store-bought alternative.
The Irresistible Appeal of Authentic Garlic Bread
There’s a unique satisfaction that comes from making garlic bread from scratch. The process is not only simple but also incredibly rewarding, filling your kitchen with an intoxicating aroma that promises a delicious treat. Unlike store-bought versions, homemade garlic bread allows you to control the quality of ingredients and customize the flavors to your liking. Want extra garlic? Go for it! Craving more cheese? Pile it on! This recipe provides a fantastic foundation that you can easily adapt to suit your personal preferences, ensuring a truly bespoke culinary experience that caters to every palate. It’s the ultimate comfort food, providing warmth and flavor with every bite.
I especially adore serving garlic bread alongside hearty soups, saucy pasta dishes, or rich curries. It’s an essential companion for soaking up every last drop of delicious sauce, ensuring that no flavorful goodness goes to waste. The crisp exterior and soft, buttery interior make it the perfect vehicle for any liquid delicacy. It transforms a simple meal into a more satisfying and indulgent experience, adding both texture and an extra layer of flavor. It’s the ideal bread for dipping and collecting all those incredible flavors from your main course.
Consider pairing this fantastic garlic bread with a variety of dishes. Here are some of my top recommendations that truly shine with a side of garlicky goodness:
- Comforting Chicken Noodle Soup: The perfect pairing for a cozy meal.
- Hearty Meatball Vegetable Soup: Great for dipping and soaking up the rich broth.
- Flavorful One-Pan Coconut Shrimp Curry: An excellent way to enjoy every bit of that creamy curry sauce.
- Indulgent Creamy Parmesan Chicken Skillet: Scoop up all the cheesy, creamy sauce with ease.
- Classic spaghetti and meatballs or a rich lasagna: A traditional and unbeatable combination.
- Any stew or casserole that benefits from a rustic, absorbent bread for dipping.
Essential Ingredients for the Best Garlic Bread
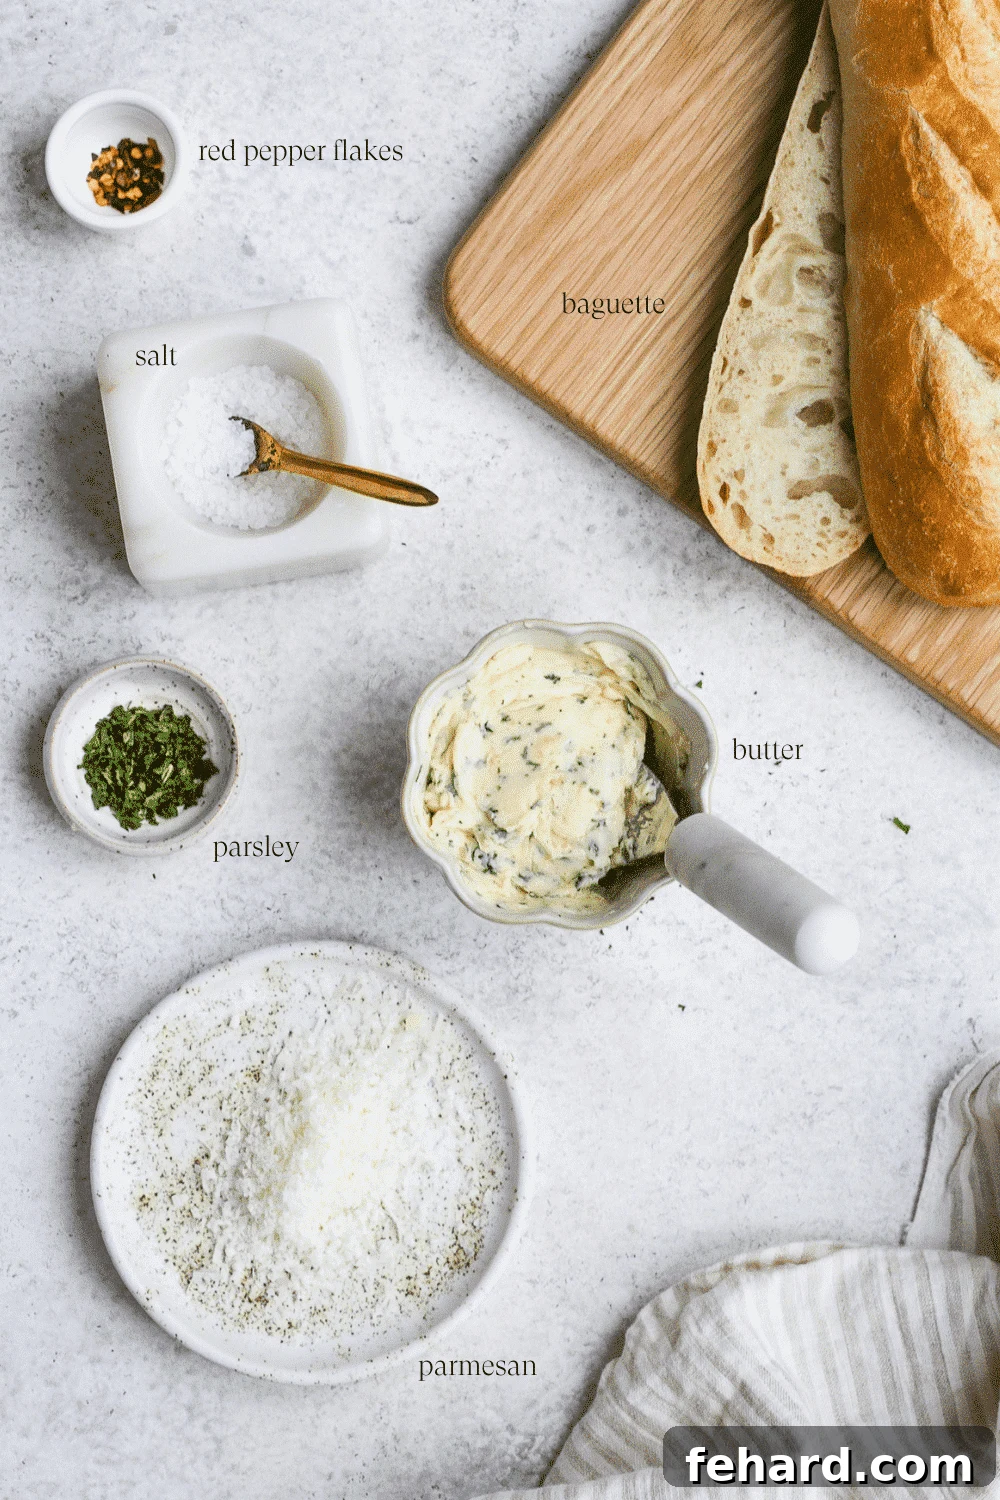
Crafting the perfect garlic bread starts with selecting high-quality ingredients. Each component plays a crucial role in achieving that sought-after cheesy, crunchy, and buttery perfection. Here’s a breakdown of what you’ll need and why each choice matters for creating truly irresistible garlic bread:
- Bread: The foundation of exceptional garlic bread is undoubtedly the bread itself. For optimal results, I highly recommend using a fresh Italian baguette or French bread, ideally around seven ounces in size. These types of bread offer a delightful crusty exterior and a soft, airy interior that absorbs the garlic butter beautifully without becoming soggy. Always check the packaging for size information to ensure you get the right loaf for this recipe. A good quality baguette will make a significant difference in the final texture and taste, providing a robust base for all the flavors.
- Garlic Butter: This is where the magic happens and the core flavor of your garlic bread truly develops! Our signature garlic butter is made by combining softened unsalted butter with freshly grated garlic, a pinch of sea salt, freshly ground black pepper, and chopped fresh parsley. Using unsalted butter is crucial as it gives you complete control over the saltiness of your garlic bread, allowing you to season it perfectly. Freshly grated garlic provides a much more potent and aromatic flavor compared to pre-minced garlic, which can sometimes taste dull. If you’d like a more detailed guide on preparing your own garlic butter from scratch, check out our dedicated recipe here – it’s incredibly simple to make and well worth the effort for the enhanced flavor!
- Parmesan Cheese: For an truly authentic and flavorful cheesy garlic bread, freshly grated Parmesan cheese is a non-negotiable ingredient. It tastes vastly superior to the pre-grated varieties found in stores, which often contain anti-caking agents that can affect texture and flavor, preventing proper melting and browning. A block of high-quality Parmesan cheese, tightly wrapped in plastic wrap, will last for a considerable time in your refrigerator, making it a versatile ingredient for numerous other recipes. Its sharp, nutty, and salty notes perfectly complement the rich garlic butter, adding a layer of savory depth.
- Sea Salt: While any salt will work in a pinch, coarse grain sea salt or kosher salt is highly preferred for this recipe. The larger crystals provide bursts of flavor and a satisfying texture, particularly when sprinkled on top after baking. If using fine table salt, be mindful of the quantity as it is more concentrated; start with less and add more to taste to avoid over-salting your bread. Salt enhances all the other flavors, bringing them to life and balancing the richness of the butter and cheese.
- Fresh Parsley: Fresh parsley not only adds a vibrant green color, making your garlic bread visually appealing, but also a fresh, herbaceous note that brightens the rich flavors of garlic and butter. While dried parsley can be used in a pinch, fresh is definitely preferable for its superior aroma and visual appeal. Chop it finely for even distribution across the bread for a consistent burst of freshness.
- Red Pepper Flakes (Optional): For those who appreciate a touch of warmth and a subtle kick, red pepper flakes are an excellent addition to your garlic bread. They introduce a gentle heat that contrasts beautifully with the richness of the butter and cheese, adding an exciting dimension to the flavor profile. If you or your family members are not fans of spicy food, feel free to omit them entirely without compromising the deliciousness of the garlic bread. It will still be incredibly tasty!
Step-by-Step Instructions to Make Garlic Bread
Creating perfect garlic bread is incredibly straightforward and quick. Follow these simple steps for a golden, crispy, and flavorful result every time, making it an ideal last-minute addition to any meal.
Prepare and Bake for Perfect Crispiness:
- Preheat Your Oven: Start by preheating your oven to 350°F (175°C). Ensuring your oven reaches the correct temperature before introducing the bread is crucial for even cooking and achieving that desirable crisp texture.
- Prepare Baking Sheet: Line a large baking sheet with aluminum foil or parchment paper. This step is optional but highly recommended as it makes cleanup significantly easier and prevents any garlic butter or cheese from sticking to the pan. It’s a small effort for a big payoff in terms of convenience.
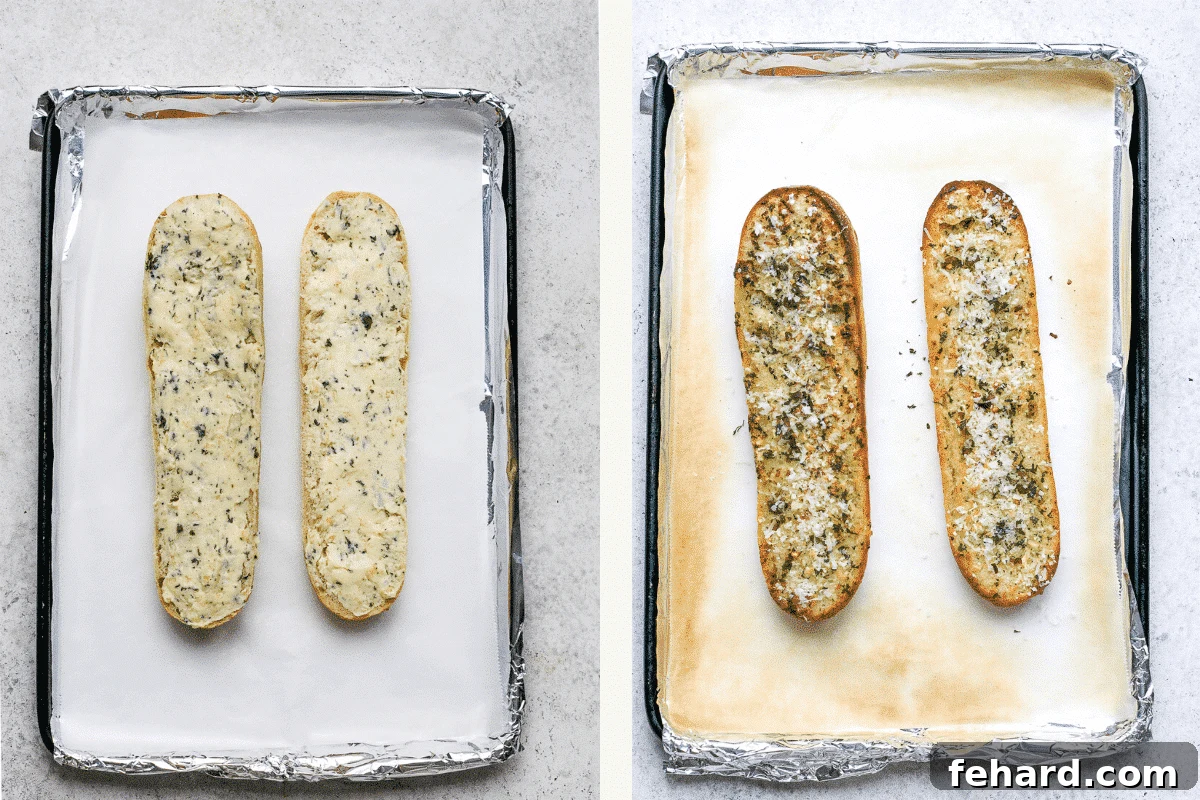
- Slice and Butter the Bread: Carefully slice your chosen baguette or French bread in half lengthwise, creating two long, flat halves. Place both cut pieces, cut-side up, on the prepared baking sheet. Generously slather the cut surfaces of both halves with your prepared garlic butter mixture, ensuring an even coating from edge to edge. Don’t be shy with the butter – this is what infuses the bread with its signature mouthwatering flavor!
- Bake and Broil to Perfection: Place the baking sheet with the buttered bread in the preheated oven and bake, with the buttered side facing up, for 6-8 minutes. This initial baking phase allows the bread to toast gently and the butter to melt and infuse deeply into the crumb. After this, switch your oven to the broiler setting. Broil for an additional 2-3 minutes, keeping a very close eye on the bread. The goal is a beautiful golden-brown color and delightfully crisp edges. Broiling can quickly turn from perfect to burnt, so stay vigilant and don’t walk away from the oven!
Slice and Serve Immediately:
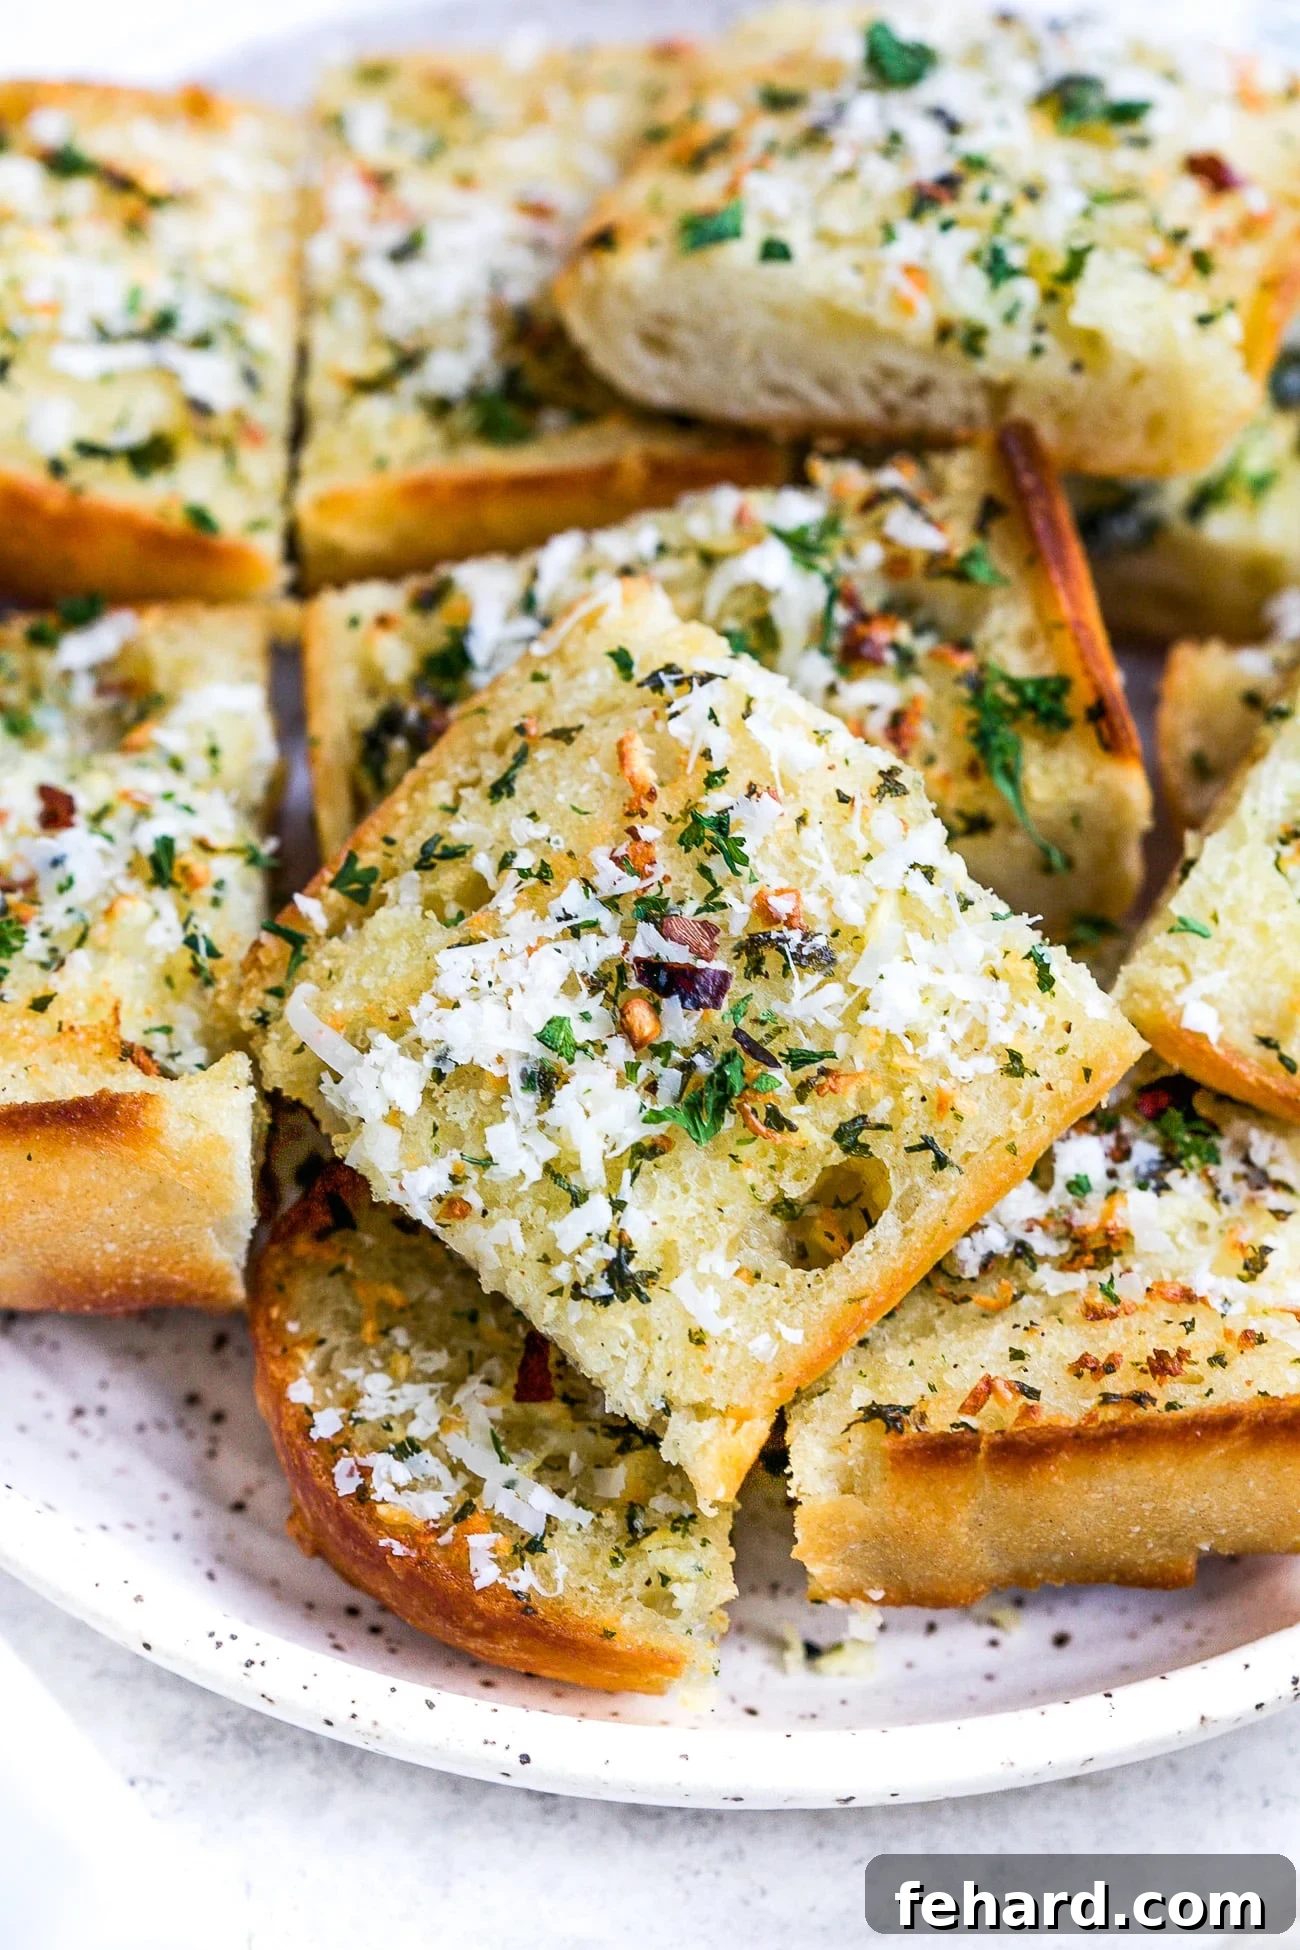
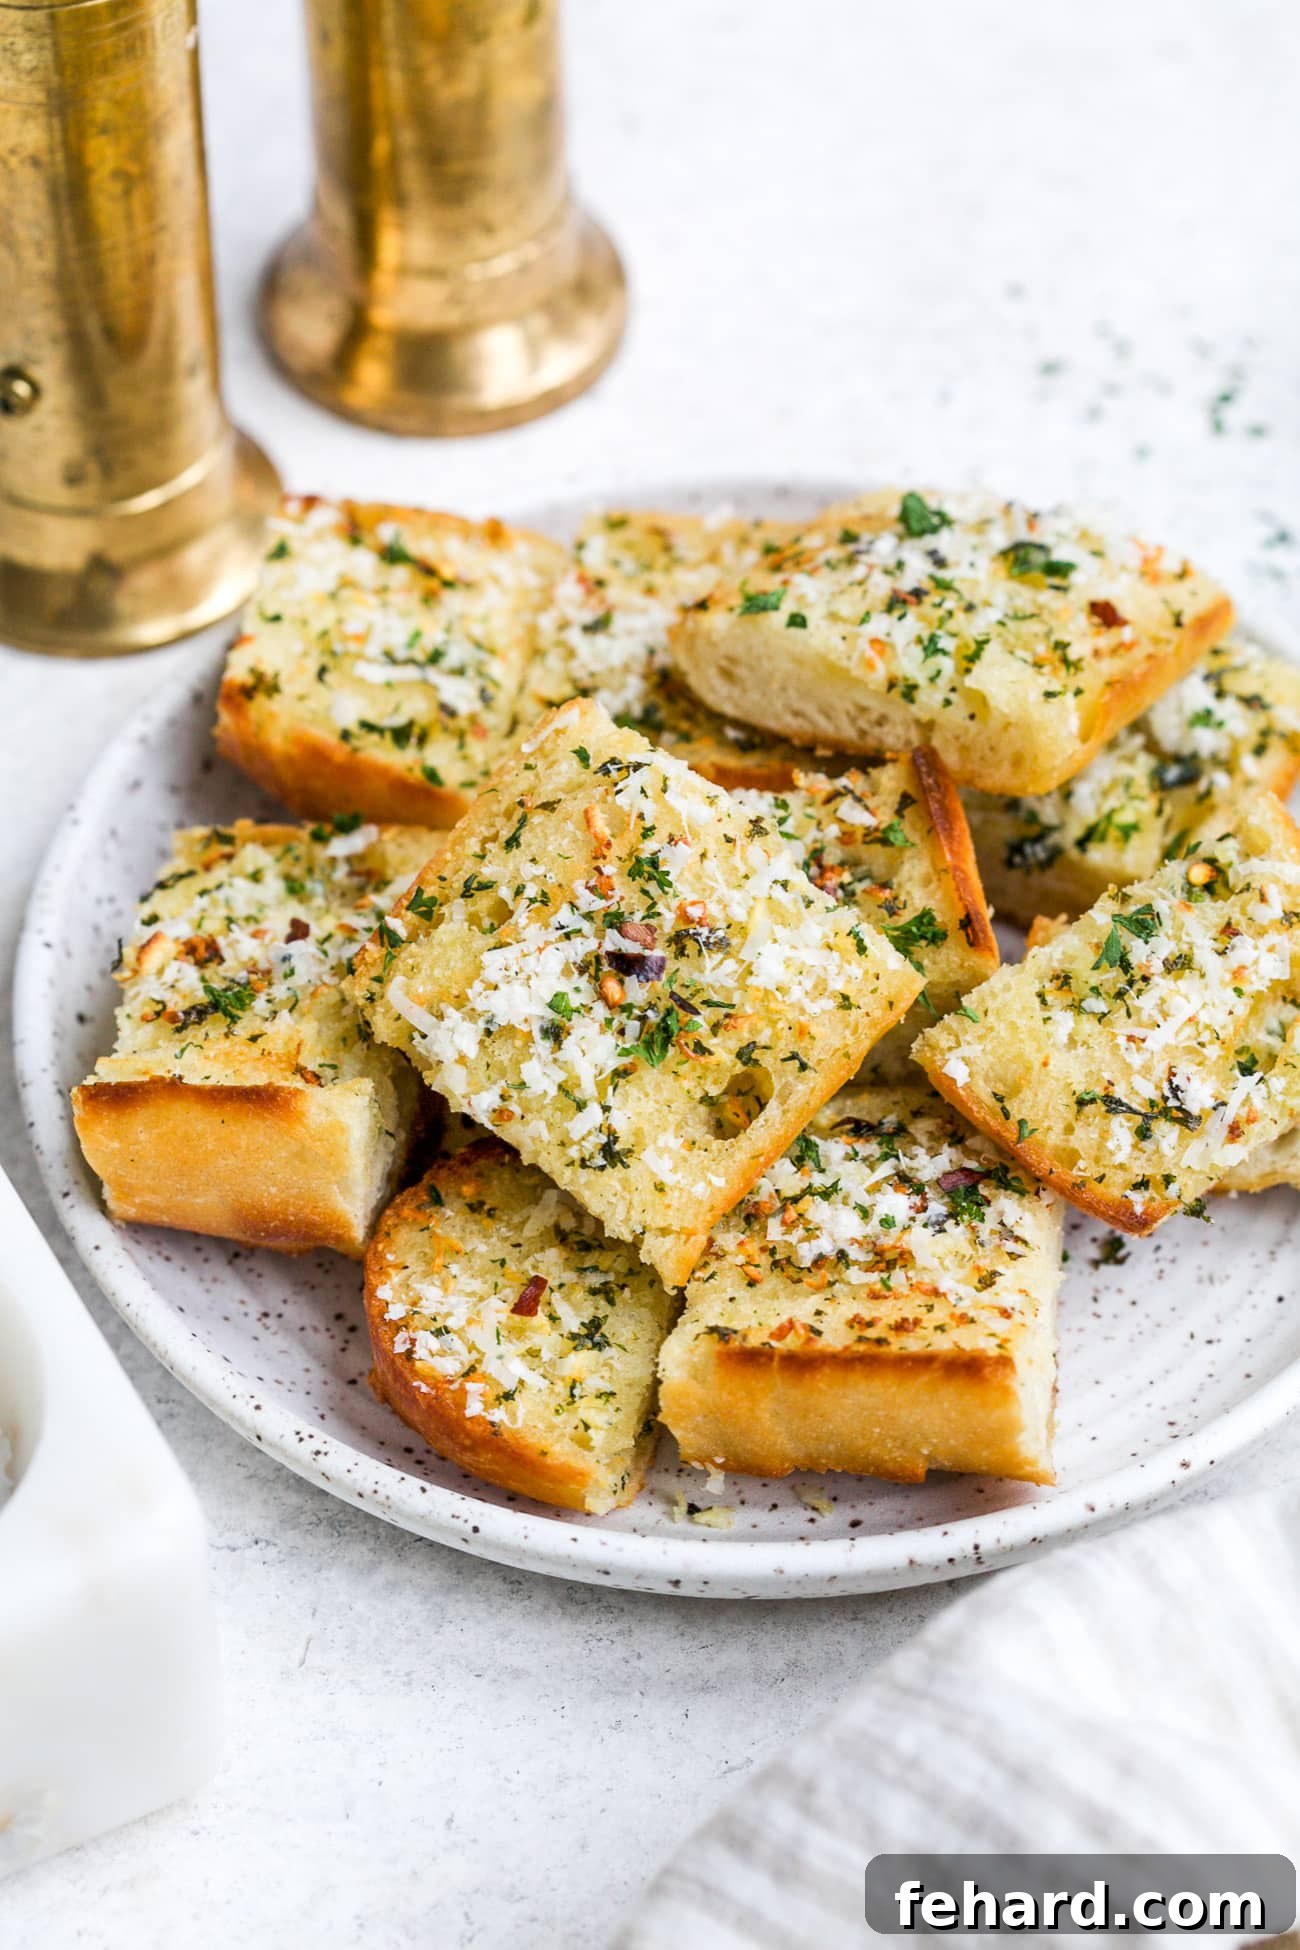
- Garnish and Slice: Once the garlic bread reaches its golden perfection, carefully remove it from the oven. Immediately sprinkle with a generous amount of freshly grated Parmesan cheese, coarse sea salt (if desired for extra crunch and enhanced flavor), fresh chopped parsley for a burst of vibrant color and freshness, and red pepper flakes if you’re adding a hint of heat. The residual heat will help the cheese melt slightly and the flavors meld beautifully.
- Enjoy: Using a sharp serrated knife, slice the bread into individual pieces, approximately 1-2 inches wide, depending on your preference. Serve immediately while still wonderfully warm and crispy. Get ready to enjoy this unbelievably yummy homemade garlic bread that’s sure to be a crowd-pleaser!
Essential Tips and Tricks for Perfect Garlic Bread
Achieving bakery-quality garlic bread at home is easy when you follow these helpful tips and tricks. These insights will ensure your garlic bread is always flavorful, perfectly textured, and a joy to eat.
- Sharp Knife for Even Slices: Always use a sharp serrated knife when slicing your baguette or French bread. A dull knife can tear the bread and make it difficult to achieve clean, even halves, which are essential for uniform butter application and cooking. Precision in cutting makes a significant difference in how your garlic bread bakes and tastes.
- Easy Cleanup is Key: While not strictly necessary, lining your baking sheet with aluminum foil or parchment paper is a game-changer for cleanup. It catches any drips of butter or melted cheese, preventing them from baking onto your pan and saving you considerable scrubbing time later. It’s a small, simple step that yields big benefits in convenience.
-
Customize Your Texture – Crunchy vs. Soft:
- For a wonderfully crisp and crunchy garlic bread with a firm crust, bake your baguette open-face, as directed in the main instructions. This allows maximum exposure to the heat, creating a beautifully golden and firm exterior that many adore.
- If you prefer a softer, chewier loaf with a more tender crust, butter each half of the baguette generously and then sandwich them back together before baking. This method traps moisture, resulting in a bread that’s soft on the inside while still having that rich garlic flavor. You will likely need to increase the baking time slightly in this scenario (by a few minutes), so keep an eye on it until it’s warmed through and the butter has fully melted and absorbed.
- Broiling Vigilance is Paramount: The broiling step is crucial for achieving that perfect golden crust and crisp edges, but it requires your undivided attention. Ovens and broilers vary significantly, and bread can go from perfectly toasted to burnt in a matter of seconds. Stay near the oven and watch it constantly during the 2-3 minutes of broiling to prevent any burning. A burnt piece of garlic bread can quickly ruin the batch!
- Make it Cheesy Garlic Bread: For a truly decadent cheesy garlic bread experience, don’t hold back on the Parmesan. You can also experiment by adding other complementary cheeses like shredded mozzarella, provolone, or a blend of Italian cheeses on top during the last few minutes of baking, or immediately after removing it from the oven. This creates a gooey, stretchy layer of cheesy goodness that takes the indulgence to the next level.
- Experiment with Fresh Herbs: Fresh parsley is a fantastic choice and a classic pairing, but don’t limit yourself! Feel free to incorporate other fresh herbs you love, such as finely chopped oregano, rosemary, basil, or thyme. These herbs can add an extra layer of complexity and aroma to your garlic bread, making it uniquely yours and enhancing its overall appeal.
- Elevate the Garlic Butter Base: For a truly robust and nuanced garlic flavor, consider roasting whole garlic cloves until they are soft and sweet, then mashing them into your softened butter instead of using grated raw garlic. This creates a milder, sweeter, and more complex garlic flavor profile that is less pungent and incredibly satisfying.
Customization Ideas and Delicious Variations
This homemade garlic bread recipe is wonderfully adaptable, allowing you to get creative with flavors and ingredients. Don’t be afraid to experiment and make it your own! Here are a few exciting ideas to inspire your next batch:
- Spicy Kick: If you love heat, you can easily increase the amount of red pepper flakes in the garlic butter. For an even more fiery version, add a pinch of cayenne pepper or a dash of hot sauce to the butter mixture. You could even drizzle with a touch of chili oil after baking for an extra layer of spice.
- Herb Garden Fresh Mix: Beyond parsley, consider incorporating a mix of other fresh herbs like finely chopped basil, chives, oregano, or even a hint of dill for different aromatic profiles. These can be mixed directly into the garlic butter or sprinkled generously on top before serving for a burst of fresh flavor.
- Mediterranean Twist with Sun-Dried Tomato & Feta: For a delightful Mediterranean-inspired garlic bread, finely chop a few oil-packed sun-dried tomatoes and crumble some feta cheese over the buttered bread before the final broil. The salty feta and sweet-tart tomatoes pair wonderfully with garlic.
- Pesto Perfection: Instead of traditional garlic butter, spread a thin layer of your favorite basil pesto on the bread before baking for a vibrant, herbaceous, and intensely flavorful garlic bread with a unique twist. You can also mix a spoonful of pesto into your garlic butter.
- Gluten-Free Option: This recipe can easily be adapted for gluten-free diets by simply substituting a good quality gluten-free baguette or rustic bread. The cooking method and ratios of garlic butter remain the same, ensuring a delicious outcome for everyone.
- Vegan Garlic Bread: For a plant-based version, use a high-quality vegan butter substitute (ensuring it melts well) and verify that your chosen bread is dairy-free. Nutritional yeast can be sprinkled on top along with the herbs to mimic a cheesy, savory flavor.
- Garlic Knots or Rolls: If you prefer individual portions, consider using pre-made dinner rolls or shaping dough into knots. Brush generously with garlic butter and bake until golden.
Storage and Reheating Guidelines for Garlic Bread
Garlic bread is undoubtedly best enjoyed fresh from the oven, with its peak crispiness and aromatic warmth. However, sometimes leftovers happen, or you might want to prepare it in advance for convenience. Here’s how to properly store and reheat your delicious homemade garlic bread to maximize its longevity and flavor:
- To Store Leftovers: Allow any leftover garlic bread to cool completely to room temperature before storing. This is a crucial step to prevent condensation from forming inside the container, which can lead to sogginess. Once cooled, place the pieces in an airtight container or wrap them tightly in plastic wrap to maintain freshness. Refrigerate for up to 3-5 days. While it won’t retain the exact crispiness of freshly baked bread, the flavors will still be delightful.
- To Freeze for Later: Garlic bread freezes exceptionally well, making it a great candidate for meal prep! To prepare for freezing, wrap individual slices or halves tightly in plastic wrap, then place them in a heavy-duty freezer bag or an airtight freezer-safe container. This double layer of protection helps prevent freezer burn and preserves the quality. It can be stored in the freezer for 4-6 months. When ready to use, you can often reheat from frozen.
-
To Reheat Stored Garlic Bread:
- Oven or Toaster Oven (Recommended for Crispiness): This is the best method for bringing back that desirable crunch. Preheat your oven or toaster oven to 350°F (175°C). Place the garlic bread directly on the rack or on a baking sheet. Bake for 5-10 minutes, or until warmed through and re-crisped to your liking. Keep an eye on it to prevent over-browning.
- Air Fryer (Excellent for Crispiness): For quick reheating and an impressively crispy result, preheat your air fryer to 350°F (175°C). Place the slices in a single layer in the air fryer basket (do not overcrowd) and cook for 3-5 minutes, checking frequently to prevent burning. This method is incredibly efficient for restoring texture.
- Microwave (Not Recommended if you want Crispiness): While you can microwave leftovers until warm, this method often results in soft, slightly chewy, or even soggy garlic bread, as it tends to steam the bread rather than crisp it. If using, microwave in short bursts (15-30 seconds) until heated through, but be aware that the texture will be different from freshly baked.
Frequently Asked Questions (FAQs) About Garlic Bread
- Can I use pre-minced garlic for the garlic butter?
- While you can use pre-minced garlic in a pinch for convenience, fresh garlic cloves, finely grated or minced, will provide a much more vibrant, potent, and aromatic flavor. Pre-minced garlic often has a milder, sometimes slightly acidic taste due to preservatives, and can lack the fresh zing. For the best flavor profile, fresh garlic is always recommended.
- What kind of bread is best for making garlic bread?
- A fresh Italian baguette or French bread is ideal due to its crusty exterior and soft, airy interior that readily absorbs the garlic butter. Other good options include sourdough loaves, ciabatta, or even thick slices of rustic white bread. The key is to choose a bread that can stand up to the butter and get delightfully crispy without becoming too hard or dense.
- Can I make garlic bread ahead of time?
- Yes, you absolutely can! To save time, you can prepare the garlic butter mixture ahead of time and store it in an airtight container in the refrigerator for up to a week. You can also slice the bread, spread it with the prepared garlic butter, and then wrap it tightly in plastic wrap before refrigerating for up to 24 hours. For the freshest taste and best texture, bake it just before you plan to serve it.
- Why did my garlic bread turn out soggy?
- Soggy garlic bread often happens for a few common reasons: too much butter might have been used, the bread might have been wrapped immediately after baking (trapping steam), or it wasn’t baked long enough to crisp up adequately. Ensure your oven is fully preheated, avoid excessive butter, and follow the baking and broiling times carefully. Baking open-faced, as directed in the recipe, helps significantly in preventing sogginess.
- Is garlic bread a healthy food option?
- Garlic bread, especially with generous amounts of butter and cheese, is typically an indulgent side dish. While it offers some carbohydrates for energy and flavor from garlic, it’s generally higher in fat, sodium, and calories. It’s delicious and a wonderful treat, but it’s best enjoyed in moderation as part of a balanced diet rather than a daily staple.
- Can I grill garlic bread?
- Yes, grilling garlic bread is a fantastic way to add a smoky flavor and a beautiful char! Prepare the bread and garlic butter as usual. Place the buttered halves directly on a medium-heat grill, butter-side down, for 2-4 minutes, or until golden brown and toasted. Watch carefully, as grills vary and can cook quickly.
Serve It With These Delicious Recipes
Easy Bolognese Stuffed Spaghetti Squash
1 hr 15 mins
Blackened Salmon Recipe
15 mins
Brussels Sprouts Bacon Salad
16 mins
Zucchini Lasagna
1 hr 10 mins
Classic Homemade Garlic Bread Recipe
Cheesy, crunchy, and buttery garlic bread is the ultimate side dish to complement almost any meal. It’s incredibly versatile, bursting with mouthwatering flavor, and surprisingly easy to make from scratch. With just six simple ingredients and about ten minutes of active prep, you can whip up this perfect, easy side that your whole family will adore.
Author: Olivia Ribas
Servings: 4 people
Prep Time: 10 minutes
Cook Time: 10 minutes
Ingredients
- 1 foot (approximately 7-ounce) Italian baguette or French bread
- Garlic butter (prepared from softened unsalted butter, freshly grated garlic, sea salt, freshly ground black pepper, and chopped fresh parsley)
- 1 tablespoon freshly grated Parmesan cheese
- Sea salt (coarse grain, for sprinkling)
- Chopped fresh parsley (for garnish)
- Red pepper flakes (optional, for a subtle touch of heat)
Instructions
- Preheat your oven to 350°F (175°C). For easier cleanup, line a large baking sheet with aluminum foil or parchment paper.
- Carefully slice the baguette in half lengthwise. Place both halves, cut-side up, on the prepared baking sheet. Generously spread the garlic butter mixture evenly over the cut surfaces.
- Bake in the preheated oven for 6-8 minutes. Then, switch your oven to the broiler setting and broil for an additional 2-3 minutes, watching constantly until the bread is golden brown and crispy around the edges. Be very careful during this step, as bread can burn quickly under the broiler.
- Remove the garlic bread from the oven. Immediately sprinkle with freshly grated Parmesan cheese, a pinch of coarse sea salt, fresh chopped parsley, and red pepper flakes (if you’re adding them for spice).
- Using a sharp serrated knife, slice the bread into individual pieces, approximately 1-2 inches wide. Serve immediately while hot and crispy for the best experience. Enjoy your delicious homemade garlic bread!
Recipe Notes for Success
- Always use a sharp serrated knife to cut your baguette; this ensures clean, even halves, which are easier to butter and cook uniformly.
- While optional, lining your baking sheet with foil or parchment paper is highly recommended as it significantly speeds up and simplifies the cleanup process.
- For a crispier garlic bread, follow the open-face baking method outlined. If you prefer a softer loaf, butter both halves and then sandwich them back together before baking. If doing so, you may need to increase the baking time slightly.
- Exercise extreme caution when broiling your bread. Broilers can cook very quickly, and the baguette can easily burn if not monitored constantly. Stay attentive during this step.
- To Store Leftovers: Allow any remaining garlic bread to cool completely. Store in an airtight container in the refrigerator for 3-5 days.
- To Freeze: Wrap cooled garlic bread tightly in plastic wrap, then place it in a heavy-duty freezer bag or airtight freezer container. It can be frozen for 4-6 months.
- To Reheat: For best results (to maintain crispiness), reheat in a preheated oven or toaster oven at 350°F (175°C) for 5-10 minutes, or in an air fryer for 3-5 minutes, until warmed through and re-crisped. Microwaving is generally not recommended if you desire a crispy texture.
Nutrition Information
Based on approximately 1/4 of the baguette per serving.
- Calories: 208 kcal
- Carbohydrates: 26g
- Protein: 7g
- Fat: 8g
- Cholesterol: 19mg
- Sodium: 650mg
- Potassium: 358mg
- Fiber: 3g
- Sugar: 1g
Please note that nutrition information is automatically calculated and should be used as an approximation. Actual values may vary based on specific ingredients and preparation methods.