
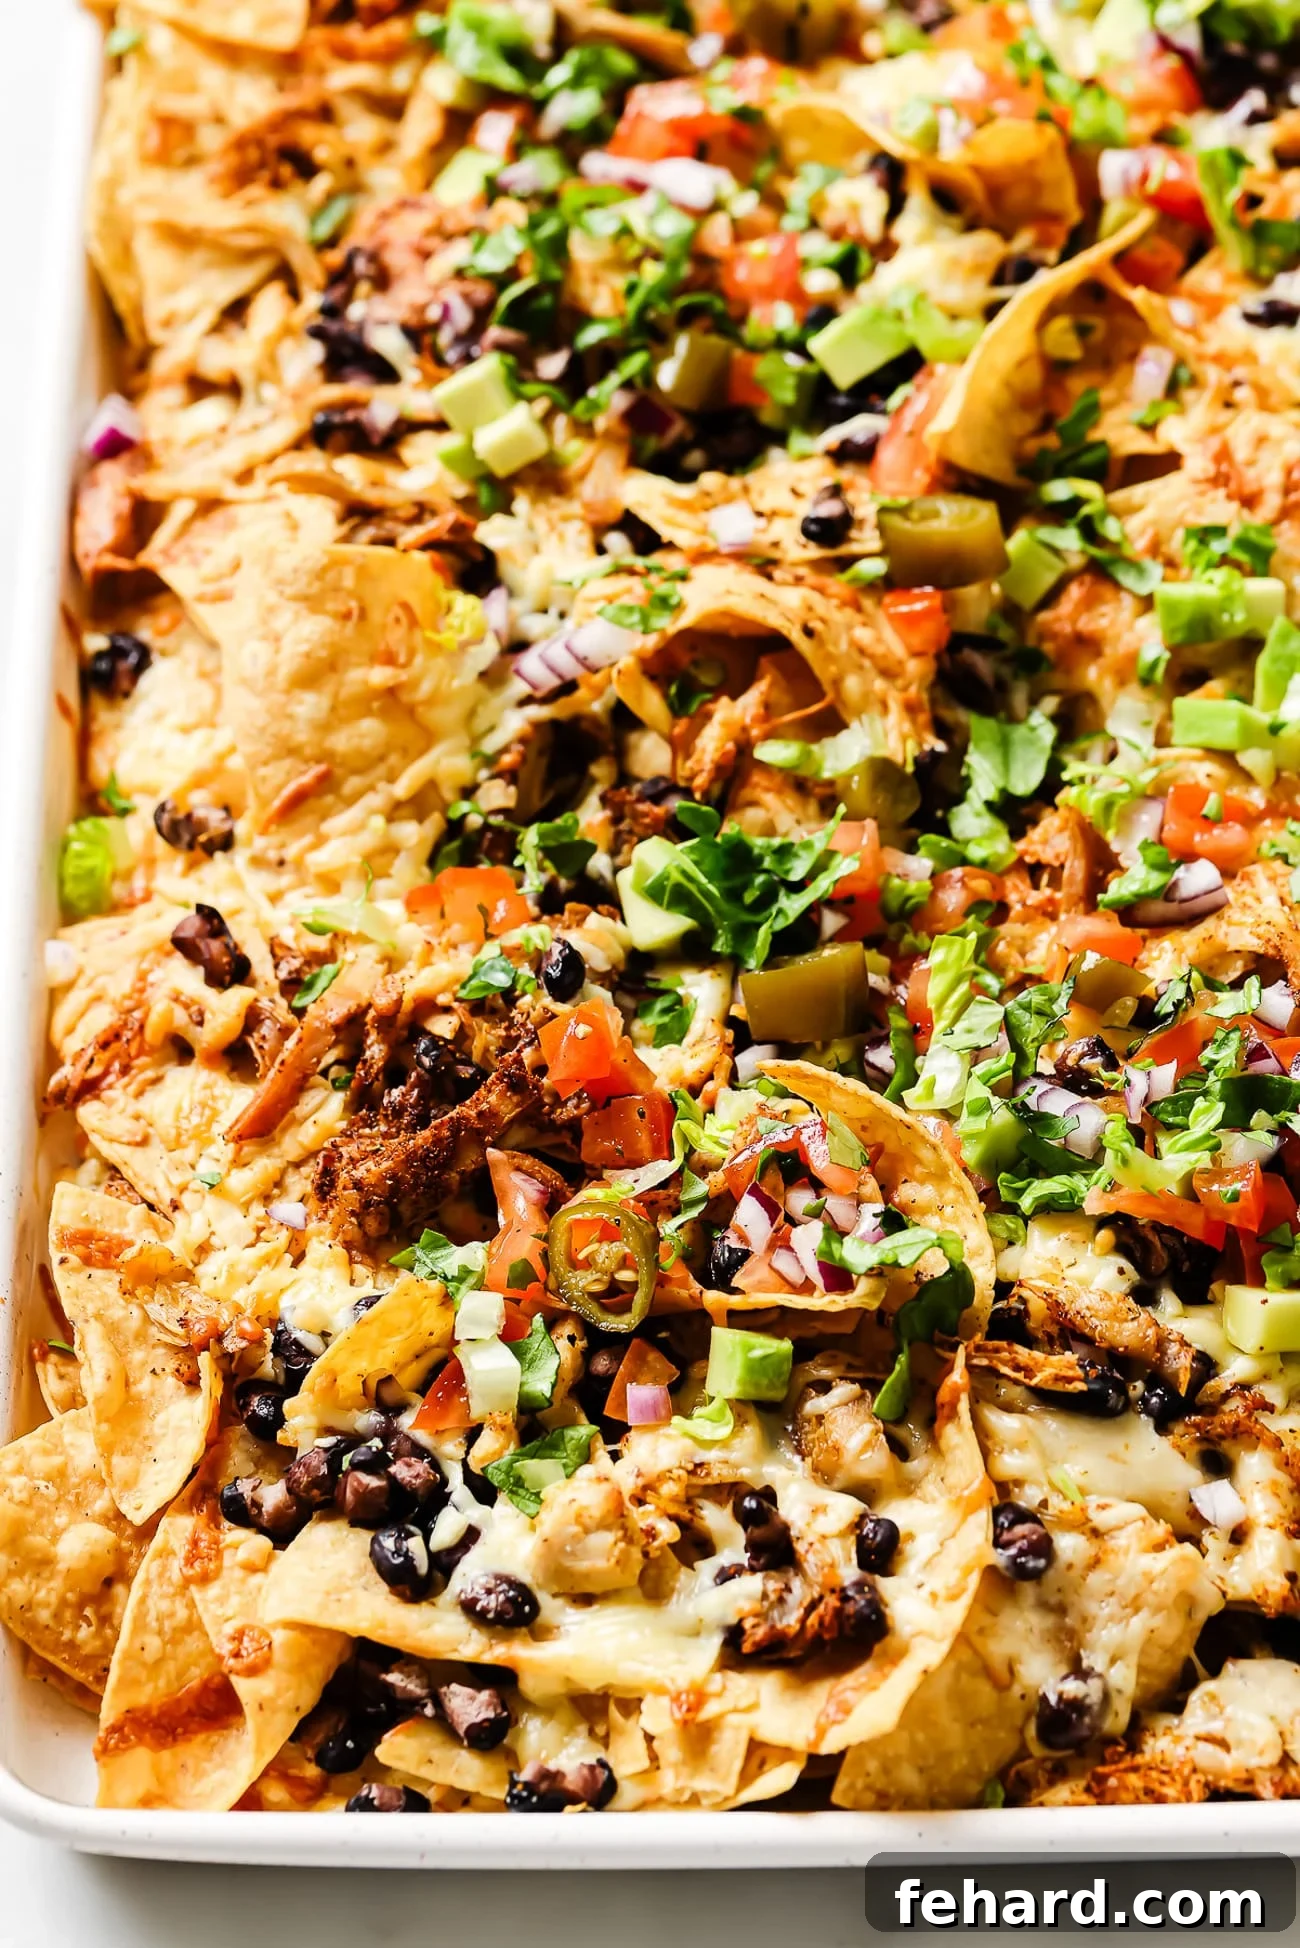
Welcome to the ultimate guide for crafting mouth-watering Rotisserie Chicken Nachos – a truly unbeatable dish that effortlessly combines speed, simplicity, and sensational flavor! This isn’t just a recipe; it’s an invitation to create a hearty, satisfying meal or a show-stopping appetizer that’s guaranteed to be a hit with family and friends. Forget complicated dinners; with a few simple layers of crispy tortilla chips, perfectly seasoned rotisserie chicken, hearty black beans, and generous amounts of melted cheese, you’ll have a delightful feast ready in mere minutes. Prepare to customize your plate with an array of vibrant toppings, transforming these easy nachos into a personalized culinary masterpiece perfect for any occasion, from a casual weeknight dinner to an exciting game day gathering.
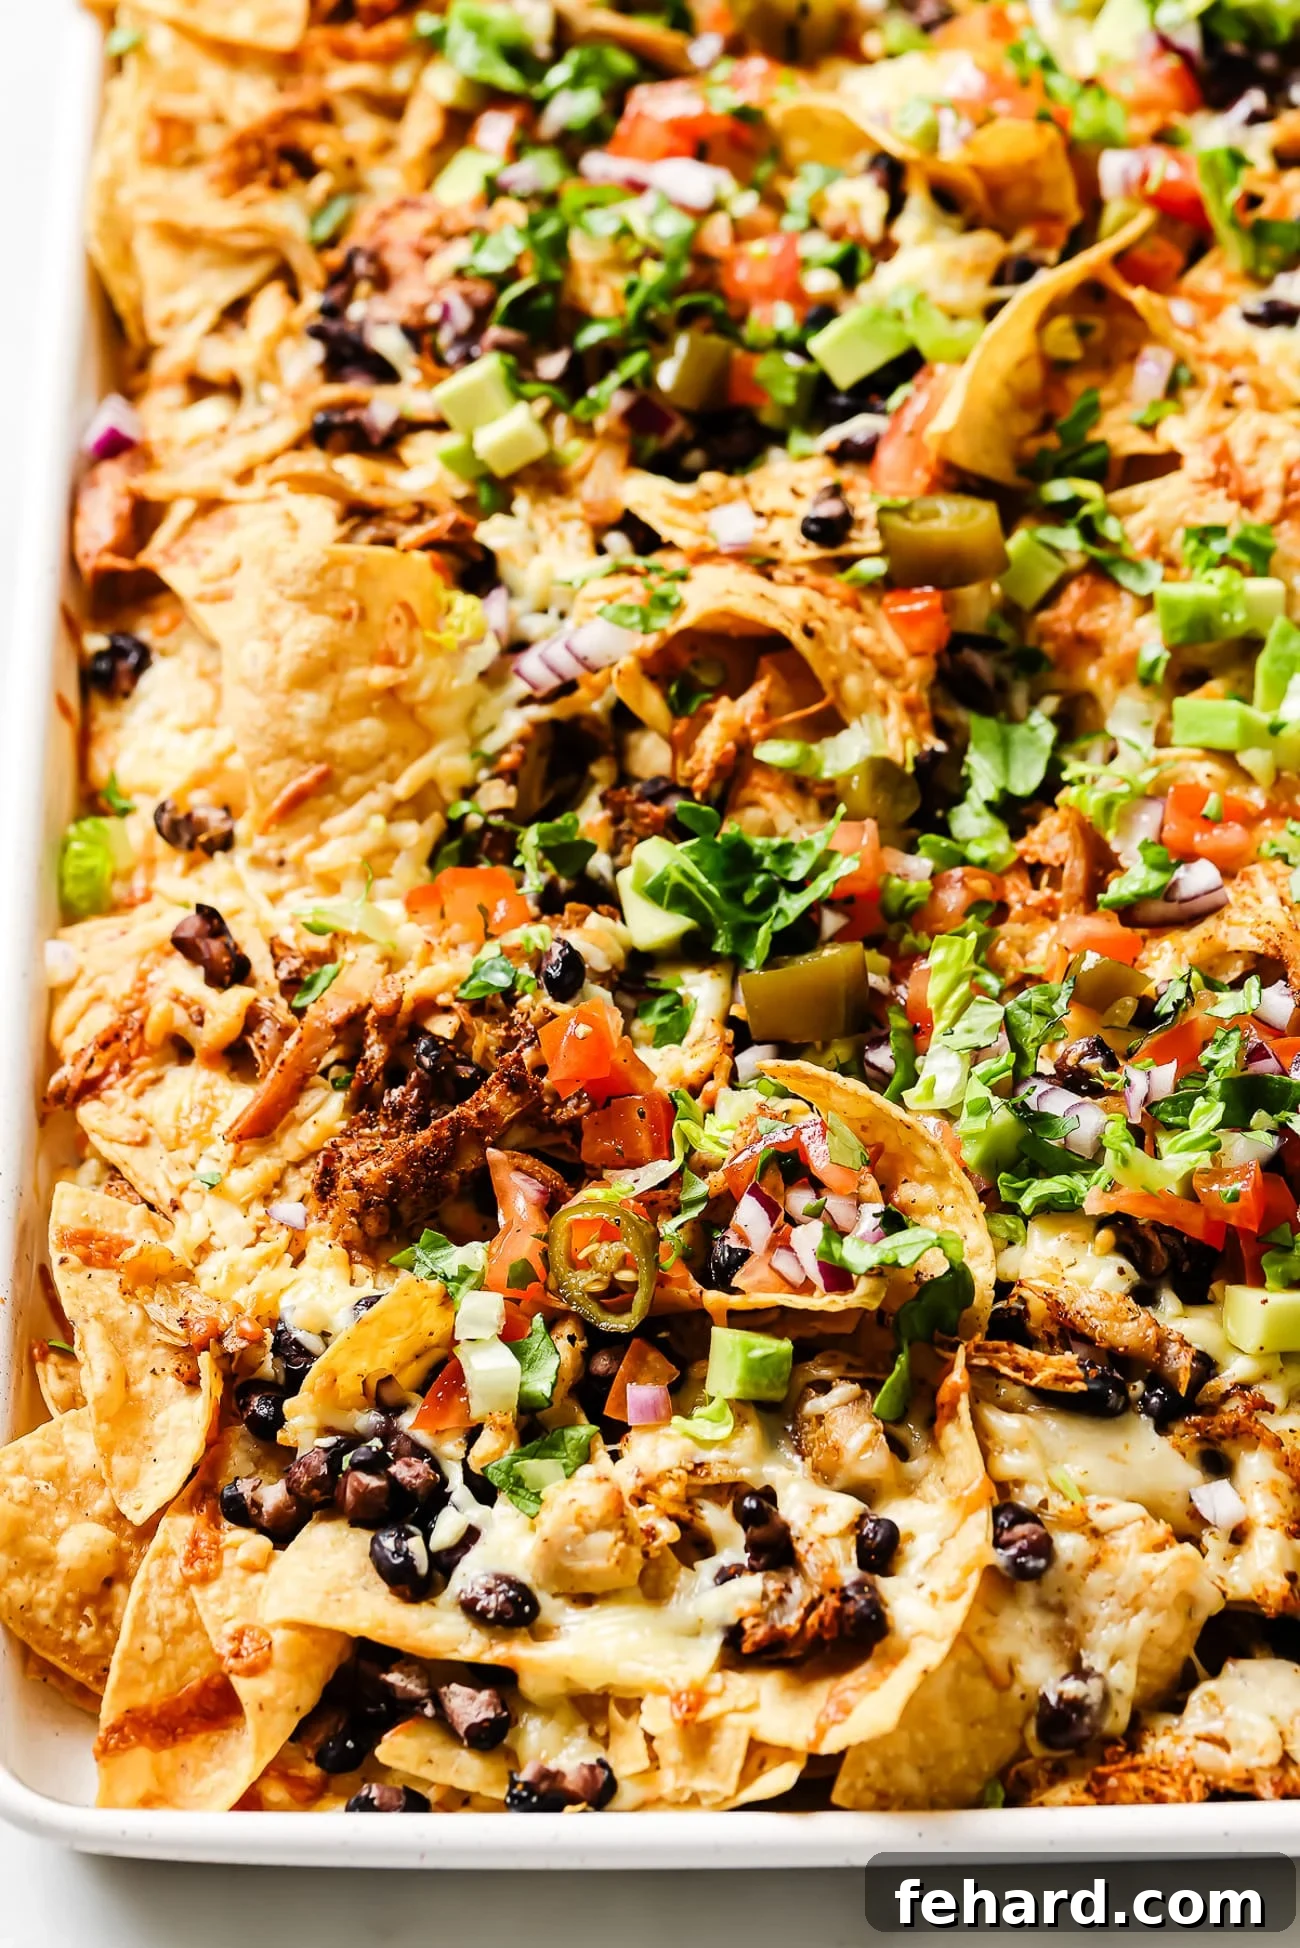
Nacho Night Ready: A Versatile Culinary Canvas!
What truly makes these Rotisserie Chicken Nachos a go-to recipe in my kitchen is their incredible versatility and undeniable crowd-pleasing appeal. Whether I’m looking for a quick dinner solution after a busy day or preparing for a lively game day feast, sheet pan nachos always deliver. The convenience of using a pre-cooked rotisserie chicken significantly cuts down on prep time, making this dish a lifesaver when you need something delicious in a hurry. But the beauty doesn’t stop there; I’ve experimented with countless variations over the years, and it’s almost impossible to go wrong!
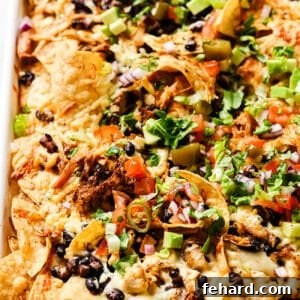
Once your cheesy creation emerges golden and bubbly from the oven, the sheet pan becomes your blank (and incredibly appetizing) canvas. This is where the real fun begins: customizing each serving with an abundance of fresh and flavorful toppings. I absolutely adore piling my chicken nachos high with homemade guacamole, vibrant pico de gallo, and a medley of fresh veggies. Imagine the crispness of chopped tomatoes, the freshness of shredded lettuce, the subtle bite of radishes, the savory notes of black olives, and the earthy richness of black beans. For those who crave a little kick, thinly sliced jalapeños and a drizzle of my homemade chipotle sauce add an extra layer of irresistible flavor. Each bite is a symphony of textures and tastes, tailored exactly to your preference. Enjoy the creative process and the delicious outcome!
The Foundation of Flavor: Chicken, Cheese, and Chips
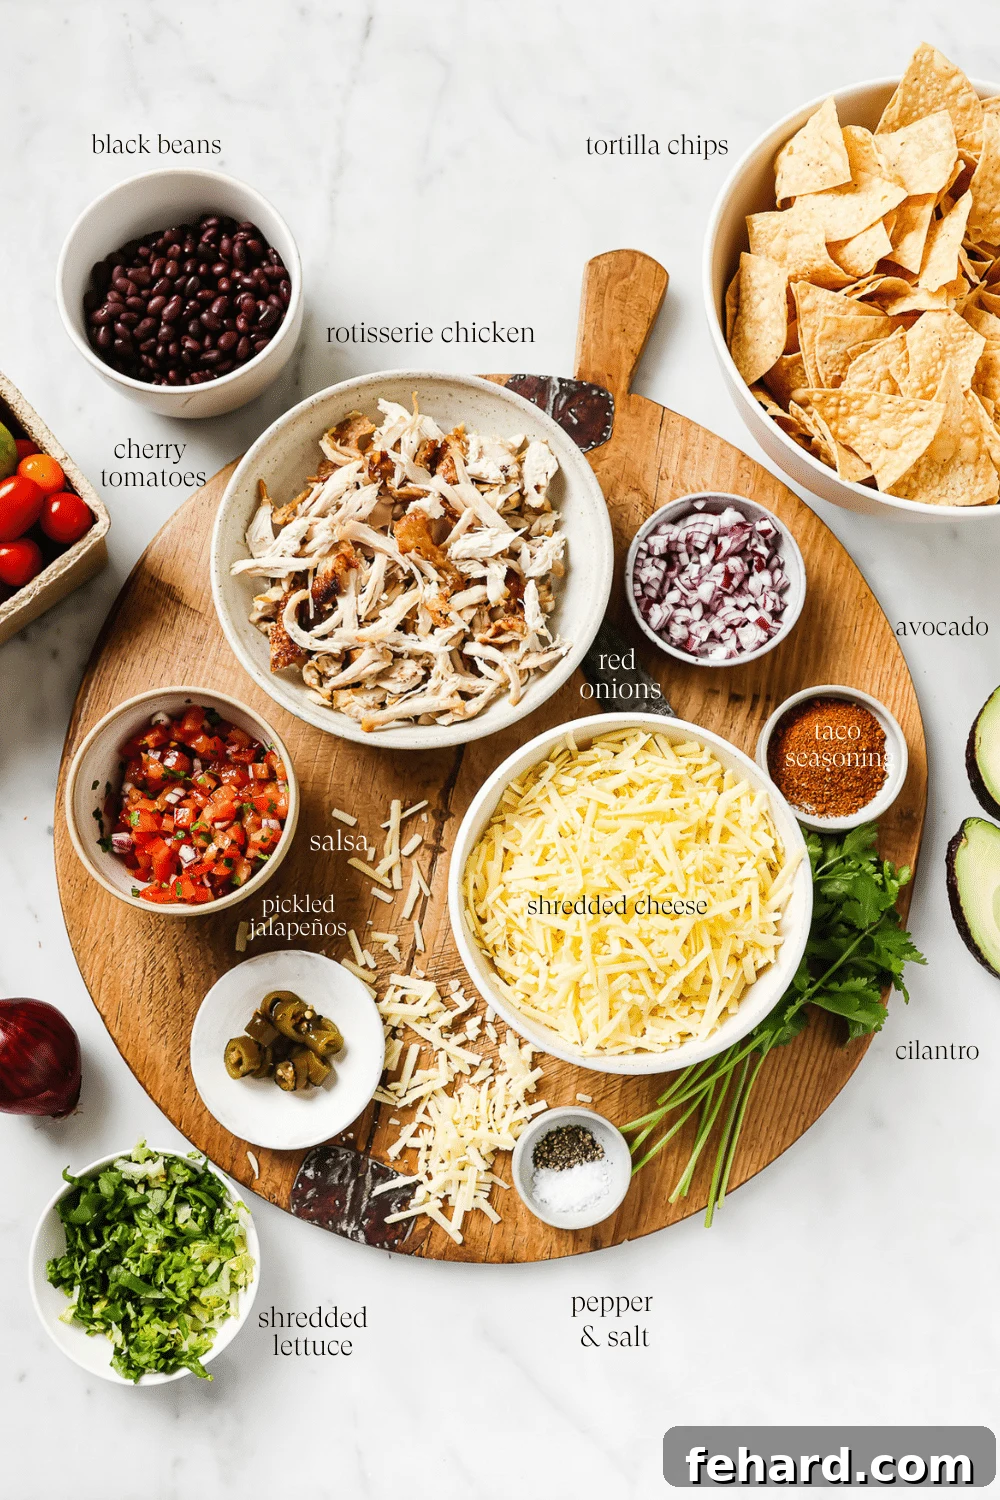
Every exceptional plate of nachos begins with a solid foundation. For our Rotisserie Chicken Nachos, this means selecting the perfect chicken, a delightful cheese blend, and sturdy tortilla chips that can handle all the goodness. These three core ingredients are the backbone of our recipe, ensuring every bite is packed with satisfaction.
Rotisserie Chicken: The Ultimate Time-Saver
Opting for a store-bought rotisserie chicken is truly the secret weapon for these nachos. It’s not just about convenience; these chickens are typically seasoned to perfection and cooked until incredibly tender and juicy, providing a fantastic flavor base without any extra effort. While they come pre-seasoned, I often like to boost the flavor profile by tossing the shredded chicken with a tablespoon of taco seasoning, or a blend of cumin and chili powder, along with a pinch of salt and black pepper. This simple step elevates the chicken, making it even more delectable. If you don’t have a rotisserie chicken on hand, or prefer to use other poultry, this recipe is incredibly adaptable. I’ve successfully made equally tasty versions using shredded leftover chicken breast or succulent chicken thighs. Simply cook and shred your preferred chicken, then season it generously before layering.
Cheese: The Melty, Dreamy Gooiness
Ah, the cheese – the heart and soul of any great nacho platter! I’ve experimented with numerous cheese varieties to find the ideal combination for that perfect melt and delicious flavor. My absolute favorite blend is a generous mix of Monterey Jack and sharp cheddar cheese. This pairing offers a fantastic balance: Monterey Jack provides an incredible melt, creating those coveted long, satisfying cheese pulls, while cheddar adds a rich, tangy depth of flavor that isn’t overpowering. Together, they create a beautifully golden, bubbly blanket over the chips and chicken. Of course, the beauty of homemade nachos is that you can truly customize them to your liking. Feel free to use any amount and combination of cheese your heart desires – Oaxaca, pepper jack for a spicy kick, or even a Mexican blend all work wonderfully. The key is to use freshly shredded cheese for the best melt and flavor; pre-shredded cheeses often contain anti-caking agents that can hinder smooth melting.
Tortilla Chips: The Sturdy Foundation
When it comes to tortilla chips, not all are created equal for nacho purposes. The secret to avoiding a soggy mess is to select thick-cut, sturdy tortilla chips. These robust chips are essential as they provide the structural integrity needed to hold up against the weight and moisture of all your delicious toppings. Thin, delicate chips simply won’t suffice and will inevitably break under pressure. Look for restaurant-style or extra-thick chips in your grocery store. Once you have your foundational chips, chicken, and cheese, the rest is entirely up to your imagination! I highly recommend adding black beans for an extra boost of protein, fiber, and an appealing texture. And don’t shy away from piling on all your favorite vegetables and toppings for the ultimate loaded sheet pan nachos experience – the more, the merrier!
Building Your Masterpiece: How To Assemble Rotisserie Chicken Nachos
Assembling the perfect pan of nachos is an art form, ensuring that every chip gets its fair share of delicious toppings. Follow these simple steps for beautifully layered and perfectly baked Rotisserie Chicken Nachos.
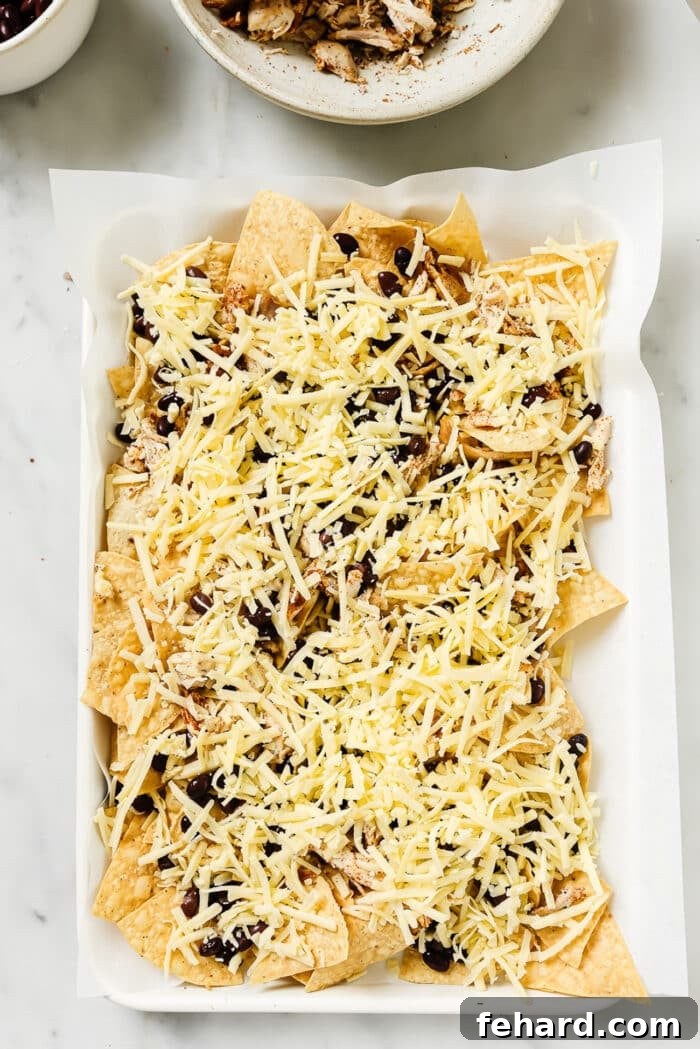
Step One: The First Layer
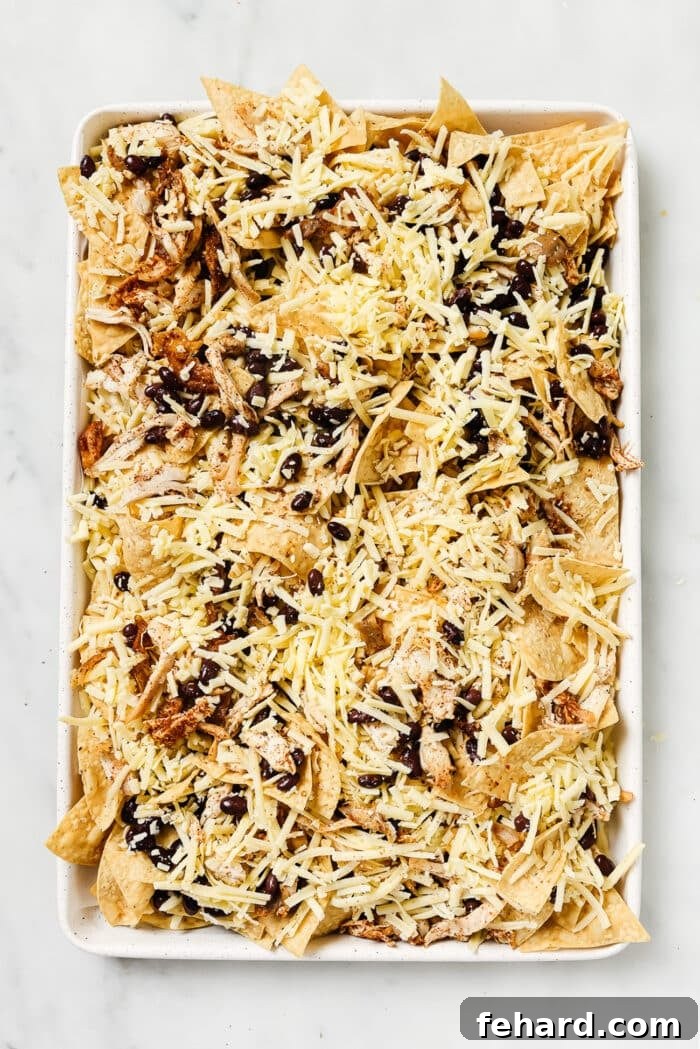
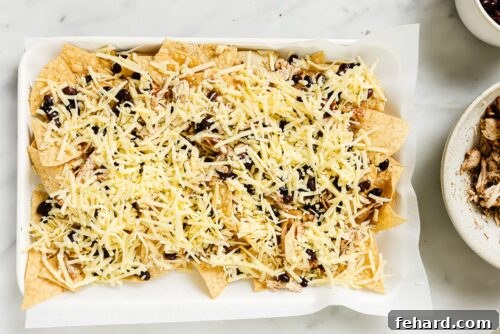
Begin by preheating your oven to 400°F (200°C) and lining a large baking sheet with parchment paper or foil – this simple trick will make cleanup a breeze! Spread about half of your thick-cut tortilla chips in a single, even layer across the prepared baking sheet. This initial layer forms the base. Next, distribute half of the seasoned shredded chicken, half of the drained and rinsed black beans, and half of your chosen shredded cheese over these chips. The goal here is to ensure even coverage, so you get a delightful mix of flavors and textures in every single bite.
Step Two: Building Up the Flavor
Now, it’s time to create the second layer of your nacho masterpiece. Carefully add the remaining half of your tortilla chips, spreading them over the first layer. Follow this with the rest of the seasoned chicken, black beans, and the remaining shredded cheese. Again, focus on achieving an even distribution. By creating these two distinct layers, you prevent a situation where the chips at the bottom are bare and sad, ensuring that every single chip is generously loaded with delicious ingredients. This layering technique is crucial for truly loaded, satisfying nachos.
Step Three: The Bake
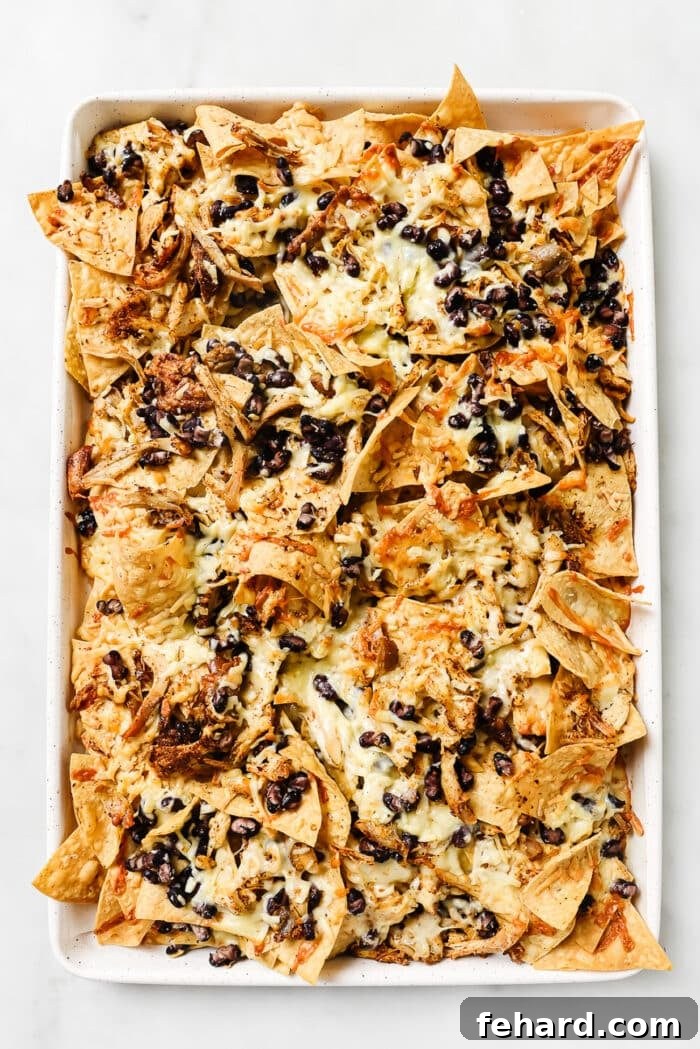
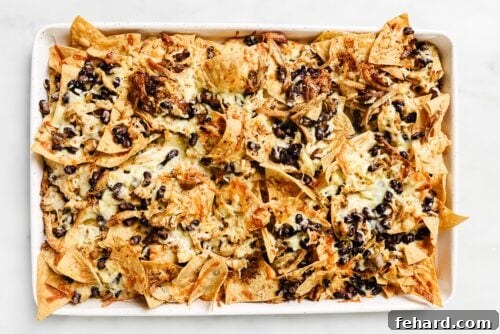
Once your nachos are beautifully layered, transfer the baking sheet to your preheated oven. Bake for approximately 8-10 minutes, or until the cheese has completely melted into a bubbly, golden-brown perfection and the chips are slightly toasted. Keep a close eye on them through the oven light, as cooking times can vary. You want beautifully melted cheese, not burnt chips! The high temperature ensures a quick bake, warming all the ingredients through without making the chips overly soft.
Step Four: The Grand Finale – Toppings!
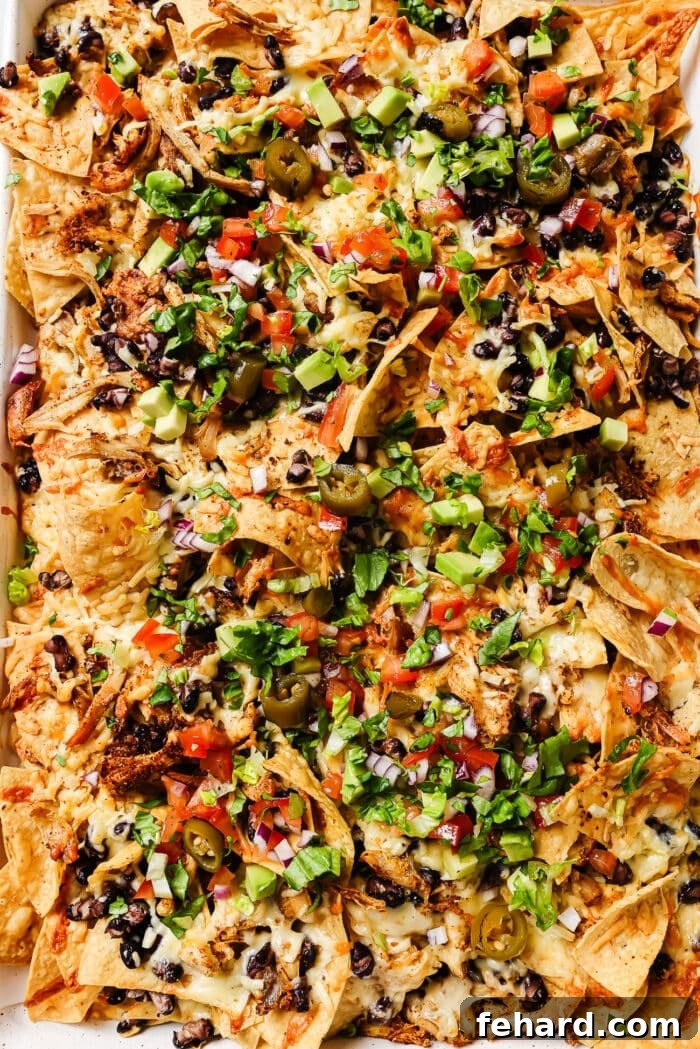
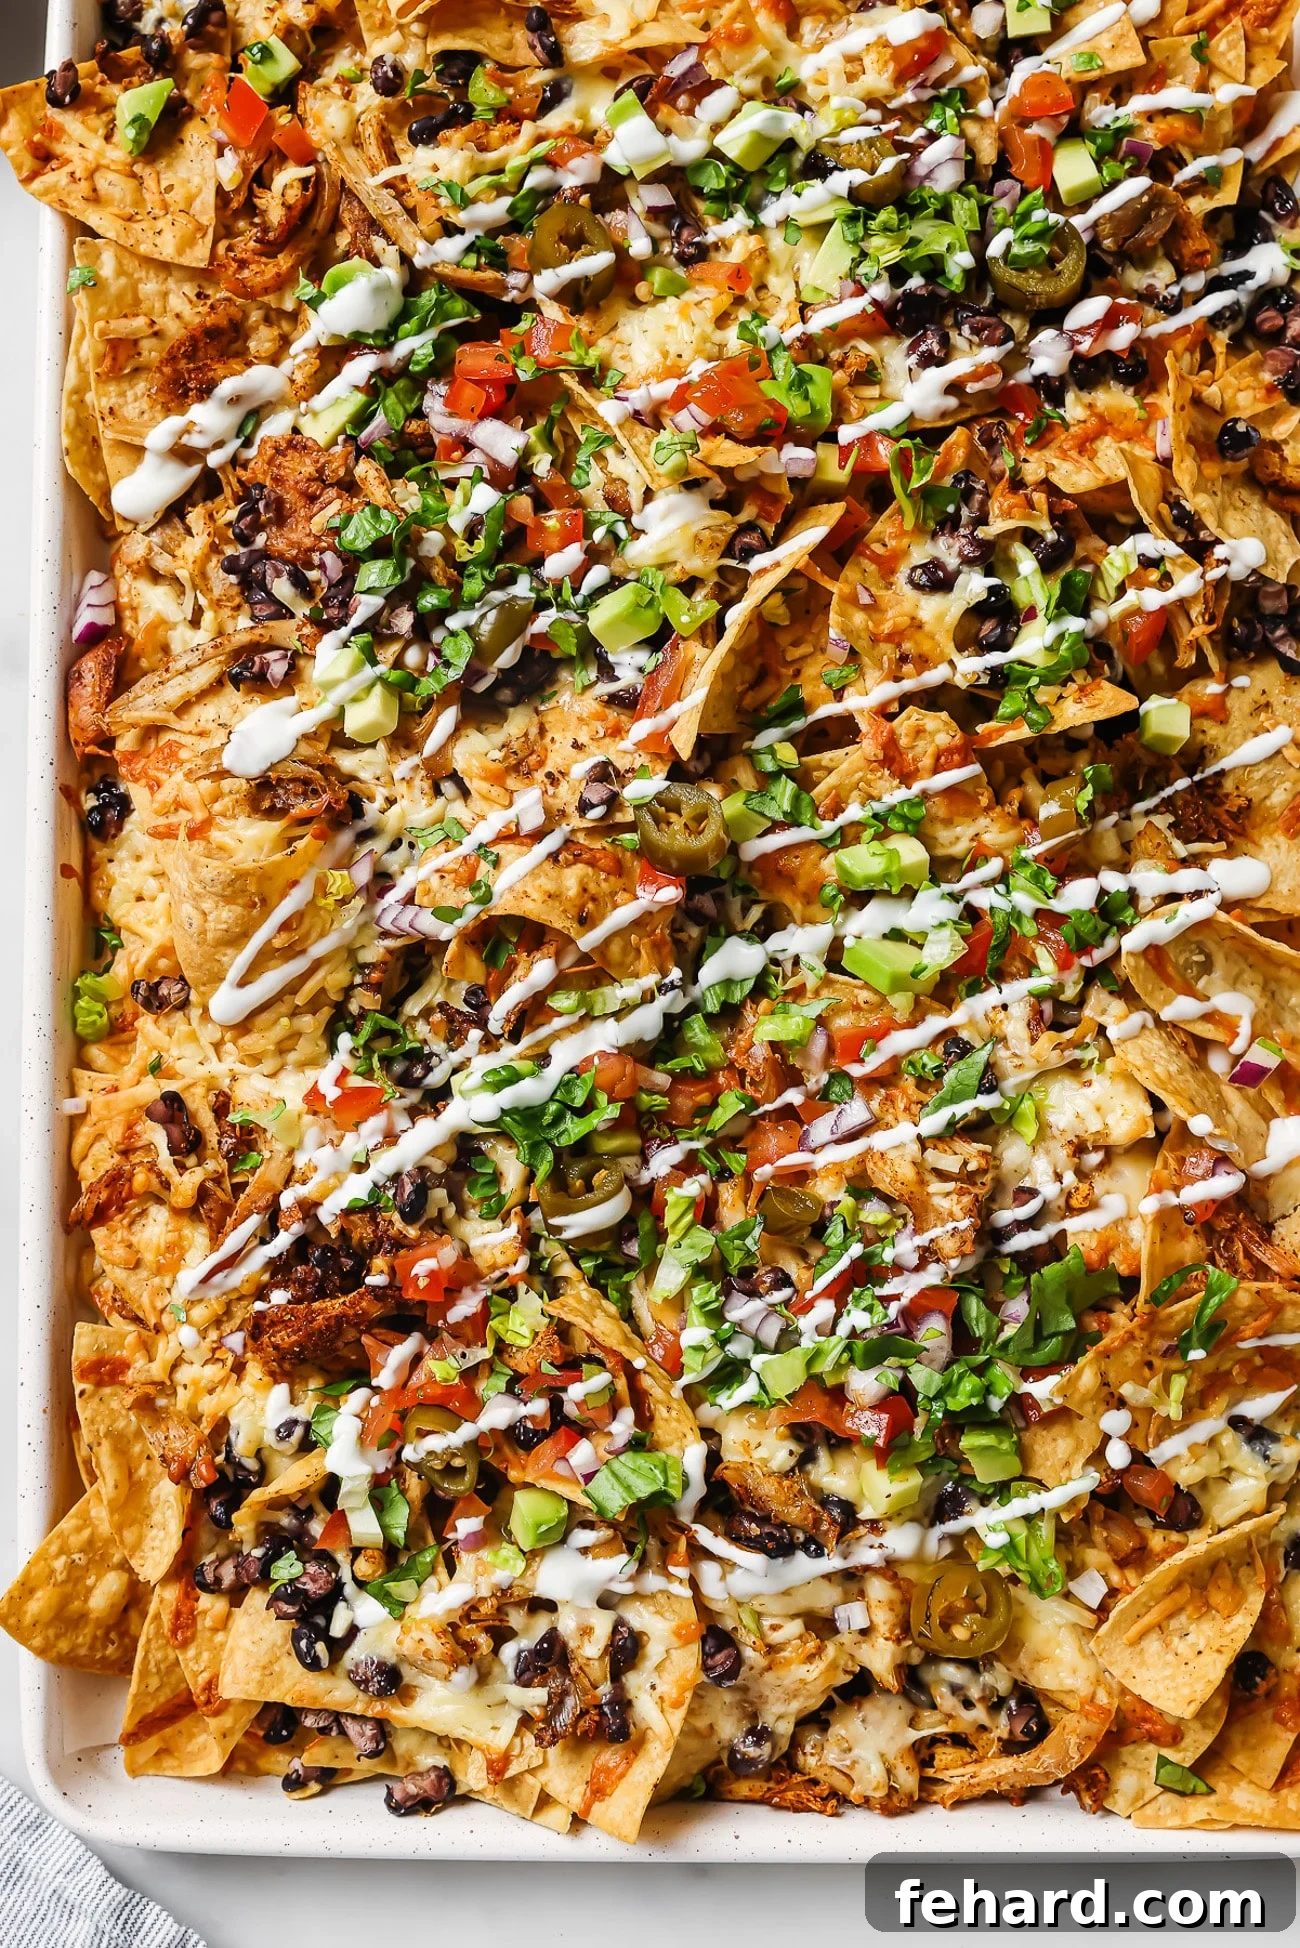
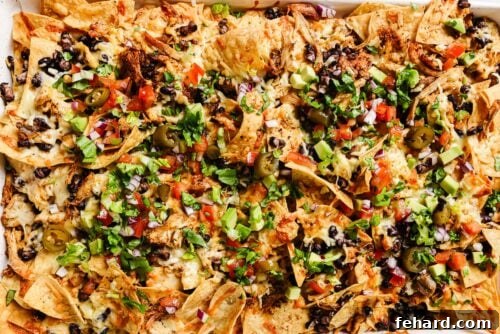
As soon as the cheese is gloriously melty and bubbly, carefully remove the sheet pan from the oven. This is the moment to transform your baked nachos into an extraordinary culinary experience with a generous array of fresh toppings! Immediately pile on your favorites: a dollop of cooling sour cream, creamy slices of avocado or a scoop of homemade guacamole, vibrant pico de gallo, a sprinkle of fresh cilantro, some zesty pickled jalapeños, and thinly sliced green onions or red onion. Serve them immediately while they are hot and the cheese is still wonderfully gooey. Enjoy your perfectly crafted, loaded Rotisserie Chicken Nachos!
Olivia’s Expert Nacho Tips
- Preheat for Perfection: Always ensure your oven is fully preheated to 400°F (200°C) before placing the nachos inside. This high temperature is key to quickly melting the cheese and warming all the ingredients evenly without burning the tortilla chips, resulting in the ideal crispy texture.
- Strategic Cheese Layering: For the best results, always add the cheese on top of the chicken and black beans. This isn’t just for aesthetics; the melted cheese acts like a delicious glue, helping to hold all the fresh toppings in place when you pick up a chip, preventing them from tumbling off!
- Preventing Soggy Nachos: To keep your chips wonderfully crispy, make sure to thoroughly drain and rinse your black beans. Excess moisture can quickly turn crispy chips into a soggy disappointment. Also, wait until *after* baking to add wet toppings like sour cream, guacamole, and salsa.
- Flavor Boosters: Don’t hesitate to experiment with extra flavor. A drizzle of your favorite hot sauce or a generous dollop of cool sour cream (or Greek yogurt for a healthier alternative) right after baking can add a delightful creamy tang or a spicy kick.
- Serve Immediately: Nachos are best enjoyed fresh out of the oven when the cheese is perfectly melted and the chips are still crisp. Gather everyone around the table as soon as they’re ready!
More Easy Mexican-Inspired Recipes
Barbacoa Burrito Bowl
1 min
Carne Asada Quesadillas
6 mins
Skillet Chicken Fajitas Recipe
35 mins
Ground Beef Tacos
25 mins
Print Recipe
Rotisserie Chicken Nachos – Quick, Cheesy & Crowd-Pleasing
Equipment
-
1 large baking sheet
Ingredients
- 1 12 oz bag corn tortilla chips (thick-cut chips work best)
- 1 rotisserie chicken shredded (about 3–4 cups)
- 1 tablespoon taco seasoning
- Salt and black pepper to taste
- 16 oz shredded cheese Monterey Jack, cheddar, or a mix, or more if desired
- 1 15 oz can black beans, drained and rinsed
- Optional toppings: sour cream, guacamole, avocado slices, pickled jalapeños, green onions, salsa, red onion, black olives, shredded lettuce, chopped cilantro, pico de gallo.
Instructions
-
Preheat your oven to 400°F (200°C). Line a large baking sheet with parchment paper or foil for easy cleanup.
-
In a medium bowl, combine the shredded rotisserie chicken with taco seasoning, a pinch of salt, and black pepper. Toss gently to ensure the chicken is evenly coated with the seasonings.
-
Spread half of the tortilla chips in a single layer on your prepared baking sheet. Evenly layer with half of the seasoned chicken, half of the drained black beans, and half of the shredded cheese. Repeat this layering process with the remaining chips, chicken, beans, and cheese, making sure to distribute all ingredients evenly across the chips.

-
Bake in the preheated oven for 8–10 minutes, or until the cheese is beautifully melted, bubbly, and slightly golden. Keep a close watch to prevent the chips from burning.
-
Once the cheese is perfectly melted and bubbly, carefully remove the nachos from the oven. Immediately top with your favorite fresh garnishes such as sour cream, fresh avocado slices or guacamole, sliced jalapeños (pickled or fresh), finely diced red onion, chopped green onions, and fresh cilantro. Serve hot and enjoy!
Notes
To prevent soggy chips, ensure you rinse and drain the black beans very well before adding them to the nachos. Excess liquid can compromise the crispiness of your chips.
Lining your baking sheet with foil or parchment paper will make cleanup exceptionally easy, so don’t skip this step!
How to Store & Reheat Leftover Nachos
If you happen to have any leftovers, allow the nachos to cool completely before storing. Use a spatula to carefully transfer them to an airtight container. They will keep well in the refrigerator for up to 4 days, especially if you started with fresh rotisserie chicken. For best results and maximum freshness, it is always recommended to store any additional toppings (like guacamole, salsa, or sour cream) separately in their own airtight containers.
When reheating, the oven is your best friend for achieving that desirable crispy texture. Avoid the microwave if possible, as it tends to make the chips soft and soggy. Simply spread the leftover nachos on a baking sheet and reheat in a preheated oven at 300°F (150°C) for about 5-10 minutes, or until warmed through and the cheese is re-melted. Once hot, add any fresh toppings you like and enjoy your revitalized nachos!
Nutrition
Nutrition information is automatically calculated, so should only be used as an approximation.
Did You Make This?
We’d love to see your delicious creation! Follow @primaverakitchen on Instagram, snap a photo of your Rotisserie Chicken Nachos, and tag it #primaverakitchen. Your culinary masterpieces inspire us!